

Why would anyone take pictures of their soiled vintage linens soaking in water? I think I do it because I’m so amazed at how disgusting the water looks! I get asked all the time how I clean the little treasures that follow me home from antique shops, thrift stores, etc.
***For an updated cleaning method scroll to my post of: 07-23-2021
Disclaimer: what you are about to read is how I do it….. Your results may vary.
*** Look your item over thoroughly! If there is ANY black and/or dark grey embroidery floss do not use this cleaning method! Stick with just Biz or OxyClean and be careful!
Step 1: Read through each of the 6 steps before you begin!
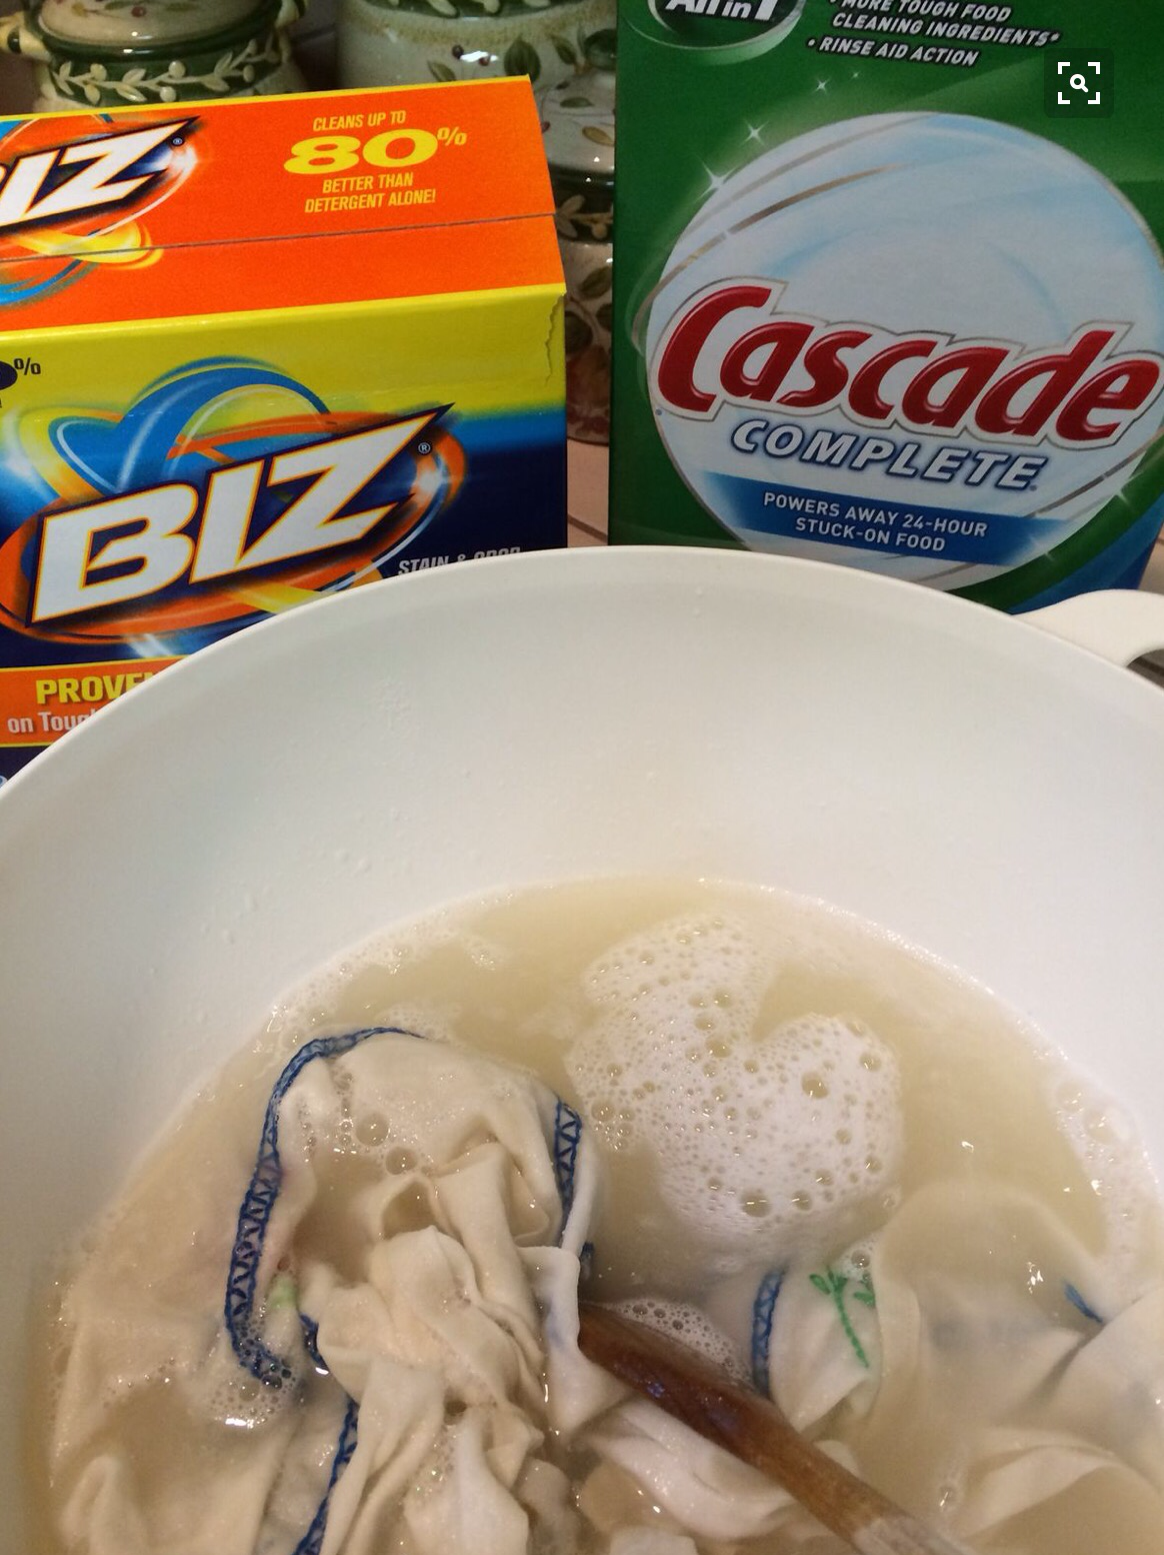
Step 2: Ingredients-Biz Powder, Cascade Dishwashing Powder. DO NOT USE THE CASCADE THAT CONTAINS BLEACH! -and- 1/2 to 1 gallon of WARM water. Biz Powder can be difficult to find. I have successfully substituted OxyClean Powder and had good results. Update 6/2017: Don’t be fooled by thinking Biz and Oxyclean are the same thing marketed under different names. Biz is an enzyme product and as such is much better suited to cleaning vintage linens. You can find more specific information here. Speaking of substitutions, the other day Kroger had their house brand of dishwashing powder on a ridiculously low sale so I picked up a box. It worked great so I might just start listing any brand without bleach…
Step 3: In a plastic bin/container/glass bowl first add the 2 powders followed by the water. Stir gently to dissolve the powder. I find the powders never dissolve completely so just stir until you’re comfortable that you’ve got things mixed up.
Step 4: Begin layering your items on top of the sudsy water. If necessary gently fold them to fit the container you’ve chosen. I usually add as many items as I can to the container, just make sure the top layer can be fully submerged. Throughout the soaking process I gently-and I do mean gently-push down on the soaking items with a long handled wooden spoon just to move the water around a bit. If you find your items floating to the top you can always keep them submerged by placing a non-metallic dinner plate, bowl, saucer, etc. on top of them.
Step 5: How long to soak? This is something only you can determine. It’s rare that I soak things for longer than 24 hours. If I am nervous about an item I’ll shorten the soaking time to not more than 3-4 hours.
Step 6: Rinse and rinse and rinse like there’s no tomorrow! When you think you’re finished, rinse once more in a container of cool water with 1/2-1 cup of white vinegar in the water. The vinegar will cut any soap that the fibers might be holding on to. Very important step! Note: when dry, your linens might retain the aroma of the vinegar for a day or two but it will dissipate.
What’s next? Either put your pieces in the dryer or lay them out flat to dry.
Ok, here are the pictures, like I said, the water is gross!


Happy soaking! You and your nose and your neighbors’ nose will be very glad you took the time!
Rhonda

What amazing info!!!!!! I have a vintage sampler, “ruined” because the dye from the red floss spread over most of it. I dissolved a dishwasher pod in hot water and immersed the sampler; the water began turning pink almost immediately! I hastily added a Color Catcher sheet and continuously stirred the sampler. After 5 minutes I took it out (Color Catcher sheet was very pink!). A very small amount of errant pink was left in one small section of the sampler; a second bath with a new dishwasher pod took care of it. THANKS A MILLION!!!!!!
LikeLiked by 1 person
I am thrilled for you!
LikeLike
Are there amounts of the two powders?
LikeLiked by 1 person
Yes, 1/2 cup each.
LikeLike
Thanks again
LikeLiked by 1 person