

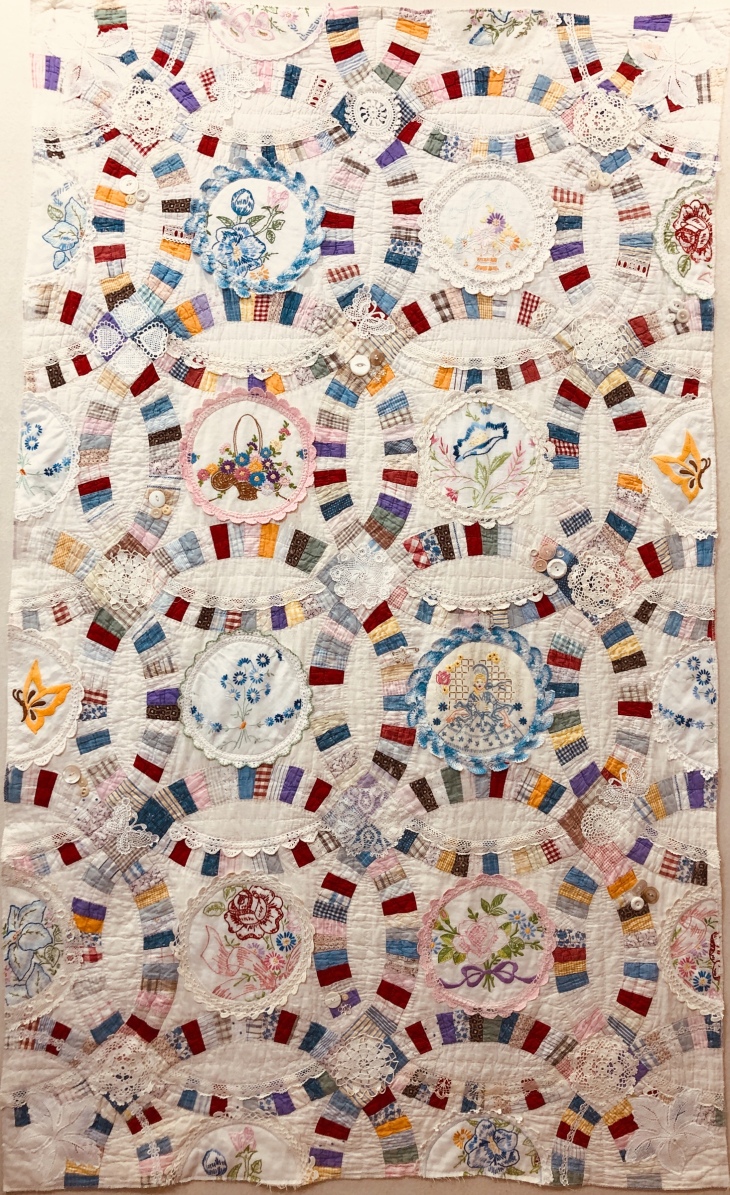
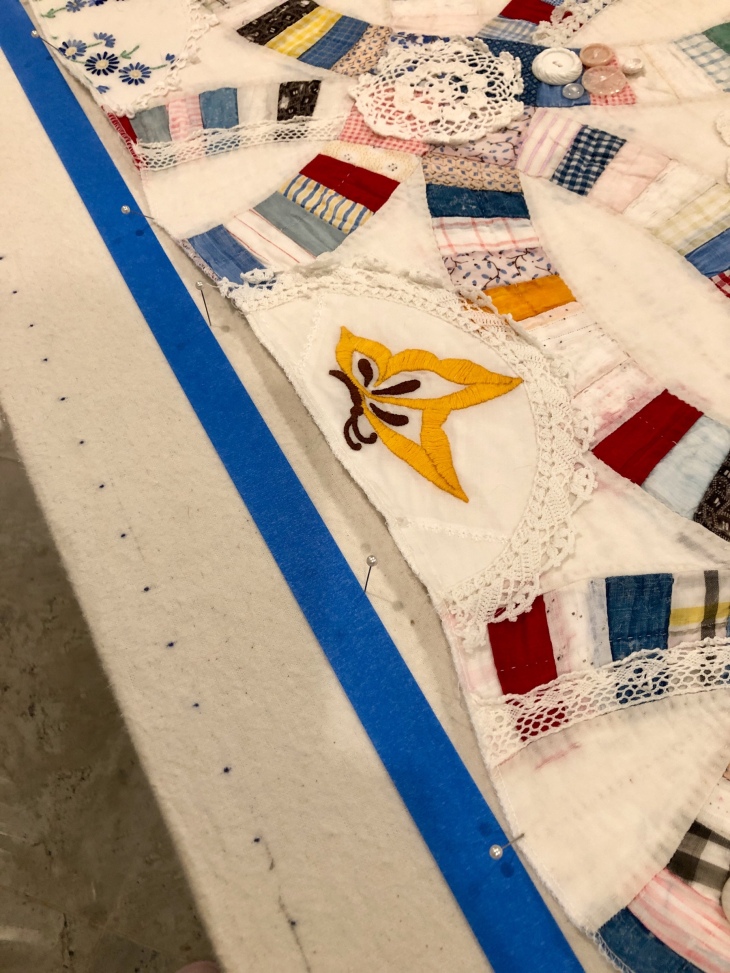
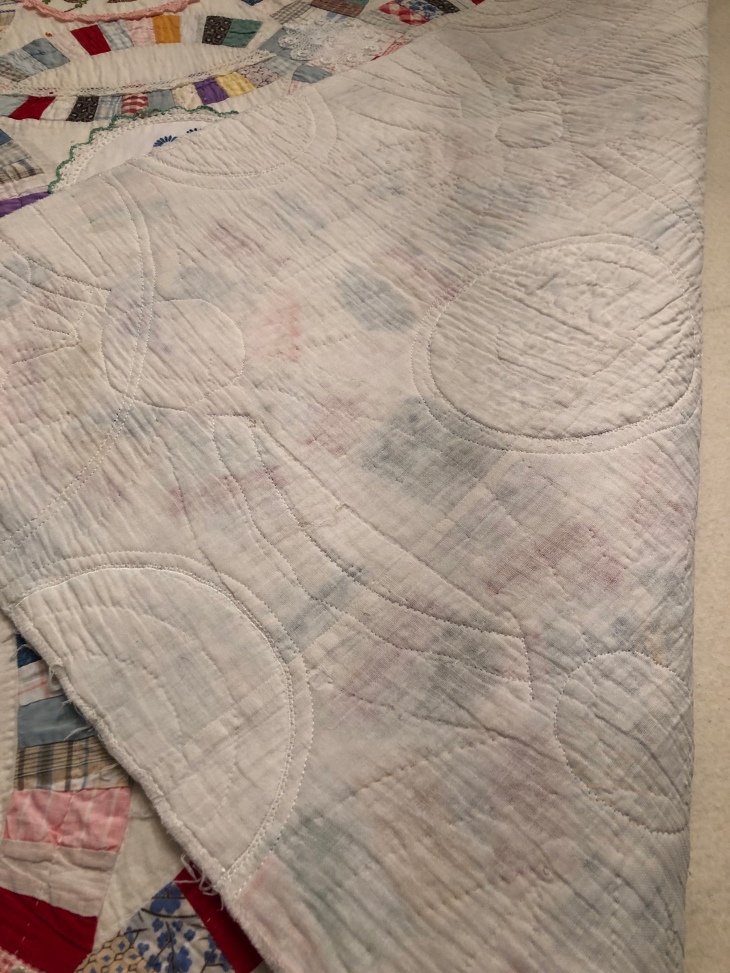
The embellishments are all added, everything is machine stitched in place and it’s time to deal with the “wavy” edges. This quilt I’m sure has been laundered many many times. In the laundering process it has shrunk. When I serged the edges after it was cut and the red binding was removed, the serging process “stretched” the piece almost back to its original size along only the outside. You can see the uneven/wavy edges in the picture below.

These are my tools, they are on top of my accordion folded design wall. The strange looking red thing is a laser light, it’s a handy tool when a perfectly straight line is needed. As it turns out, I didn’t need this tool for this project.

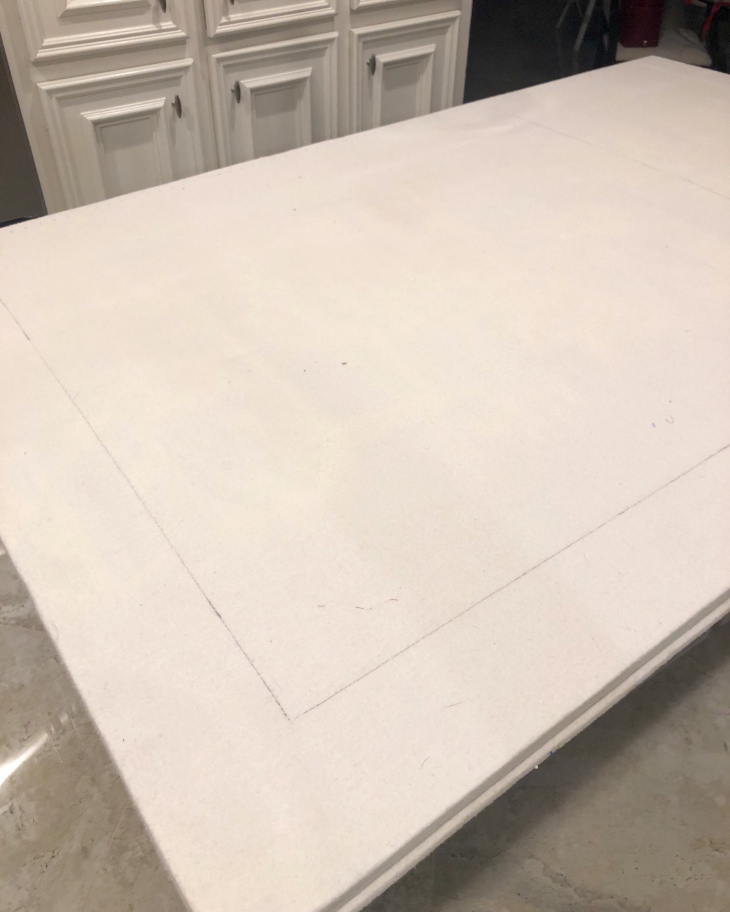
I’ve got 2 right angle lines permanently drawn with a fine line Sharpie near the design wall edges. These right angle lines are my starting point.
But first, the quilt/throw needs a trip through the washing machine. I selected the Hand Wash cycle, no detergent, cold water wash and rinse, light spin. I did put about 1/4th cup of distilled vinegar in the fabric softener dispenser. If you haven’t used distilled vinegar with your vintage linens, try it next time, I think you’ll be pleased.


When the laundry wash cycle is completed, VERY GENTLY remove the wet quilt to the design wall now laying on top of my kitchen island.


Again, VERY GENTLY begin to move the piece to a flat position.

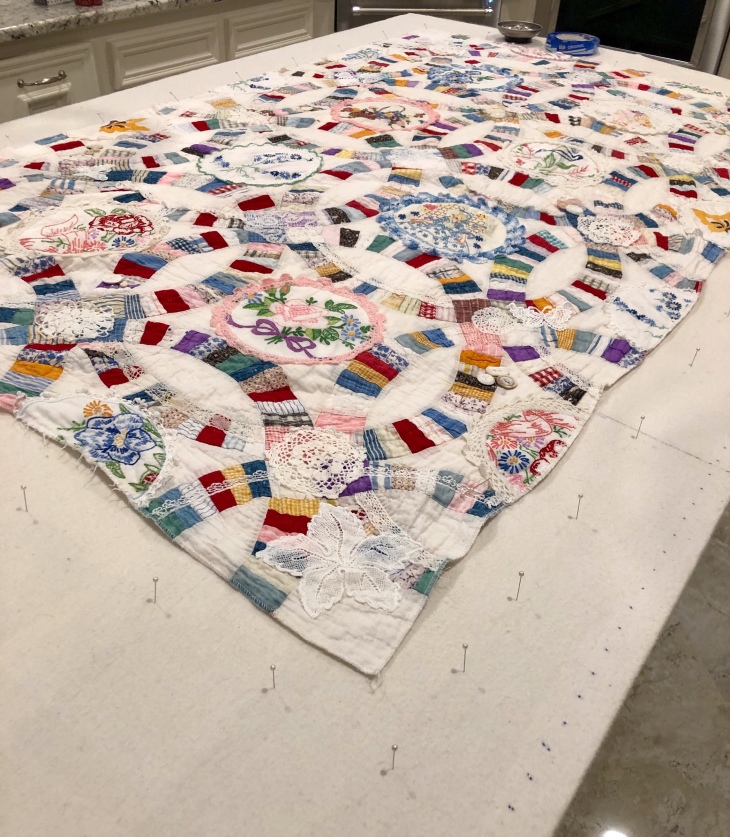
While hard to see, I’ve begun to align one long side of the quilt with the black Sharpie line. When I’m happy with the first Sharpie line alignment, move to the right angle 2nd Sharpie line.

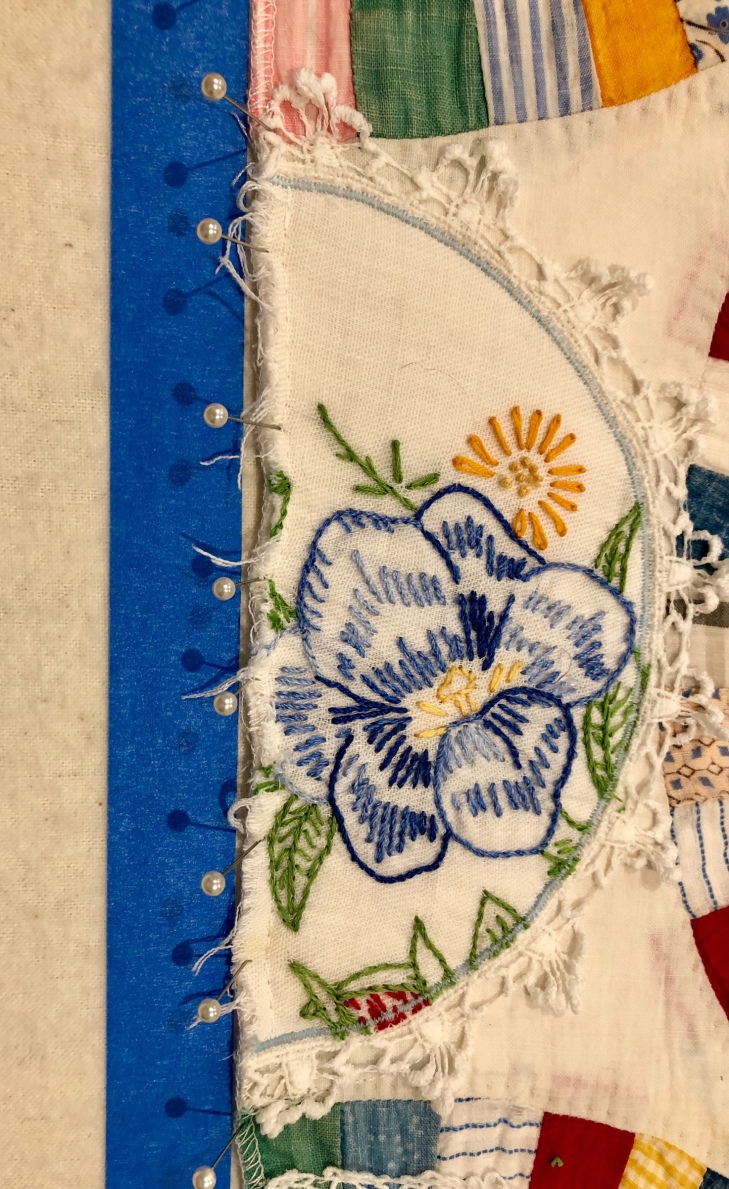
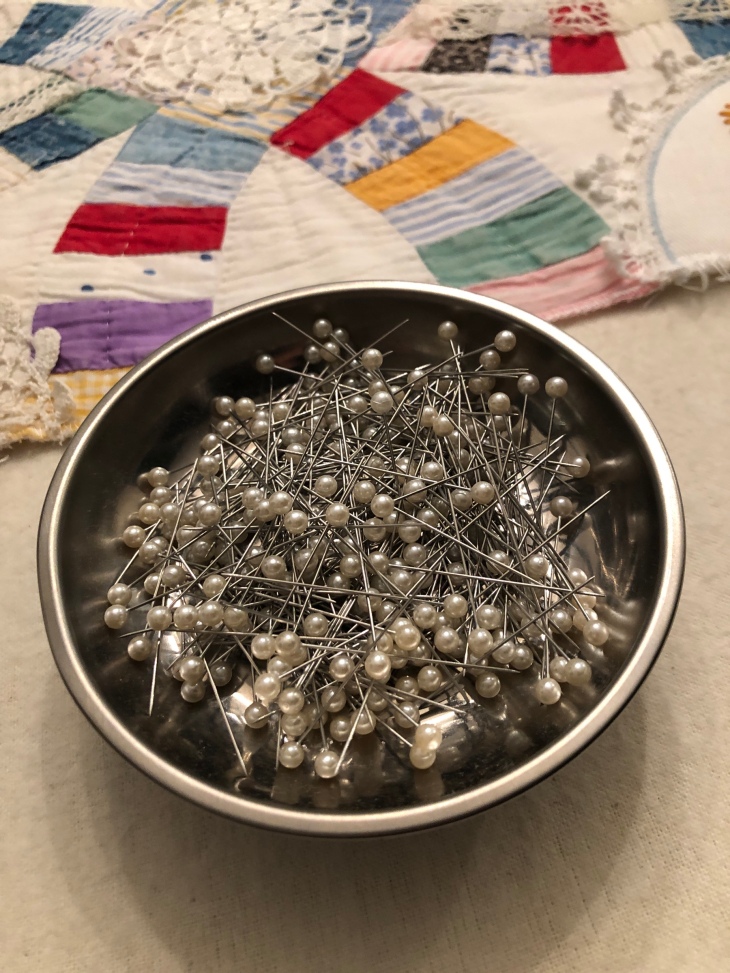
Begin by placing pearl head pins about every 6-8″. Why pearl head? You’re going to be using maybe up to several hundred pins and your index finger and thumb will be thankful for the extra area to grip/push. Once you have the first side properly positioned, go back and pin at minimum every inch. Some people pin every half inch. What you don’t want is “scalloping” to develop in between the pins. If this happens, go back and gently easy the edge to the black line and place pins in between the pins you’ve already set in place.


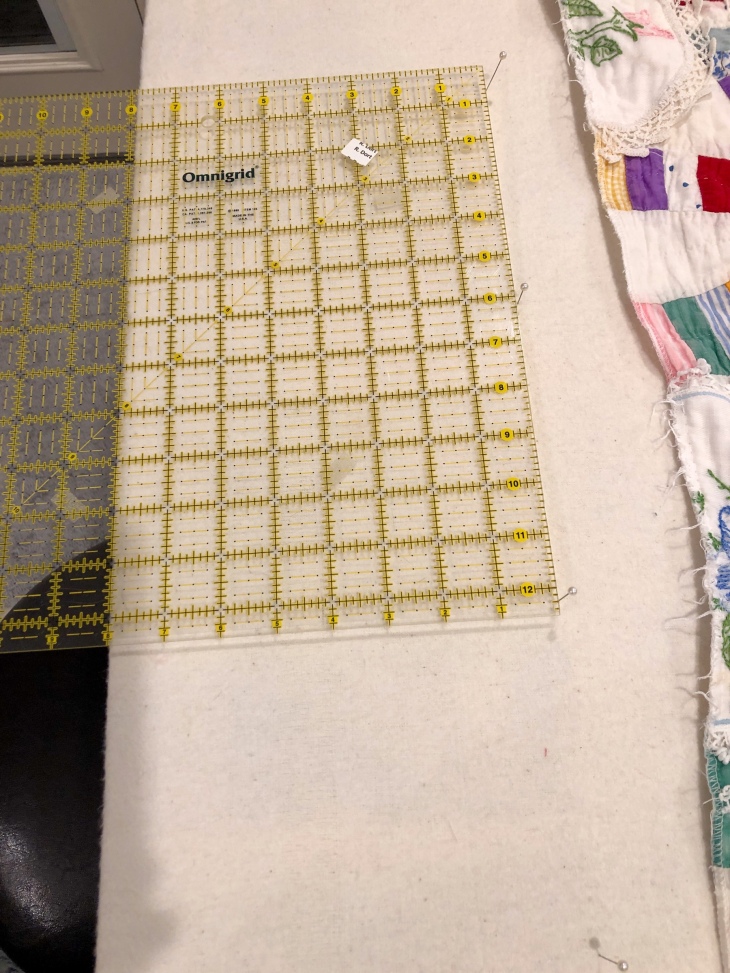
So what’s going on below with this ruler? I’m using the straight outer edge of my design wall in conjunction with my Omnigrid ruler to mark, with pins, 8″ from the design wall edge. Once I’ve got pins every 8-10″ or so down the length, I will use these pins as my guide for my blue painters tape.

I’ve done the pin marking on both sides that do not have the Sharpie marker lines.


Now I’ve set my other 2 lines for pinning/blocking.

Begin addressing the remaining 2 sides by gently coaxing the quilt corner to meet the established right angle corner inside the blue painters tape. Remember, this can’t be a tug-of-war! You want to ease the quilt into position, no heavy handed pulling that will pop stitches!!

Below shows that I’m ready to address the final side of the piece. You’ll want to gently pull/stretch/manipulate this side to meet up with the painters tape. Start on the middle, pin about every 4-6″ as you work down each side of the start point at the middle.


At this point you can choose to leave the blue tape or remove it. If you decide it has to go, be gently and slow as you pull it away.
Edit 10/13: How long do you leave your quilt pinned to the foam board (in my case my design wall)? For as long as it takes to be 100% dry. Not 80%, not 90%, but 100%!! This is very important! I sometimes leave my quilts pin blocked for 2-3 days. Another question has come up: What if your design wall cannot be laid horizontal? Find something suitable that can. You cannot successfully block a quilt by pinning it on a vertical surface unless you have a miniature sized piece.
Remember when I talked about the back fabric being several grain/feed sacks sewn together and turned “print side in”? Here are a few pictures showing these joined sacks.
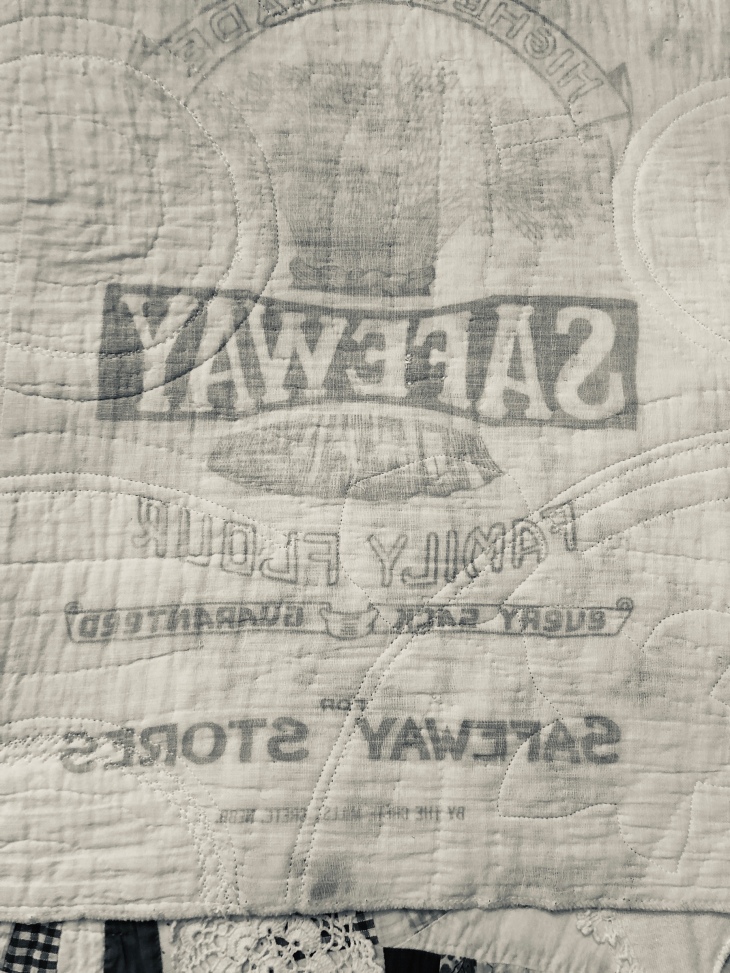
What do they say? SAFEWAY FAMILY FLOUR, every sack guaranteed, FOR SAFEWAY STORES, BY THE CRETE MILLS, CRETE, NEBR.
Hope this tutorial on how I block my quilts will help!
Questions? Post them in the comments section and I’ll get back to you as quickly as possible!
Blessings and Happy Quilting!

Where do you get foam board? My applique quilt will be 90” or so. I assume your method of blocking will work for “Friends of Baltimore”? I’ve never blocked a quilt. Thank you for sharing your work, your passion.
LikeLiked by 1 person
Hardware, Lumberyard, Home Depot, Lowes
LikeLike
Love how you have revived a beautiful quilt. So very interesting.
LikeLiked by 1 person
Rhonda, thank you so much for teaching us how and why to block a quilt. I had no idea. And your pictures are very informative. Beautiful quilt – you have done so much extra to it. It really is exquisite.
LikeLiked by 1 person
Thank you!!
LikeLike
I might have missed this detail but how did you determine the finished size you needed to block a vintage quilt such as this. You said you may have to do a tug a war but how did you determine just how far to tug it? Thank you so much for your clear description and many pictures! Best description of blocking I have ever seen.
LikeLiked by 1 person
Thanks Sandra, in the previous blog post I talked a lot about how I came to have this piece and what I planned to do with it. Because it was in bad shape, she and I decided to cut into 2 identical pieces each measuring 40×66”. The quilt was already well loved, laundered many many times and therefore had shrunk from its original size of who knows what… my goal with 5e blocking was to get it back to the 40×66.
LikeLike
I love everything about this quilt. The feed sacks on the back are priceless. That quilt was made in a time when every item that came into the house was repurposed.
I do have “a million little questions “ about your squaring up. I chose just a few….
1) Once the wet quilt is squared and pinned to the design board, does it stay right there untouched until it is completely dry?
2) How long does it take to dry?
3) Do you have to square it up in this manner every time it is laundered?
Thank you for always being so generous with sharing your process. You are the best!!
LikeLiked by 1 person
Thank you! All great questions!!
Yes, the quilt must stay pinned to the foam board until absolutely completely dry. It depends on the individual quilt as to drying time, I always plan for at least 2 days. And yes, if you wanted your quilt to always be perfectly square you’d want to block after each washing. I have only blocked “show pieces”.
Thanks for your kind words sweet friend!! 😁
LikeLike
You are a Genius.
LikeLiked by 1 person
🙂
LikeLike
Thanks for sharing,, I can see now why I have not been real successful blocking. I did not use enough pins.. Great turorial
LikeLiked by 1 person
Thank you!!
LikeLike
Love your posts. Your directions are easy to follow. I block my quilts the same way. Works every time. Thanks!
LikeLiked by 1 person
Thank you!
LikeLike
I love the detail and the way you explain what you are doing and why…. I have never seen a quilt blocked before and found it easy to follow…. not sure I ever will but well now I have the knowledge.. thanks to you.
LikeLiked by 1 person
Thank you for your kind words!!
LikeLike
I have never blocked a quilt, but have wished I had done so several times. Your tutorial is very helpful to teach the way to do this from beginning to end and I really thank you for making it so clear!
LikeLiked by 1 person
Thank you!
LikeLike