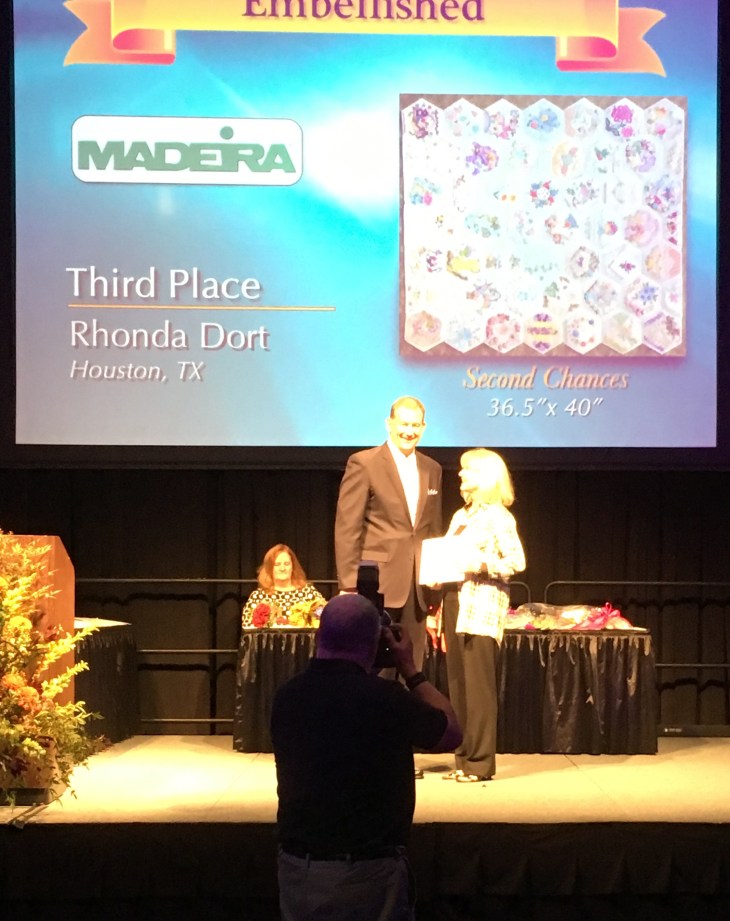
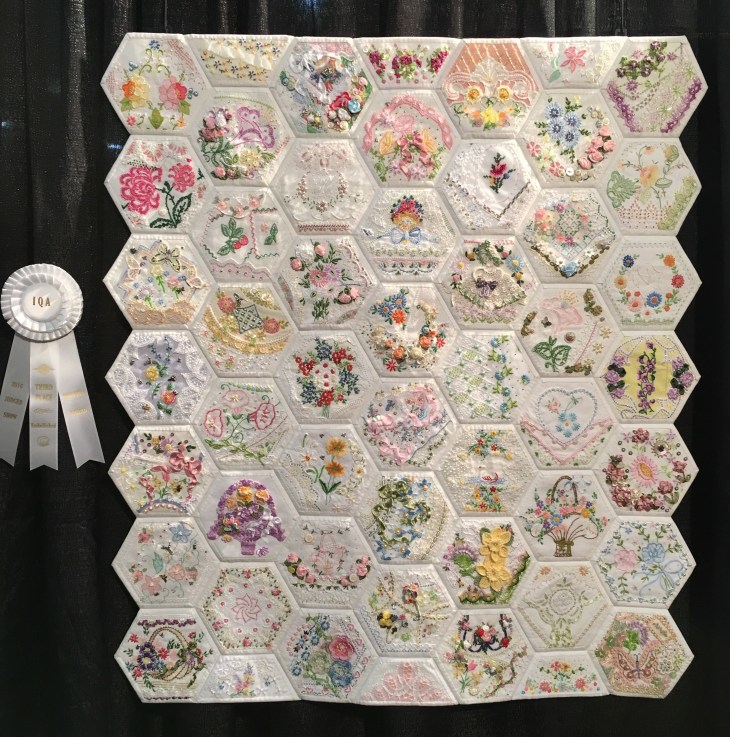
I must give proper tribute to Sarah Lizzies Handmade as this blog creator was my inspiration for my hexagon quilt titled “Second Chances”. The minute I read thru her blog and studied her pictures, I knew I was hooked. Her work is wonderful!
I plan to walk you through my method of creating Second Chances, probably step by step so if you’re interested, you’ll have all the tools you need to start.
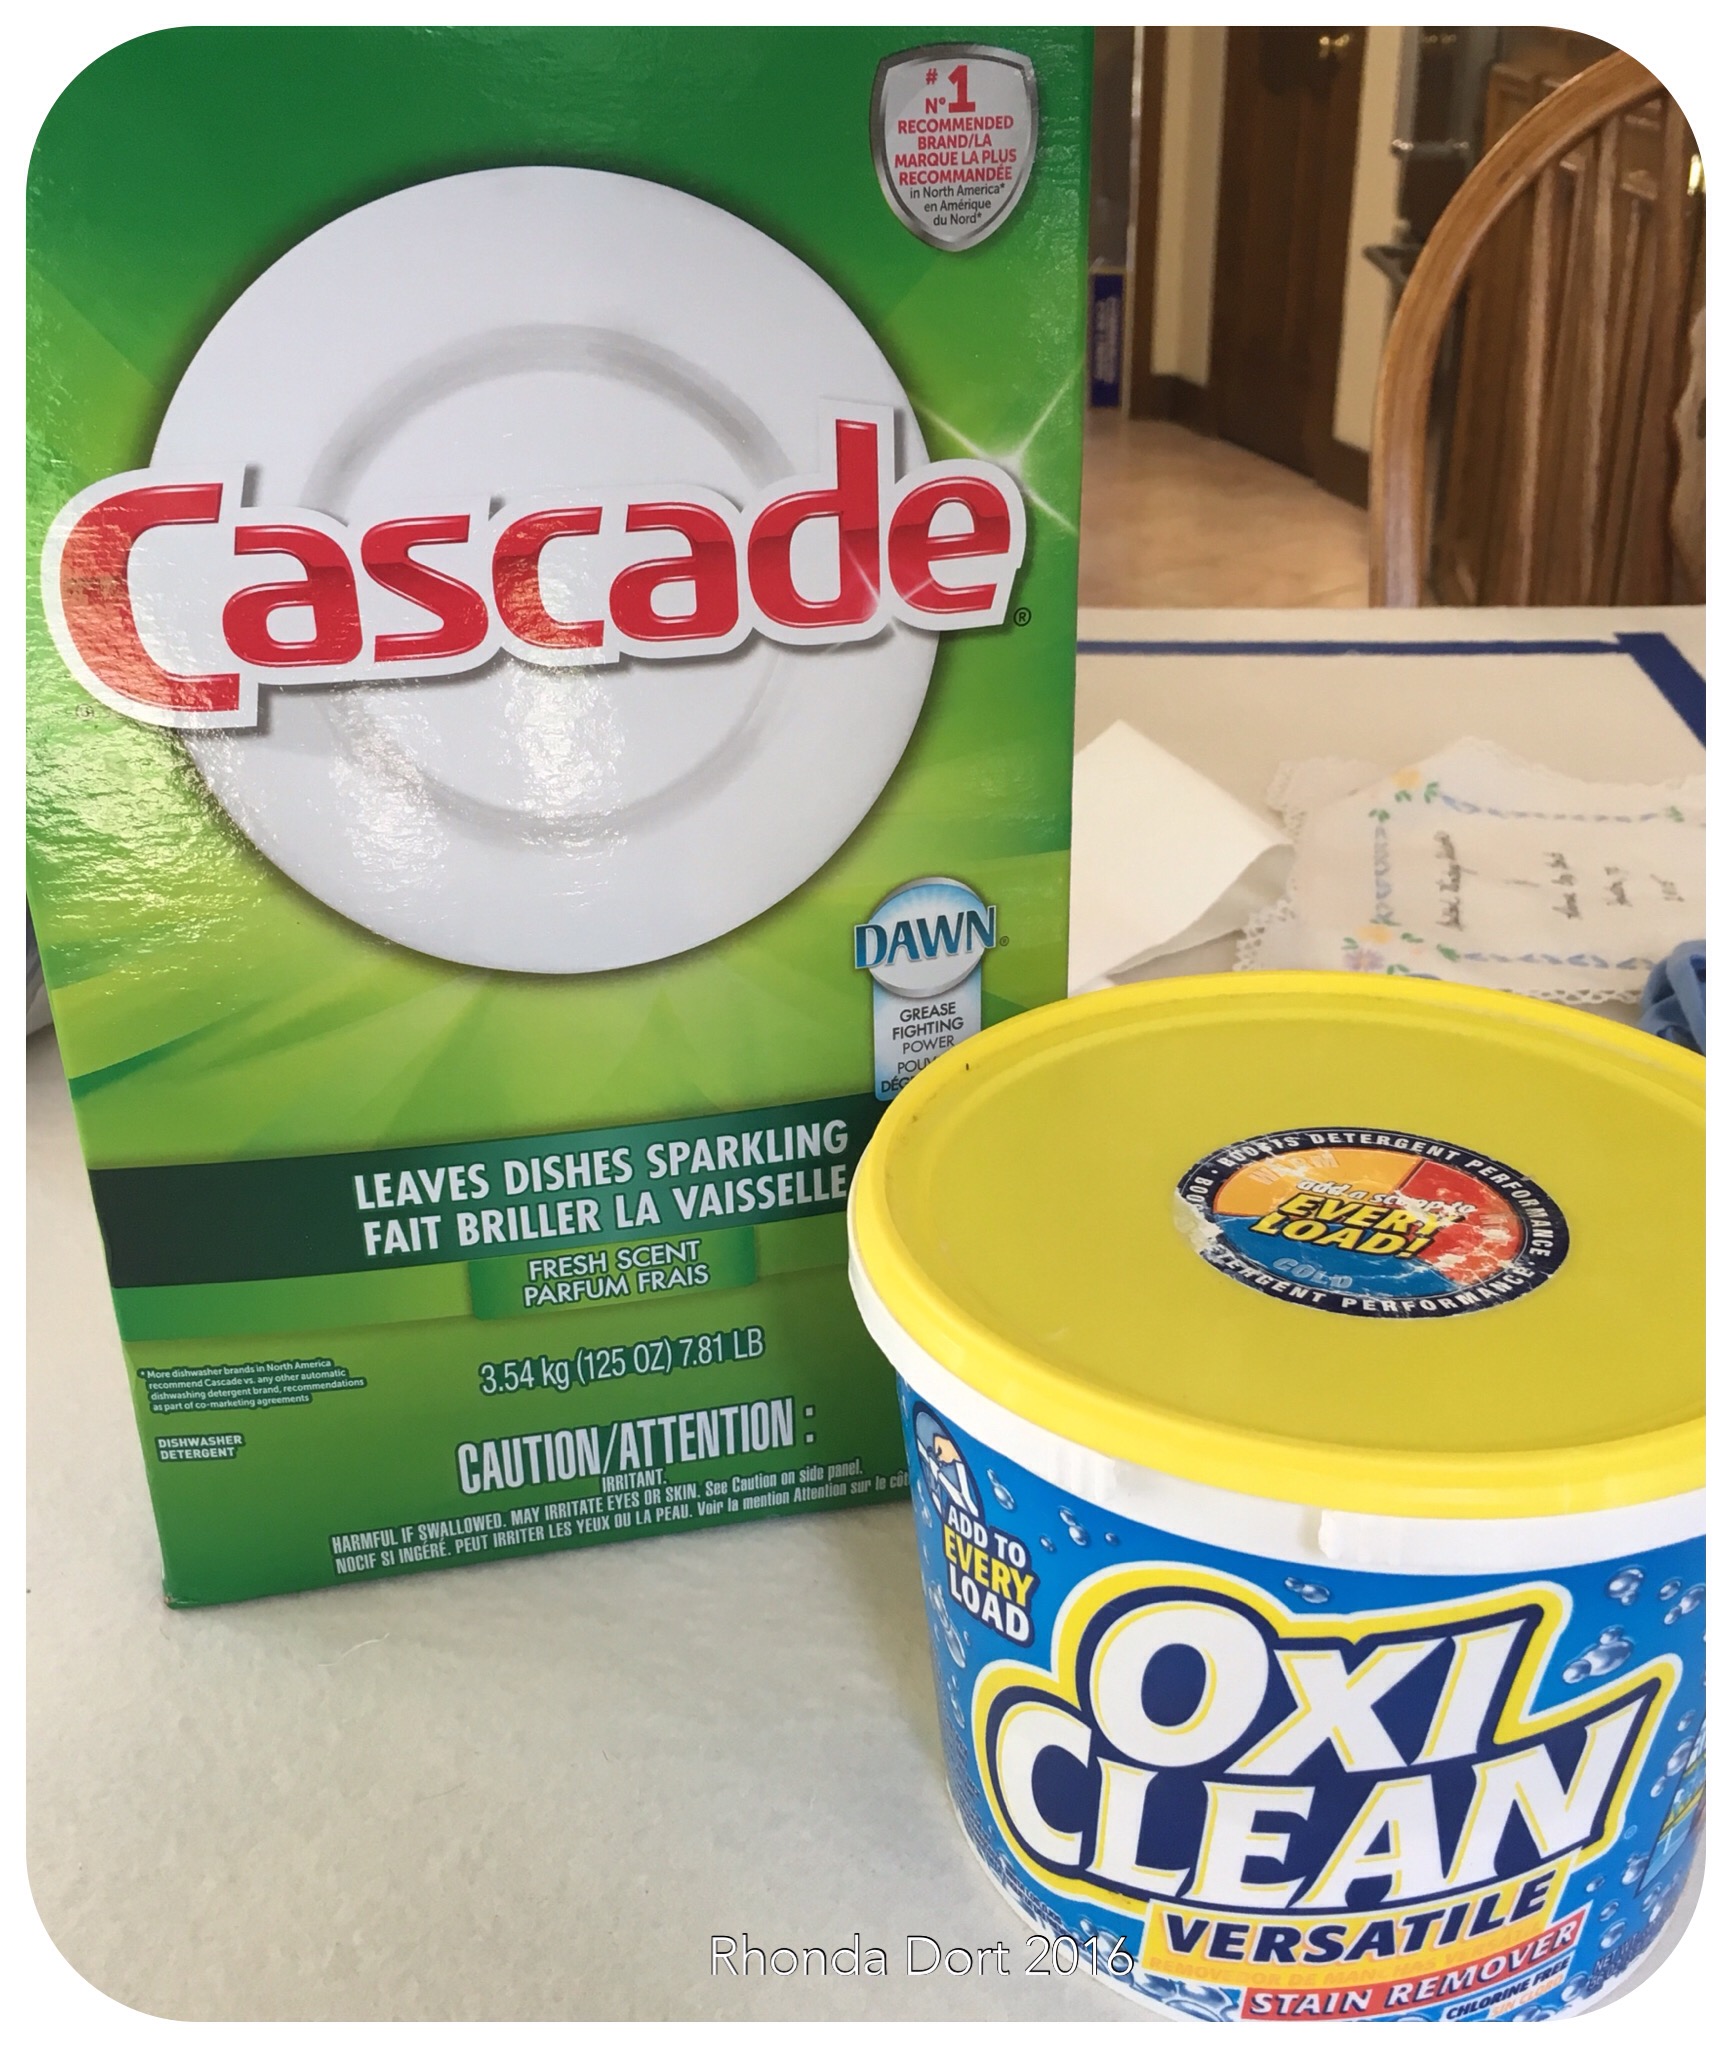
Here’s a brief list of beginning supplies:
1. White stabilizer, I use machine embroidery cut away, 2.5 weight. In the industry this is known as medium. But then again 2.0 is also labeled medium… Heavy weight is 3.0. I’d caution to go heavier than lighter if you’re not sure.
2. 100% muslin. I used Bleached Muslin rather than natural.
3. A template. I used a rose colored acrylic hexagon template made by Sharlene Jorgenson for Omnigrid. See picture below.
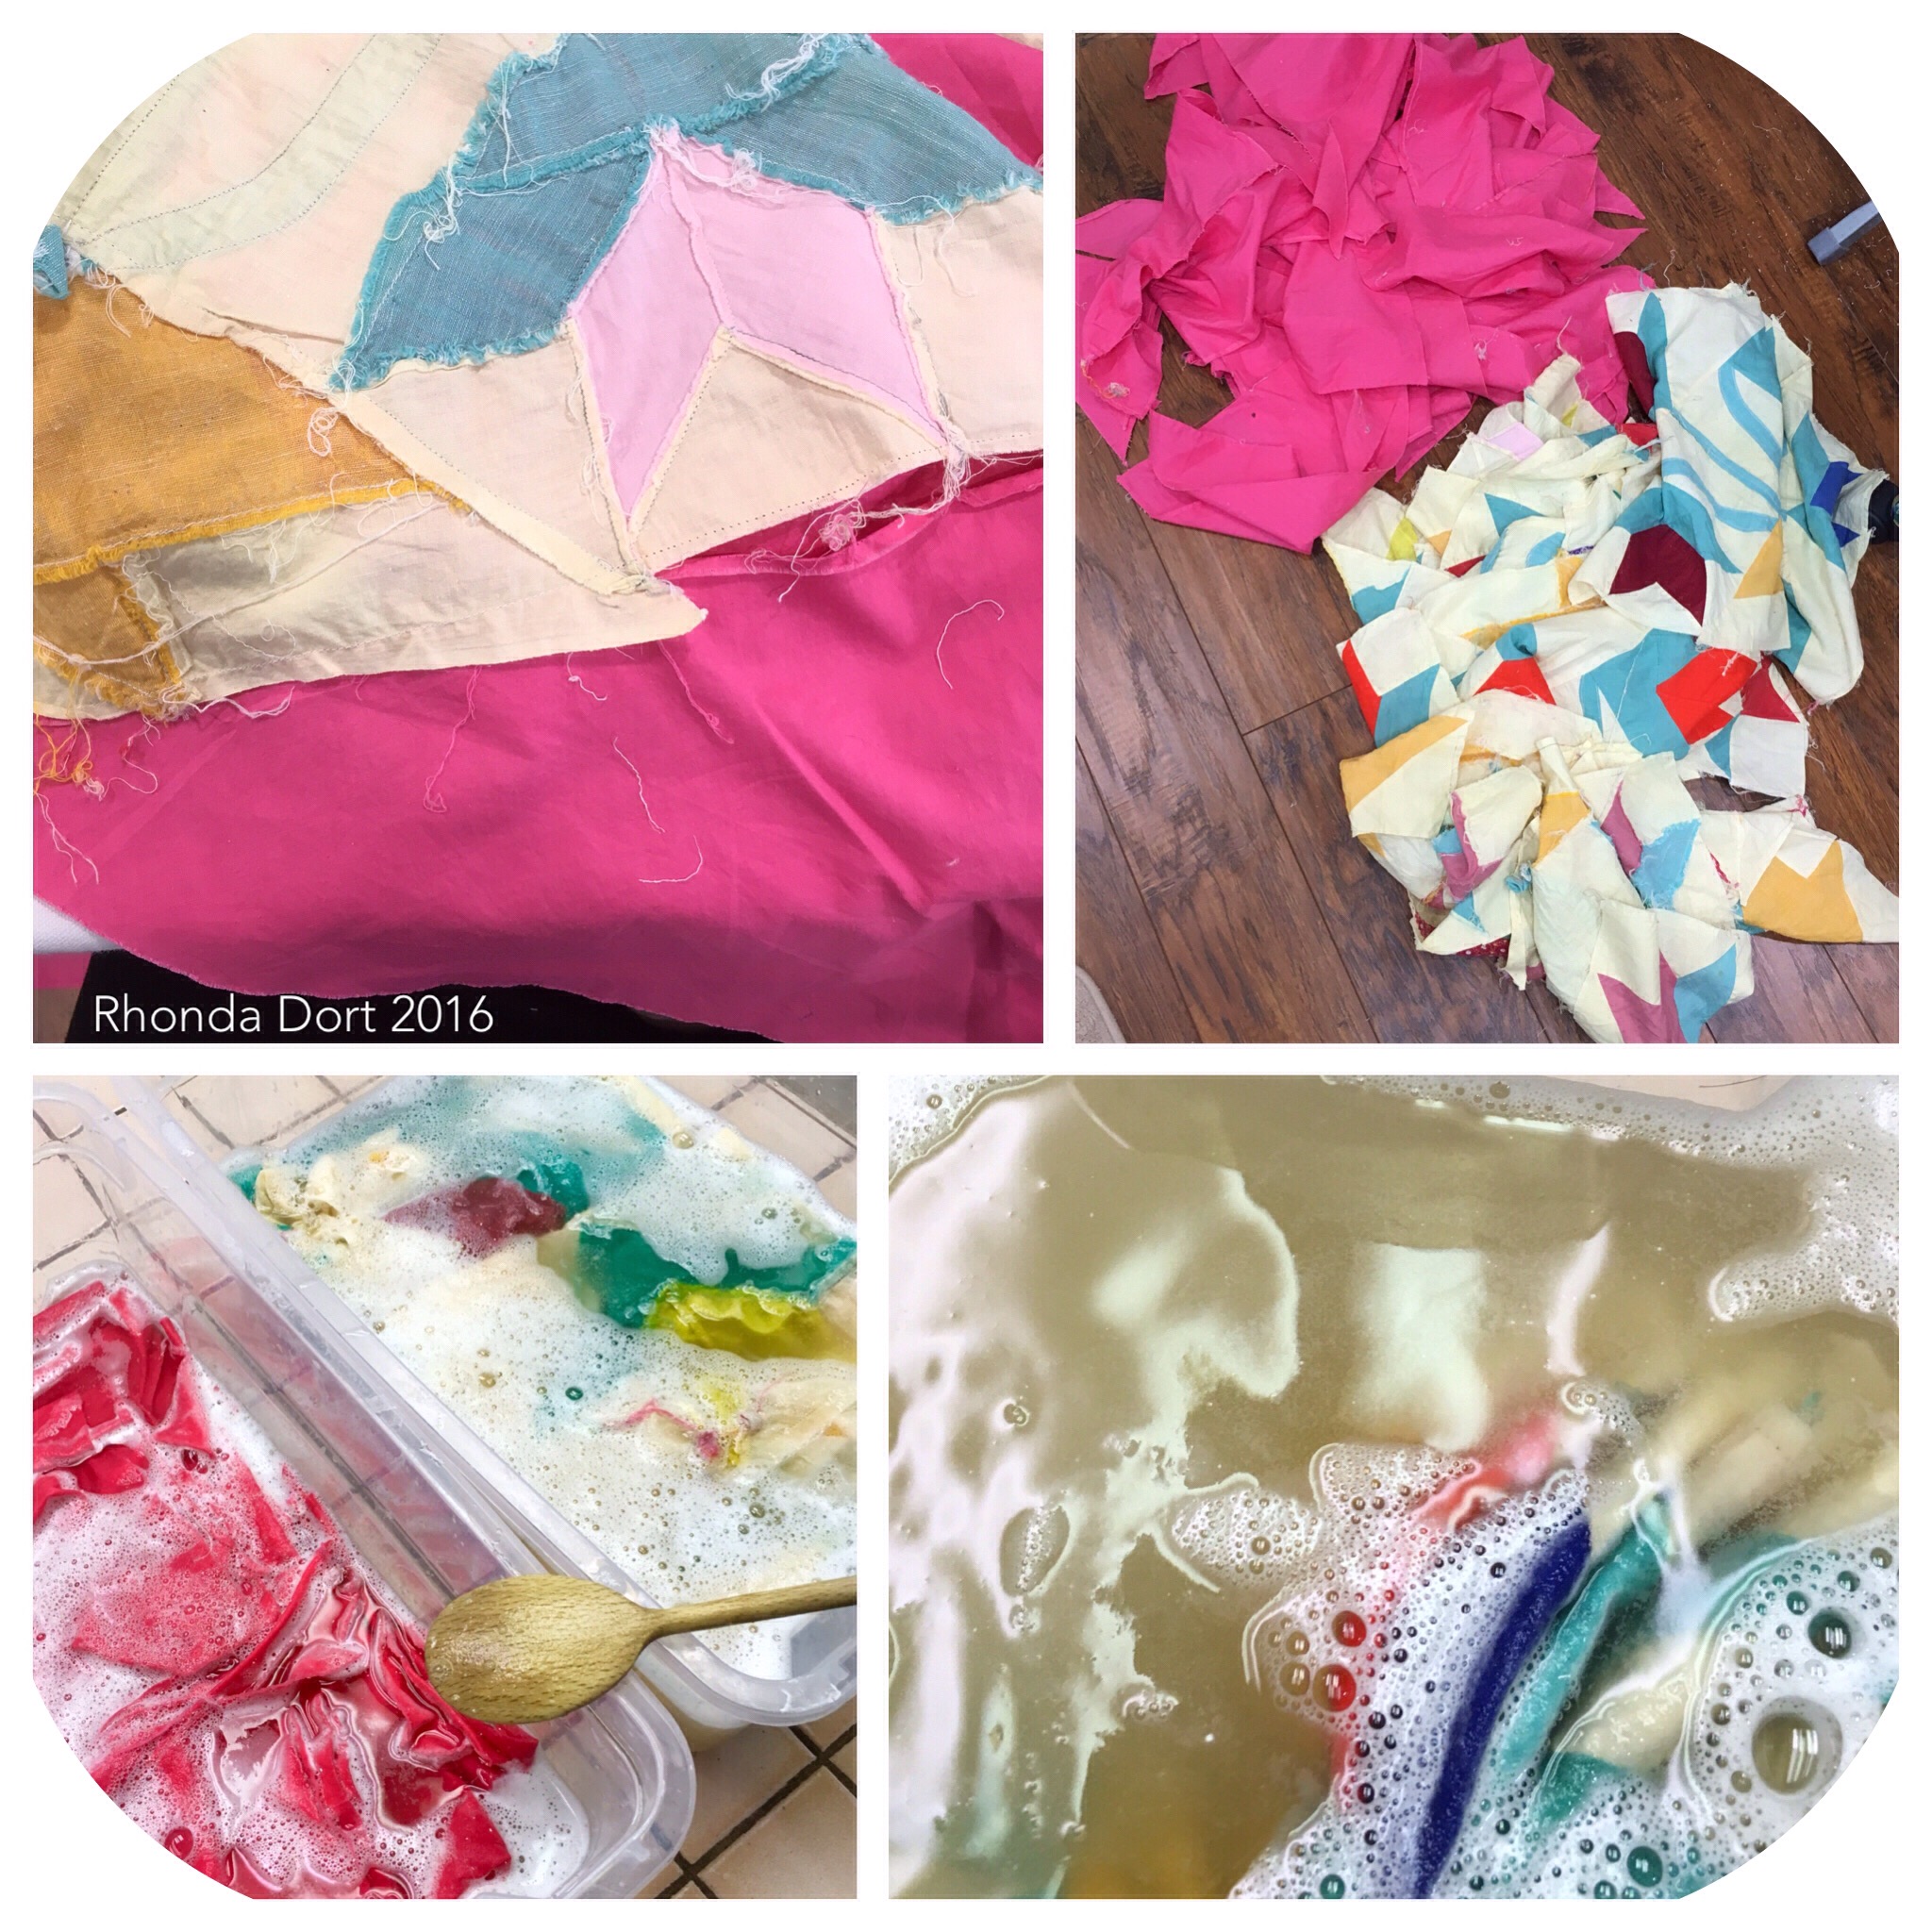
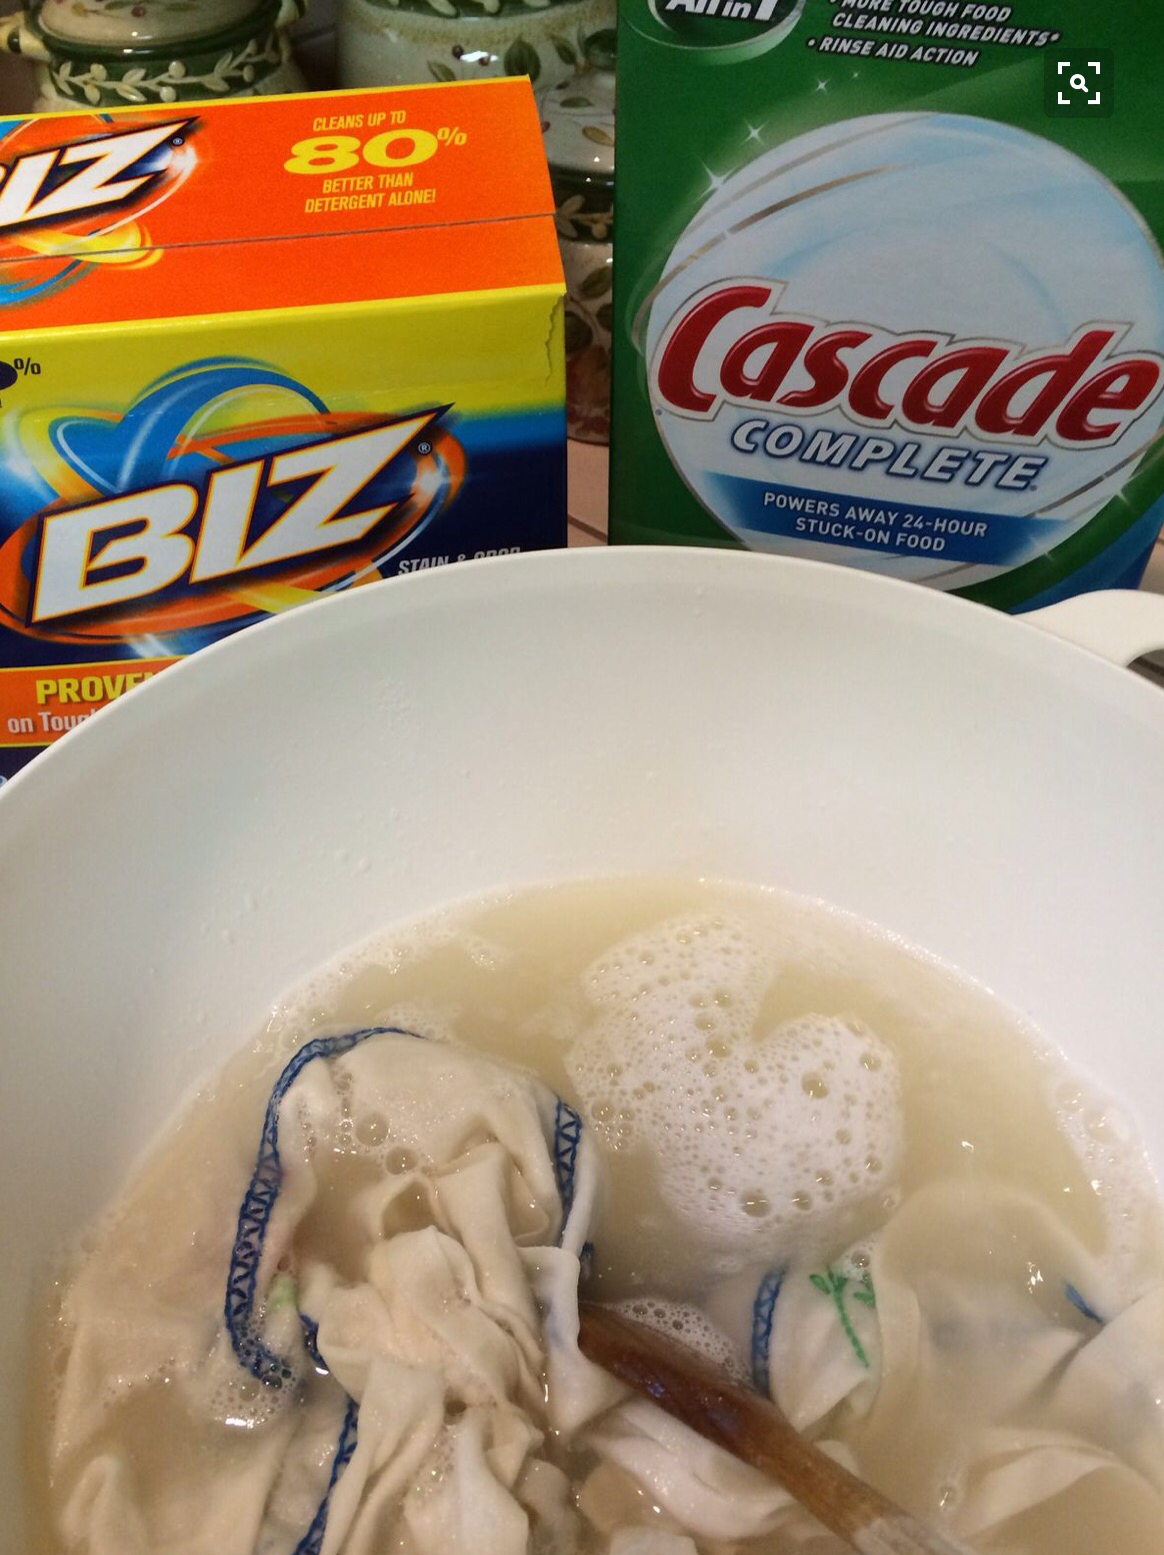
4. A selection of vintage linens, handkerchiefs, napkins, dresser scarves, doilies, trims, laces, buttons, ribbons and beads.
The rose colored template measures approx. 3 1/2″ per side and finishes to a 3″ hexagon. The picture on the right shows a hexagon cut from stabilizer and I’ve drawn 1/4″ lines on all sides. You’ll see when finished my hexagon will have 3″ sides and measure about 5 5/8″ from point to point.
Step 1: From both the stabilizer and the muslin cut a hexagon from each. The stabilizer is the bottom layer, the muslin goes on top of the stabilizer. With a Frixion pen (by Pilot) and a small ruler, draw a line 1/4″ from each edge. This line will serve as your guide regarding placement and embellishment. Everything you want to be visible on your finished hexagon needs to be inside these 1/4″ lines.
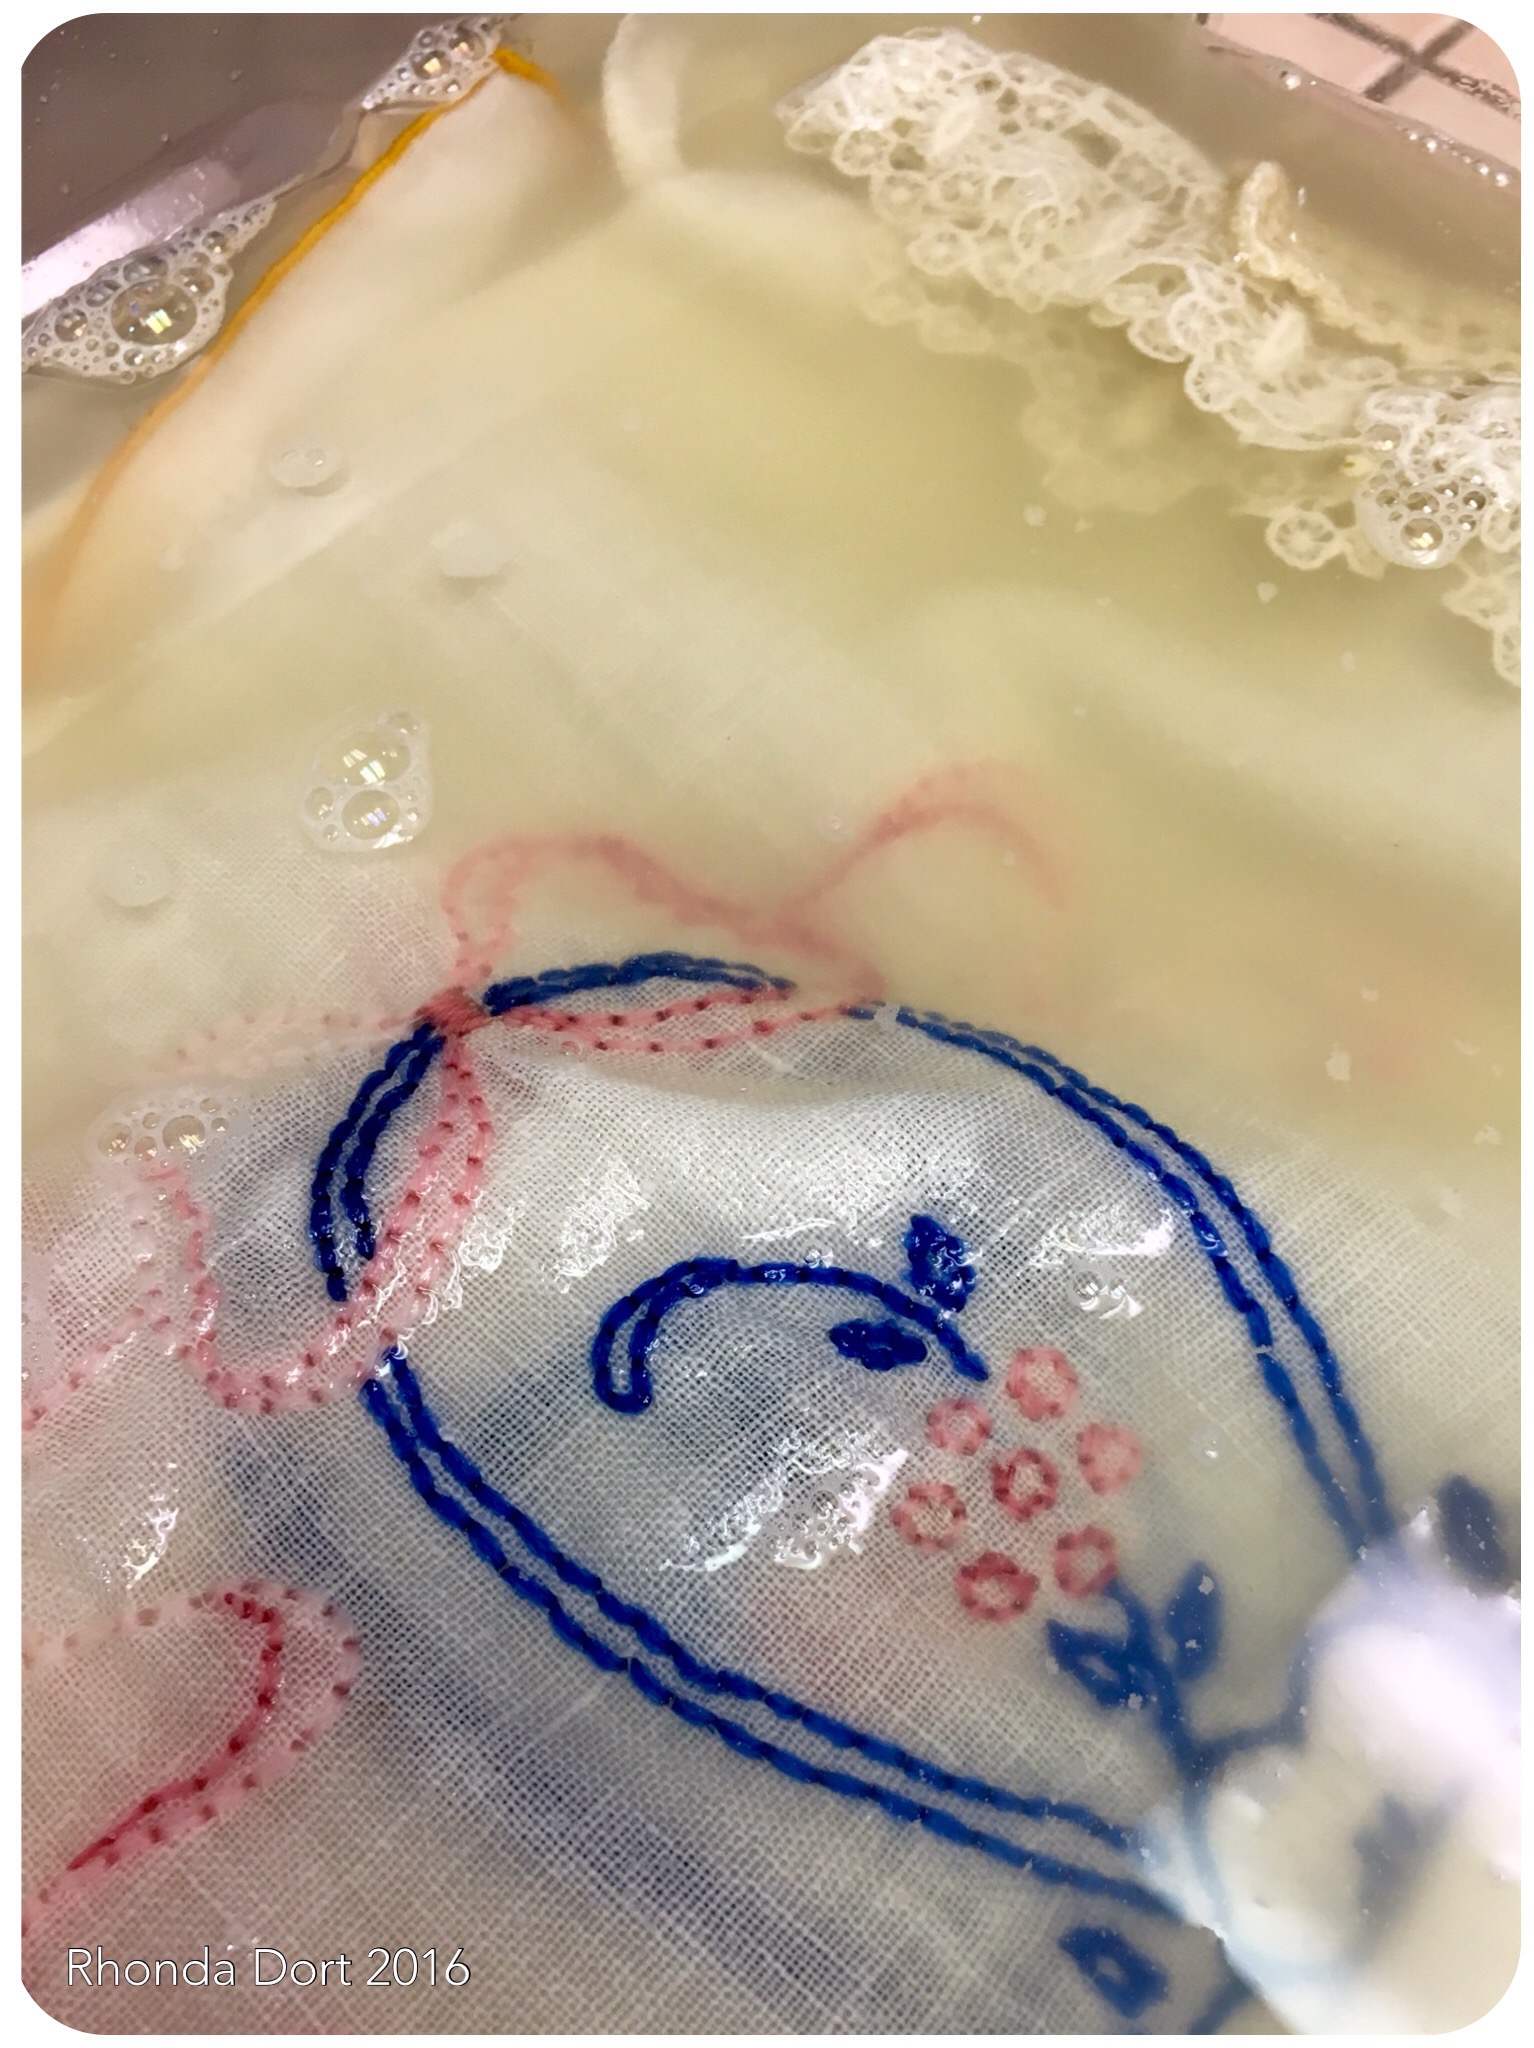
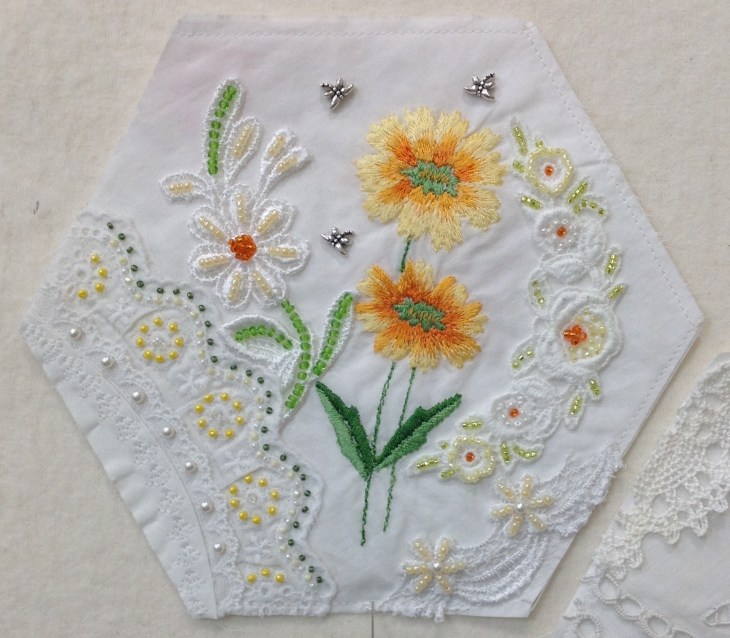
Step 2: Begin choosing the pieces that work well together. Remember, a white piece allows you to dictate the color direction and embellish in any manner you like. These yellow embroidered flowers are part of a handkerchief. I placed 5 pieces of laces and trim around the flowers and lightly hand tacked the pieces in place.
Step 3: With a nice selection of beads I began to embellish the trims. The close-up pictures below show the beading detail:
Beading is simply this: threaded needle up through the fabric, pick up a bead or 2 or 3 and send your needle back down through the fabric. I do not knot the thread after each bead, you’re not creating a utility piece but rather a show piece that will be handled with care. Let your pieces help to determine how and where to bead. By following the flowers in the white trim along the left bottom side I was able to loosely mimic the yellow flowers of the handkerchief. In fact I chose to bead all the flowers in one shade of yellow or another to give the piece consistency.
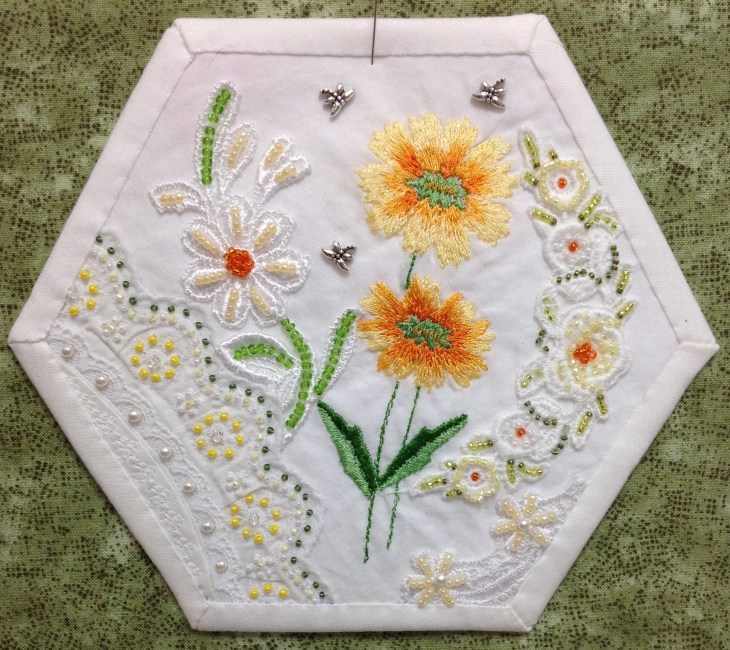
The picture above is of the hexagon with the finished embellishing. It’s at this point I machine stitch with either a straight or a zig-zag about 1/8″ all the way around the piece.
We’ll talk about batting and the framing of the blocks sometime this month, right now let’s just concentrate on block creation and embellishment.
Happy stitching,
Rhonda