Vintage Linens Quilting Retreats in 2021!

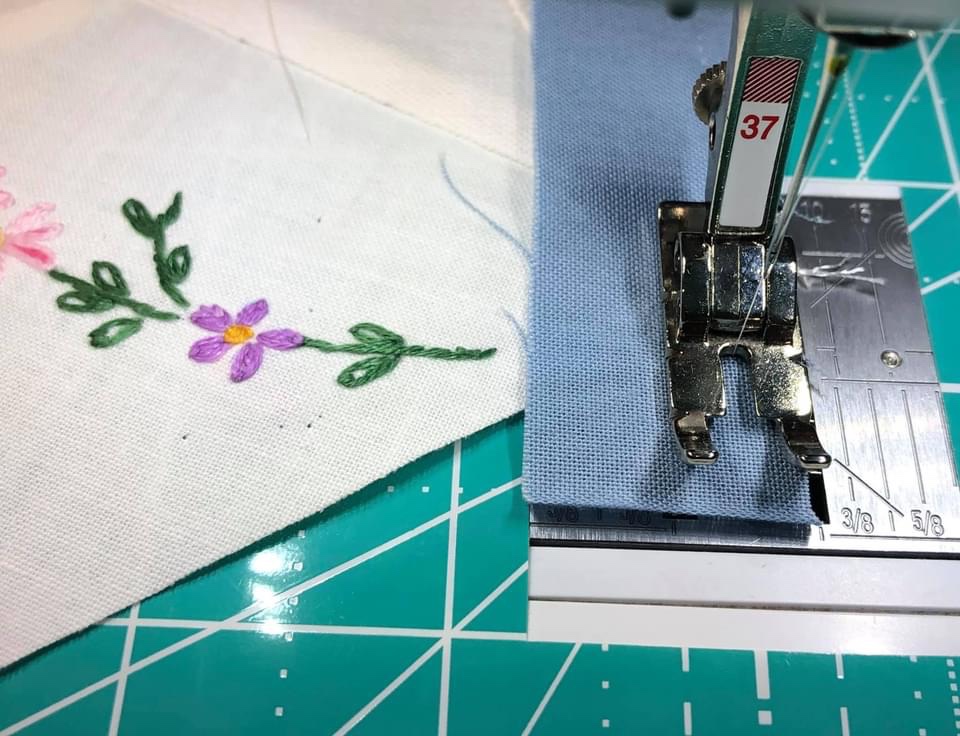
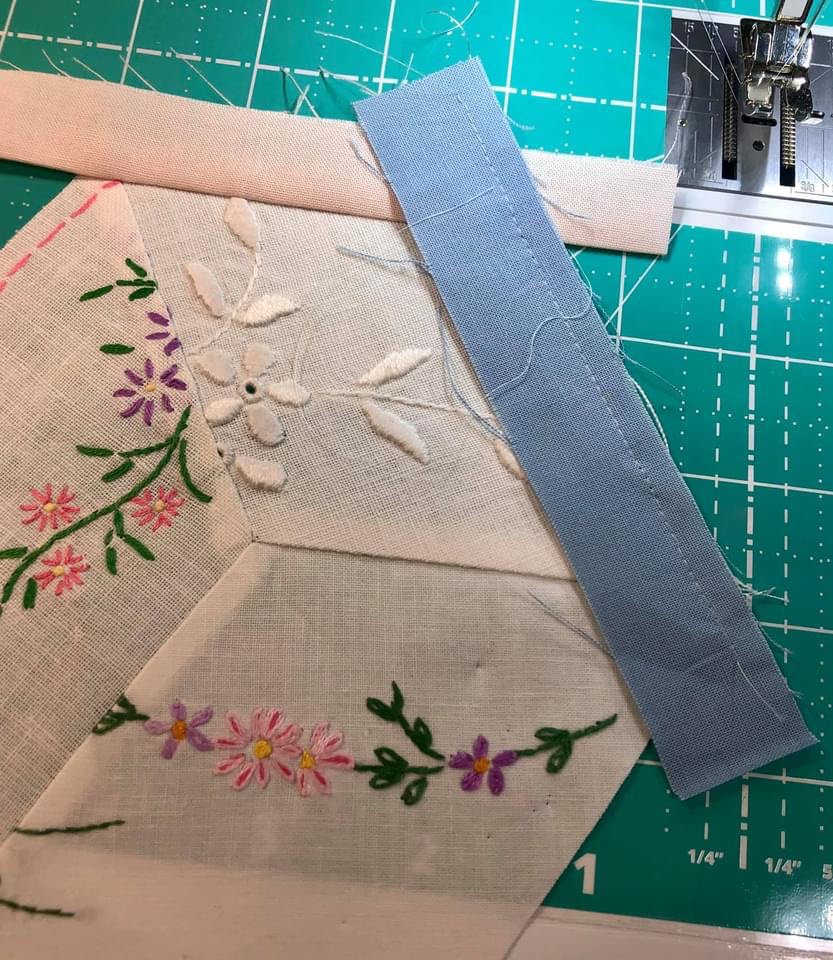
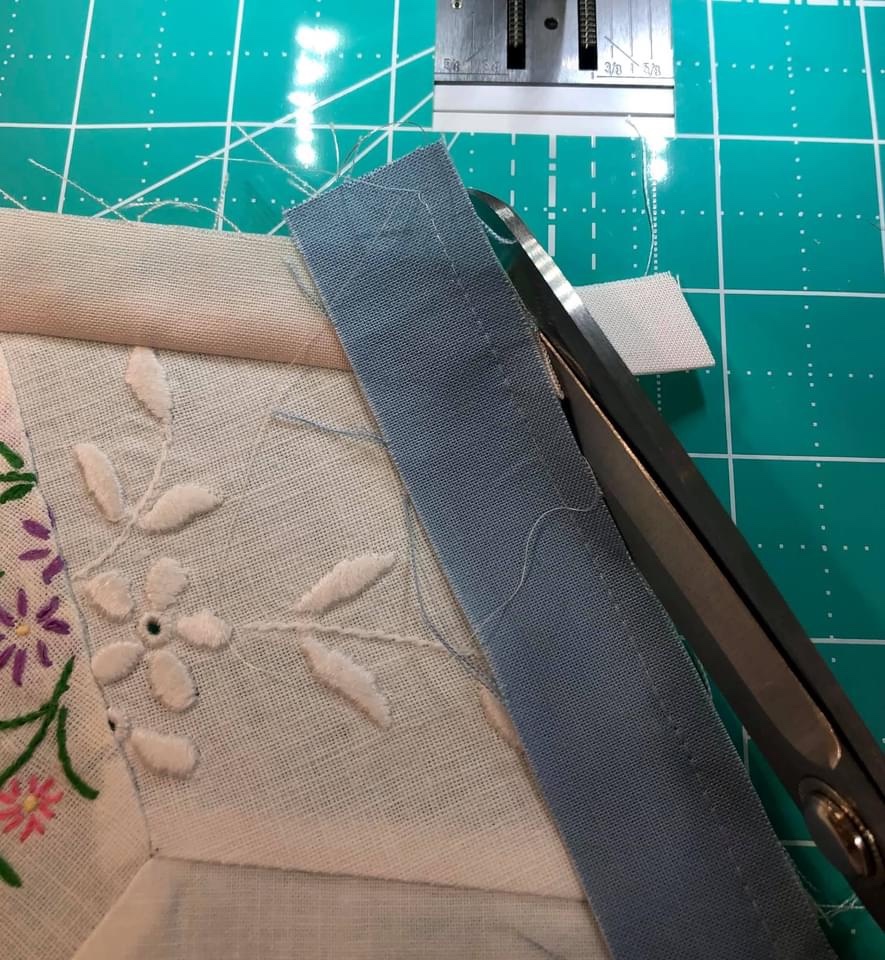
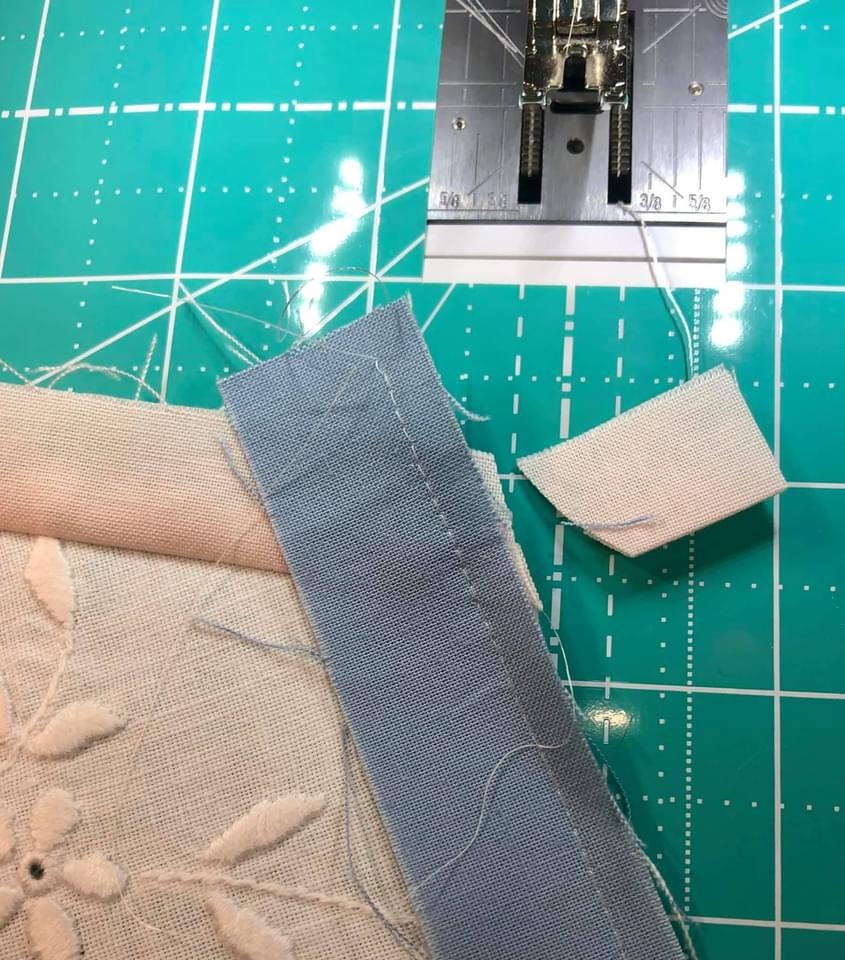
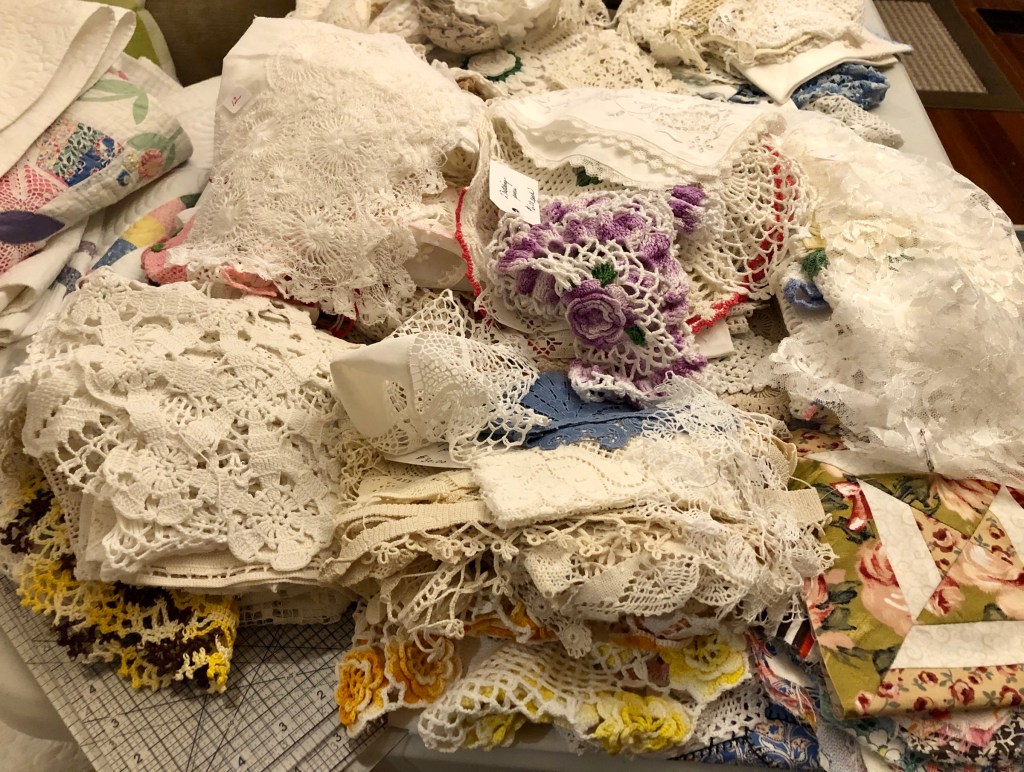
I’m so excited to announce two Vintage Linens Retreats for 2021! The dates? July 8-11 and Dec. 1-4. The very idea of maybe, just maybe getting back to normal makes my heart happy and wouldn’t it be fun to work with Christmas themed vintage linens at the December event!

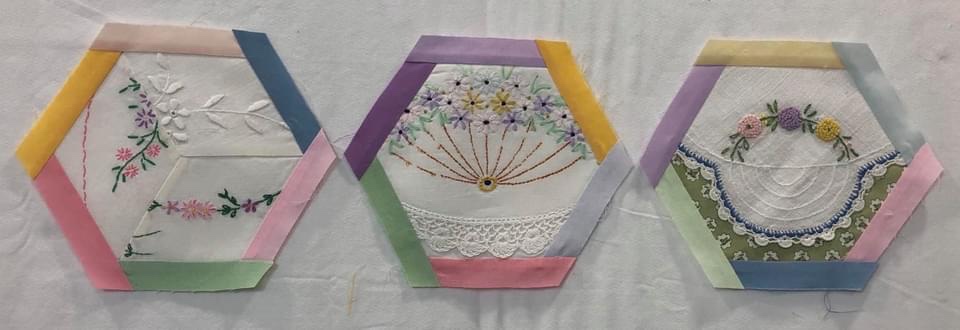
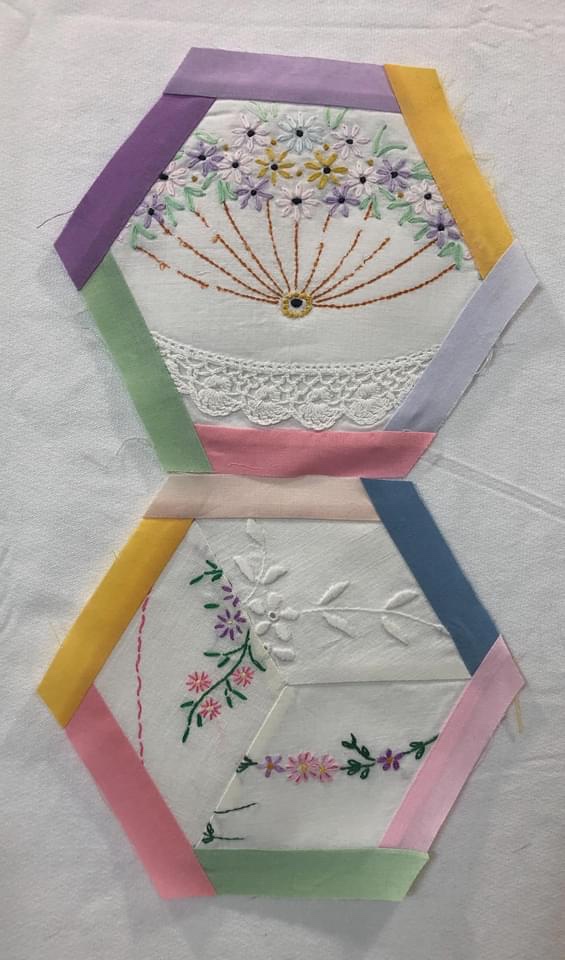
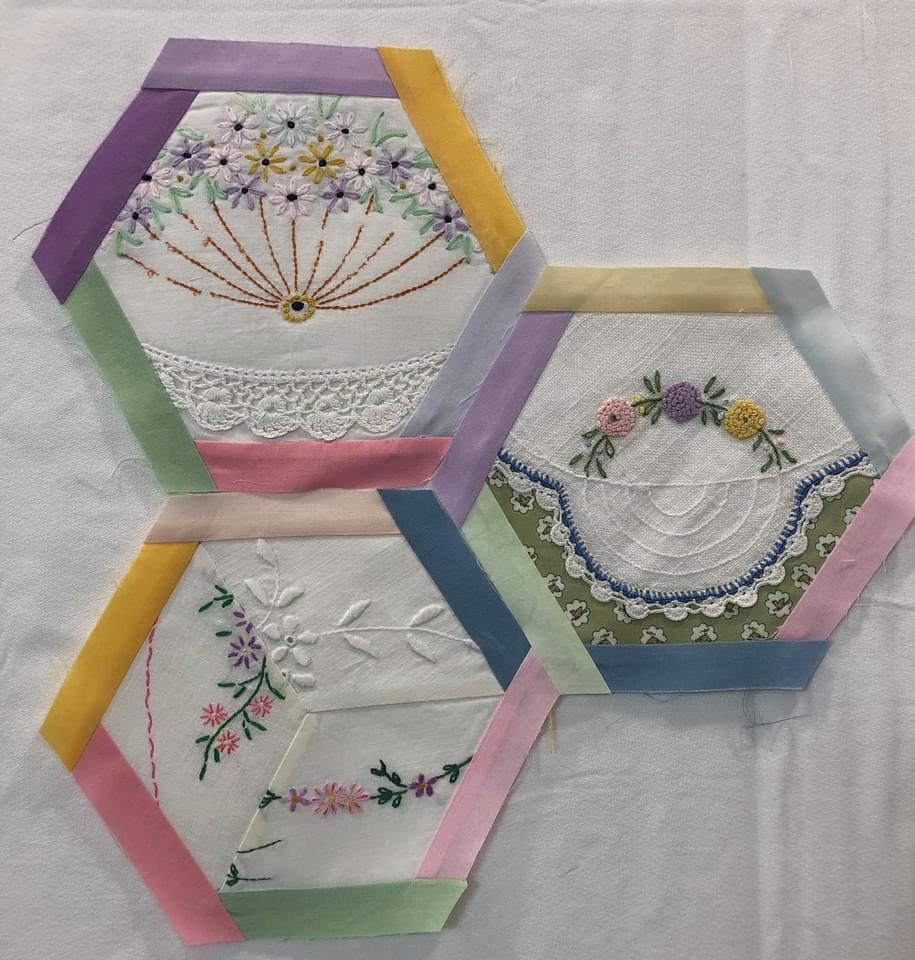
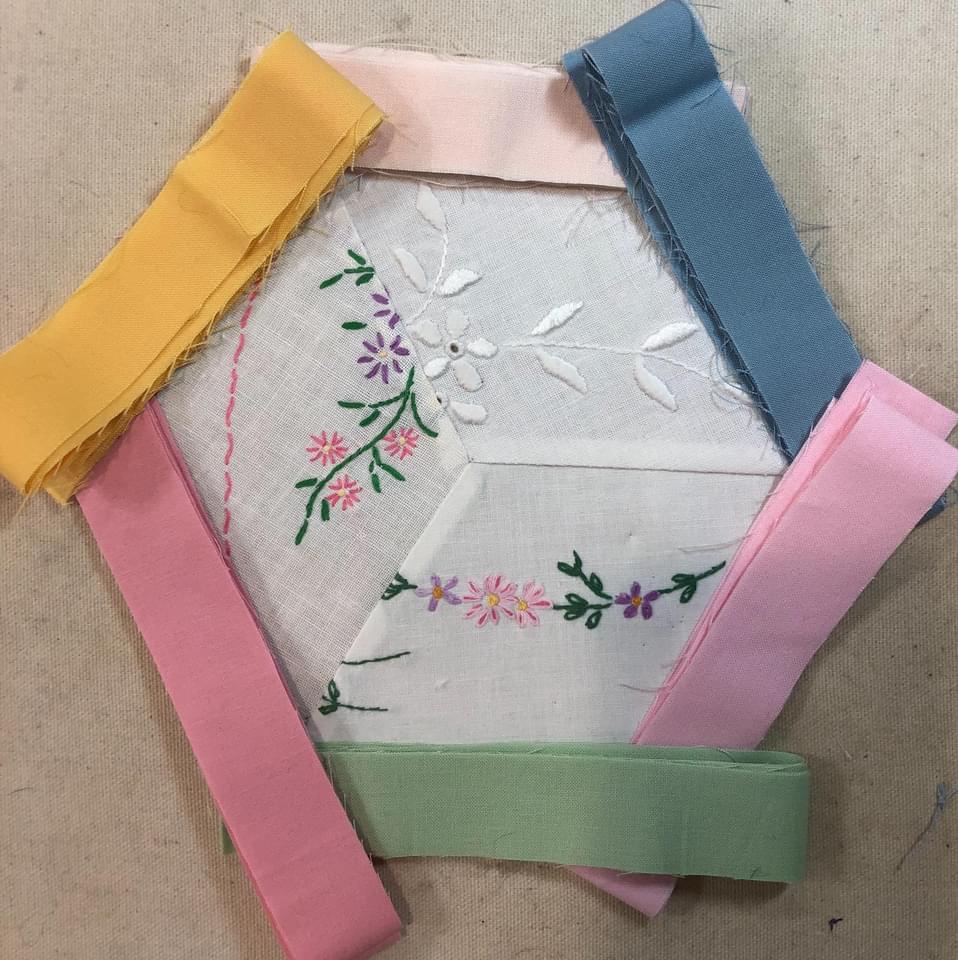
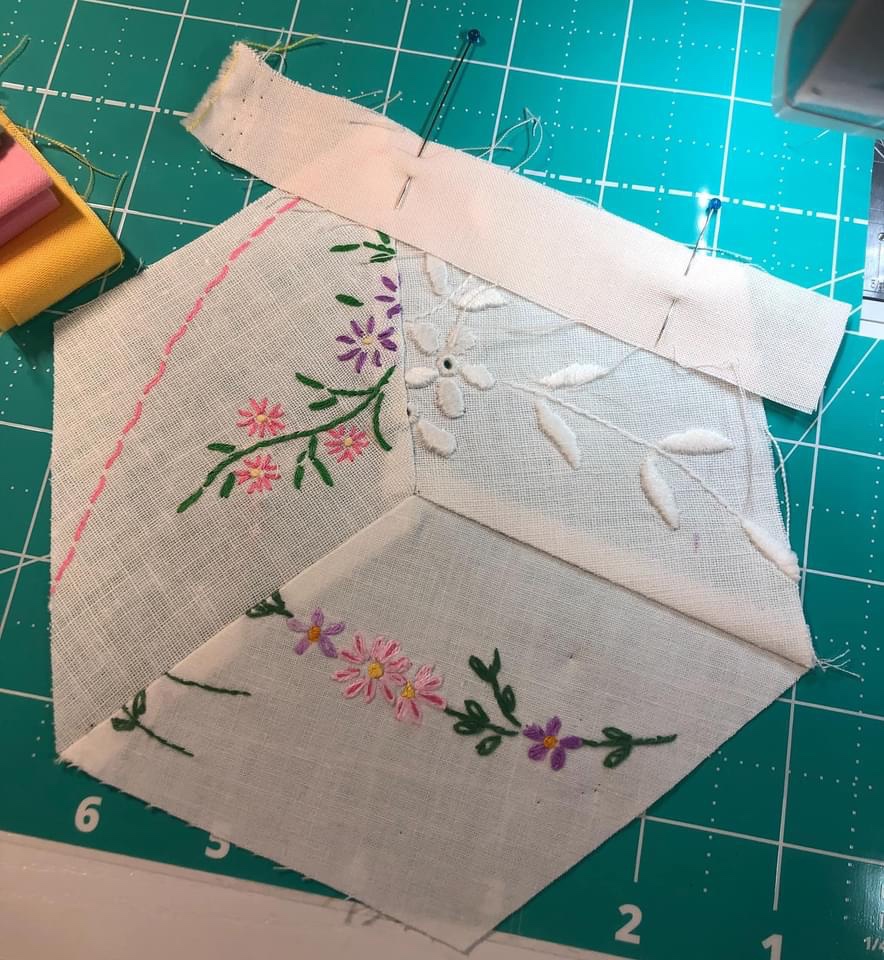
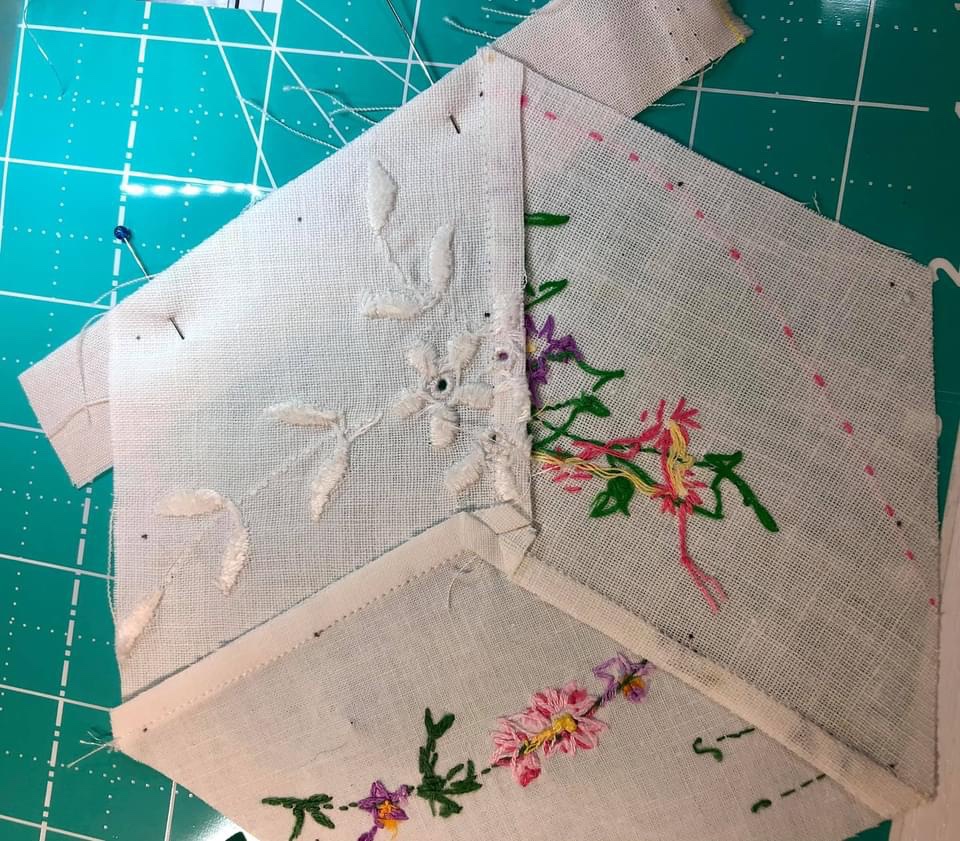
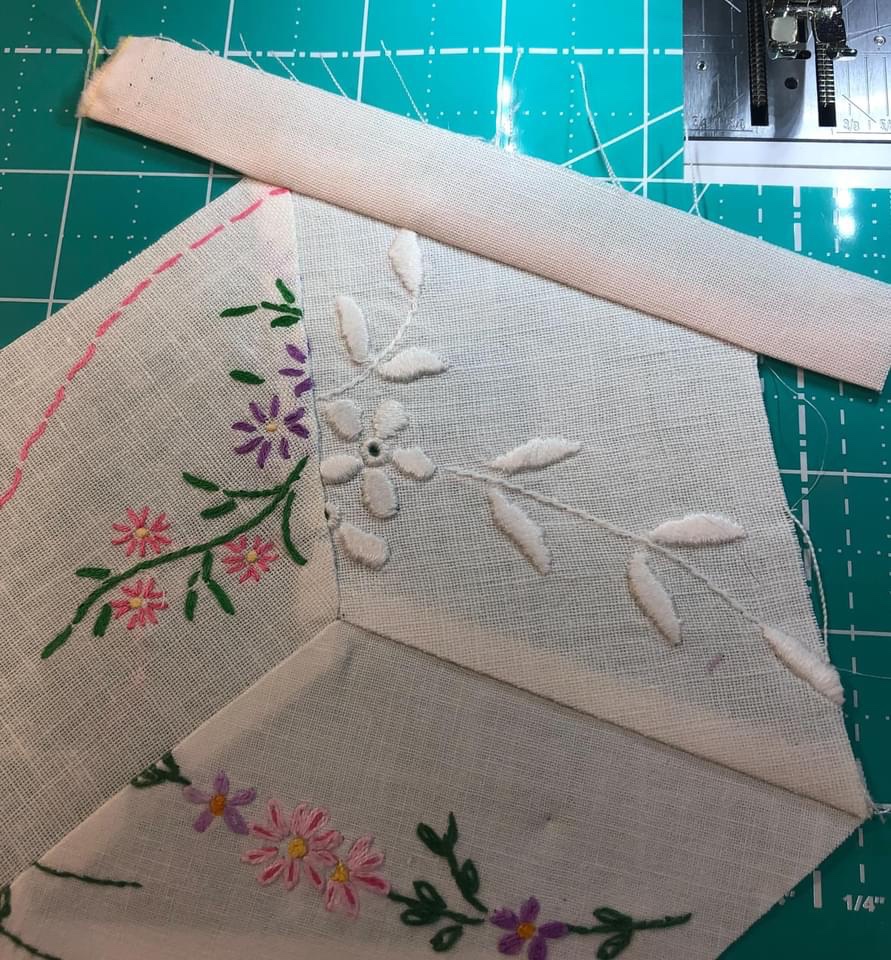
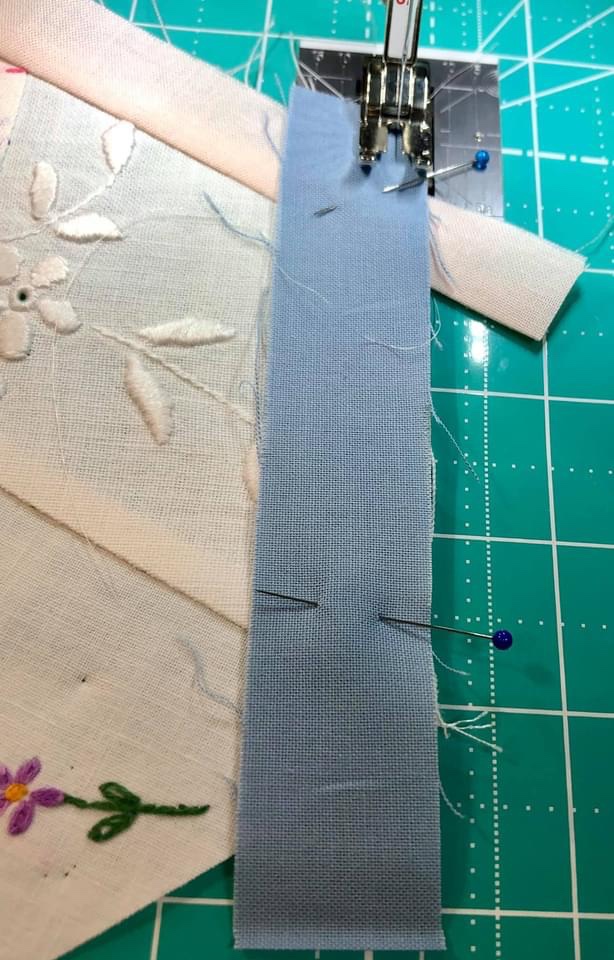
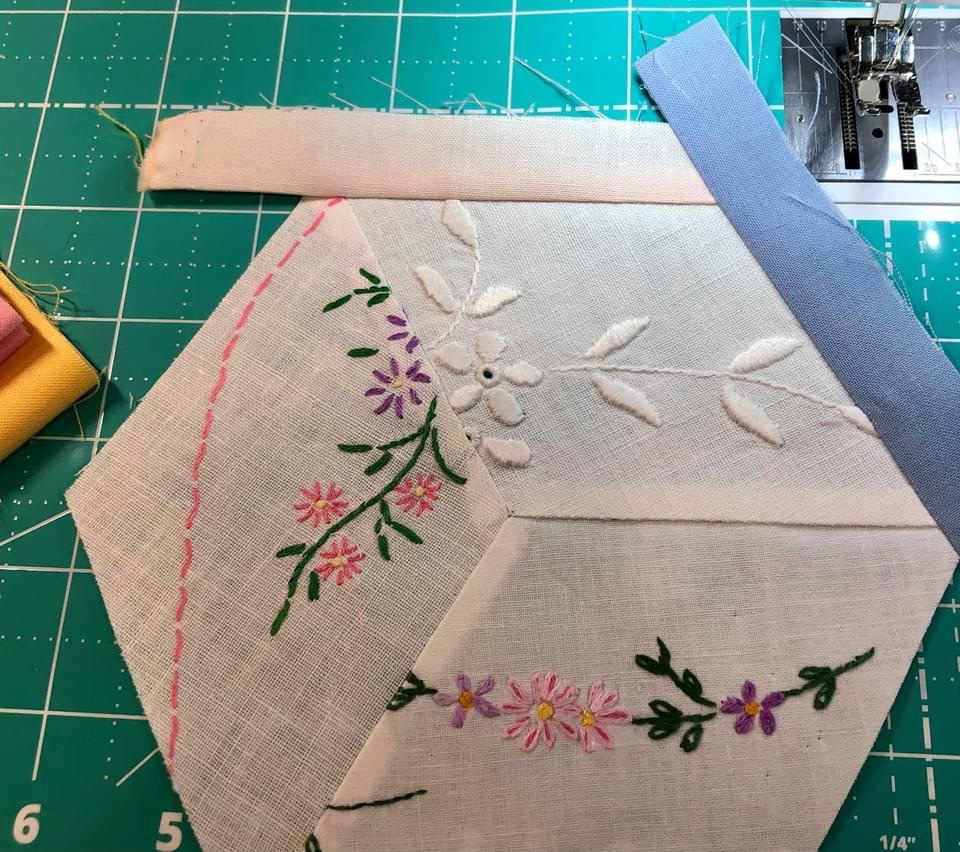
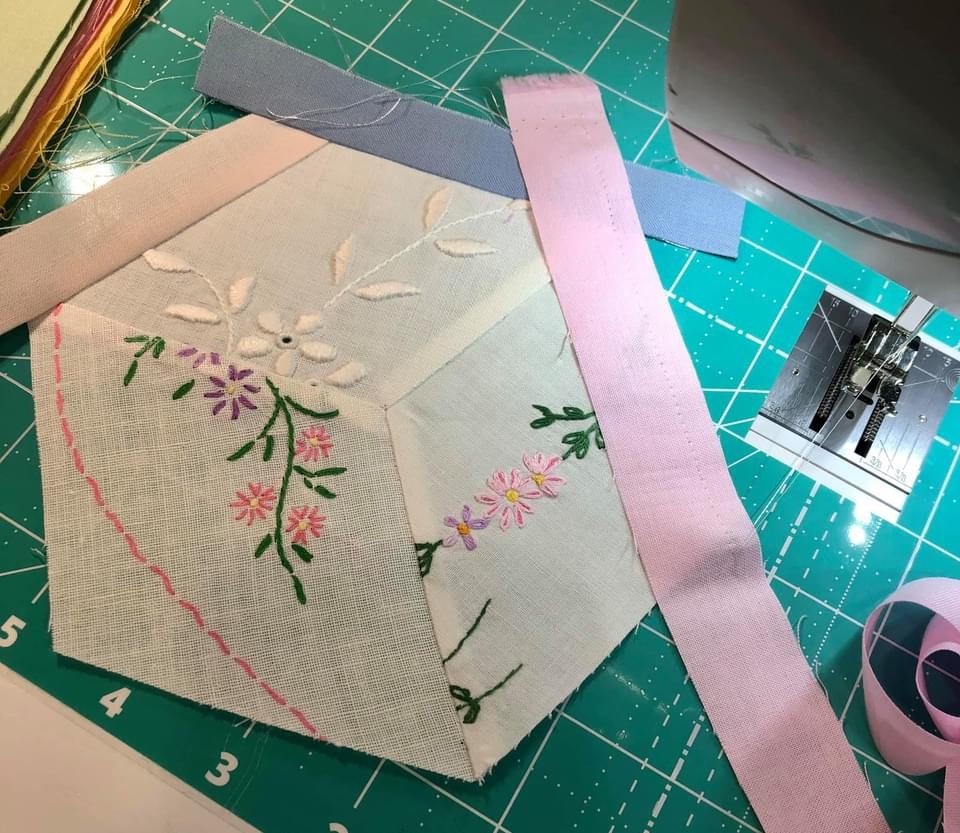
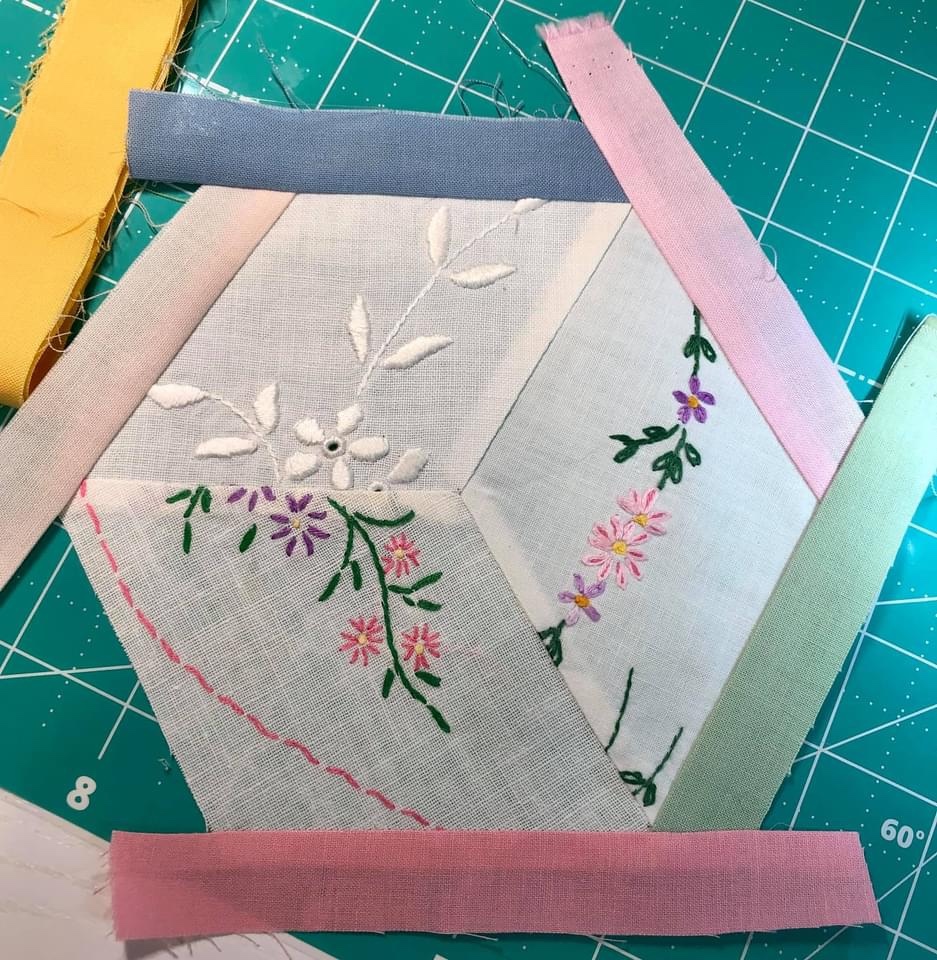
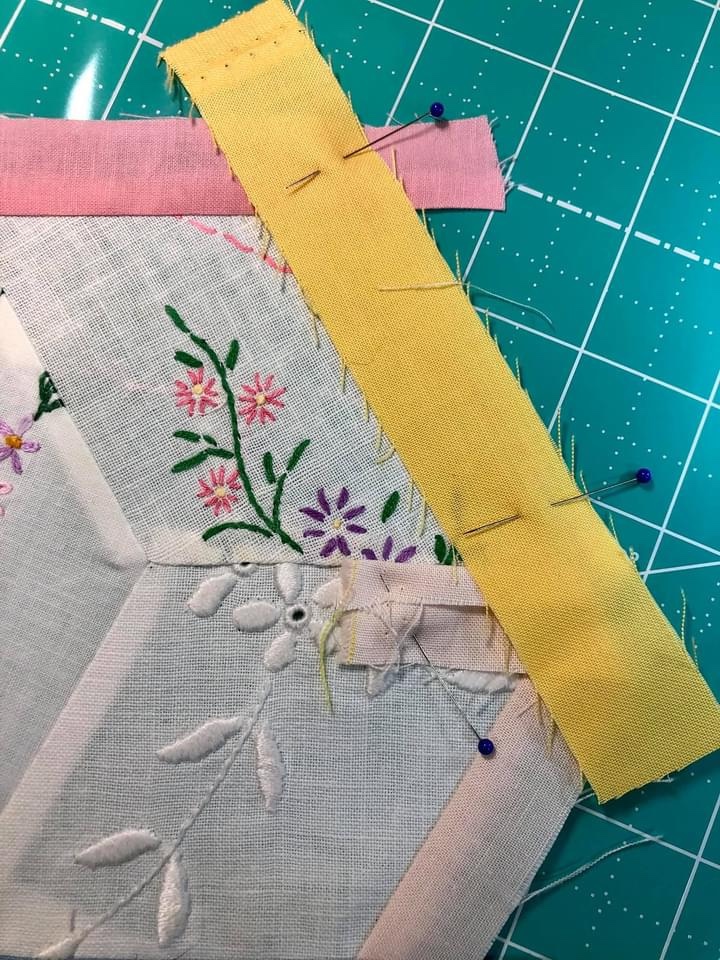
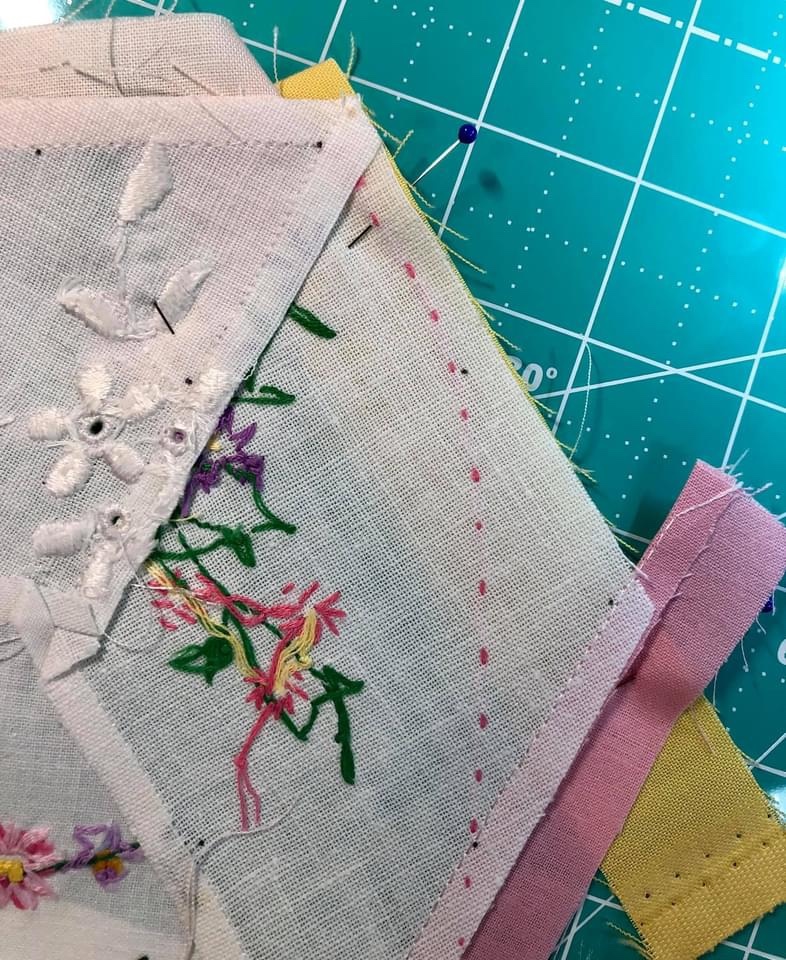
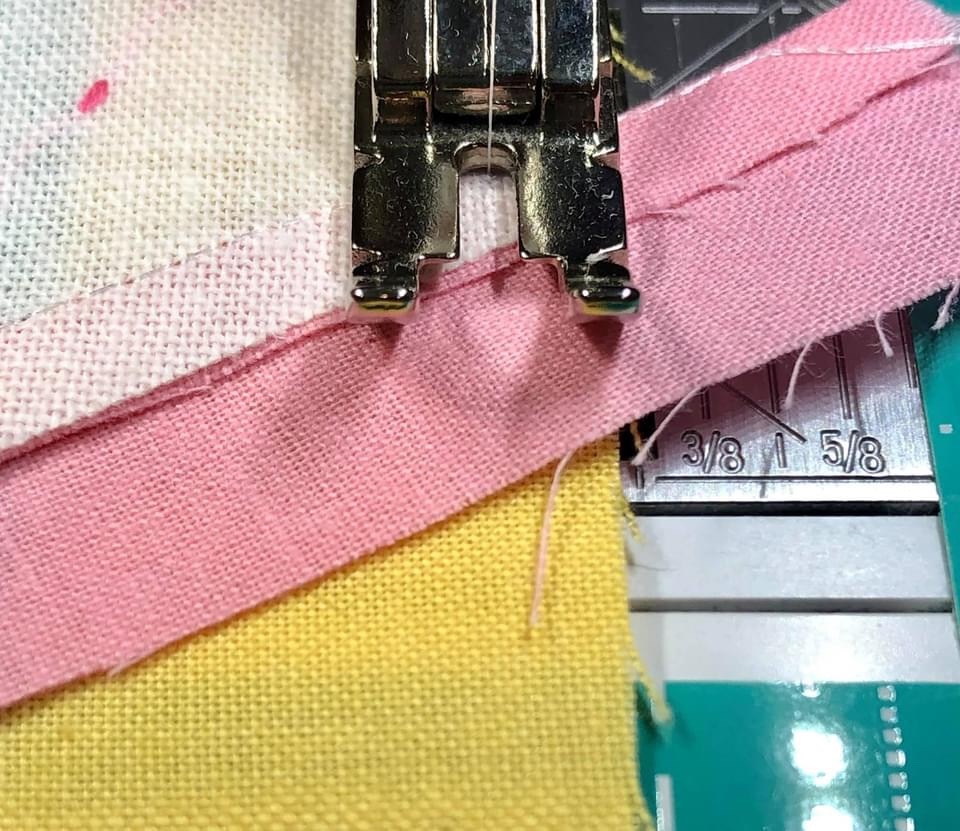
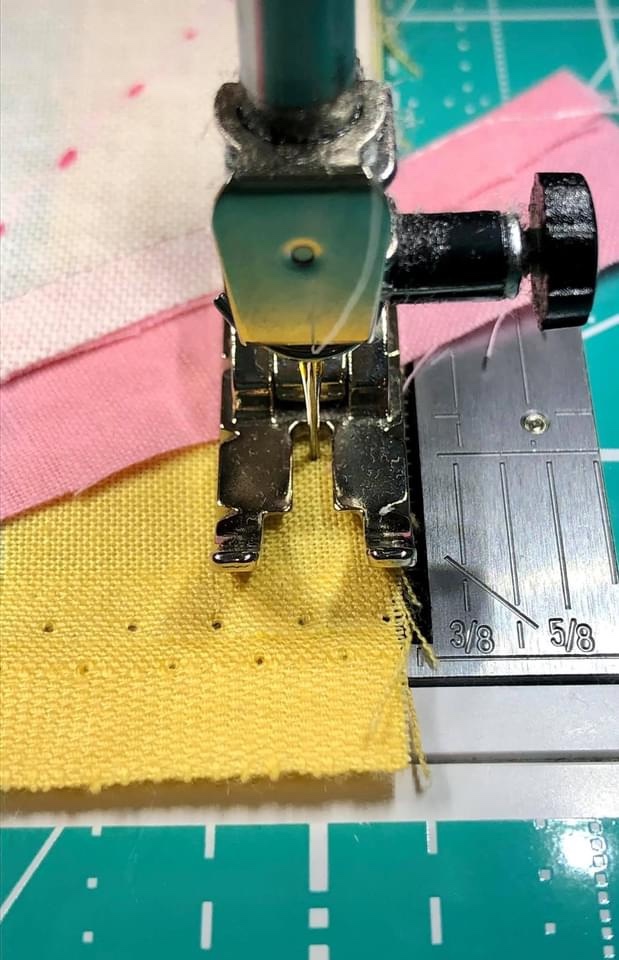
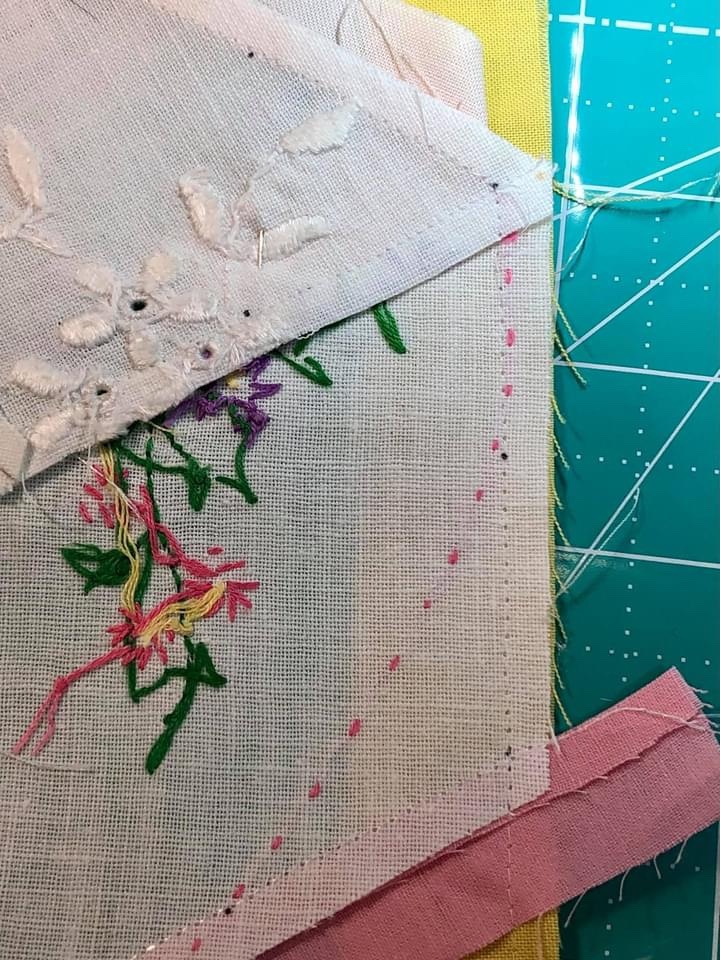
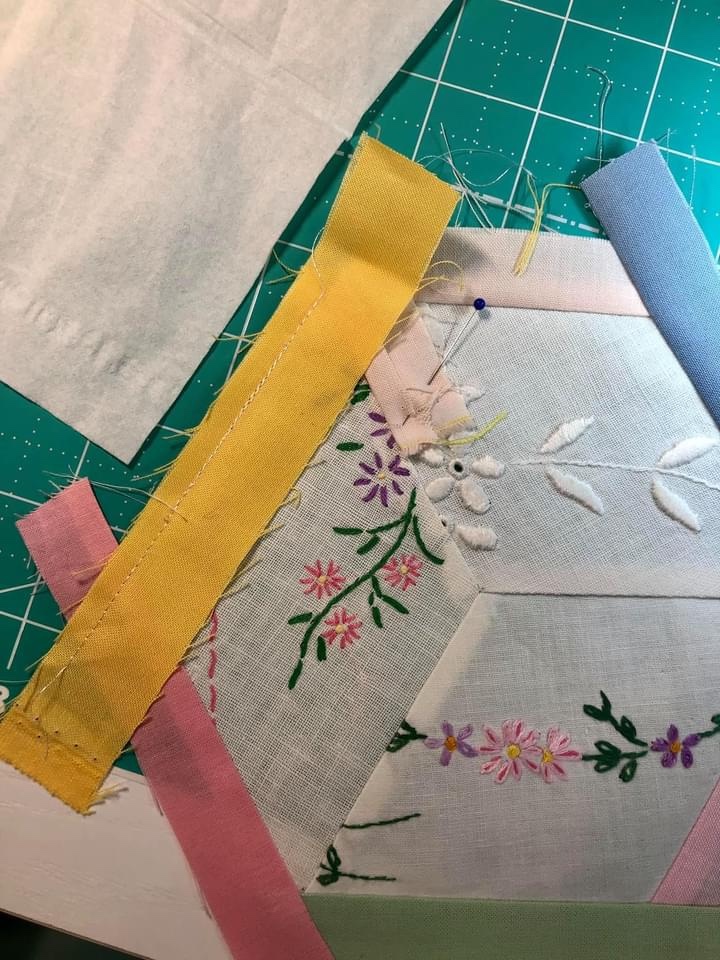
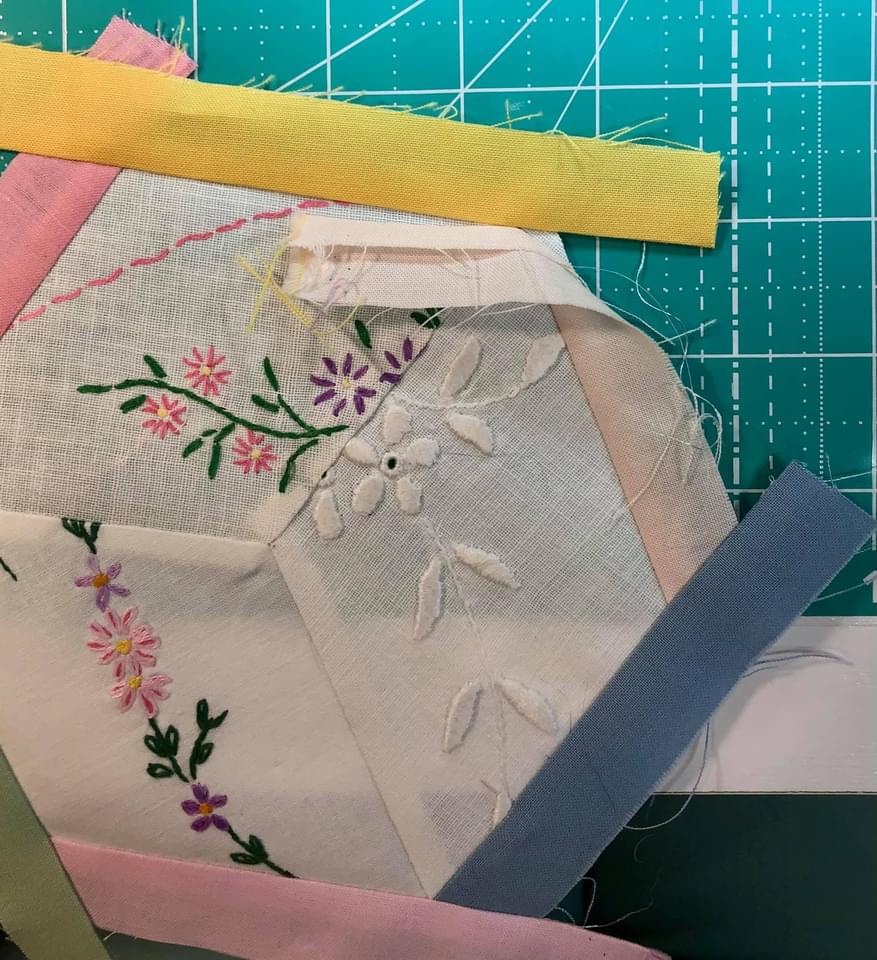
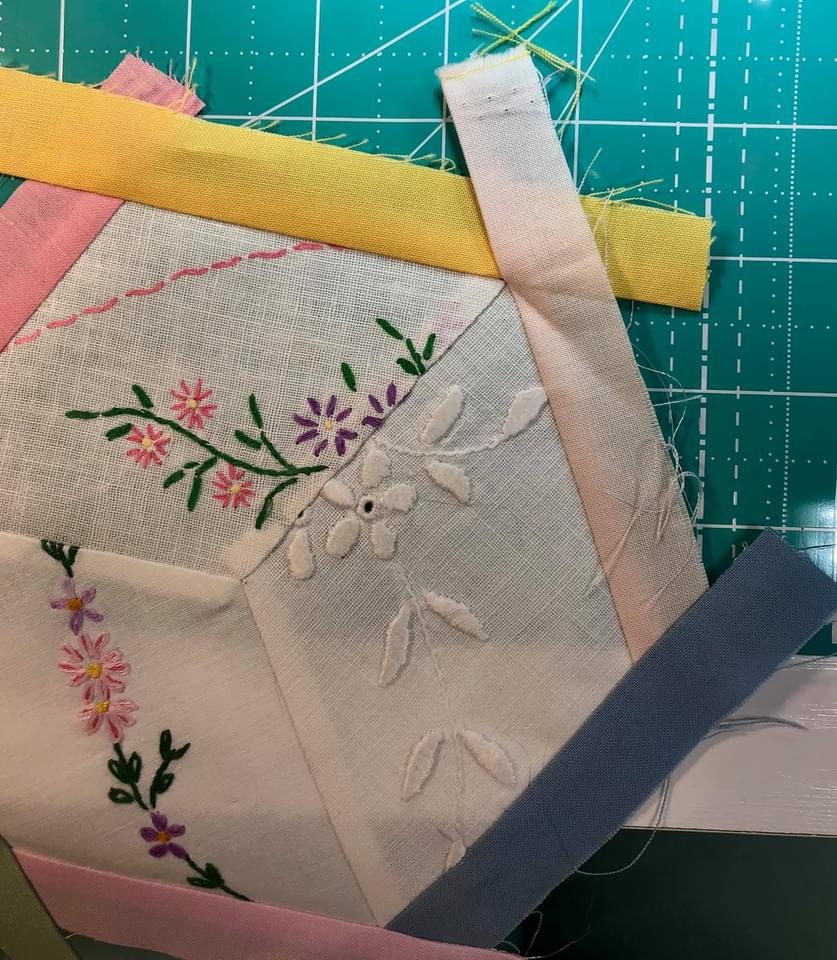
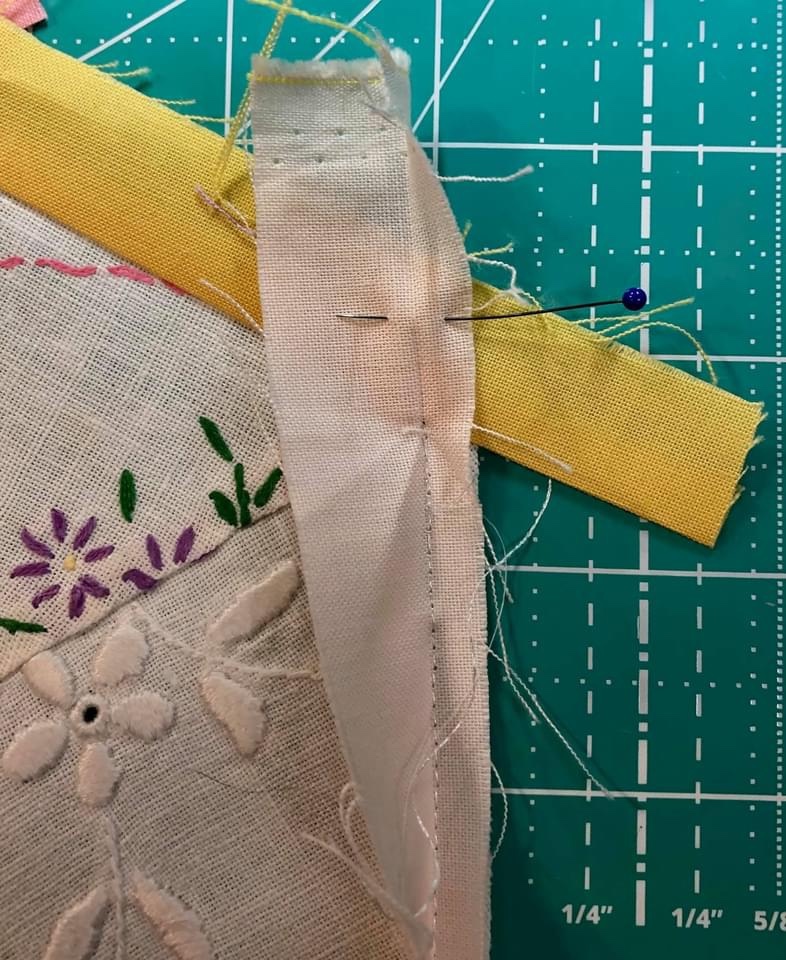
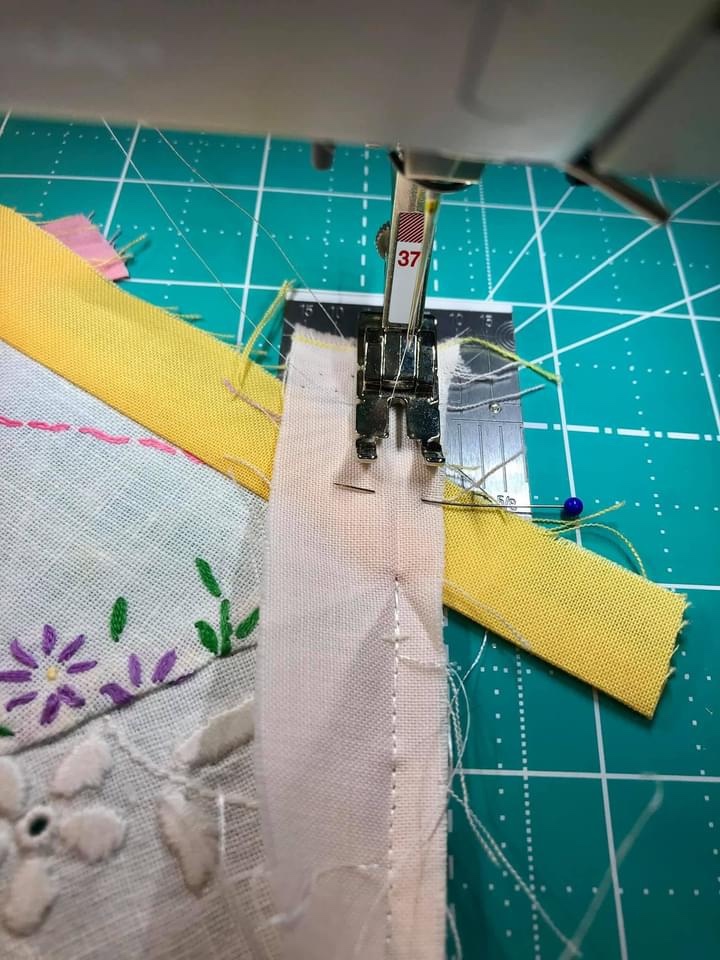
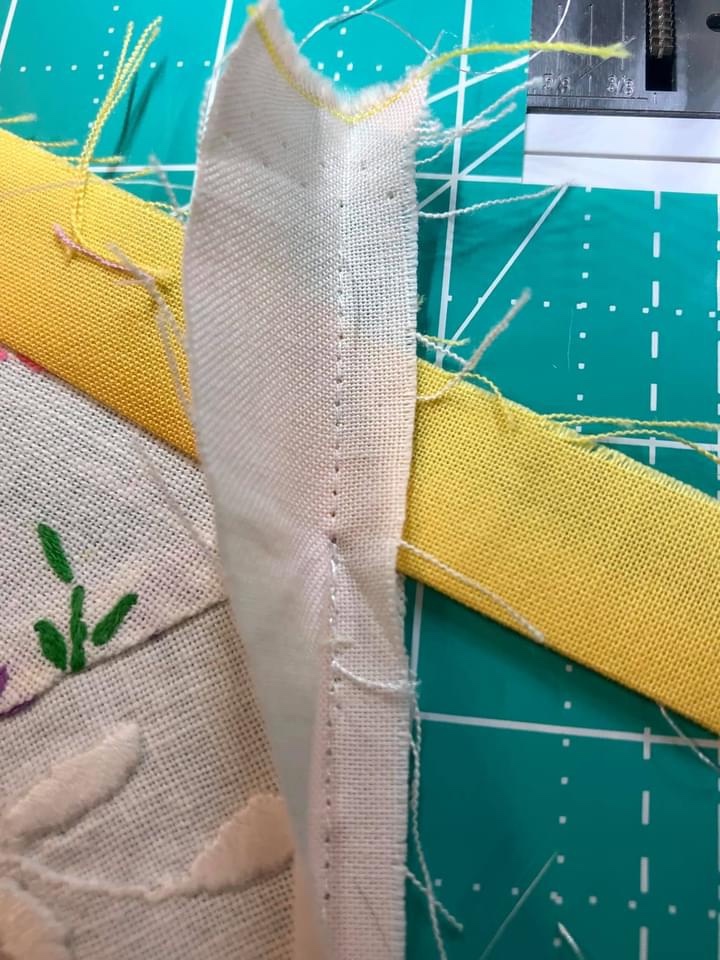
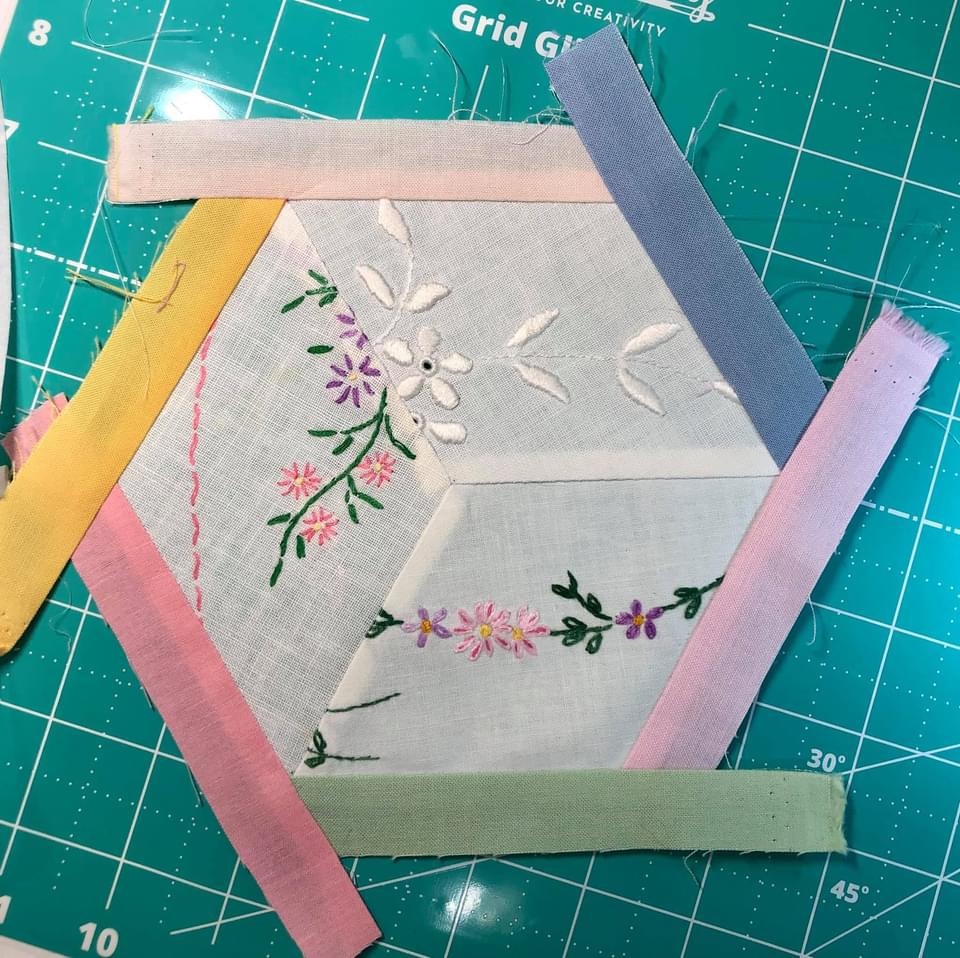
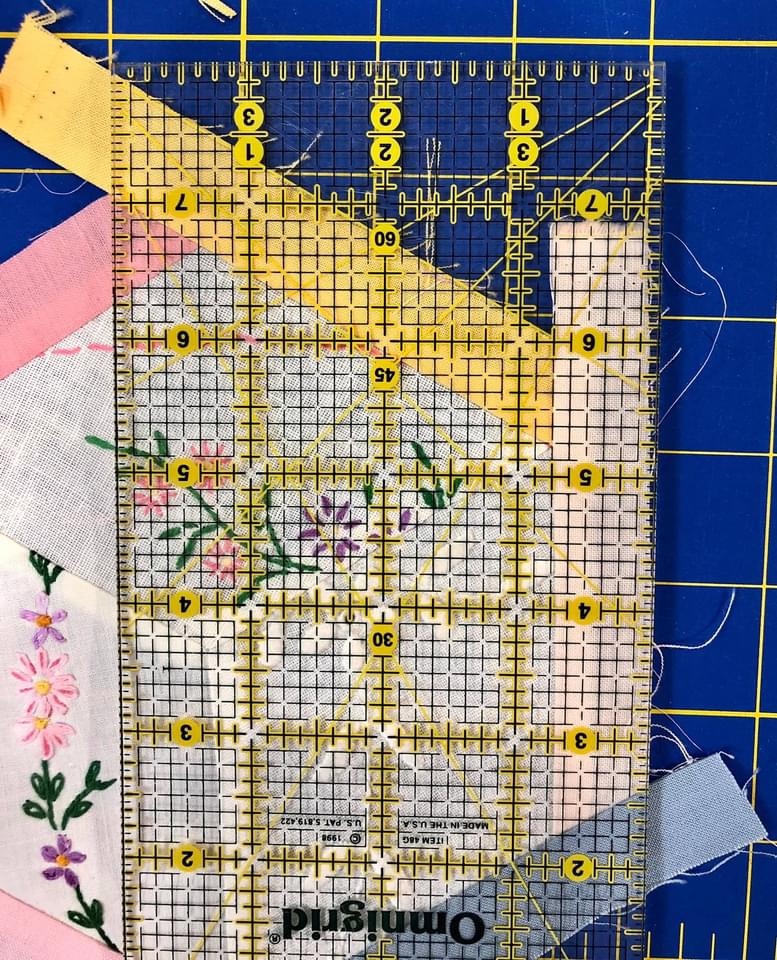
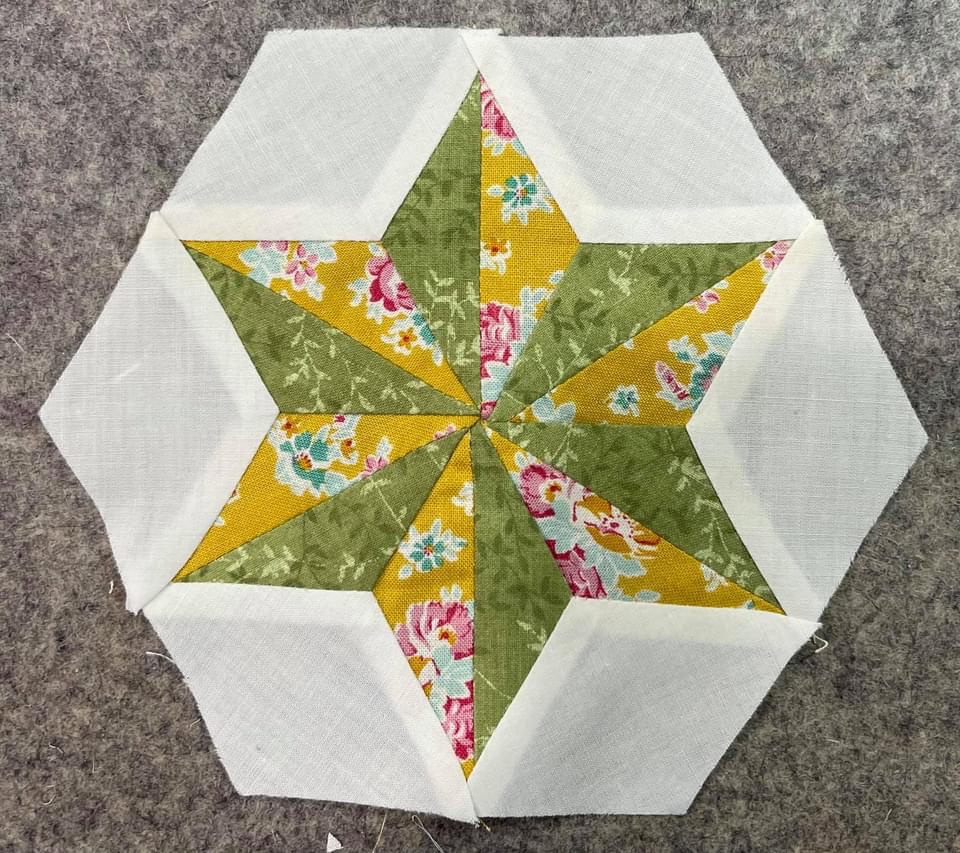
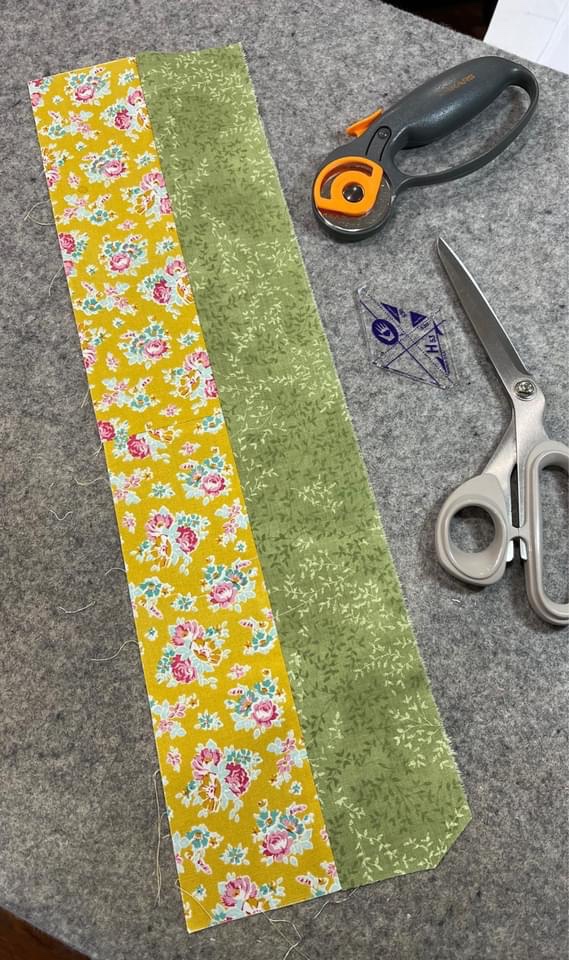
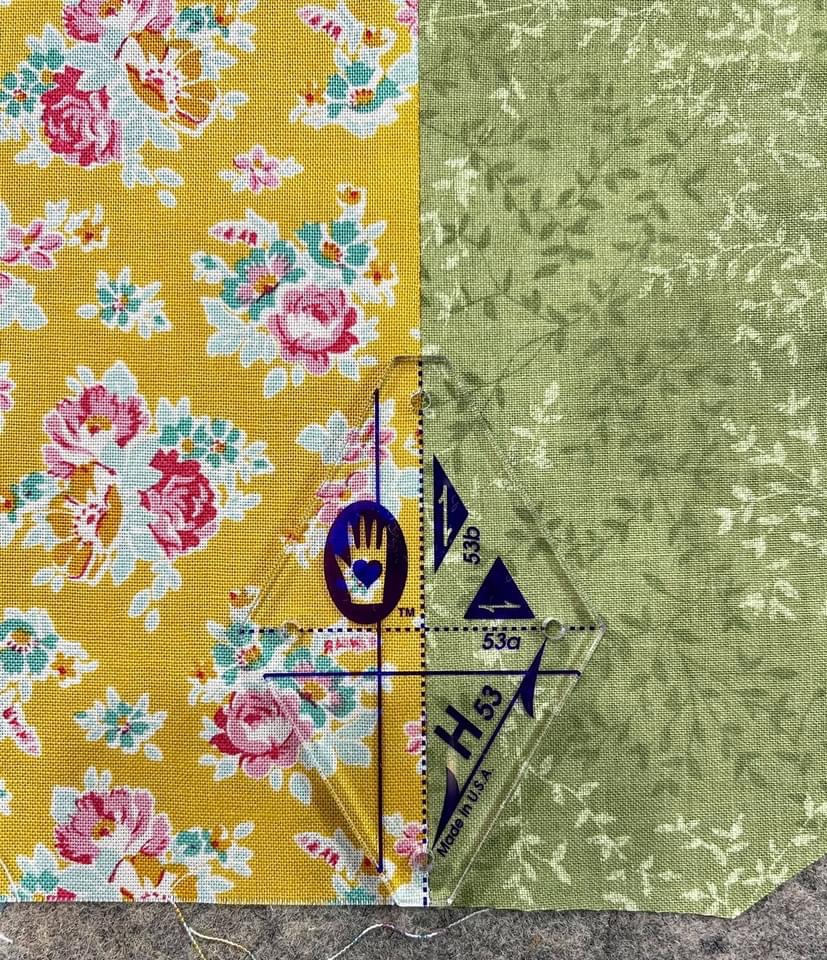
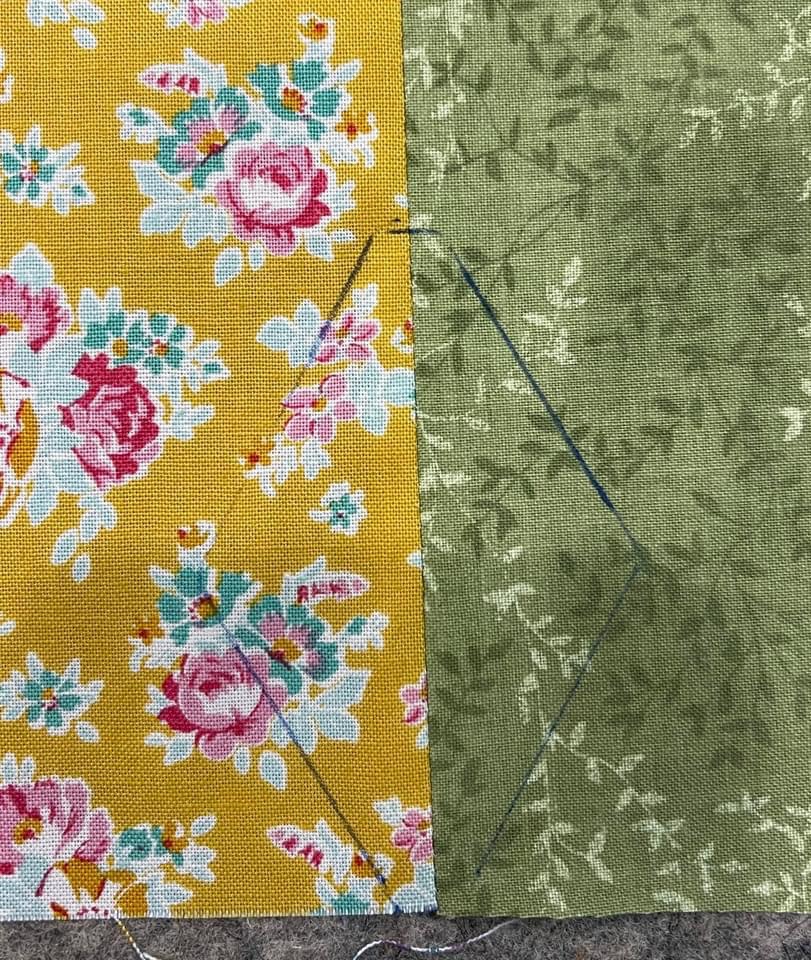
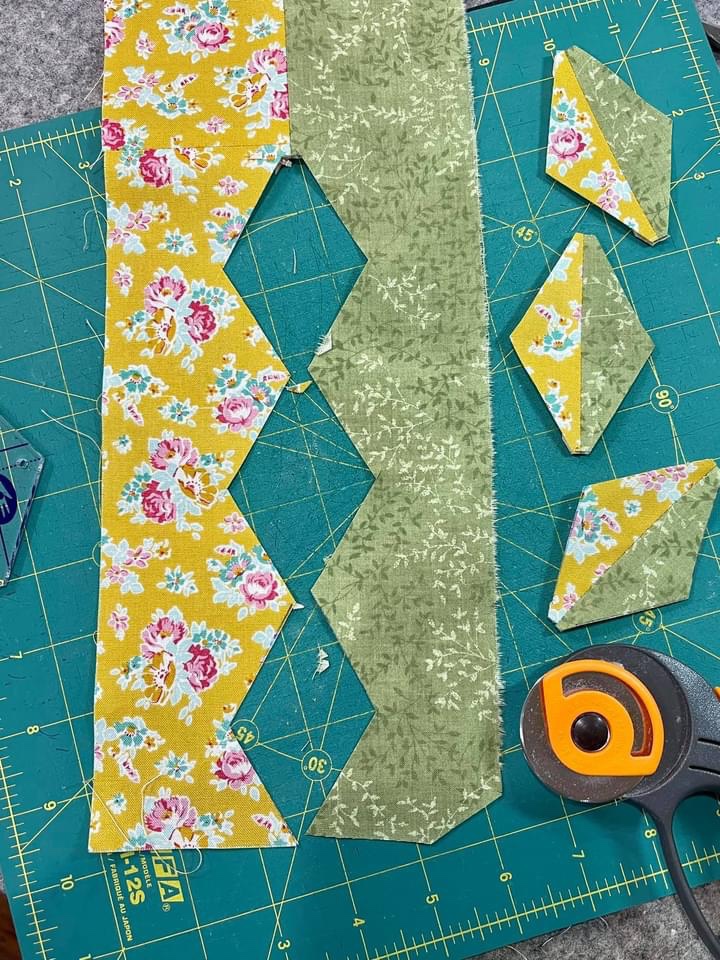
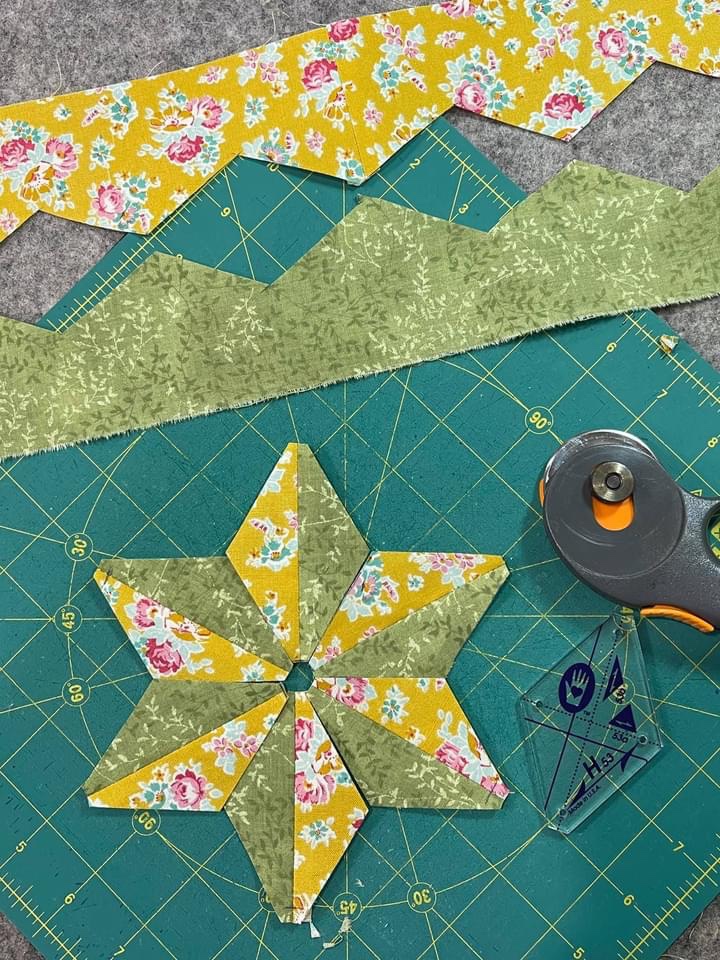
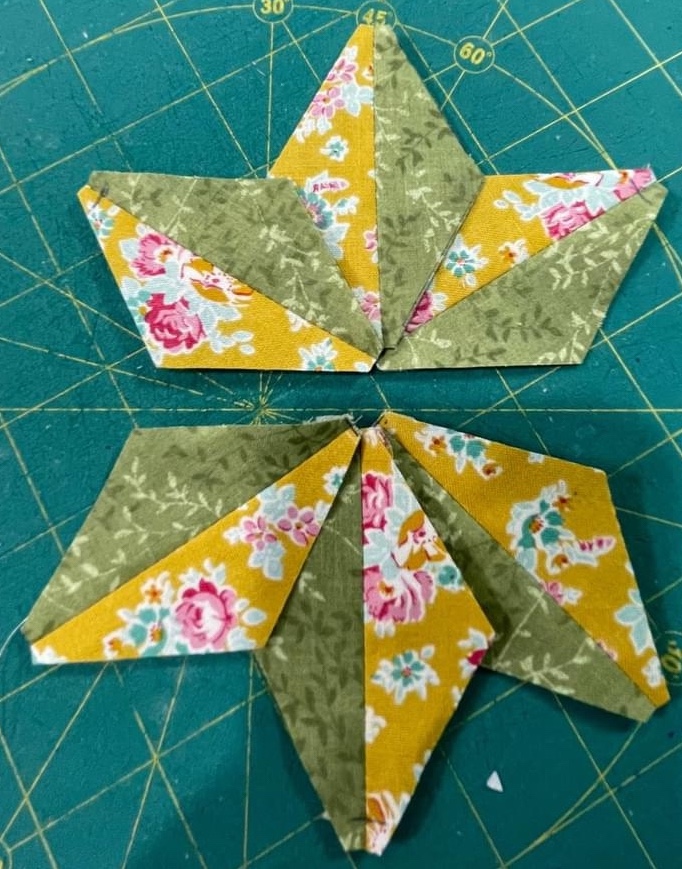
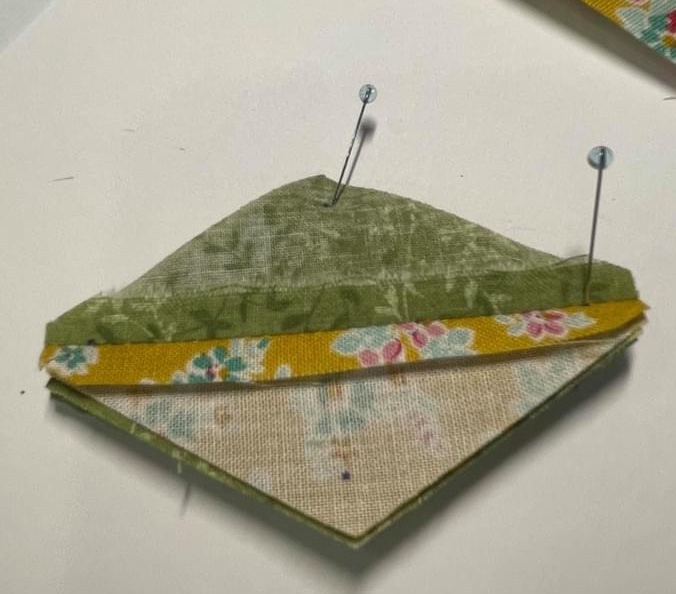
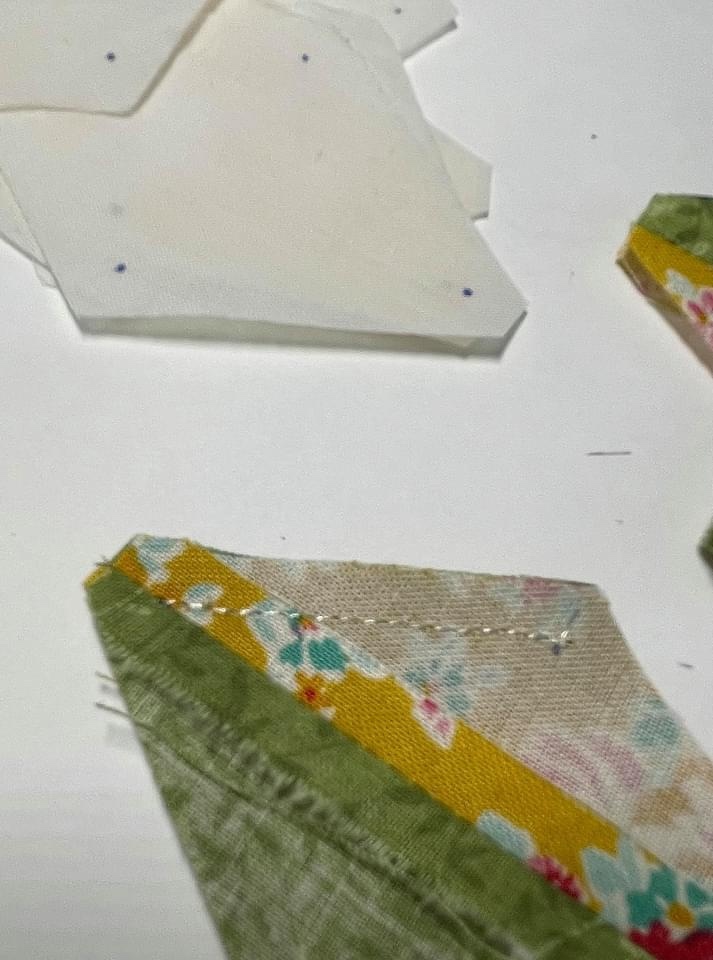
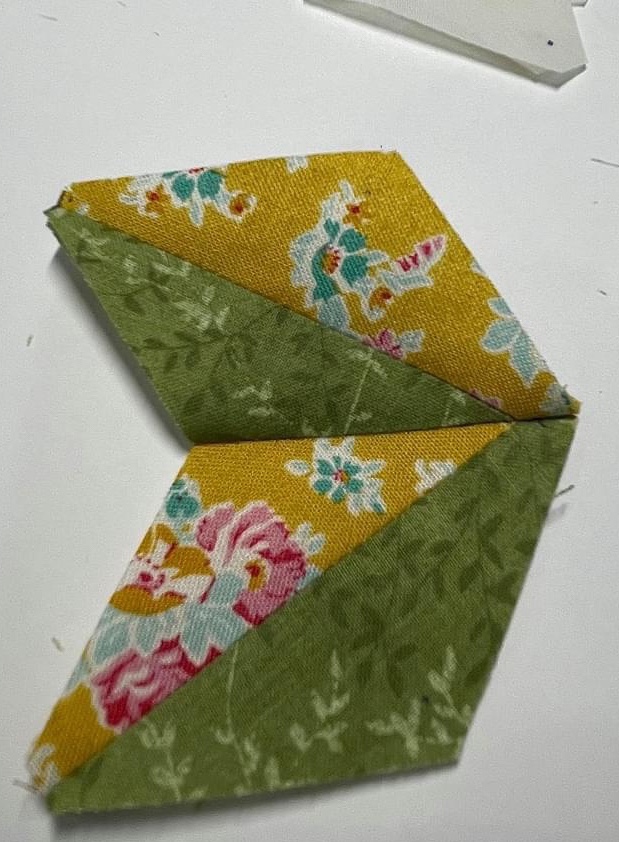
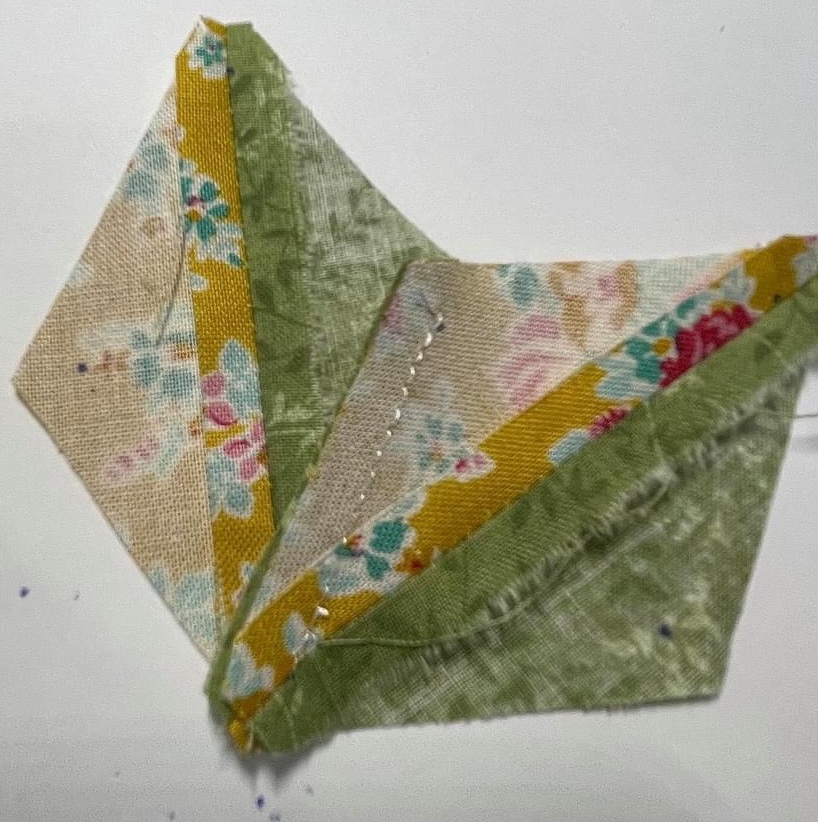
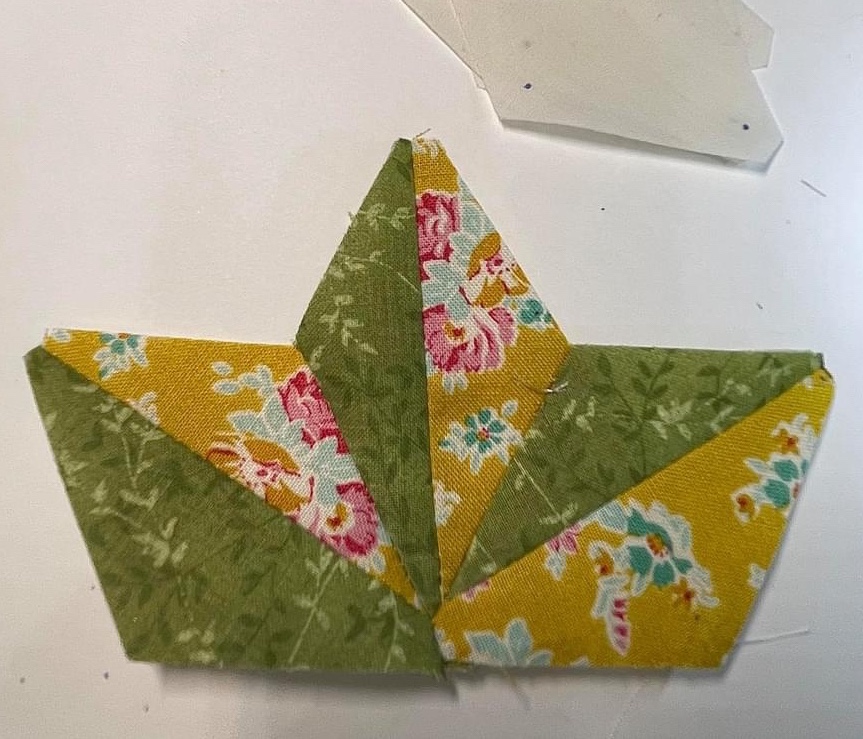
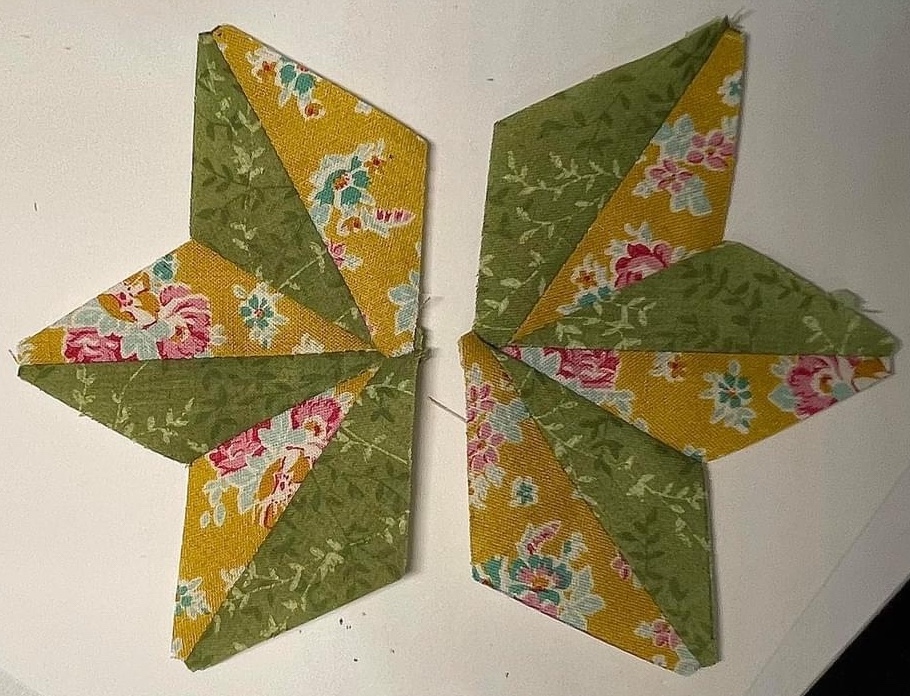
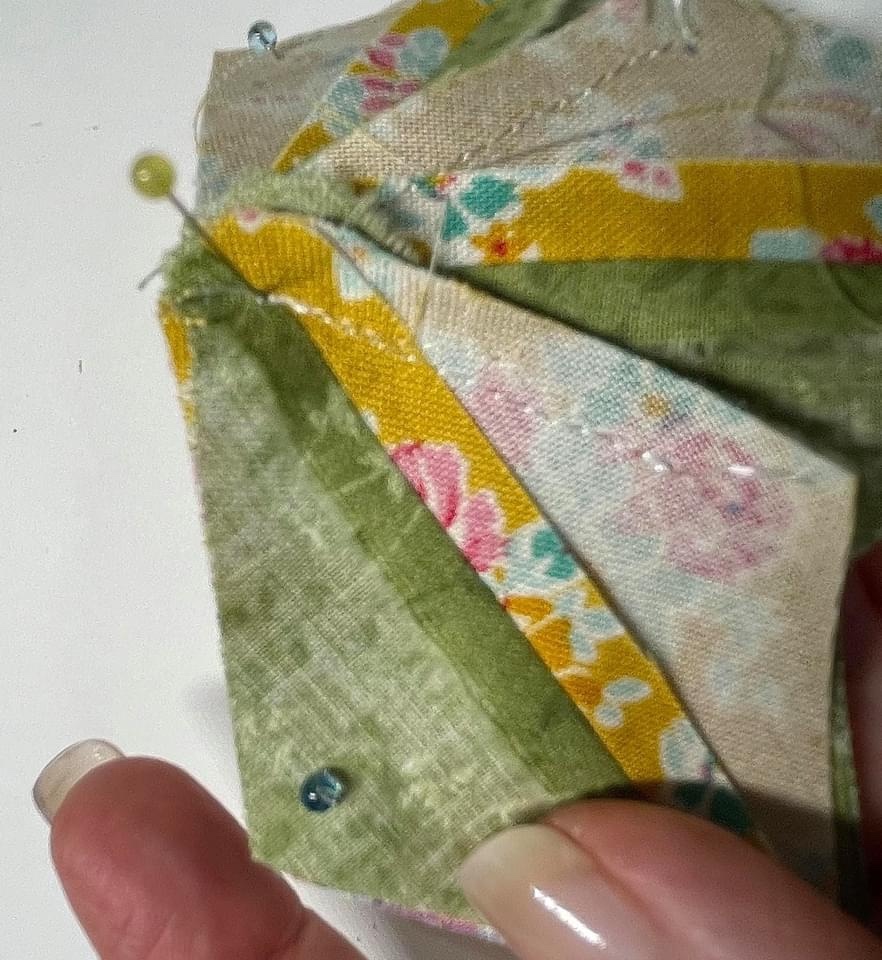
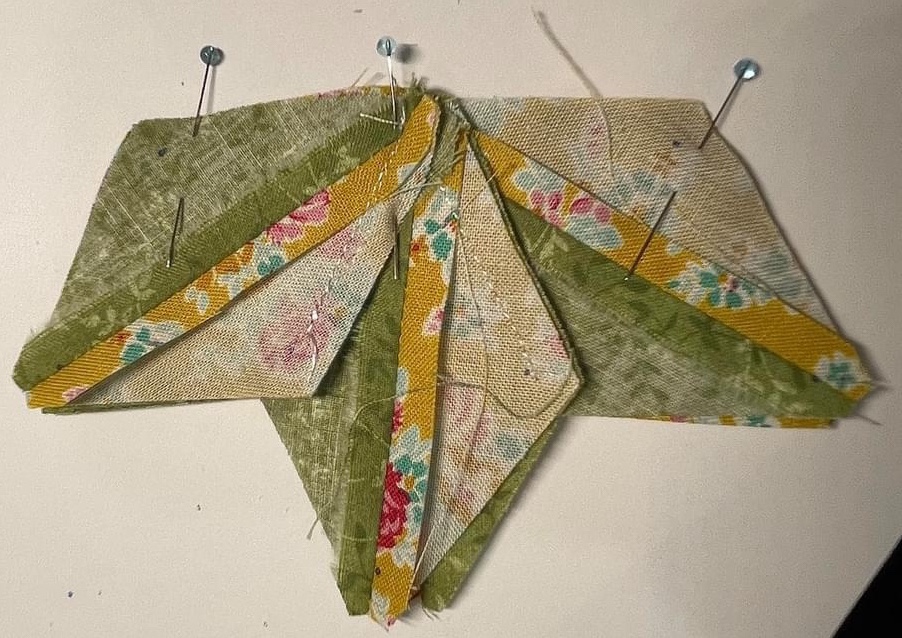
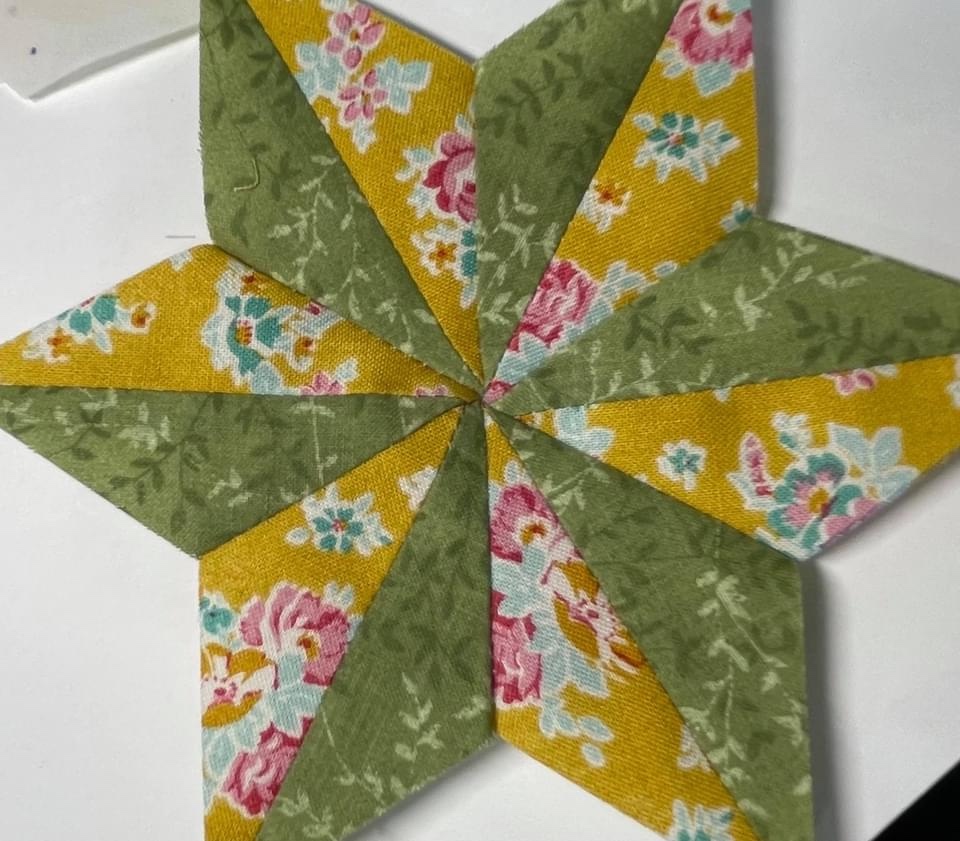
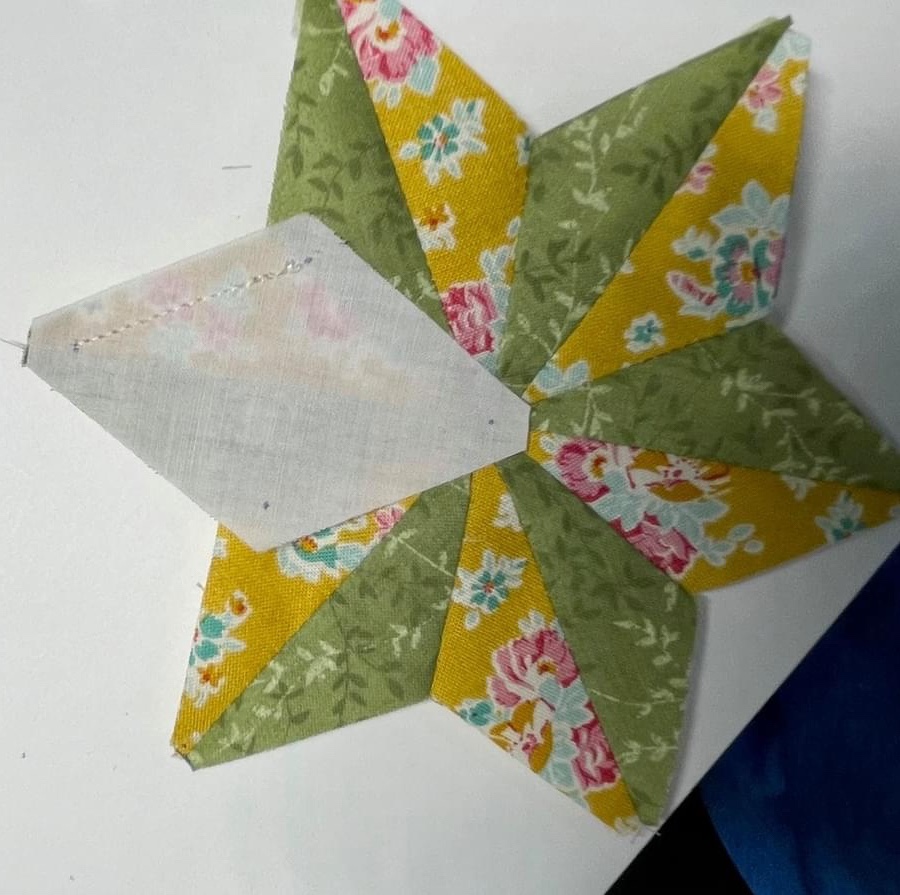
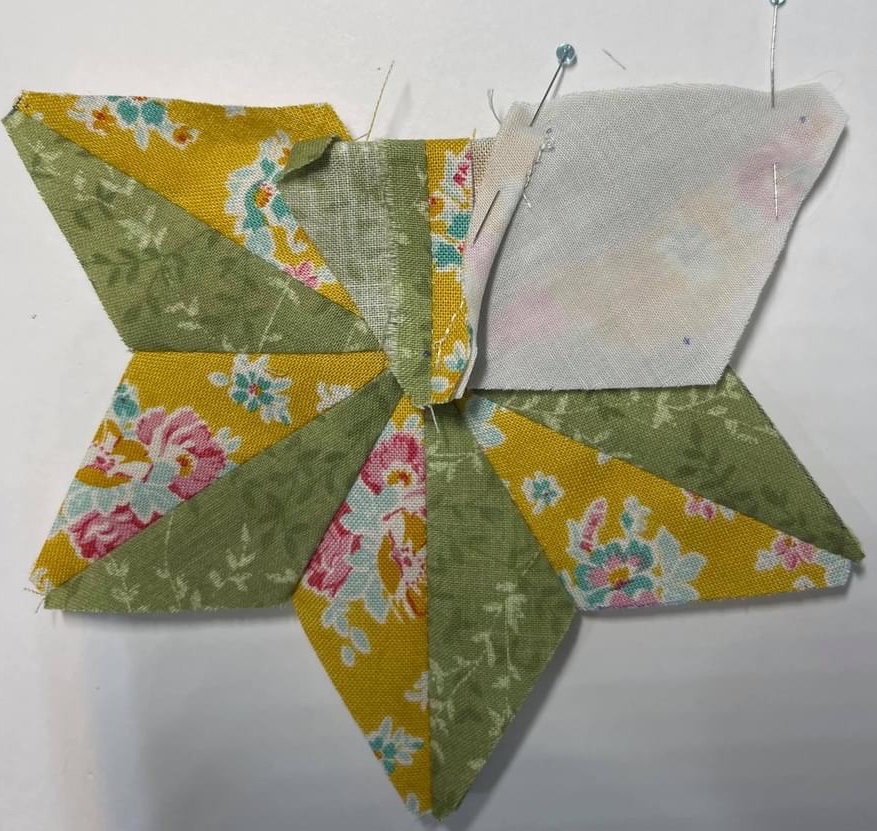
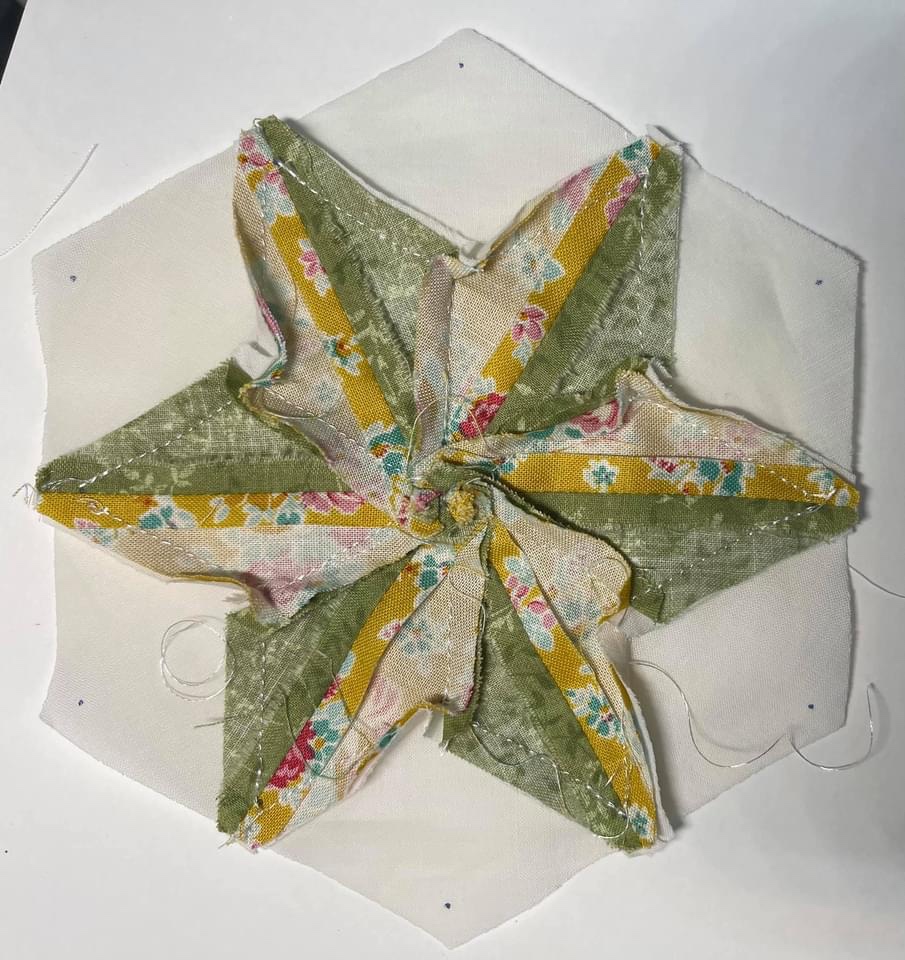
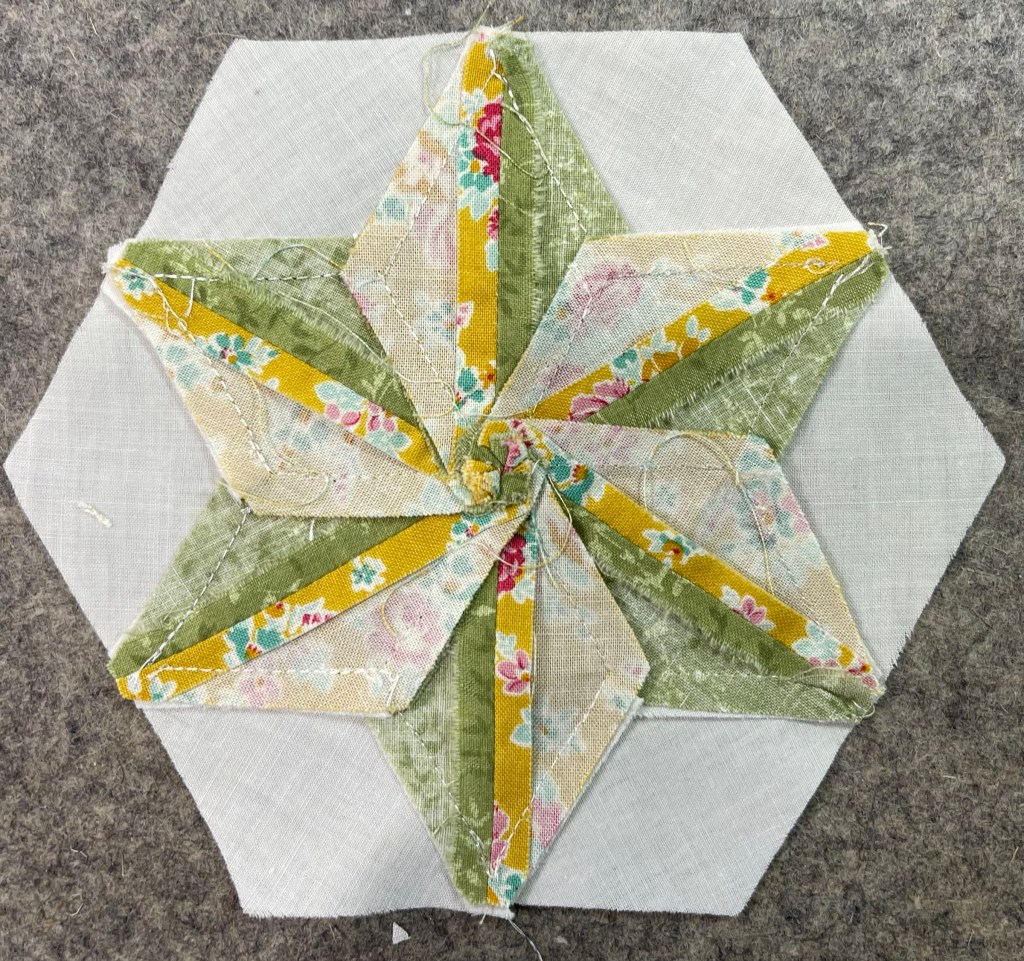
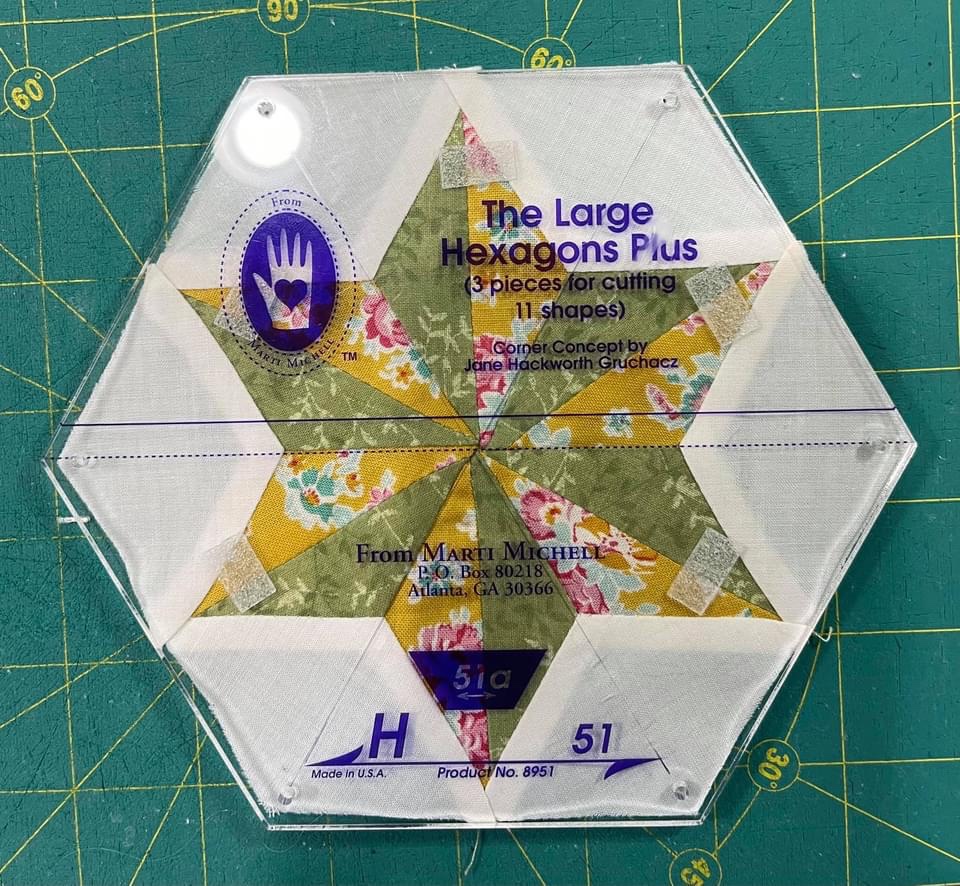
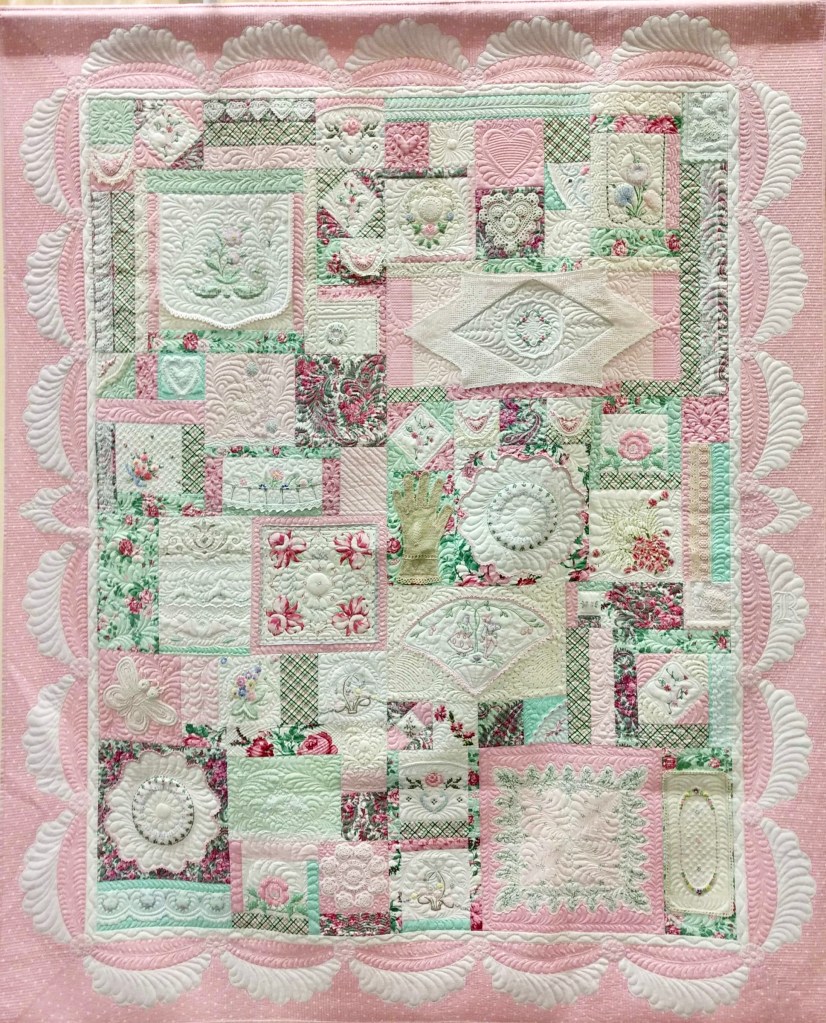
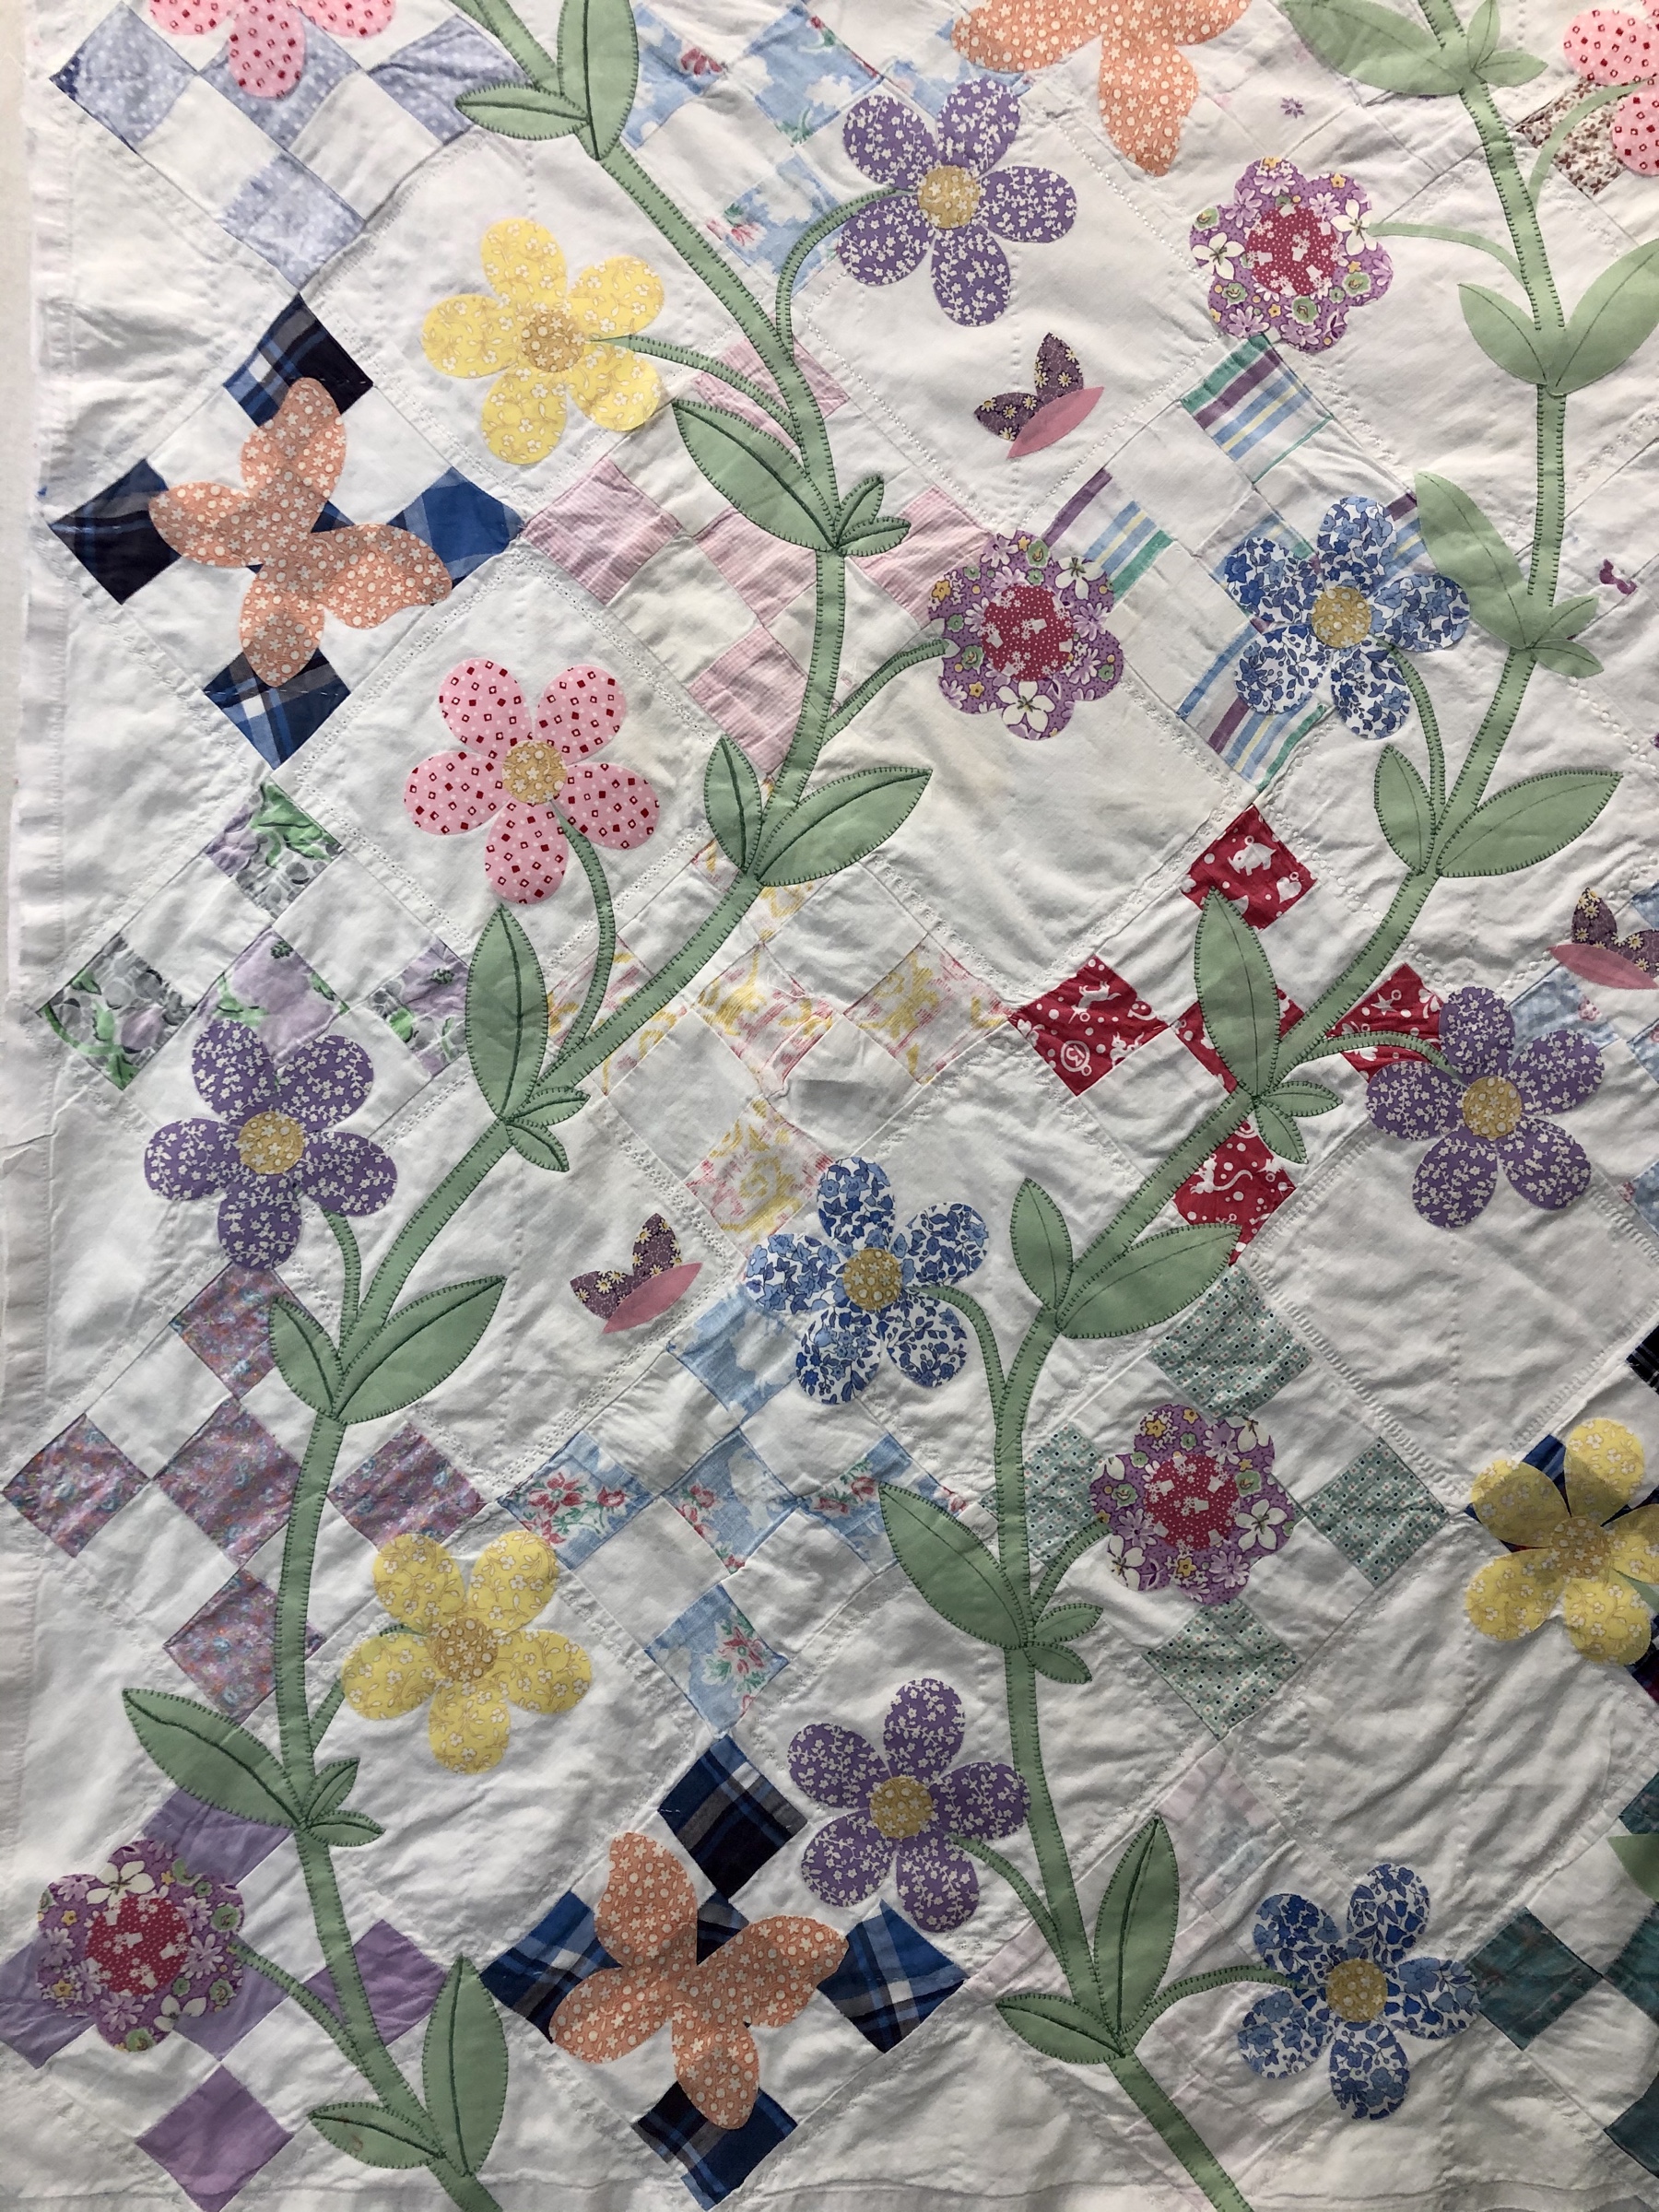
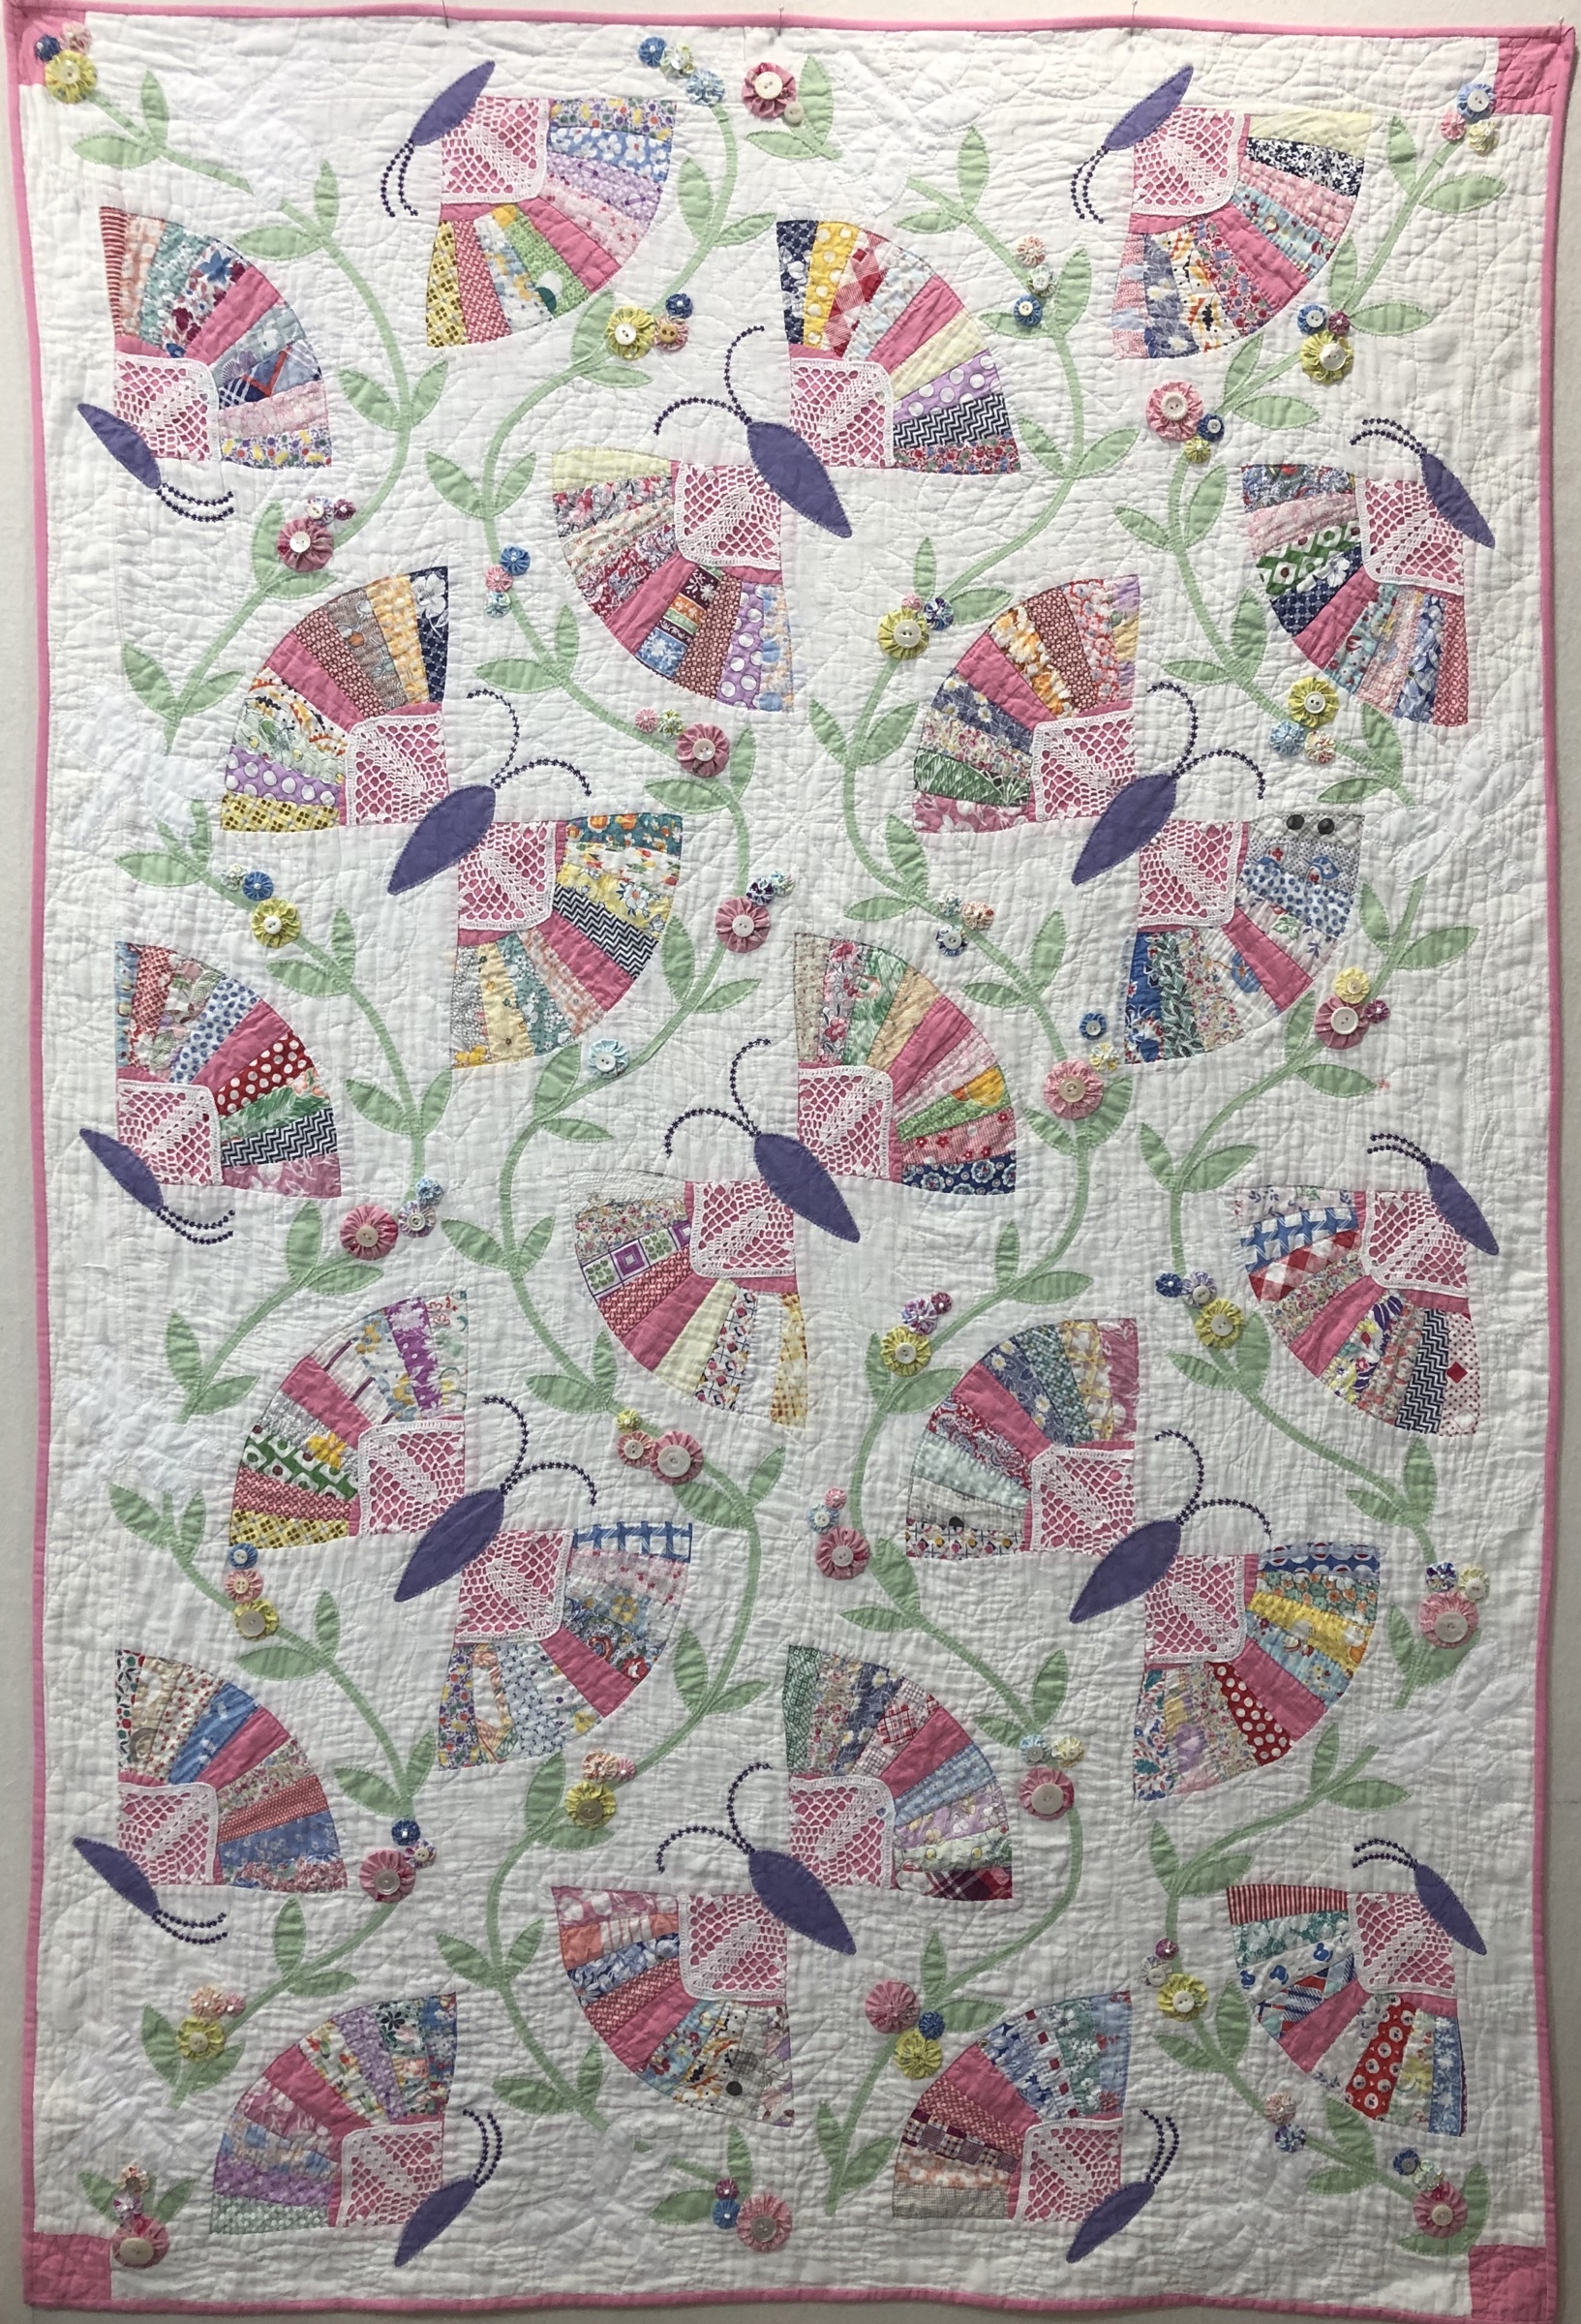
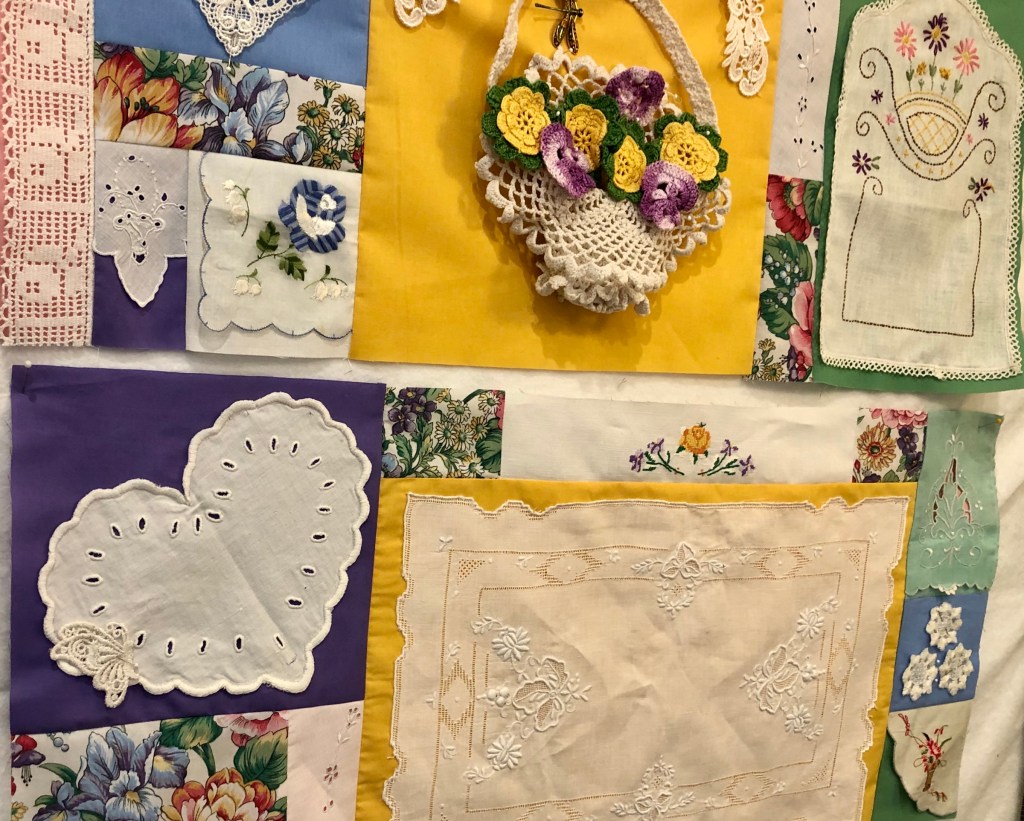
Each retreat will each feature 3 projects, the Pink and Green Vintage Linens quilt:

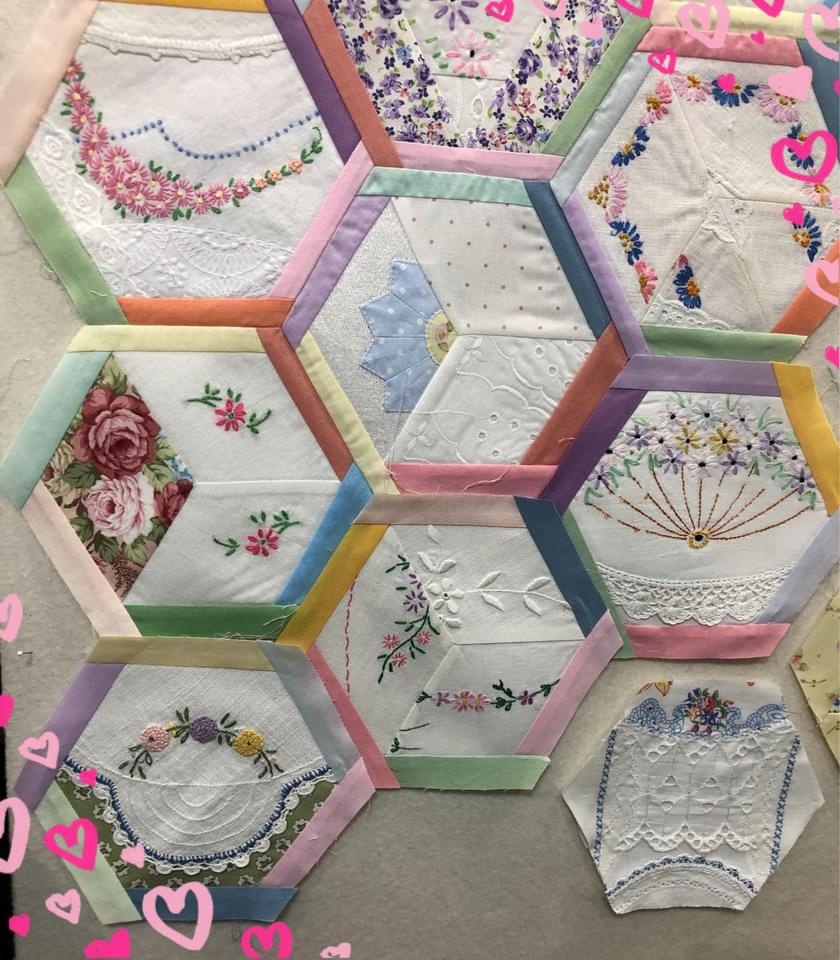
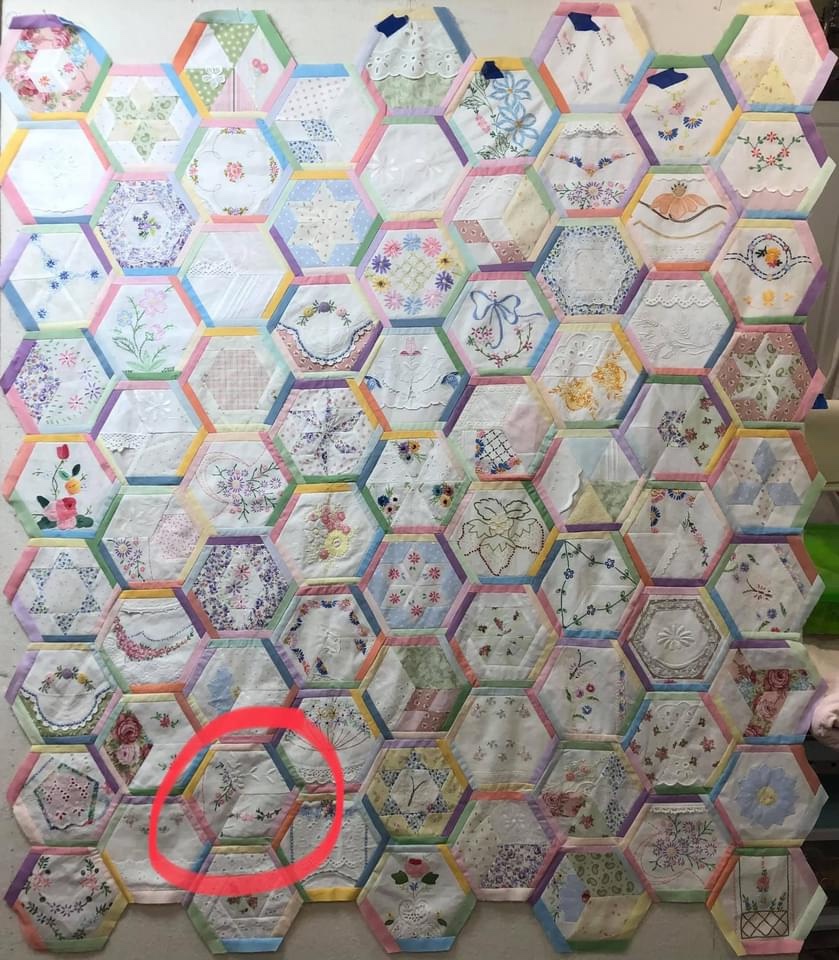
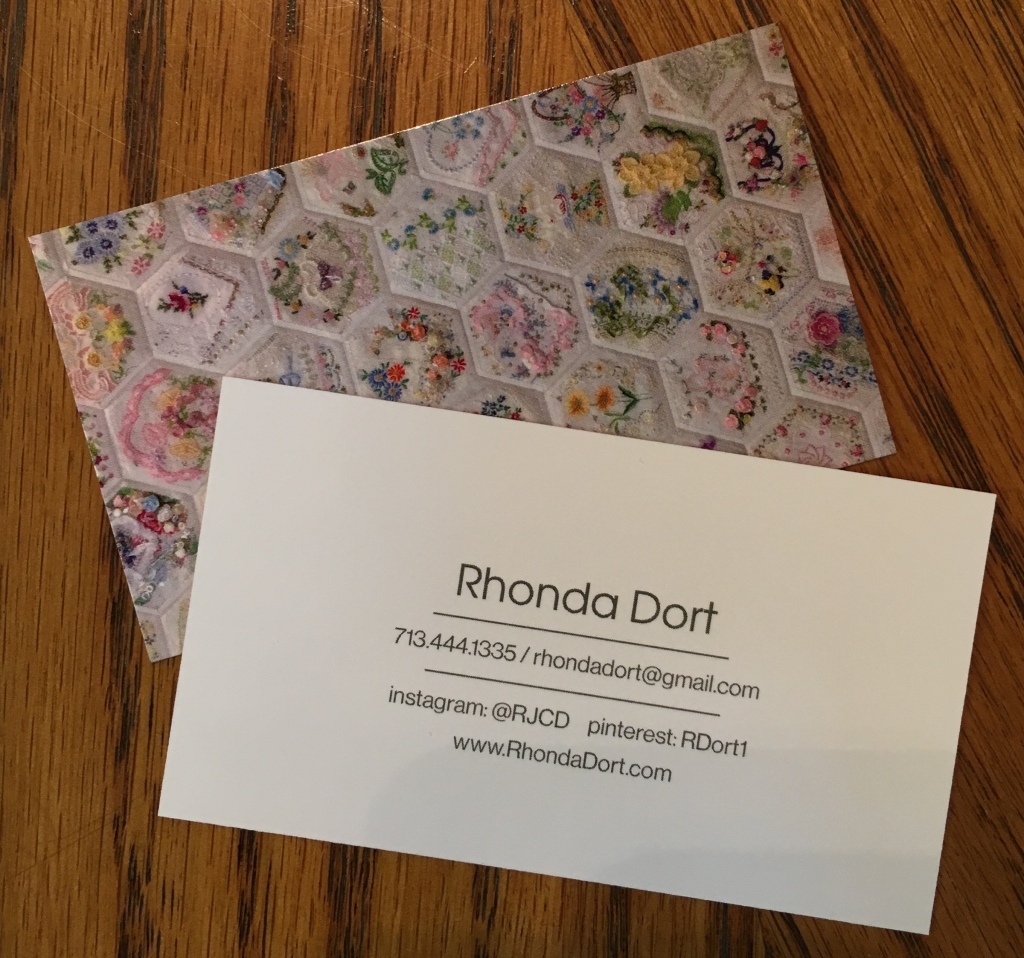
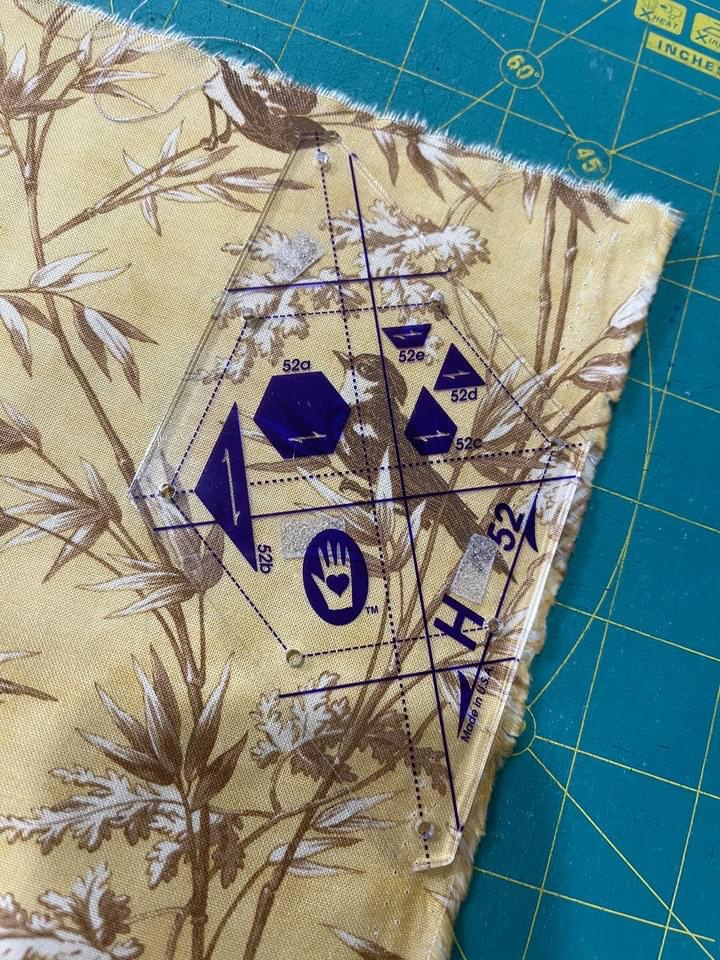
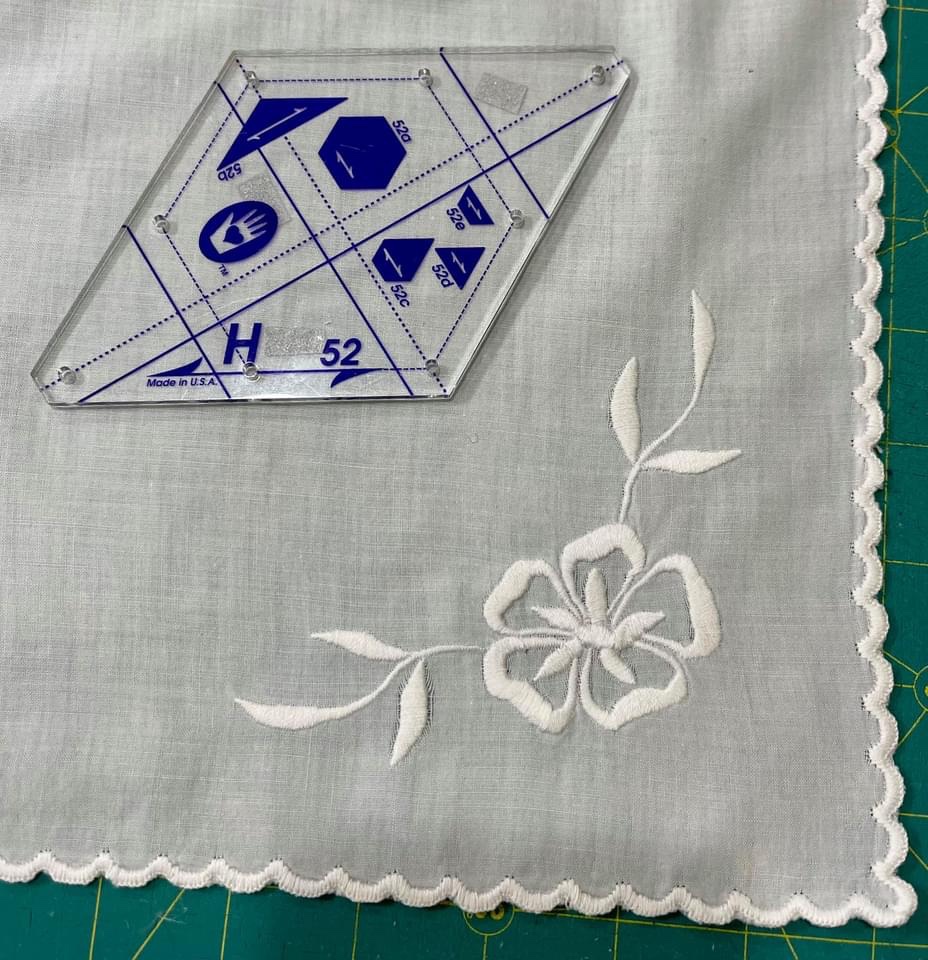
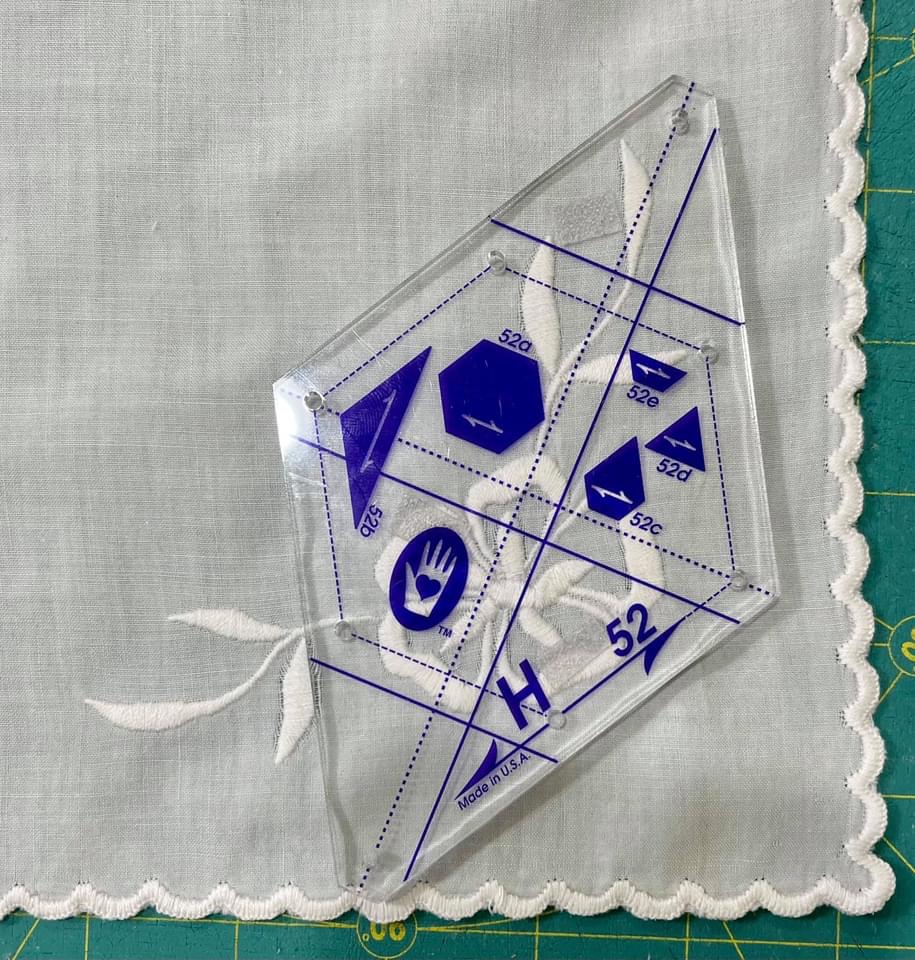
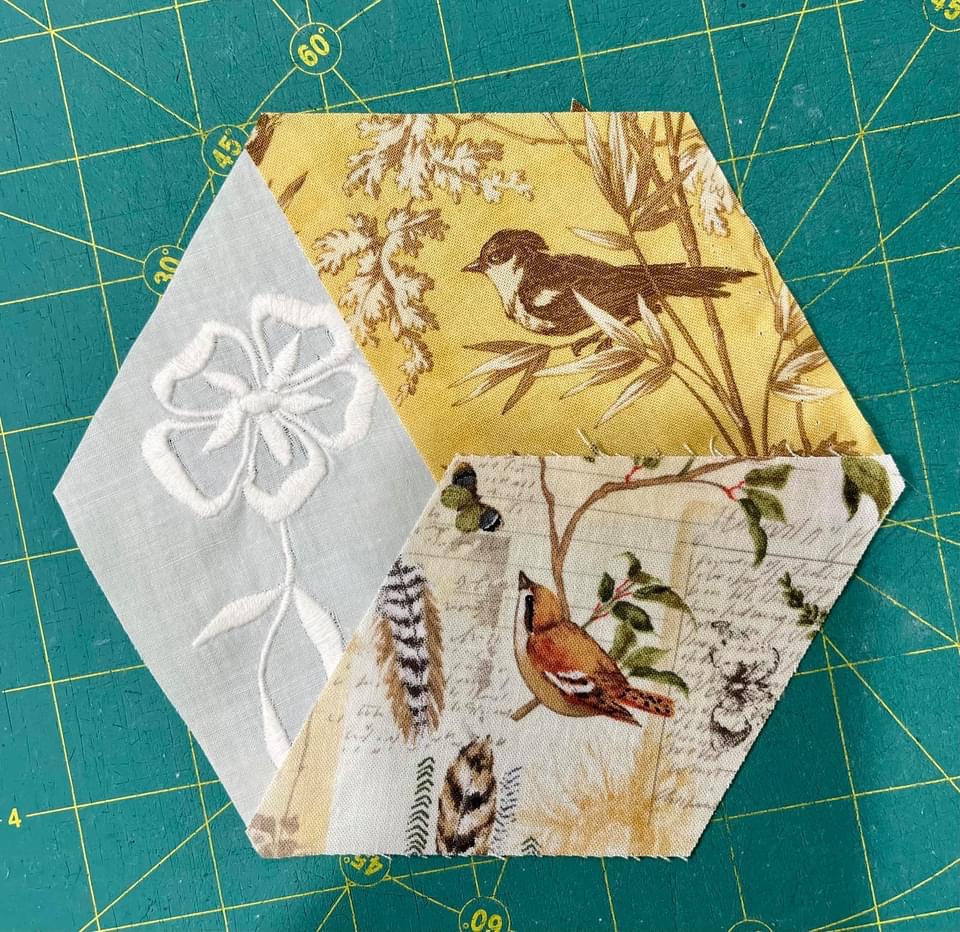
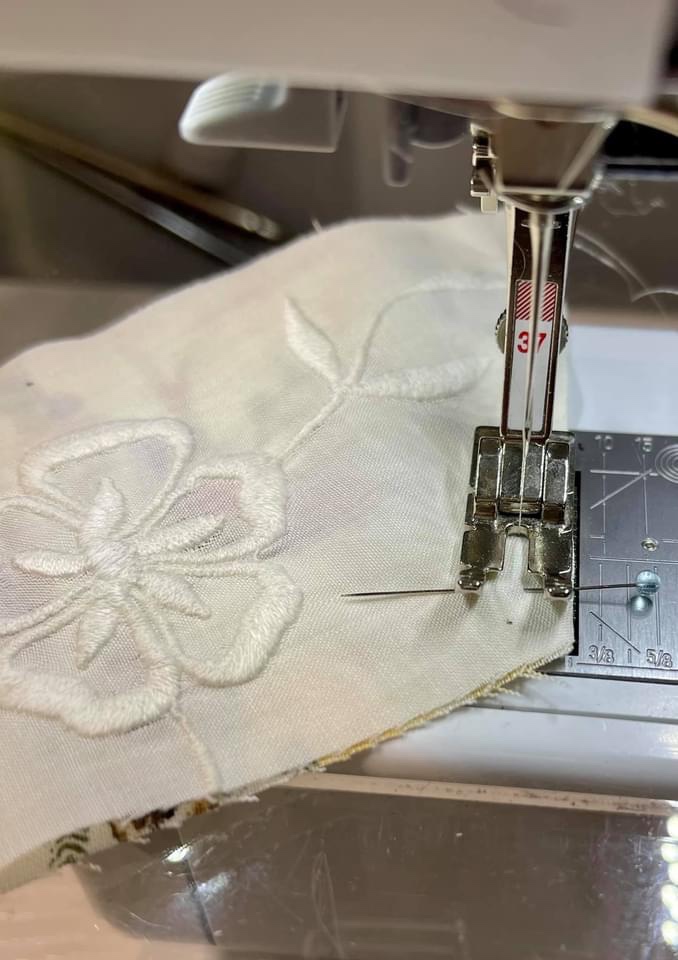
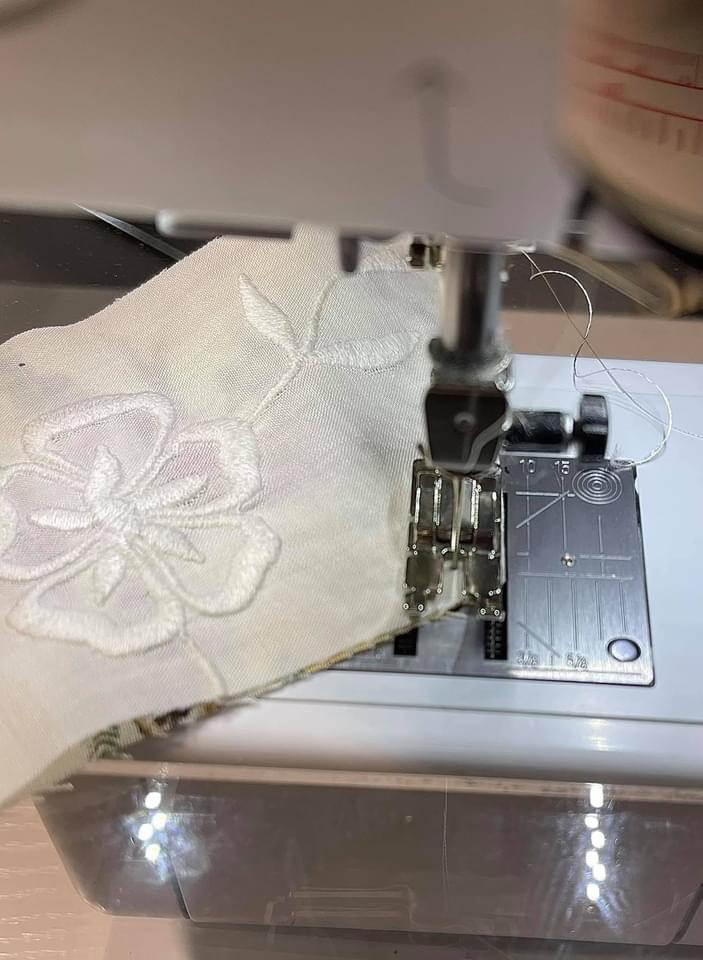
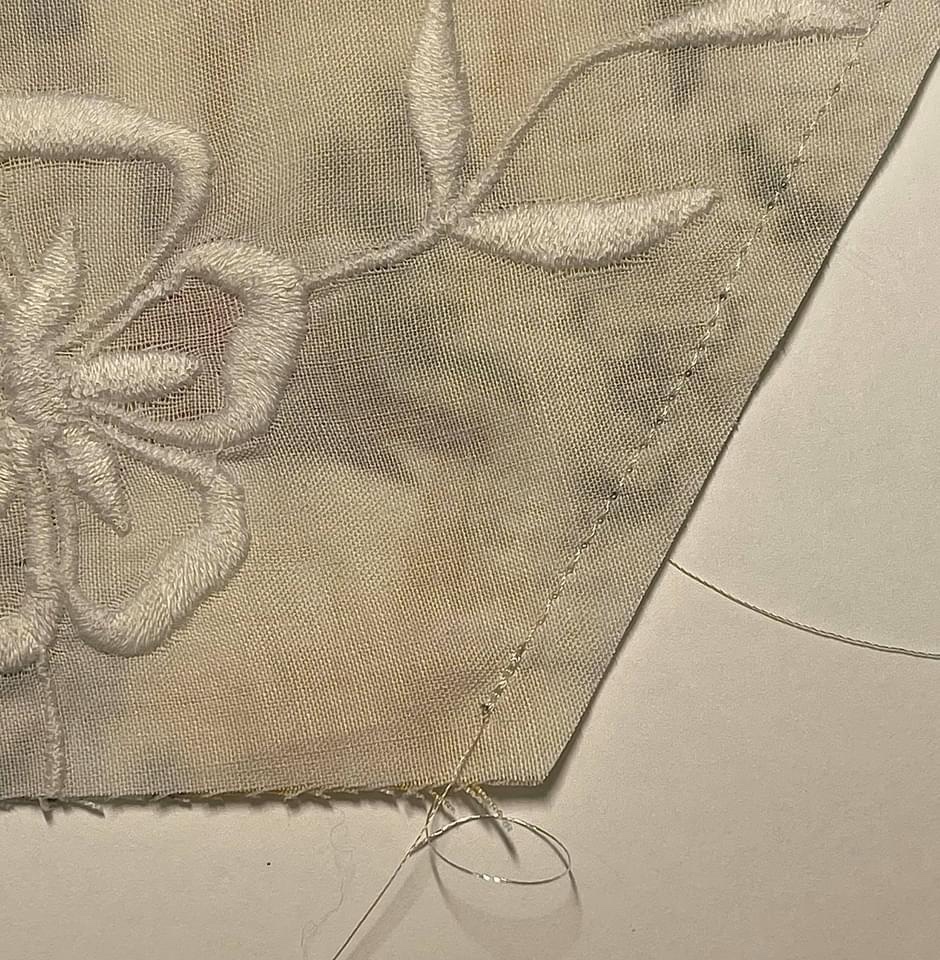
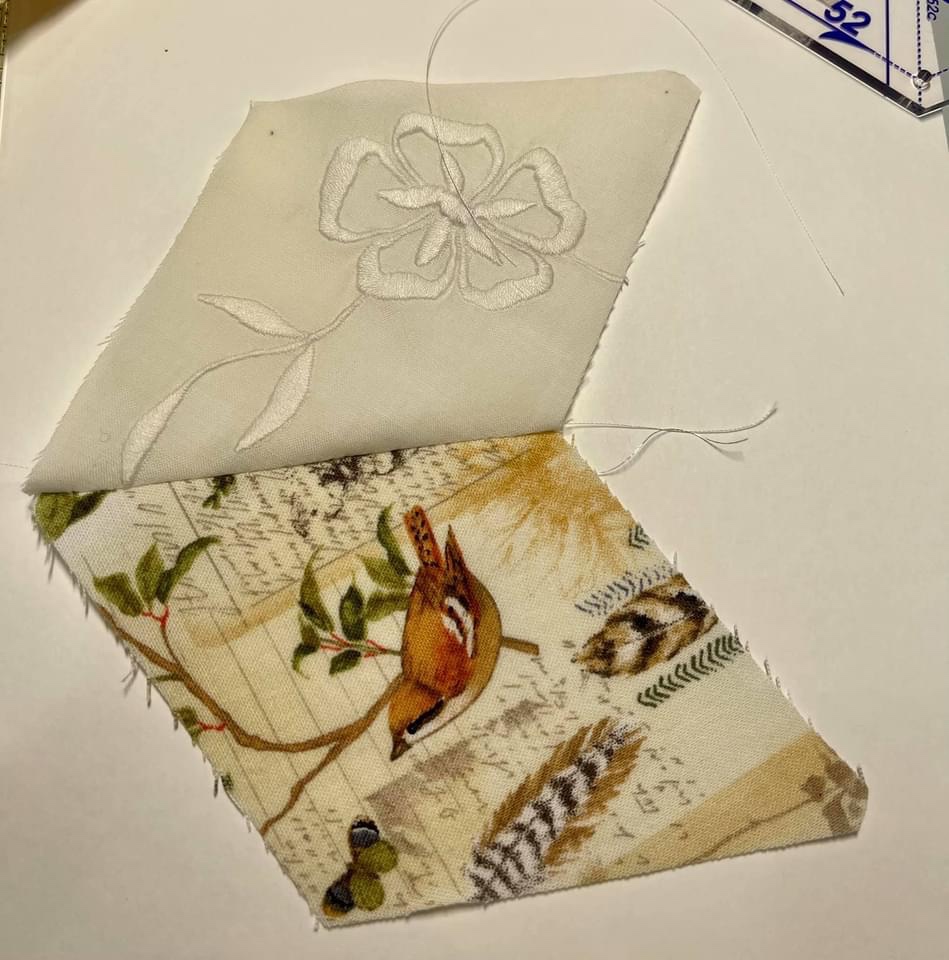
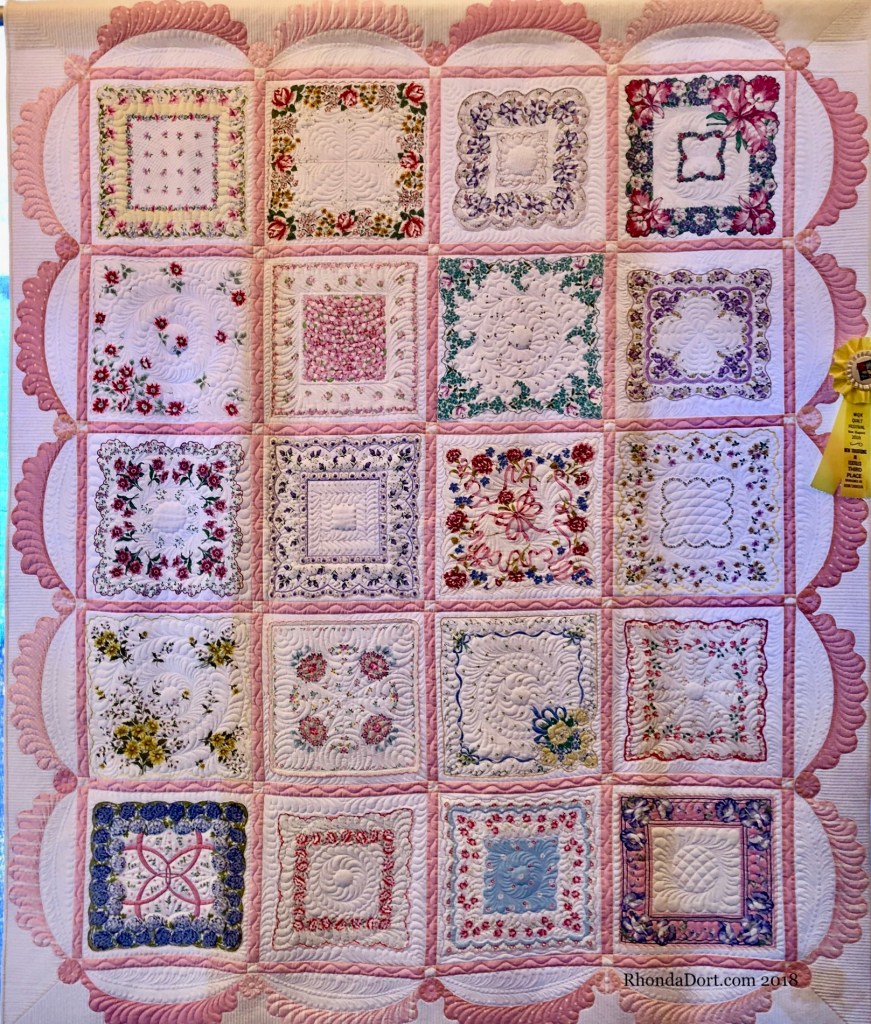
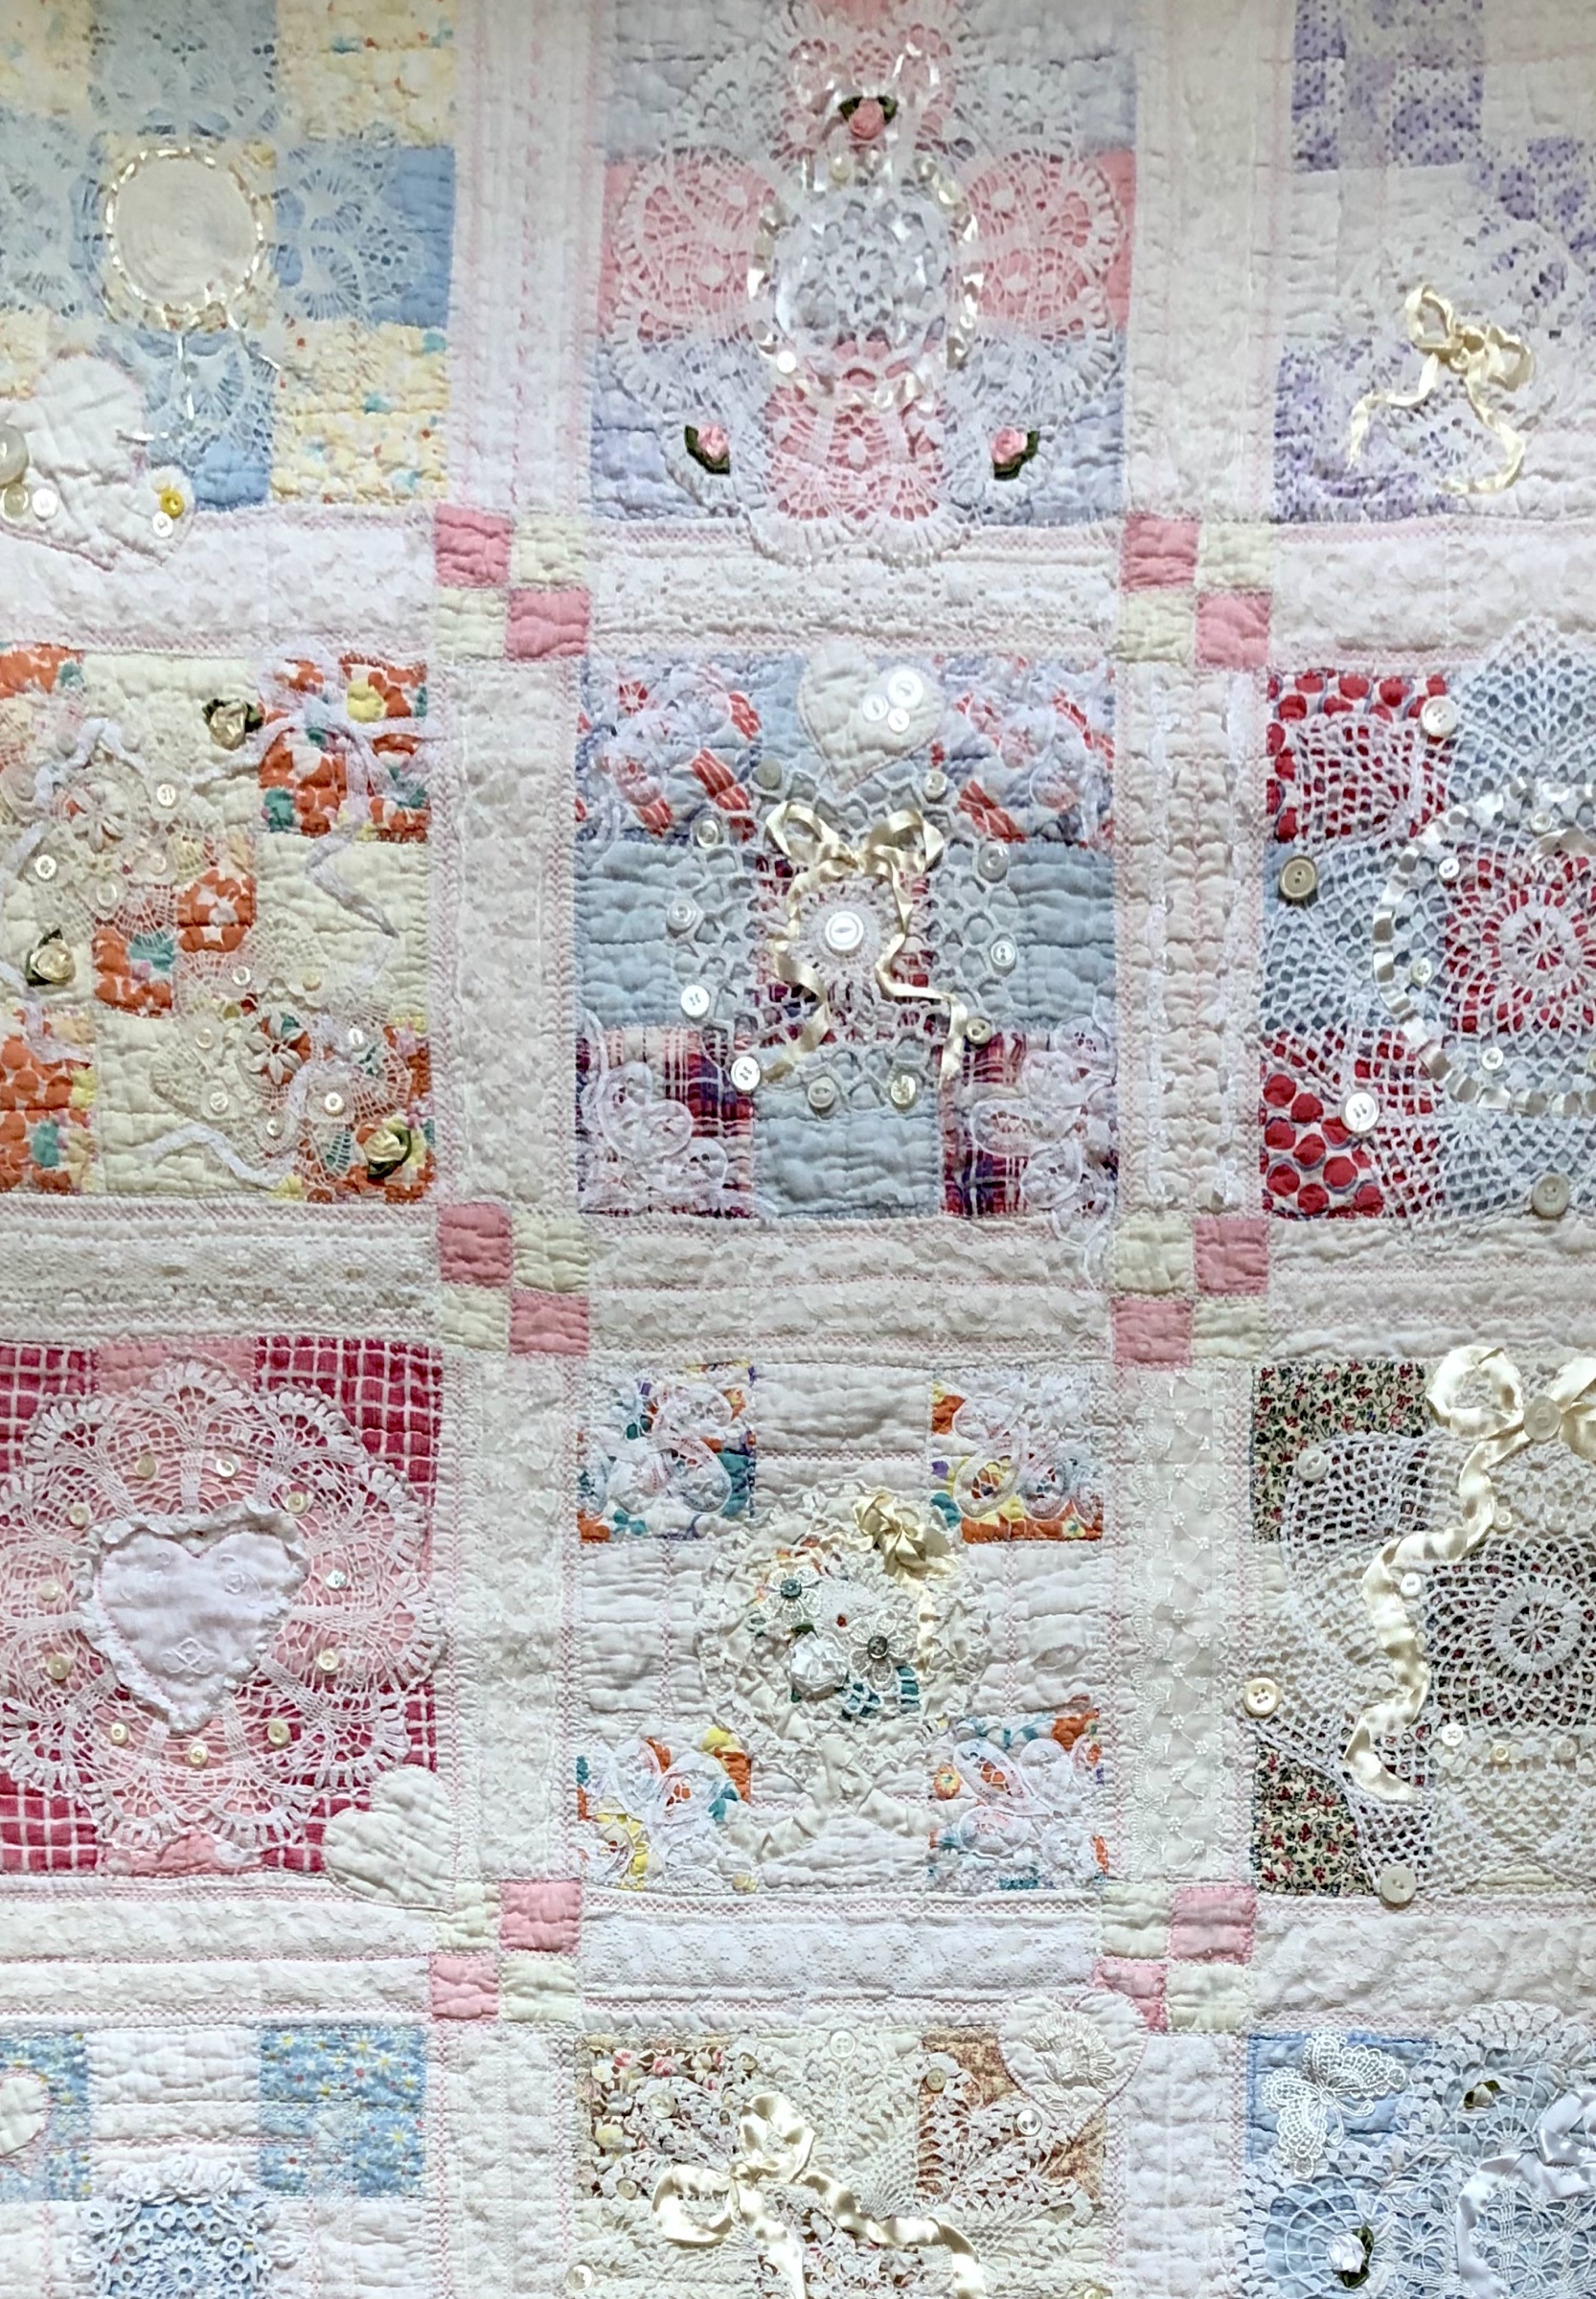
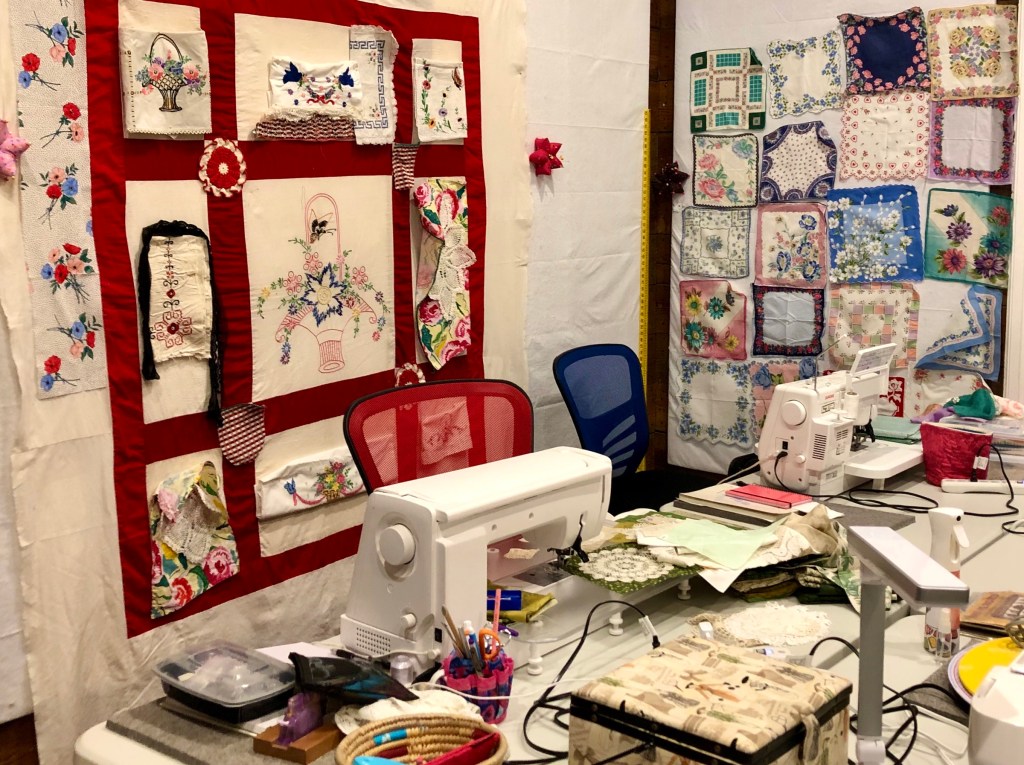
The Vintage Handkerchief quilt:

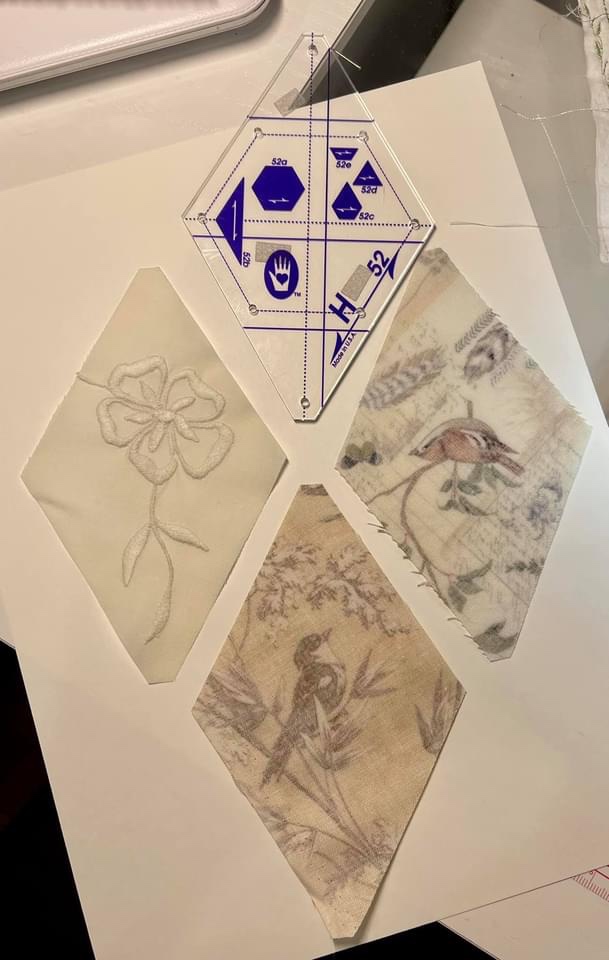
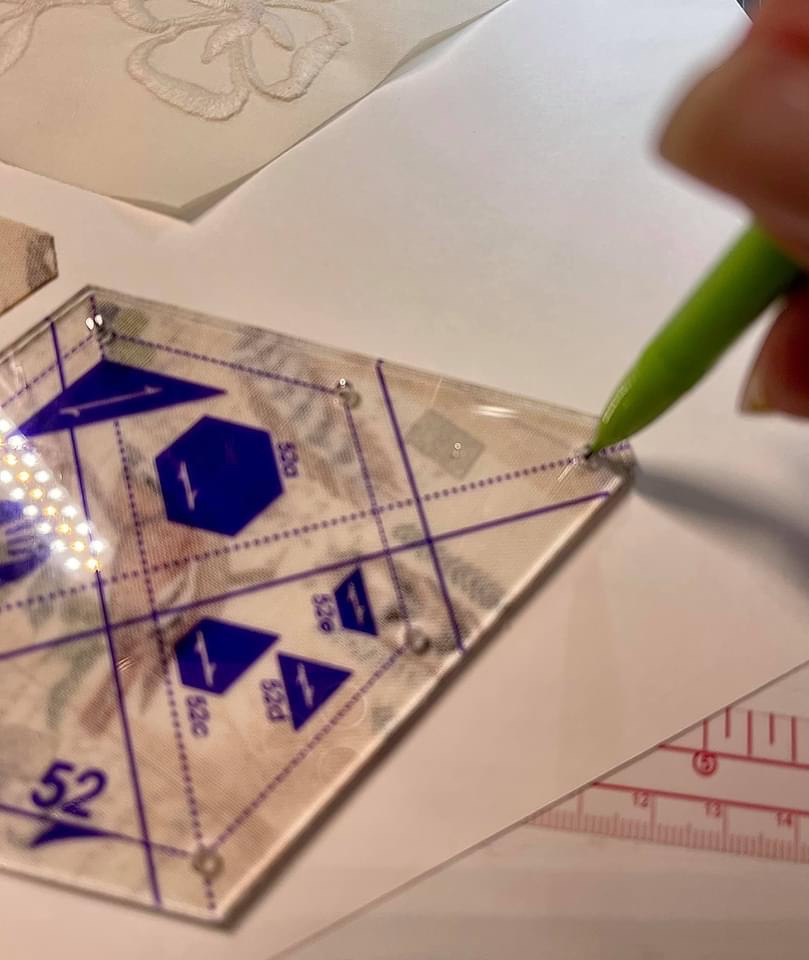
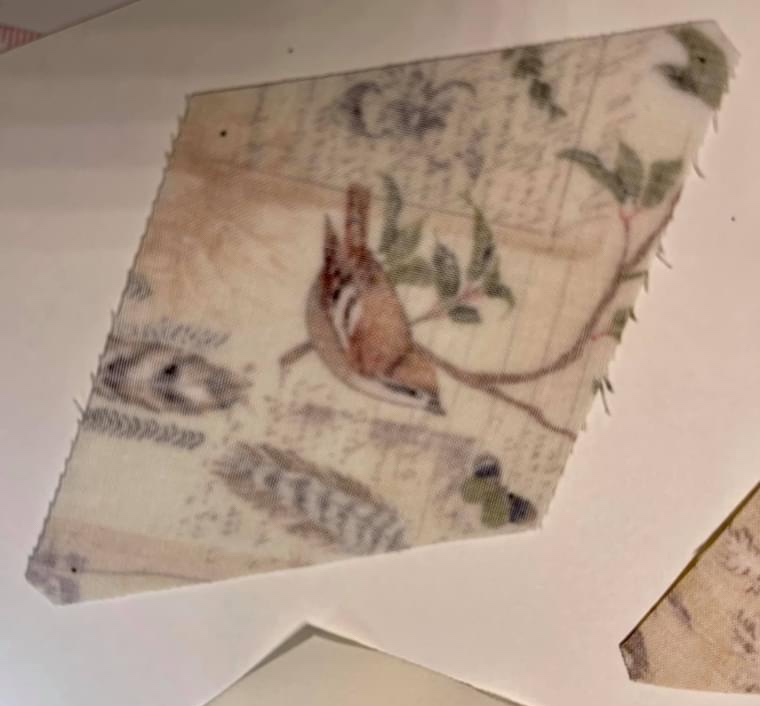
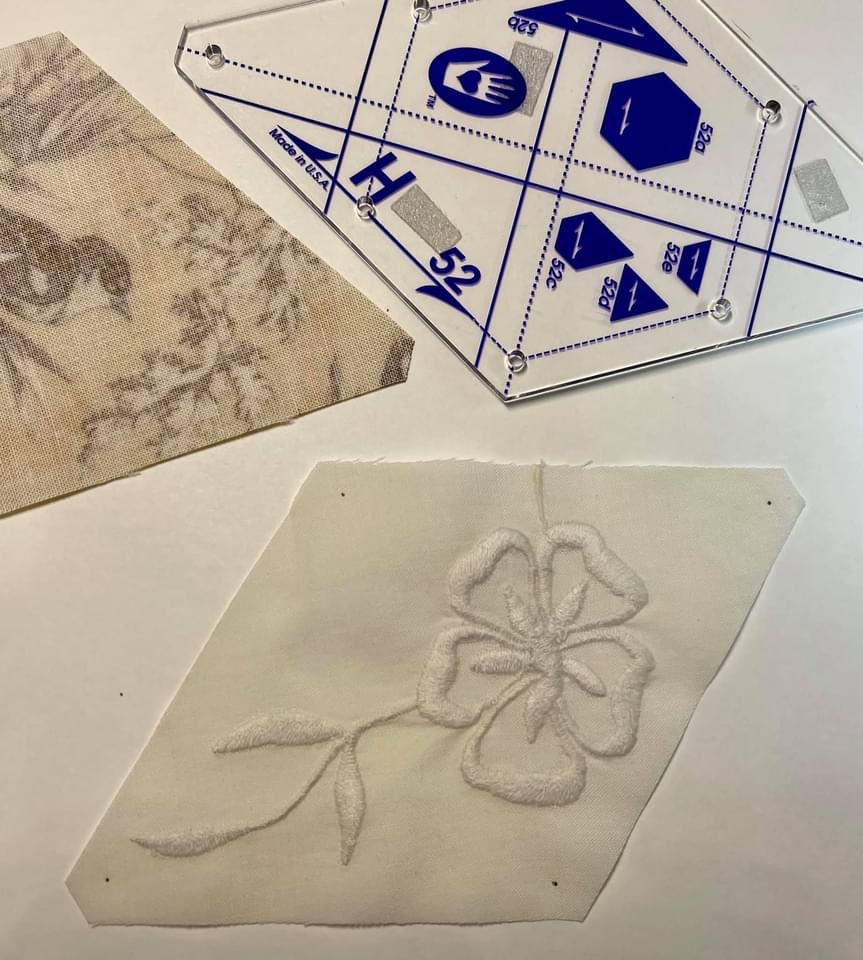
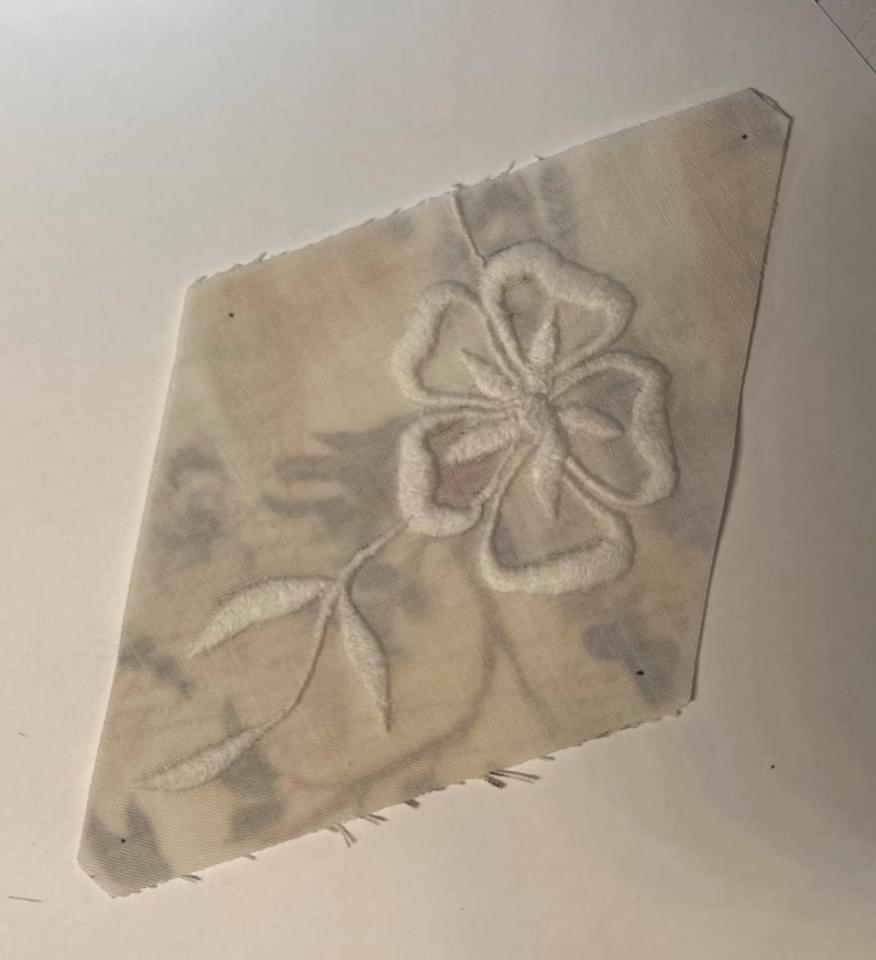
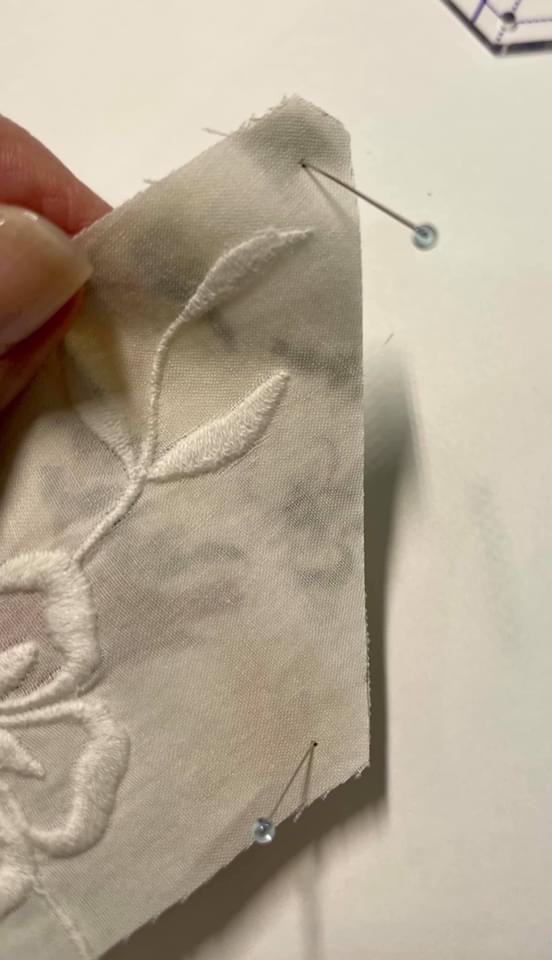
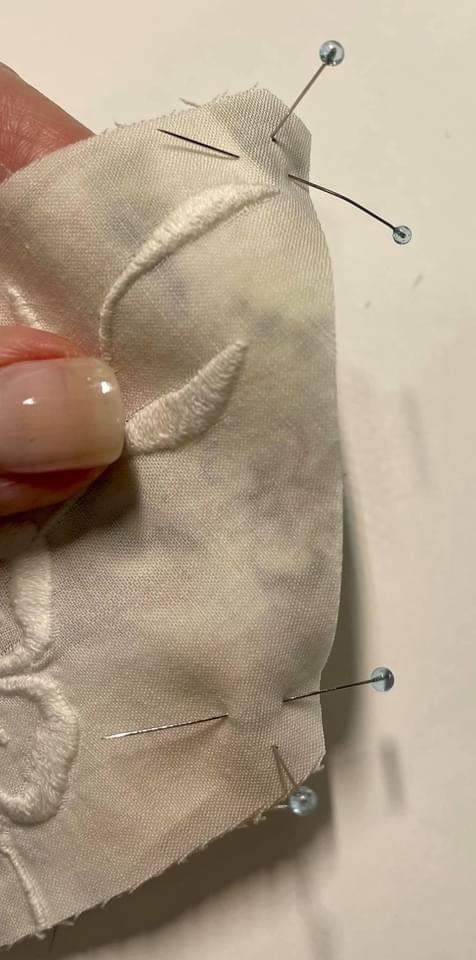
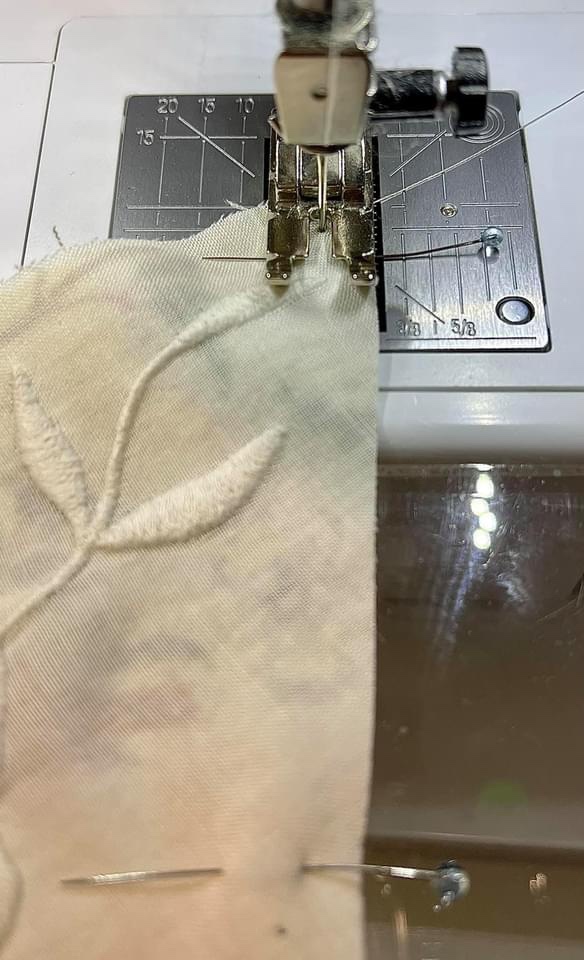
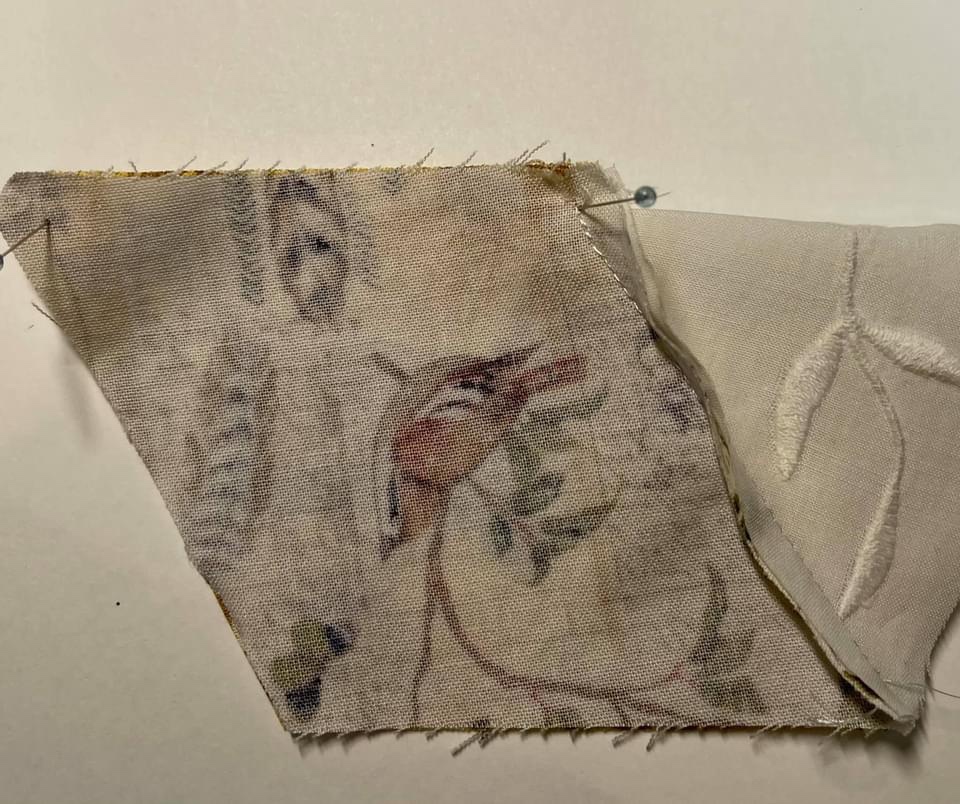
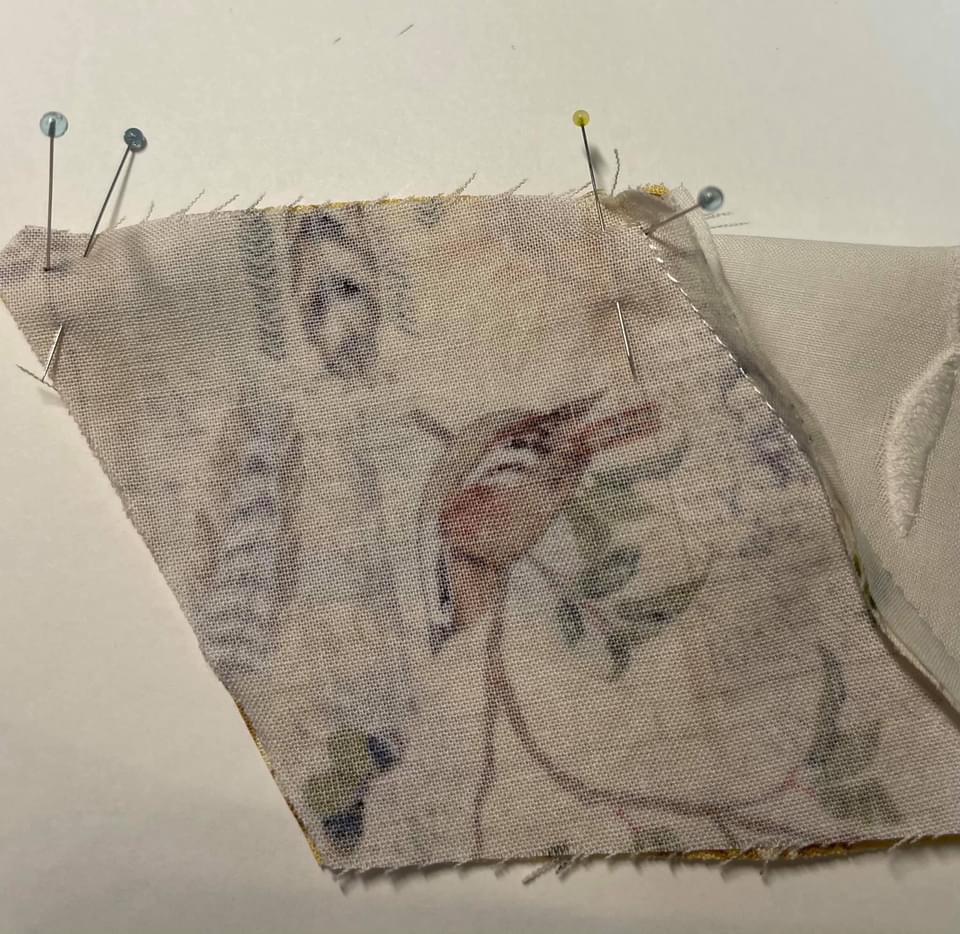
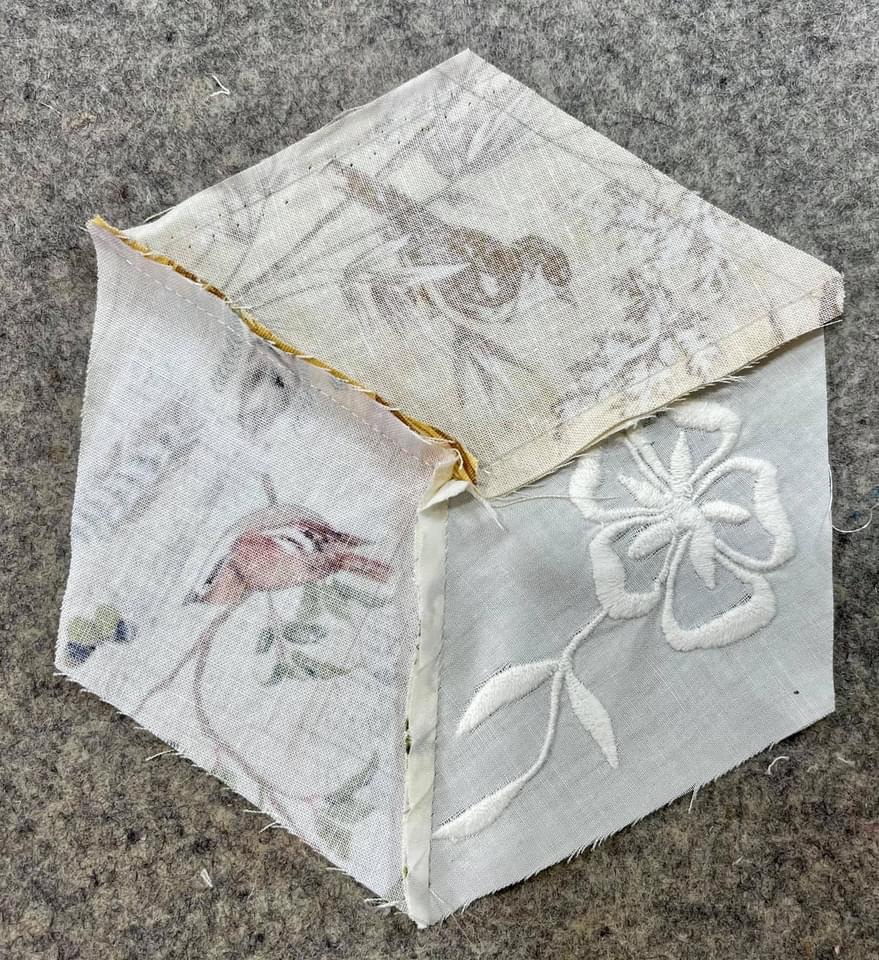
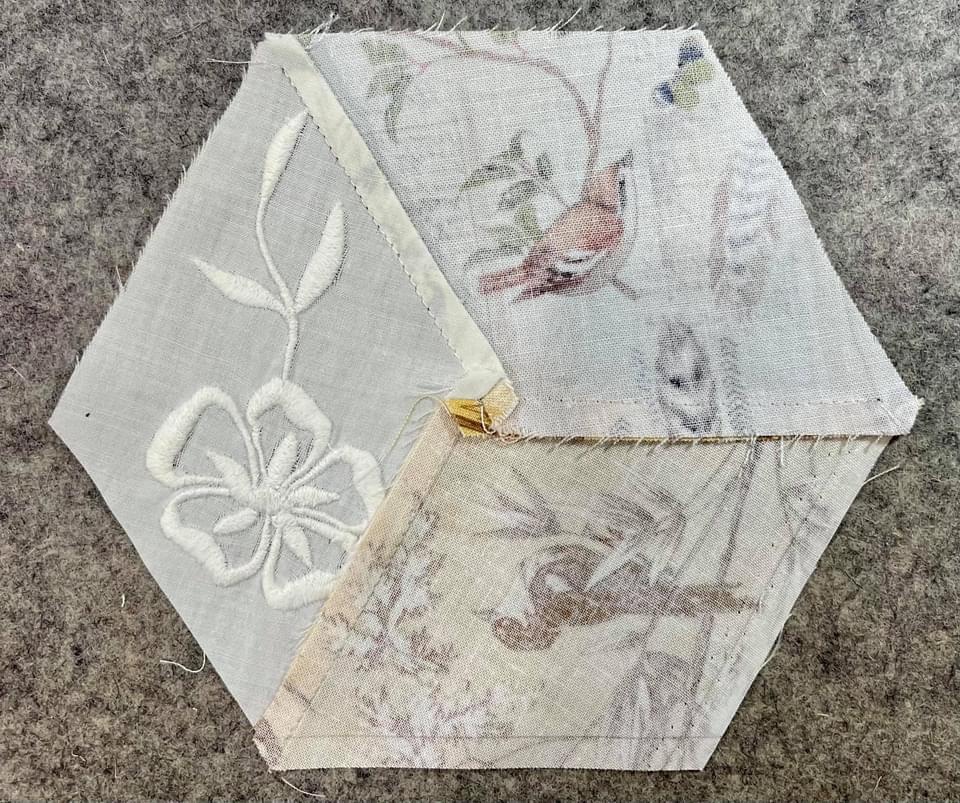
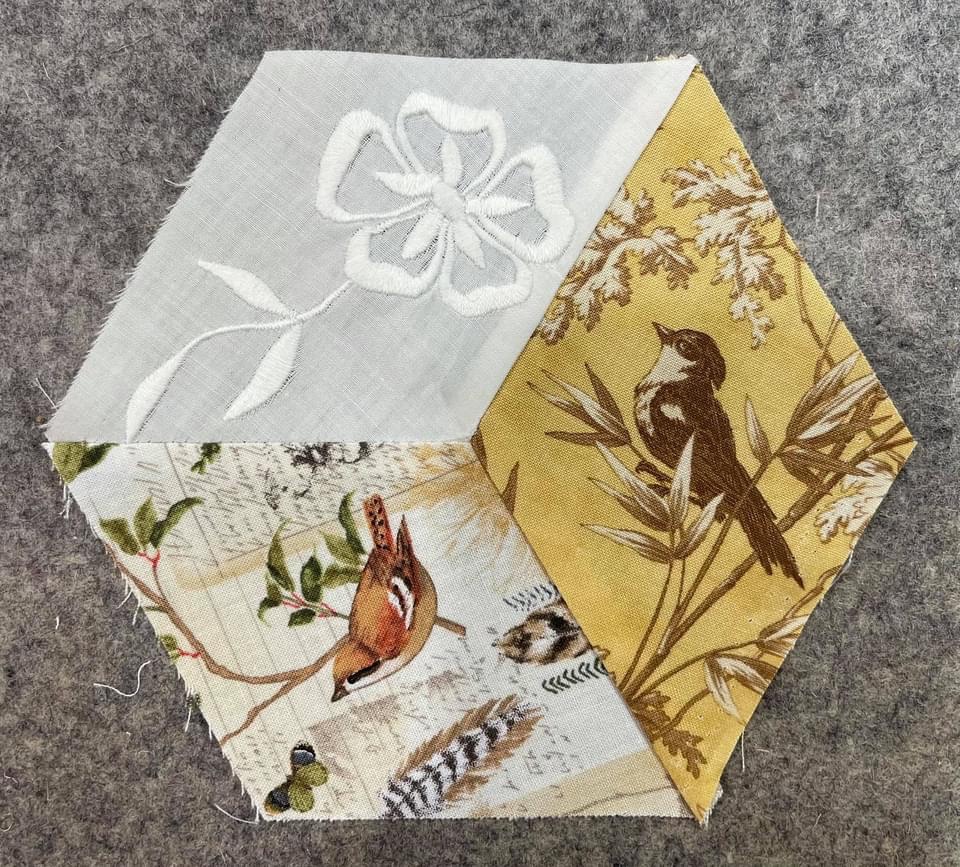
And Saving the Cutter Quilt project. Below you’ll find several pictures of examples. But what’s a cutter quilt? I think it is a quilt best described as worn, torn, tattered, stained. A quilt in very sad shape but worthy of saving.

The 1914 Boehm House in Moulton, Tx is the perfect venue to work with vintage linens and quilts. The beautiful 3 story Victorian home converted into a retreat center is very welcoming, comfortable and ready for your reservation!

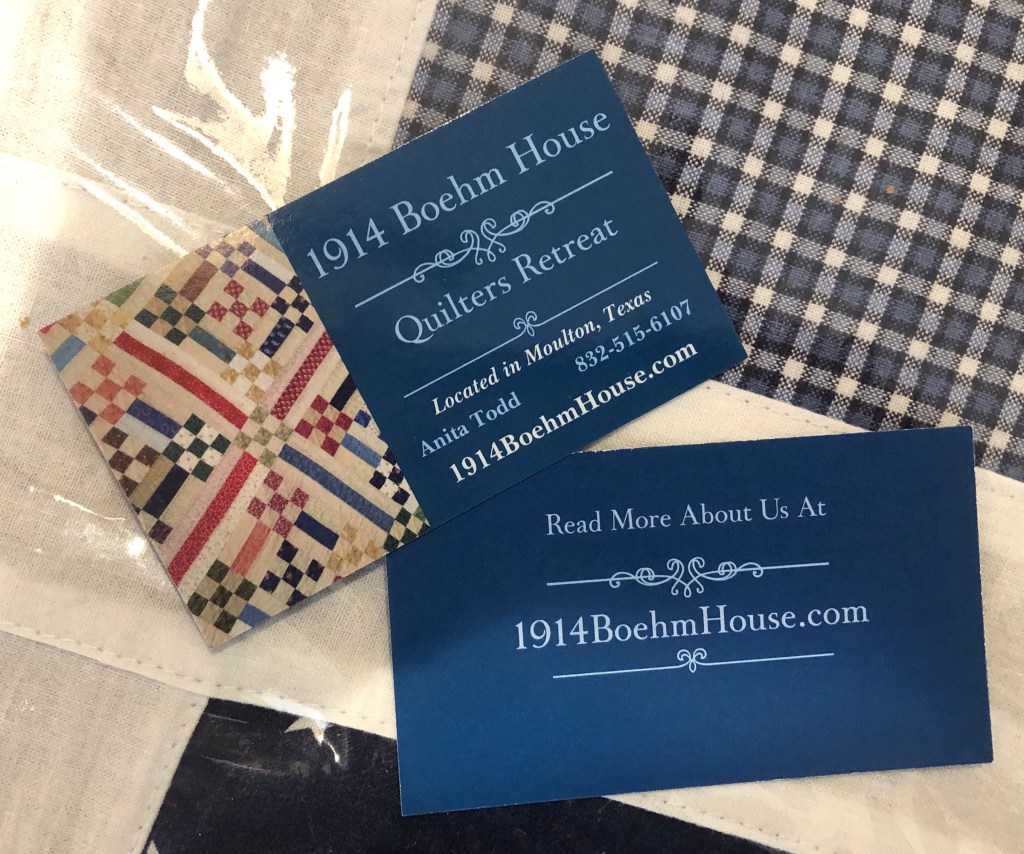
Get in touch with Anita, her email is:

info@1914BoehmHouse.com or you can find her phone number in the picture above.

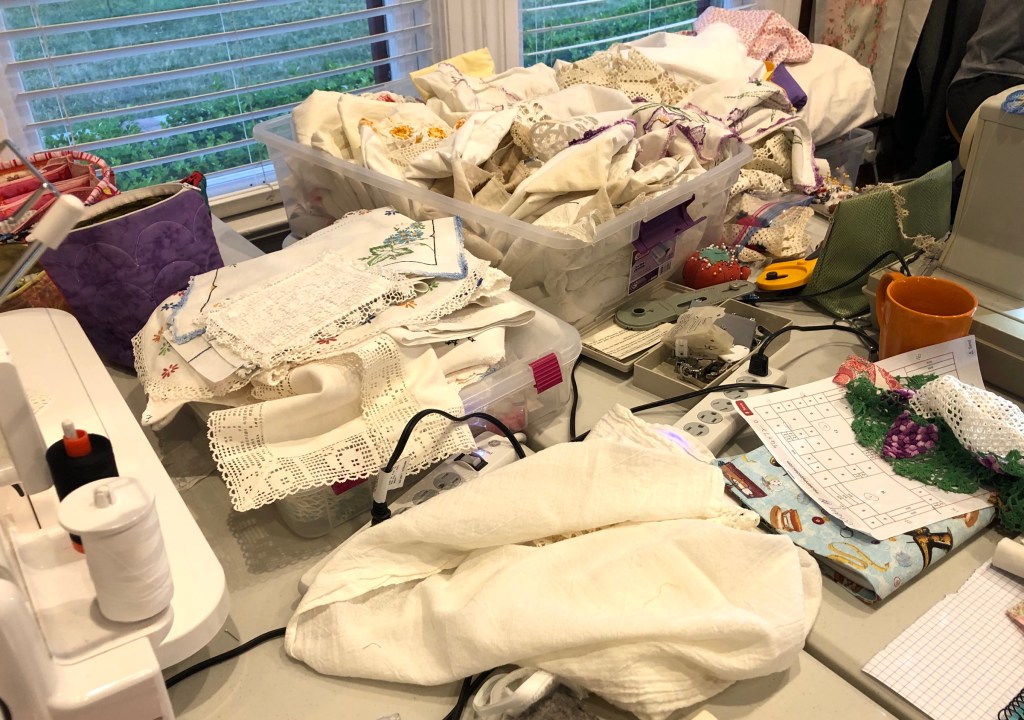
Here are a few pictures from a previous retreat, we had a blast!

Check your calendar, make a call, send an email, just get in touch with Anita and book your adventure! I’m looking forward to teaching again this year! See you there!

Rhonda

Class 3: Adding Sashing to Hexagons

Have you been following the free classes on Facebook at the: 1914 Boehm House Vintage Linens Retreat group? We started January 1st with our first class and we’re now working on hexagons in Class 3. I hope you find this third tutorial helpful:

Three hexagons with sashings added. So far the sashings look quite ordinary.
Stack one on top of the other, still ordinary.
Add one more in this placement and the magic takes place as the sashings begin to look intertwined.
How to begin? With your hexagon in front of you, begin to audition fabrics and color placement.
Check the back of your hexagon, are the dots still there?
Pin your first sashing strip in place.
Flip your hexagon over and sew dot to dot.
Flip and press.
SERIOUSLY IMPORTANT TIP: always always always on EVERY HEXAGON sew the sashing strips on in the same order, either clockwise or counter clockwise. ALWAYS!
For the next 4 sashing strips, the dot to dot sewing is ignored.
Sew from edge to edge.
Using scissors or rotary cutter, you can trim the right hand excess from sashing strip #1.
Flip and press.
Continuing in my clockwise placement, I pin and sew sashing strip #3 in the same manner, edge to edge.
Flip, press, repeat through sashing strip #5.
Can you see how I have folded down and pinned sashing strip #1? After this pinning, set sashing strip #6 in place and this time…
Sew left side dot all the way to the edge of the pink strip.
That’s right, keep sewing.

Flip…
Carefully press strip 6 and then un-pin strip 1.
This is what it will look like.
Carefully open up strip 1, lay it out over strip 6 and sew in the pressed
fold line.
Begin sewing at the edge of strip 6.
Taaaaaa-Daaaaaaa!
Flip, press and with your rotary cutter begin to trim away the excess fabric.
Is this a great technique great or what!!! 🙂🙂🙂
And here it is in my quilt top!

If you follow these steps you will end up with amazing sashed hexagons!

Happy quilting!!

Rhonda

Class 3: Making a Star Hexagon with 60° Diamonds

Have you been following the free classes on Facebook at the: 1914 Boehm House Vintage Linens Retreat group? We started January 1st with our first class and we’re now working on hexagons in Class 3. This is the second tutorial to be published for Class 3.

Once again, stitching ONLY between the dots is key! Because so much of the instruction is the same as the hexagon made with the three 60° large diamonds, I am not going to have quite as much to tell you about in the picture captions.
By sewing two strips of fabric together and then strategically placing the template, you will have made things soooooo much easier as you construct your 6 point star hexagon.

Here’s an example where I go against tradition and press the seam open.
Remember, the dotted line is the stitching line. It gets placed directly over the seam line.
You can mark and scissor cut or you can use your rotary cutter for your pieces.
By sewing the two fabrics together first, we have saved ourselves so much time!!!
But wait!! What’s this new template? I’ve had this super handy Deluxe Corner Trimmer for ages and I love it! I can also use it to mark the 120° and the
60° angles.
It’s a close match-up in the star center. I could have done better but this works for me.
All six of the ivory diamonds have been added and I am ready to press.
Remember to be consistent when pressing seam allowances.
This is one instance where I go against the rule of “press to the dark”.
I lay my hexagon template over my creation and if necessary I will trim
to size.

Are you ready to give it a try?

Happy quilting!

Rhonda

Class 3, Piecing a 60° Diamond Hexagon

Have you been following the free classes on Facebook at the: 1914 Boehm House Vintage Linens Retreat group? We started January 1st with our first class and we’re now working on hexagons in Class 3.

This was the introduction to hexagons posted on the Facebook group on May 1st:

Let’s begin our Class 3 hexagons with a picture laden little tutorial all about how I mark and then sew pieces together that will form a hexagon. We are beginning today with three 60° diamonds. You will find instructions below each of the pictures.

But first let me tell you about a perk Marti Michell is offering. When you make any purchase, in the shipping information, in the line titled Company all you have to do is type in: Rhonda sent me and you will receive a free template! I’m listing her web site, her products are simply the BEST!! https://frommarti.com/

With the larger of the two 60° diamond templates from the Marti Michell set H, I place the template on the fabric so the bird is generally centered. Once I am happy with the placement, using my rotary cutter I fussy cut my first piece.
I perform the same function on this different bird fabric.
The third diamond will be cut from this vintage dinner napkin. While I cannot get the entire design to fit within the template, I work with it until
I am happy with the result.
Always be aware of the 1/4” seam allowance when positioning your template over a design.
This is what my three diamond pieces will look like when they are stitched together.
I use either a mechanical pencil or a Pilot Frixion pen to mark a dot with the holes as my guide. These holes are at the exact spot where the 1/4” seam allowances perfectly meet. *Edit: if you use a Frixion pen you will need to re-mark the dots after you press your finished hexagon.
Now I’ve marked the ivory diamond.
If you do not have the benefit of the Marti Michell templates I suggest you very lightly draw a pencil line or a Frixion pen line of the entire length of the seam line.
Mark the seam allowance on each of the four sides. You can mark the entire length of each side or just enough so as to have intersecting lines
at each angle.
It is at the crossing of the lines (the intersection) that indicates where your stitching needs to begin and end.
I begin with these two pieces.
I lay them perfectly one on top of the other with the right sides together.
I send a straight pin down through the top dot making sure it goes through the bottom piece dot. Leave the pin straight down. Do the same thing with the dot at the other end of the side of the diamond.
With your two straight pins still straight down, take two more pins and position them as you normally would to hold fabric together.
So here is almost the most important thing I can tell you!!! To begin sewing put your needle down manually into the fabric exactly on the dot. This is where you will begin sewing. I advise you to take two stitches forward, one stitch in reverse and then sew to the next dot. DO NOT SEW A SINGLE STITCH BEYOND THE DOT! 🙂 When I reach the end dot I take two stitches in reverse and then 1 stitch forward. We don’t usually “back tack” in quilting, it’s
usually reserved for garment construction but it is essential when constructing your hexagons.
Remember: no stitches before the starting dot and no stitches after the
ending dot!!!
Congrats! Your first two pieces are sewn together! Do not press/iron yet.
From the right side with the seam allowance finger pressed to the right, take the tip of the right diamond and carefully fold it down.
Do you see what happens when you fold this diamond down? That seam allowance opens up automatically for you!
Straight pin the folded down diamond just as shown in this picture.make sure that little point stays just as the picture shows.
Position your third diamond (the one I marked with my ruler) into position and straight down as before. Once you are confident your new piece is in the correct position, with three more straight pins, pin as shown in the picture, the difference this time is you will position 2 pins at the bottom, one before and one right after the dot.
After you remove the straight down pins this is what it will look like. That second pin after the stopping dot serves to hold the other diamond out
of the way.
Taaaa-Daaaaaa!
Are you ready to sew your final seam?
Remember earlier when we folded a diamond in half top to bottom? We are going to do that once again with the ivory piece. The action of folding the ivory piece will automatically cause that little angle piece to move out
of the way.
Again, at the two dots, pin straight down and then two more pins in
normal fashion.
Your seams are finished!
So it’s decision time and this decision needs to remain consistent throughout the remainder of your quilt…do you press clockwise or counterclockwise? The choice is yours, just be consistent!
I press clockwise, but see what needs to happen in the center? If you place your fingertip at the center and slightly twist very carefully your seam allowances will position themselves perfectly!
Finished! It took a hundred times longer to type out directions than it will take you to sew a three diamond hexagon!

Happy quilting,

Rhonda