Let’s Make a Vintage Linens Quilt Together! Post #9

Let us take a few minutes to clear up some confusion…I cannot tell you how much fabric to buy because I do not know where you will use it, how much of it you will use or how often you will use a particular fabric.

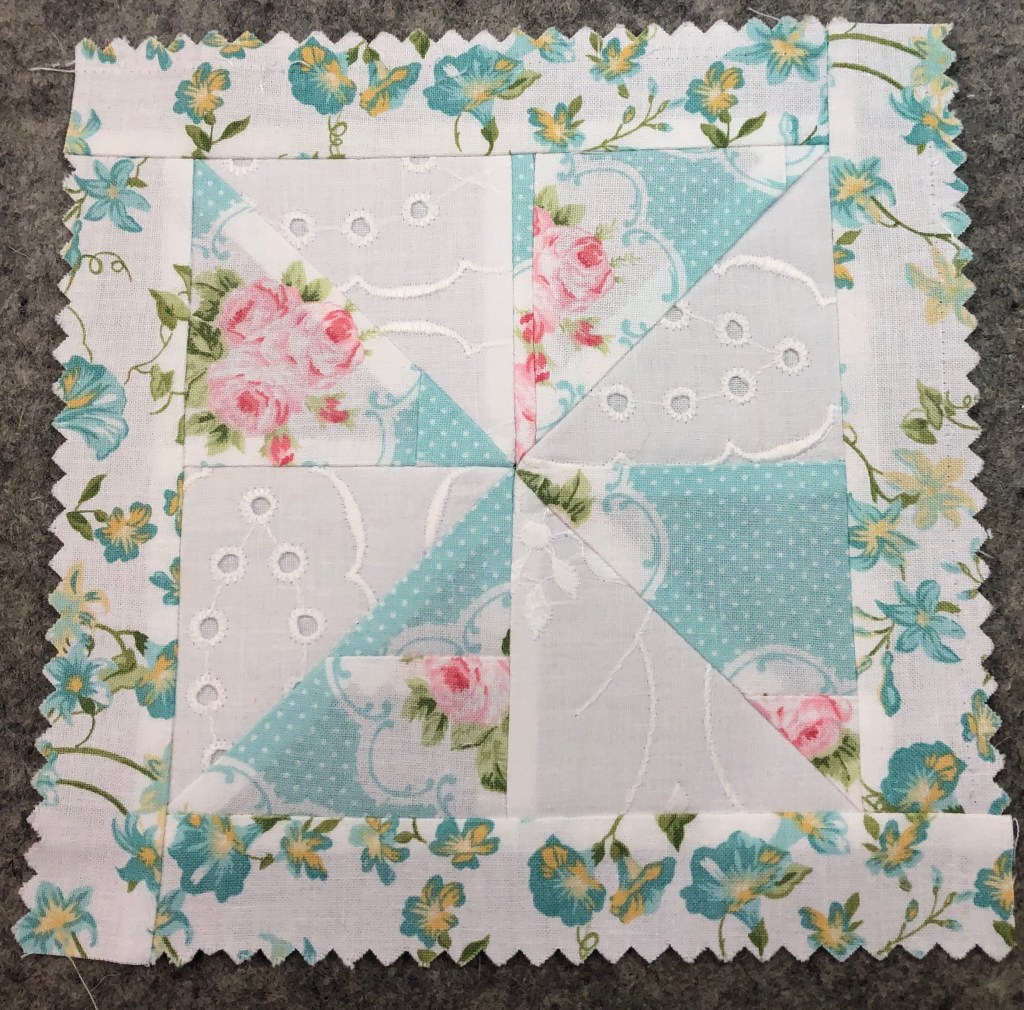
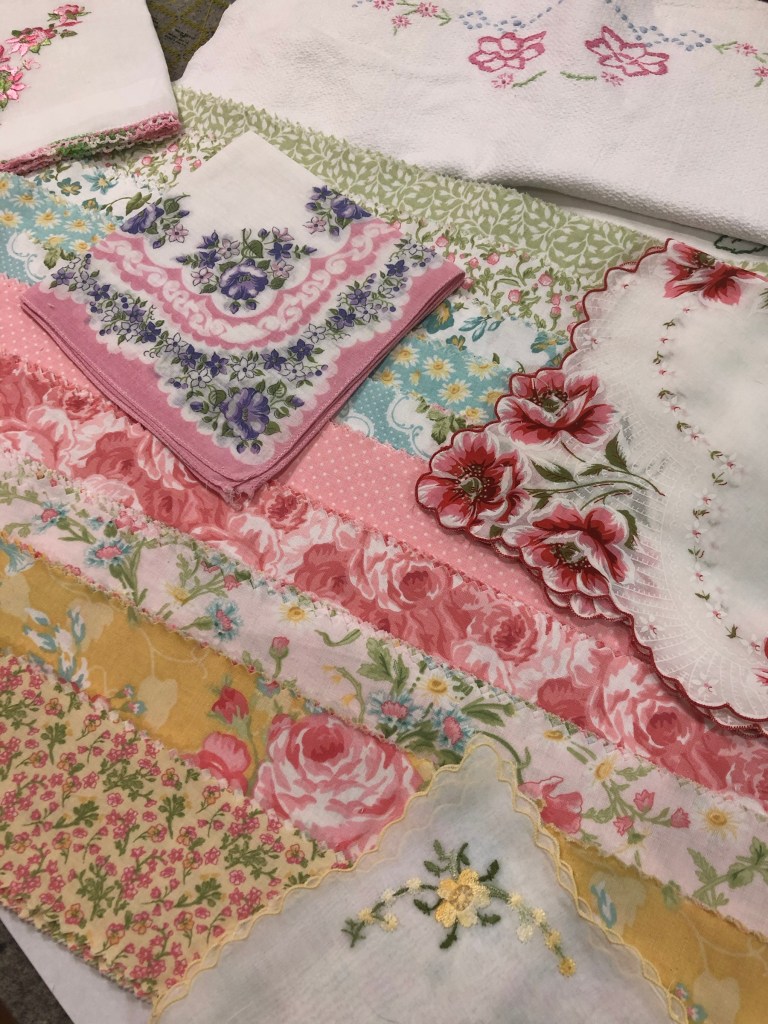
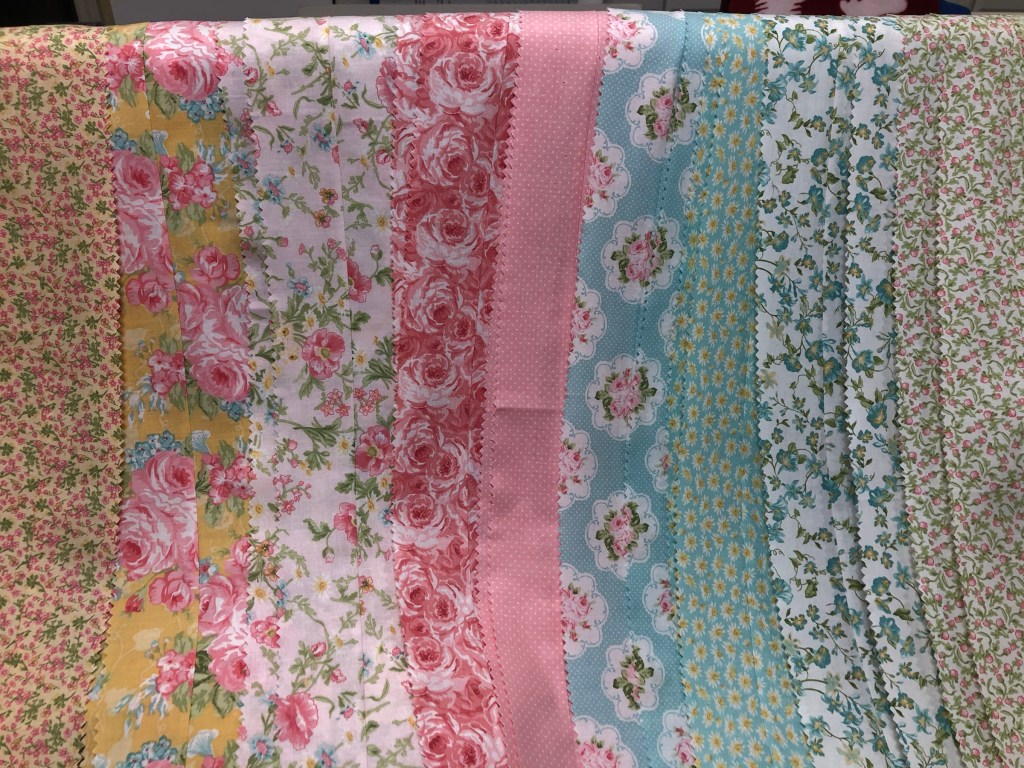
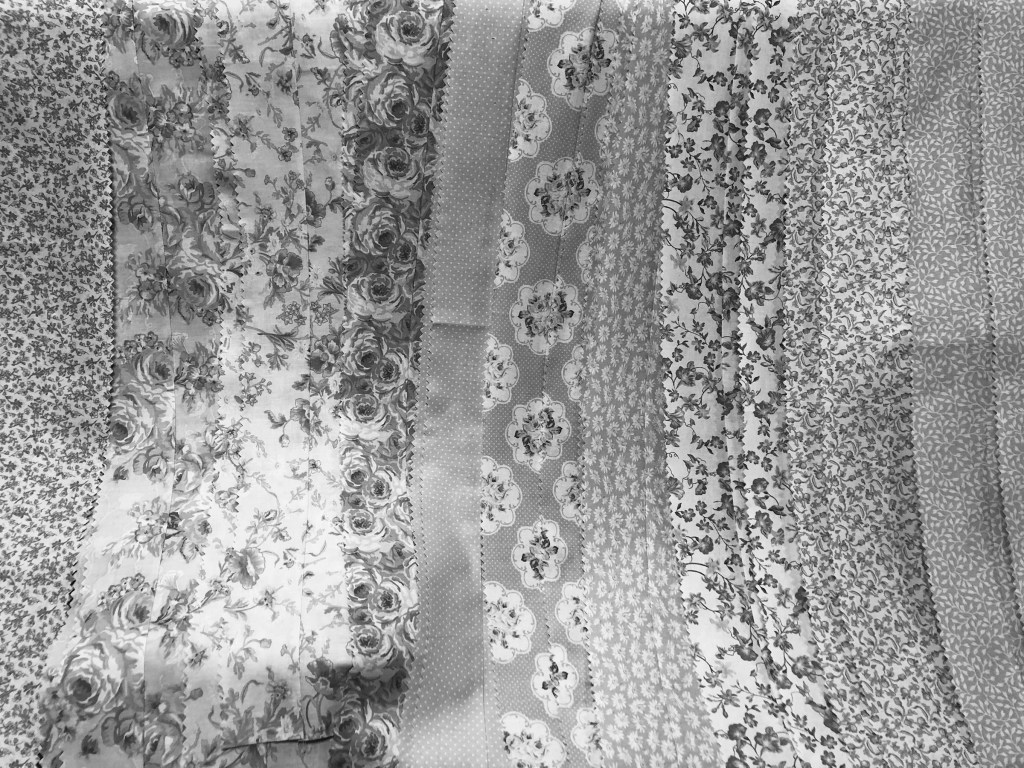
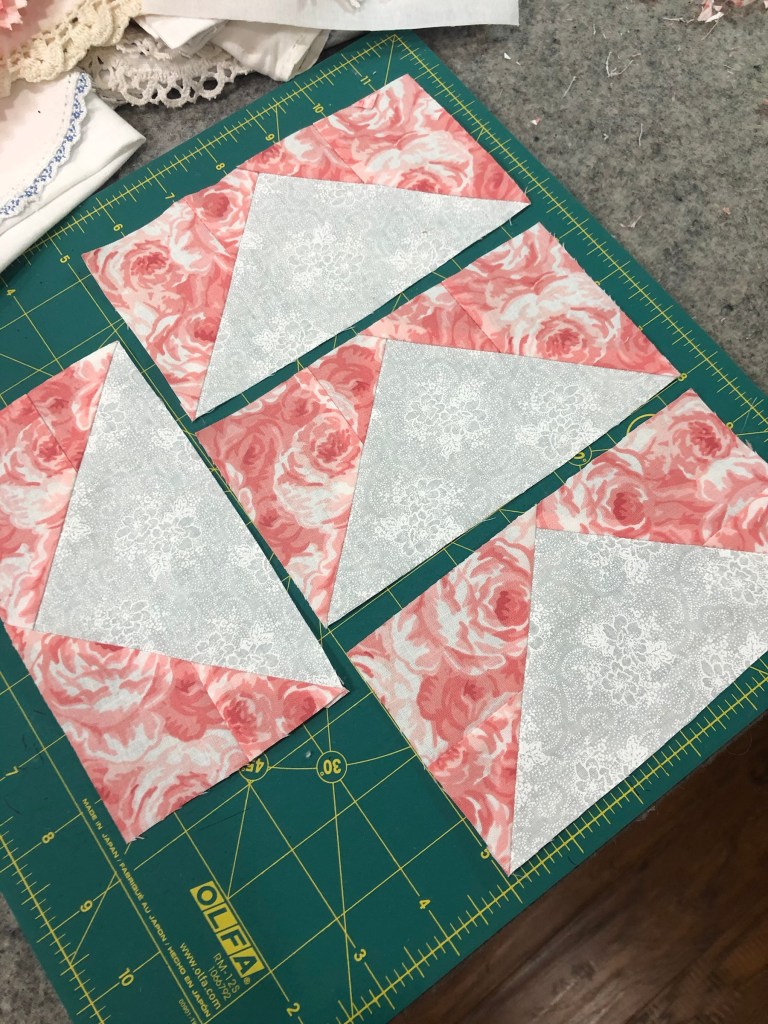
What I can tell you is you might want to have on hand maybe 7 or 8 fat quarters of fabrics that will have colors that will work well with the vintage linens you have selected.

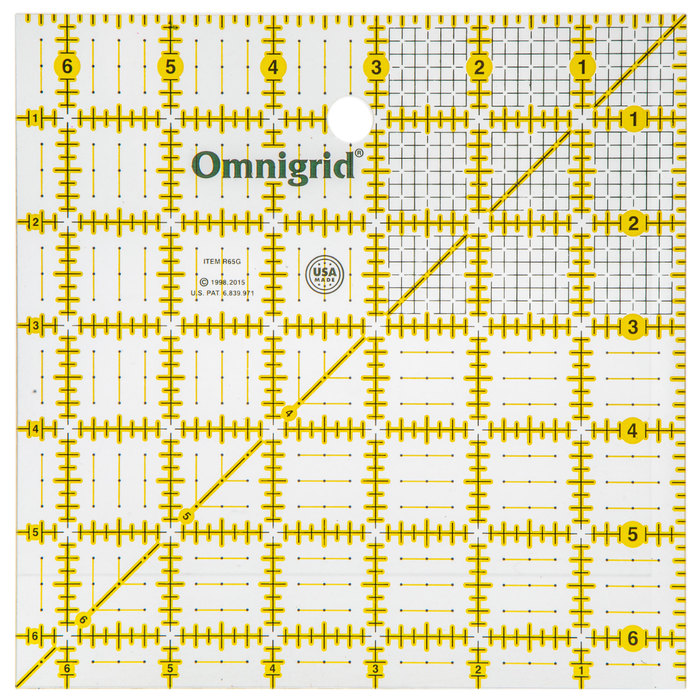
You will also need to be thinking about your “background”fabric, a nice light tone-on-tone maybe and either white or natural muslin. If you have 2 yards of background fabric you will most likely have a bit left over. The same for your muslin.

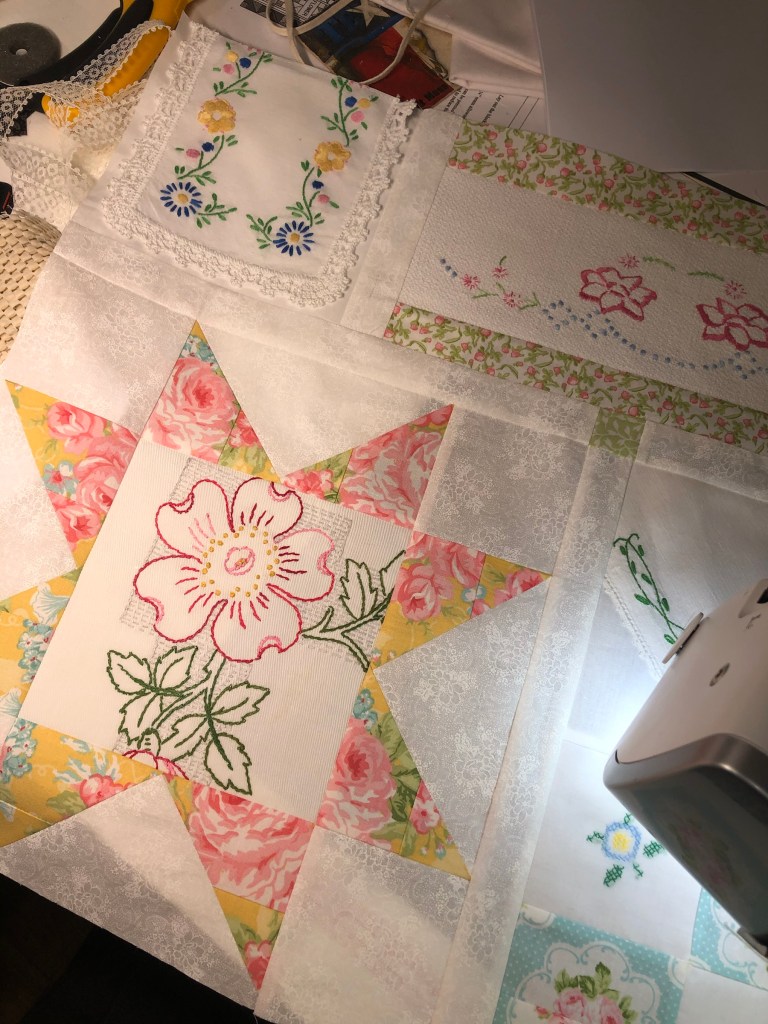
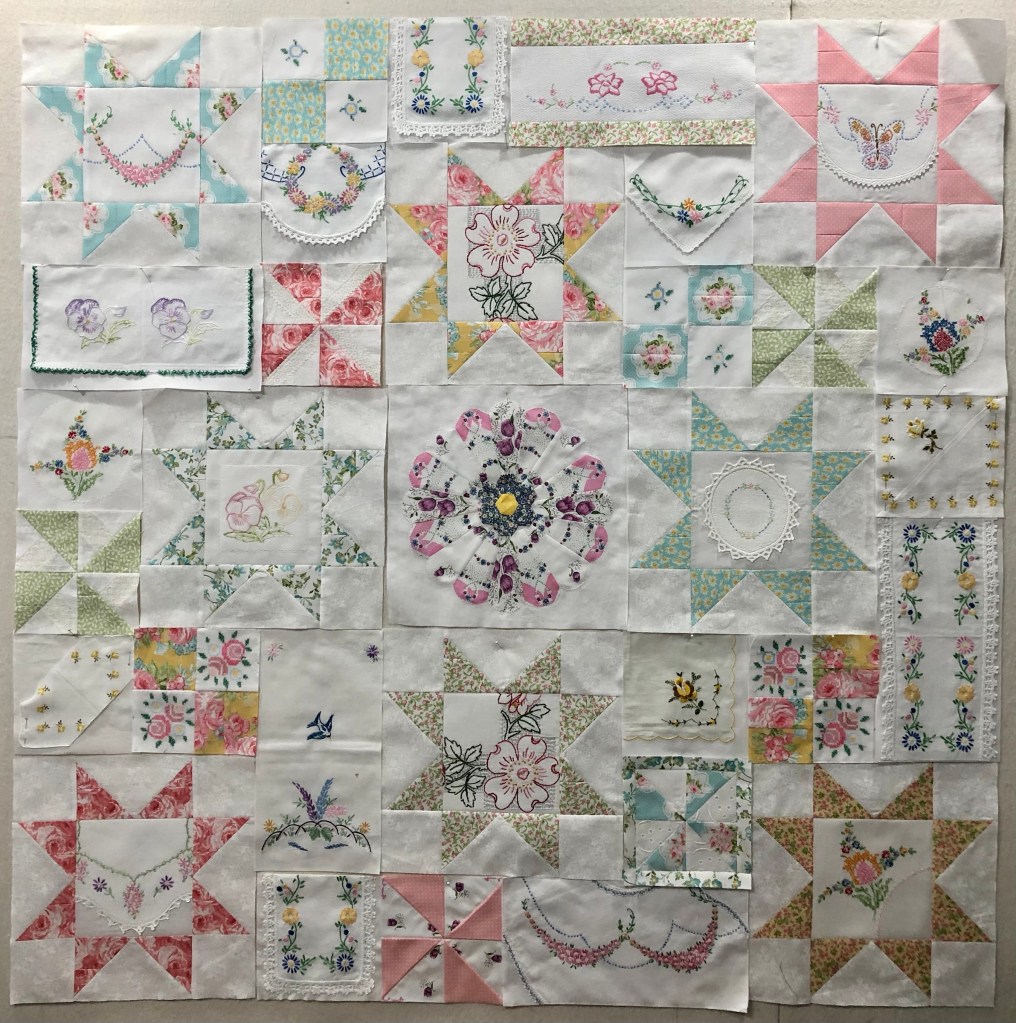
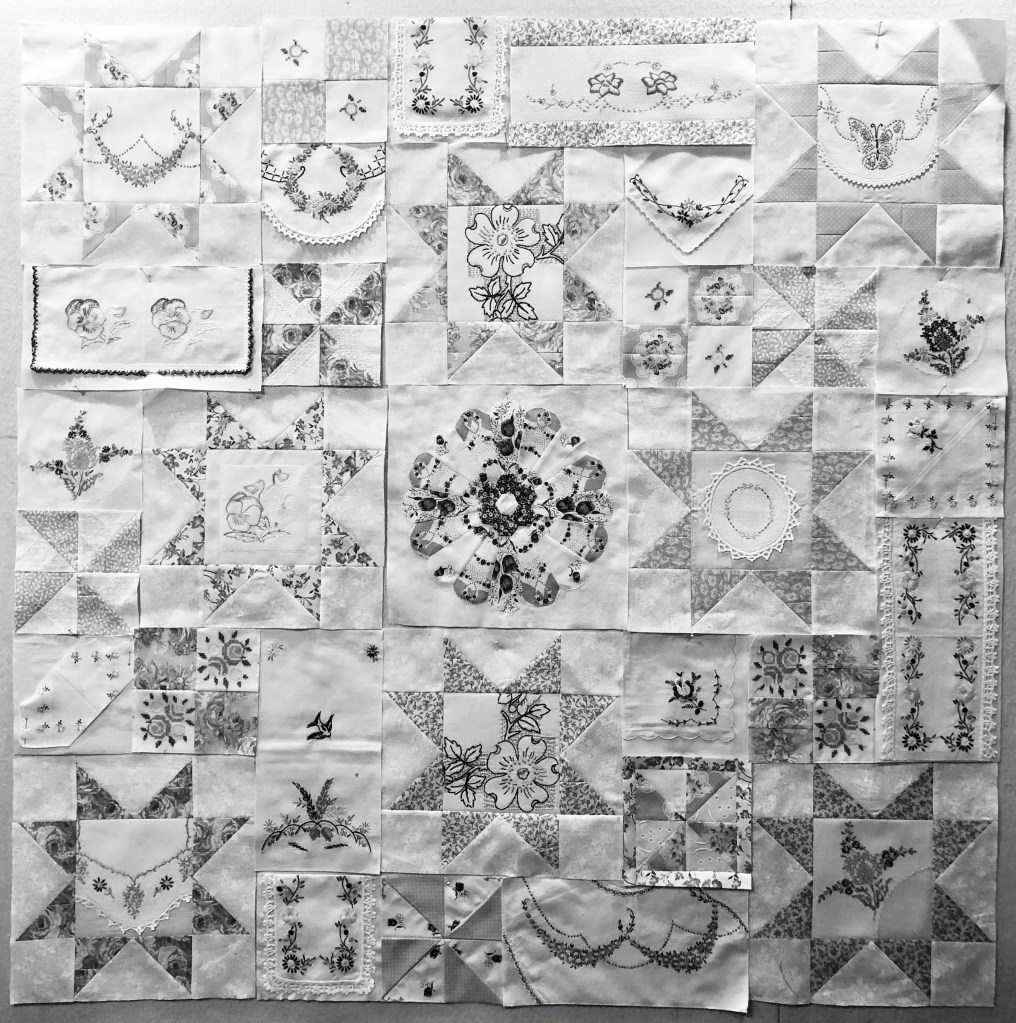
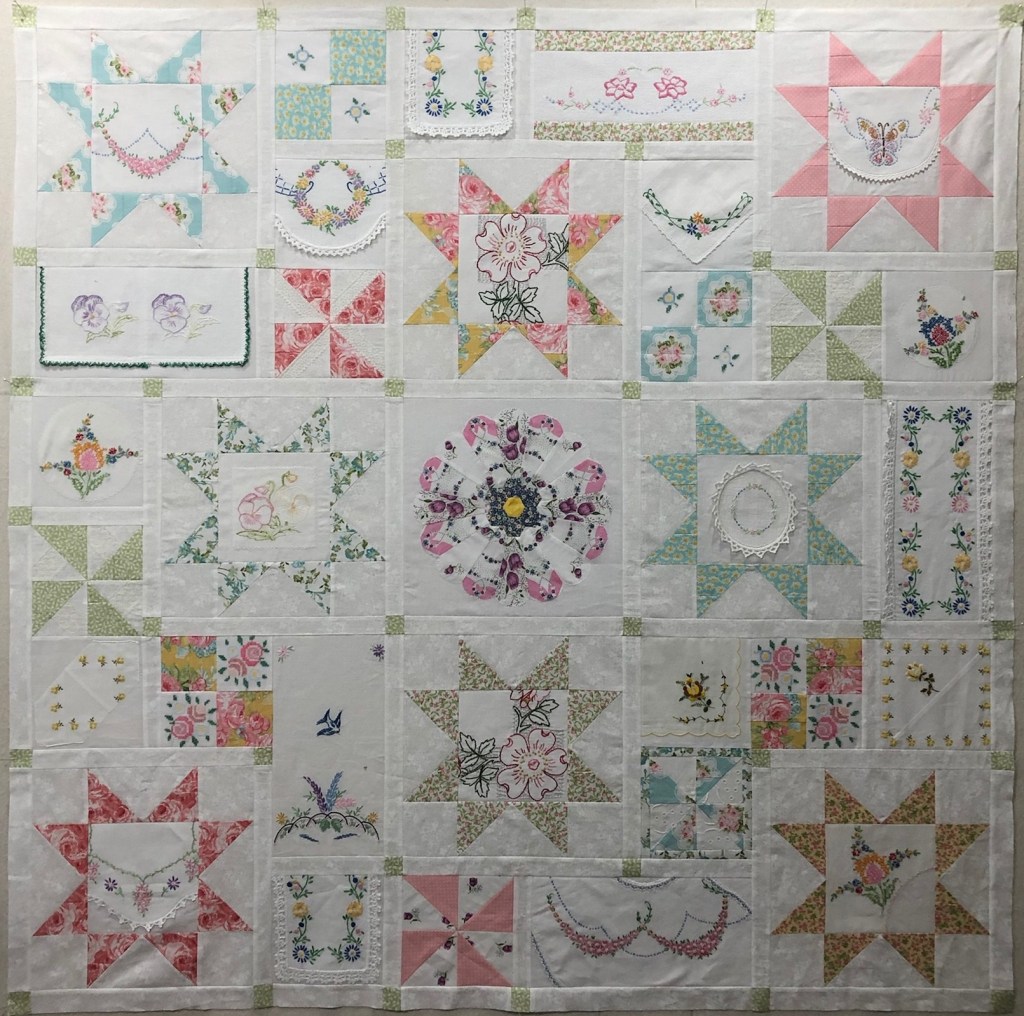
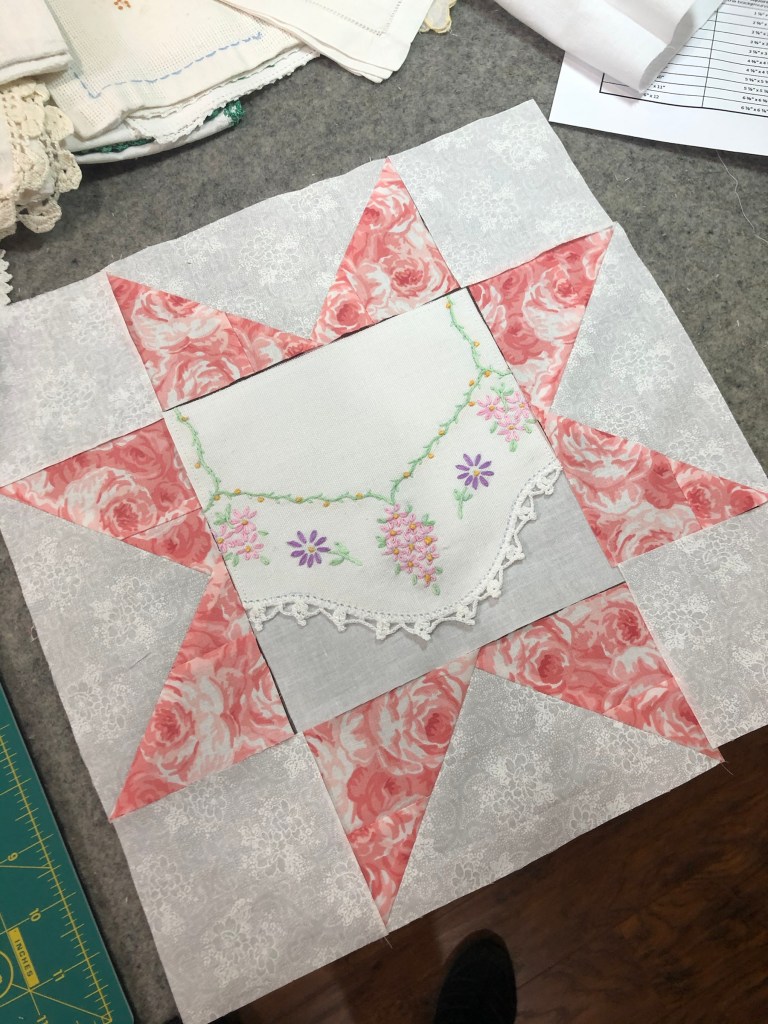
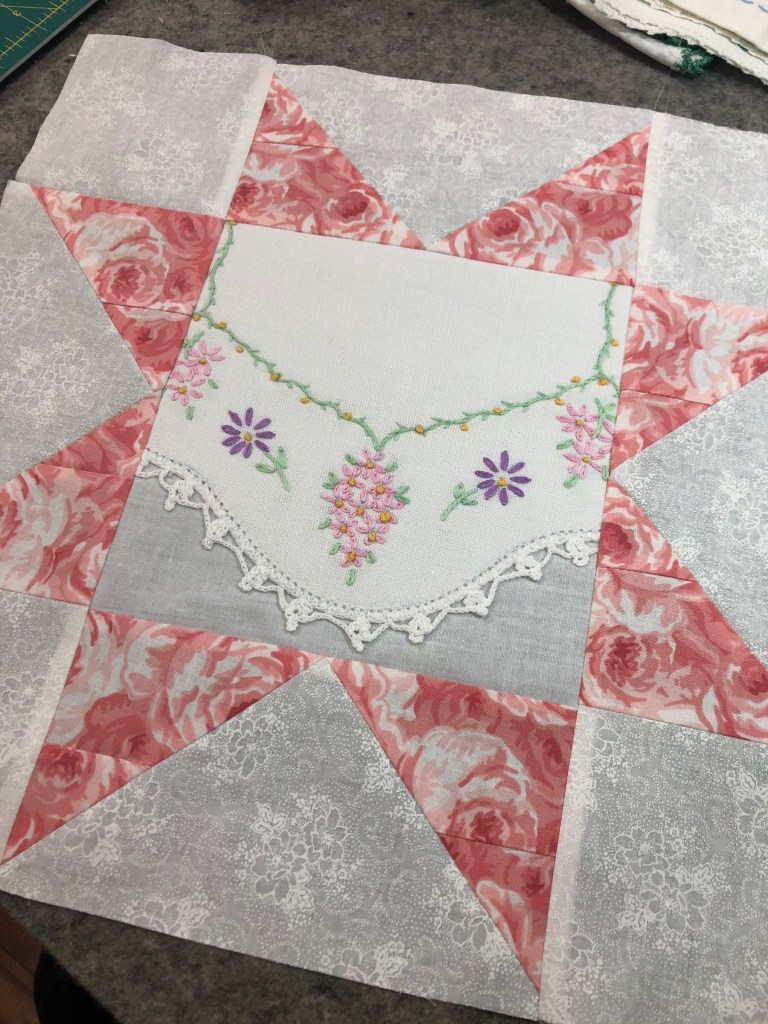
This is no ordinary project we are about to start! It will require you to make your own decisions about color placement, fabrics and such. You will have a very basic pattern to follow but I will not be telling you what to use where linens and fabrics are concerned.

For some of you, you are probably uncomfortable right now. This will be a wonderful learning experience! Remember several weeks ago I suggested that this might not be a project where you would use treasured vintage pieces? Keep that in mind, we are getting ready for a teaching/learning adventure!

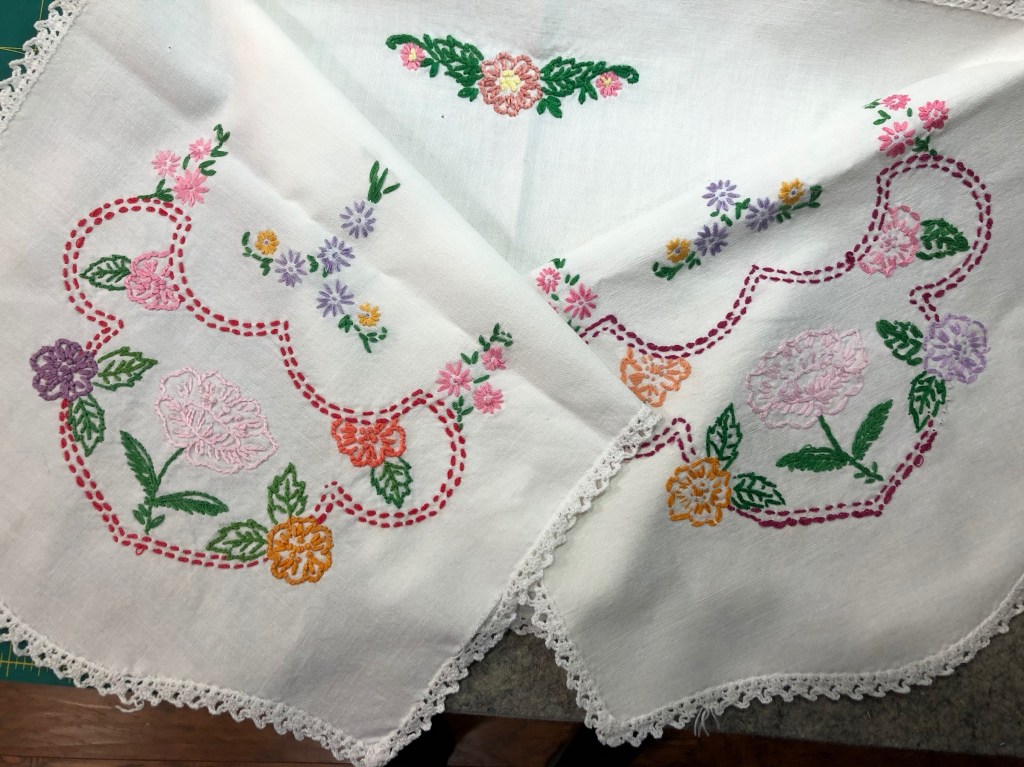
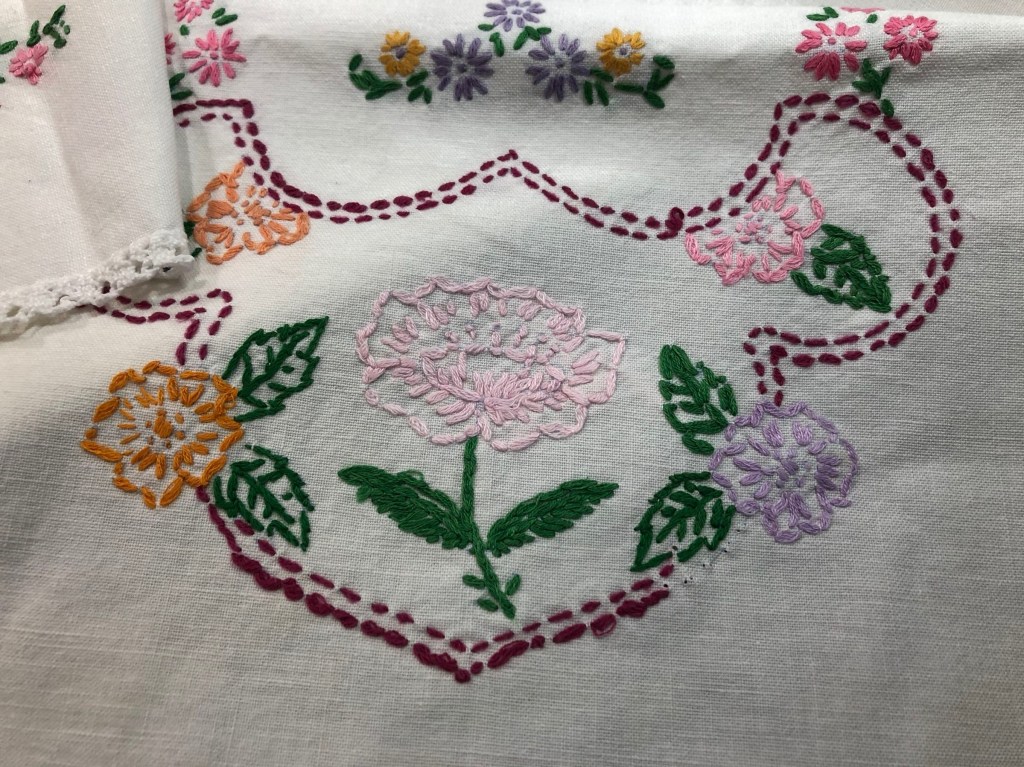
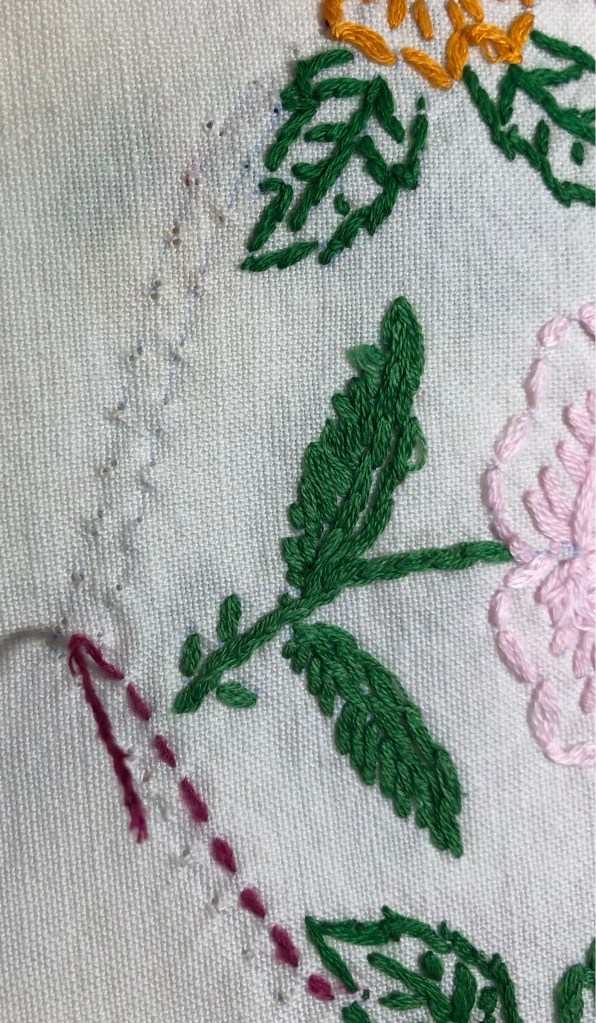
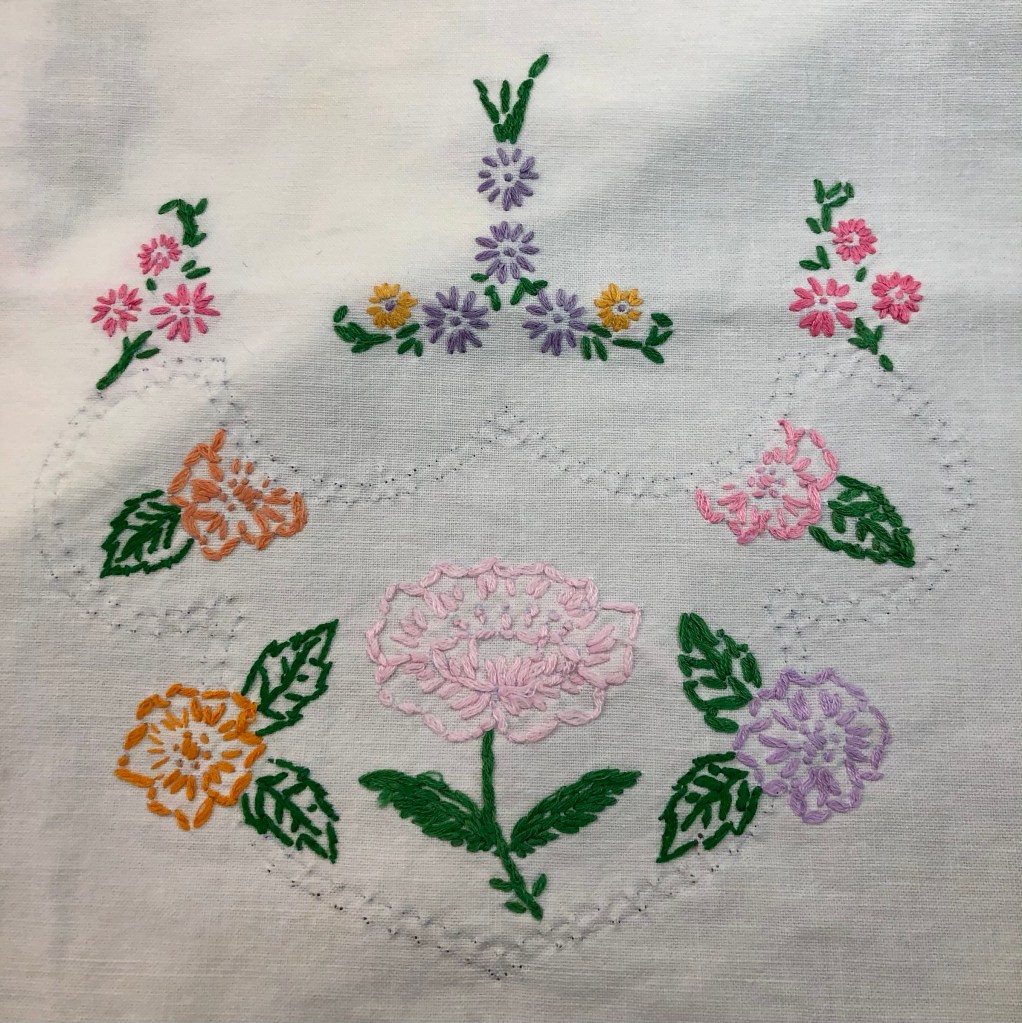
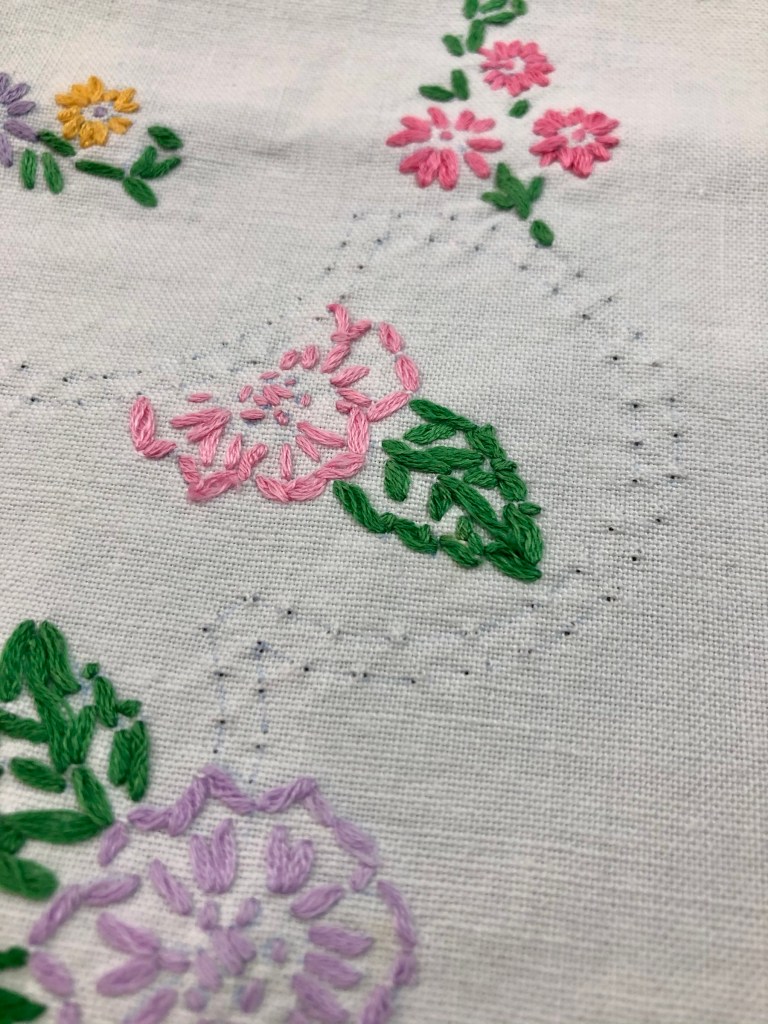
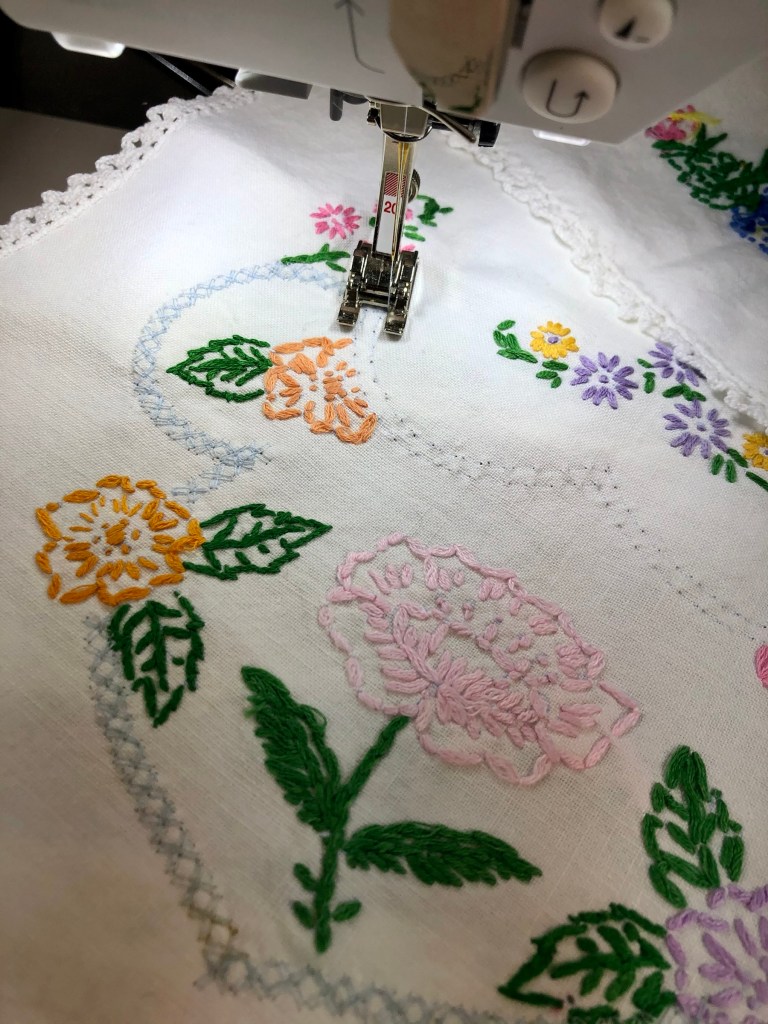
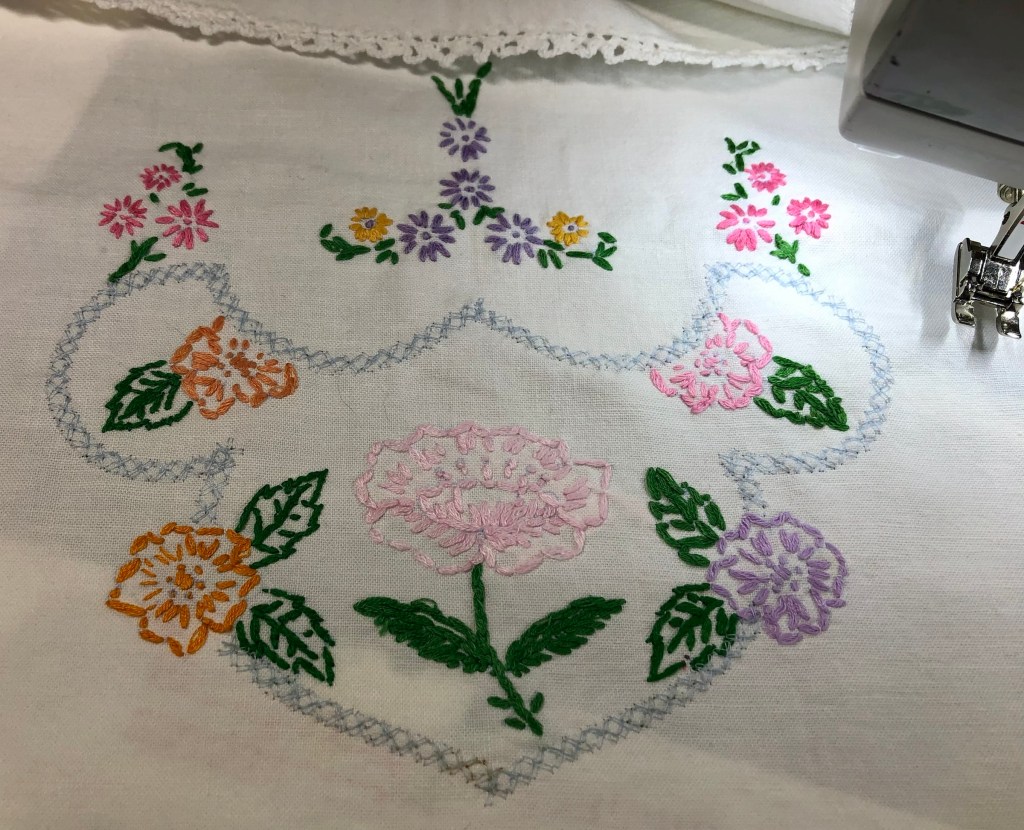
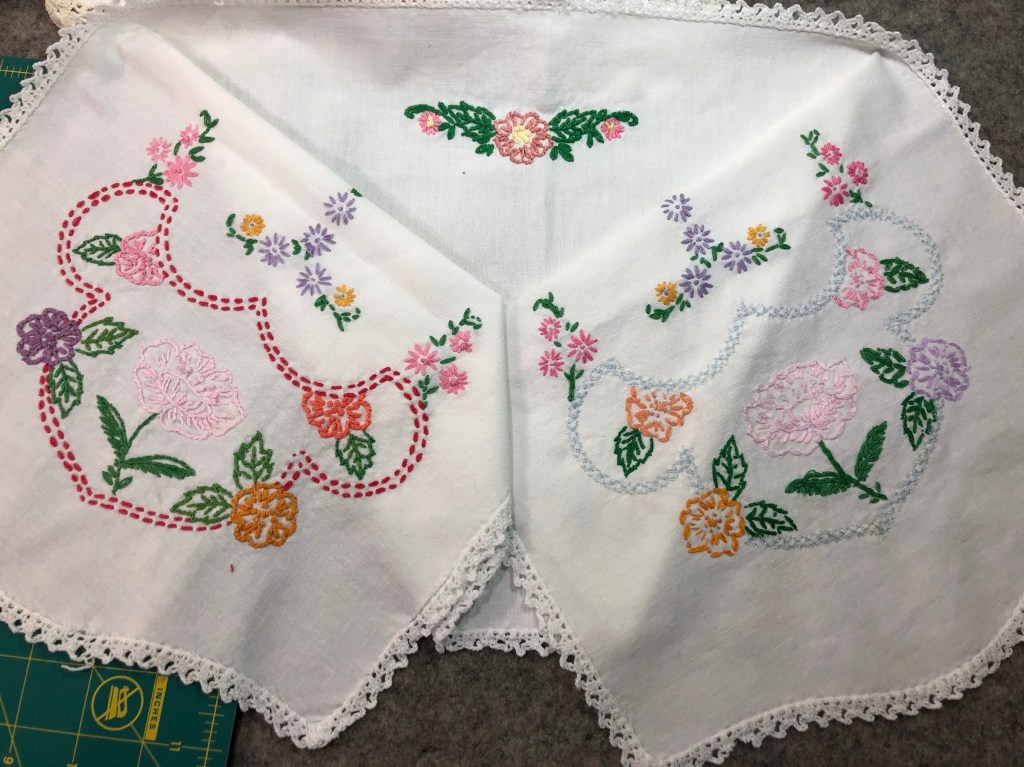
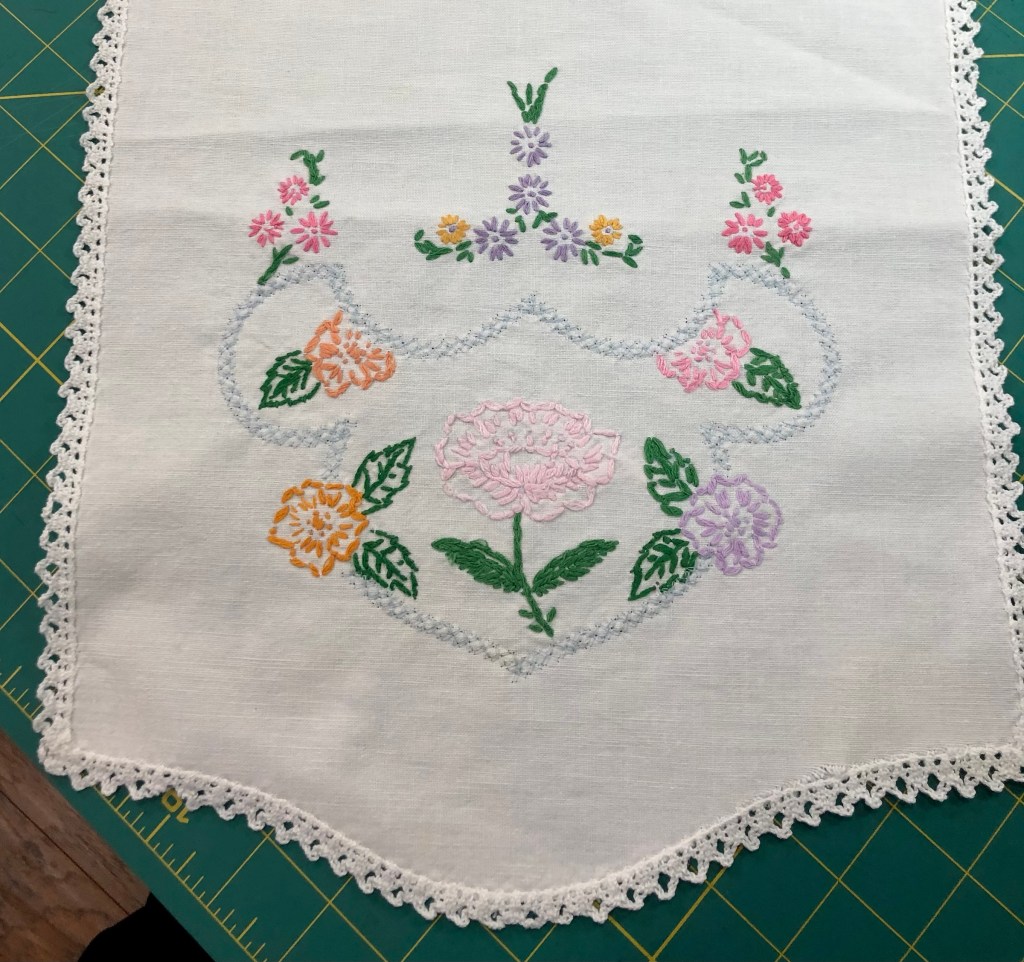
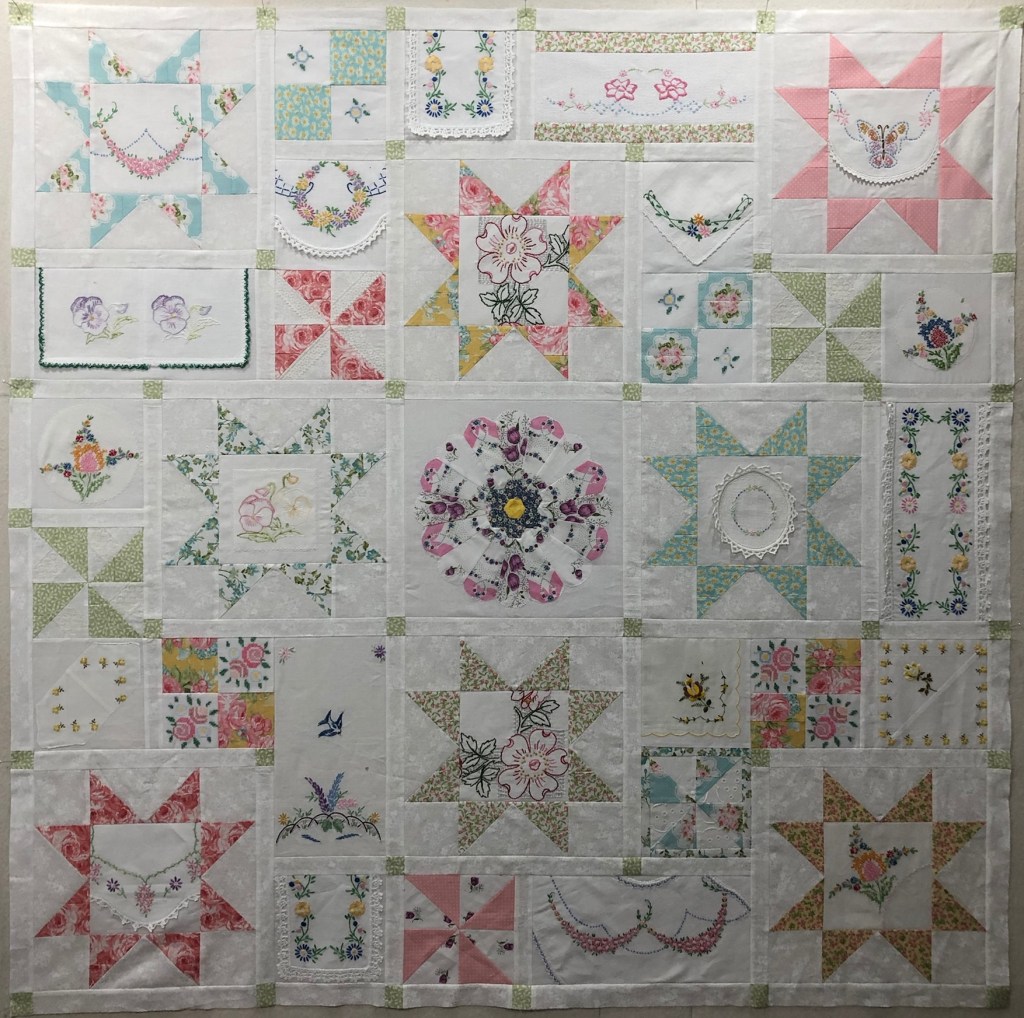
You are going to be so excited as we begin to create quilt blocks that give honor to those needleworkers who came before us. We are going to make a quilt top to showcase all the needlework we have so carefully gathered, laundered and pressed! We’re going to have fun!

Blessings to all during this Christmas Season, hope your holidays are filled with joy!

Rhonda

Let’s Make a Vintage Linens Quilt Together! Post #8

Boehm House Vintage quilt top pattern

Class begins January 1, 2021, here are some things to keep in mind:
The quilt top will measure approx. 54×54” if you follow the pattern as given. If you choose to eliminate the sashing strips and cornerstones, it will measure approx. 48×48”.

The Star Blocks are your Visual Anchor. The center Dresden Plate block is your “Bulls Eye”. The quilting fabrics and handkerchief colors need to work well with each other so as to draw your eye around the quilt top.

Lay out your quilting fabrics in what you consider to be the Light to Dark order. Take a picture of these laid out fabrics. Edit the picture to black and white. Reevaluate the order of your placed fabrics. Move your fabrics around if necessary and take a picture of your final placement. This will guide you to Star fabric placements. Your fabrics that “read” or look darker will work best if they are closer to the bottom on your quilt top. In other words, the darker fabrics will give your quilt top “visual weight” and as such, you may not want them placed at or near the top of your project.

You may have noticed that there ARE NOT cornerstones at all the intersections of sashing strips. This is intentional as I did not want to have cornerstone blocks anywhere other than the 4 corners of each Star Block.

As it appears in the pattern picture, there are horizontal and vertical seams in the center Dresden Plate block. I did not construct my Dresden Plate block in this manner. I completed the Dresden Plate circle and centered it on the bleached muslin single large piece of bleached muslin. I then Raw Edge Machine Appliqued the Dresden Plate circle to the large muslin square. Rather than use a center circle to complete the Dresden Plate I chose to use a small vintage Grandmother’s Flower Garden block which was also machine appliquéd in place.

Remember, this is not a speed challenge! Take your time once we begin! Everyone works at their own pace and unless you drop out, no one will be left behind. There are 8 Sections to this quilt. Once we have constructed all of our quilt blocks, we will lay them out and begin sewing these 8 Sections together.

Along the way you may very well change your mind about some of the blocks you have constructed. You may change your mind about your block placement. Perfectly normal! When I developed this pattern, I went through 19 different versions before I was happy. We will be working with Version #20! I also moved my Star Blocks around quite a bit before I was happy with their placement.

Keep in mind that when working with vintage linens, there are no rules, only what pleases you!

Are you excited? I know I am!

Happy quilting and Merry Christmas!

Blessings to all, Rhonda

Let’s Make a Vintage Linens Quilt Together, Post #7

What do you do with an embroidered vintage dresser scarf (or any embroidered linen) that is generally in overall good condition but there is just something you are not happy with? My answer: Change it!

See the dresser scarf below, the work is beautiful but one end had a different quality and color of embroidery floss used in the design that connects the motifs together. It was in bad shape and I felt the color was wrong so I decided that a change was in order.

I removed the offending floss and was left with a nice track of needle holes and light marking. Just what I needed to successfully sew a built in decorative stitch from my Bernina.

Do not ever let someone tell you what you should like and not like! Make your project your own by manipulating your linens as needed and personalize your results!

Above is a side by side showing the 2 ends of this dresser scarf. It is the right side color and floss quality that bother me.

This picture is a bit blurry but you can see that by removing the floss, I am left with holes and light markings.

Above you can see I’ve removed all the red-ish floss and already I like the piece so much better.

My Bernina to the rescue! I’ve chosen a nice double Cross-Stitch in a light blue. I purposely chose a matte finish standard weight sewing thread as it will work well with the old embroidery floss finish.

Finished!

Each sewing machine is different but I thought you might like to see a screen shot of the stitch pattern as displayed on the Bernina.

Keep this in mind as you look through your collection of vintage linens. If you do not like something, change it! You can easily add or delete items of interest to almost any vintage piece.

Blessings and Happy Quilting to everyone,

Rhonda

Let’s Make a Vintage Linens Quilt Together, Post #6

Boehm House Vintage

Happy Monday to quilters everywhere! Just a reminder, class begins January 1, 2021. Are you getting ready? Are you excited?

We are a global class, keep this in mind when posting. Here in the States we refer to the middle layer of a quilt as Batting but in many other countries it is called Wadding. This is but one example of different names for the same thing. Be mindful of this as you make comments over time in this FB Group.

For those of you outside the States: if one of the members makes mention of an item of which you have no reference, google the item or ask in the comments section about the word(s).

***Class preparation assignment for the week:
Familiarize yourself on the various ways to make Flying Geese. There are (to the best of my knowledge) about 5 different ways. Google: Flying Geese Quilt Block tutorials and you will be presented with a multitude of examples. Piece some examples to hone your skills and to determine the technique best suited to your skills.

For those new to the quilting world, are you reading everything you can in order to familiarize yourself with quilting terms, techniques, requirements, etc., etc.? Remember I said a few weeks ago, while this is definitely not a “beginners quilting class”, but given preparation, there is no reason you cannot keep up and finish this class with a wonderful quilt top!

Did you notice I have use both bleached muslin and a printed tone-on-tone fabric in this block? Why not use the printed fabric in the center block? Because the printed white fabric would have “shadowed” through the embroidered center square causing it to look possibly stained or dirty.

Happy quilting and blessings to all,

Rhonda

Let’s Make a Vintage Linens Quilt Together, Post #5

I have added a .pdf file to the Facebook Group page for your viewing. In it I list the 32 quilt blocks, both their Cut and their Finished sizes. This will assist your efforts as you begin to analyze your vintage pieces and how and where you might consider using them in your quilt.

You will notice the blocks, with the exceptions of the cornerstones and sashings are of the mathematical power of 2. In other words, they are and can easily be divided by 2. This will easily allow you to make changes if you wish. For example: the center 12″ square block could easily become four 6″ square blocks or two 6×12″ blocks. The star blocks could easily become some other quilt block just as long as the finished block(s) measure 12×12″ when finished.

Remember, I keep stressing that this is YOUR quilt, you need to feel free to make it your own and if that means adapting the given pattern, please feel free to do so! But…also remember that I will not teach and/or address your adaptations.

***Now…keep in mind that this class begins on January 1, 2021. As such all specific instruction will not take place until that date. ***

Blocks finished size: Blocks cut size:
8 Star Blocks, 12×12” 8 Star Blocks 12 ½ x 12 ½”
1 Dresden Plate Block, 12×12” 1 Dresden Plate Block 12 ½ x 12 ½”
5 Embroidery etc. feature Blocks 6×12” 5 Embroidery Feature blocks 6 ½” 12 ½”
4 Four Patch Blocks 6×6” 4 Four Patch Blocks 6 ½ x 6 ½”
4 Pinwheel Blocks 6×6” 4 Pinwheel Blocks 6 ½ x 6 ½”
10 Embroidery etc. Feature Blocks 6×6” 10 Embroidery etc. Feature Blocks 6 ½ x 6 ½”
36 Sashing Cornerstones 1×1” 36 Sashing Cornerstones 1 ½ x 1 ½”
20 Sashing Strips 1×6” 20 Sashing Strips 1 ½ x 6 ½”
36 Sashing Strips 1×12” 36 Sashing Strips 1 ½” x 12 ½”

Remember how I have been talking about making this quilt your own concerning the pattern and/or the design? I have done just that by changing one of the 6×6 plain blocks into a pinwheel. Always remember, you can do whatever you wish with this basic diagram! In fact, see the pinwheel block near the lower right that has a narrow colored border around it? This is proof that you should not sew and cut when exhausted. I made the pinwheel block, loved the look of it and promptly trimmed it too small. In order to save this block I added a fabric border.

Blessings and Happy Quilting to everyone!

Rhonda

Let’s Make a Vintage Linens Quilt Together, Post #4

Supply list:

General quilting supplies: whatever you normally use to piece quilt blocks.

No special thread, no special scissors, no special anything! Use quilting supplies that work best for you. All we’re doing here is making a quilt top! The special thing about this quilt top is that it is going to have a lot of history sewn into it instead of all new quilting fabrics!

If you have the option of sewing with a machine that has built in decorative stitches you might find a use for several of these stitch patterns. Perks that are not necessary but made my process a little easier:(see pictures below)

12 1/2” Omni grid square ruler

6 1/2” Omni grid square ruler

Slotted Trimmer by New Leaf, seriously one of the most useful things I have purchased this year.

June Taylor Shape Cutter, a wonderful device

Ultimate Flying Geese Tool by Creative Grids

Perfect patchwork templates, the Dresden plate set by Marti MichellIf you are wondering about these items, just google them for more information.

I use marking pens, both the blue water erasable and Pilot Frixion Pens. If you are not a fan of Frixion Pens, keep this to yourself. This is no place to start up and/or fuel a war of words. If you do not favor them then exercise your freedom to make other choices. Yes, I feel that strongly about no negative comments!

Muslin, white or natural if you plan to use vintage handkerchiefs. You will want a layer of solid white fabric behind the hankie. Launder your muslin in HOT water and send it through the dryer! Muslin shrinks even if you purchase the brand that indicates “pre-shrunk” on the bolt label…launder it anyway! It will still shrink!I do not ever ever use iron-on fusibles with vintage linens with one exception: vintage damask tablecloths/napkins. Damask is a strange weave, it will ravel if you so much as look at it the wrong way 🤣… If you want to use fusibles in your blocks it is totally up to you.

Here is an unusual item for a supply list: A sense of adventure! You are going to be making a lot of decisions while constructing your quilt top. I can and will give you direction about construction techniques but I can offer no advice at all about your preferences.

You must choose your own fabrics and your own vintage linens. Choose things that make you smile and you will love your quilt! 🙂😀🙂

Do not let yourself overthink what we are going to make! It is what we are going to use in our project that will make our quilting hearts sing!

Are you excited? I know I am! Blessings for a great day and Happy Quilting!

Rhonda