This is one of those quilts where I really don’t know how I came to own it or how much I may have paid for it but I’m guessing it might have been an online purchase because the white fabric is a poly-cotton blend. It has tiny “pilling” across the white surface and was made using poly batting. Unless it was crazy inexpensive I don’t think I would have bought it as an “in-person” purchase. In other words, I didn’t much care for it.
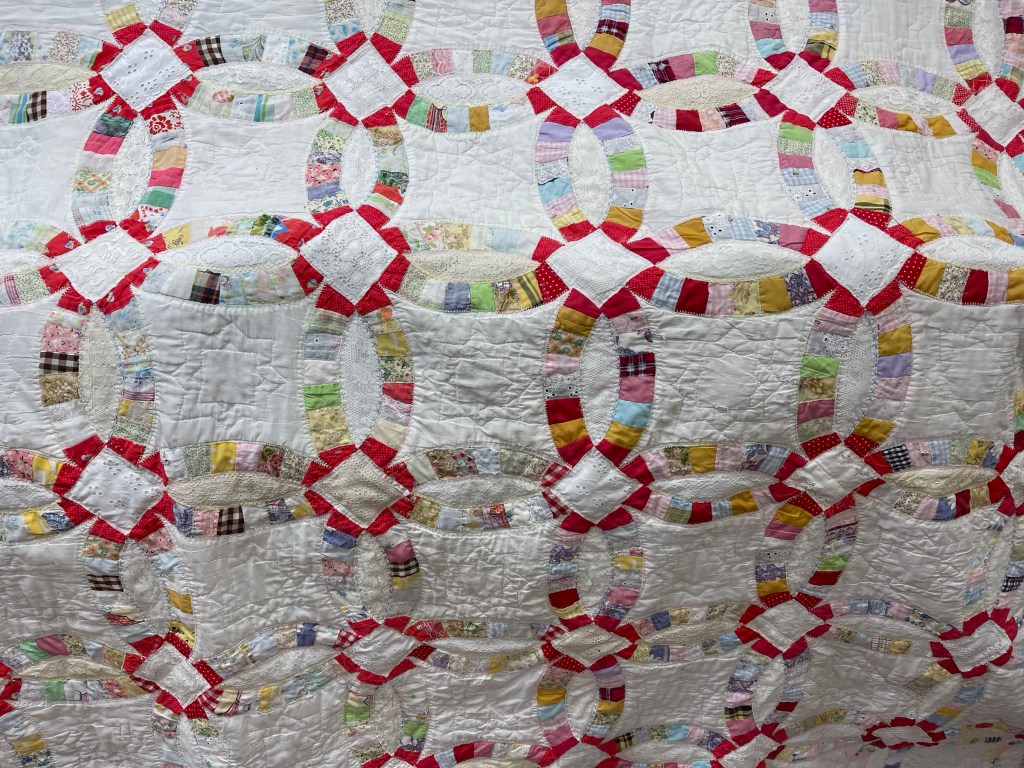
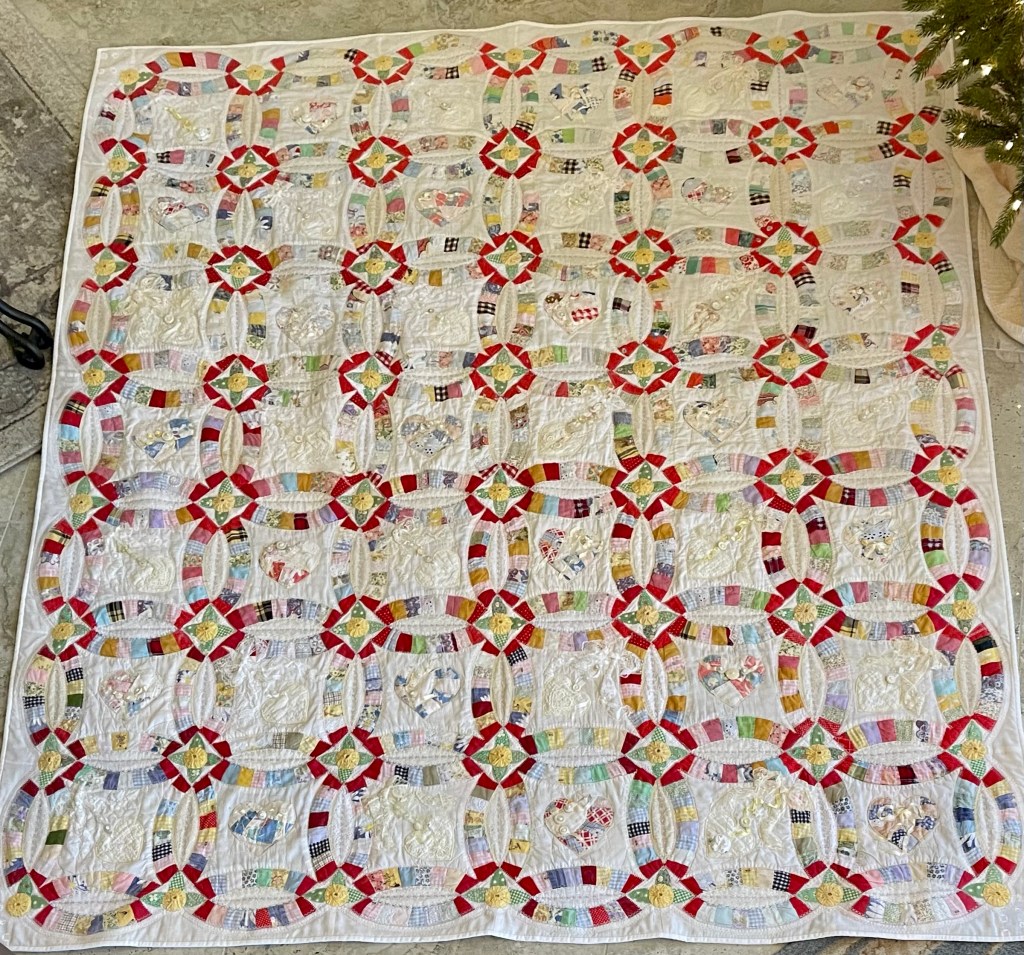
That opinion held firm until I began to see how I could still make my mark on this old quilt and give it new life. This quilt does not have scalloped edges created by the Melons but rather, the quilter added outside pieces creating straight edges.
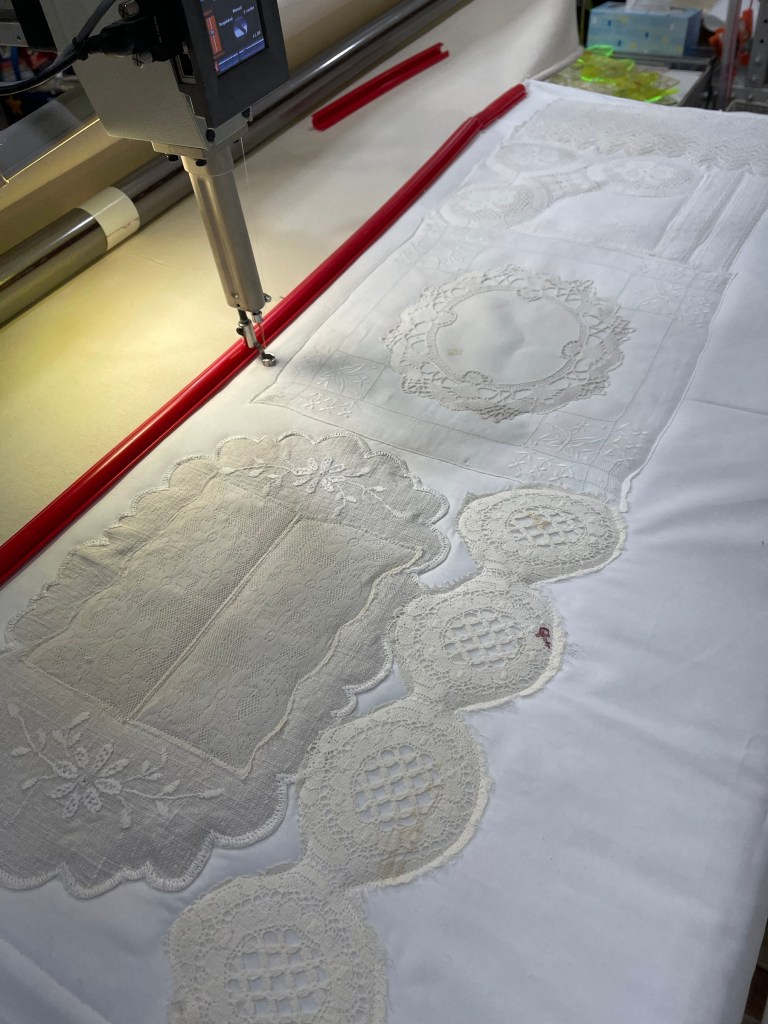
I’m going to fill this blog post with lots of pictures so you can see all the work/repairs/changes that went into the project. I am disappointed that I forgot to take a “before” picture. I think subconsciously I didn’t have high expectations for this experiment?
I wish I would have kept track of how many little Arc pieces I needed to address. Oh, and did I mention my intentions with this old quilt was to do all the repairs by machine?
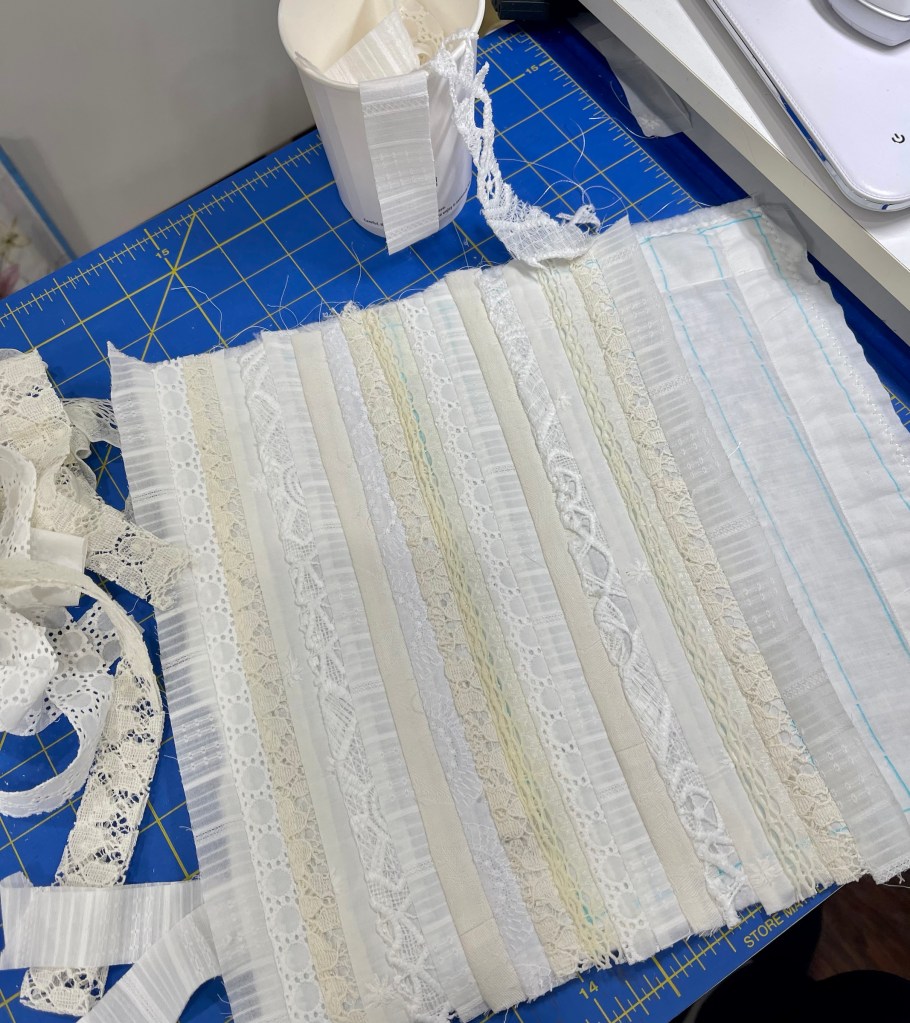
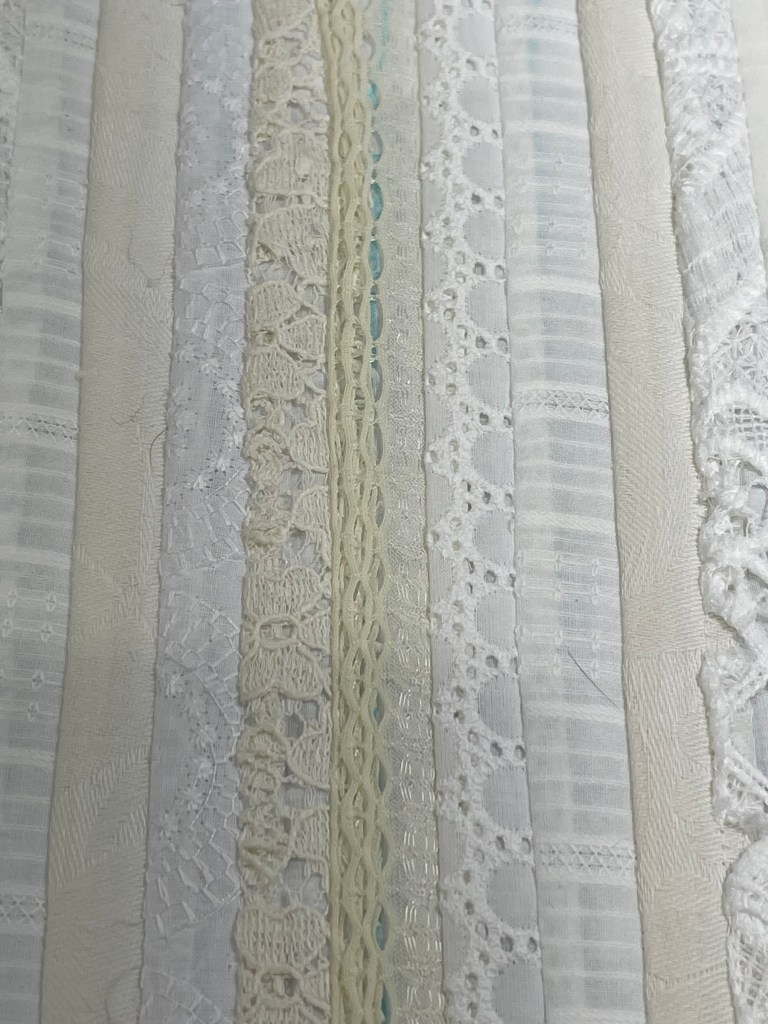
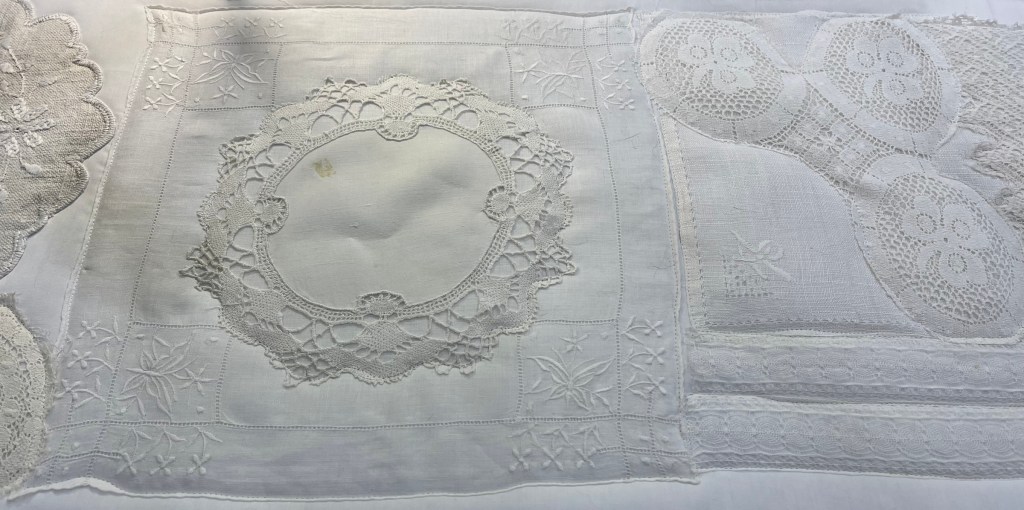
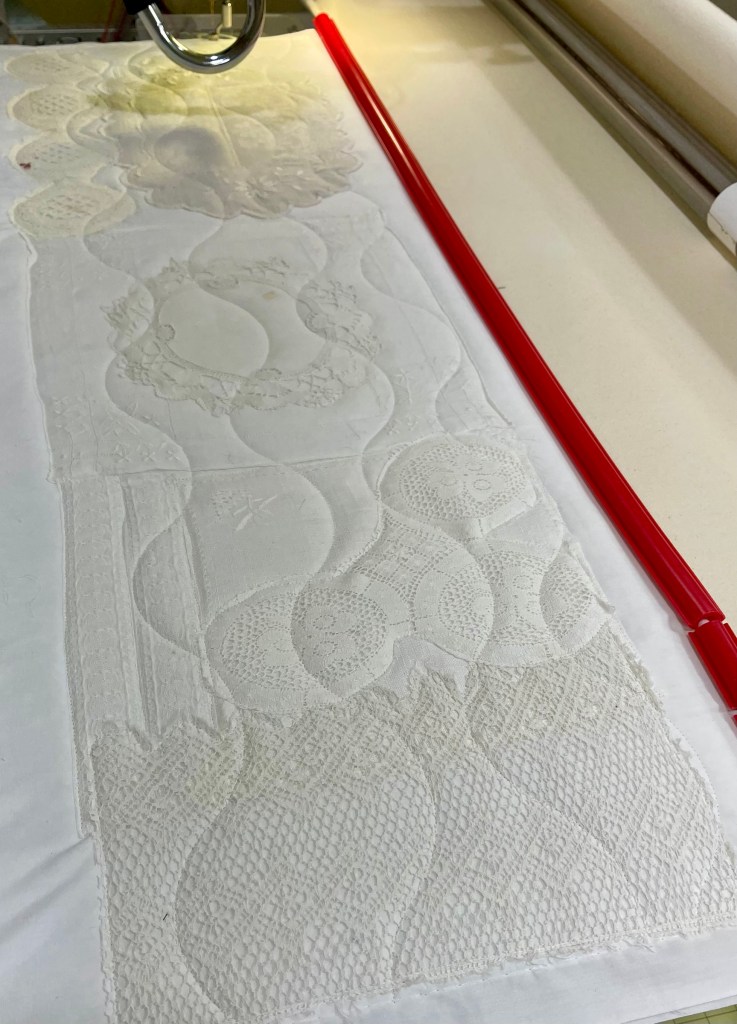
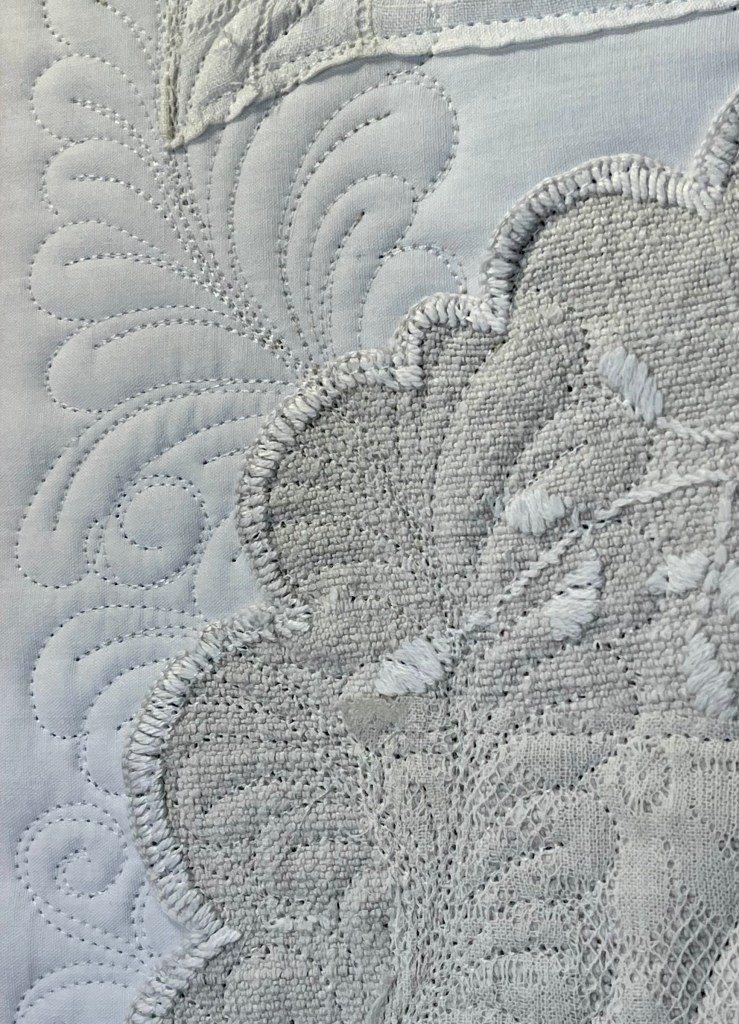
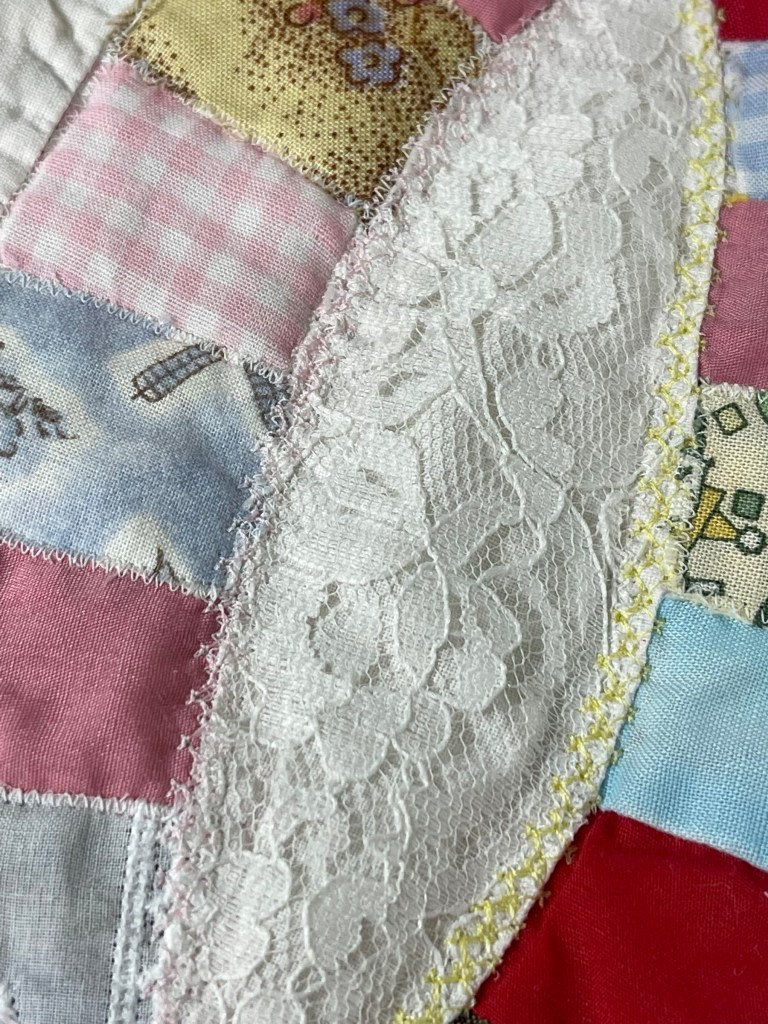
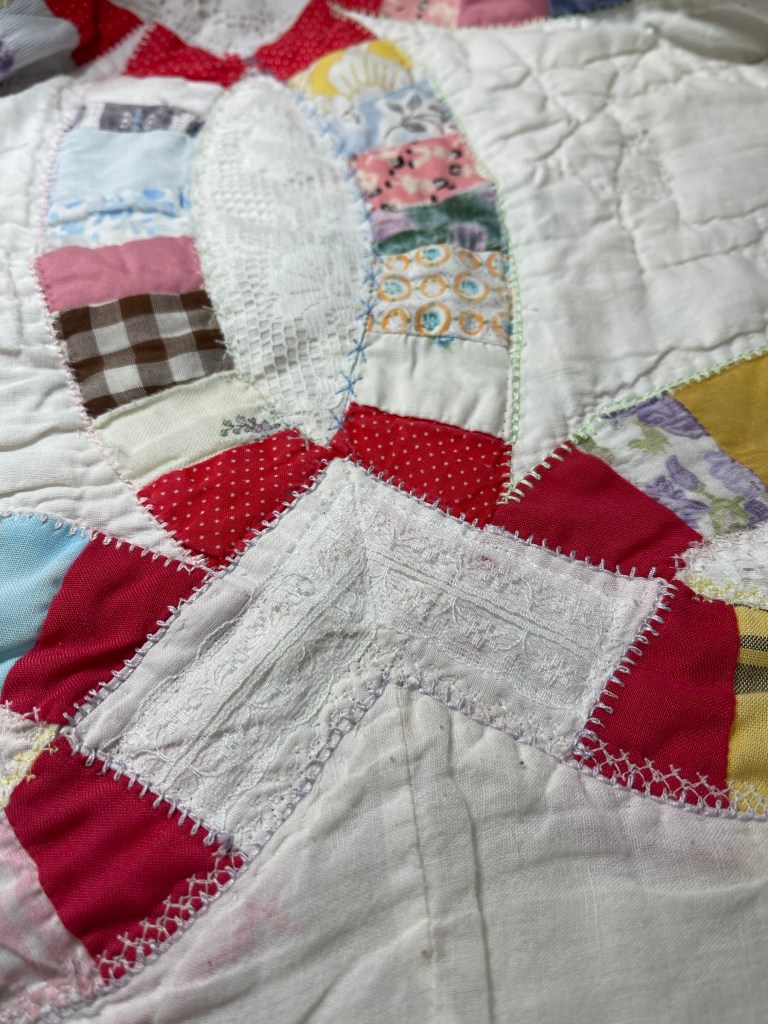
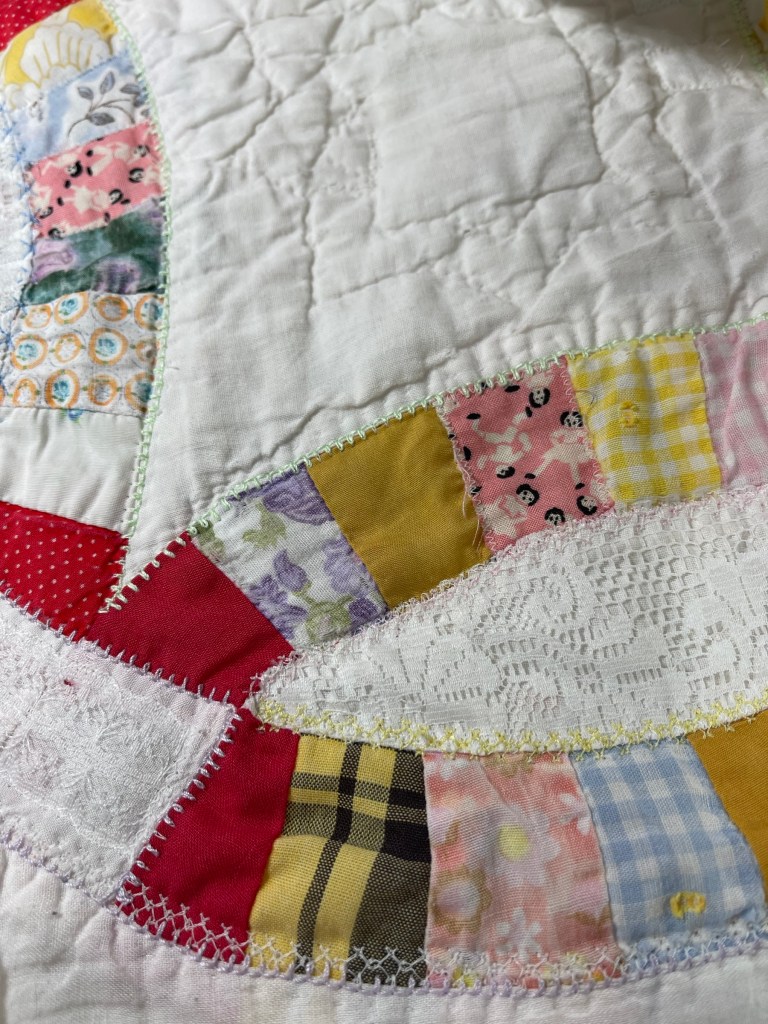
Many of the Melons in the middle of the Arcs were in bad shape. I raw edge appliqued wide lace trims directly over the Melons and used a machine decorative stitch to secure them in place.

I consistently used yellow and pink threads on the vertical Melons.

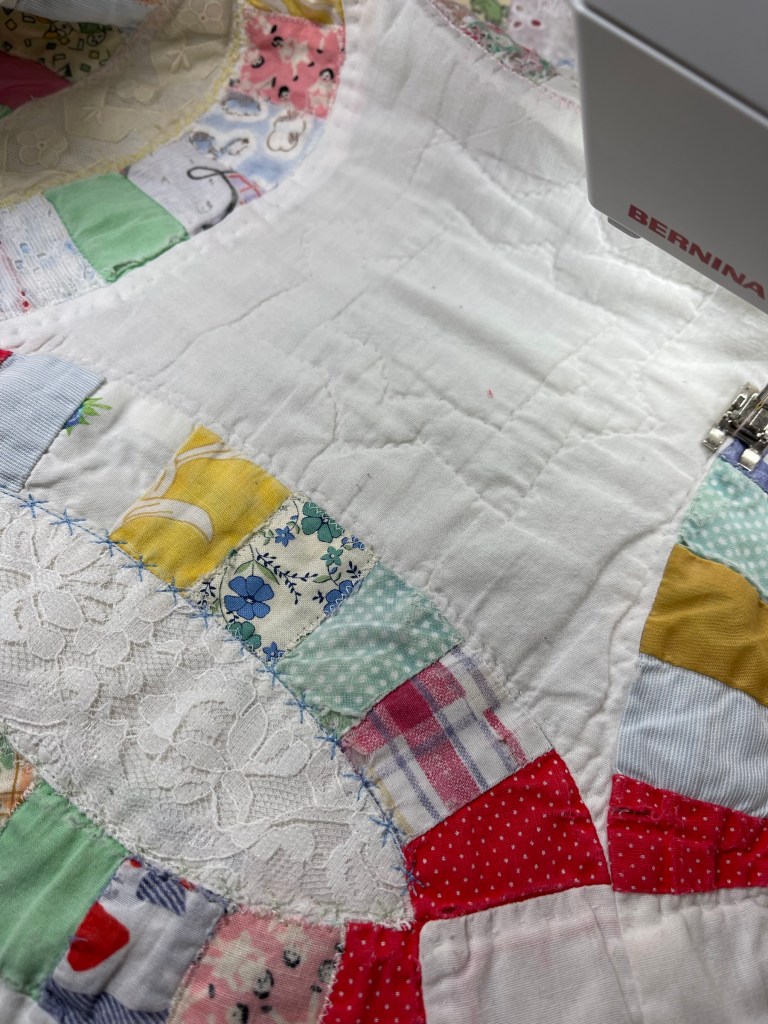
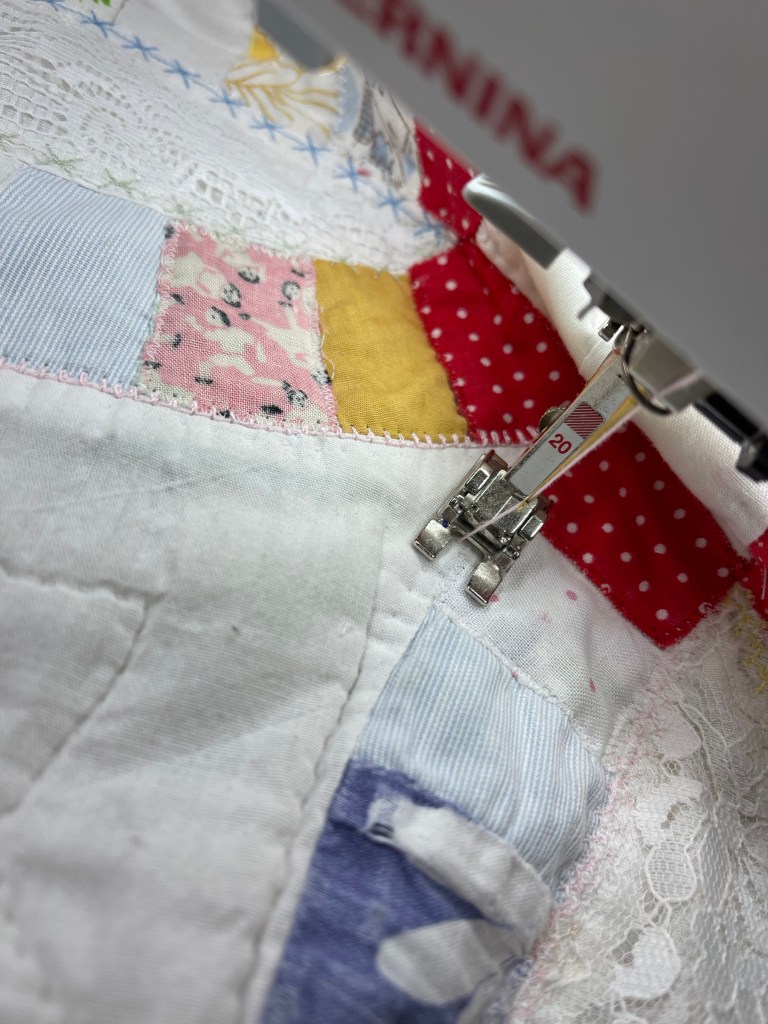
And sewed a pink or a lavender applique stitch on the outside of each Melon.

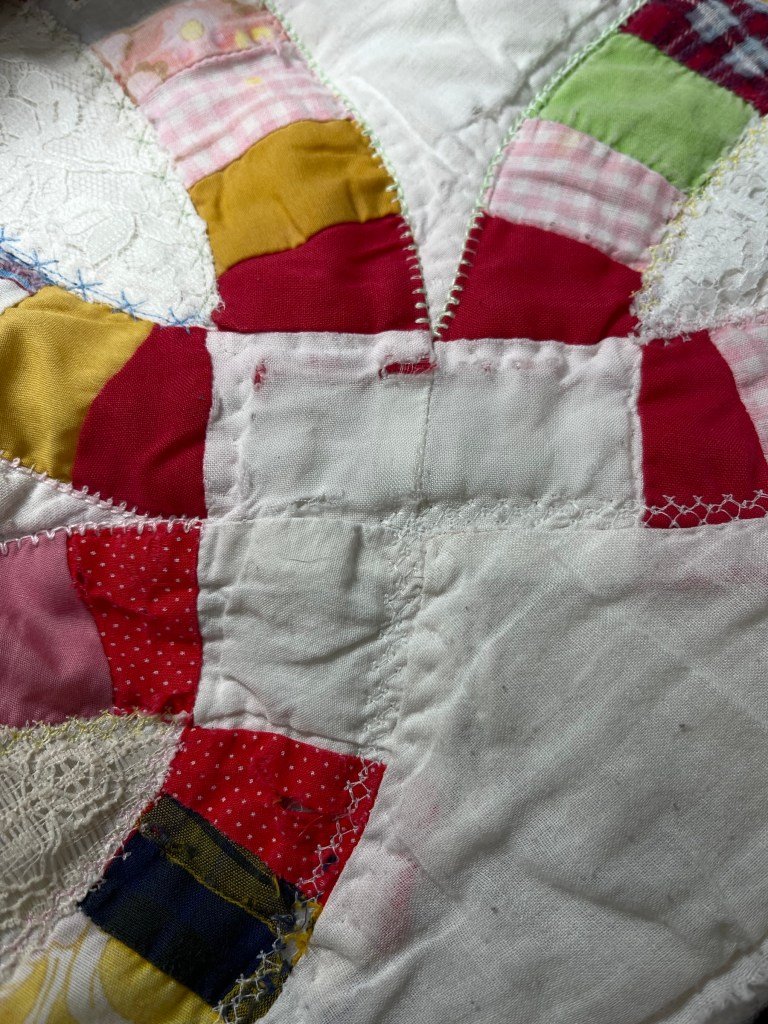
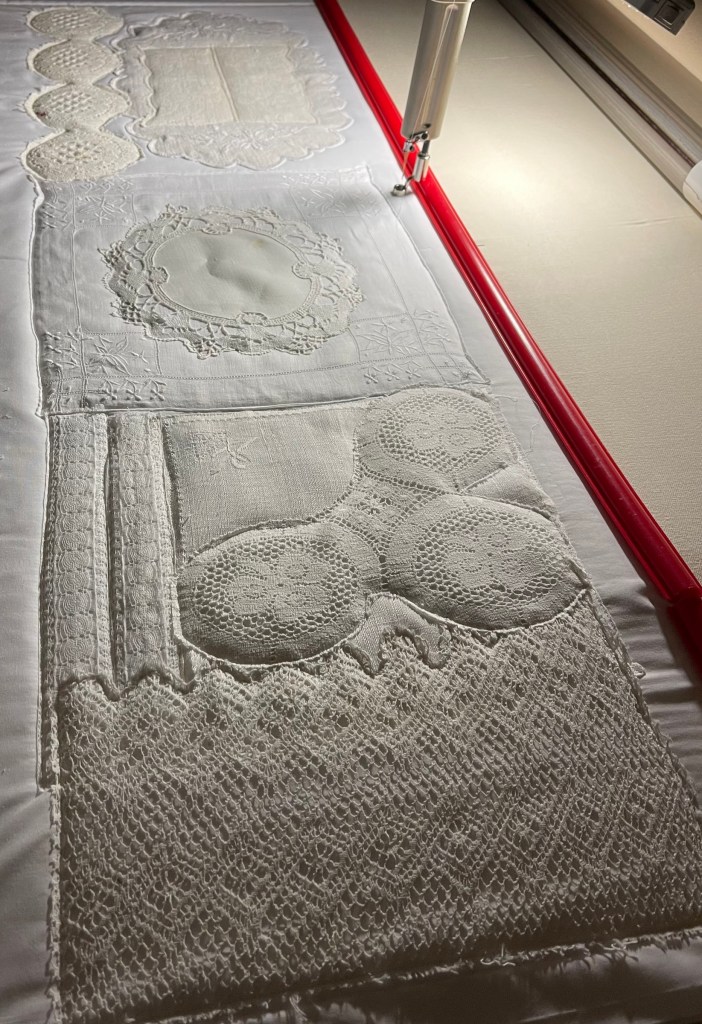
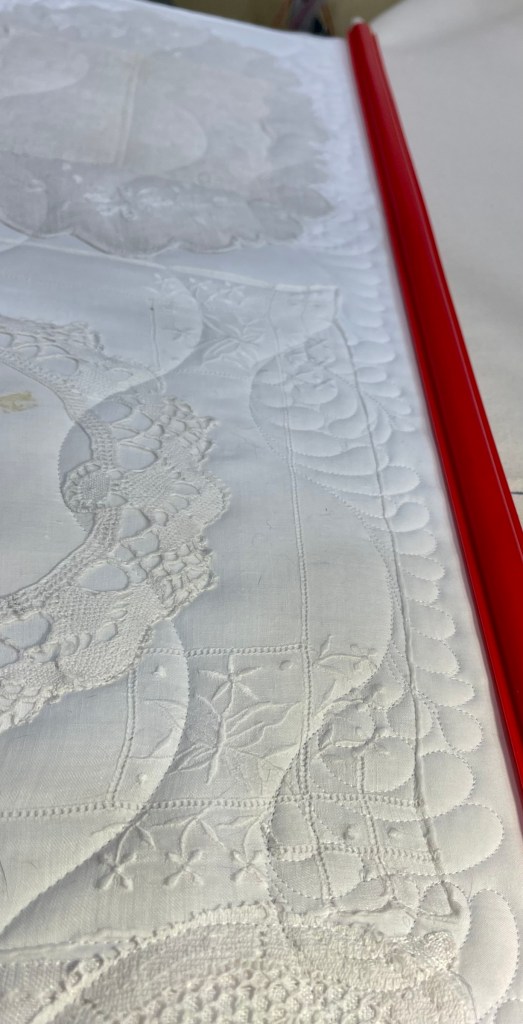
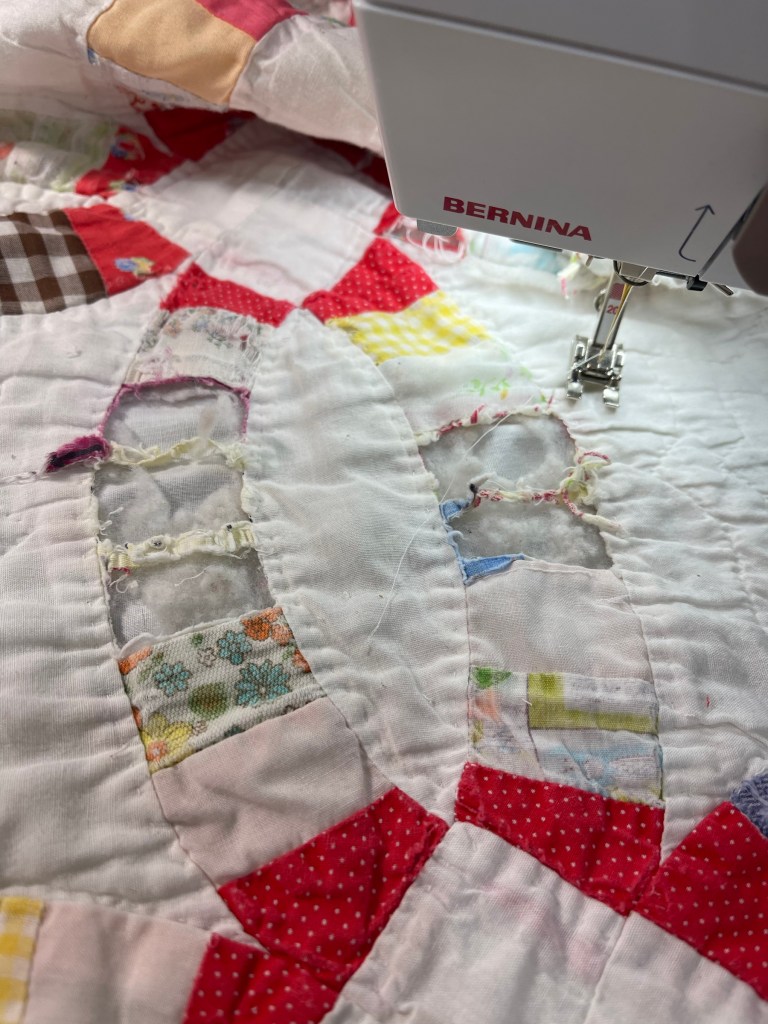
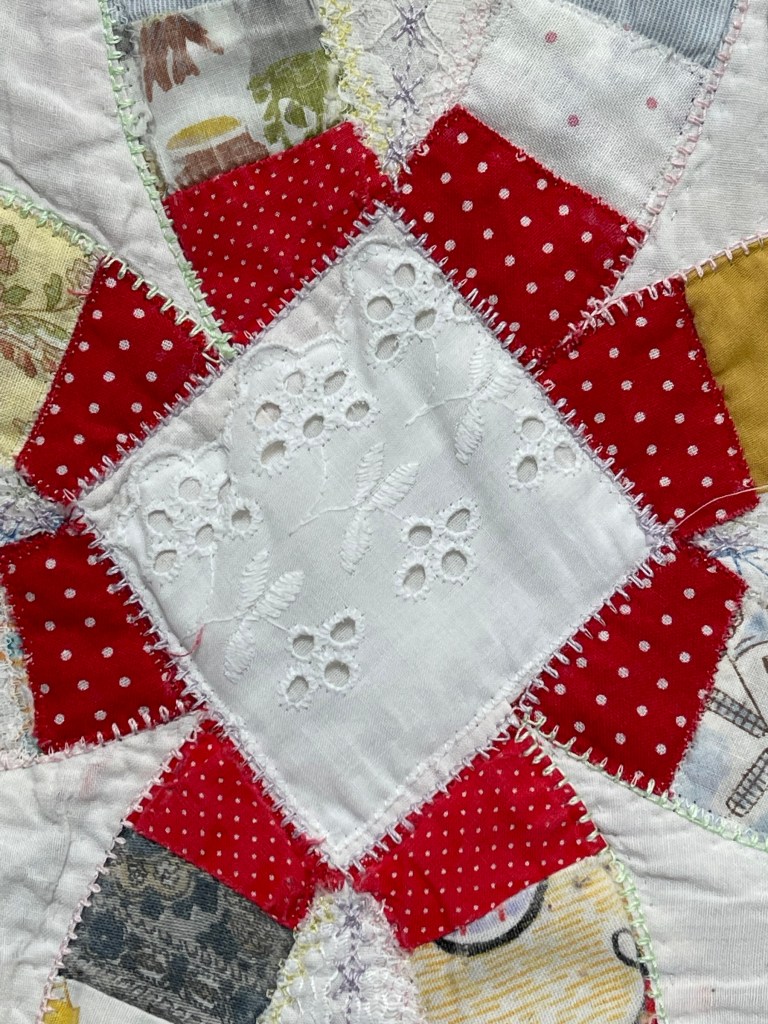
Around the outer edge of the quilt but just inside the “outside melons” I decorative stitched to provide eye appeal and stability. You can also see the worn/frayed white fabric pieces at the end of these 3 Arcs.

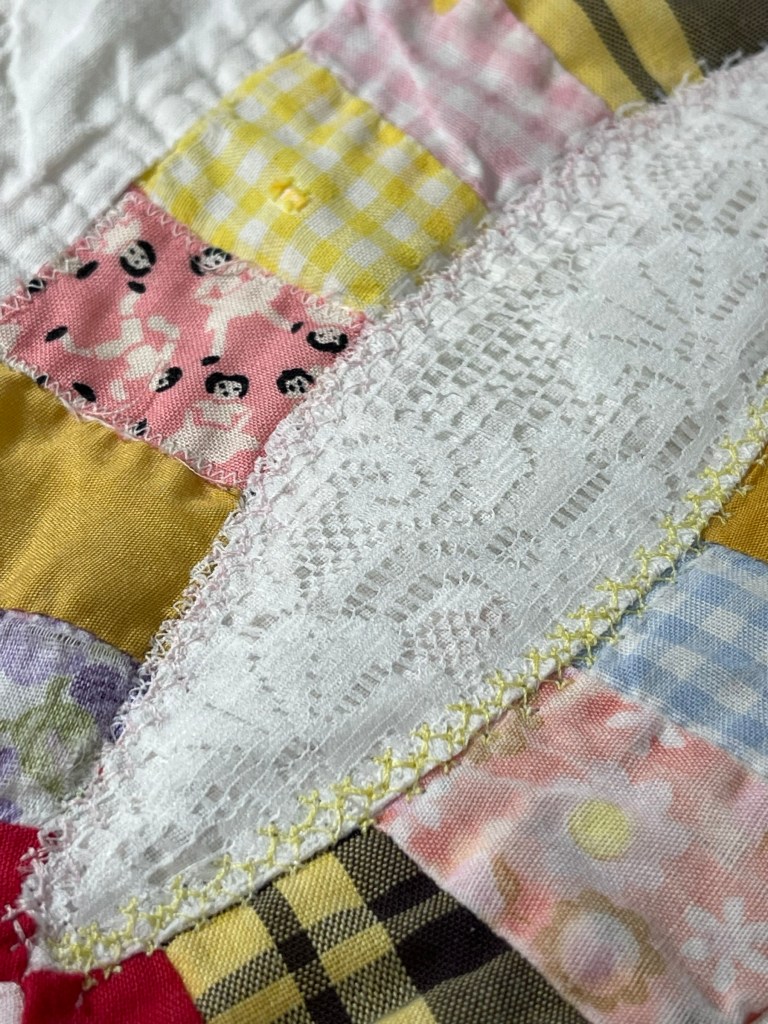
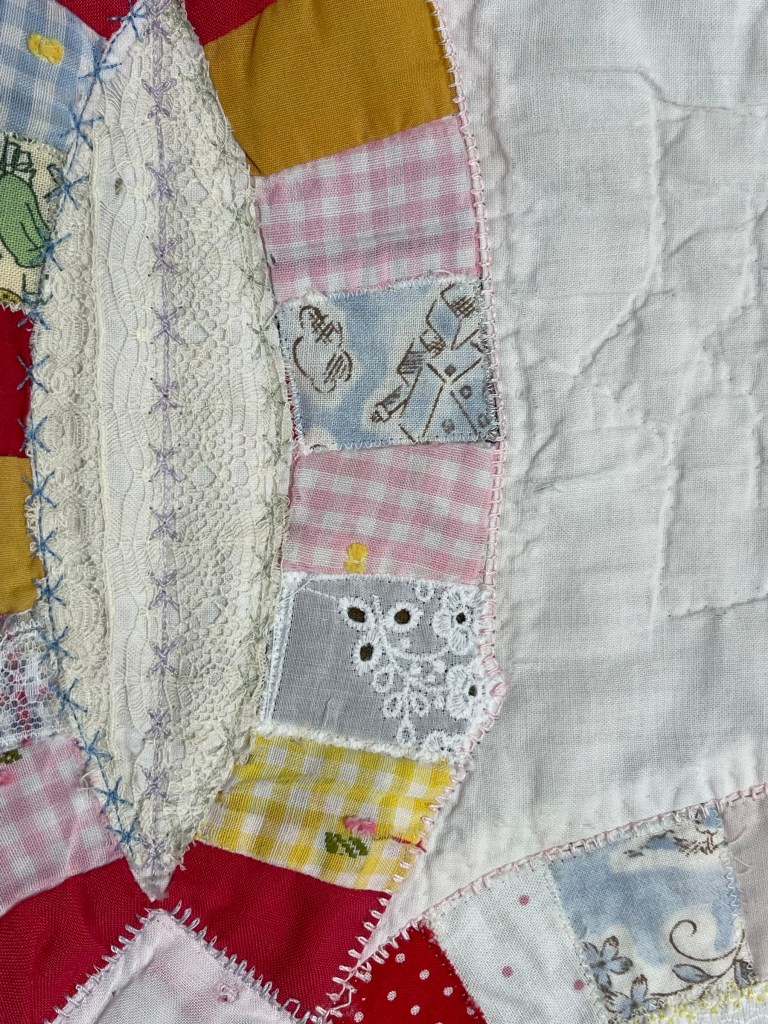
I used commercially produced wide laces appliquéd over the white end pieces of each of the Arcs.
After finishing the outside Melons decorative stitching I decided to add a little visual color by using lavender thread in the machine applique stitch.
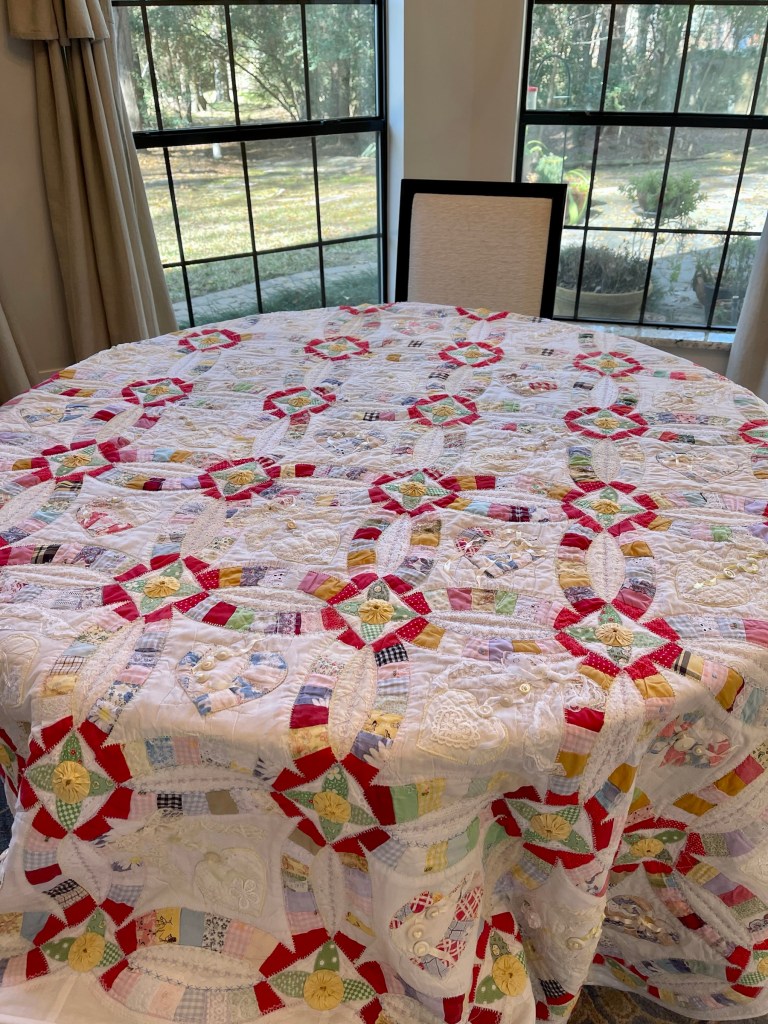
Miles and miles of machine decorative stitching, all the Arcs and Melons repaired, not it’s time to add some fun to the quilt.

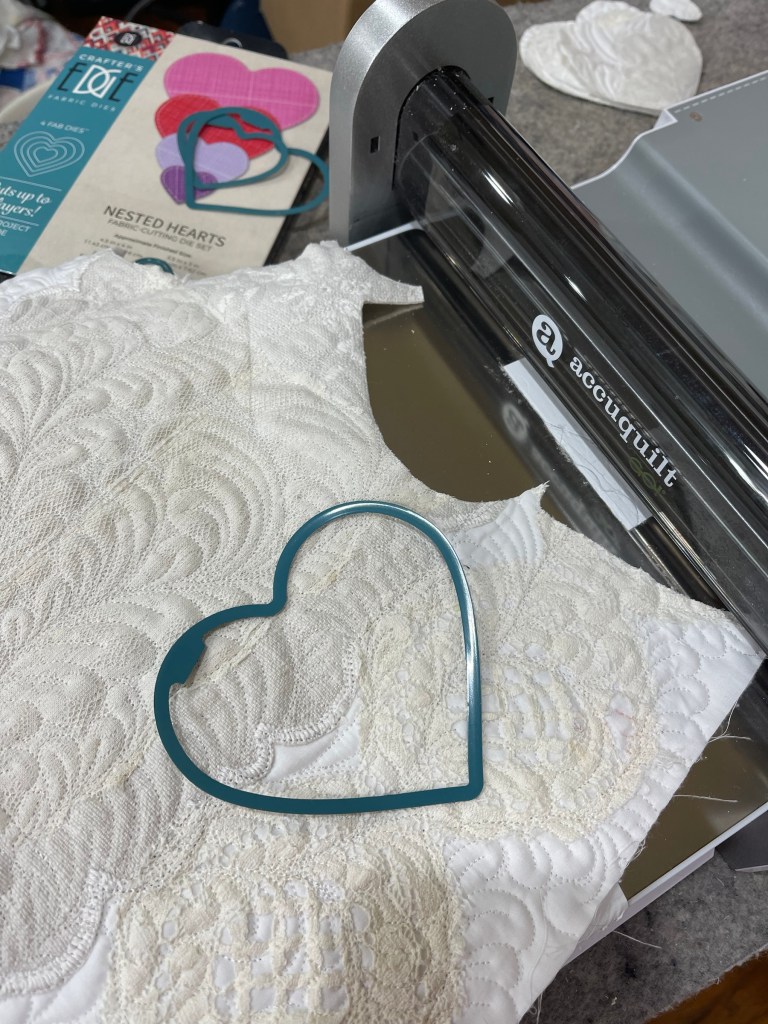
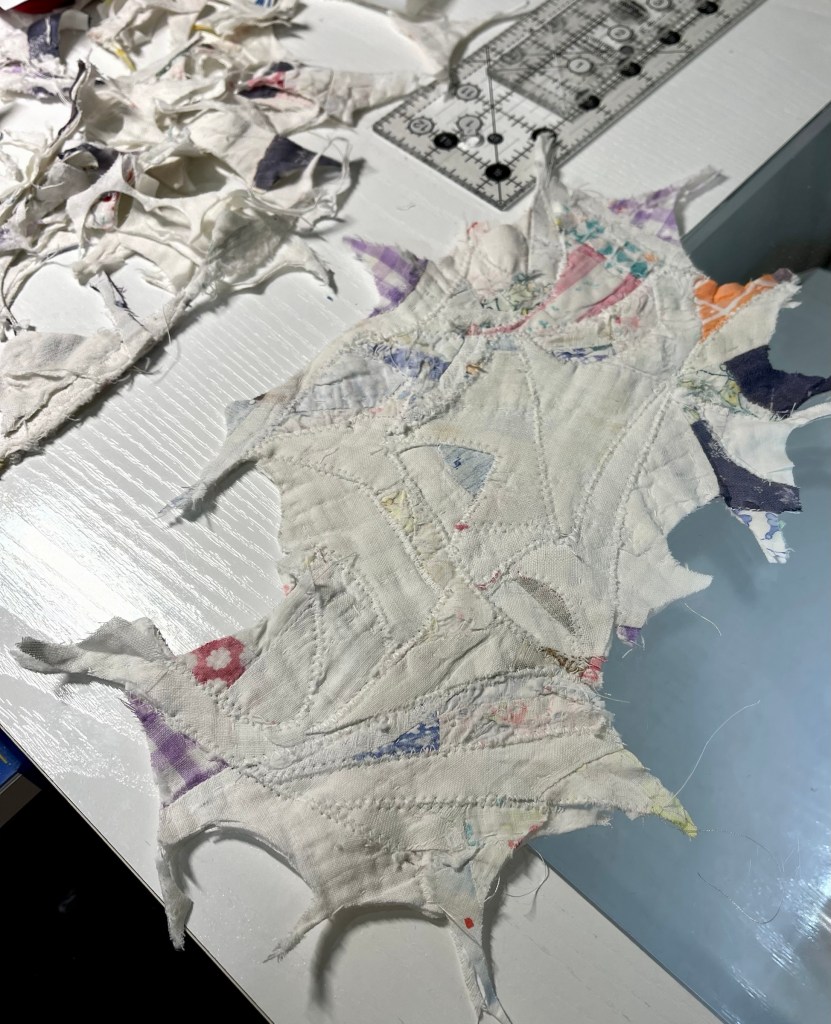
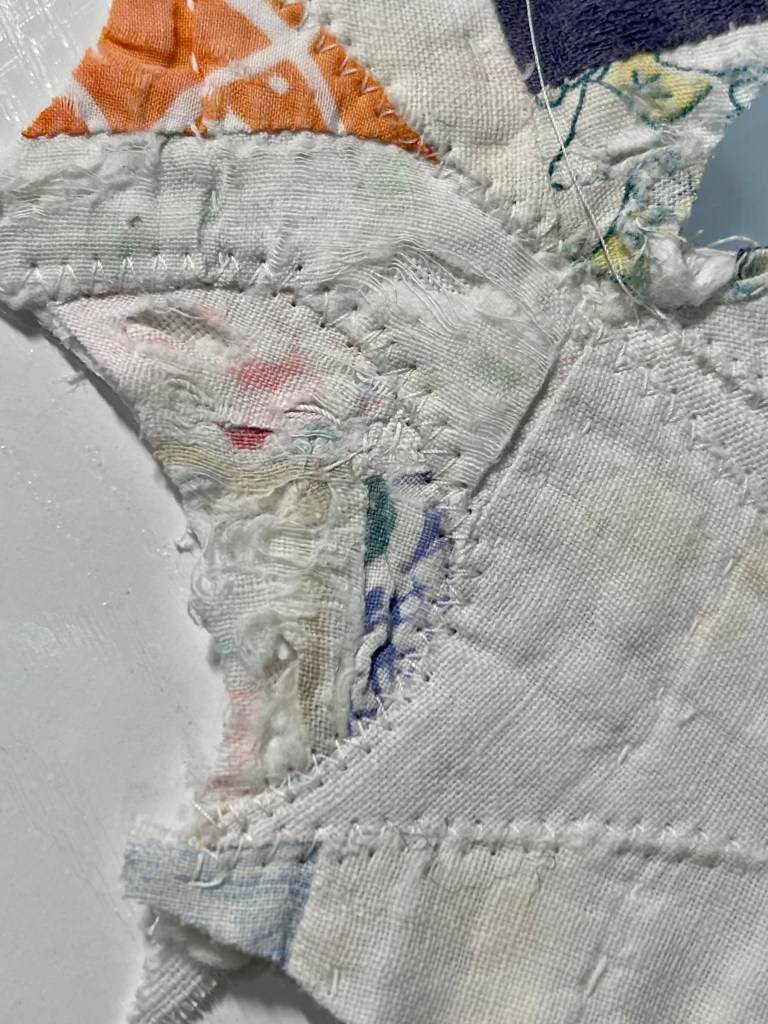
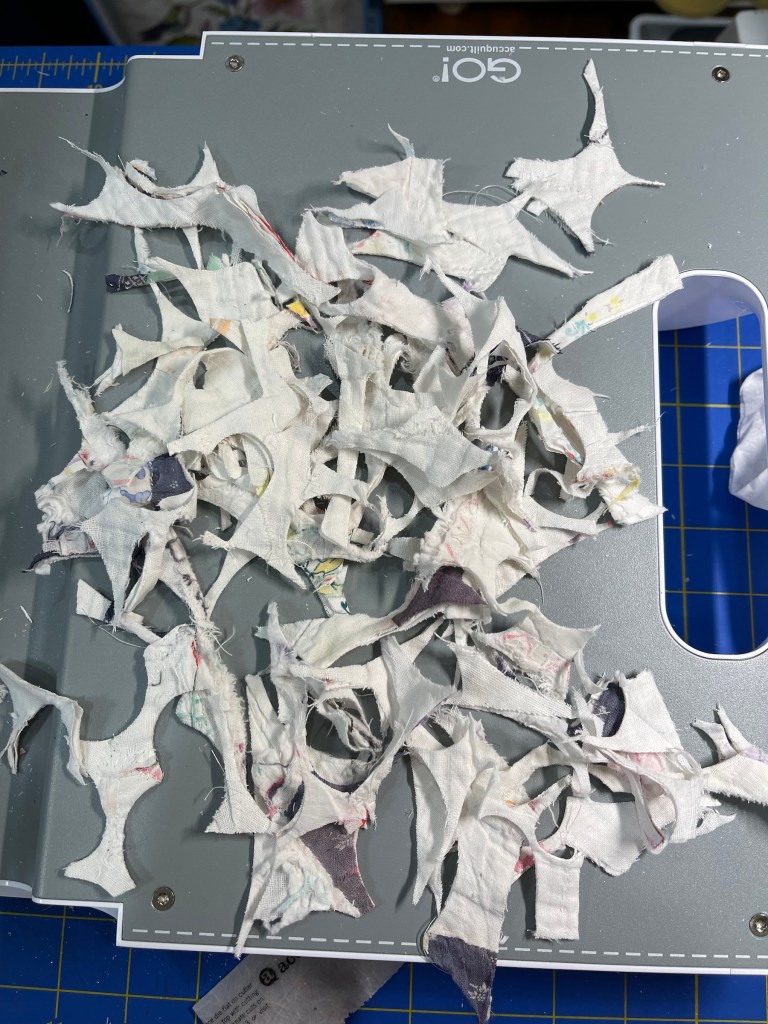
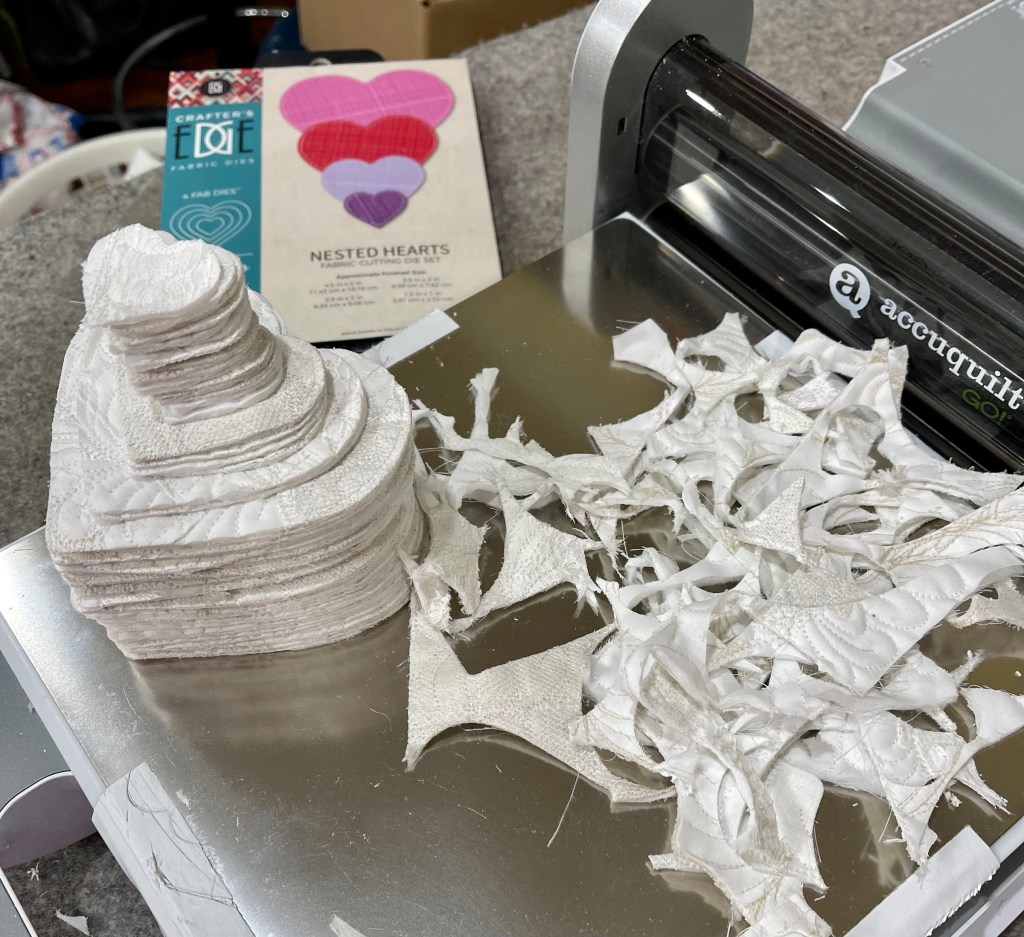
When I was growing up the first car I can remember was a ‘61 Chevrolet Impala…with child-proof vinyl bench seats. Missouri summers can get plenty hot so to protect me and my sisters from painful leg burns, mom picked up an old Double Wedding Ring quilt at the Goodwill. We sat in the back seat on that old quilt for years! 15 or 20 years ago I found that old DWR quilt in a closet at moms. It made the trip home with me, terribly tattered, the pink flannel blanket used for batting very visible and what I’m saying is that what was left of the quilt was a mess!
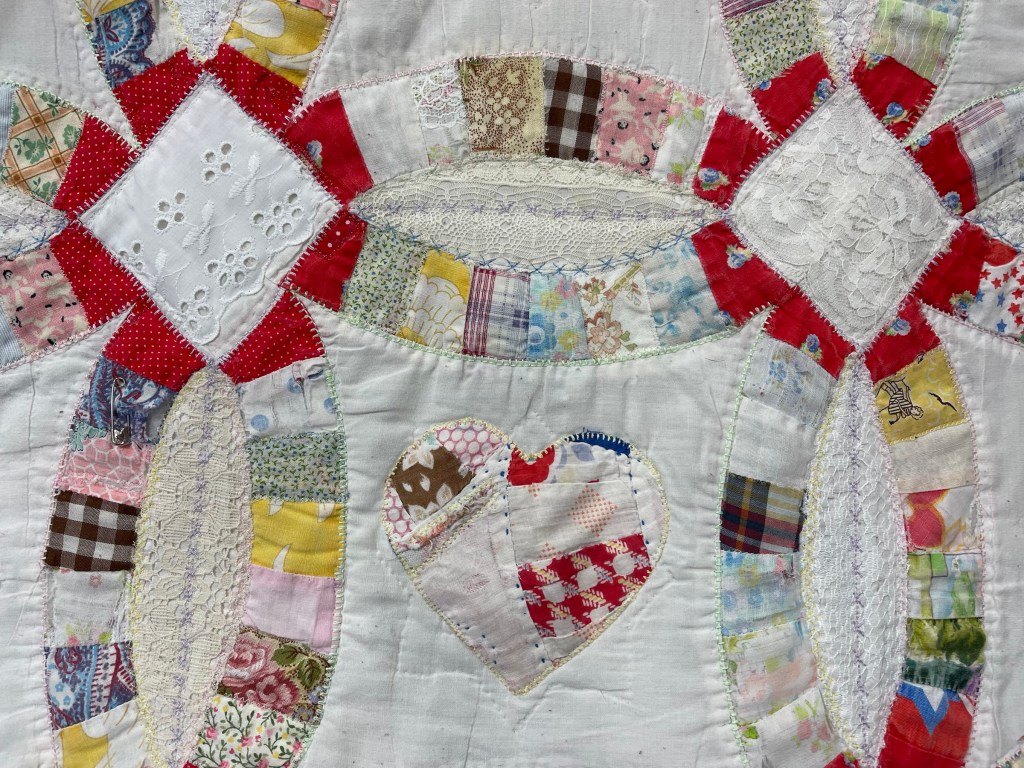
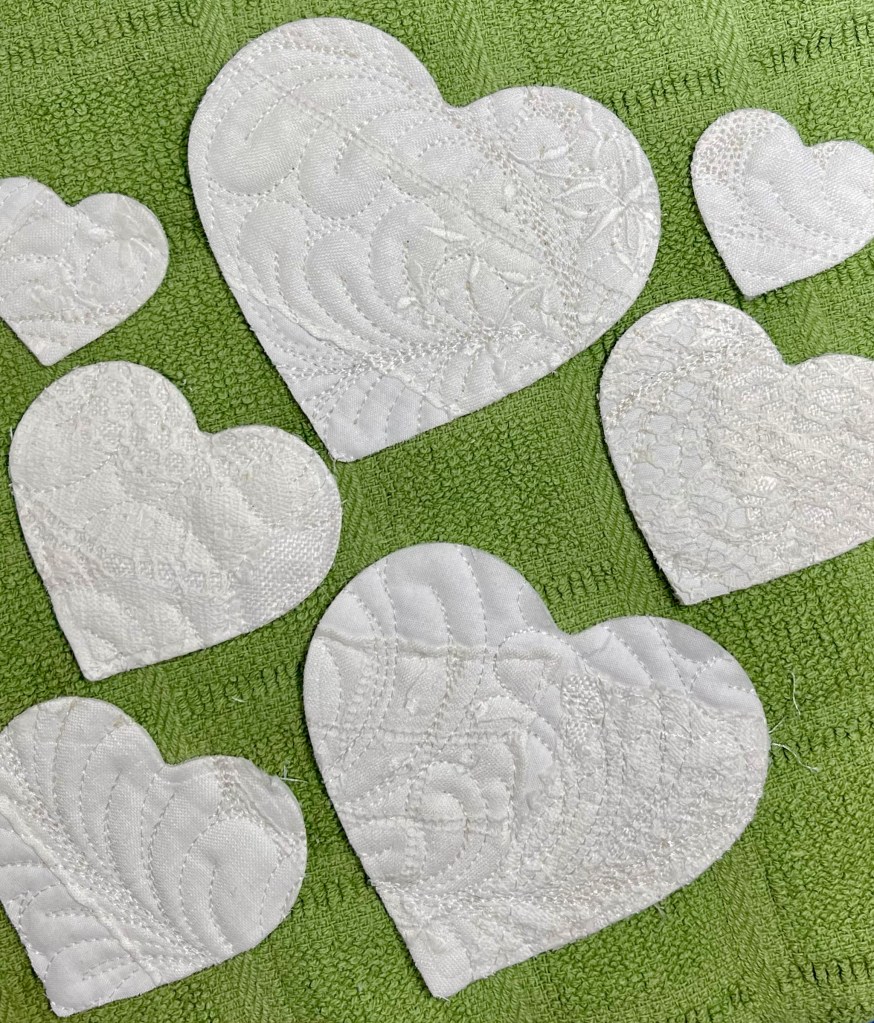
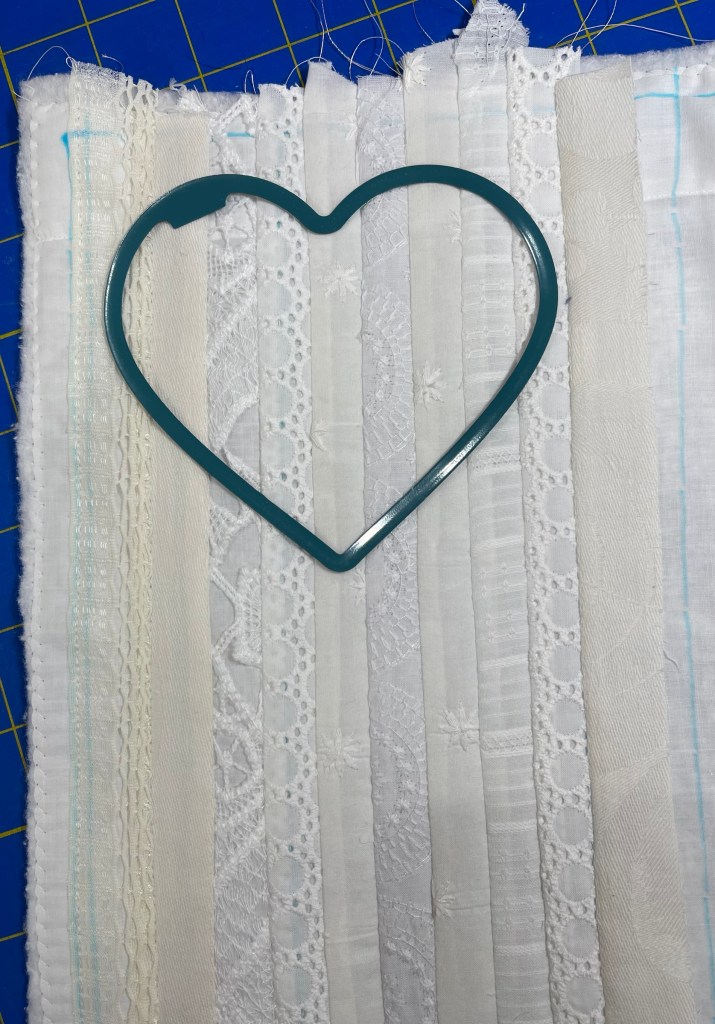
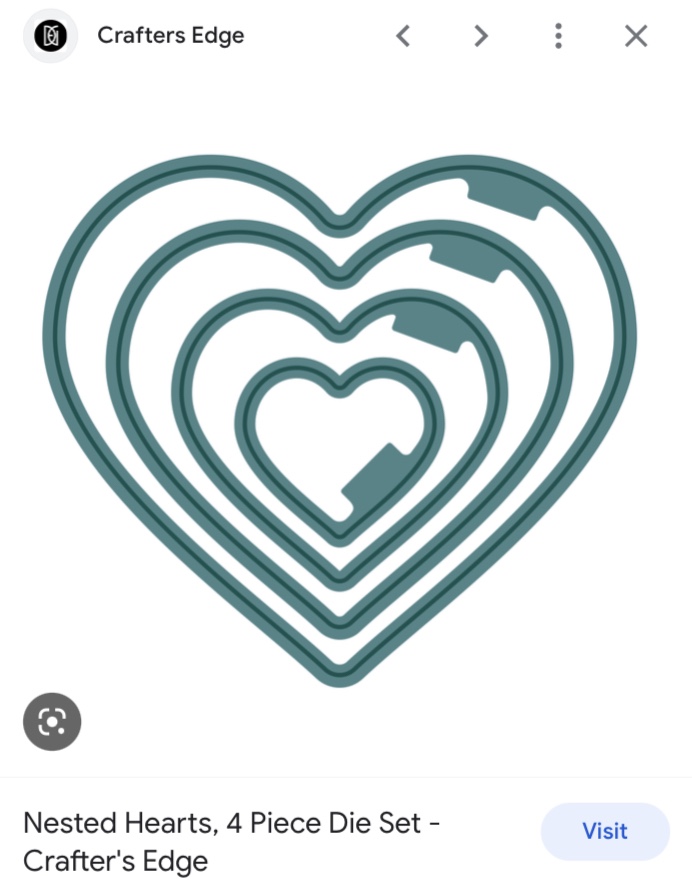
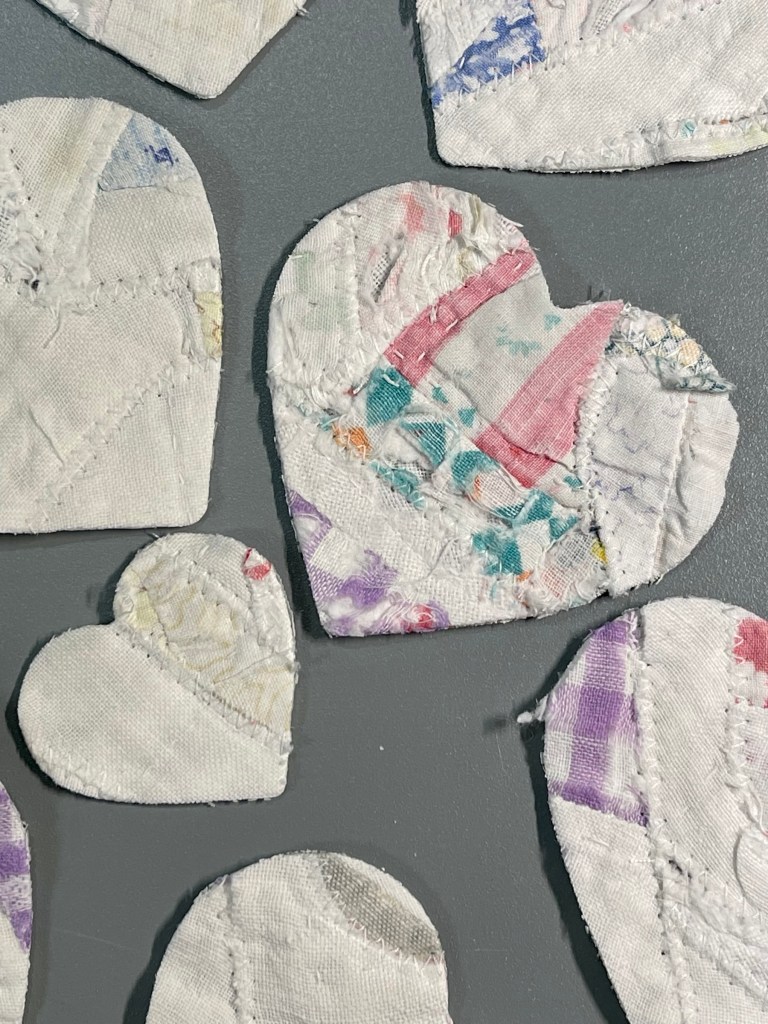
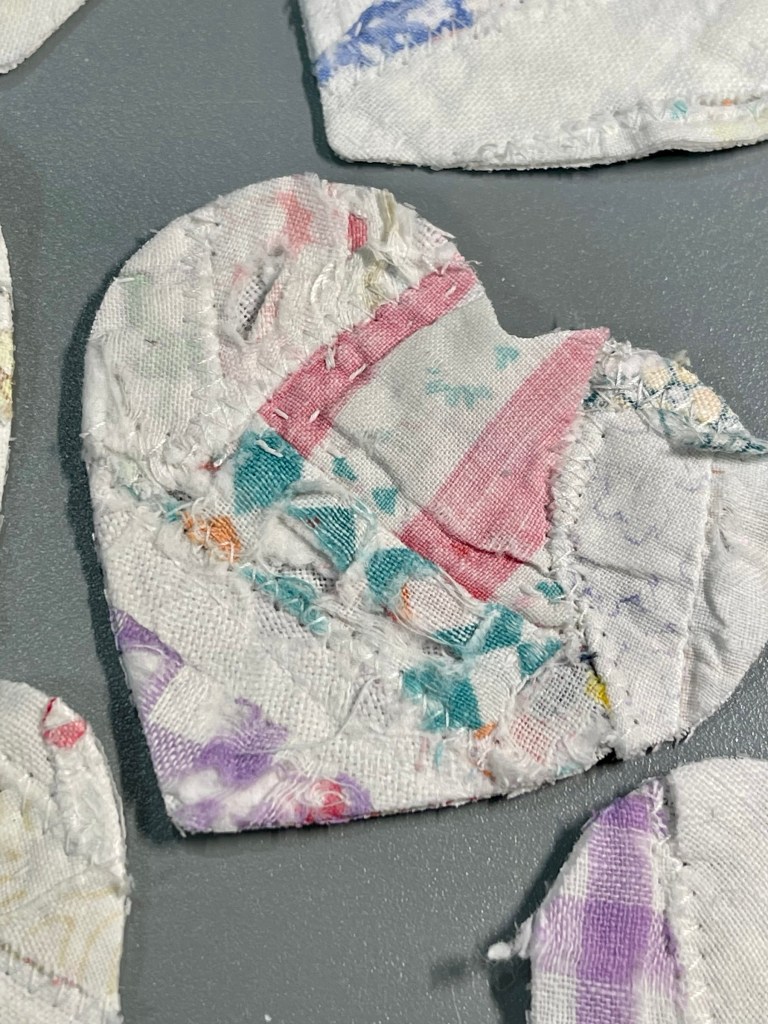
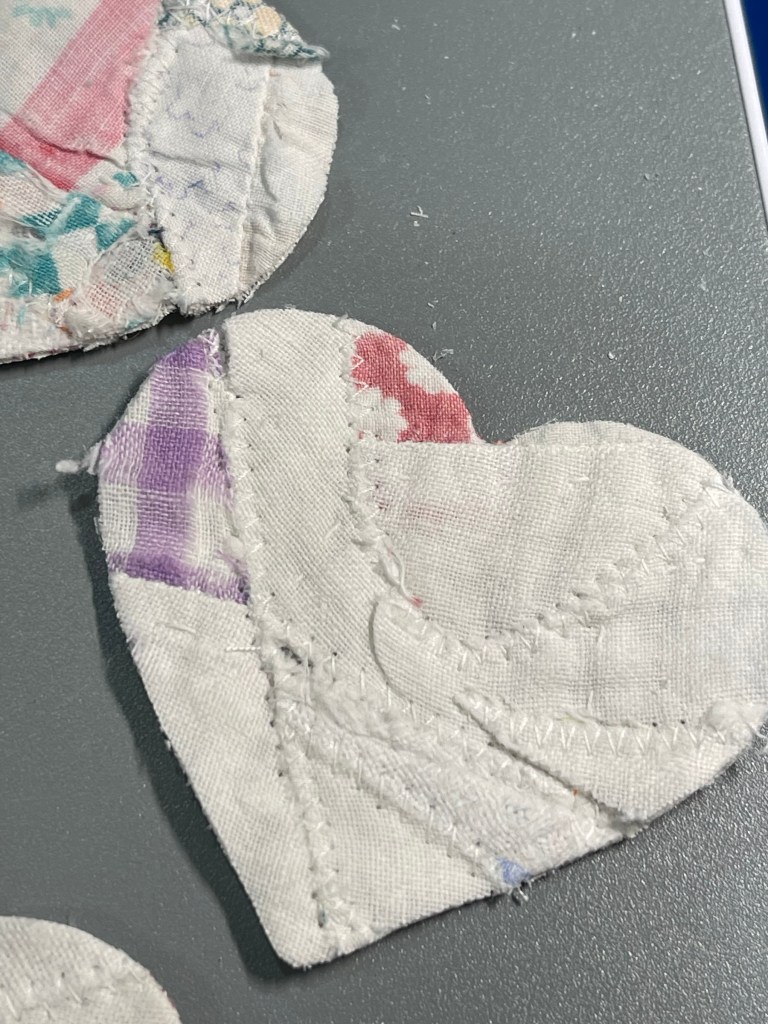
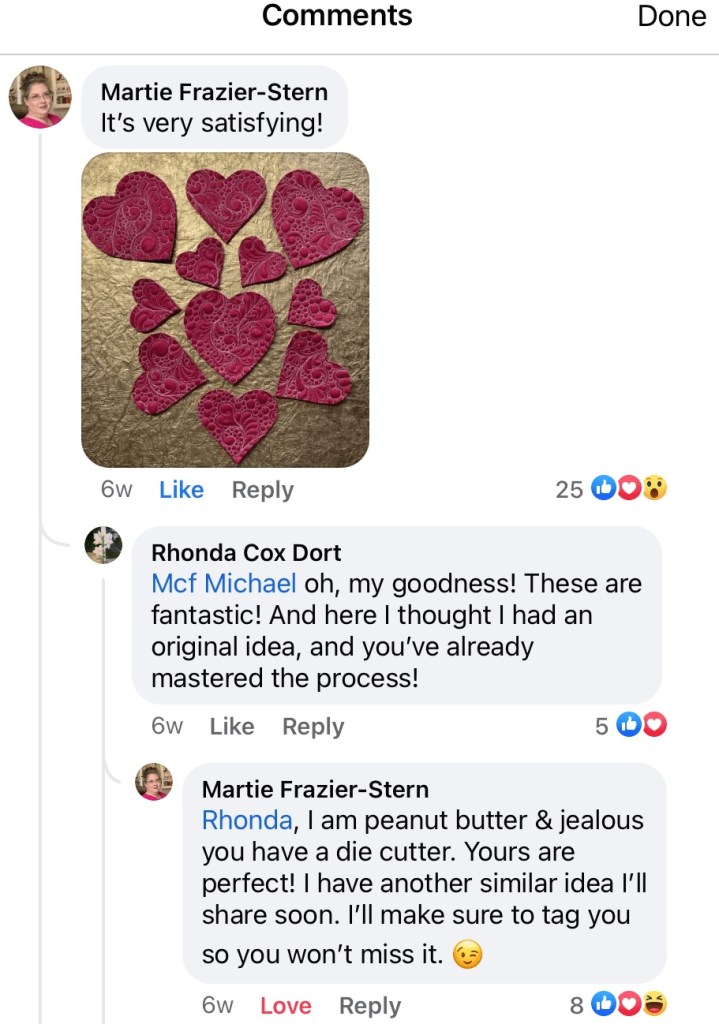
Using my Accuquilt Go Cutter and Crafter’s Edge Heart Dies, I cut hearts from this very old Double Wedding Ring (DWR) in order to appliqué them on a not quite as old DWR. This makes me smile!! 🙂
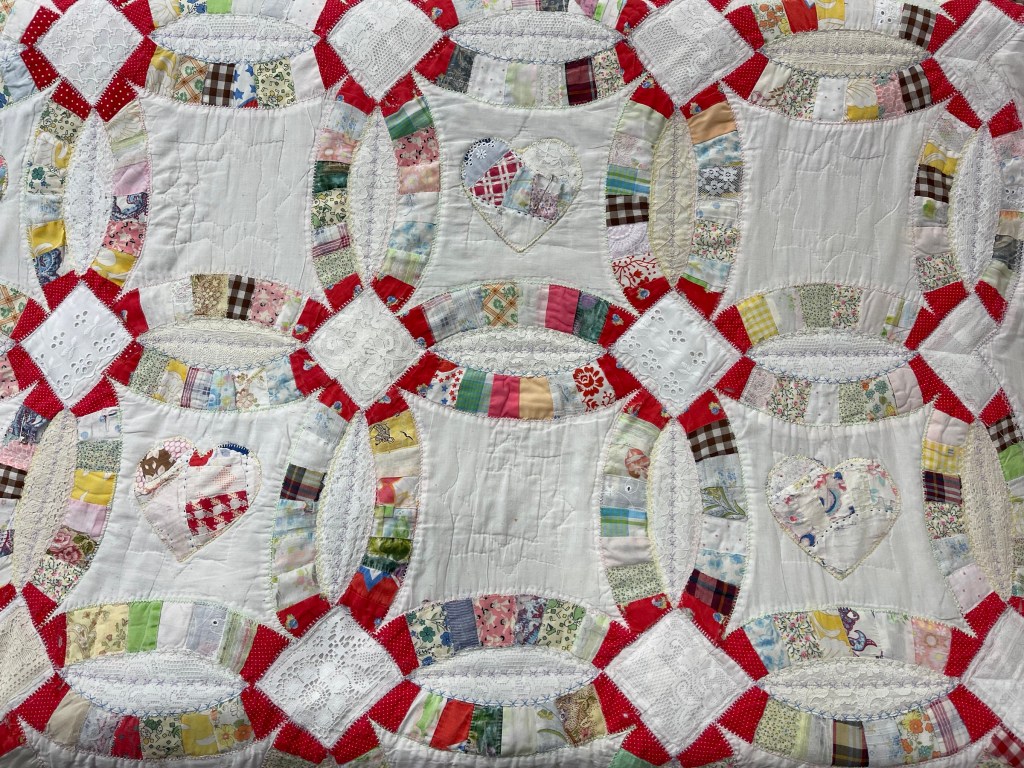
Every other block center got a single DWR heart.

And then the remaining blocks got pale yellow smaller heart with a stem up to a lace bow. But now it’s time to address the white Mellon points. They’ve already been covered with white laces or fabrics but they looked so plain. I added three vintage buttons and ribbon to each of these hearts with stems.
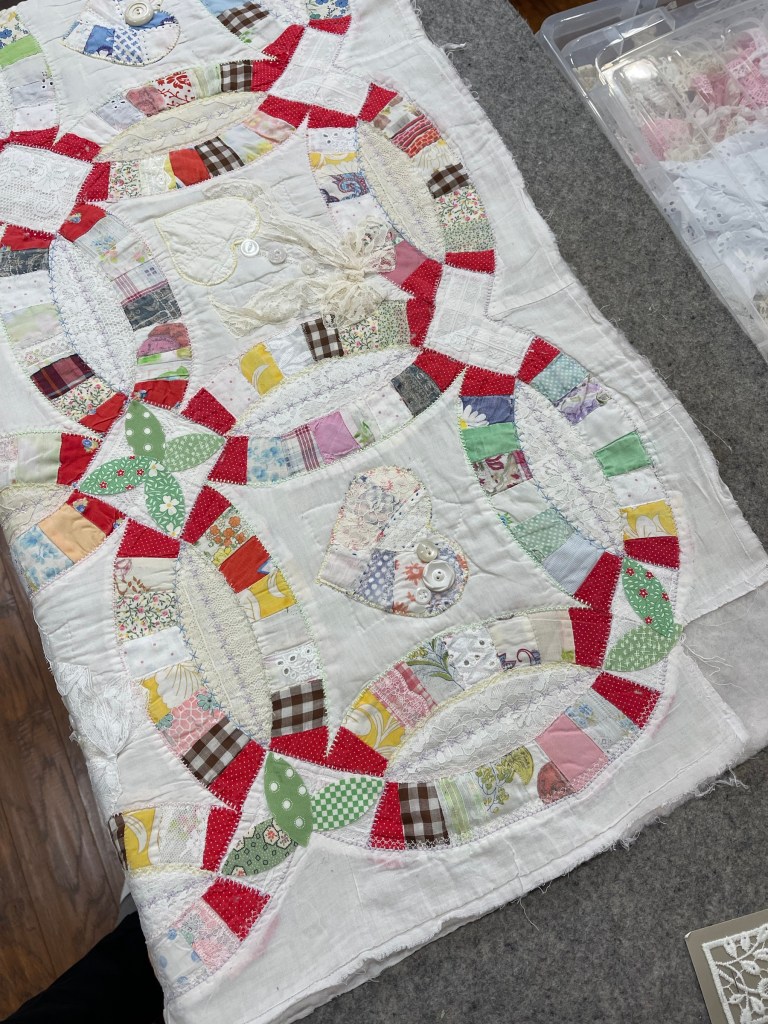
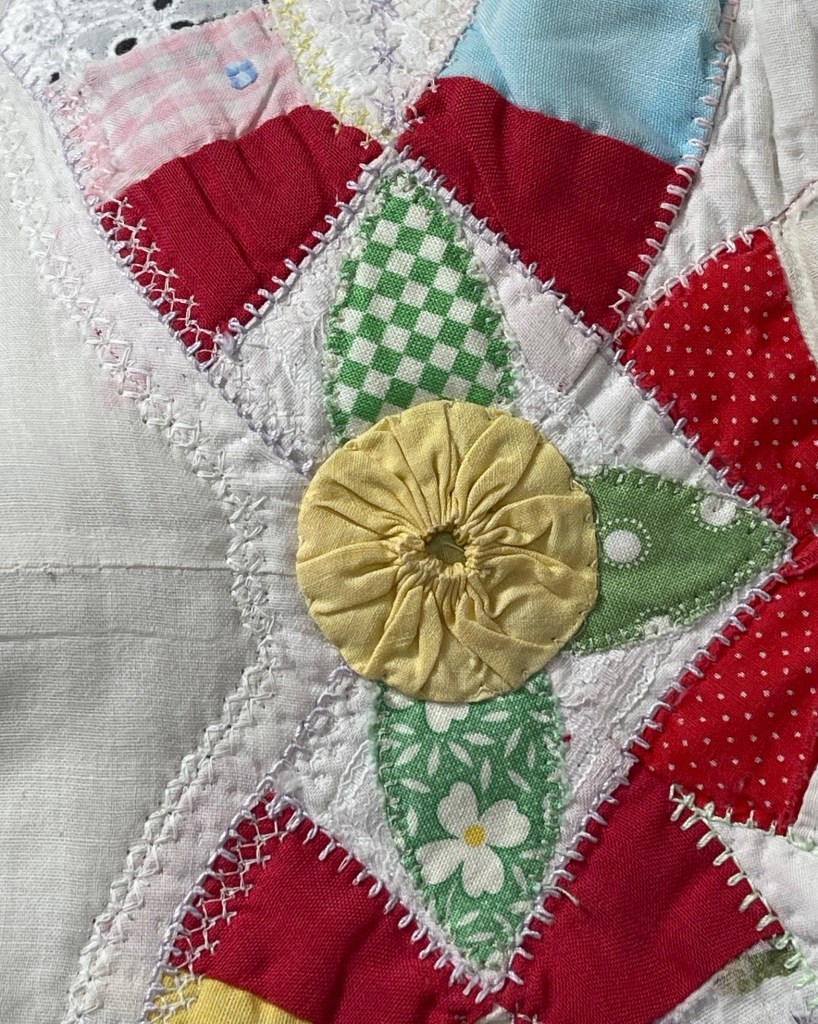
Accuquilt cutter to the rescue again. I cut what seemed like thousands of green print leaves and began laying them out. I liked the look but they needed something in the center.

Vintage yellow yo-yo’s to the rescue!

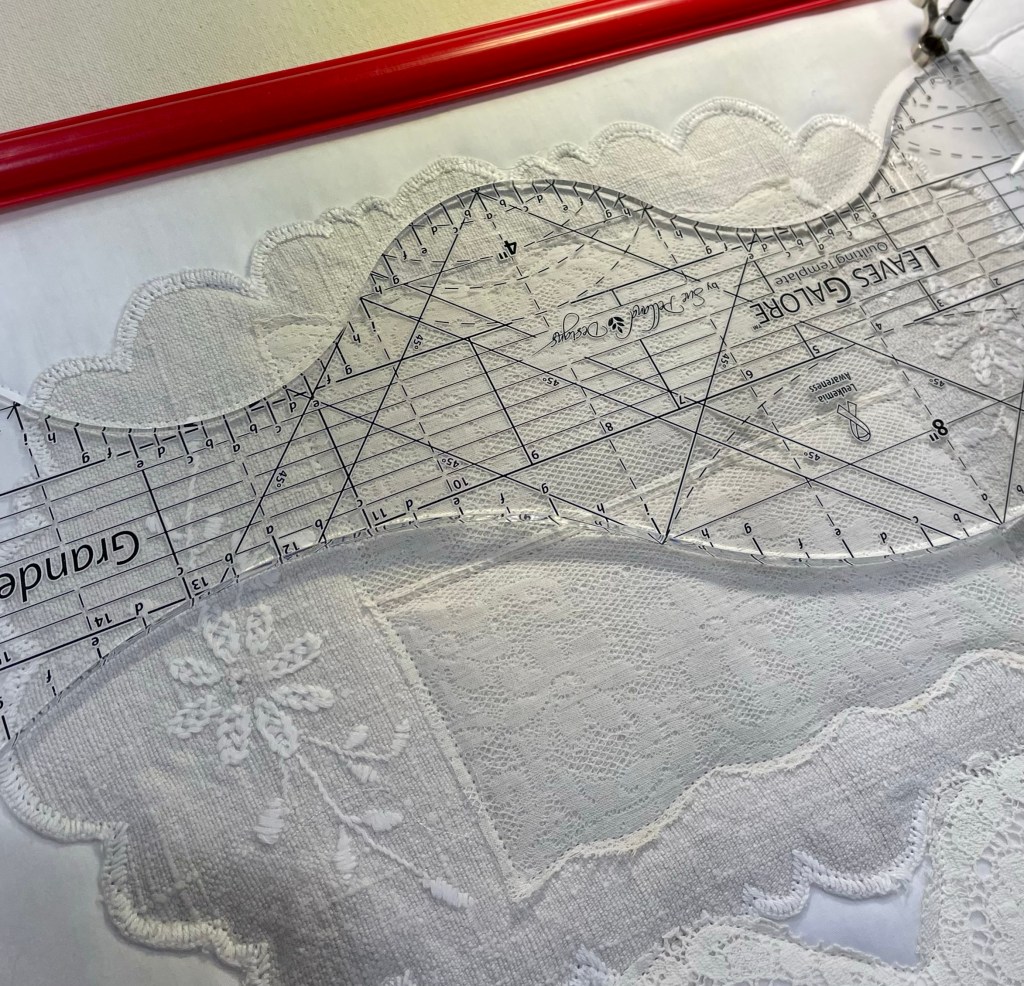
But why stop decorative stitching now? I chose another decorative stitch for the outer edge of the Arcs. See the 2 pictures below.


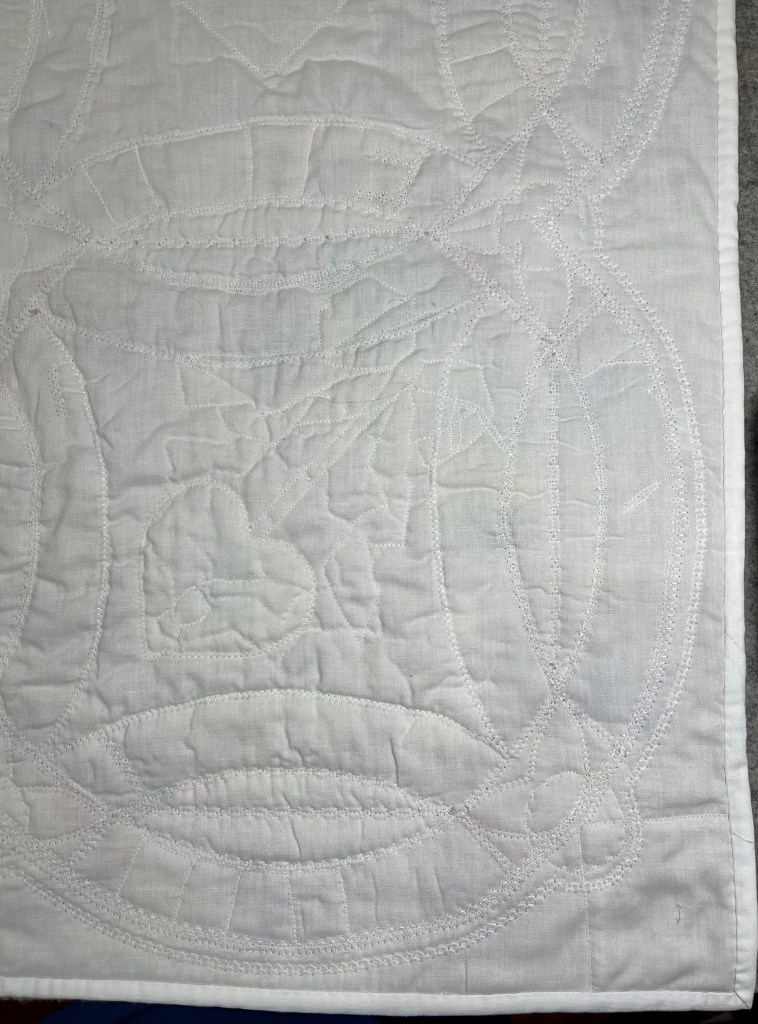
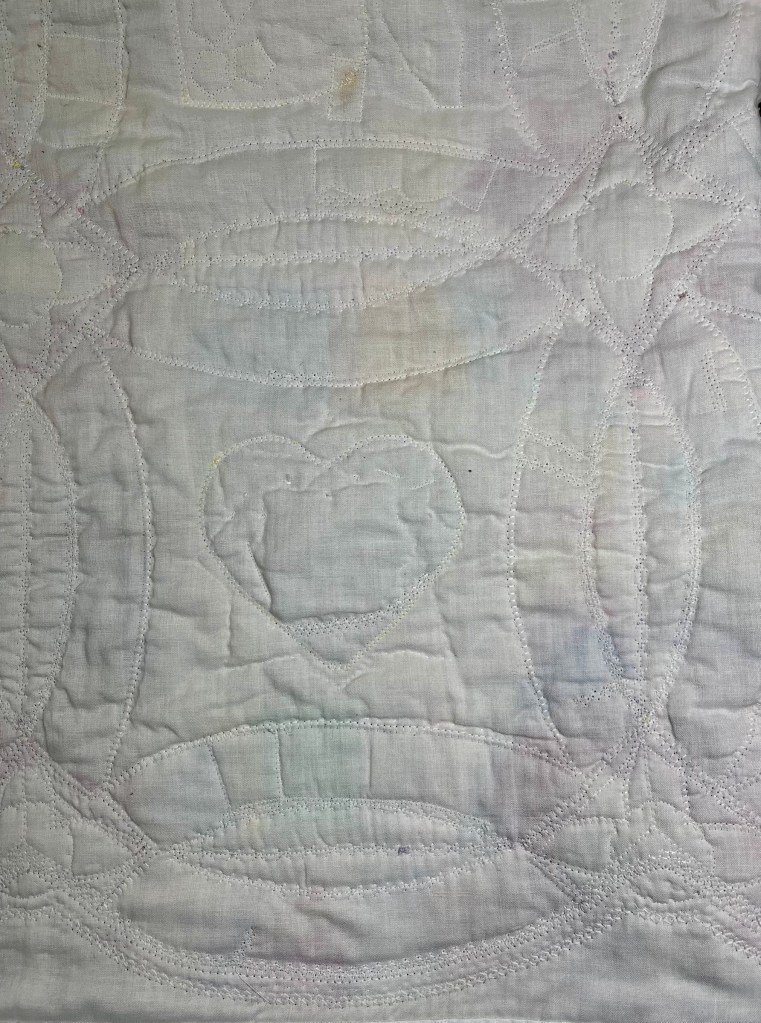
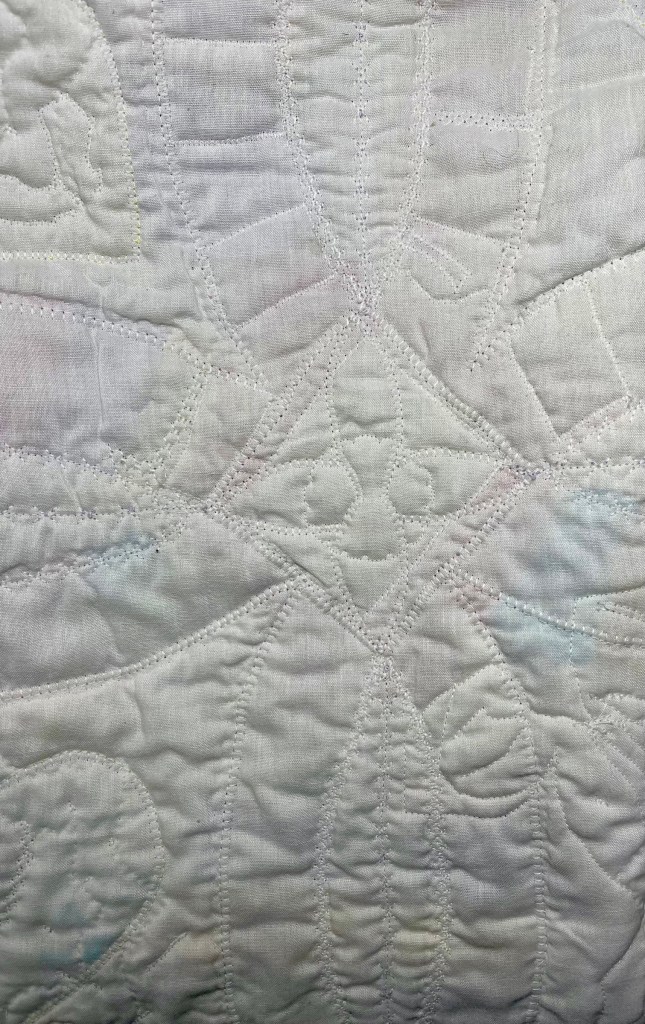
But that does the back look like with all the machine decorative and applique stitching?

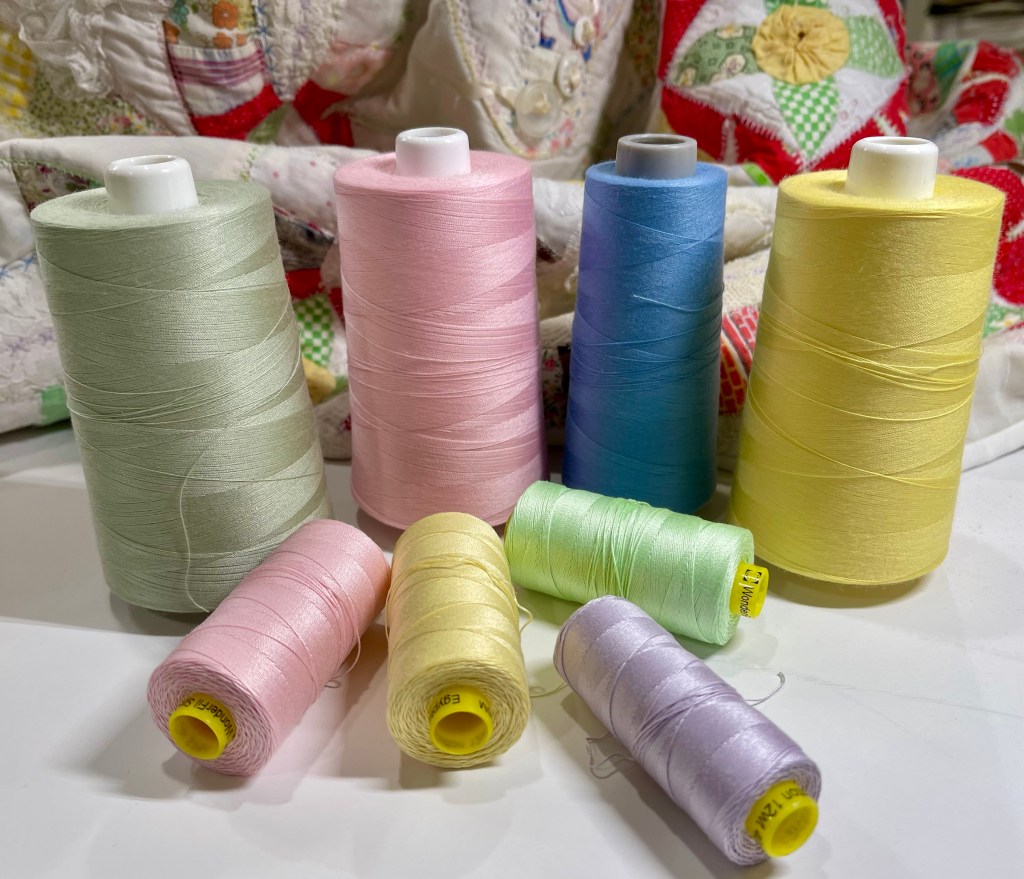
My threads? The small spools are 12 weight from Wonderfil Specialty Threads, https://www.wonderfil.ca and the large cones are Omni from Superior Threads, https://www.superiorthreads.com
This is now one of my favorite quilt saves! Everything with the exception of threading the ribbon through the button holes was done by machine. Not a bad way to save an old quilt! 🙂 Blessings and Happy Quilting, Rhonda