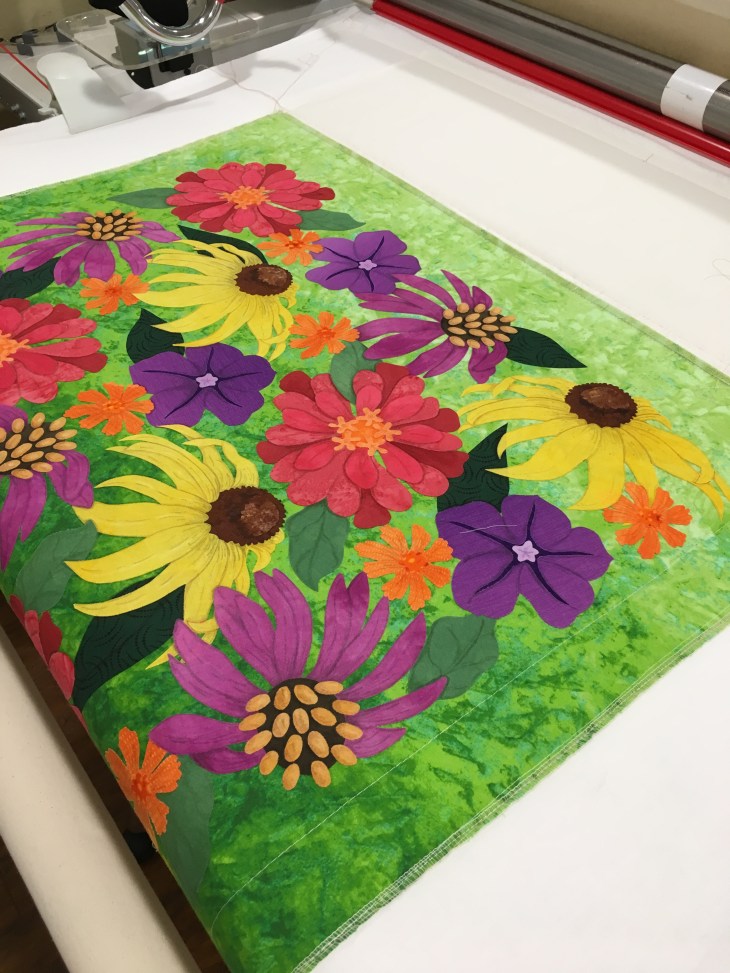
My current hexagon project (CQJP2016) the uses the Fons & Porter 4″ finished acrylic template. Here’s the first block I created start to finish. I love progression pictures and am hoping you do too!
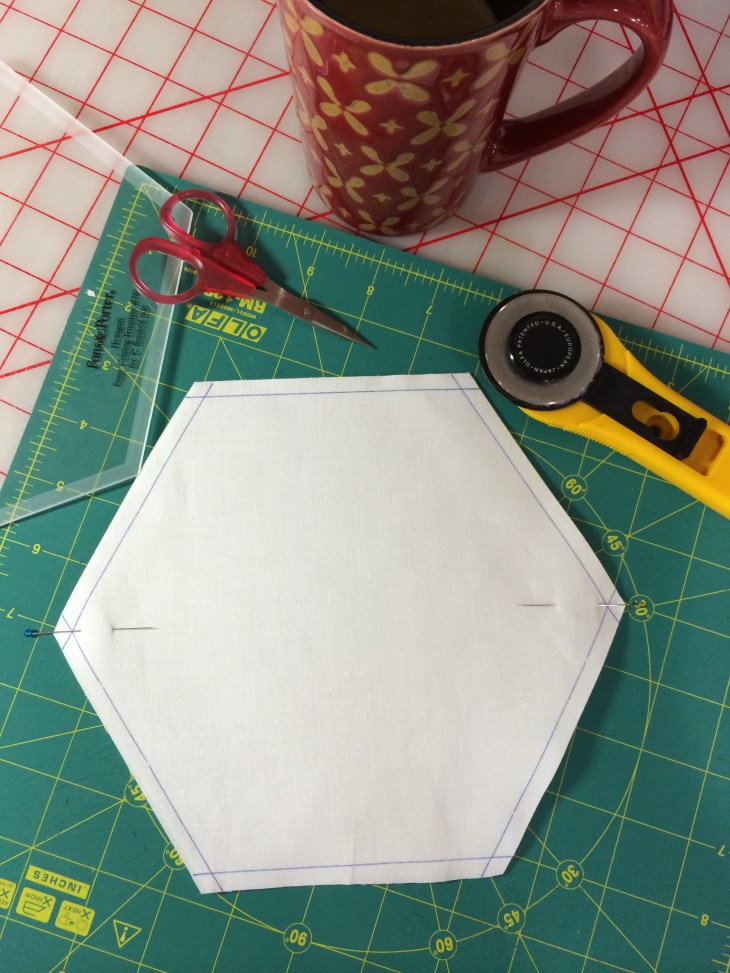
I always begin the block with one layer of white machine embroidery cut-away stabilizer. My preference is the medium 2.5 weight. Sometimes the manufacturers/packagers do not list the weight on the packaging, makes me CRAZY!!! If they want me to buy it they should tell me exactly what I’m buying!
The next layer is 100% bleached muslin. I consider these 2 layers to now be my base upon which I begin to build and/or layer the pieces that will become my block. I usually mark a 1/4″ line around the perimeter of the block using a Frixion Pen by Pilot. It s a good guide for placement and seam allowances.


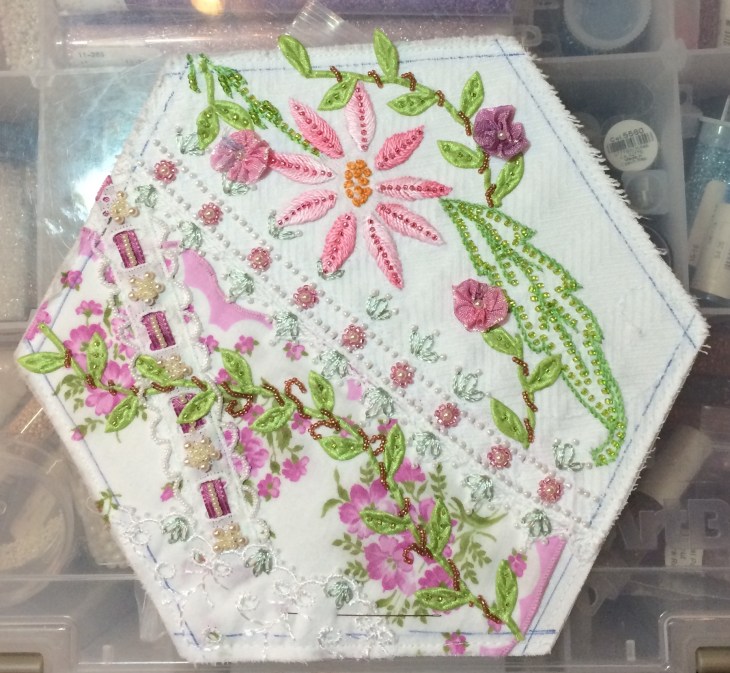
The early stages require lots of trial and error placements. In the picture below I’ve committed to the placement of the various vintage pieces and have begun to embellish with beads, ribbon flowers, leaf ribbon trim and a few laces.
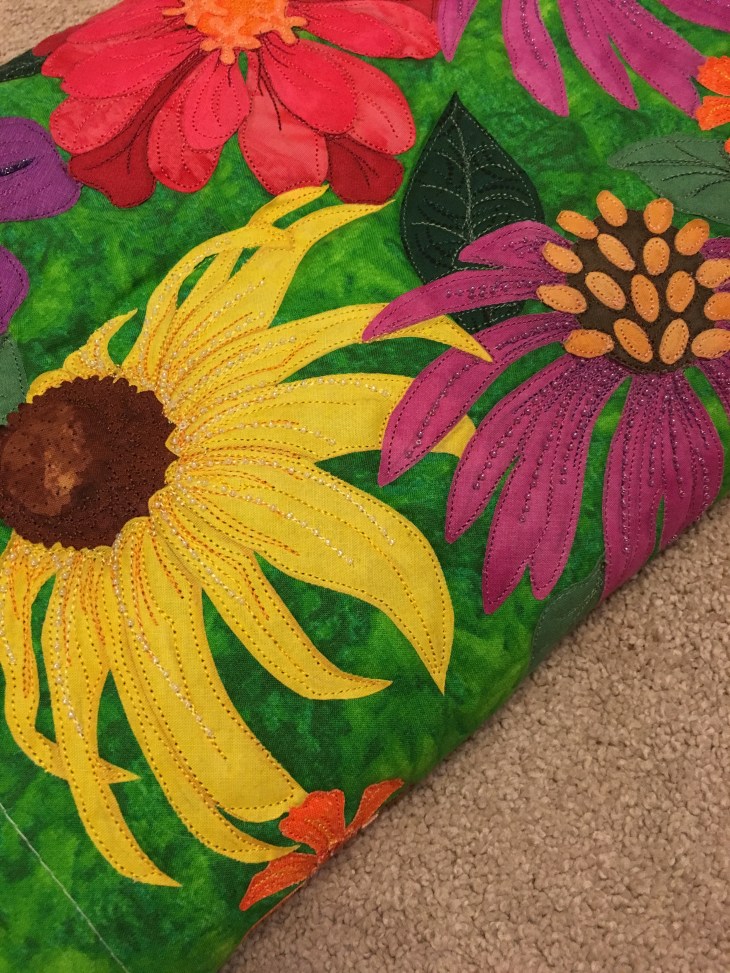
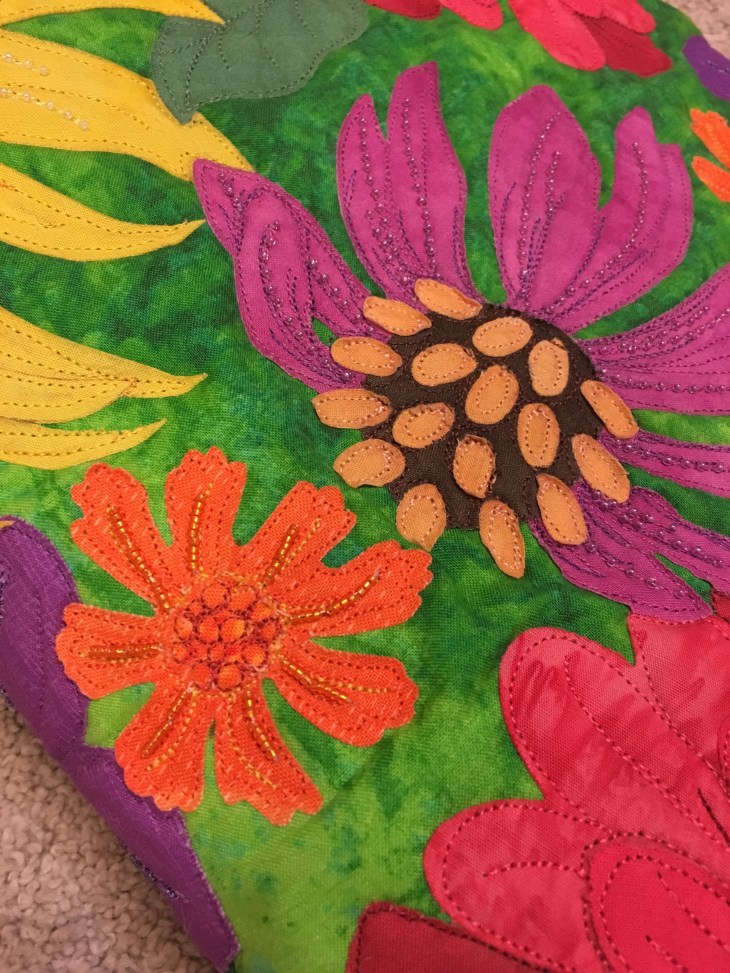
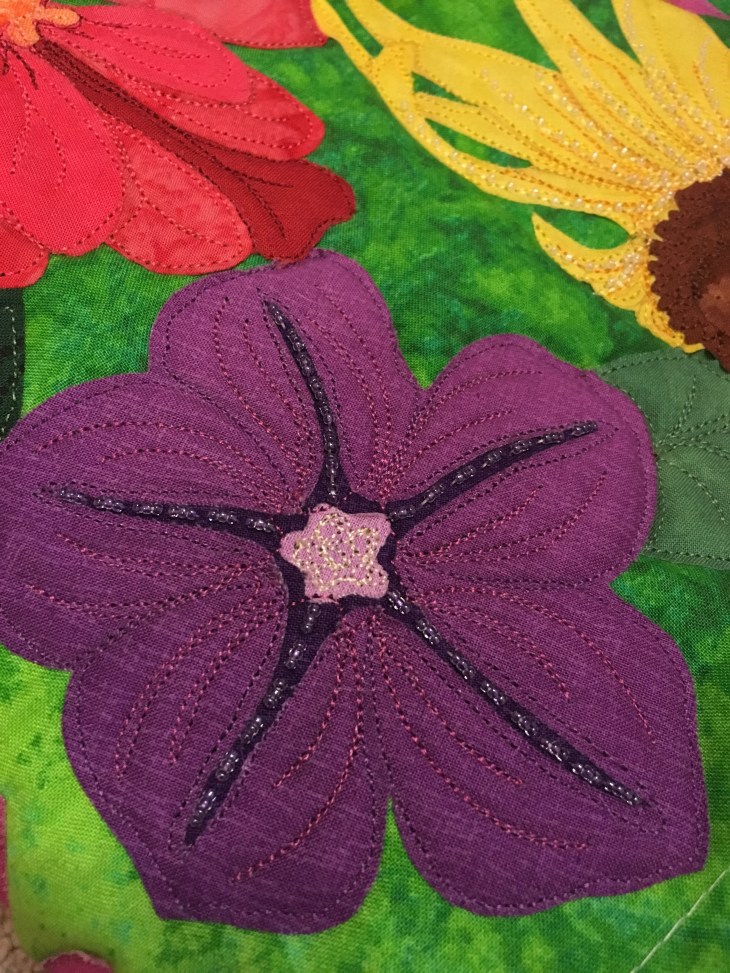
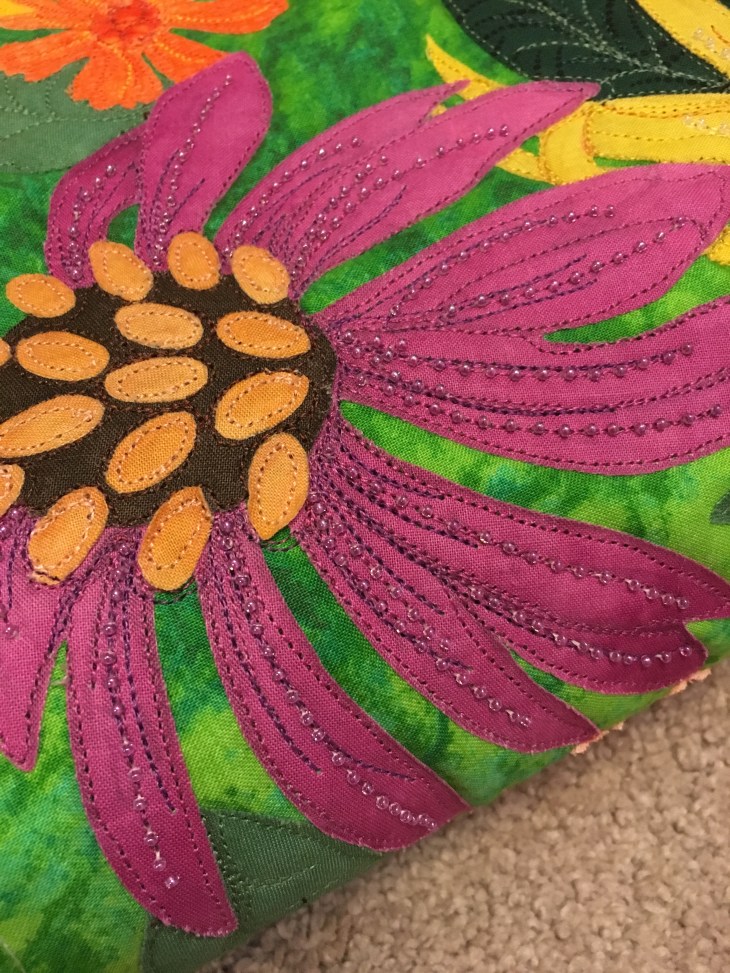
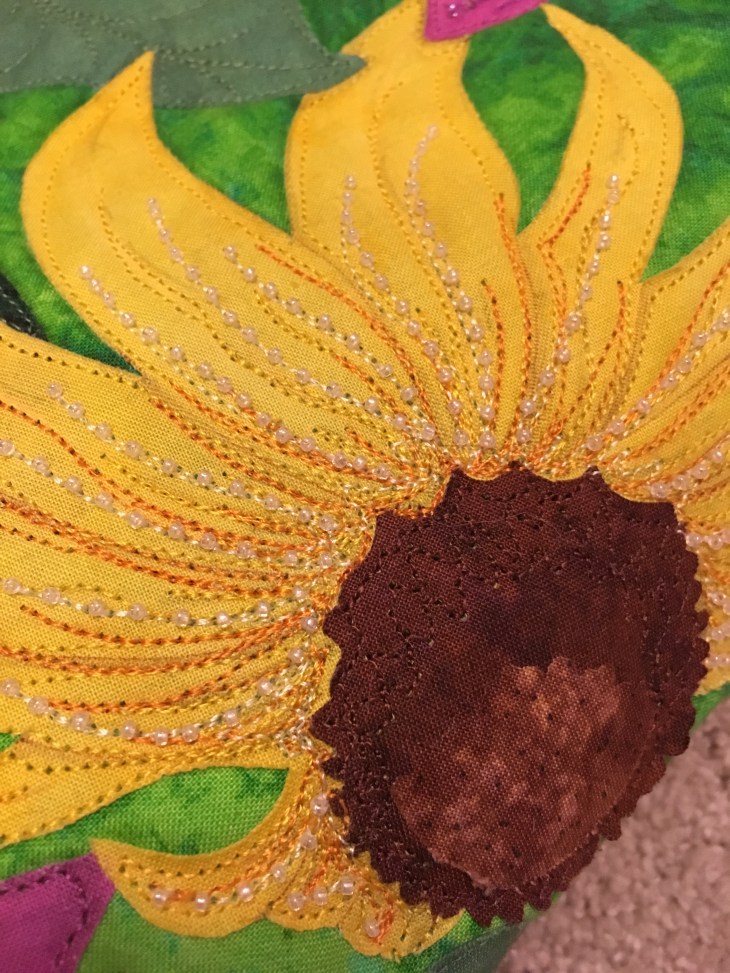
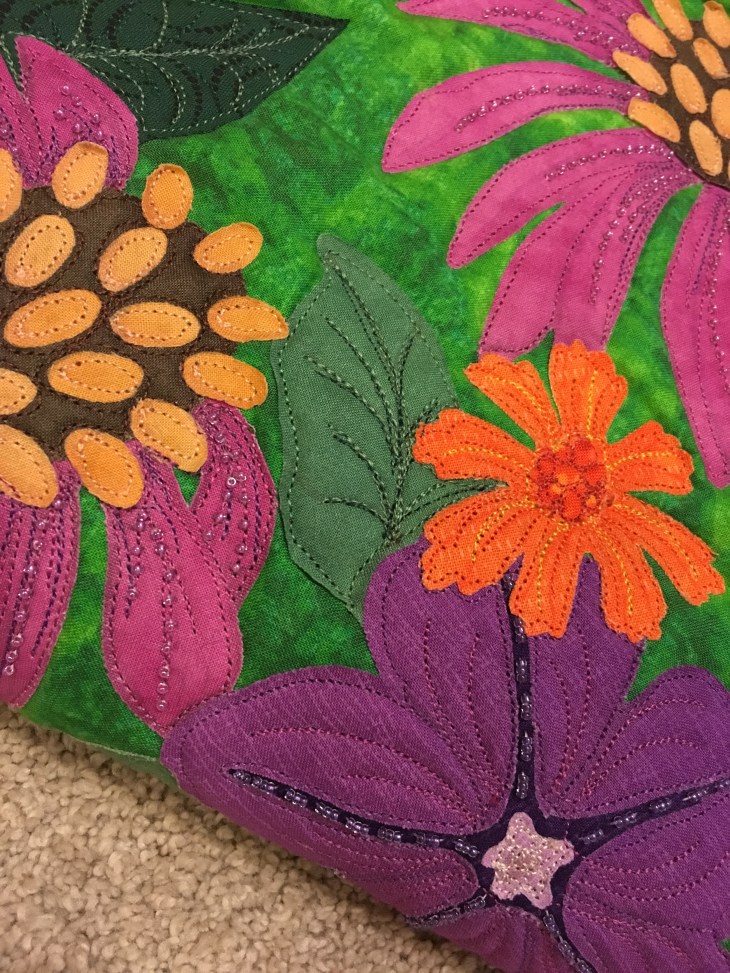
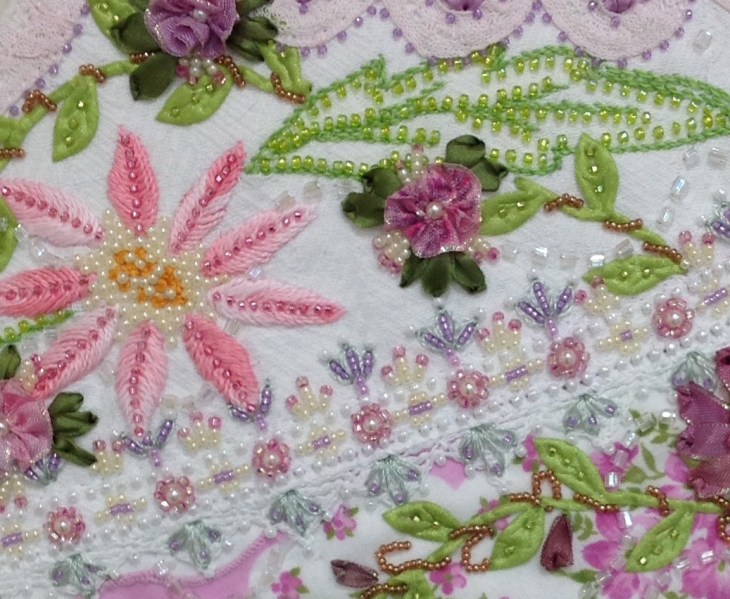
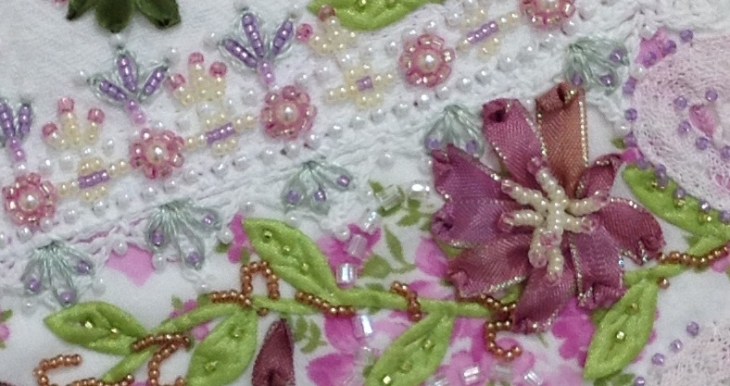
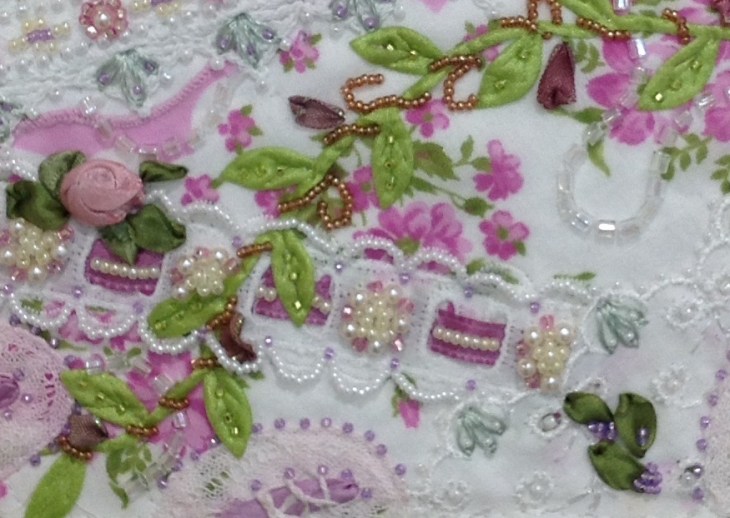
Here are a few close-ups so you can see the details. I use mostly sizes 11 and 15 beads.
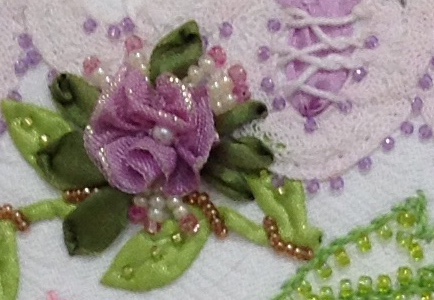
I placed lavender silk ribbon behind the pieces of Battenburg lace:
And finished!
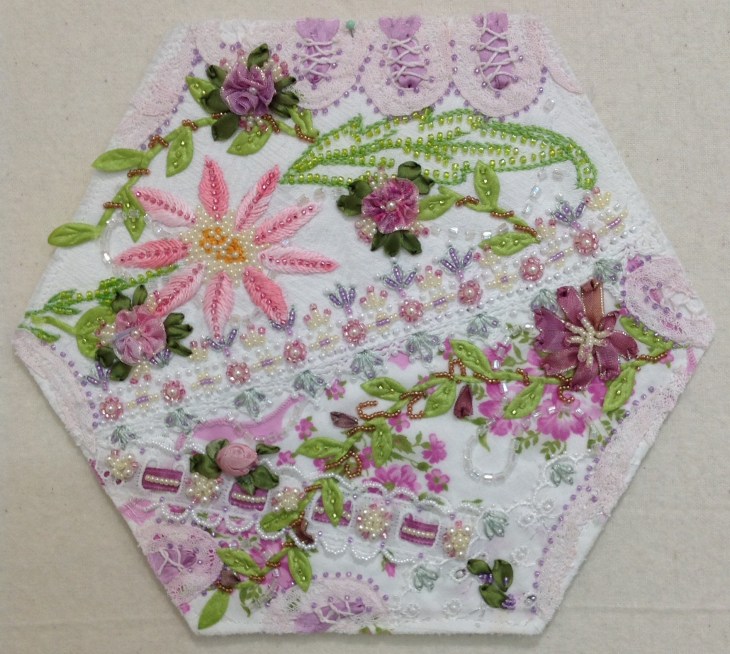
That’s a wrap for Hexagon #1, hope you enjoyed the journey!
Happy Stitching,
Rhonda