Part 2! Are you ready?
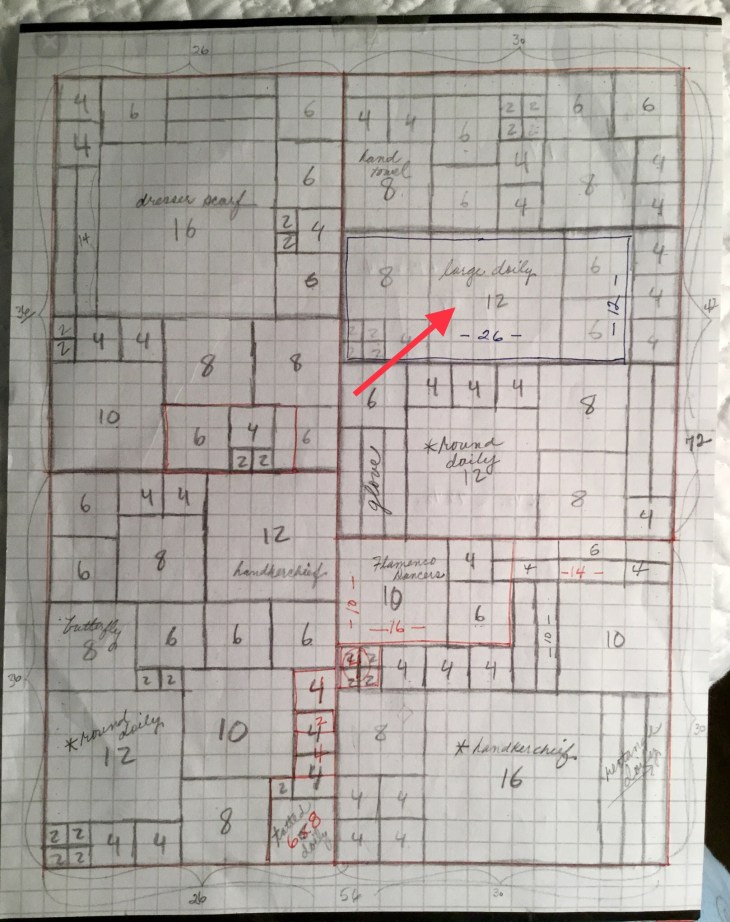
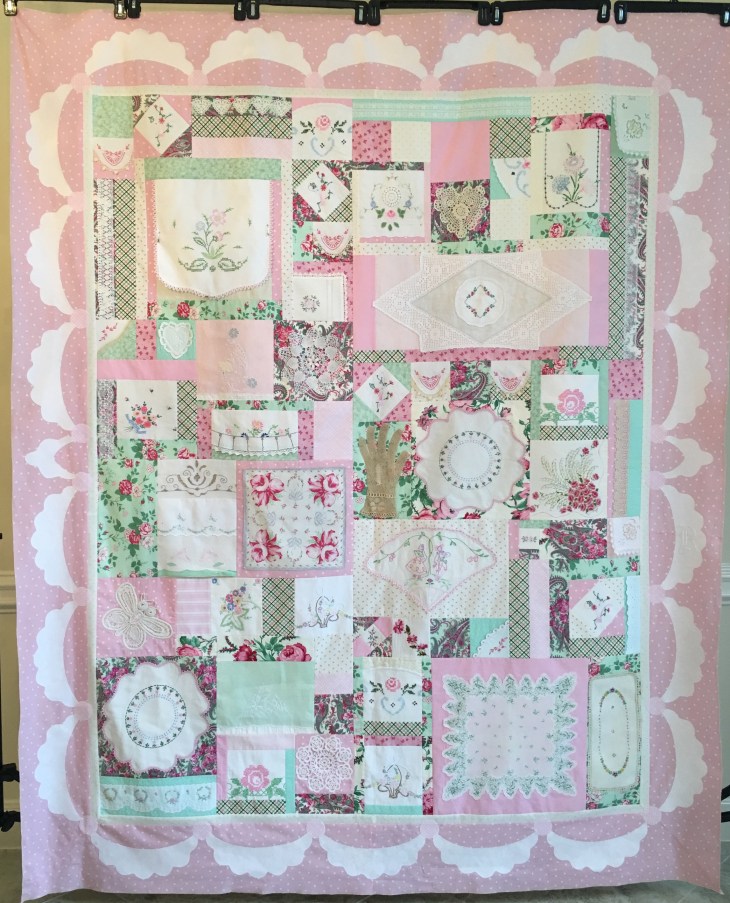
This post is going to be wordy and full of pictures of the diagram I used to create this quilt top:
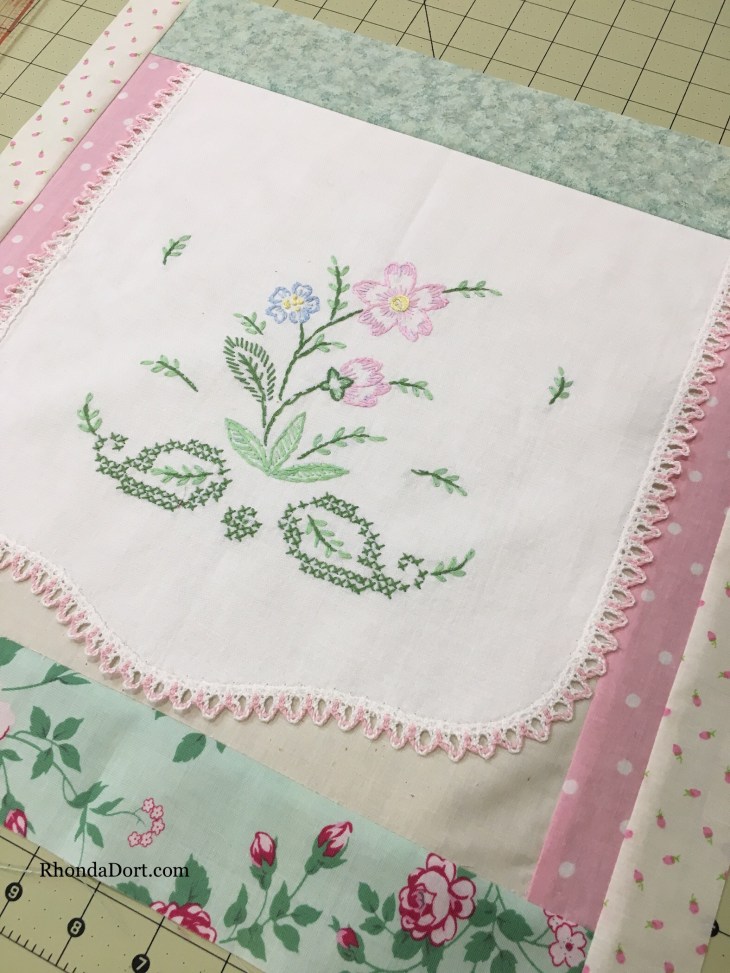
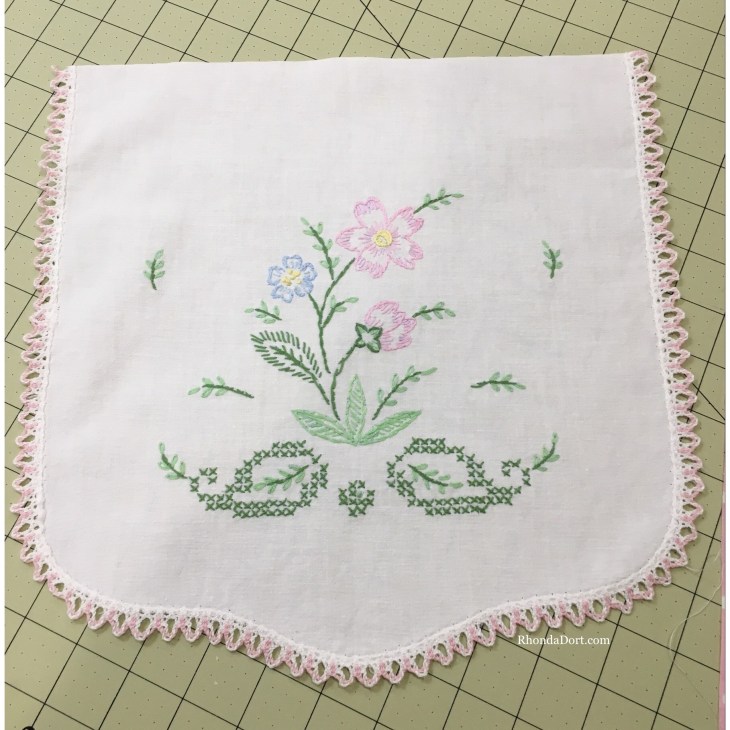
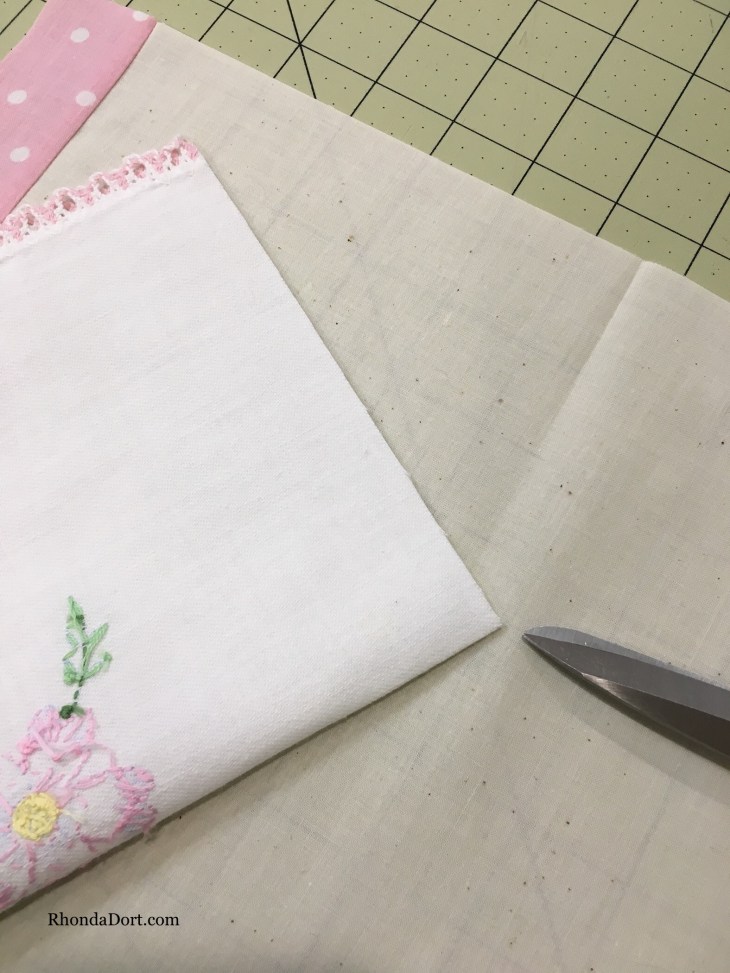
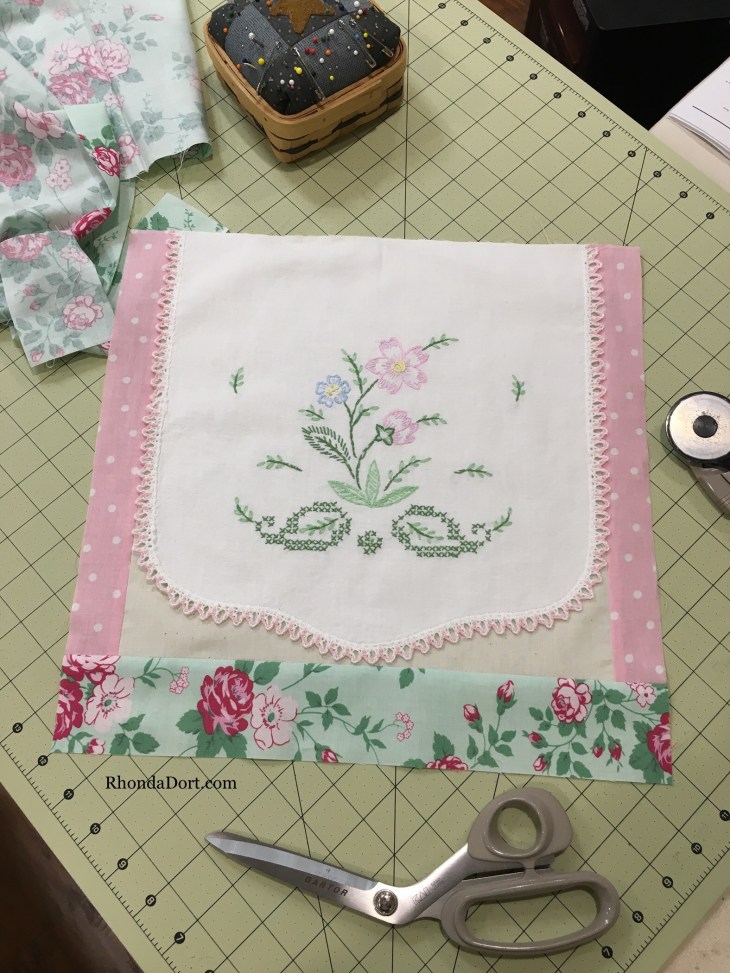
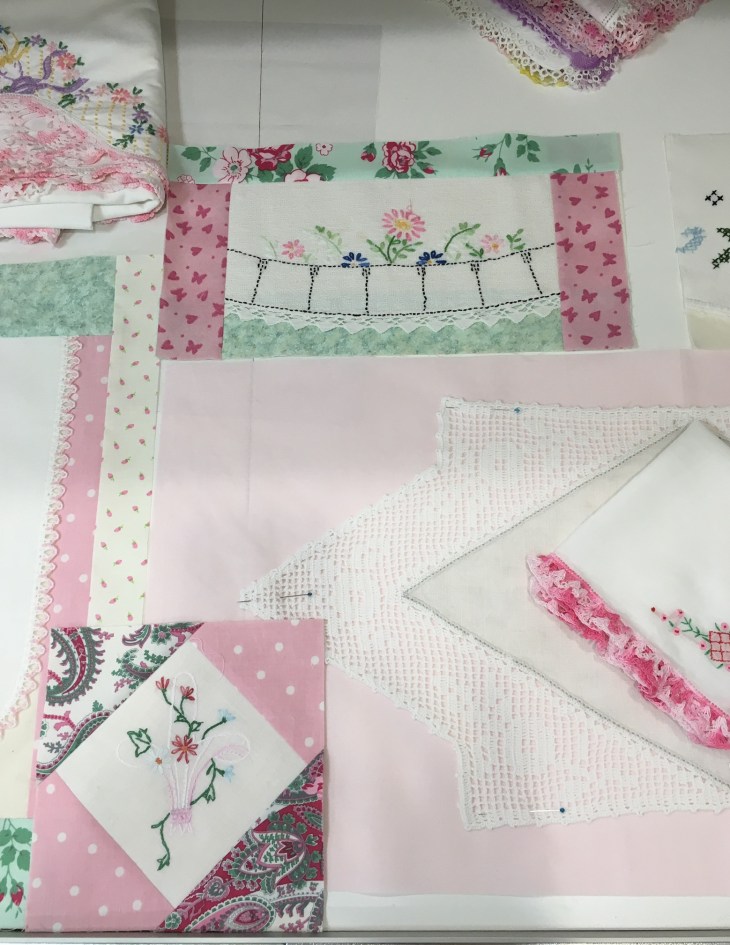
I want to point out a few things about the diagram and offer some advice on how to simplify your process. In the meantime, you can be thinking about what size quilt you want to make and once determined, go ahead and begin choosing your vintage linen pieces that will make up the largest blocks.
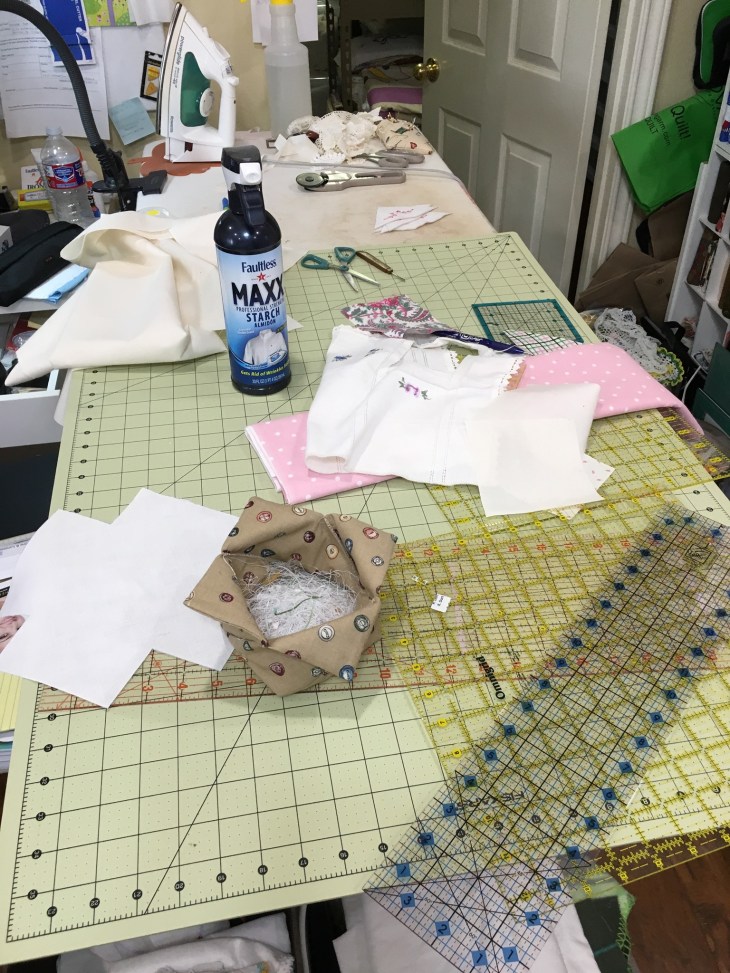
It’s never too early to get your linens clean and pressed. Now is the time to soak the vintage pieces and I’m always happy to tell you my soak method. Jump back to my blog post of November 7, 2016 for some very detailed information and a great recipe to get your pieces in tip-top condition. Somewhere along the way I need to tell you I’m a big advocate of spray starch. I starch and steam press just about everything.
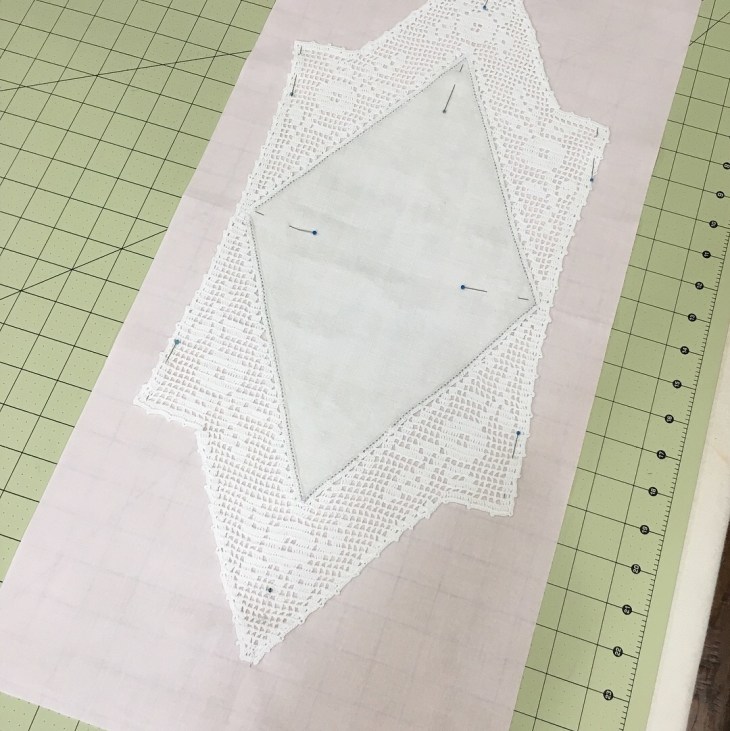
So, back to the diagram, have you noticed that rather than random blocks, it is actually large sections? In the following picture I’ve labeled the 9 sections. Did you notice the diagram is divided almost down the center? The right half is 30″ wide, the left is 26″. If you stick close to the diagram, you’ll find all sections except 5 and 8 have one block that is larger than all the others. Keep this in mind when looking at your big doilies.
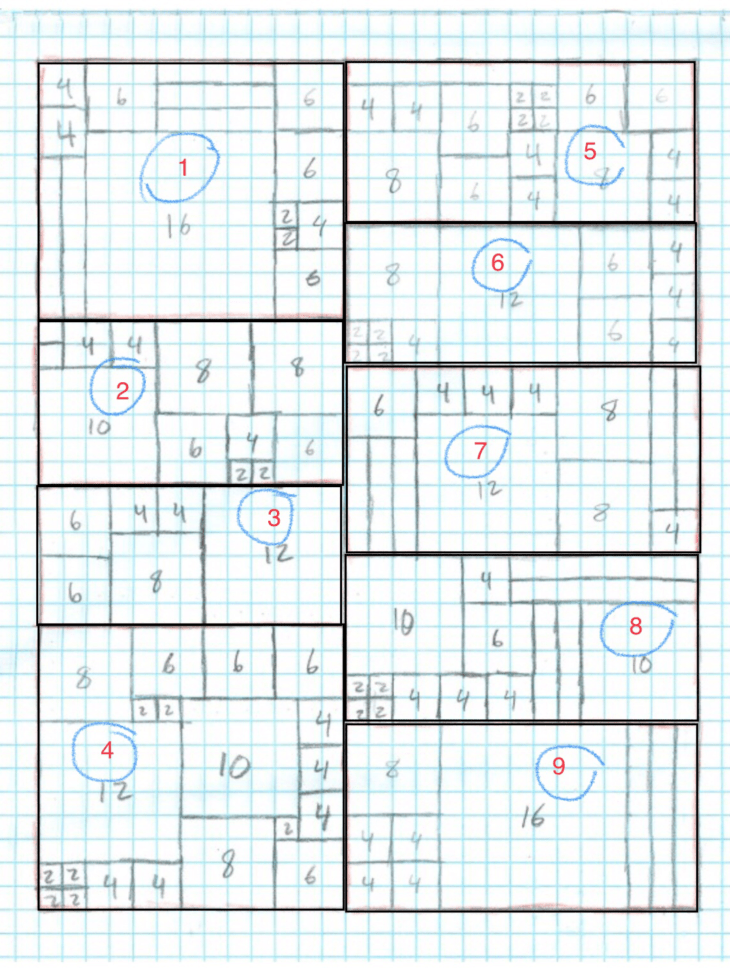
If you follow the diagram exactly you’ll find you need: 21 2″ blocks, 34 4″ blocks, 18 6″, 10 4″, 3 12″ and finally, 2 16″. For the record, I did not need this many blocks. I do not have any 2″ blocks in my finished quilt top, they were easily combined either to each other or to adjacent blocks.
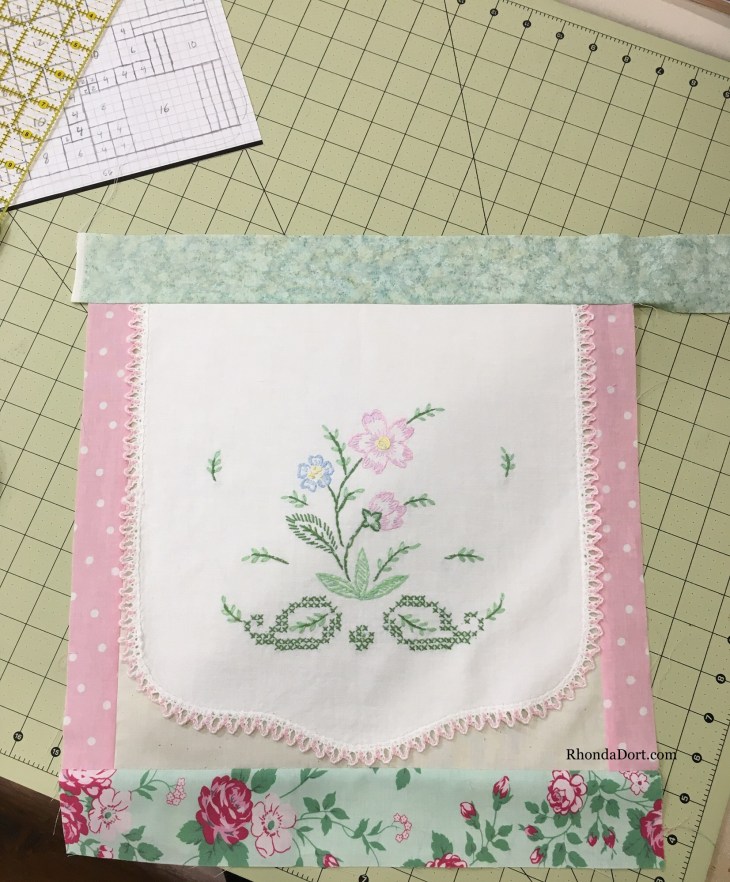
My advice to you is to construct your quilt top in sections. Sections 2 and 3 are small and could easily be combined as are Sections 5 and 6, but don’t make things harder for yourself! Use my methodology of: When in doubt…don’t.
Now, let me point out a few other dicey areas that have the potential to give you trouble. In the diagram below I’ve added green arrows and yellow circles to indicate the “set in seam” dilemmas. I made appropriate revisions in my own block sizes to avoid set-in seams. It’s only section 4 that has these pesky little 2″ blocks. You decide.
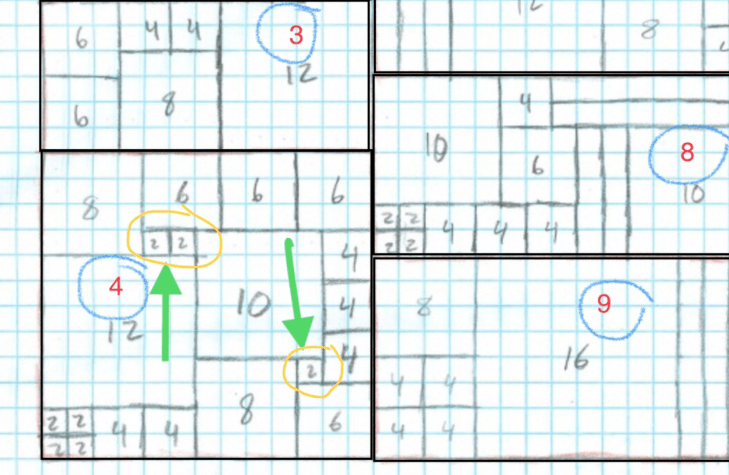
When you feel like you’ve got a game plan in mind with your vintage linens, don’t rely on memory about where they should be placed, make a copy of your diagram and with pencil start labeling the blocks such as the following picture:
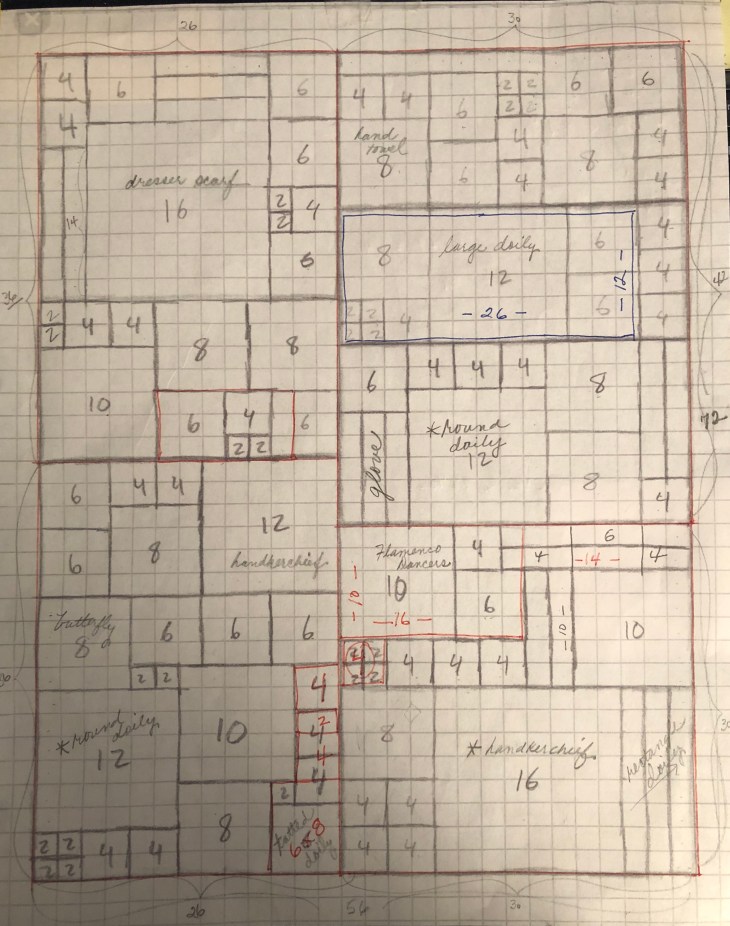
You’ll also notice that using a red pen I notated all my changes in block sizes. Do this as you work with each Section and you’ll find everything fits together nicely in the end. This is also a good way to know if you’ll be needing additional vintage linens and if so, what to look for in the shops or your stash 🙂
As you can tell, I’m generally a “planner.” With a good plan I figure I can do almost anything. Now this theory has gotten me into trouble a few times, but usually I’m good.
A few things come to mind:
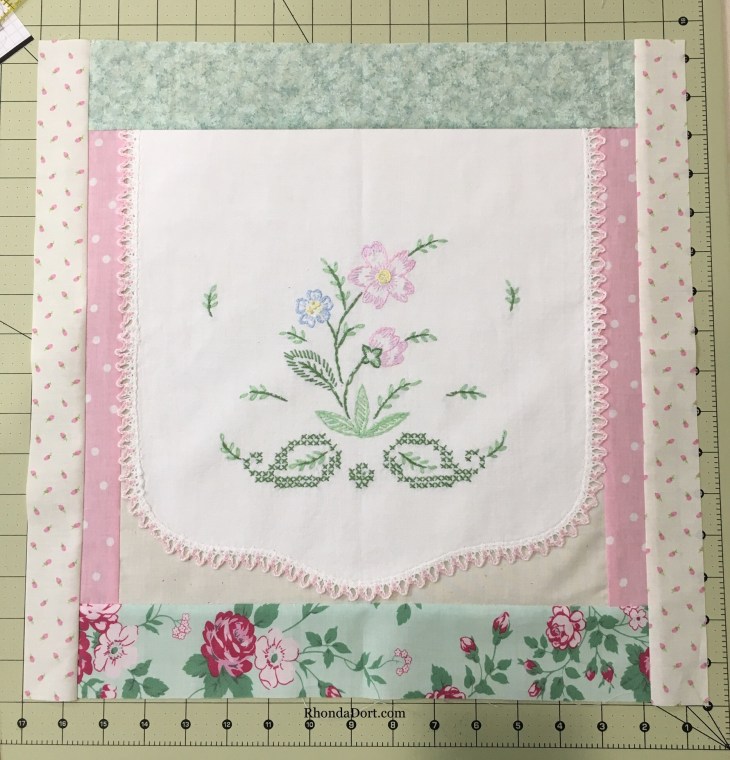
- Don’t forget to plan for seam allowances!!! If the diagram says 12″ you know it really means 12 1/2″ right???
- Clean/soak your vintage linens! The last thing you want to happen is to have iron scorch marks on your beautiful pieces from old detergent residue!
- Plan ahead for your fabrics. Think about overall color schemes, etc.
- Determine the finished size of your quilt top.
- Decide what you’re going to use as your foundation fabric if you’re leaning that way, and let me just say your foundation fabric needs to be a true solid, no tone-on-tone, etc.
- And finally, if this is your first time cutting into vintage linens, please-oh-please do not use your most valued and treasured family heirloom things this time!!! Wait until you’ve some experience under your belt before using these pieces!
Are you ready? Do you have questions? You can easily leave a question in the comments section. The great thing about the comments section is that if you have a question about something, chances are good someone else will too! I’m here to help! I plan to send out a new “tutorial” for this project every few days. This is going to be so much fun, and YES! you can do this!!!
Blessings to all,
Rhonda