Saving Another Double Wedding Ring Quilt, Part 3

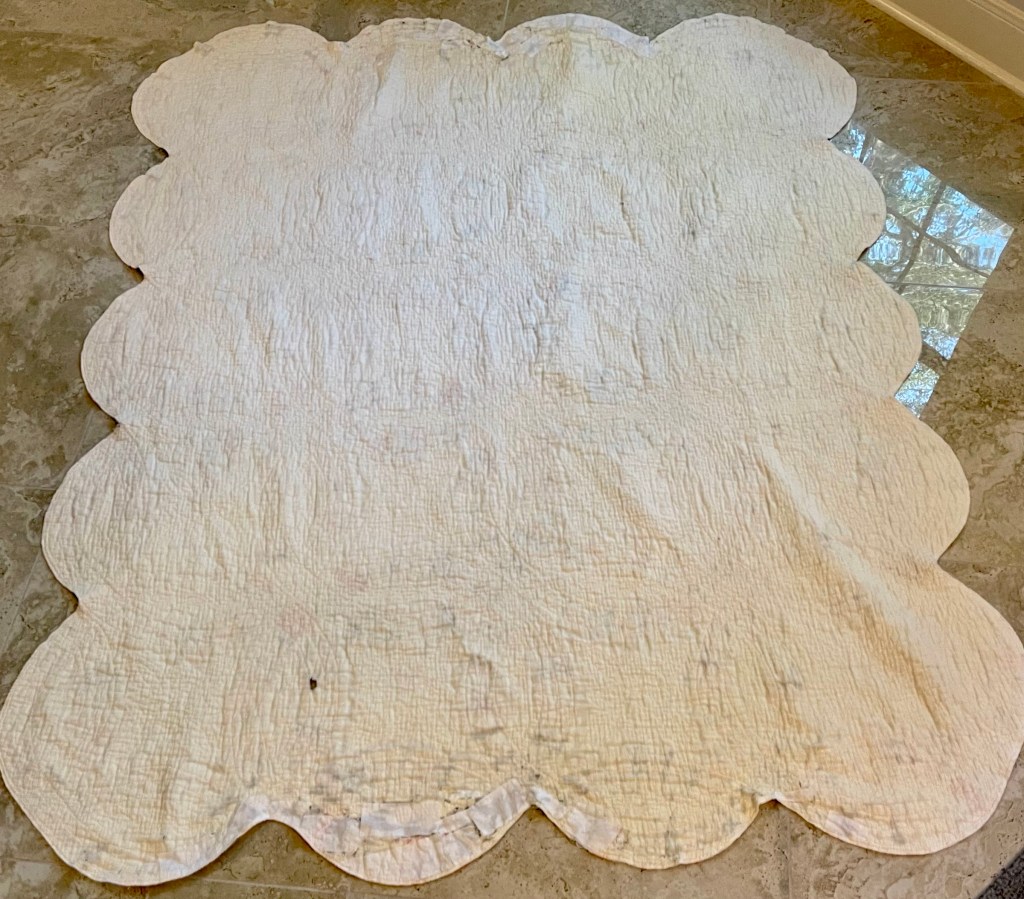
Have you read the previous 2 posts about the “saving” process going on with this vintage well used and well loved Double Wedding Ring quilt? In this post I am going to take you through the steps of applying the false back at the top and bottom edges as well as making repairs to fabrics that have become ragged, torn, frayed or simply are missing.

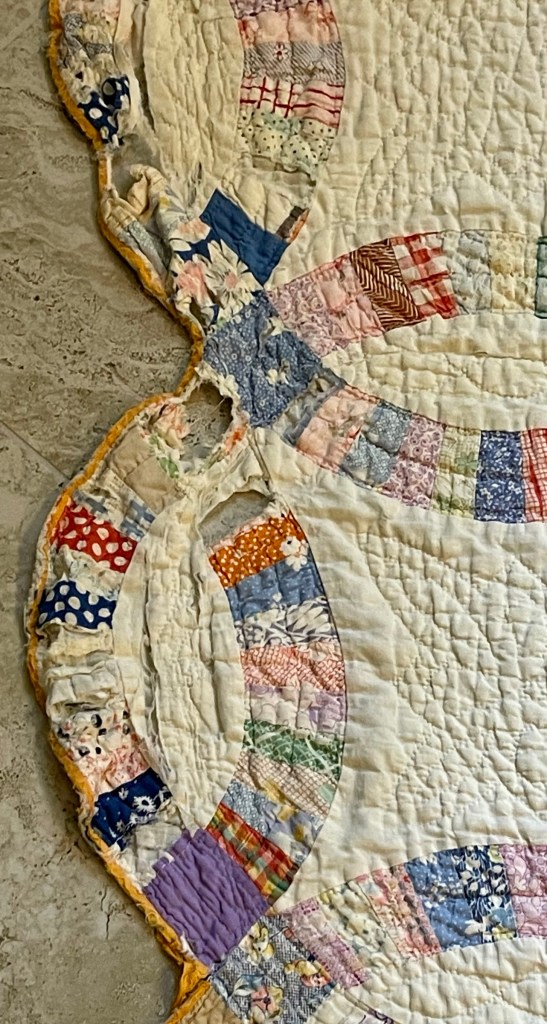
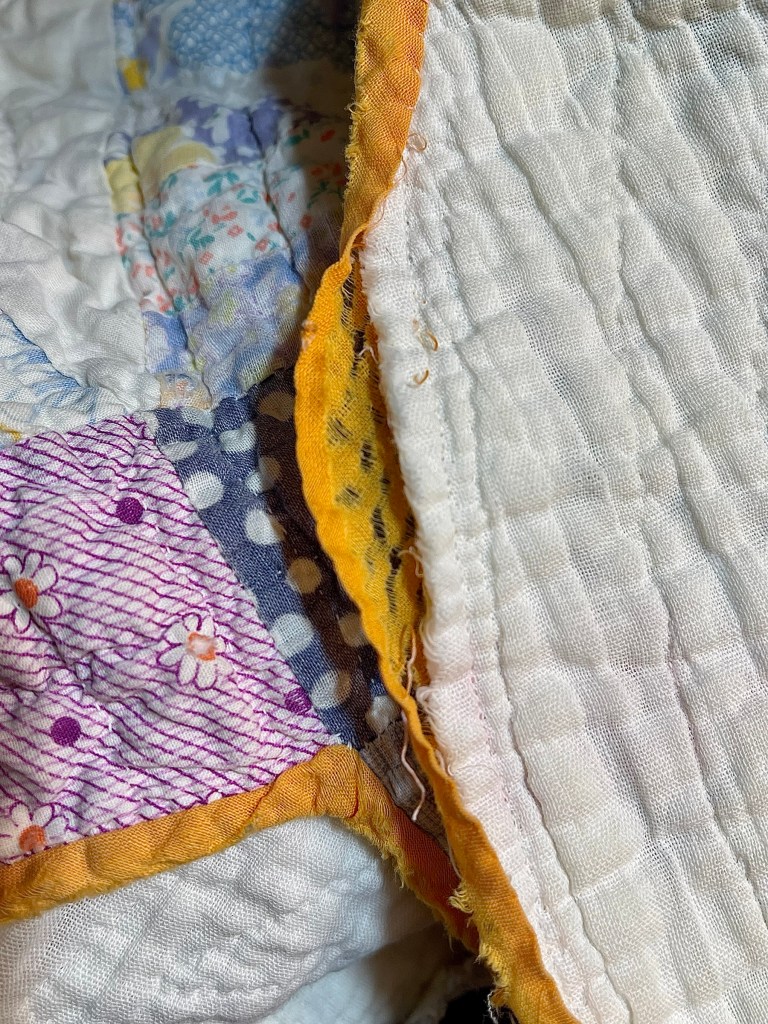
Let’s start with the false back. If you remember, both the front and back of the quilt top and bottom were in very bad shape. With the front edges repaired, I needed to address the back.

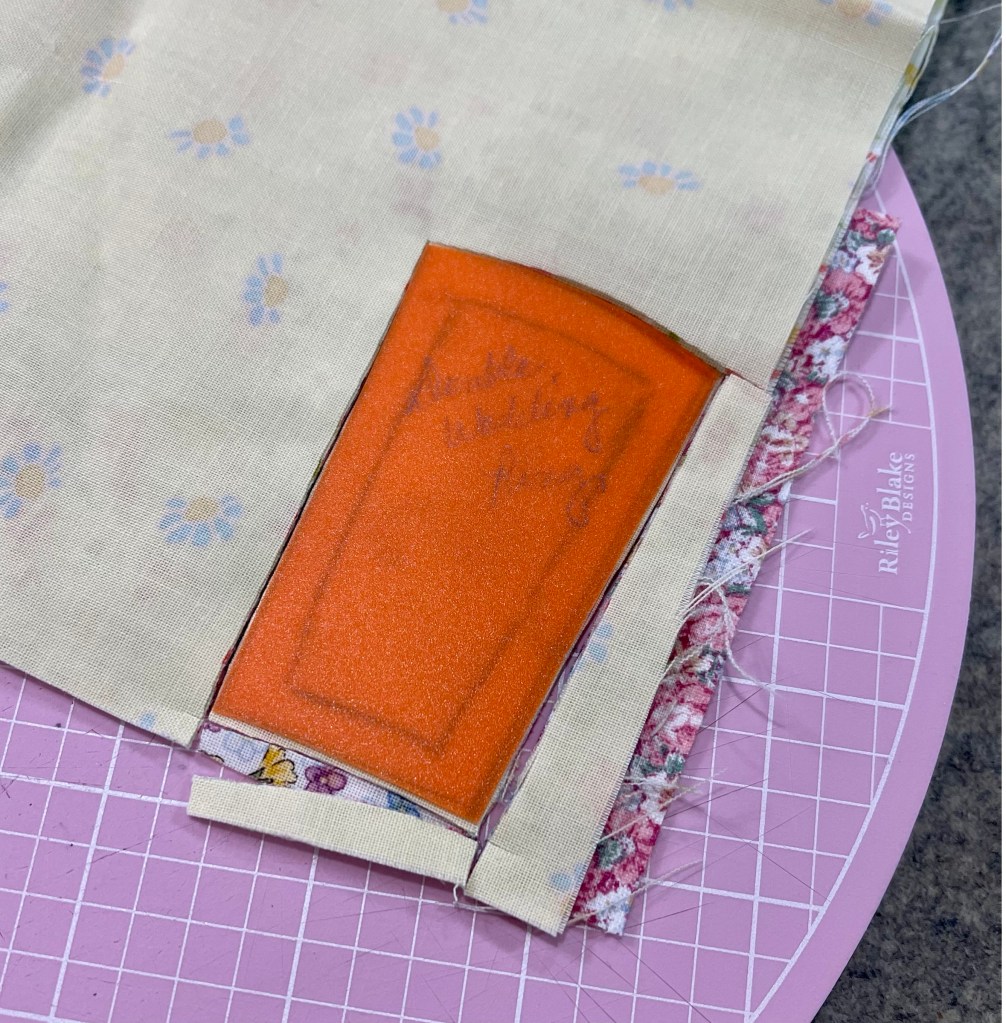
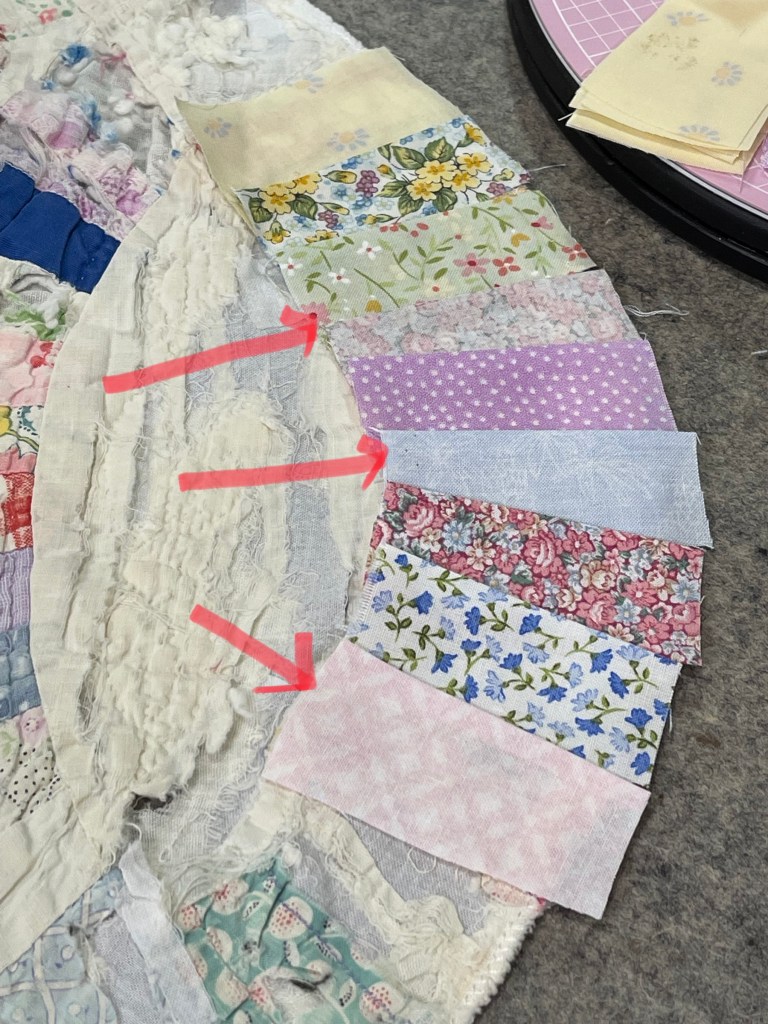
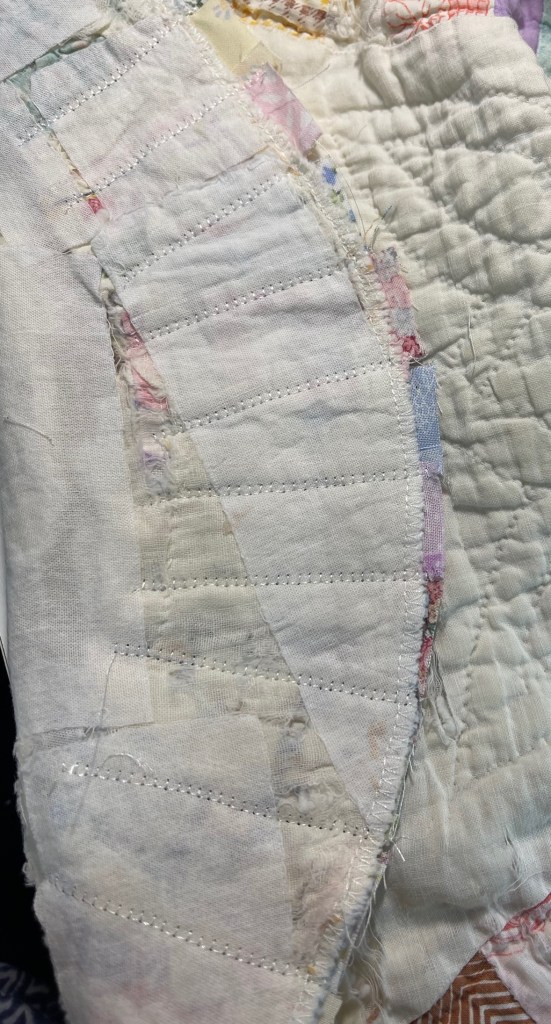
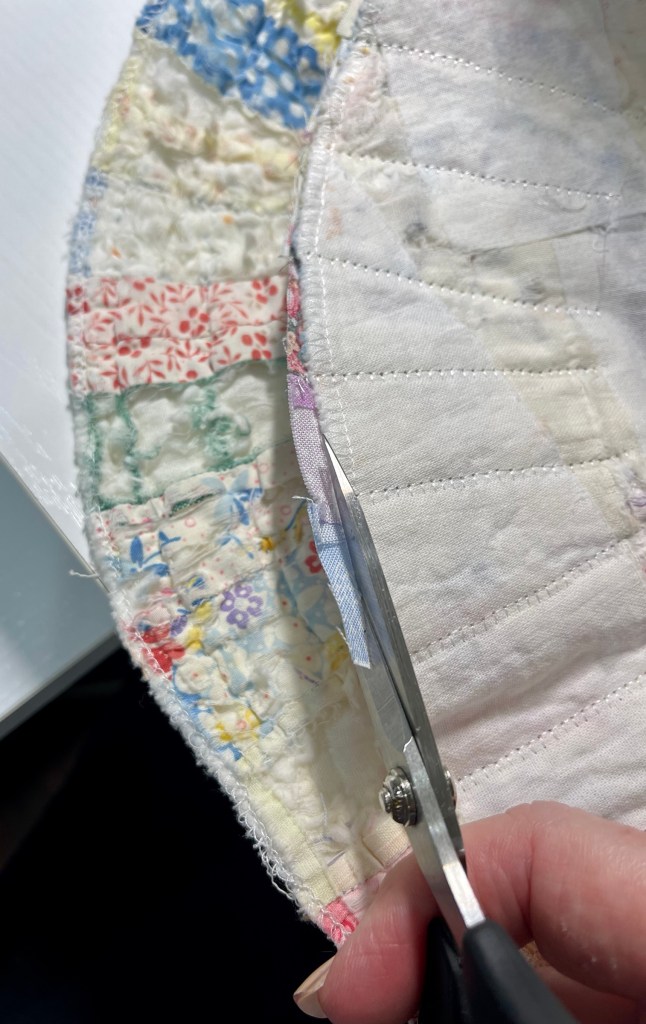
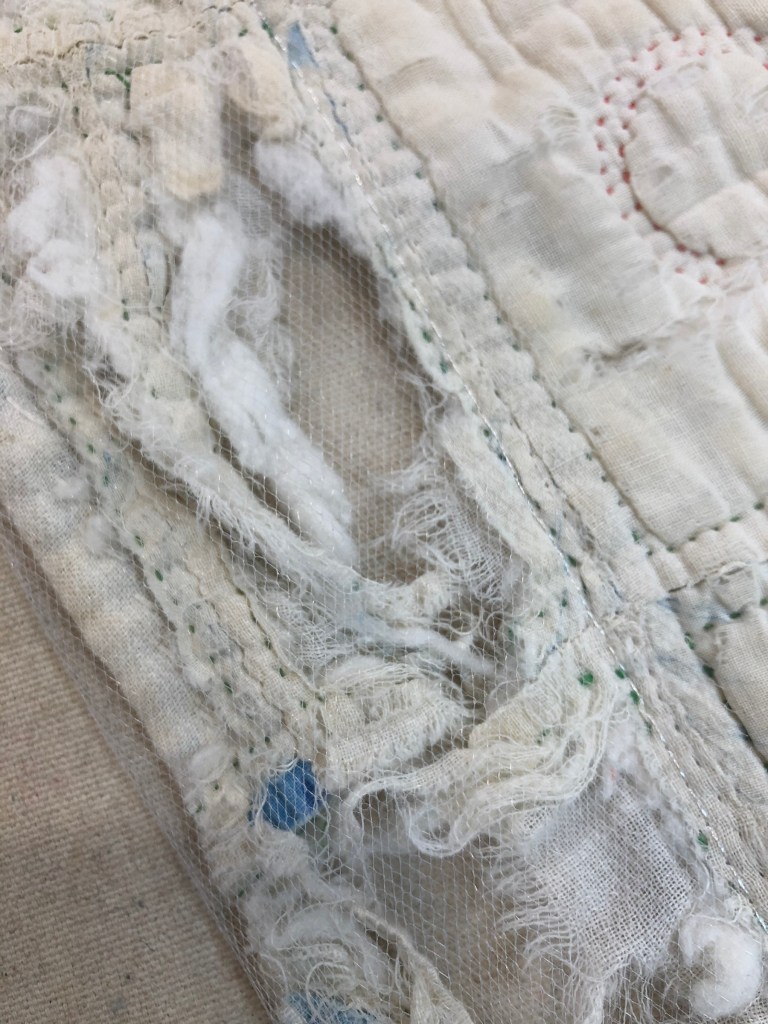
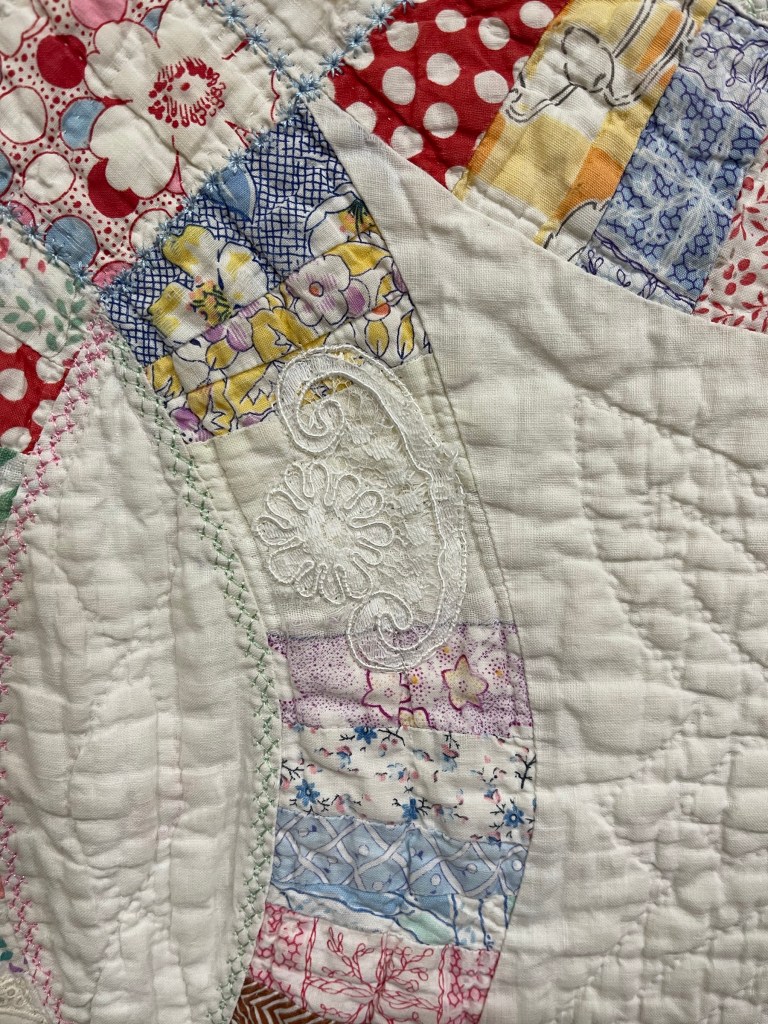
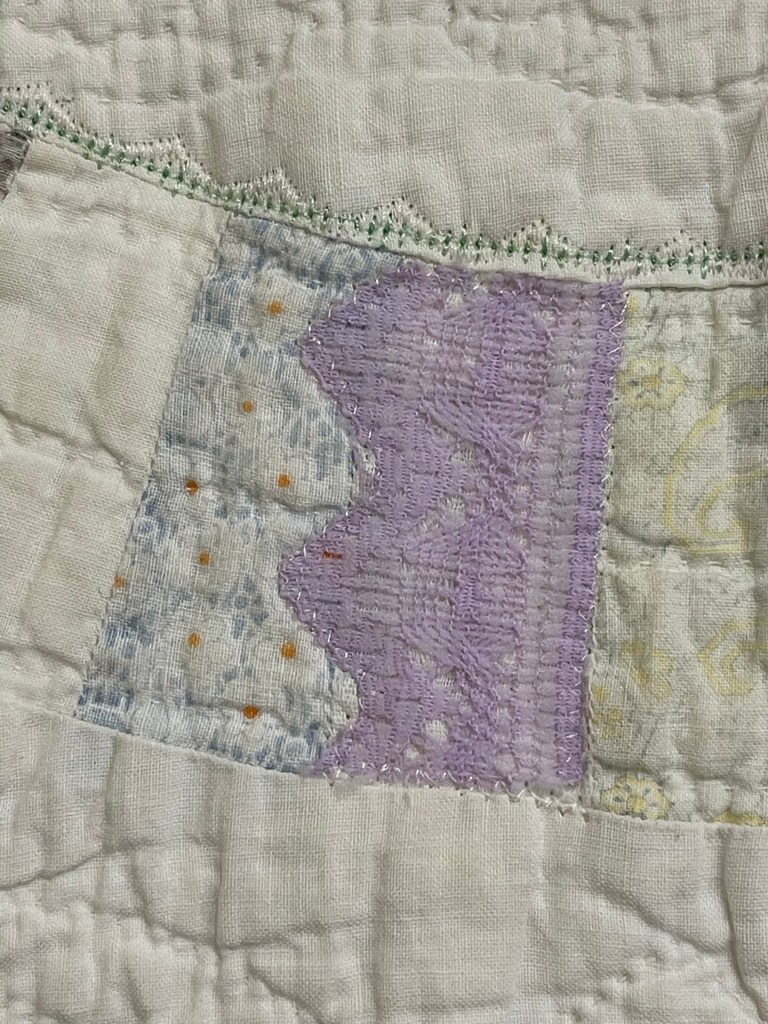
Just to the right of the green line above you can see a seam line? For this edge of the quilt I was fortunate enough to have a length of muslin that very closely resembles the original quilt backing. I folded over a quarter inch, pressed it in place, carefully placed the length of muslin across the entire quilt top edge and pinned it into place.

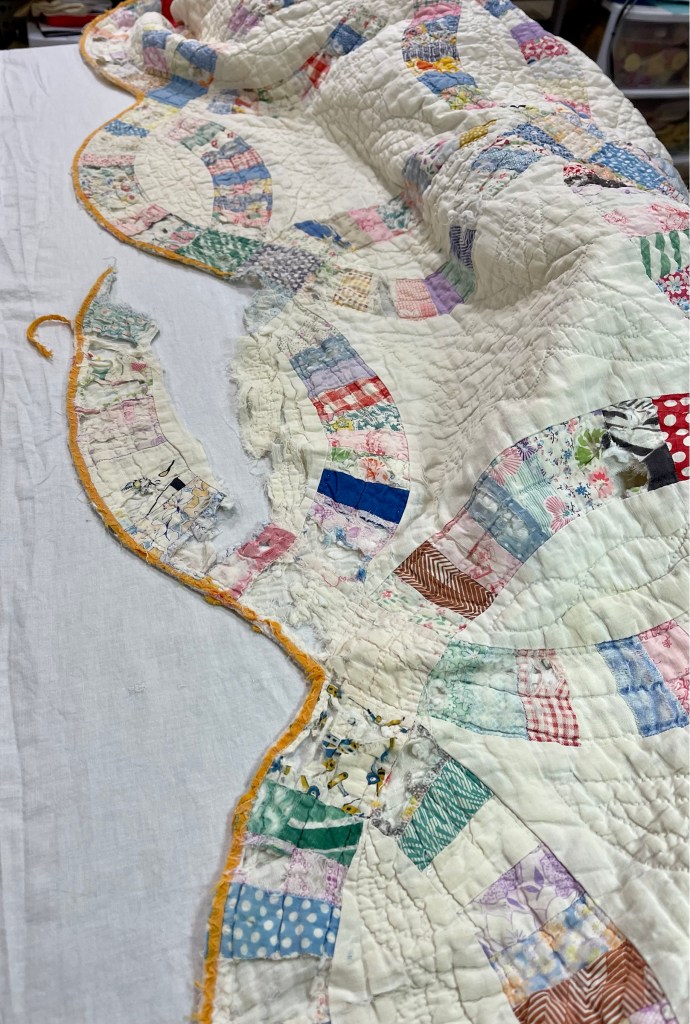
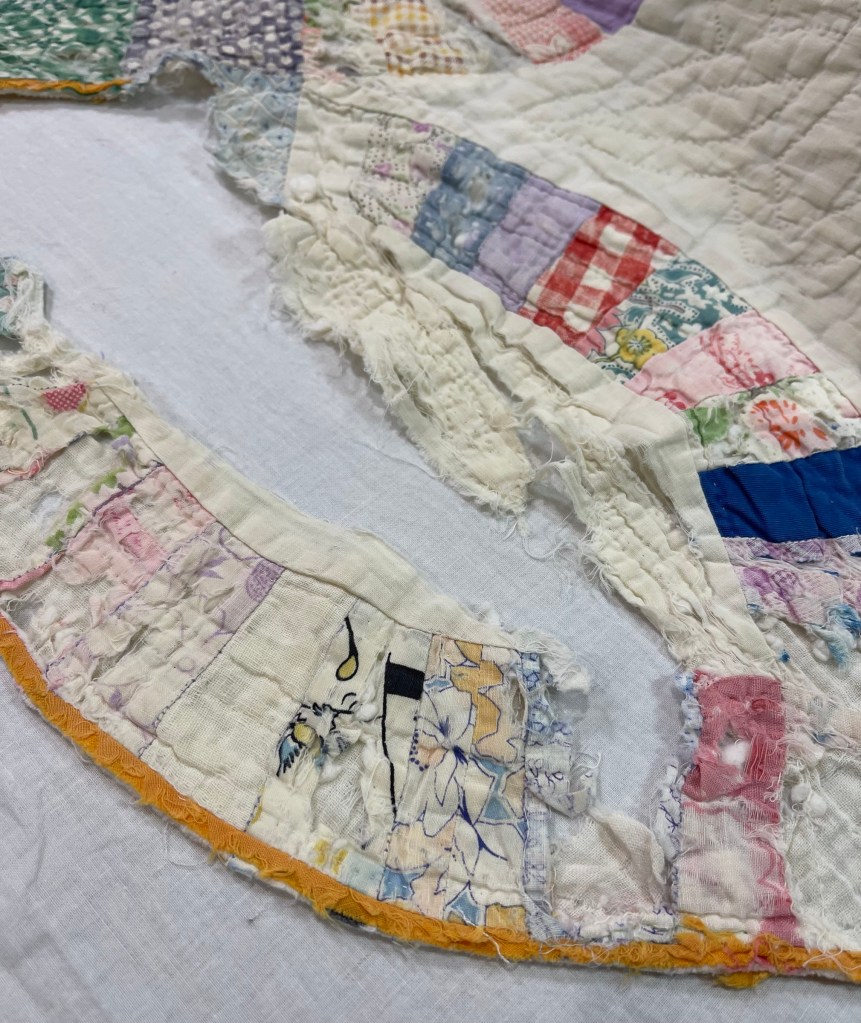
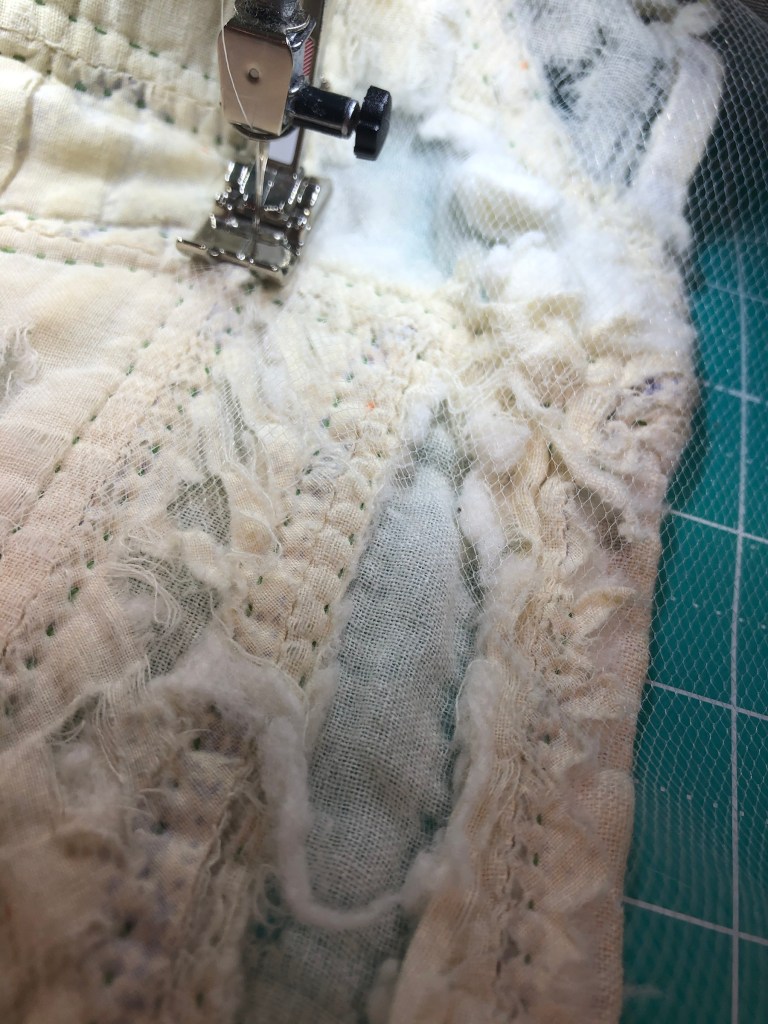
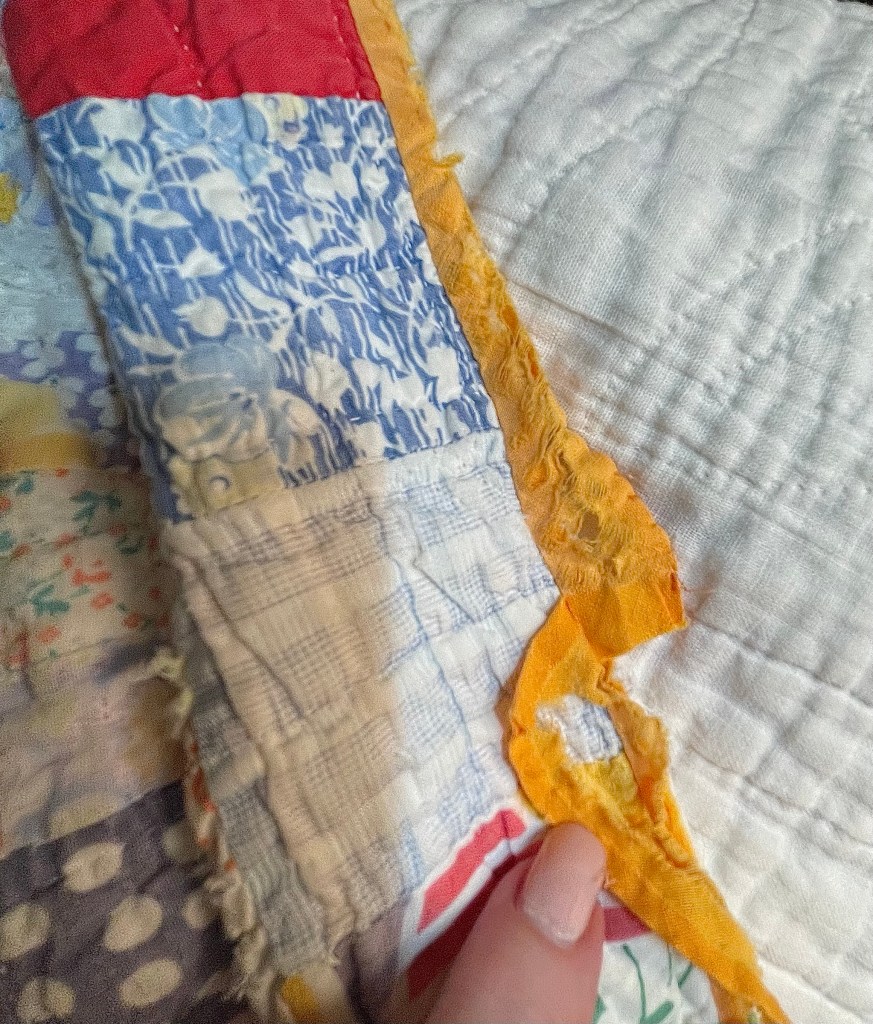
I needed to secure the strip of muslin to the quilt so I carefully stitched it down by hand at the folded edge. How did I handle the scalloped edge? I carefully pinned the outside quilt edges to the new false back muslin piece and then machine zig-zagged the outer scalloped edge. Once I had this machine stitching completed I carefully trimmed away the excess muslin.

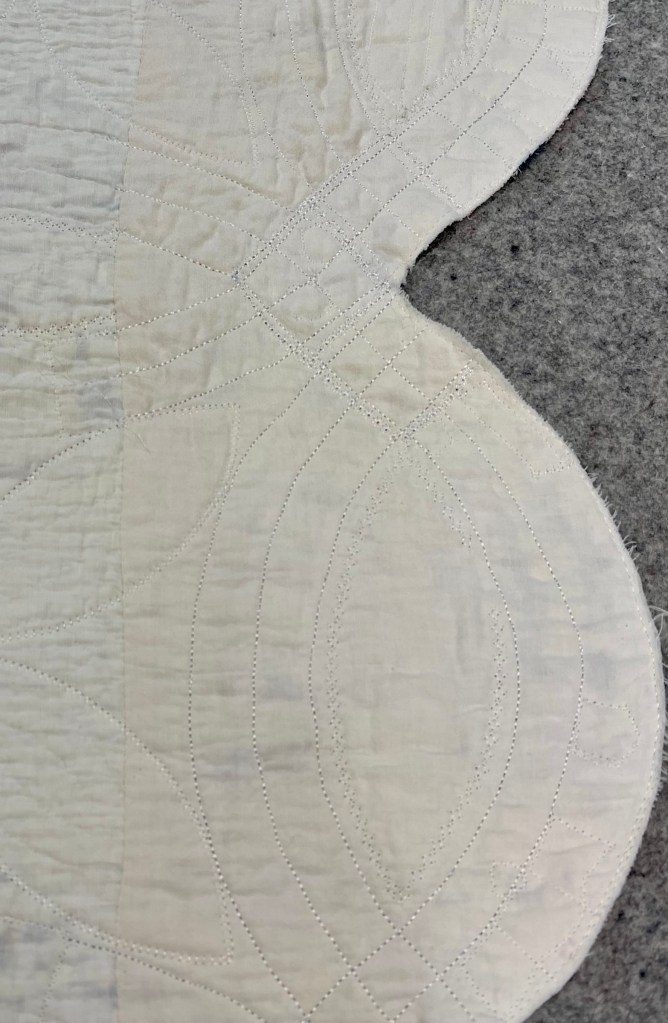
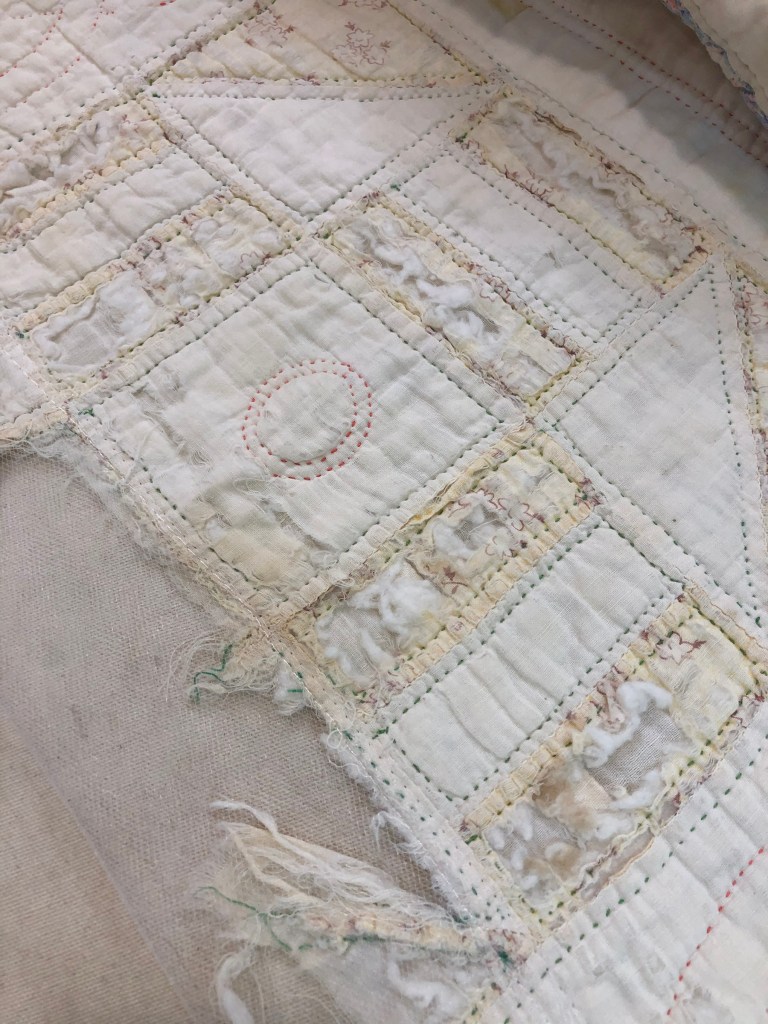
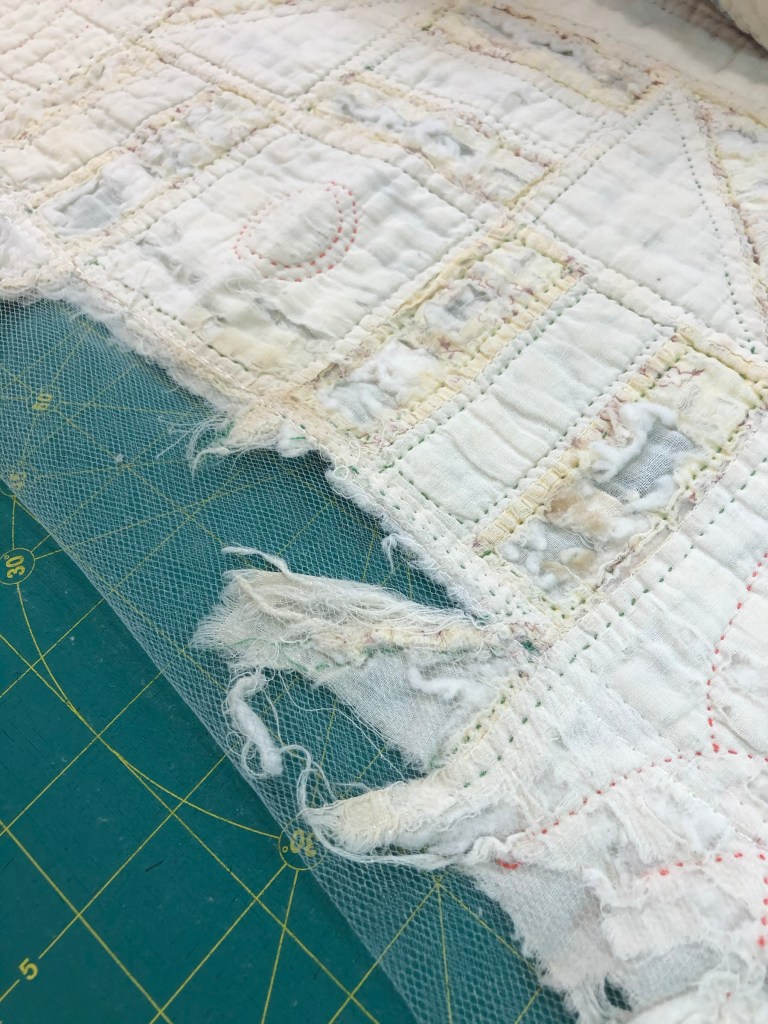
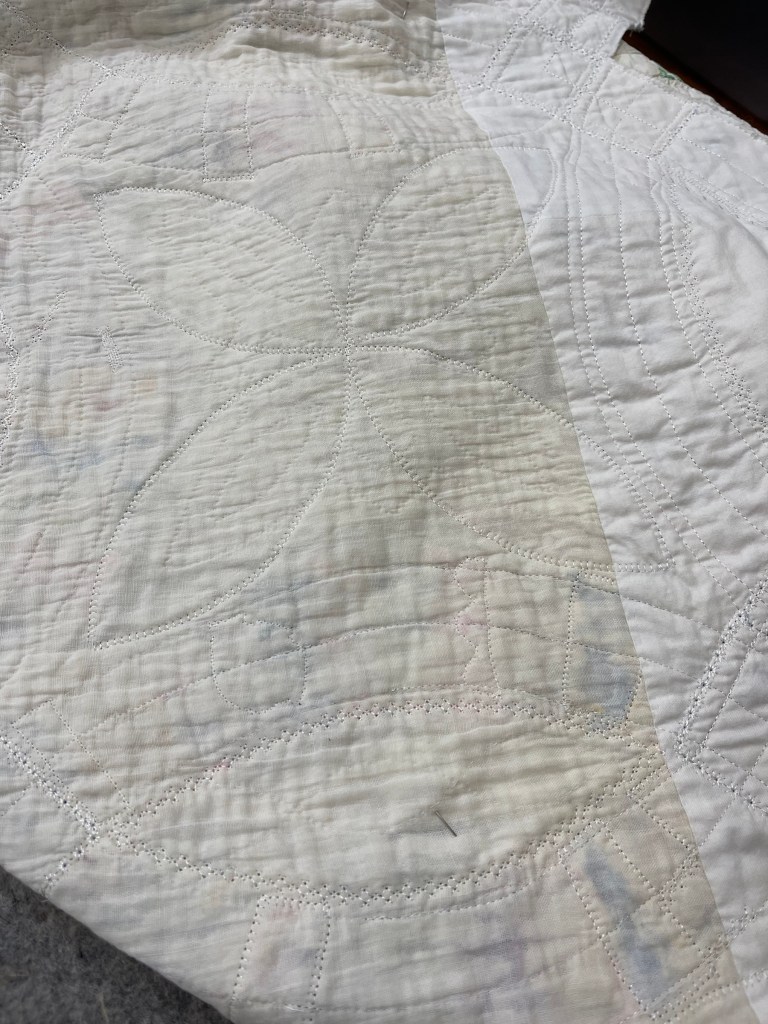
Can you see how I tried to mimic the hand quilting lines with my sewing machine?

This is the other end of the quilt, I used an ivory muslin as the false back.

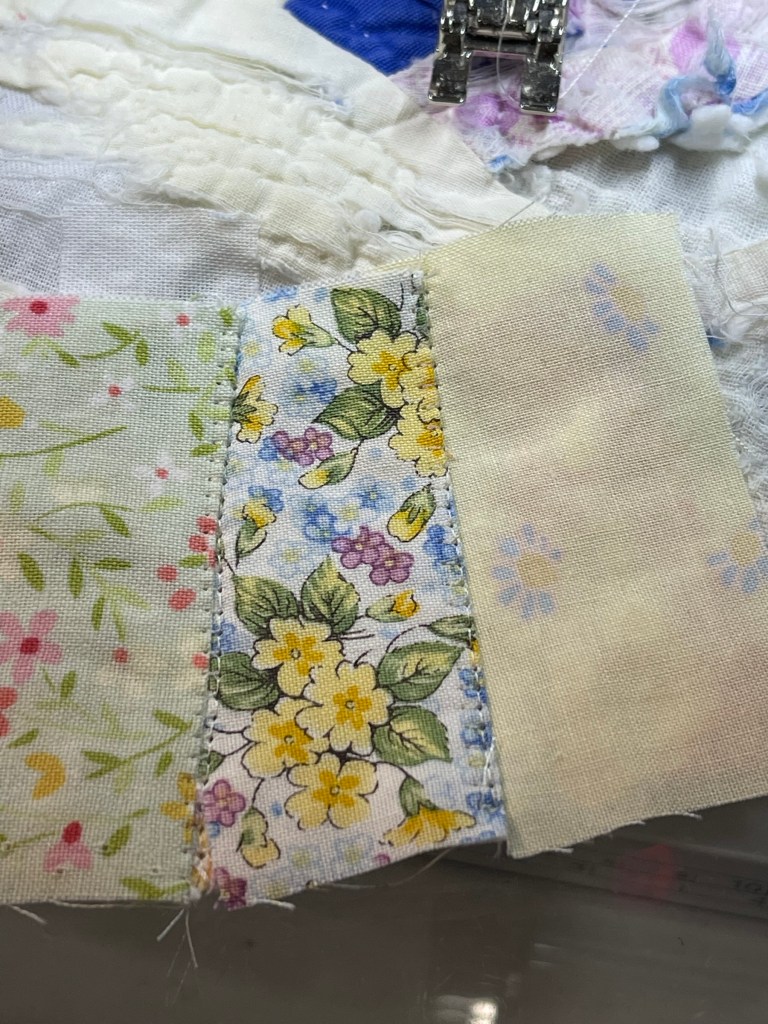
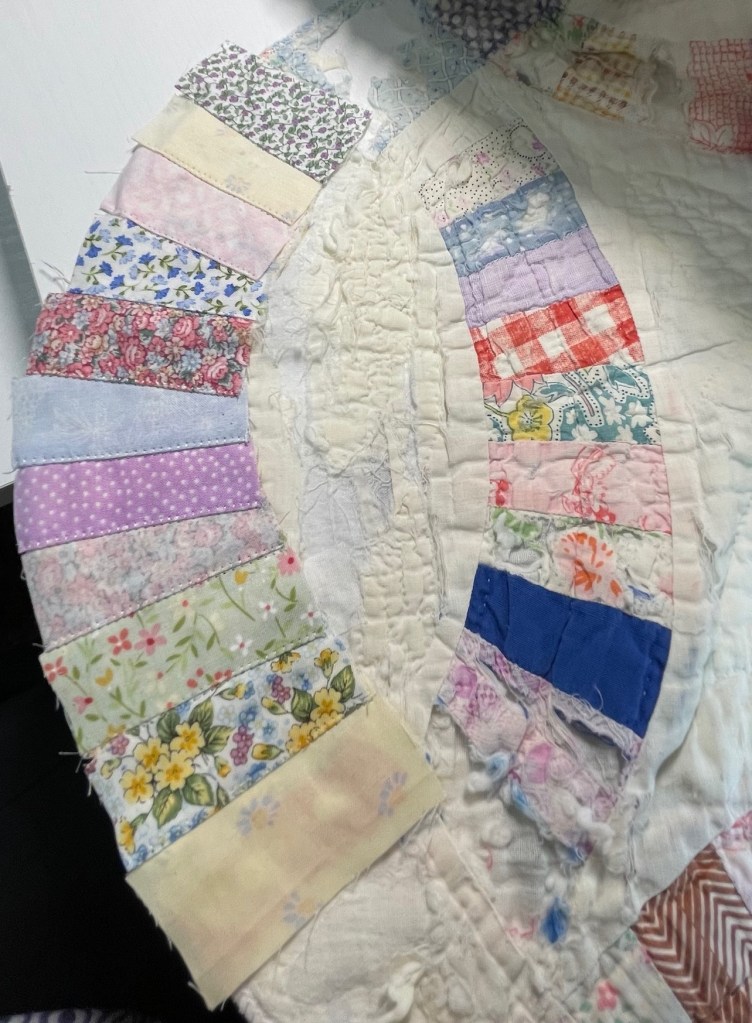
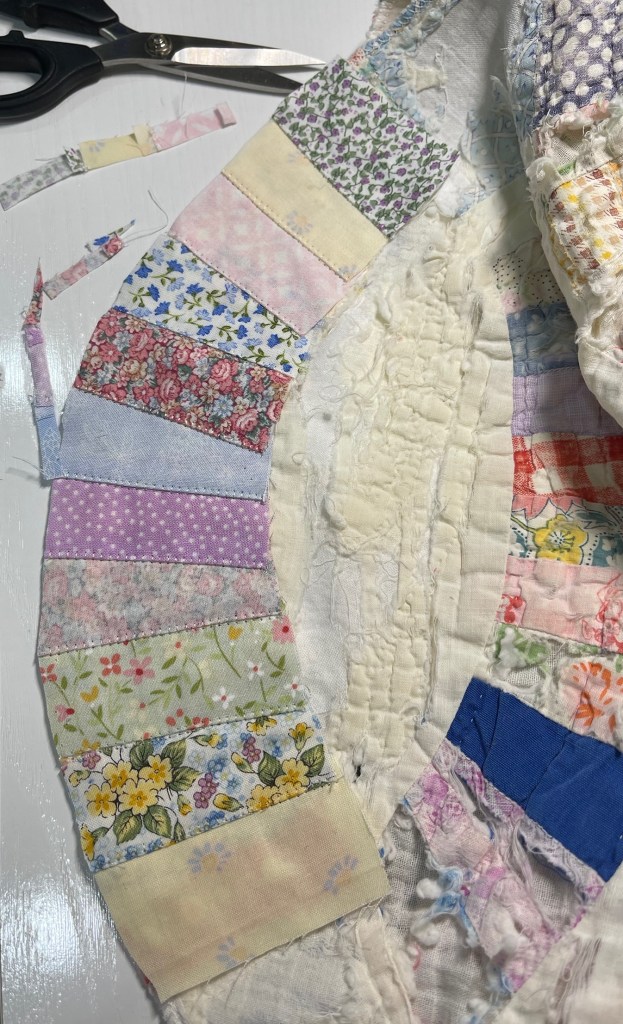
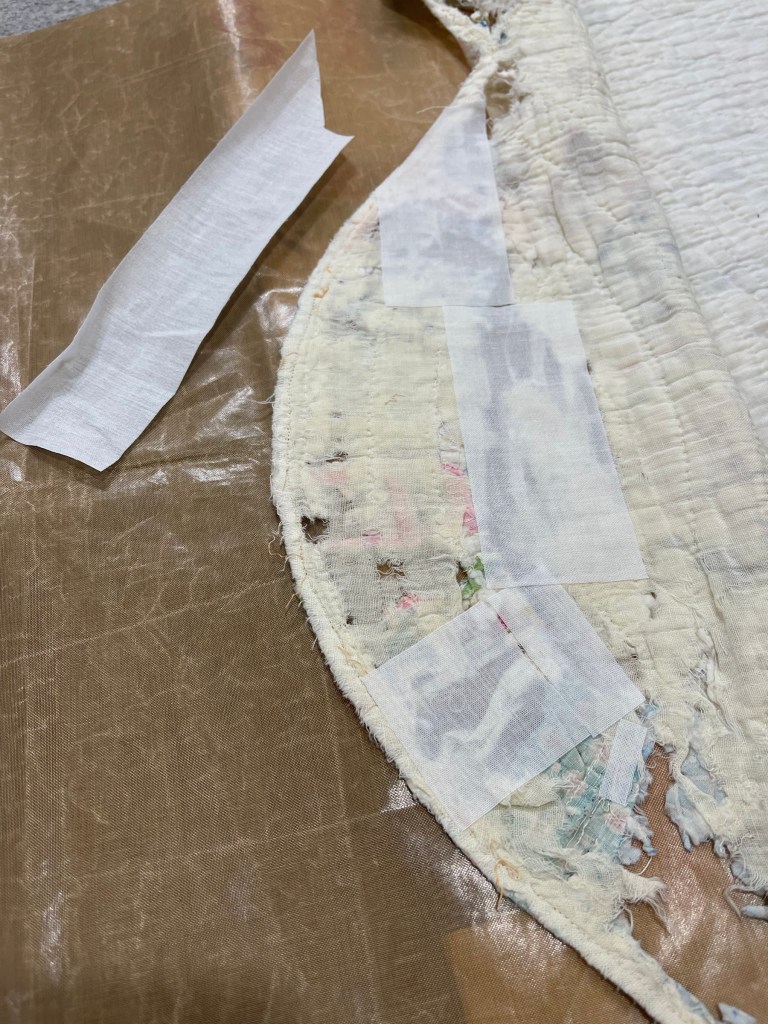
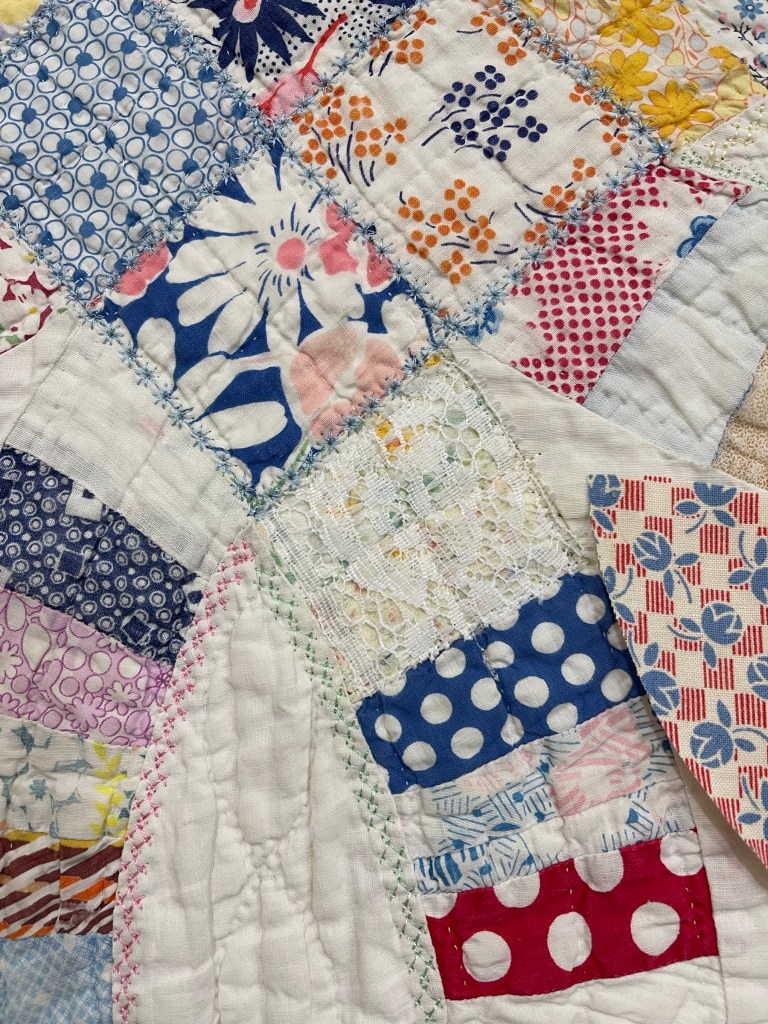
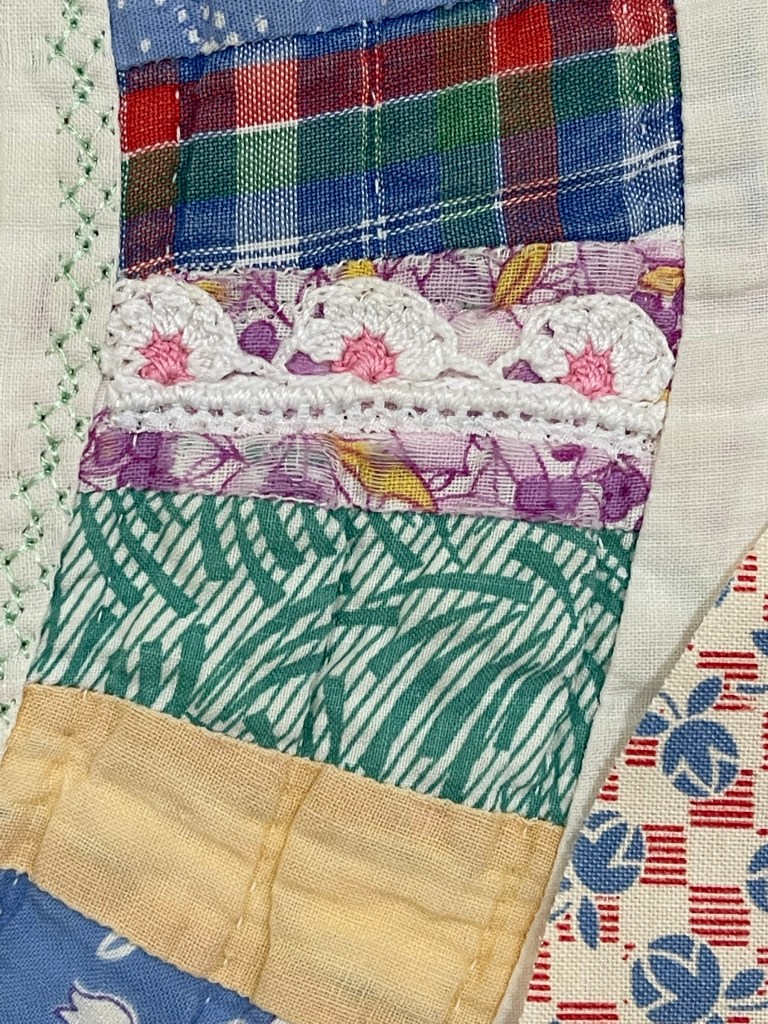
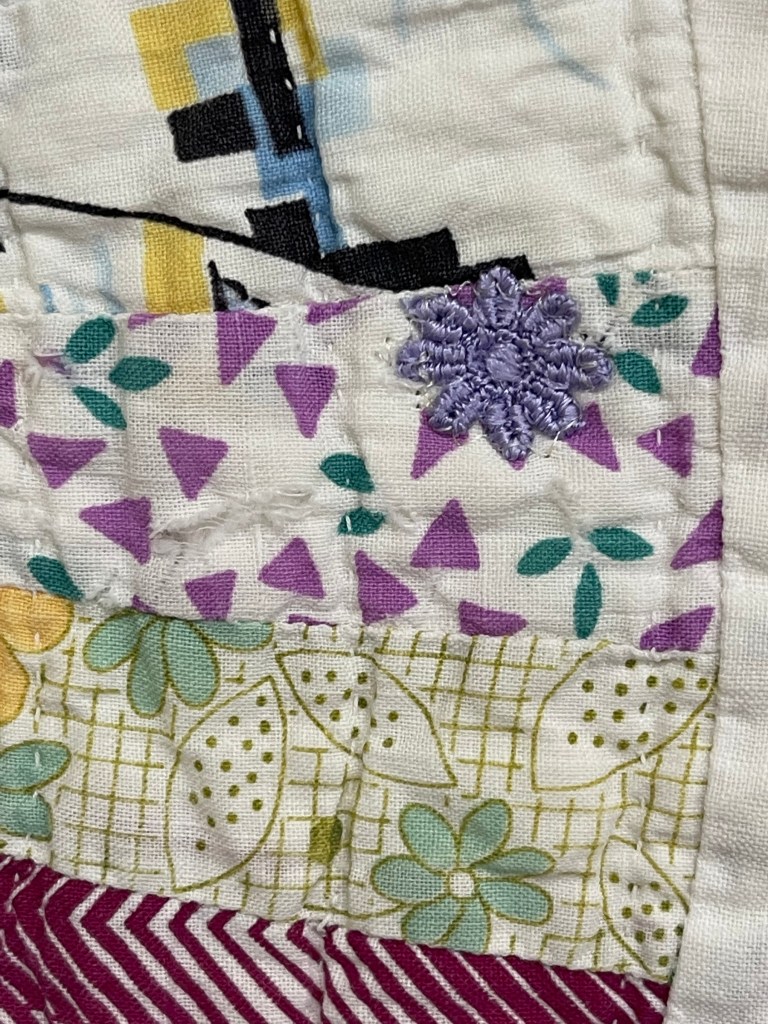
Now that both the top and bottom quilt edges have been addressed it was time to work on the front again. Below I am showing you how I used trims, laces, etc. etc. to either cover up or disguise the damaged areas of the quilt.

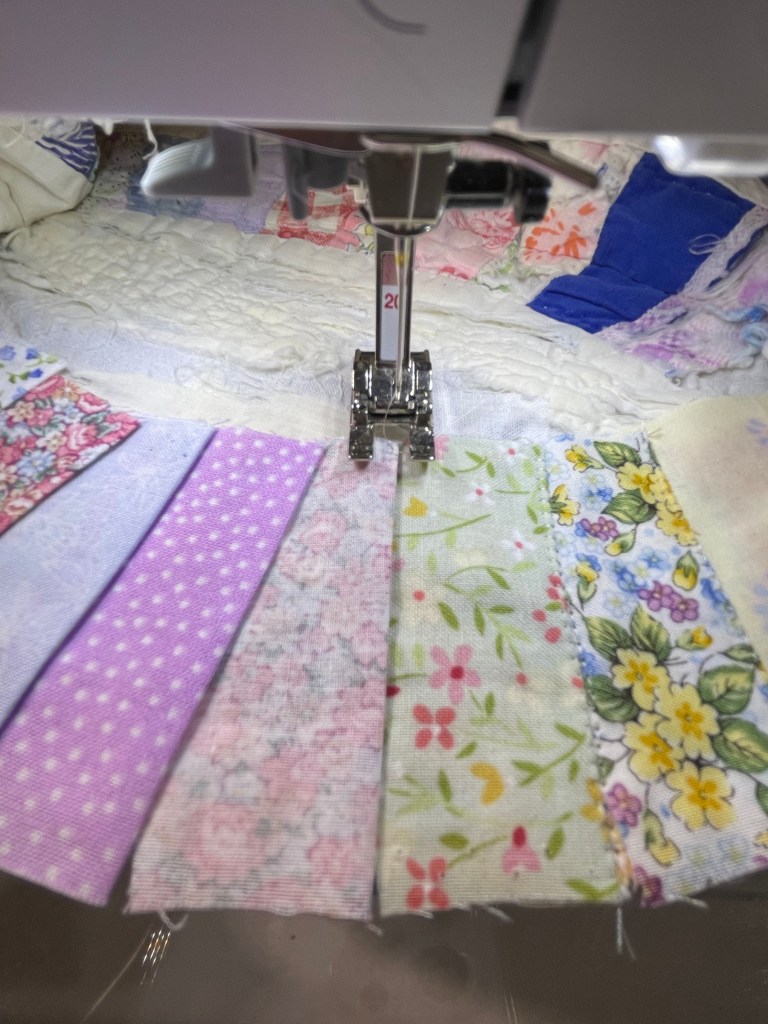
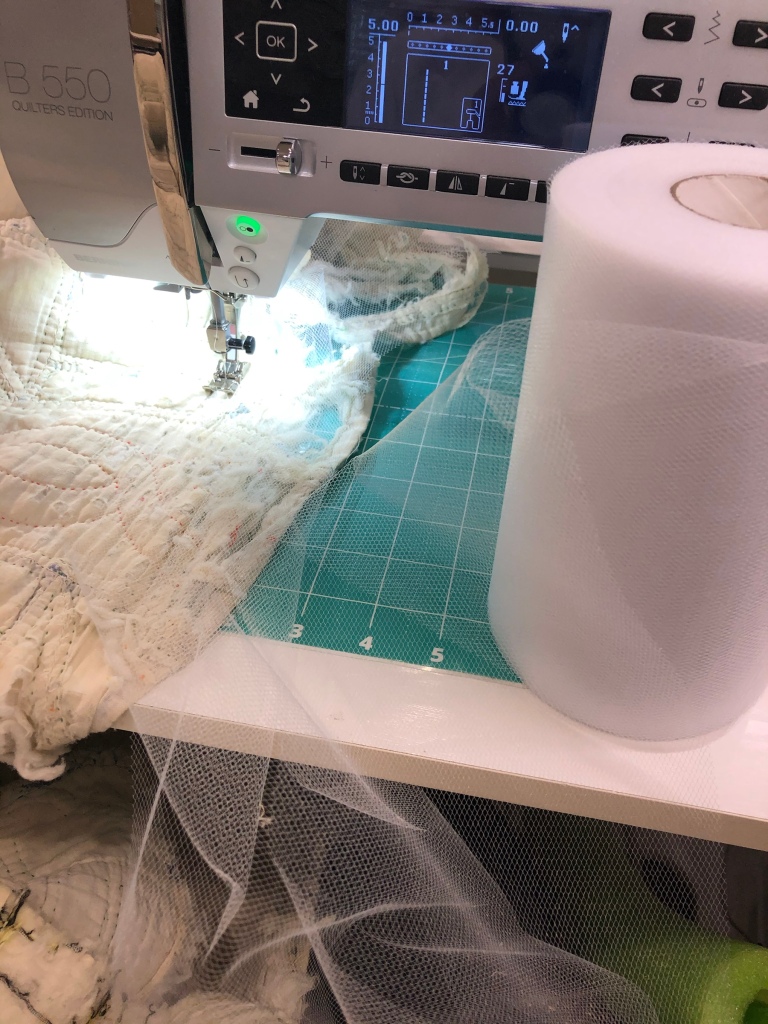
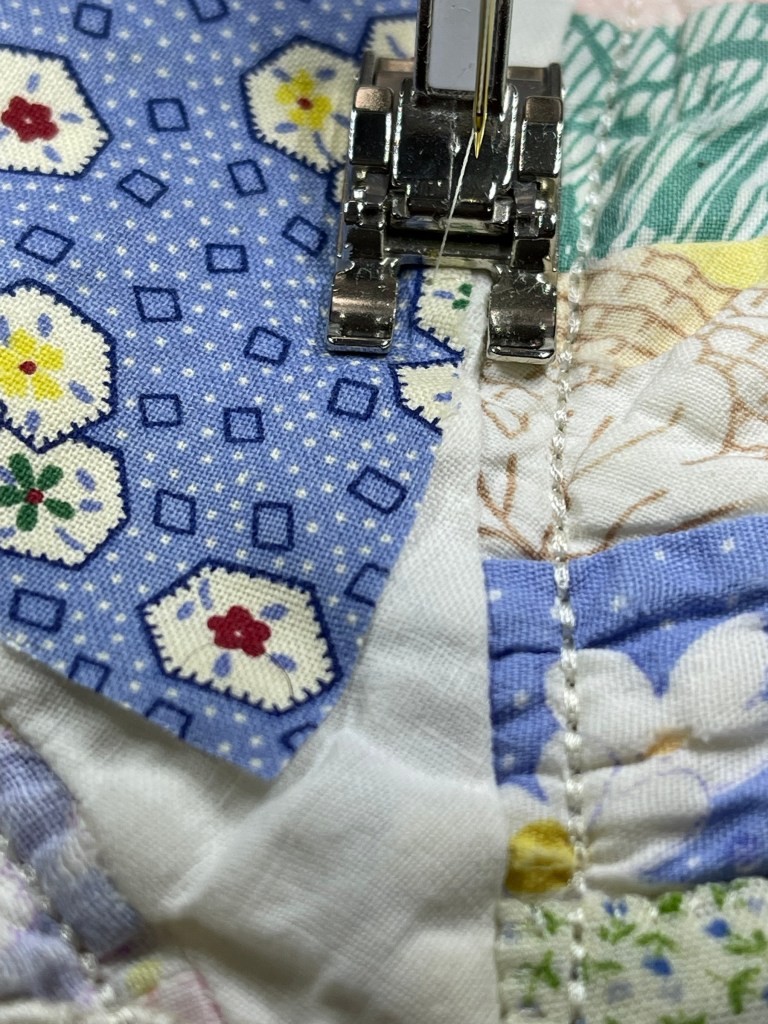
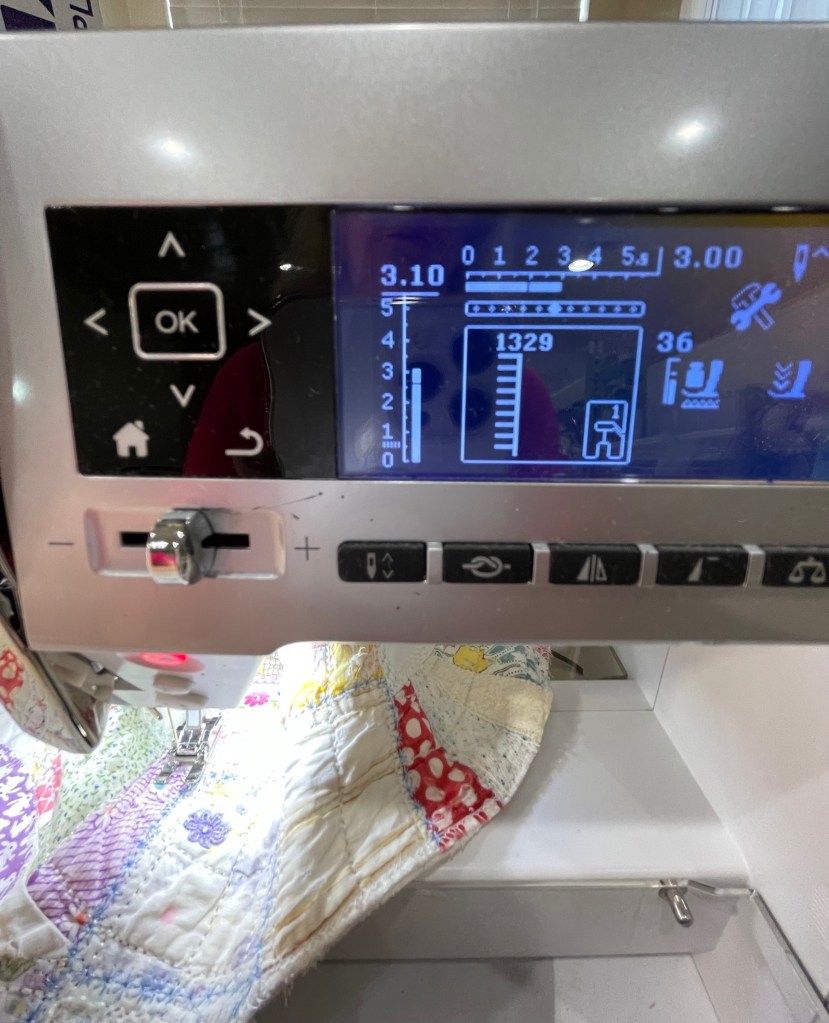
I welcomed the opportunity to experiment with the built in decorative stitches of my sewing machine. This quilt project was perfect for “decorative stitches reinforcement”. Let me give you a heads up: if you plan to stitch on a vintage quilt such as I did, it is imperative to clean out the area underneath your needle/throat plate and around your bobbin OFTEN! It is amazing the amount of lint that the needle and thread carry through two your bobbin area of your sewing machine.

I consistently used both blue and yellow threads for my horizontal decorative stitching and both pink and green for the vertical. I chose a different star shaped decorative stitch to outline all of the 4 Patches.

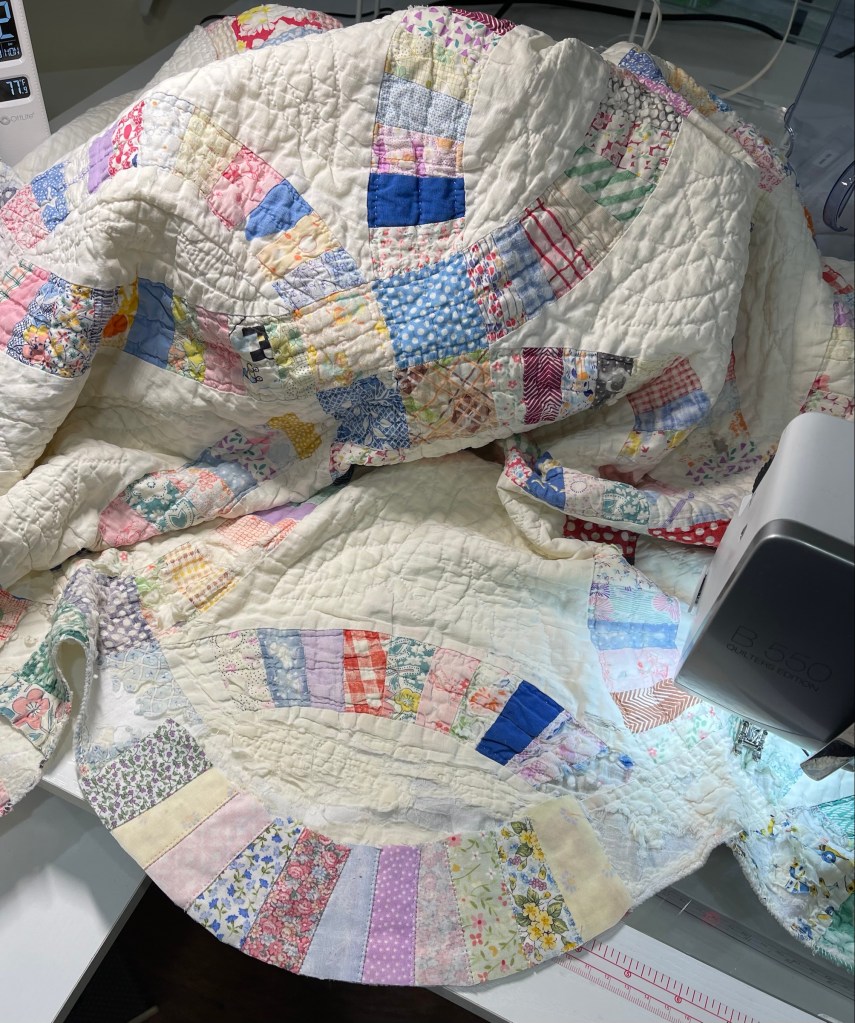
At this point I had some ideas about how to tackle the larger centers of the double wedding ring blocks. I jumped right into working and forgot to take very many pictures of my progress. ☹️

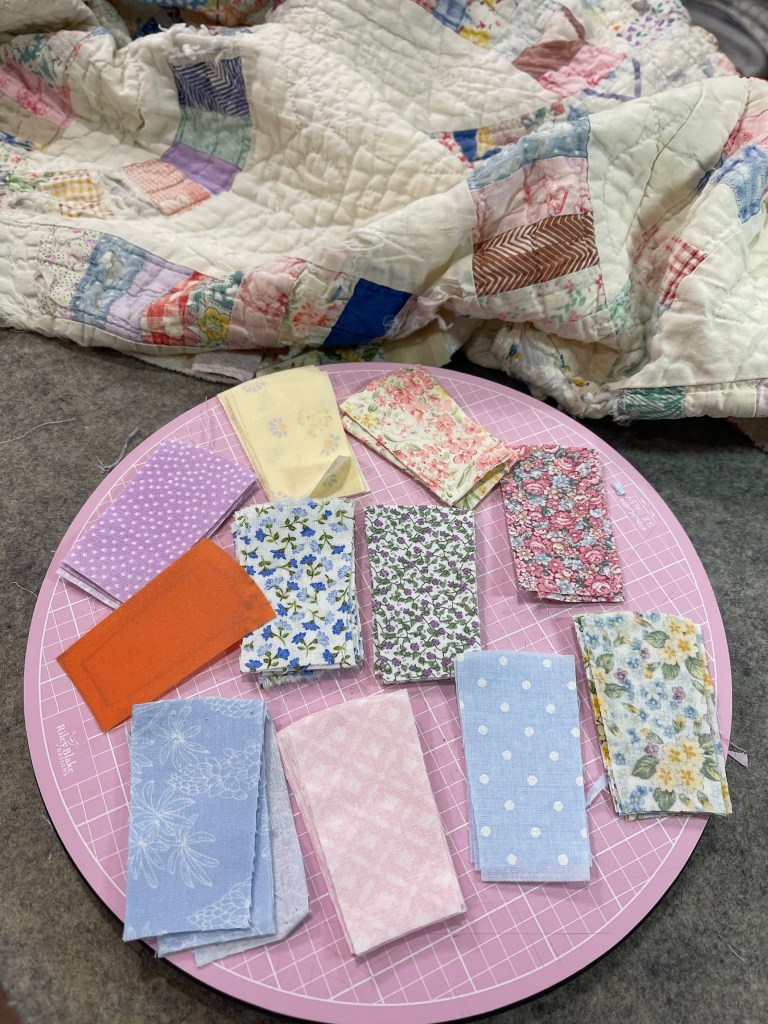
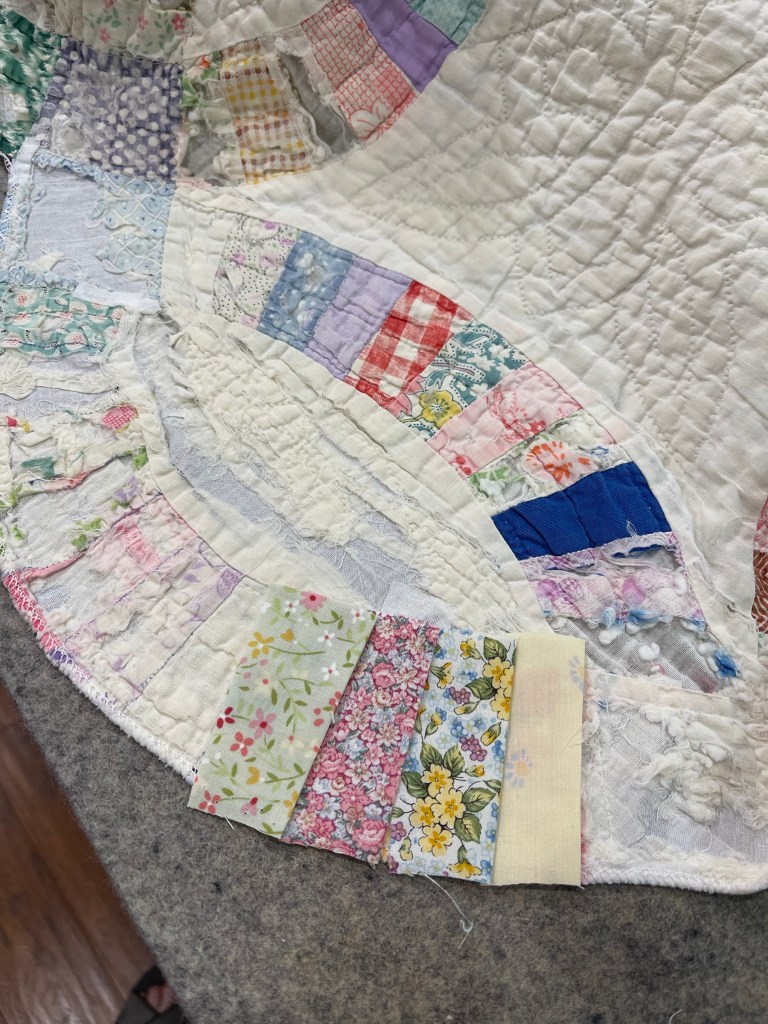
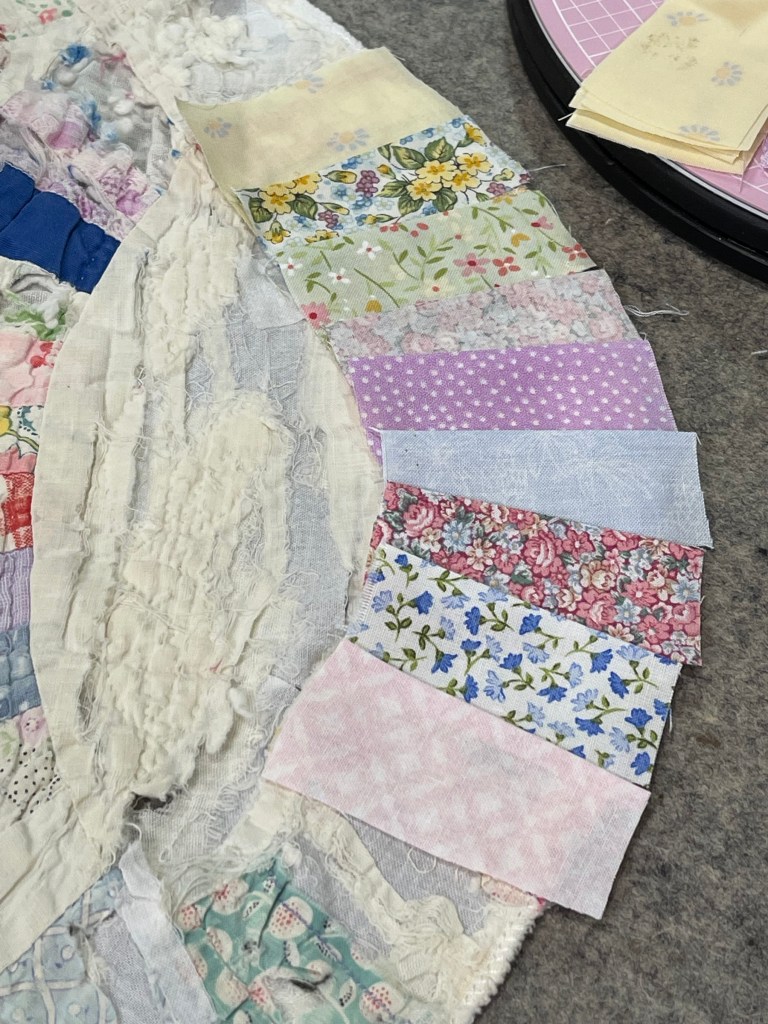
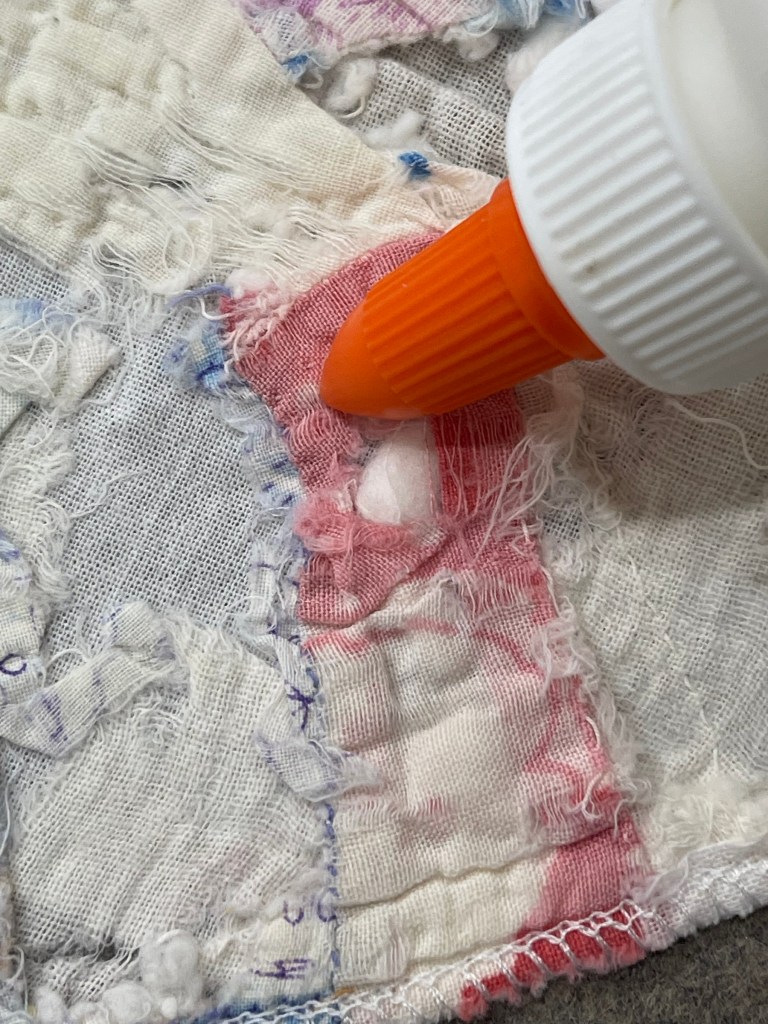
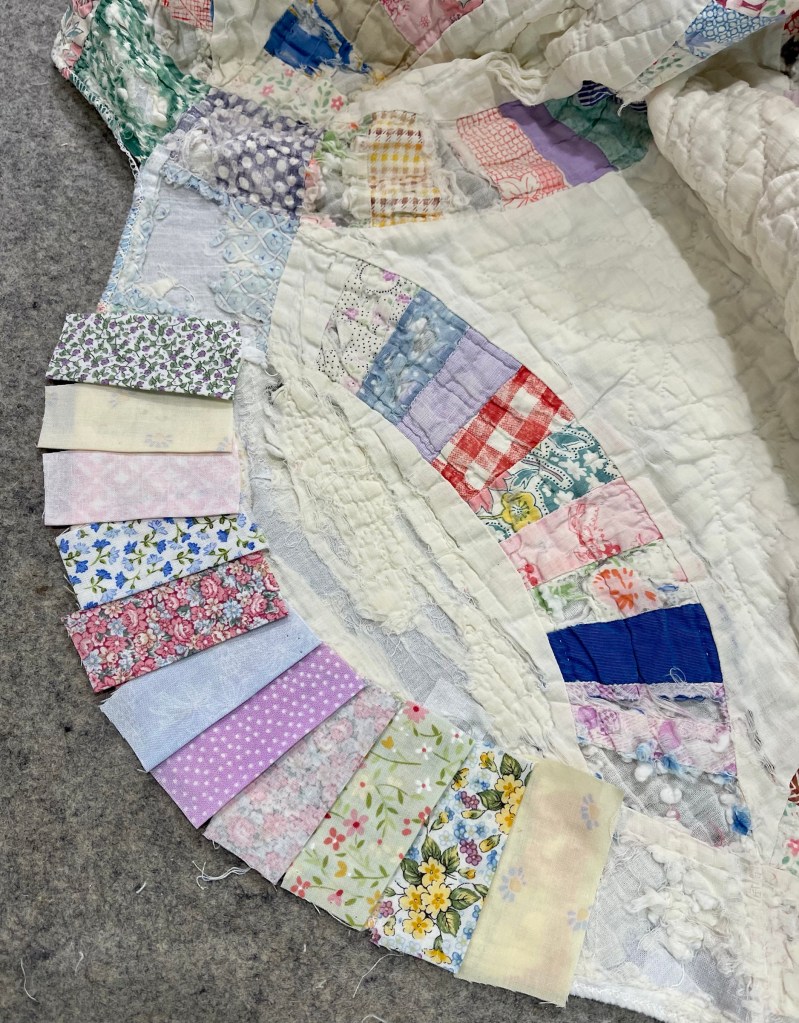
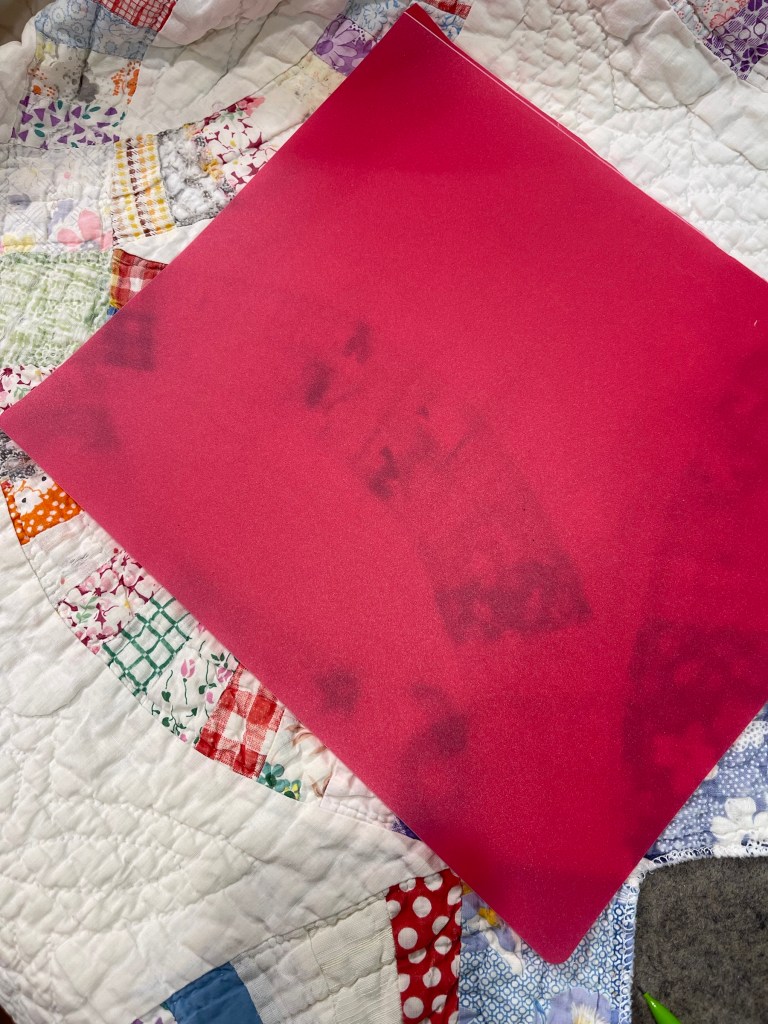
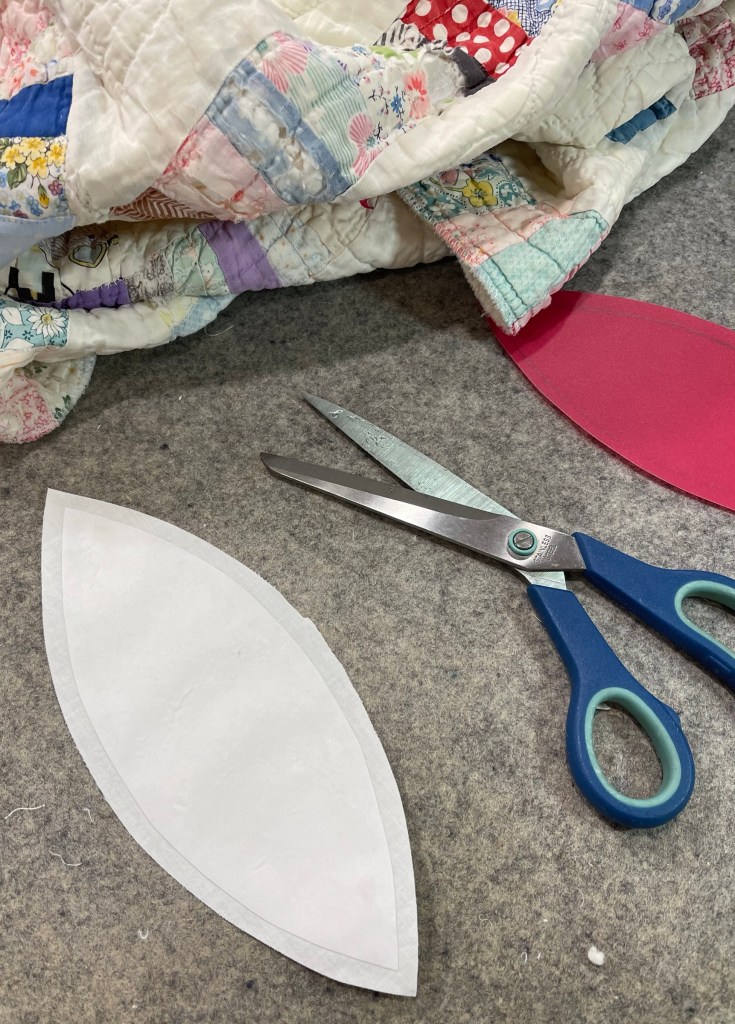
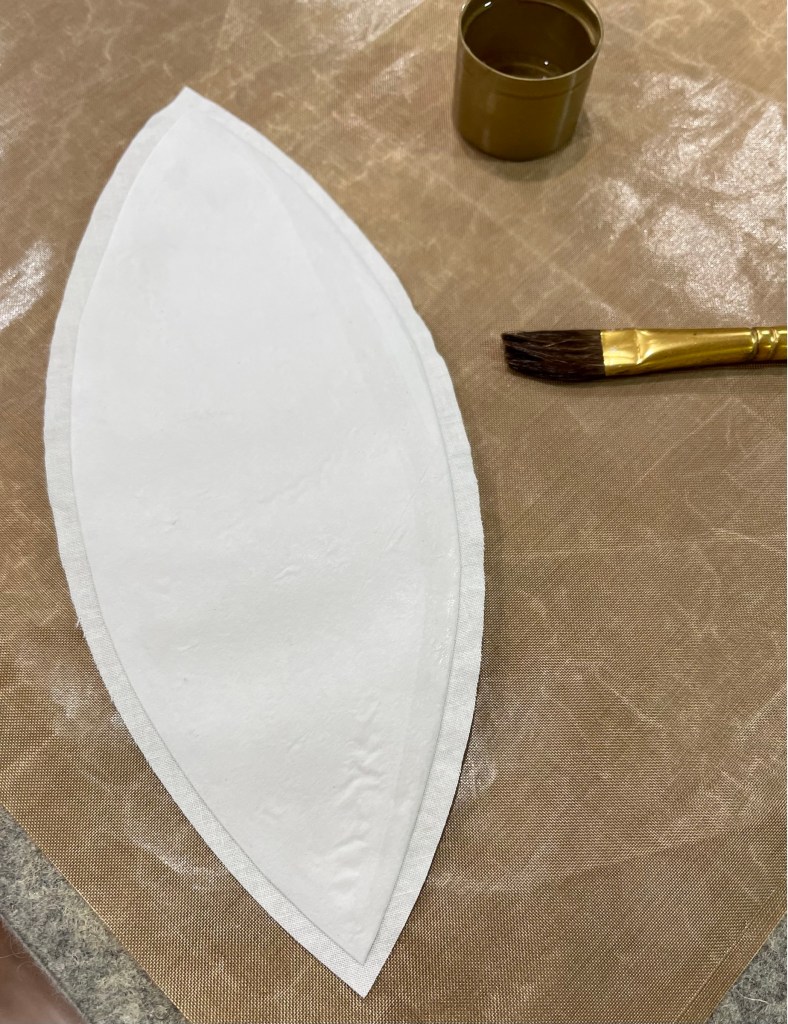
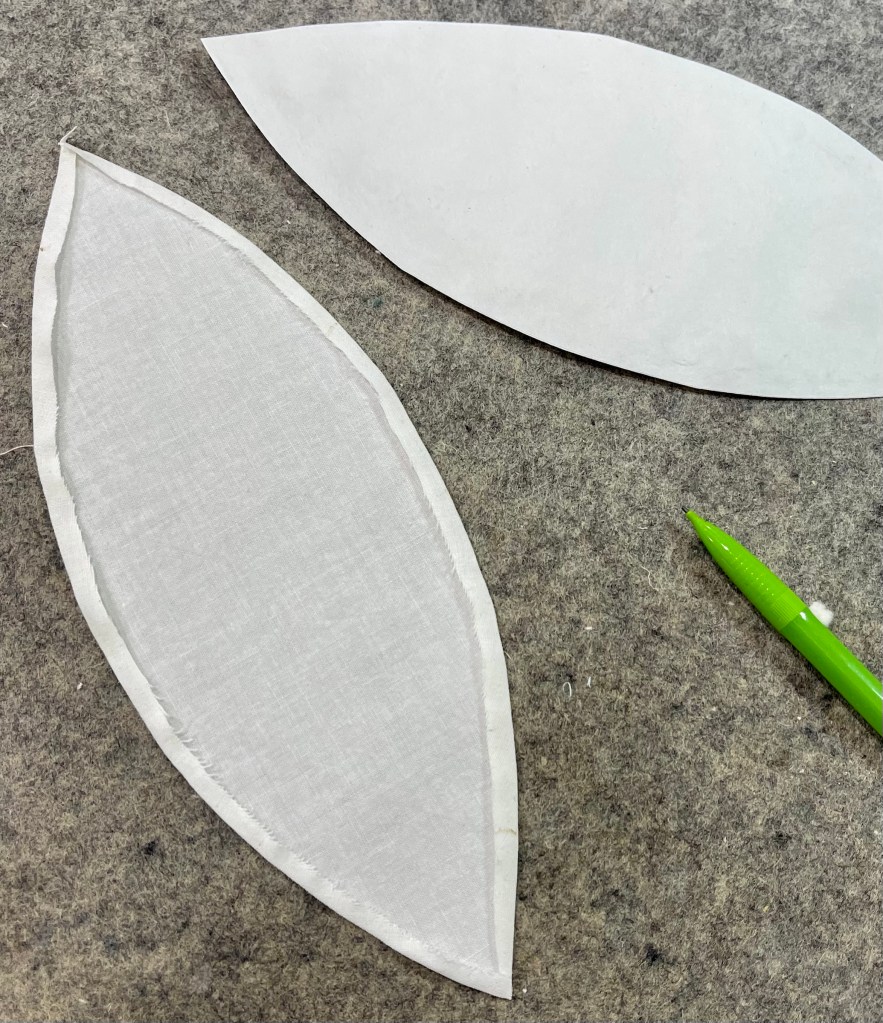
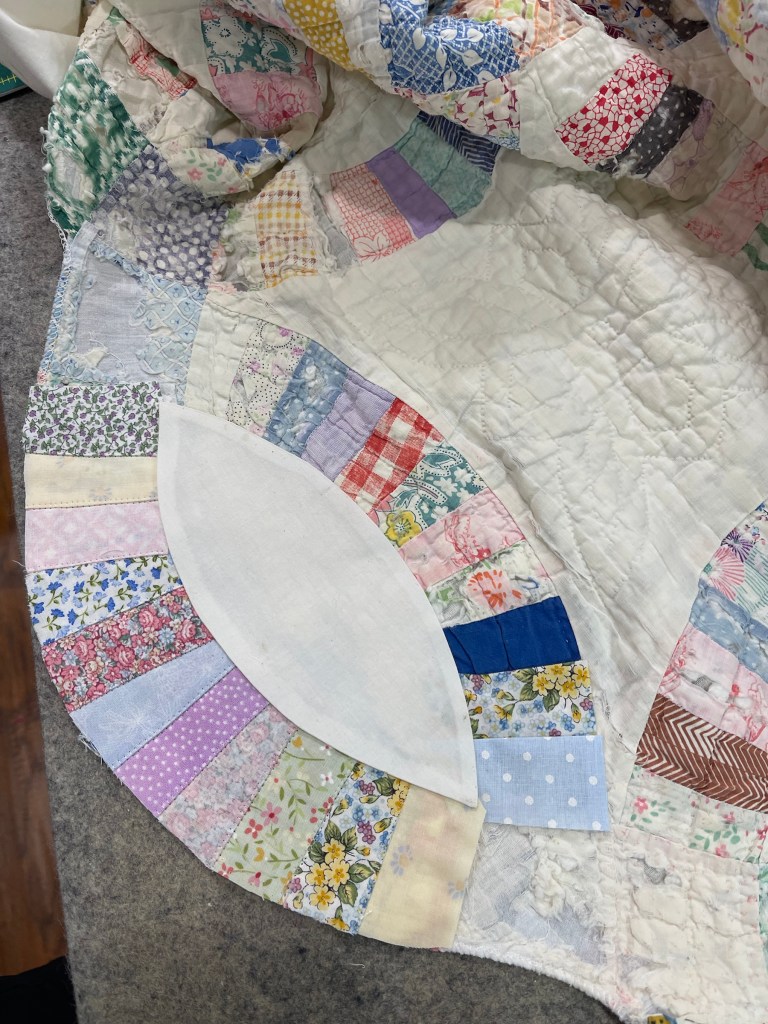
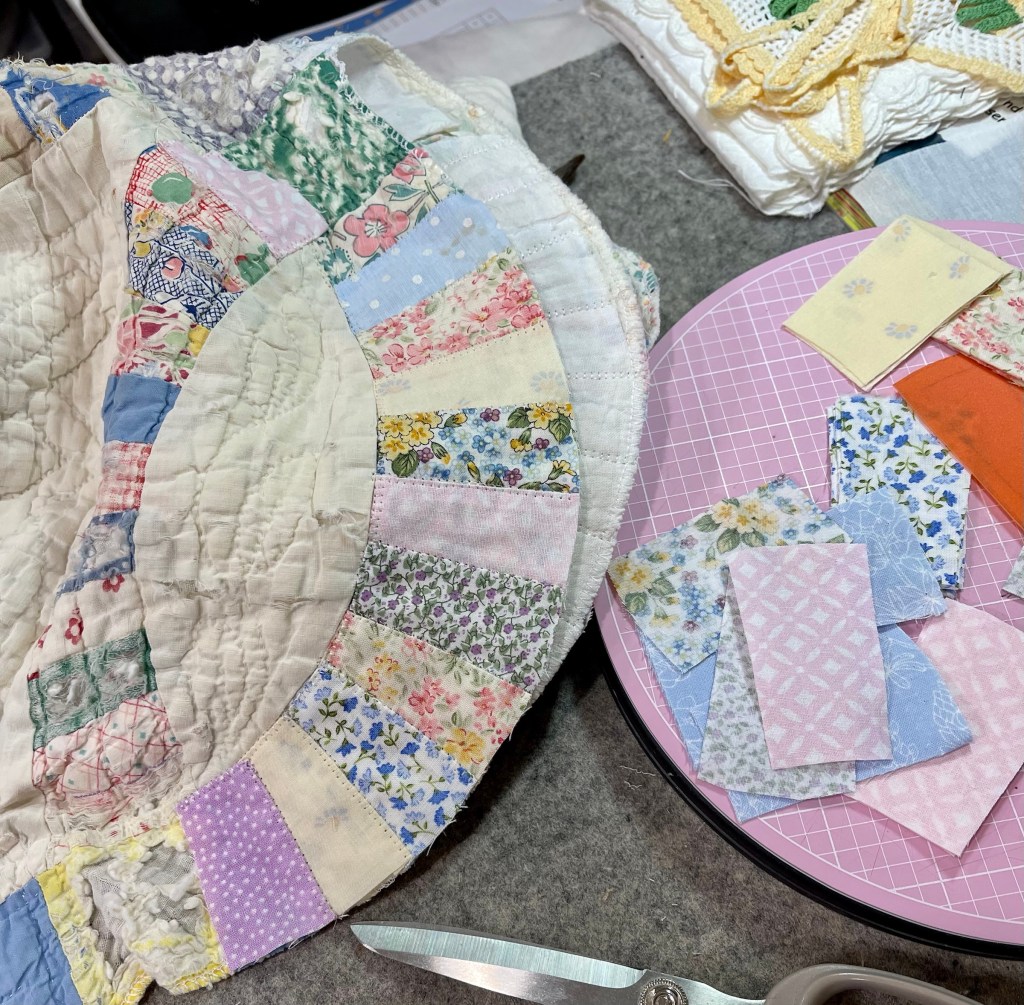
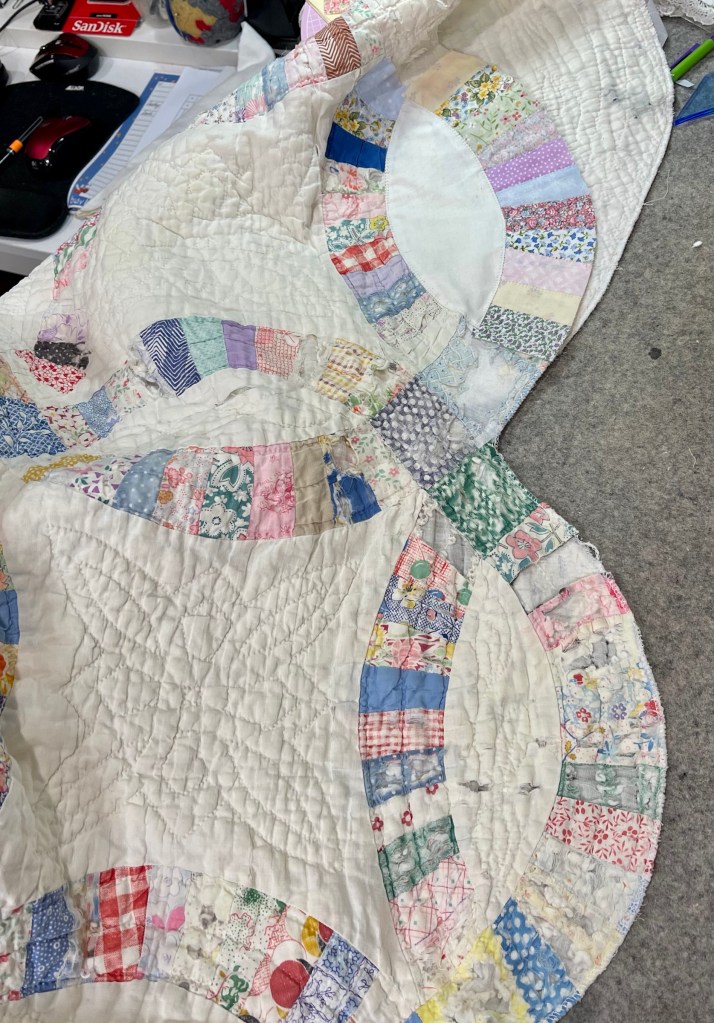
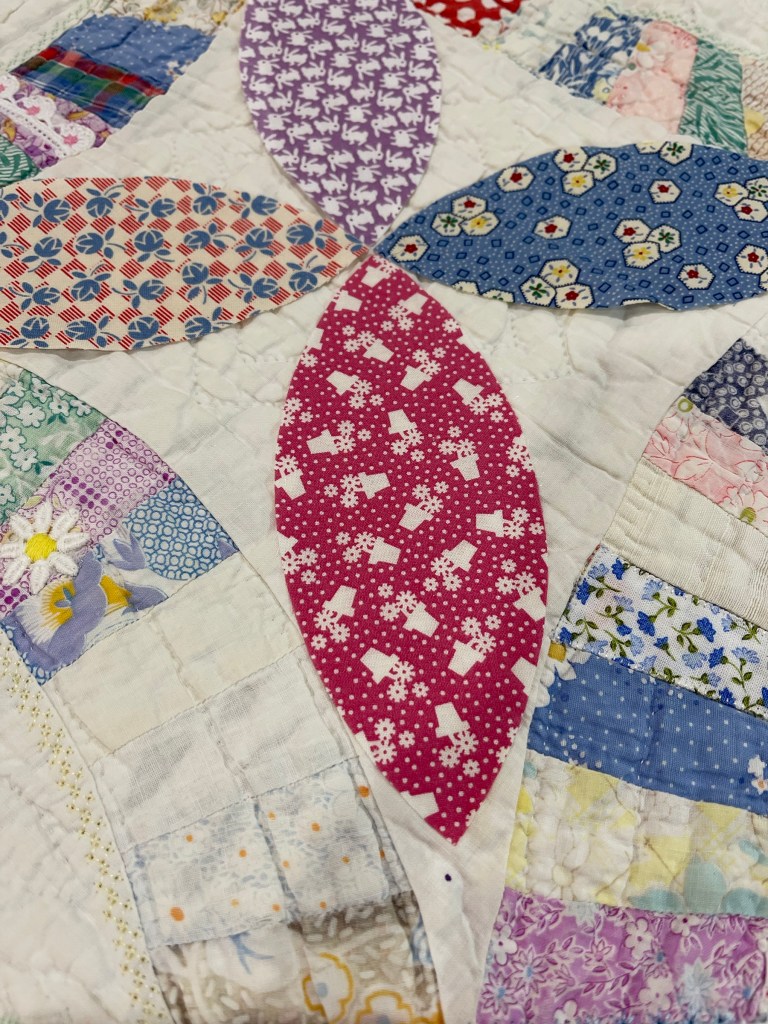
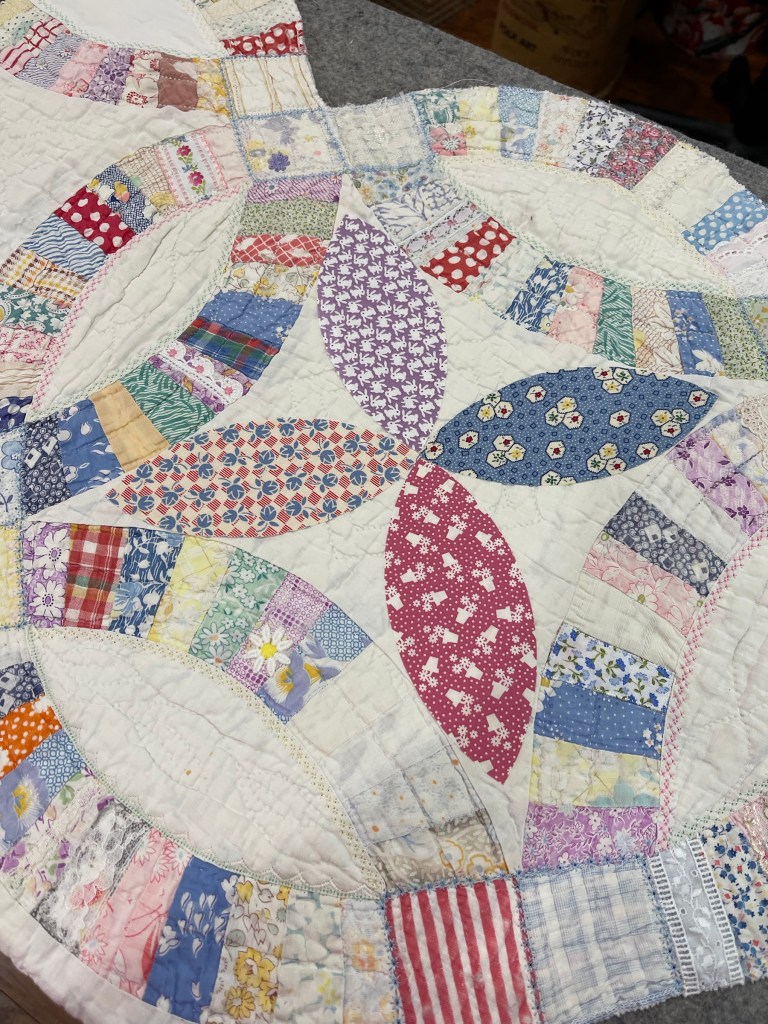
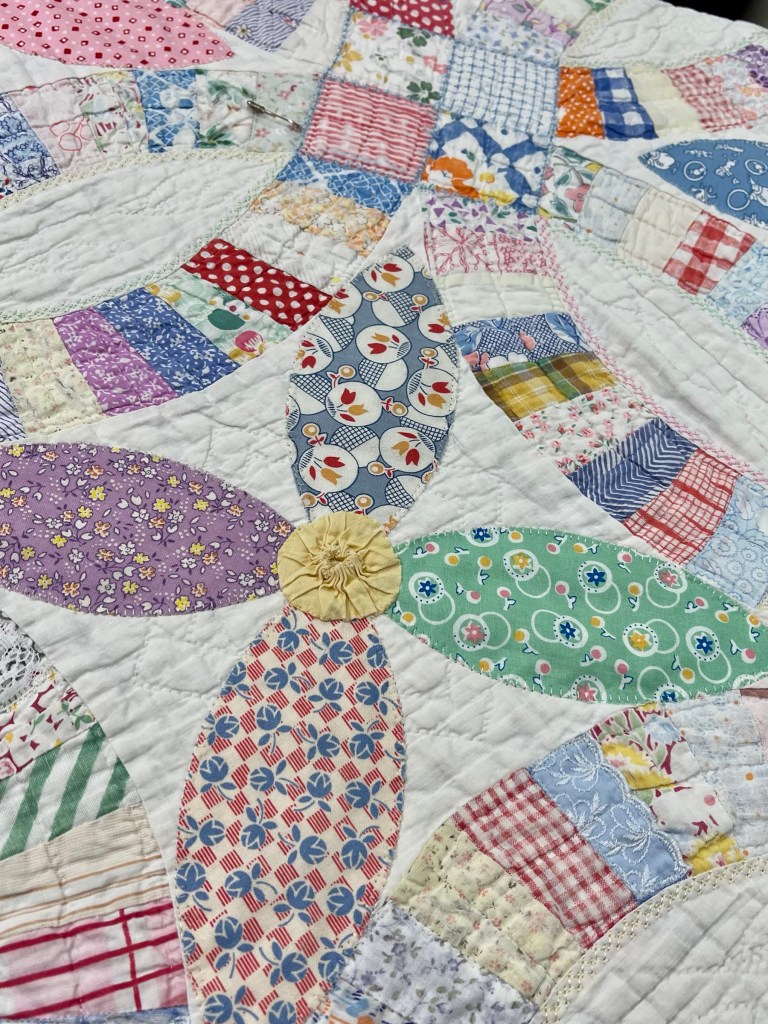
A year or so ago, using my Accuquilt tools, I cut out 30-40 melon shapes from reproduction fabrics. Pulling these shapes out of storage I began to lay them out on the quilt top surface and decided on this placement. Of course my Elmer’s Washable School Glue came in handy!

Ignore the things indicated by the blue arrows. The pictured Accuquilt Die cut the smaller melon shapes on the left and the yellow fabric circles just didn’t work for me, they were too small.

This is raw edge machine applique and I’m using a Wonderfil Specialty Threads product: white Deco Bob. I love this versatile thread!
I took this picture to show you the machine settings for my applique stitch.

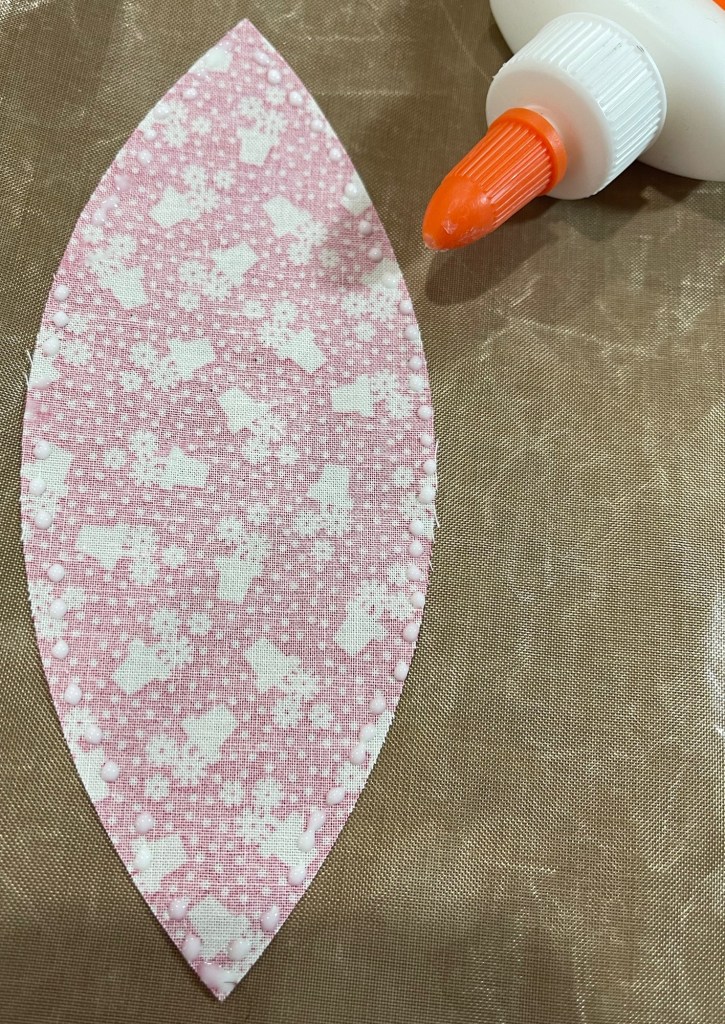
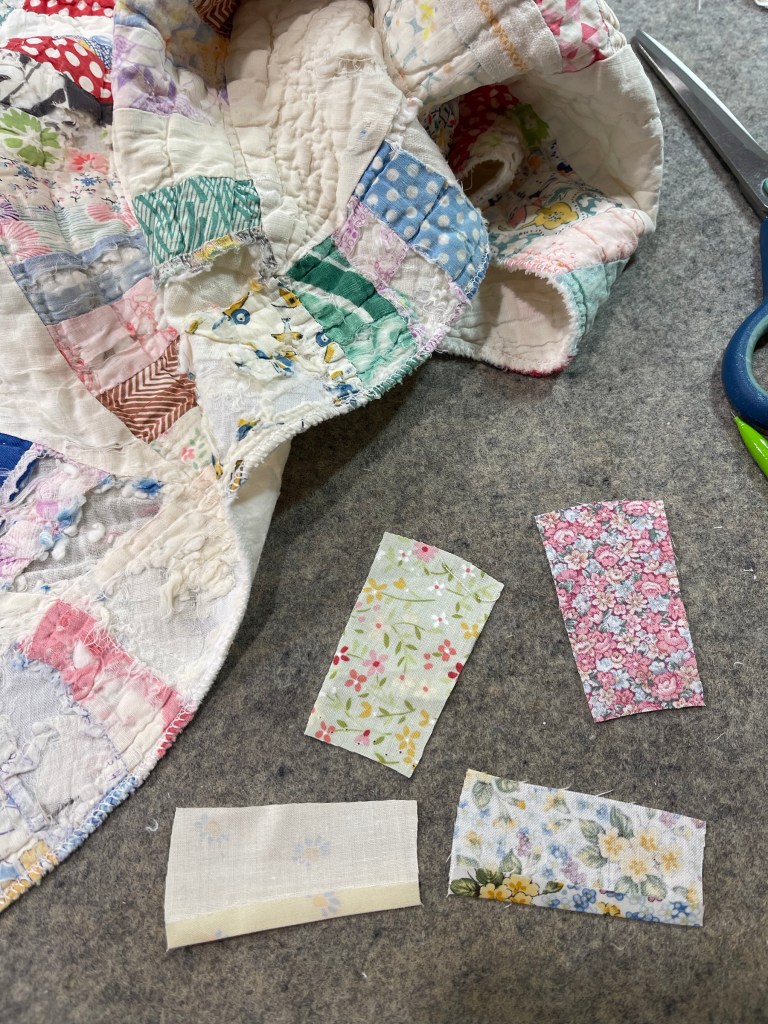
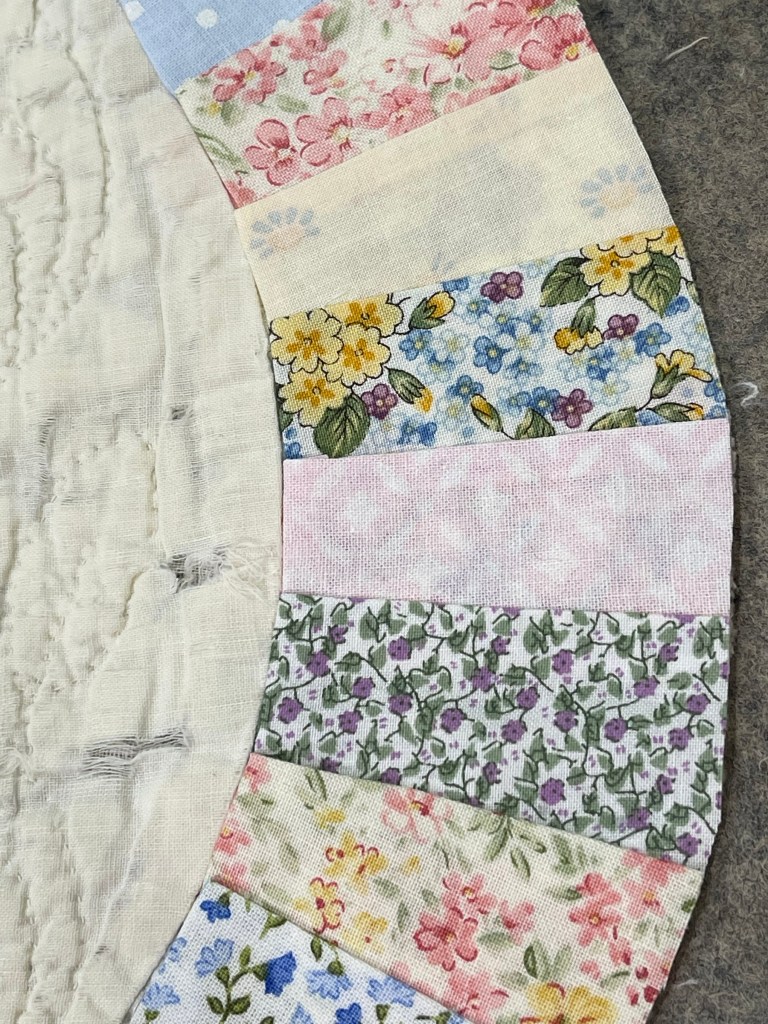
This is what the quilt looked like before I began to glue and stitch down the melon shapes:

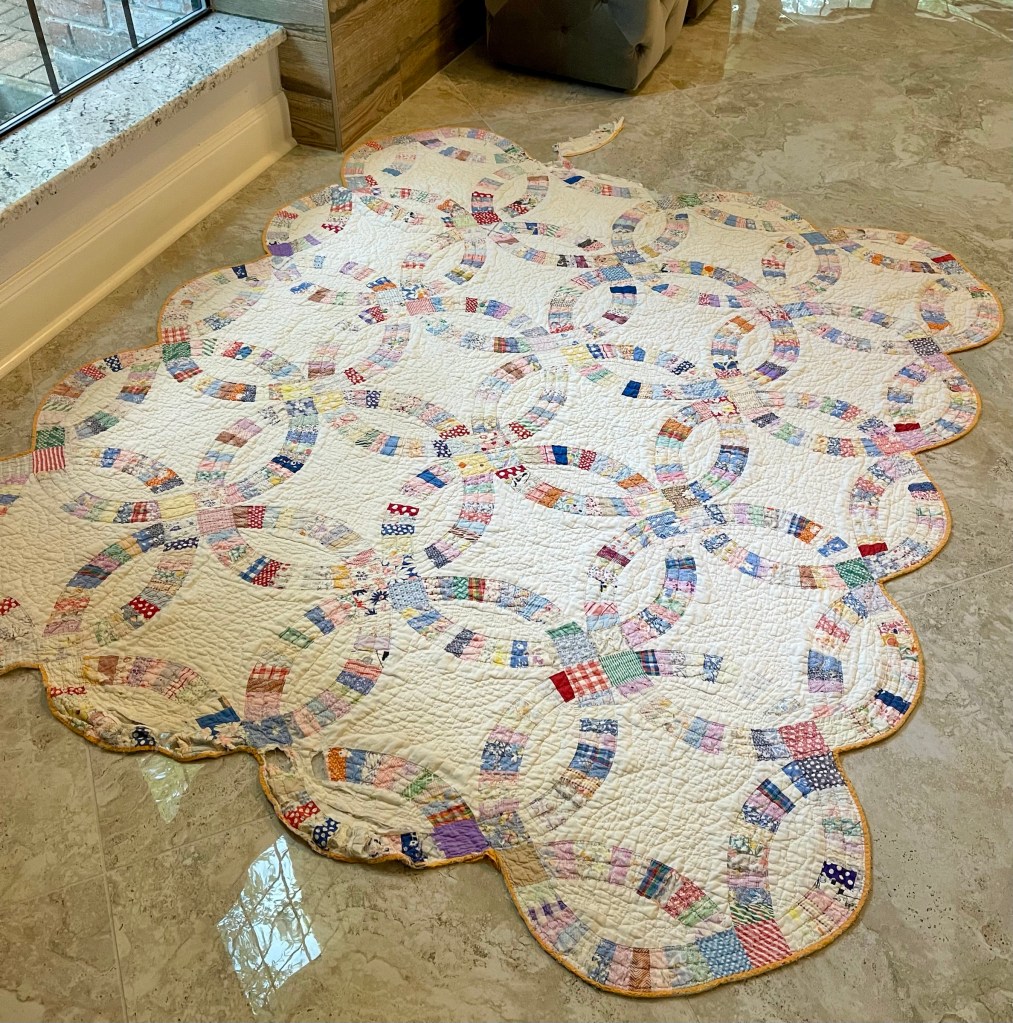
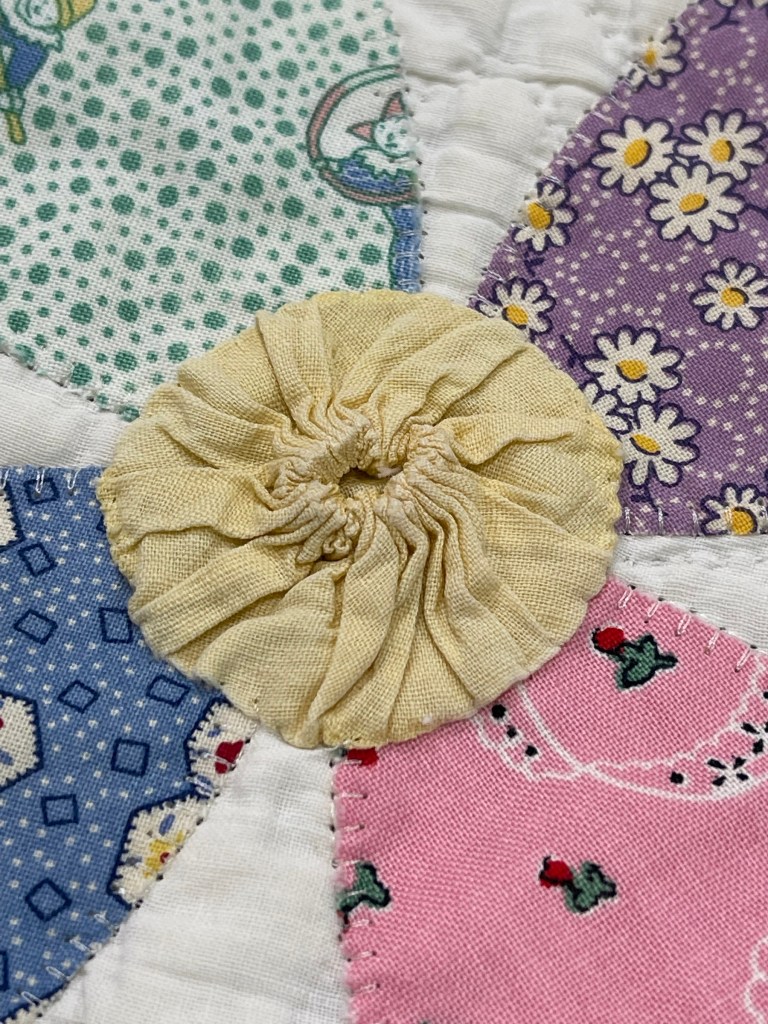
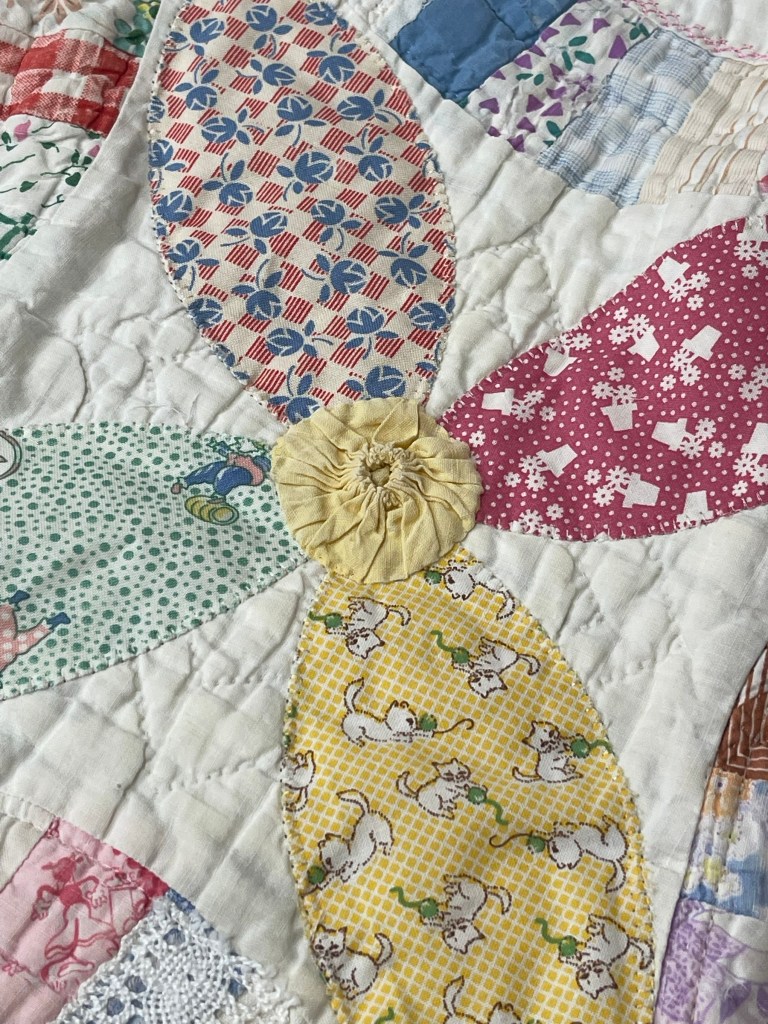
Once all the melons were stitched I knew I needed something in the center were the four points meet. Vintage yellow yo-yo’s to the rescue!

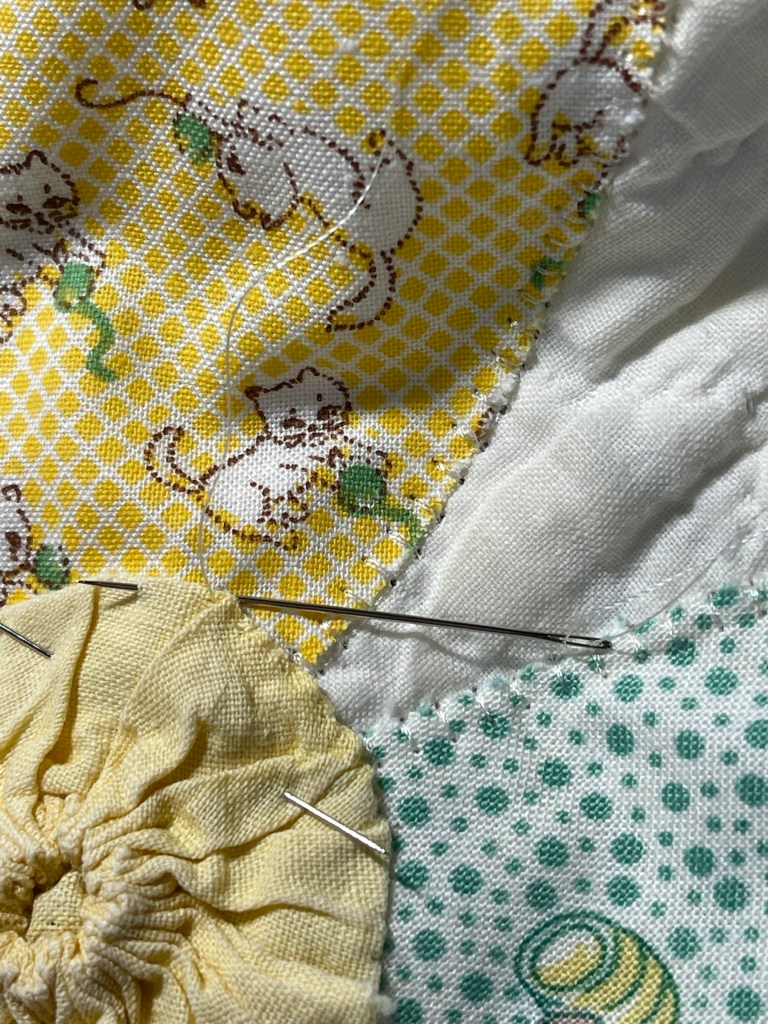
The yo-yo’s were sewn on by hand…so much easier than sewing tight circles of applique with my sewing machine.

I’ve got a bit of work left to do in the body of the quilt, some on the front and a little on the back and of course then there’s the binding to replace.

Never underestimate your ability to save an old quilt! It’s a wonderful feeling! Blessings to everyone and of course, Happy Quilting!

Rhonda

Saving Another Double Wedding Ring; Part 2

Did you read Part 1 posted on August 11th? Are you ready for the next step of making templates and replacing fabrics?

Now that I’m confident that all the necessary pieces of the quilt are present it’s time to begin replacing some of the quilt top fabrics. Above you can see I’ve used the cover of a dollar store orange plastic three binder to make a template of the arc pieces.

Going through my scrap bin, I’ve chosen 9 or 10 different fabrics. Some of the fabrics will be used “right side up” and some will be used “wrong side up”.

I’ve pressed the 1\4th” seam allowance on one of the long edges.

With the replacement pieces laid out, I am beginning to replace the outside of this arc.

The red arrows above show you which fabrics are wrong side up.

Elmer’s Washable School Glue to the rescue! I glue the arc pieces in place before I machine stitch them to the quilt.

I’m using my sewing machine built-in stitch, the buttonhole or the blanket stitch.

And seriously, doesn’t that dark blue vintage fabric look just like Painter’s Tape!

This is the back of the quilt. It’s obvious I have not added the False Back at this point because this entire project is a “hands on experiment”. I will talk more about a False Back when I post again.

I’m trimming away the edge excess fabric and this picture reminded me that I forgot to mention that after I had all the ripped parts of the quilt in position using the SF101, I serged around the entire quilt edge.

Now to work on that deteriorating muslin melon shaped piece. Again, a plastic dollar store binder comes in very handy when needing to make a custom template.

My red template is complete, I make another template using three layers of freezer paper and cut a muslin melon shape large enough to address the needed seam allowance.

I press the freezer paper template into the muslin, trim the edges for a quarter inch seam allowance.

Using the cap from my can of spray starch, I spray directly into the cap, enough so there is liquid to be brushed on the fabric.

Using an artist paintbrush (or a Q-tip or your finger…) I paint on the liquid spray starch all around the seam allowance .

I carefully press the seam allowance over the freezer paper edge. Once cooled I carefully remove the freezer paper template and set it aside. Note: you can reuse your freezer paper template over and over again.

When both the right and the left arcs are repaired I carefully lay the muslin melon into position. When happy with the placement I lightly glue or pin the muslin piece in place. But what about the glue? Because I will put this quilt through the washer/dryer when I am 100% finished, I am not worried about how much glue I use. Remember, it will all wash out.

And the using the blanket stitch, I stitch the piece to the quilt top. I will replace the missing end piece later.

Here I’ve worked on another of the arcs but this time the muslin melon piece does not need to be replaced.

I’ve replaced two pieces above with new fabrics, can you find them?

It’s only the quilt top and bottom edges that are really bad. Once I’ve repaired them I begin to address individual pieces in the quilt body that need help. Look for lots more information and pictures in my next blog post, Part 3! 🙂

Happy quilting and blessings,

Rhonda

Saving Another Double Wedding Ring Quilt; Part 1

At one time I know this was a beautiful quilt, the fabrics, while tattered in places, are all just fabulous and vintage prints found here are wonderful. I found this quilt in an antique mall, probably paid too much for it but I was drawn to the still bright cheddar orange binding.

Layed out with the battered top and bottom edges tucked into place, this is the quilt as purchased. The next few pictures will show you up close how much work is ahead of me.

Some areas are missing just fabric, some fabric and batting and then there’s the through and through holes.

The good thing is that it appears all of the edge pieces are still with the quilt albeit some are just hanging.

This picture for example…all the parts are still with the quilt, just not where they should be.

Did you read my blog post of March 4, 2021, the one about how to launder a severely damaged quilt before you begin the repairs?

I forgot to take pictures of how I used tulle to hold this battered double wedding ring quilt together so I could send it through the washing machine and dryer. I cannot bring myself to work on a filthy dirty smelly project so if I can’t find a way to clean it, I don’t buy it.

Below you’ll find the picture tutorial on how to secure a torn/damaged quilt in order to launder your piece. You can purchase wedding tulle at almost any craft and/or fabric store, either from the bolt or the cone as shown in the first picture. I don’t use regulag netting because it is rough in texture and I don’t want any of the quilt fabrics “roughed up” anymore than they already are. Lots more info if you scroll back to March 4th.

But before I’m ready to begin any repairs to the double wedding ring quilt I’m going to need to remove the binding.

Important point: I do not nor do I ever plan to “Restore” vintage quilts! I mend, repair, fix, patch, embellish, etc. etc. old quilts as I try my best to give them a second or in many cases, a third chance.

I took this picture to show you how the quilt maker, or the cheddar binding seamstress handled the binding strips. They were just overlapped rather than stitched together into one very long strip.

Binding removal is complete!

What’s going on with the white rectangles circled in yellow above? The next picture shows a Pellon product I love: Shape-Flex or SF101. It’s a very light weight (think handkerchief) woven fabric with a fusible on one side that I sometimes use to make repairs. Note: I use it for repairs, not as a stabilizer! Huge difference! I’ve used the very small rectangles above to act as a temporary hold while I work with the battered edges. I oh-so-very-quickly touch them with an iron. They will temporarily hold the pieces of the quilt in place and because I barely fused them they are easily removed when I don’t need them anymore.

Oh, and I forgot to mention when I use the SF101 I always use one of my Teflon pressing sheets. This keeps me from accidentally ironing the SF101 to my ironing board cover.

These pictures of the quilt back show where I have ironed on the SF101. These back pieces will remain in the repaired quilt, I will not be removing them.

So what’s next? The quilt needs 2 sections of a False Back, one on the top and one on the bottom.

Stay tuned, there’s much more to come, I’ve been working on this quilt off and on since June.

Blessings to all and happy quilting,

Rhonda