Sunbonnet Sue Take 2…or…How I Saved 30 Little Girls!

Oh the things you can buy on eBay!

$18.00 bought me this Sunbonnet Sue quilt top with a pink ruffle on 3 sides, a total of 30 blocks and sadly in kind of bad shape. Not what I was expecting. And the aroma, oh dear!

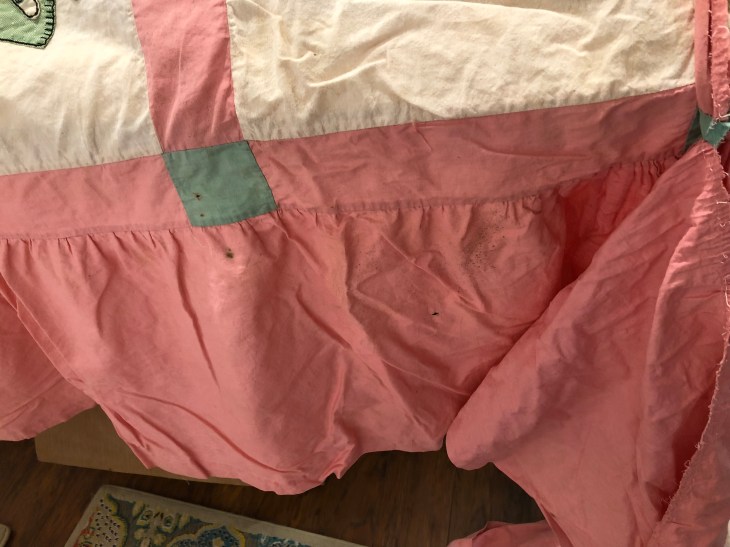
Here’s the thing, this quilt top showed signs of being well used considering the stains, rub marks, spots of unknown origin, etc. What could possibly go wrong in the front load washing machine set to a gently cold water wash? Envision all the natural muslin in an awkward shade of light pink at the finish of the wash cycle. 🙁 Having really nothing to lose at that point, I threw the quilt top into the dryer set on low.

I mulled over how to proceed for a few hours and decided to cut the Sue’s out leaving 3/8″ of the now pink muslin around each of the girls.

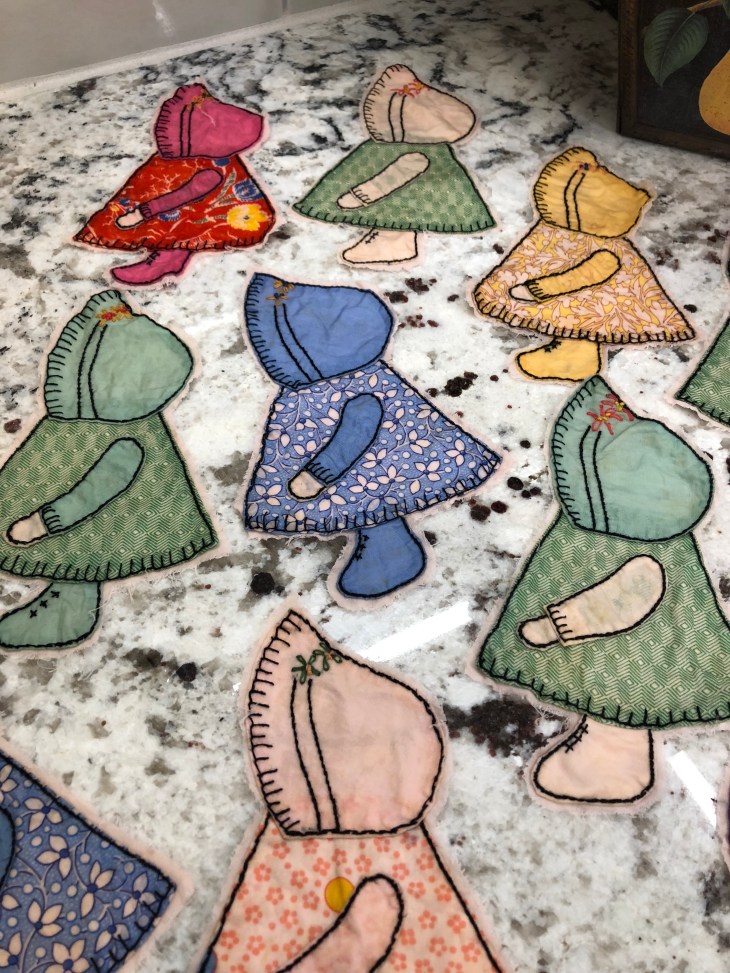
Here’s how they looked after being cut from the quilt:

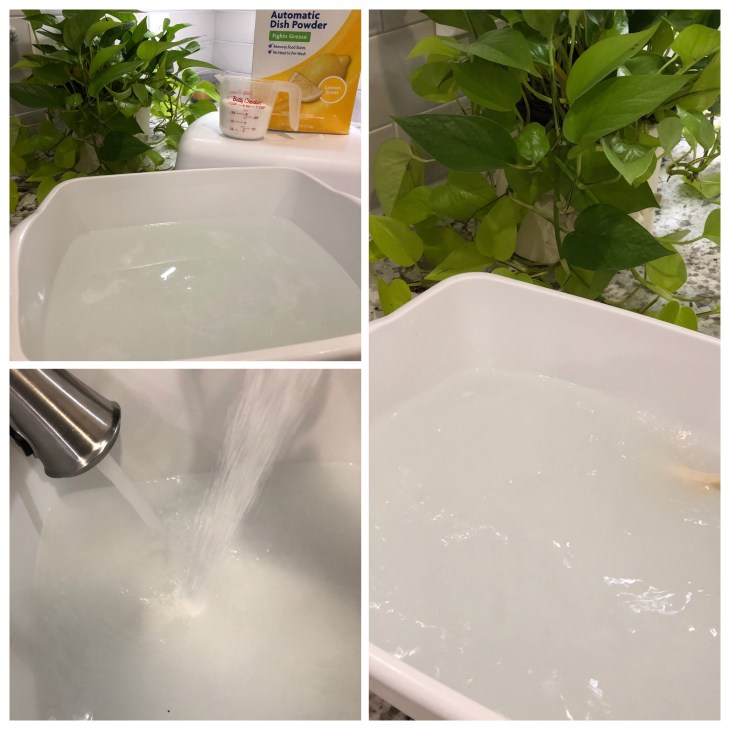
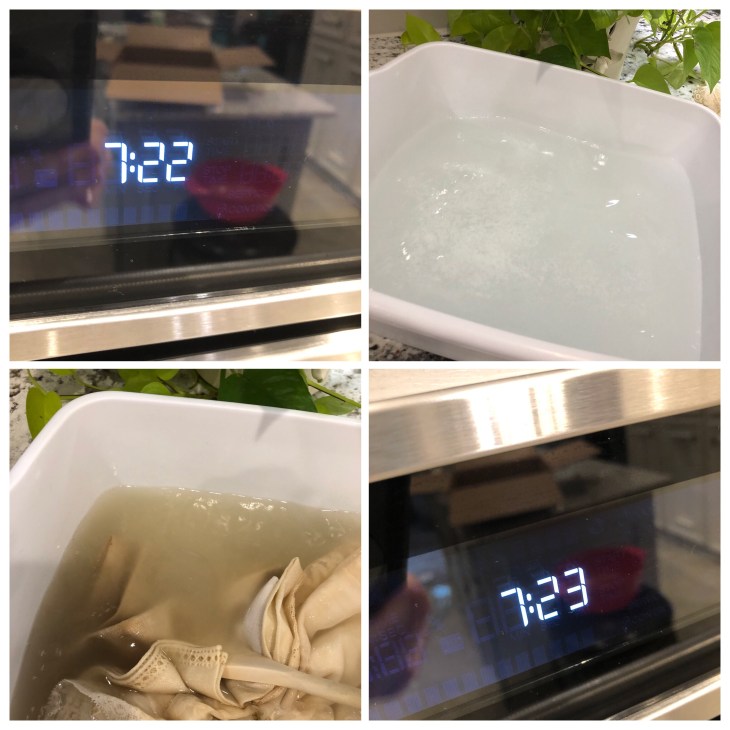
And here’s how all 30 of the Sue’s looked after I soaked them overnight in dish wash powder. Interestingly, the dish wash powder did nothing to remove the pink from the muslin.

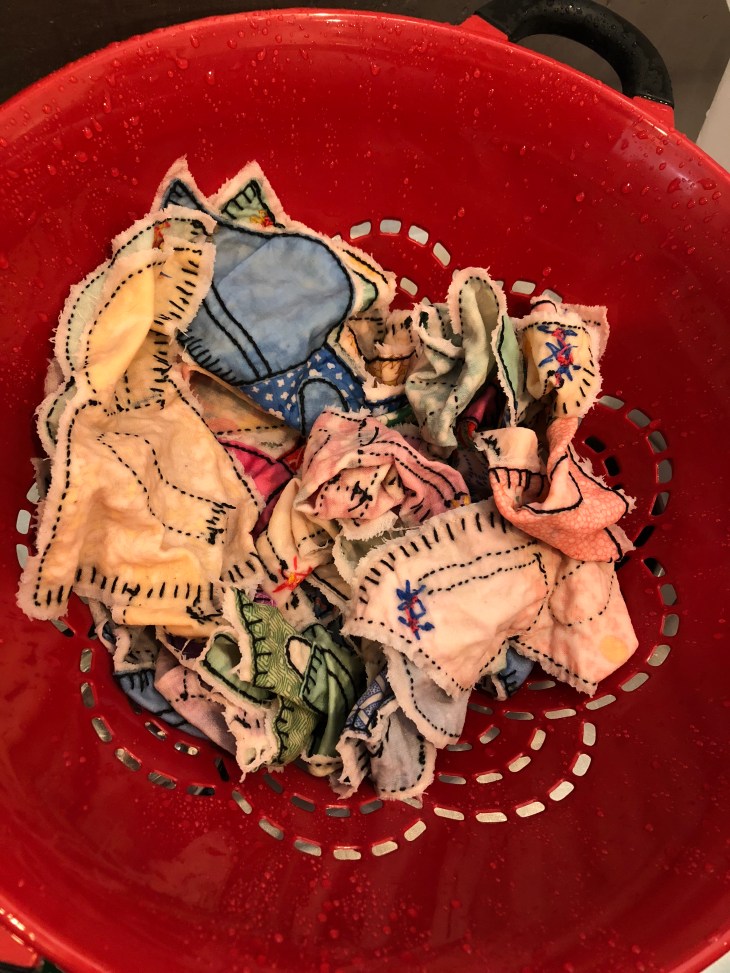
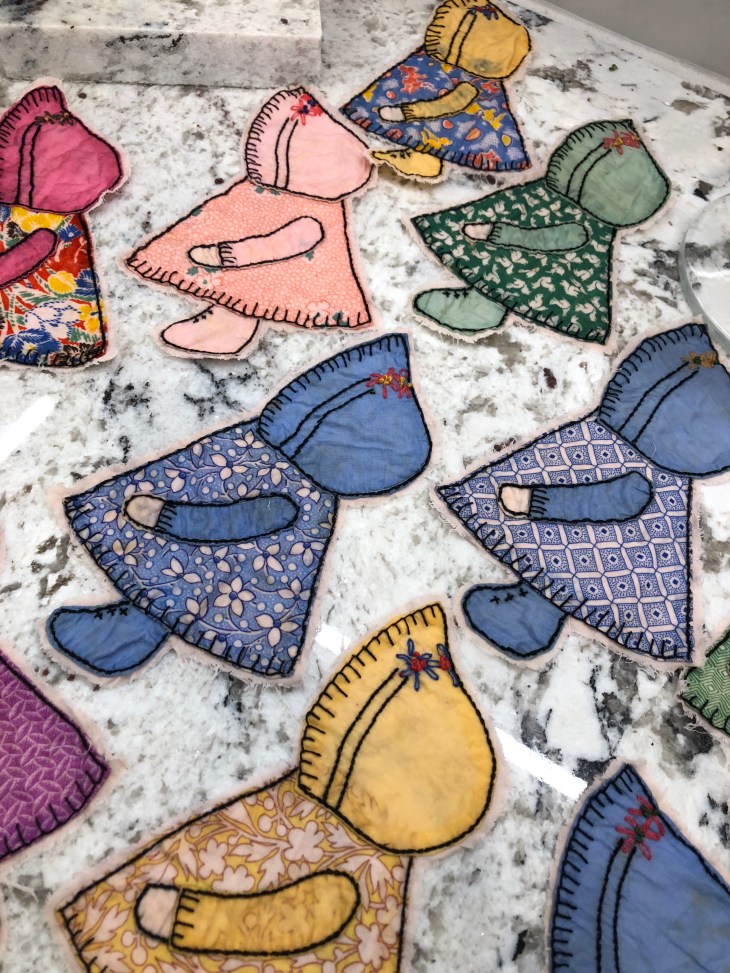
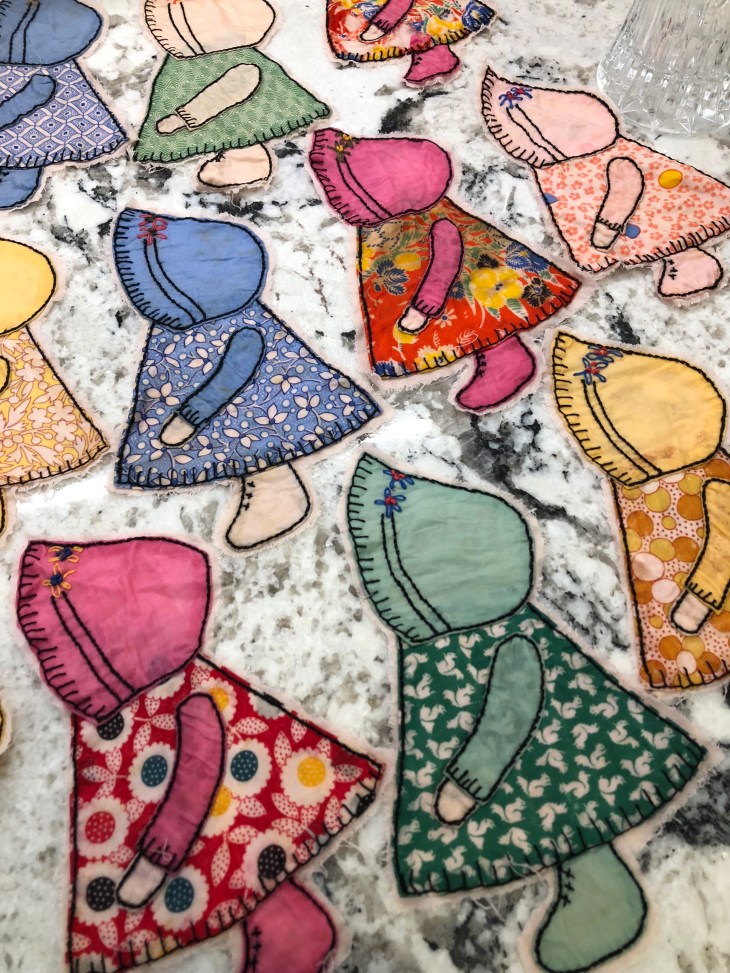
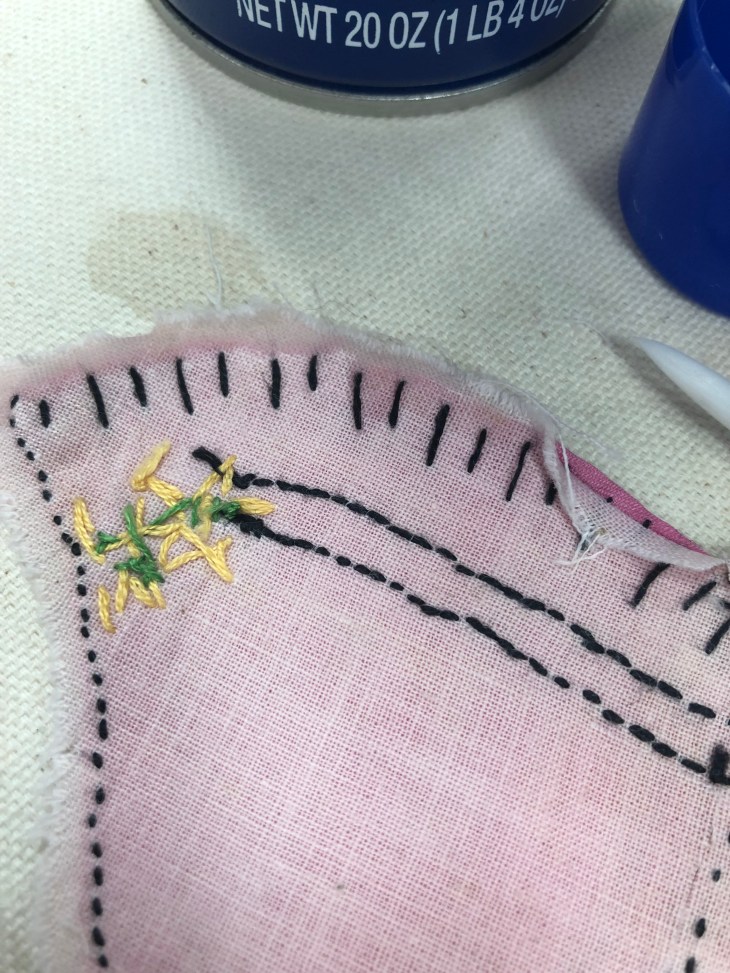
Look closely at the pic below and you can see the pink muslin.

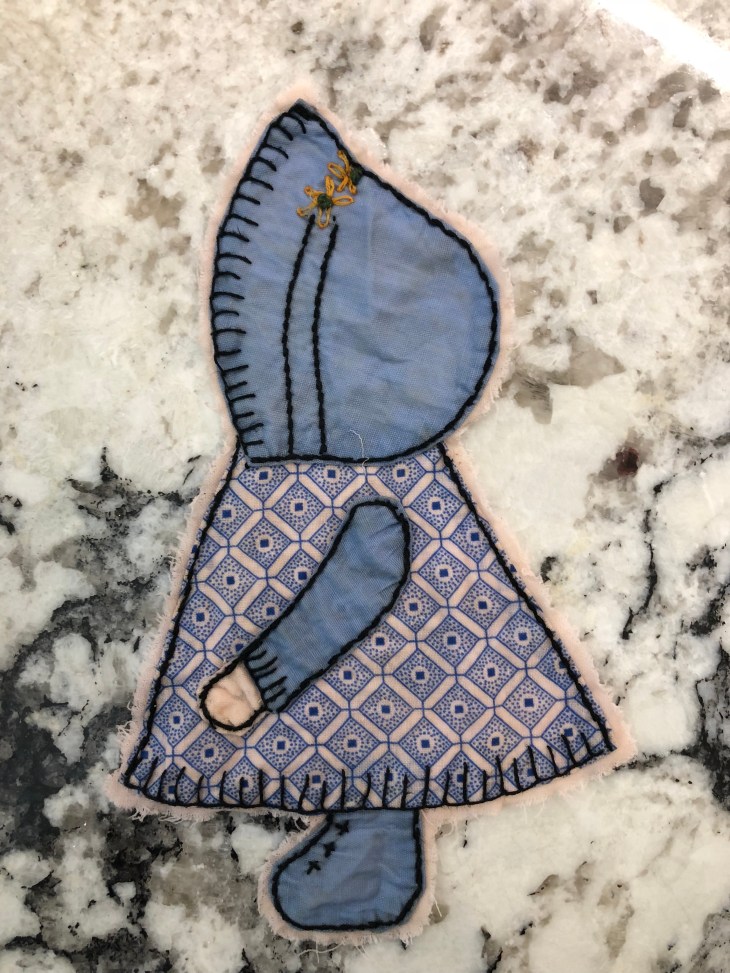
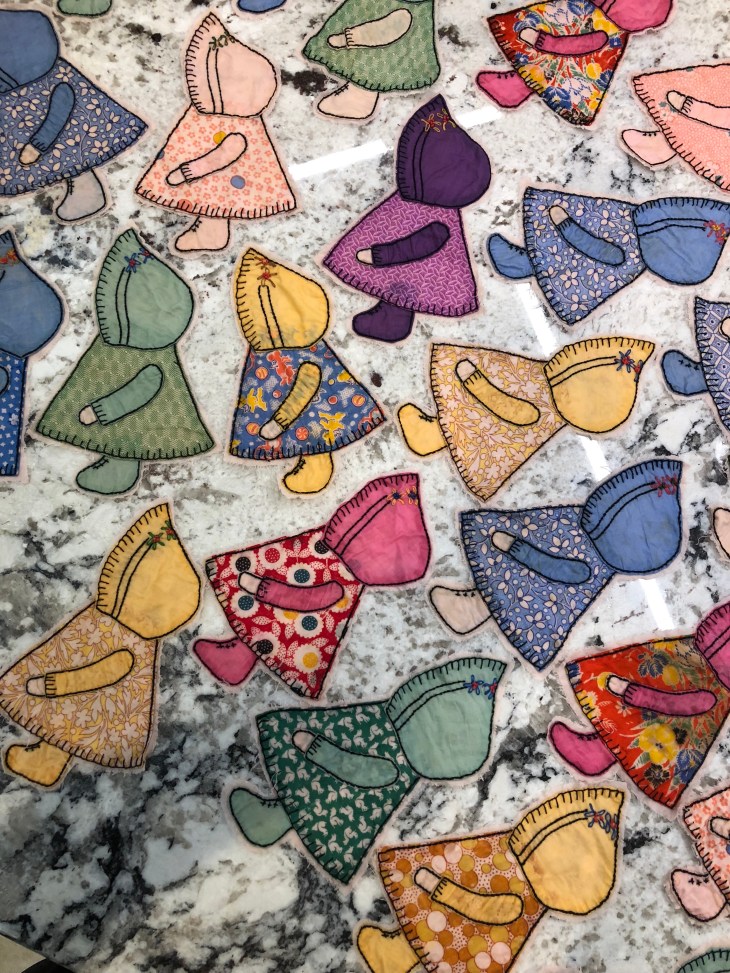
Seriously though, don’t these cut outs look darling!

I let all the girls dry on the counter top. Using heavy spray starch, the starch container lid, an artist paint brush and my iron I set about to press the 3/8″ pink muslin edge to the back of Sue. I sprayed a good amount of starch into the lid and then “painted” the starch onto the muslin using the brush. By pressing the starched area until dry, I had the perfect set-up to appliqué the Sue into a new background fabric.

From the moment I decided to cut our all the Sue’s, I knew I wanted to appliqué them onto background squares set on point. Right up to the moment when I realized with the 30 12″ finished blocks including smashing and borders would make a quilt much larger than I wanted.

By folding the 12 1/2″ blocks diagonally point to point in both directions and lightly finger pressing, I determined the center of the squares. By laying a ruler at the bottom of the square set at the 2 1/2″ line, I placed each Sue with her shoe resting at the upper ruler edge. This gave me consistency of the bottom border between the shoe and the block edge.

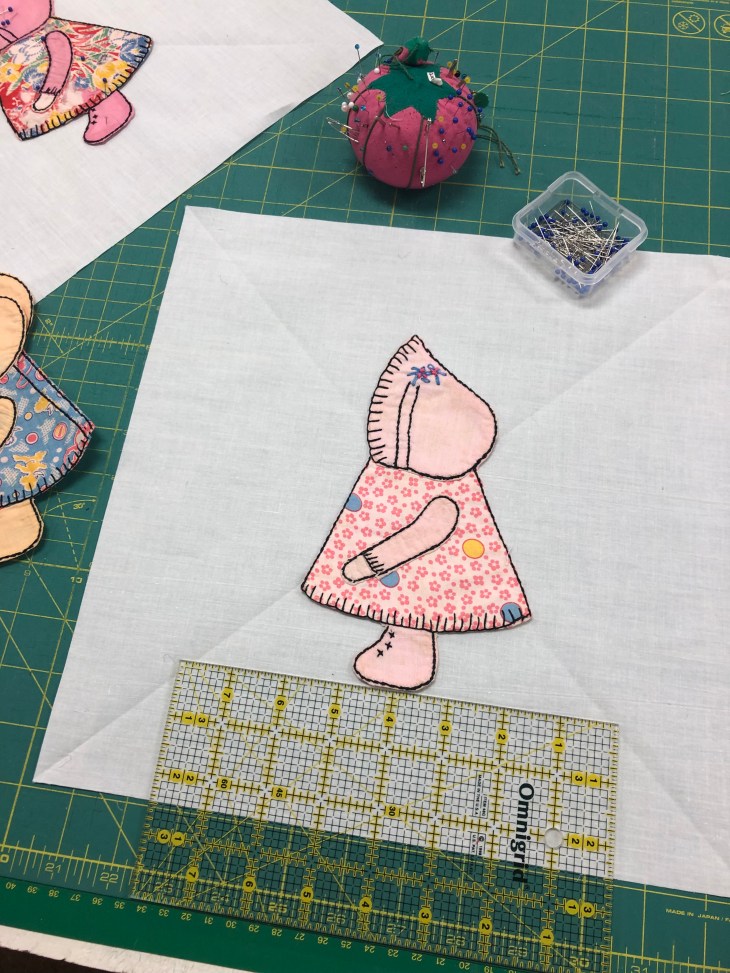
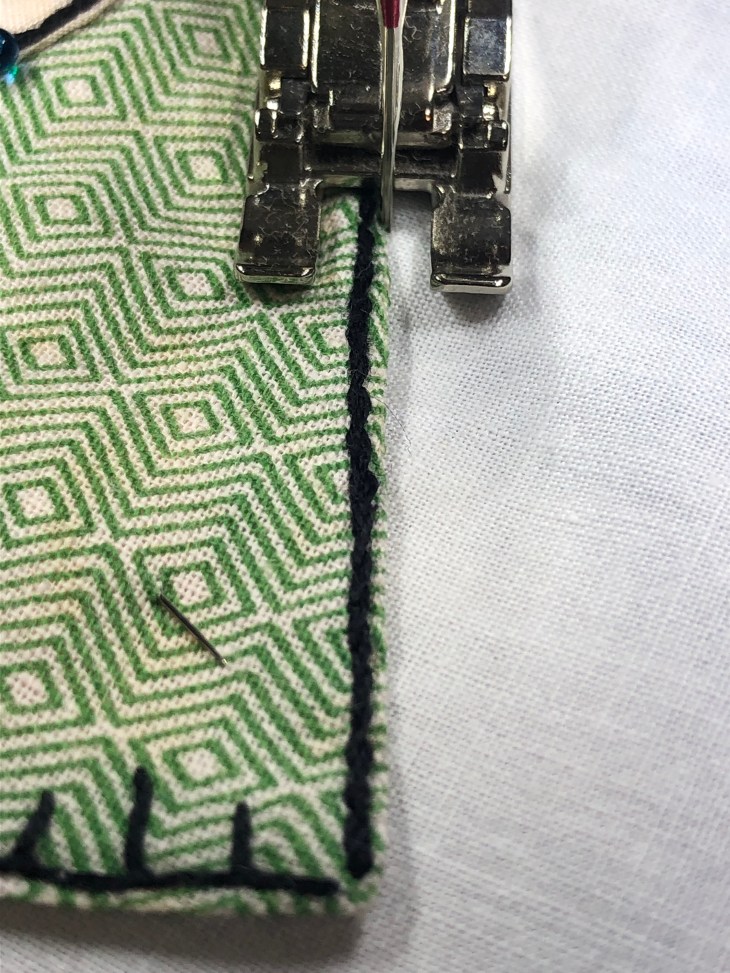
Lots of straight pins held each one in place while I used my sewing machine set to a tiny zig-zag. Bernina parameters: width 1, length 1. In my needle I’m using Gutermann Skala color #800, in the bobbin a prewound 60 weight white poly.

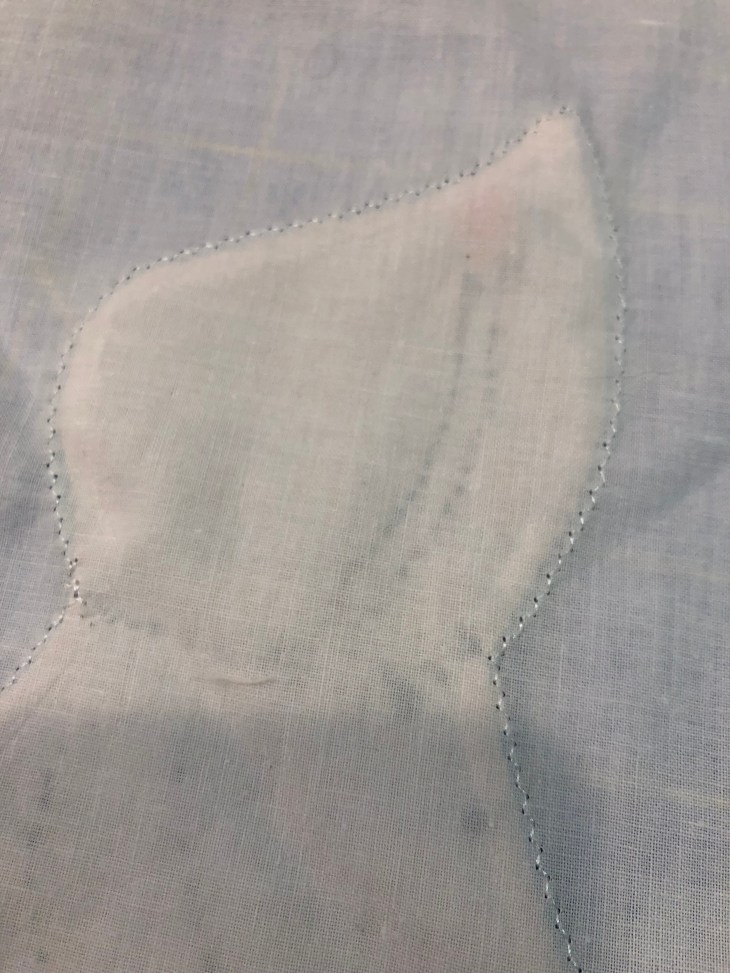
Here’s what the block looks like on the back side.

I’m unsure if I will keep the blocks at 12″ finished, I may trim the sides to form a rectangle. I’ll have a better idea once all 30 of the Sue’s are stitched onto their new fabric. Speaking of the background fabric, I had intended to use a natural muslin. Once I laid out 5 or 6 of the Sue characters on the natural, I realized they needed to be on bleached muslin to “brighten” them up a bit.

I’ll keep you posted as this project develops, just remember, there are many many different ways to save quilts, quilt blocks and even pieces of quilt tops! Be open minded and your opportunities are endless!

***update***

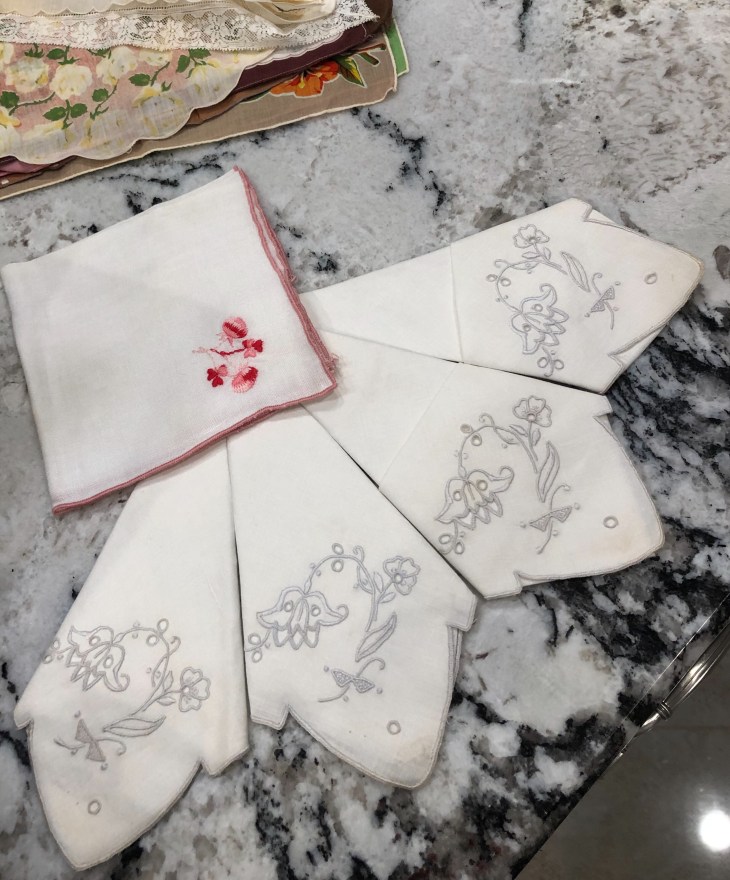
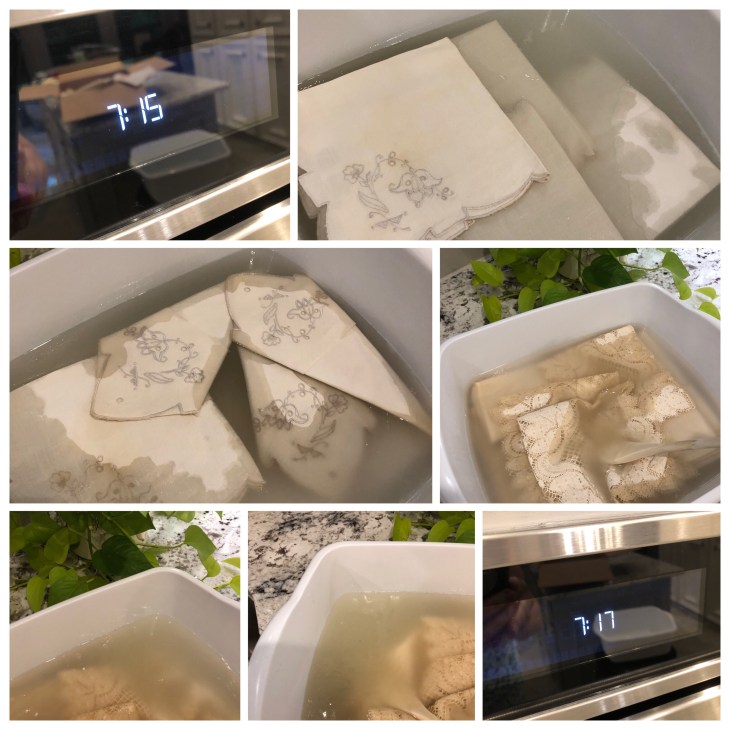
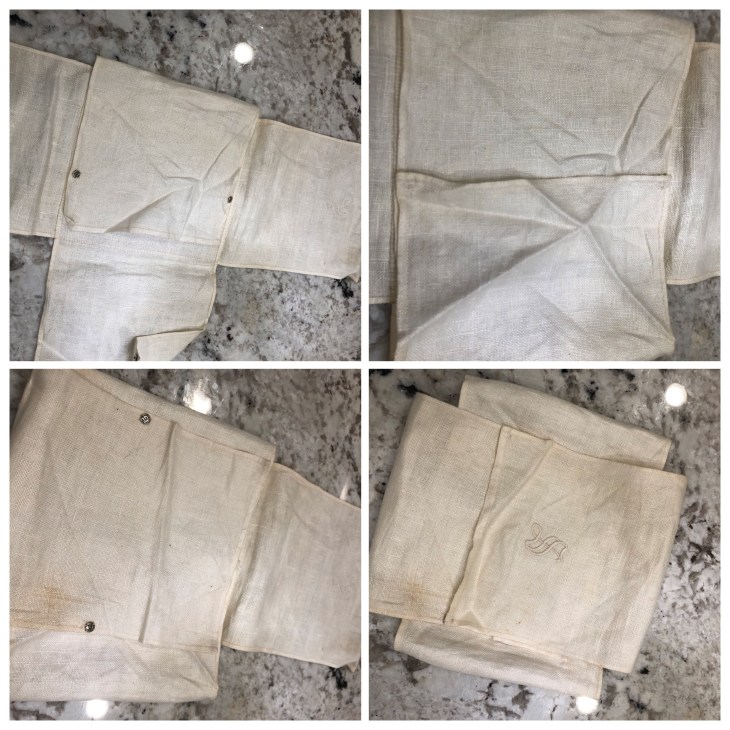
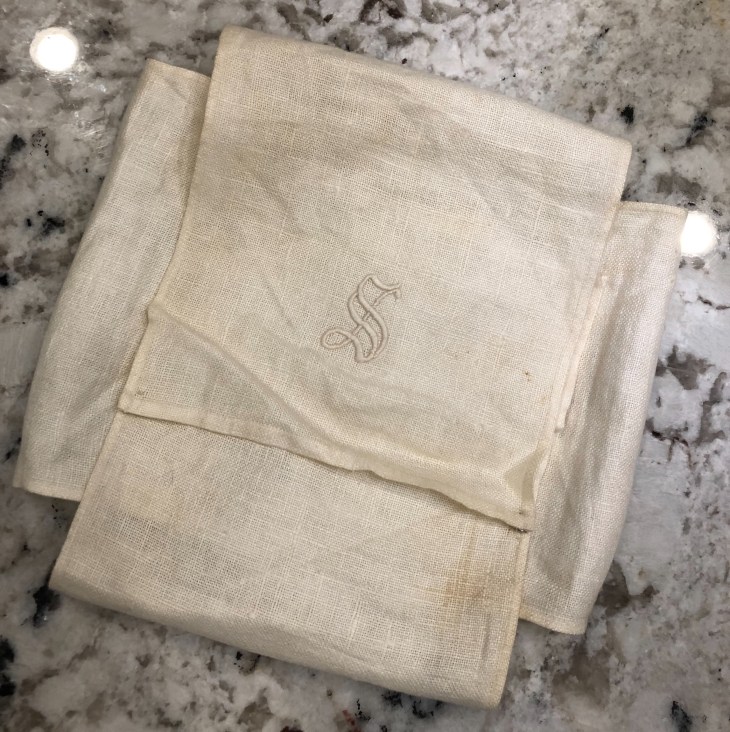
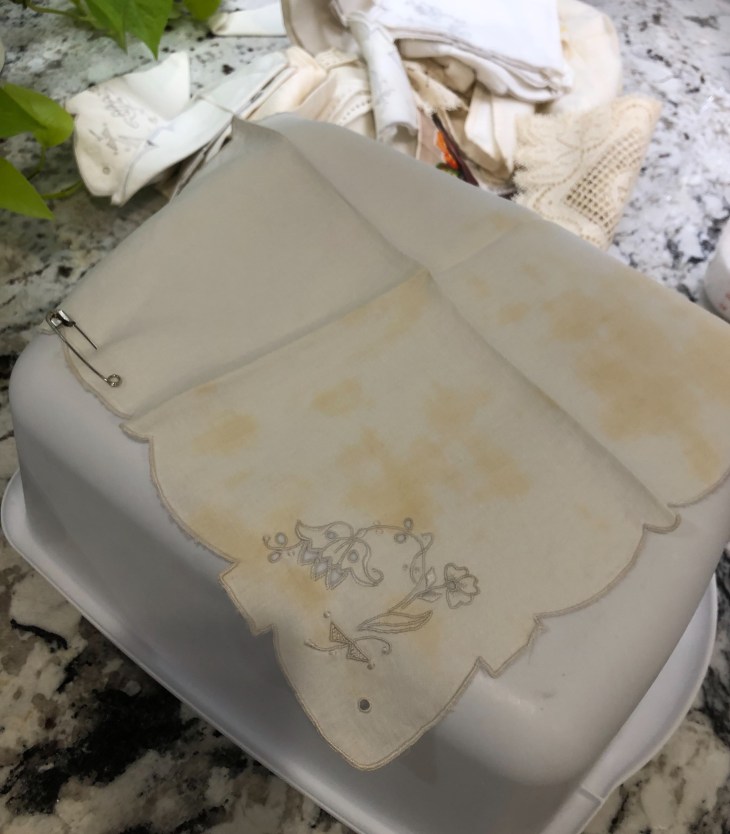
Remember the terribly stained napkin from my previous blog post? The one I put the large safely pin in so I could identify it after the dish wash powder soak? Good thing I pinned it! Look at the 2 pics below, the before and after! Wow!!

And finally, this is Memorial Day. Take a minute or two and say a prayer of thanks for all the men and women who gave their lives that you and I could have the freedom to pursue our dreams!

Happy quilting and blessings to all,

Rhonda

How I Clean Vintage Linens…Take Two…

Way back in November, 2016 I did a post about cleaning vintage linens and as I continue to experiment with these treasures, my methods evolve. I’ve gotten very simple and straight forward by cutting my supplies down to 2 ingredients: water and automatic dish powder. (The dish detergent we used to put in our Dishwashers until the handy “tabs” were invented.)

***For an updated post about my methods scroll to: 07-23-2021.

***Warning! Do not use this soak method if your piece has either black or dark grey embroidery floss!! If you have either of these two colors of floss just rely on either Biz or Oxyclean. Follow the instructions on the product container with care!

***Update: recipe is approx. 1 cup automatic dish powder to approx. 2 gallons warm tap water.

In the past I always purchased Cascade powder but one day at Kroger I saw their house brand at less than half the cost. After using the generic powder very successfully, my purchasing habit changed! In the pic below I don’t remember if this is a Kroger or a Walmart generic brand. ***Update: thanks to Stephanie, this automatic dish powder is from Kroger, she just purchased some and is currently soaking some of her vintage linens and in her words: “the water is yucky!”

I spoke to the awesome McKinney (Texas) Quilt Guild in April of this year and yesterday a box of amazing treasures arrived at my door step. Thank you Linda R.!! She crocheted the beautiful piece above! The other pieces, all vintage, were from her neighbor. As with most all linens, these showed the results of being loved and used for the purpose of which they were created.

Oh be still my heart, the things in this box are just wonderful!

Isn’t the above piece simply beautiful!!

So what’s up with the safety pin in the napkin below? I chose the napkin (from the matching set of 8) showing the most staining and by pinning it I can find it again and compare the end results with what the piece looked like at the beginning.

In 2 minutes time can you believe the change in the soak water!

Again, in soak container #2, the 1 minute change from clear to horrible looking water:

Included in the Treasure Box was this wonderful napkin keeper shown above. Laid out flat it it resembles a giant + sign. Can you see the tiny snaps? Once the napkins (or handkerchiefs) are cleaned, they are folded and stacked lying atop the center square. The side flaps are then folded in and snapped accordingly. Finally the top and bottom flaps are folded in and snapped revealing the beautiful monogram in the center:

I am always fascinated by the color of the soak water. The automatic dish powder is removing among other things: laundry soap residue, dust, hand oils, ironing starches and embedded food/beverage residue/stains. Some stains that the laundry powder cannot remove: the dreaded Rust, some lipsticks, nail polish and occasionally some perfume stains. Use caution when attempting to remove rust as it has already penetrated and has begun to destroy the fibers around it. Personally I’ve learned the hard way to just leave rust alone and in a project I will position a “distractor” of some sort over a rust spot.

Here are the 2 soaking bins after about 15 minutes. I will let these pieces stay in the water about 24 hours. Because the soak solution is so concentrated, the pieces will require a great deal of rinsing. When you think you’ve rinsed enough, do it one more time but add 1/2 to 1 cup of clear (distilled) vinegar to the rinse water to remove any remaining soap residue. Your pieces, when dry, may retain the aroma of vinegar for a day or two but this will dissipate.

These beautiful ladies handkerchiefs were also in the Treasure Box. I will soak them at a later date.

I will do an additional blog about how these vintage pieces turned out once they are finished soaking, rinsed, dried and pressed! Stay tuned…

Hope you’ve enjoyed this blog post, let me know if you have questions!

Blessings for a wonderful day!

Rhonda

***someone pointed out to me that my Pinterest address on my business card is wrong 🙁

If you want to find me on Pinterest just type in my first and last name in the search bar. I checked and there’s no other Rhonda Dort listed, an advantage of having an unusual last name 😎