Jellystone, My Bear Paw Quilt

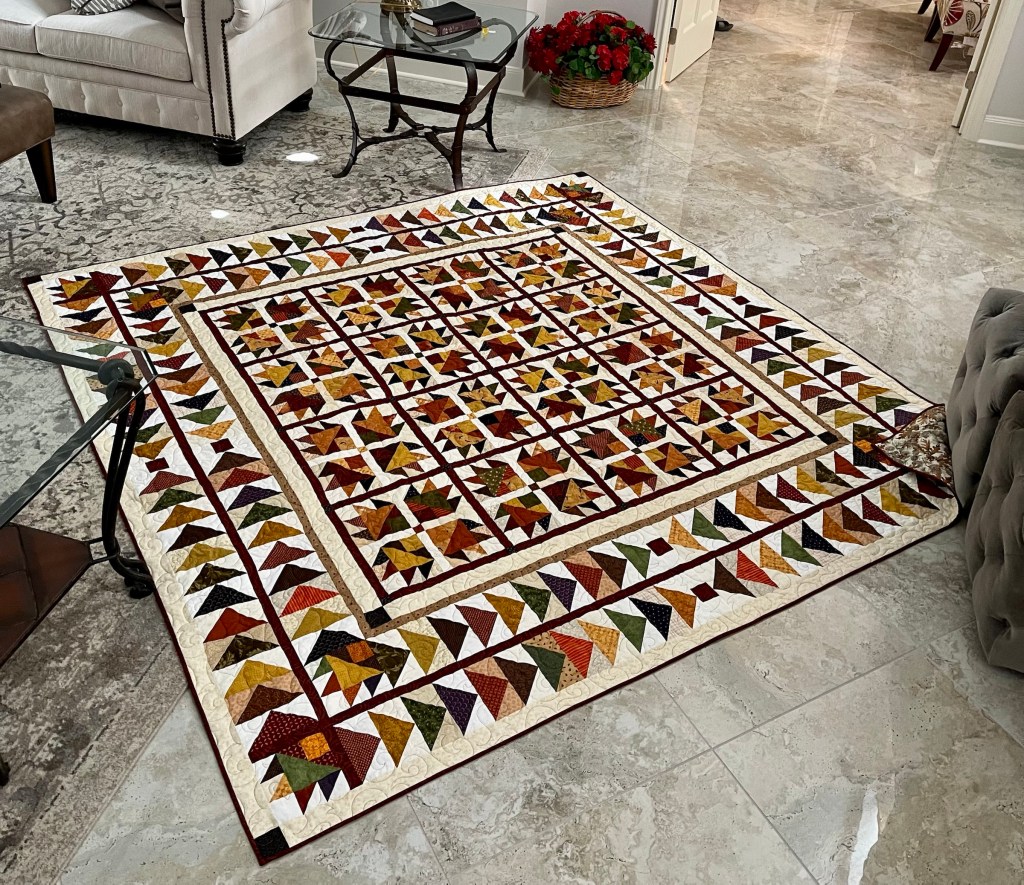
I woke up one day and decided I needed a king size quilt. Here’s the journey beginning to end.

I purchased this book as a download maybe a year ago and this quilt intrigued me.

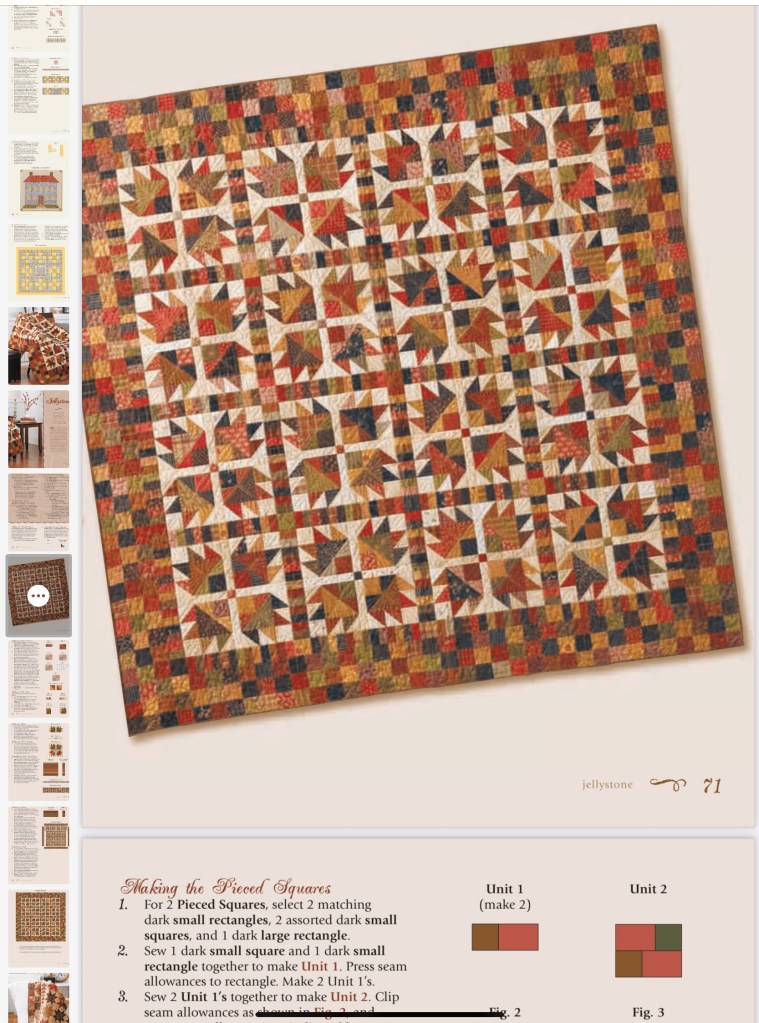
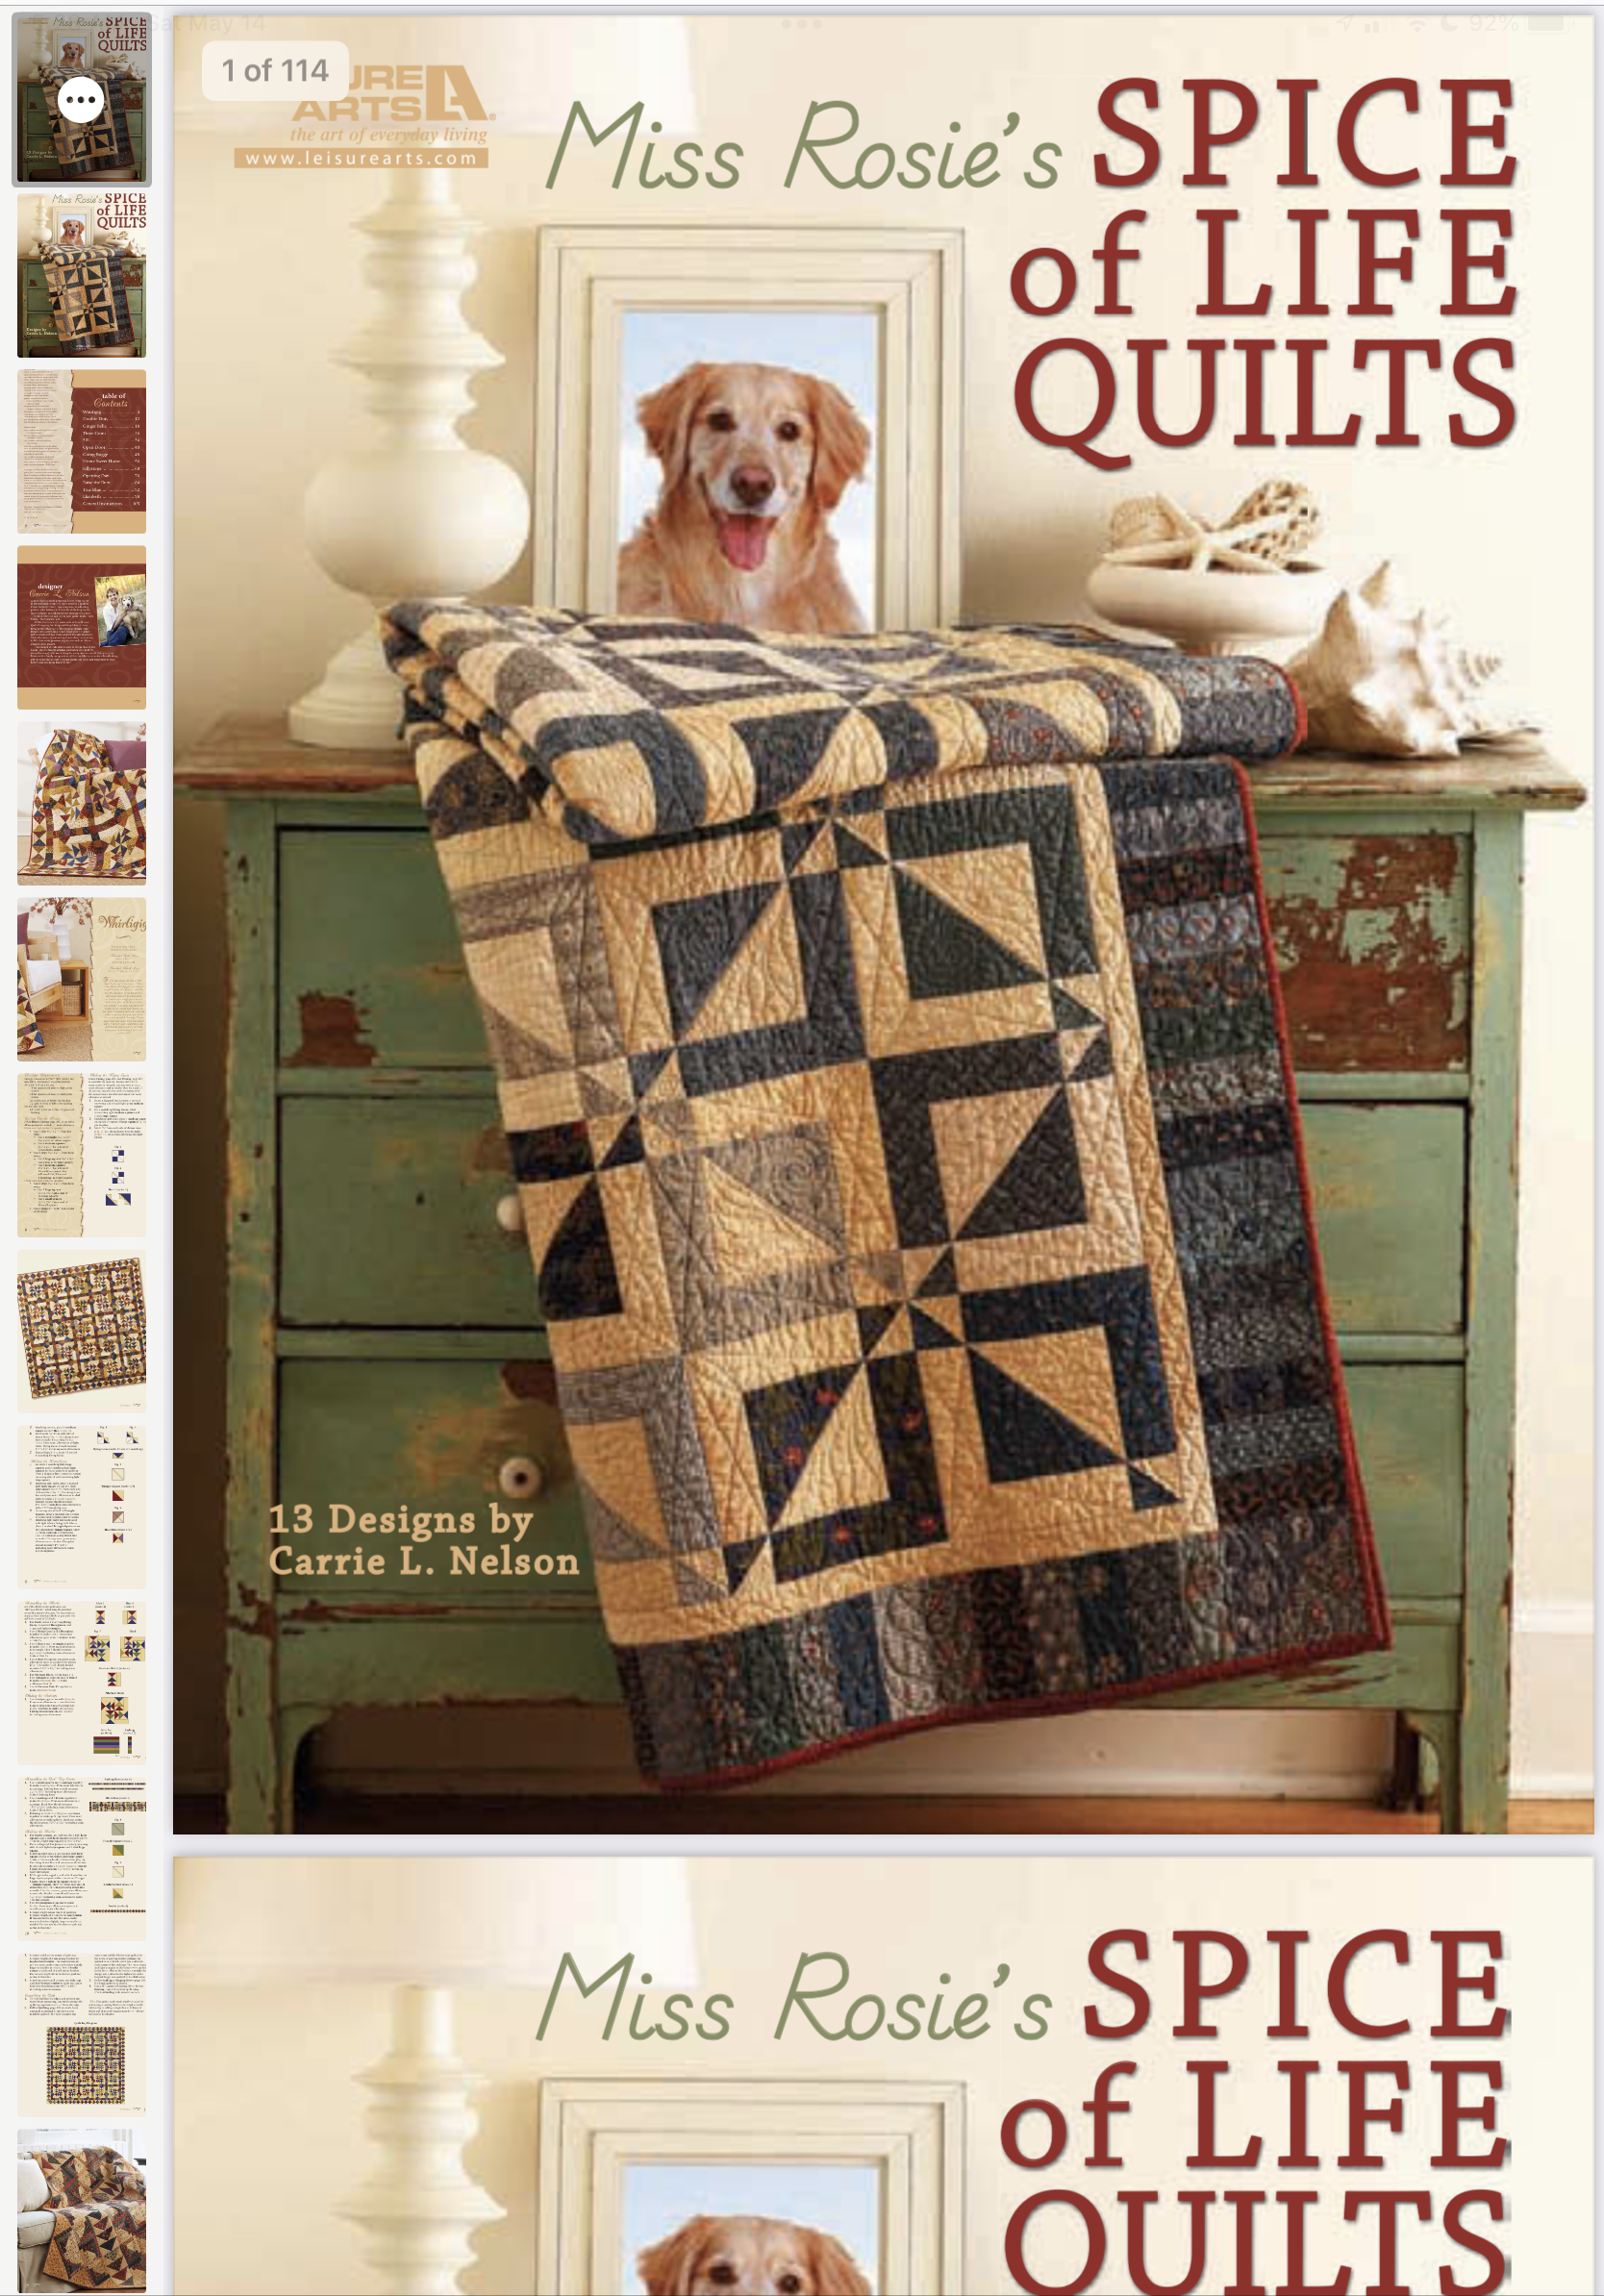
This book is full of great quilts/patterns.

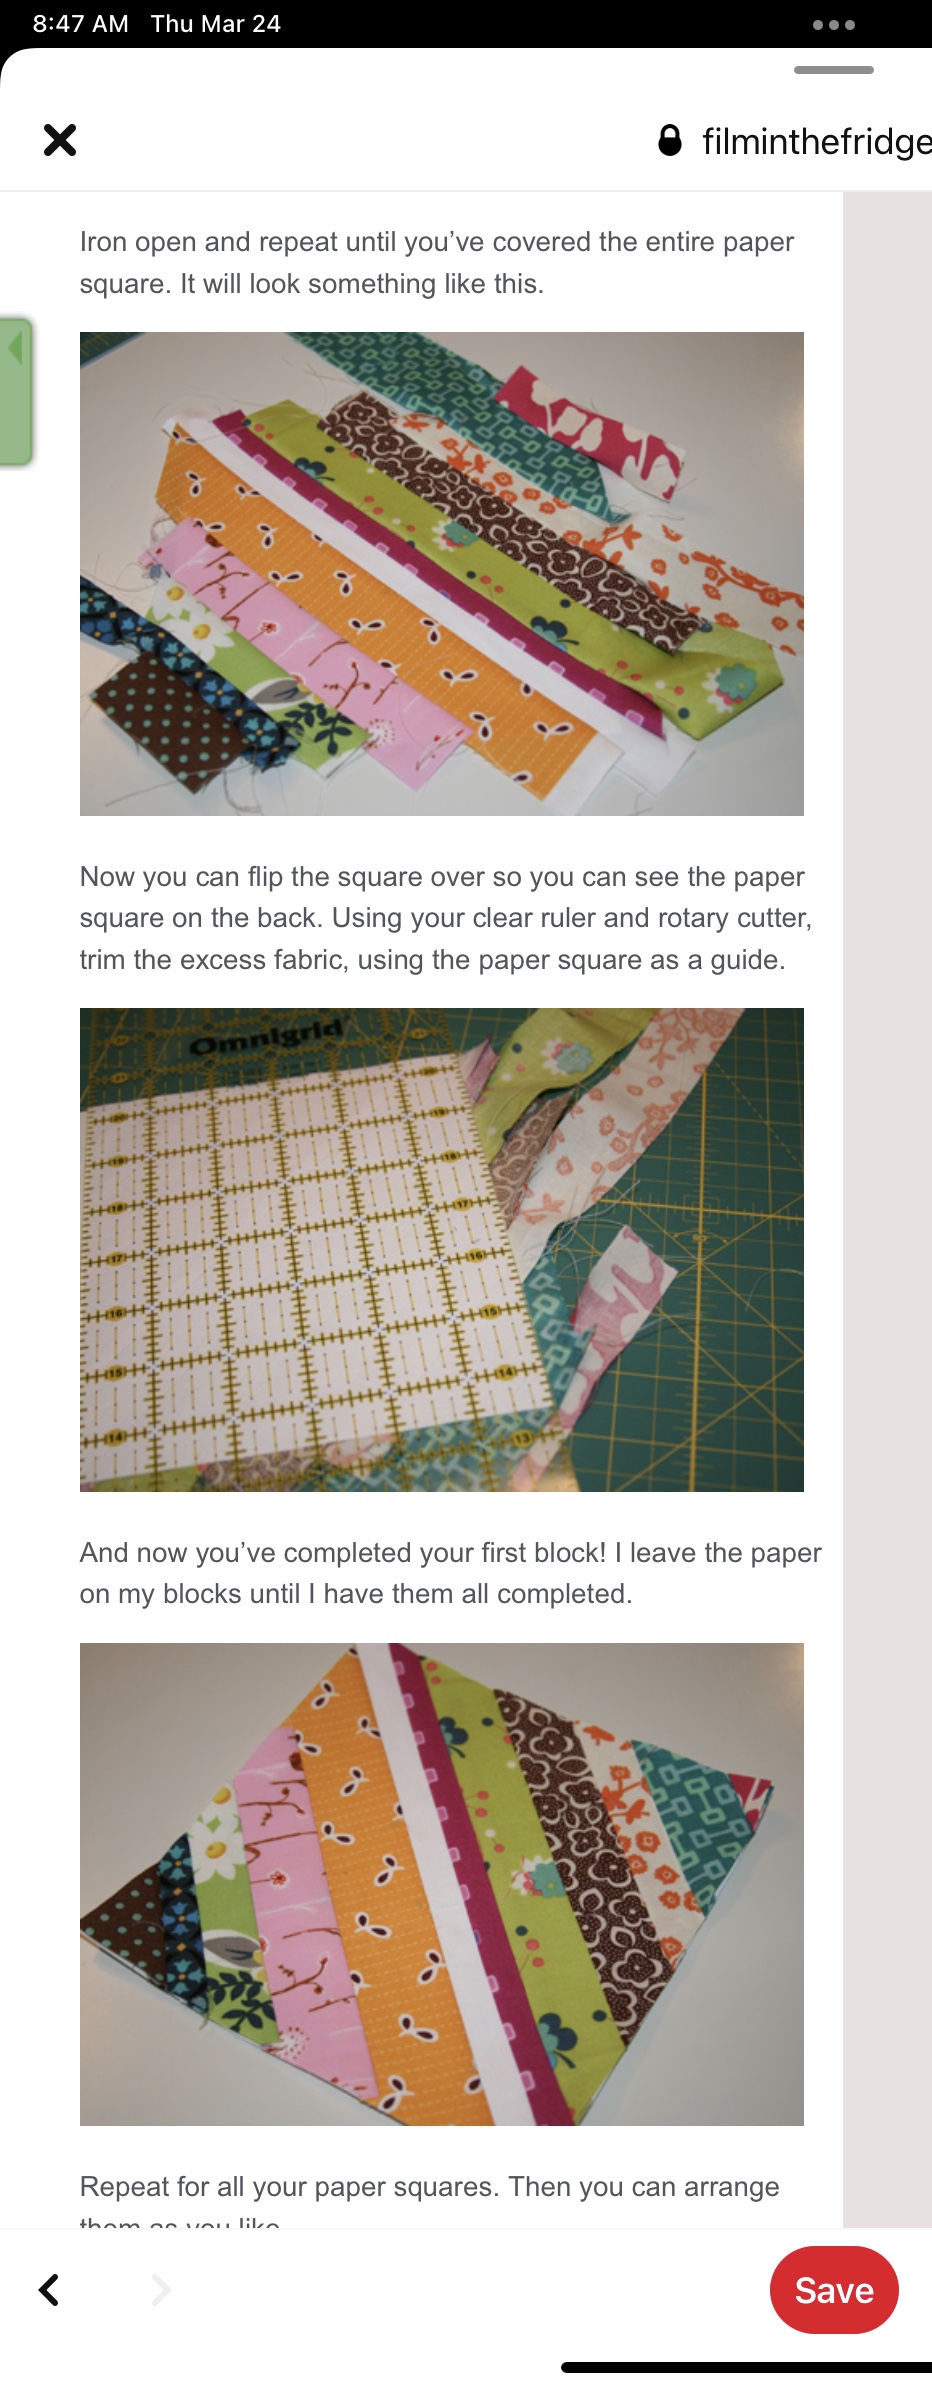
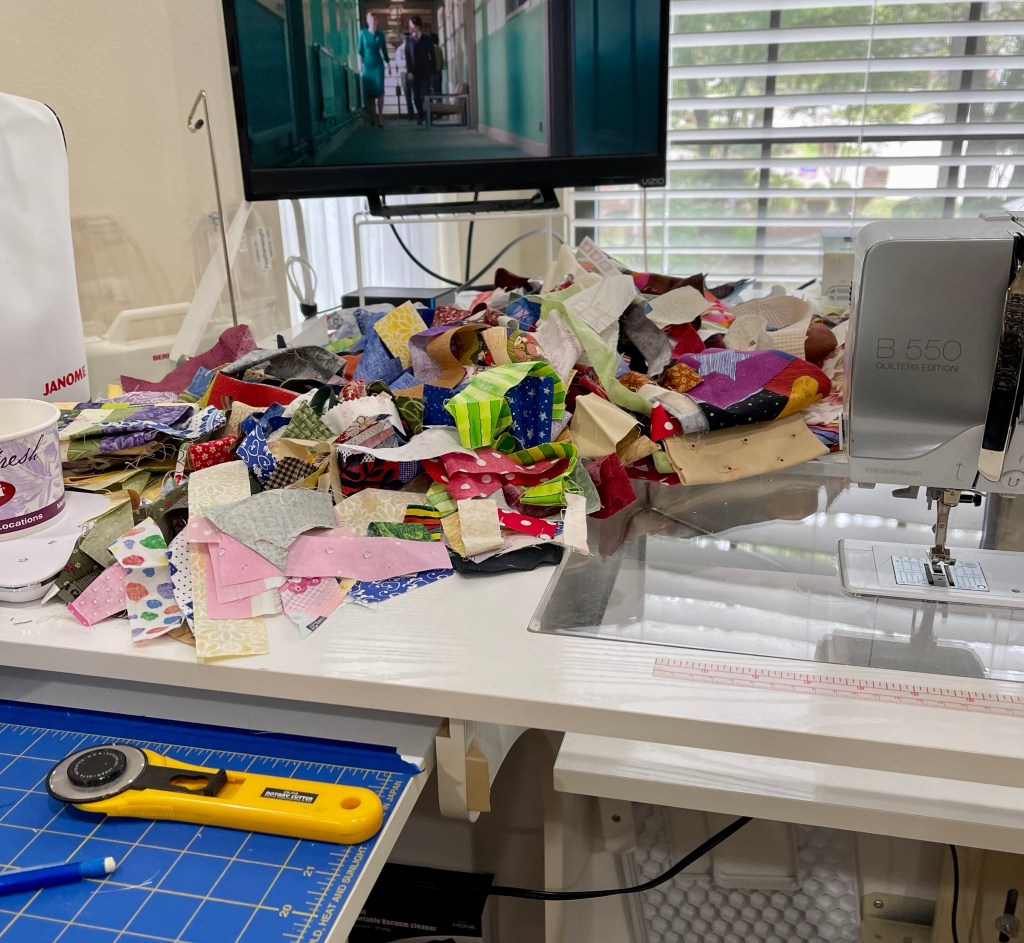
First I needed what seemed like 10,000 half square triangles. I cut and paired one light and one dark fabric square, made sure my bobbin was full and the sewing commenced!

Did I chain piece? Yes! Did I remember to take a picture of this chain piecing? No. In fact I forgot to take pictures of a bunch of the steps.

The next step was this part outlined in yellow. There are great instructions about how to make two at a time.

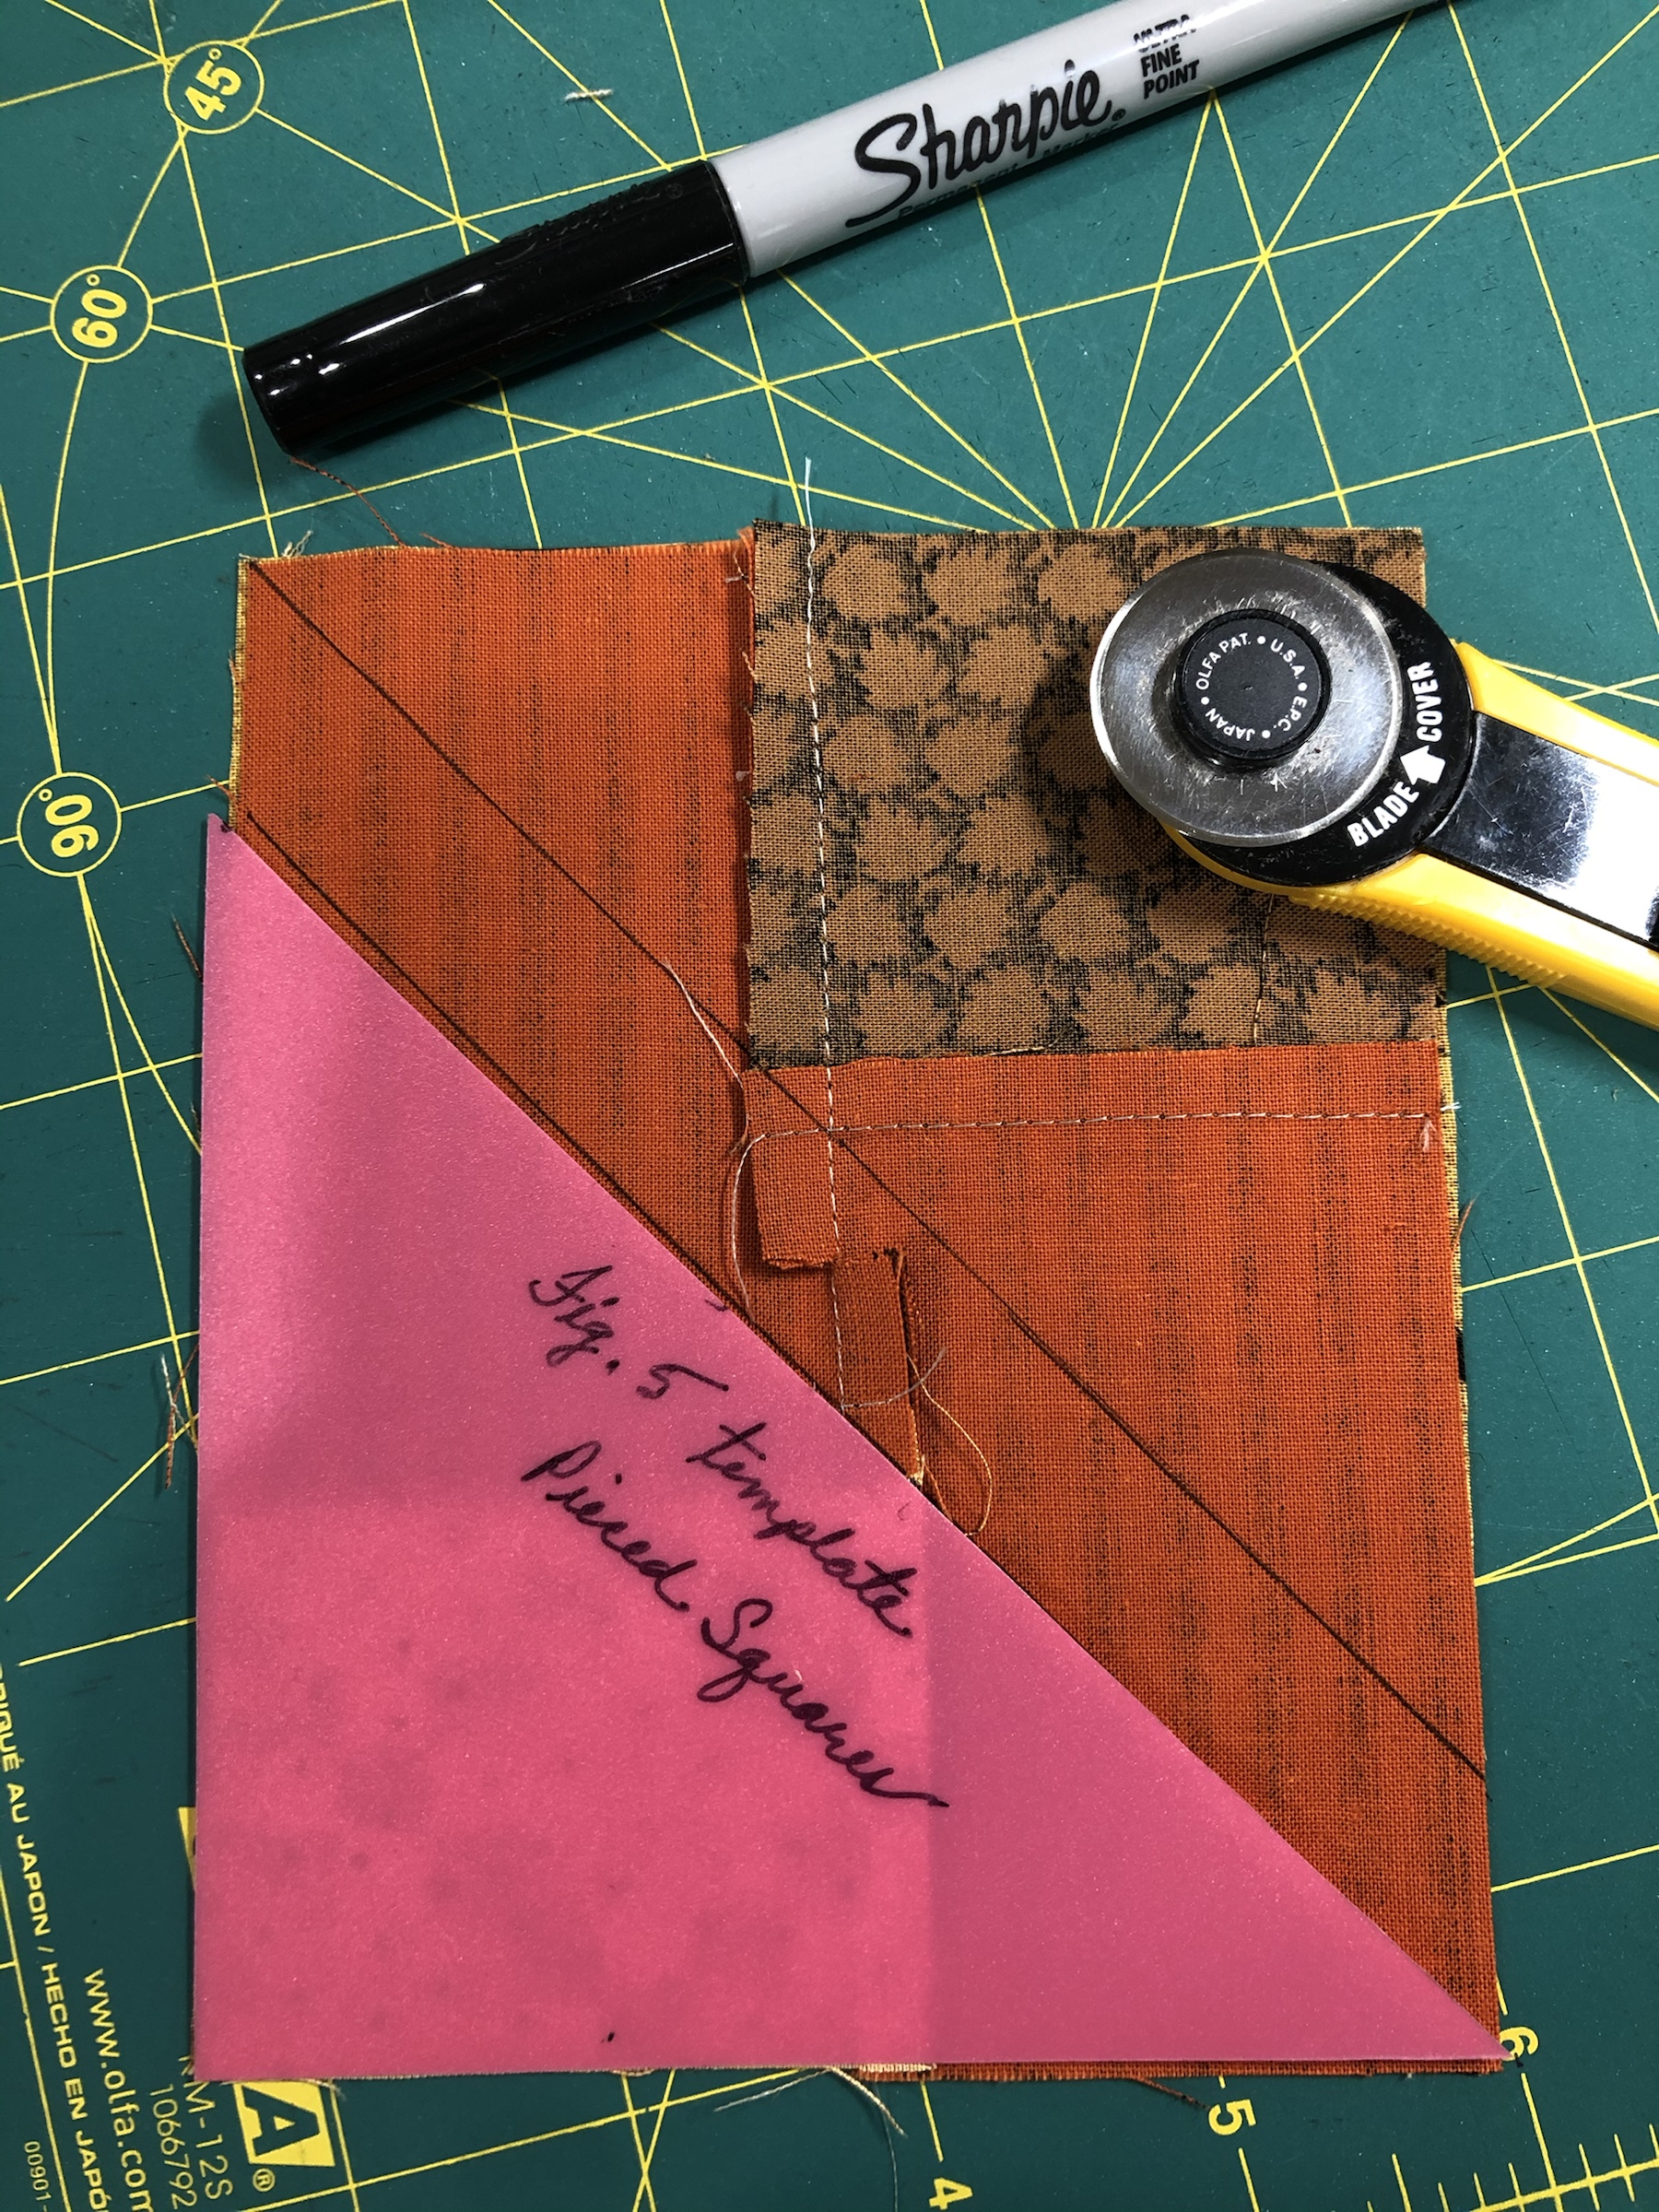
This template I made out of a plastic 3-ring binder cover came in super handy.

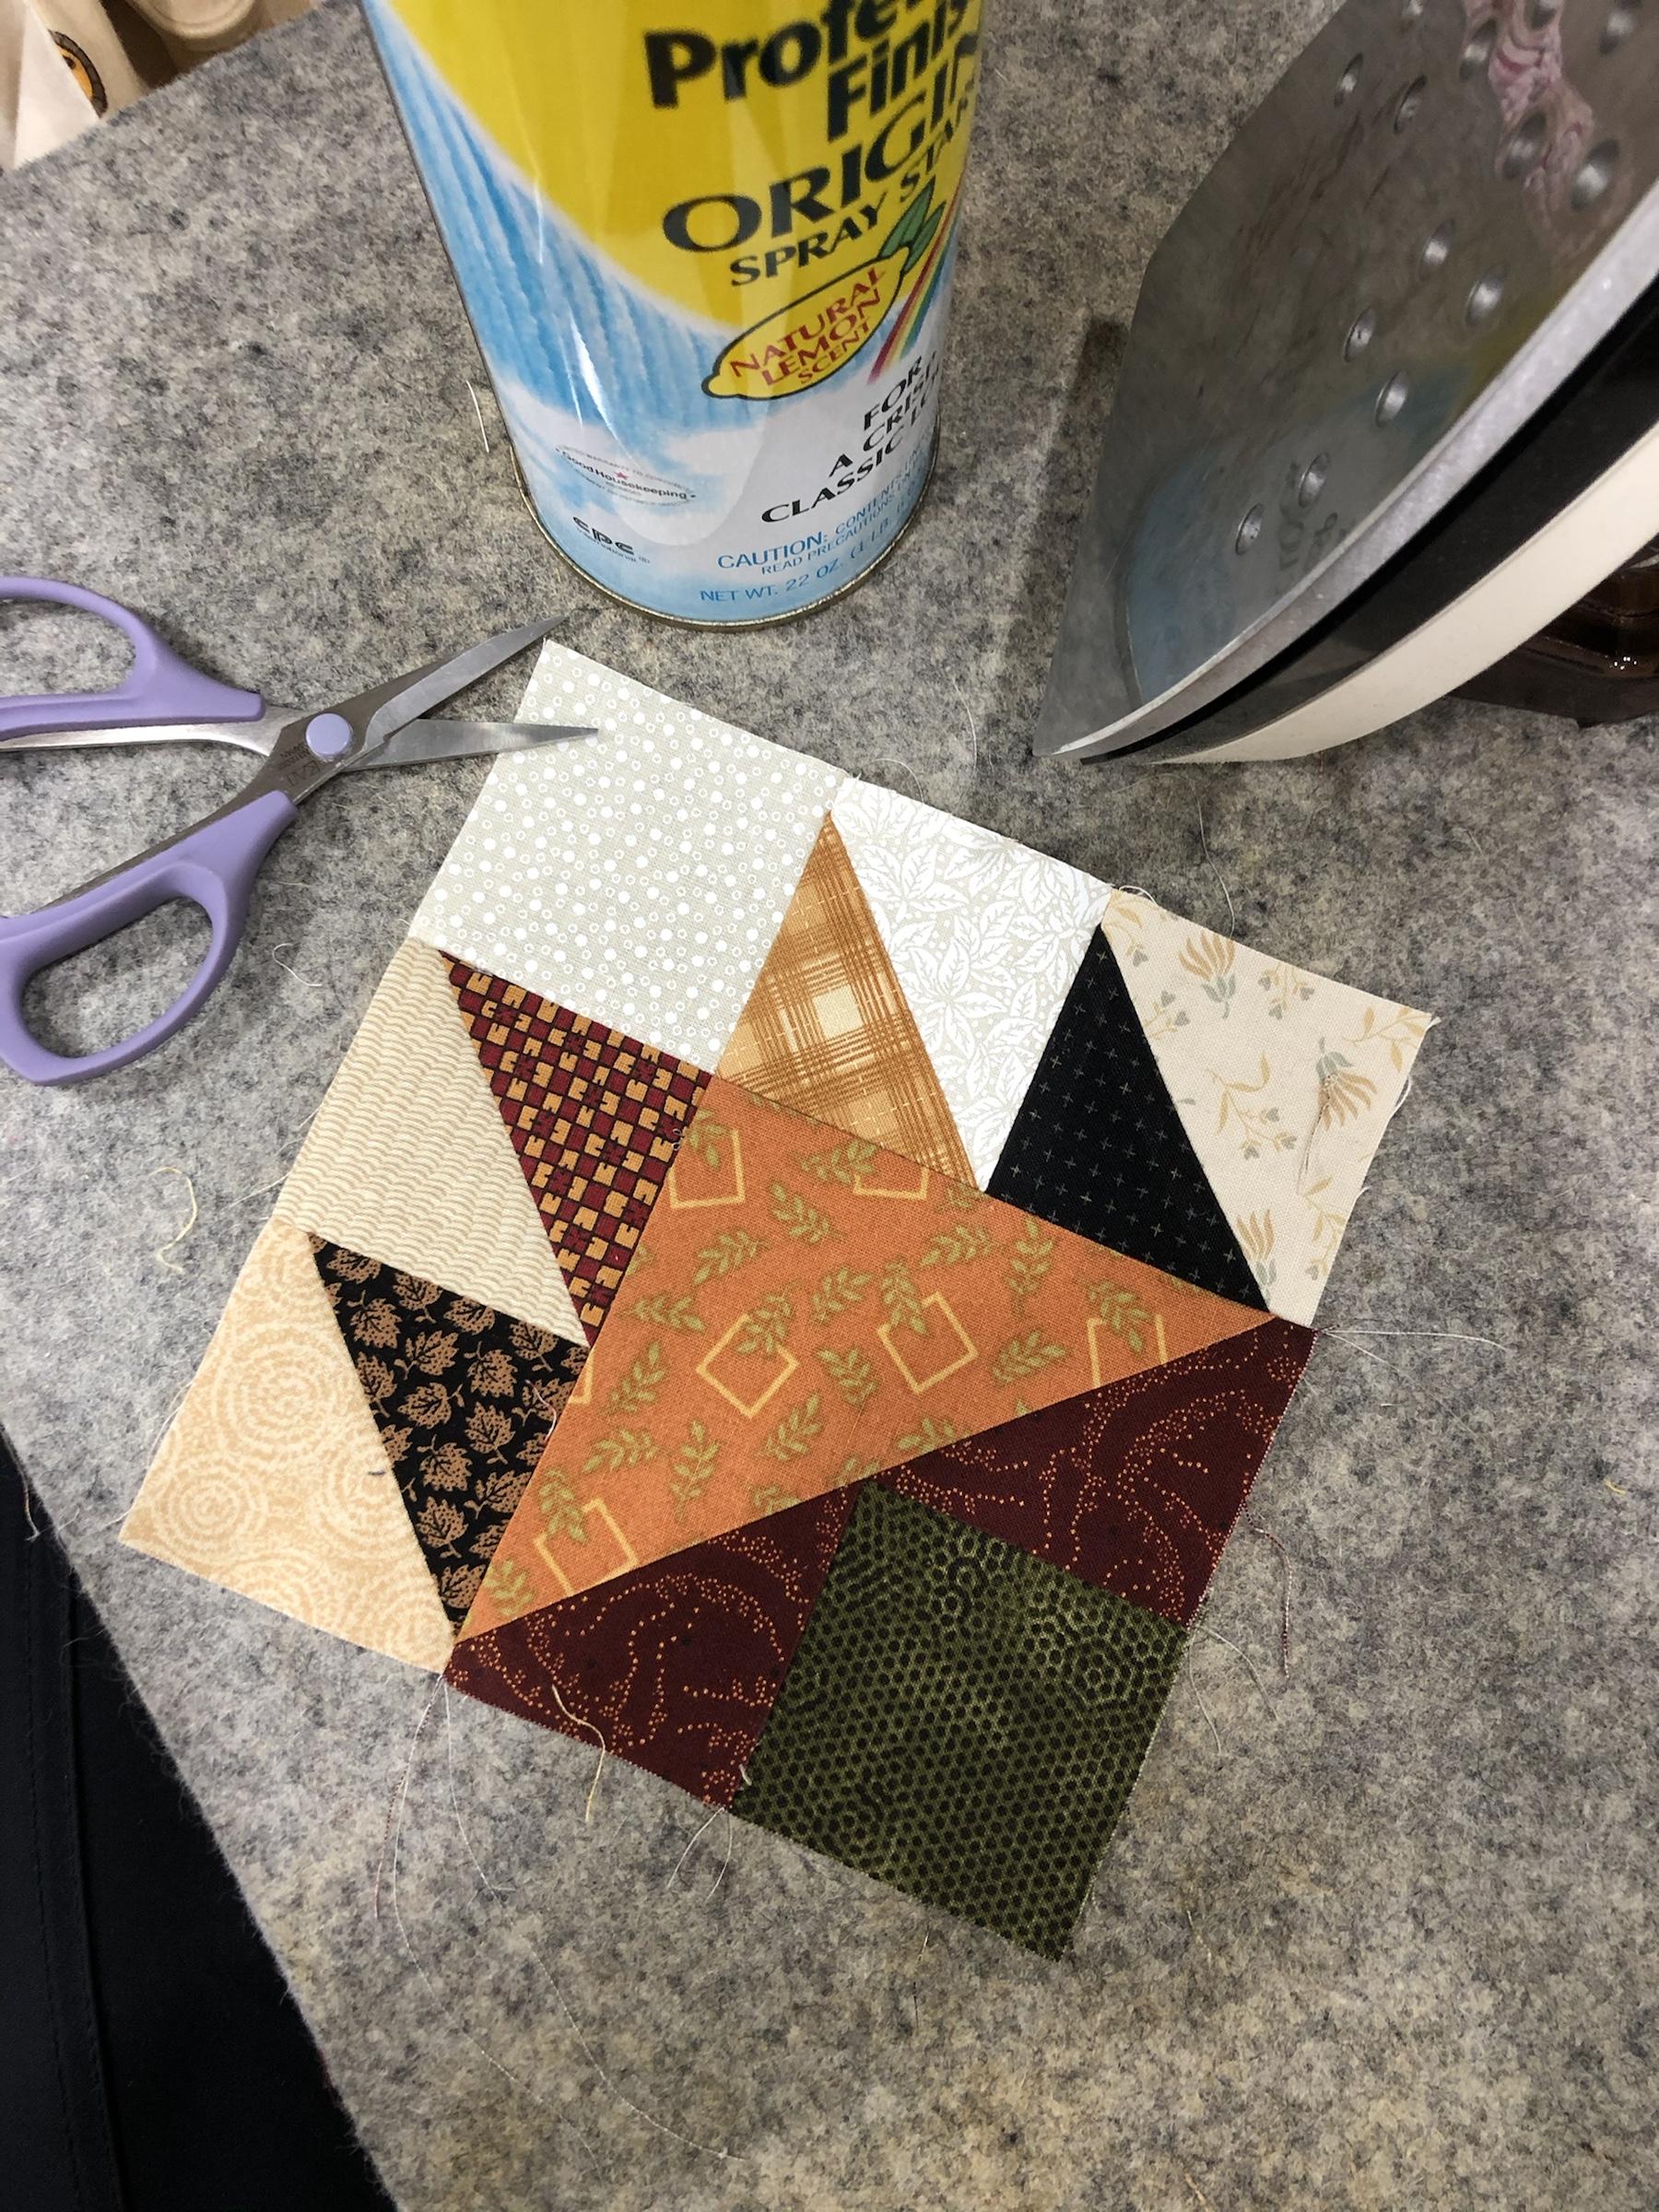
Each Bear Paw block needs 4 half square triangles and these hst’s need their light and dark fabrics strategically placed.

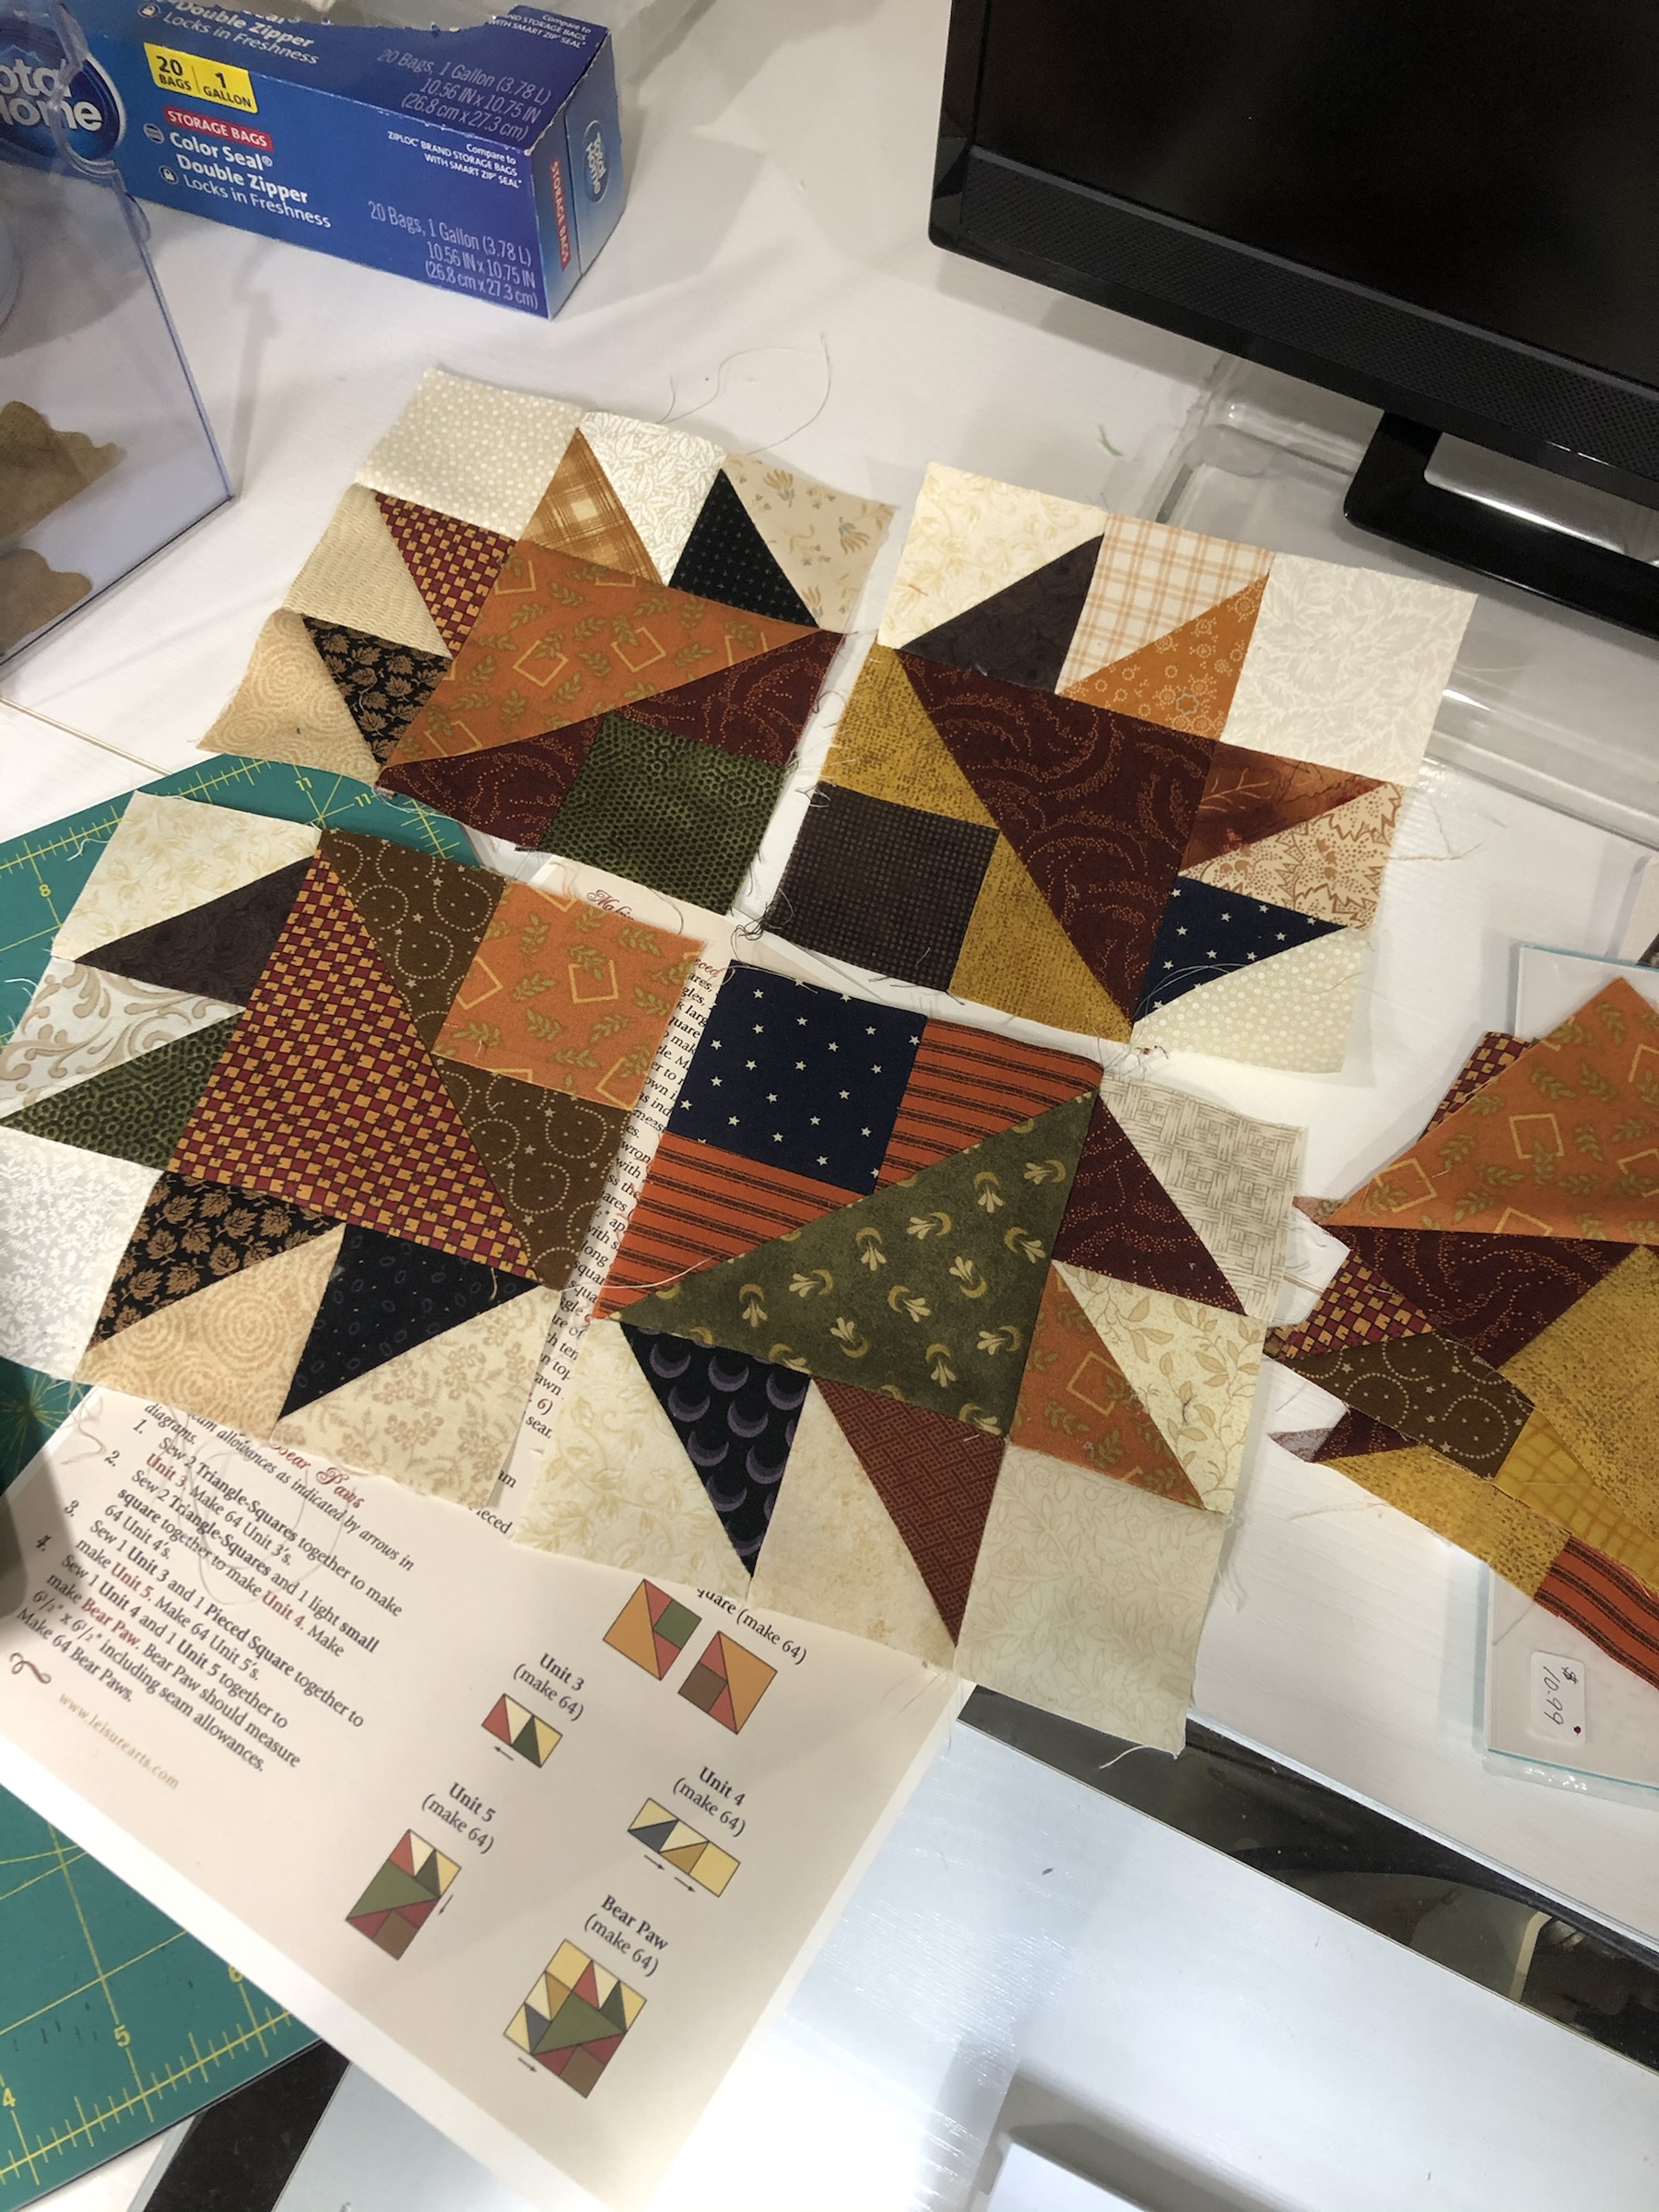
Like I said, excellent instructions!

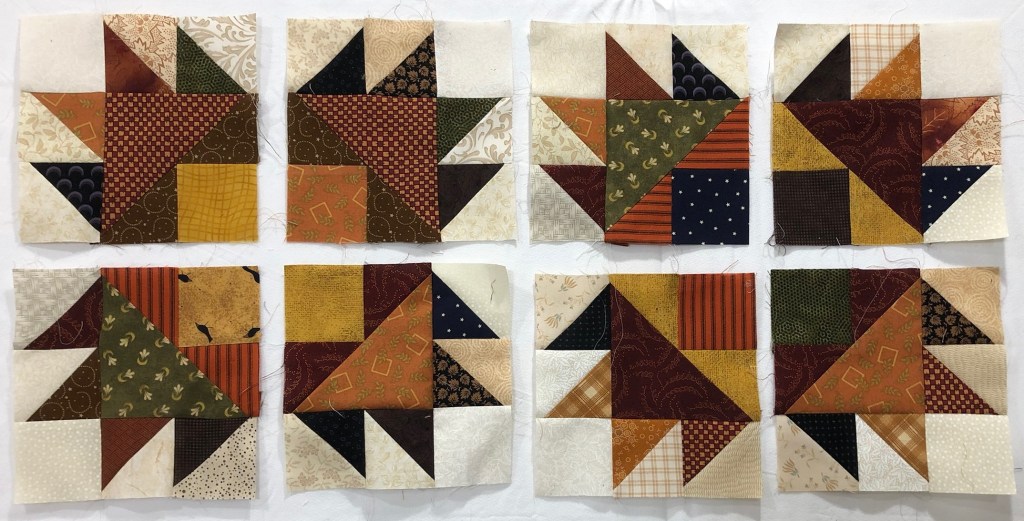
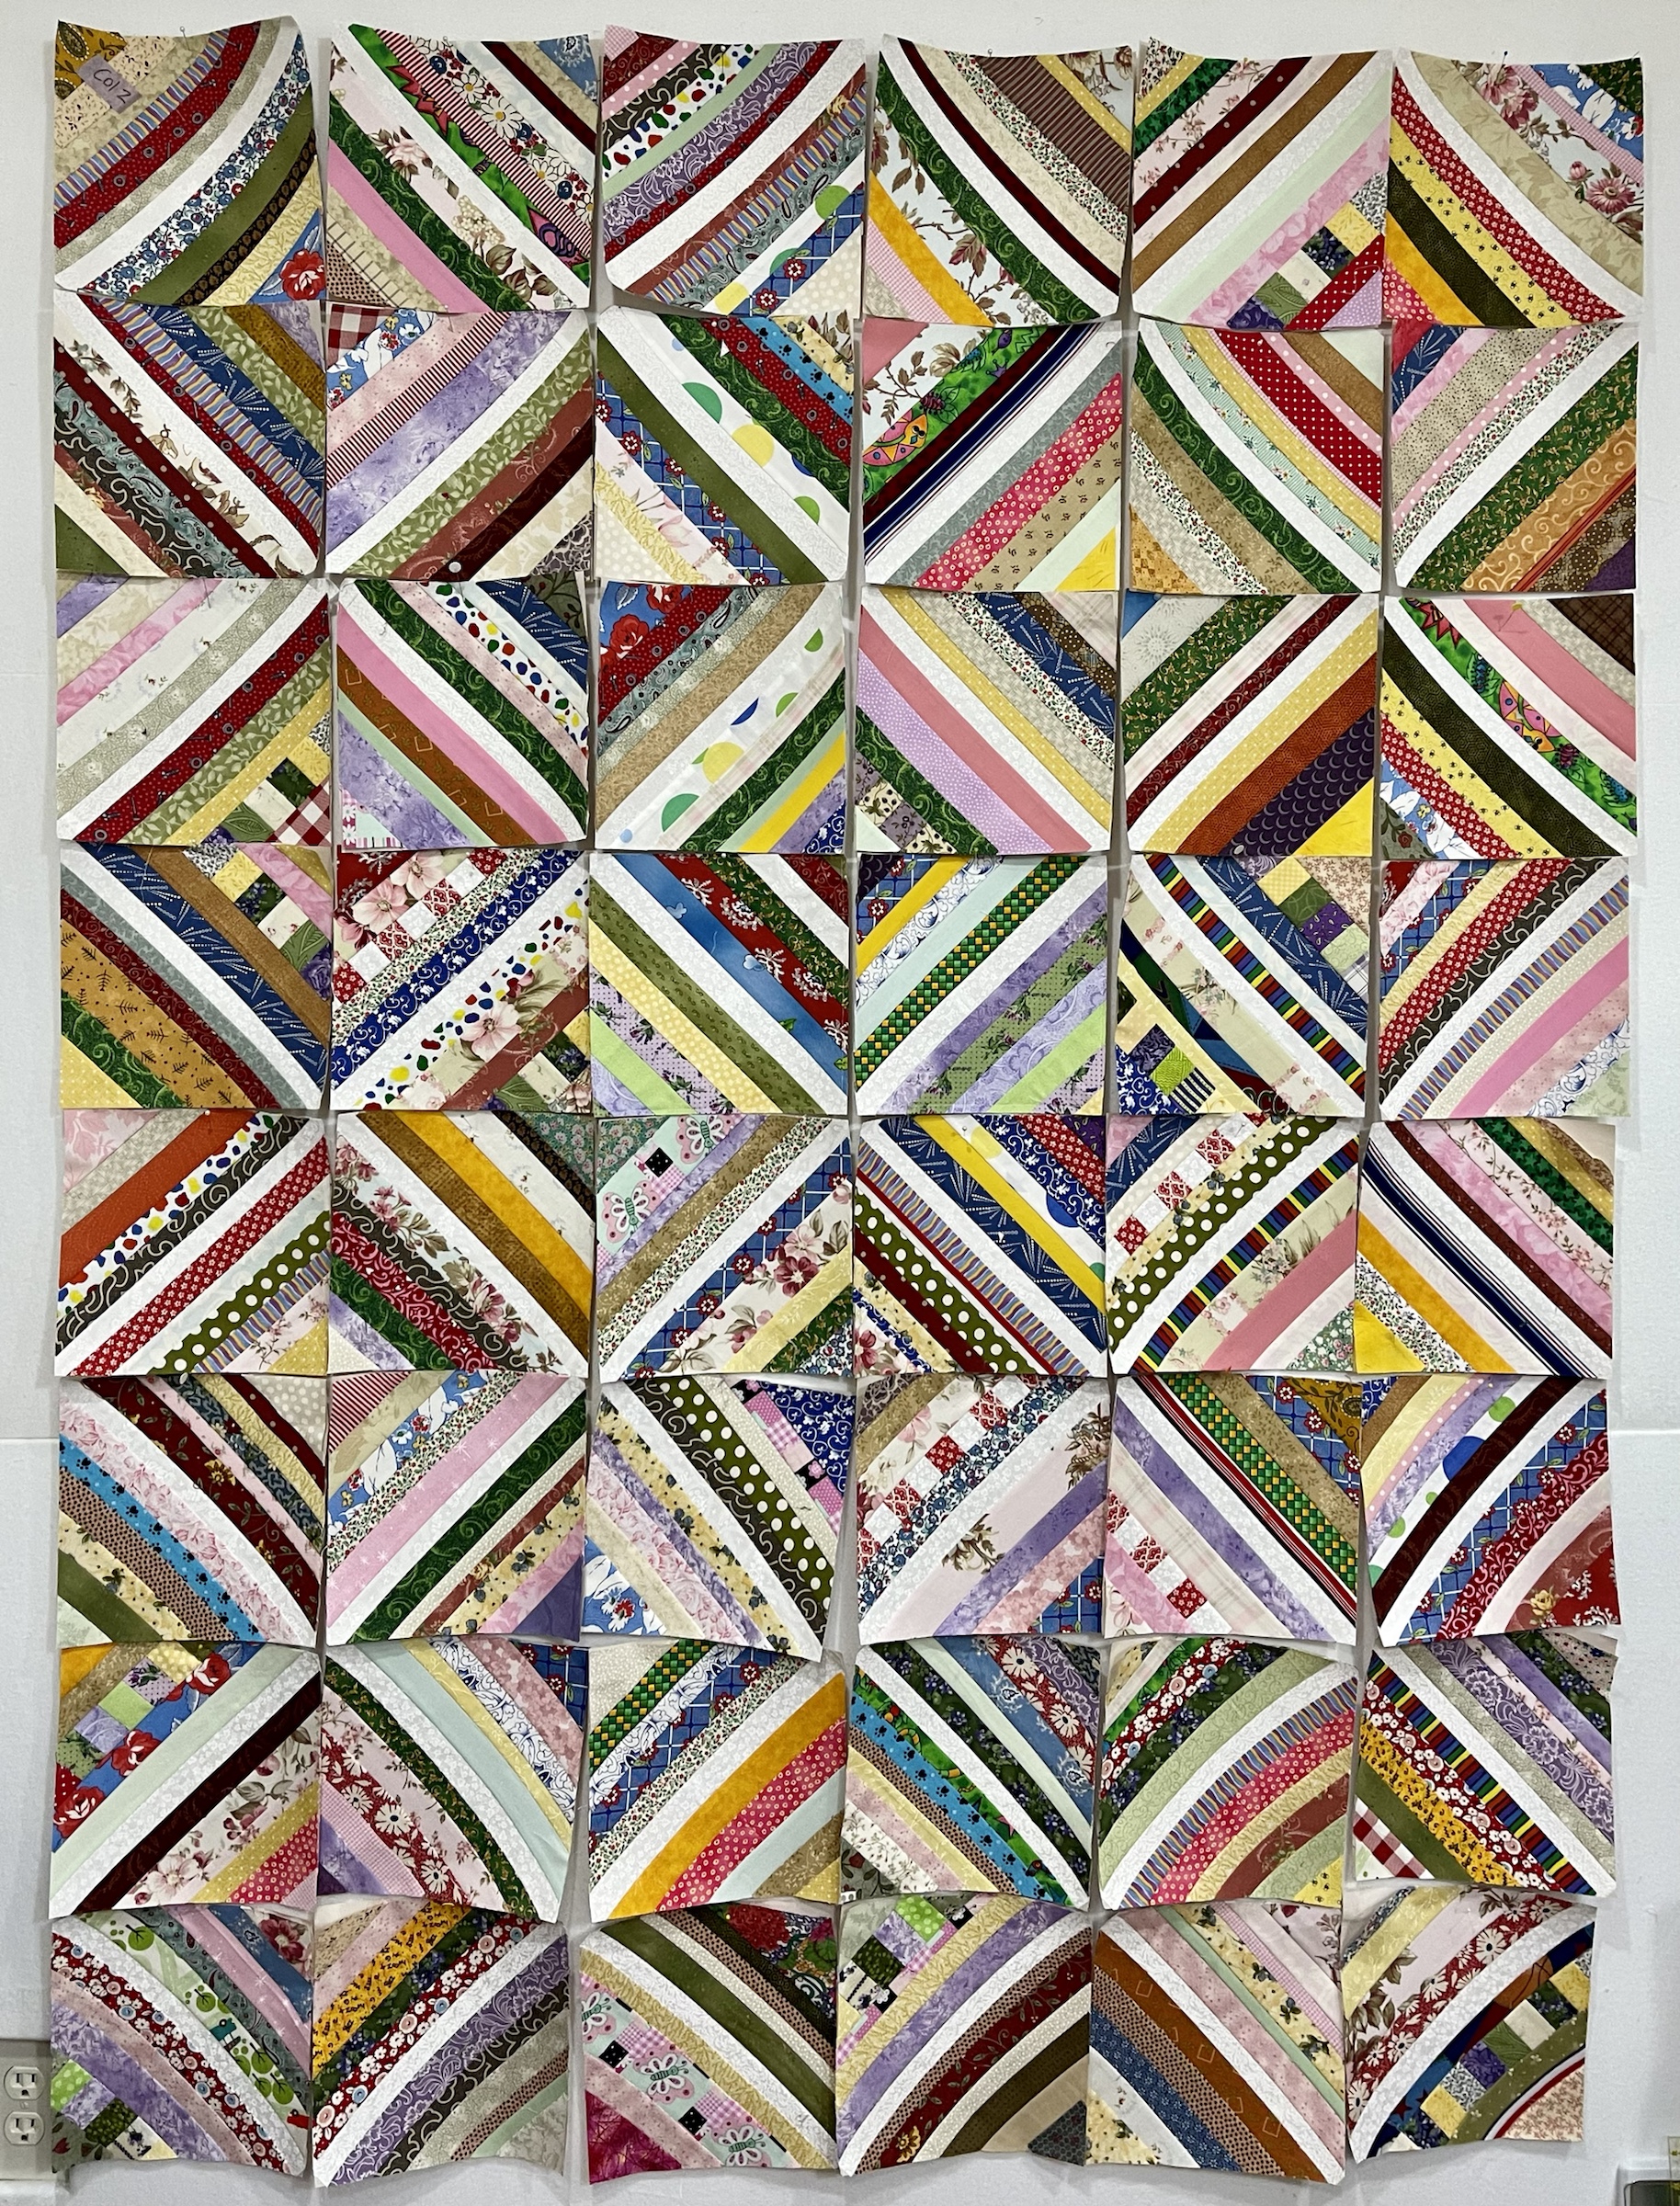
Now…sometimes I follow a pattern, sometimes I go rogue. It was at this point that the “rouge-ness” began.

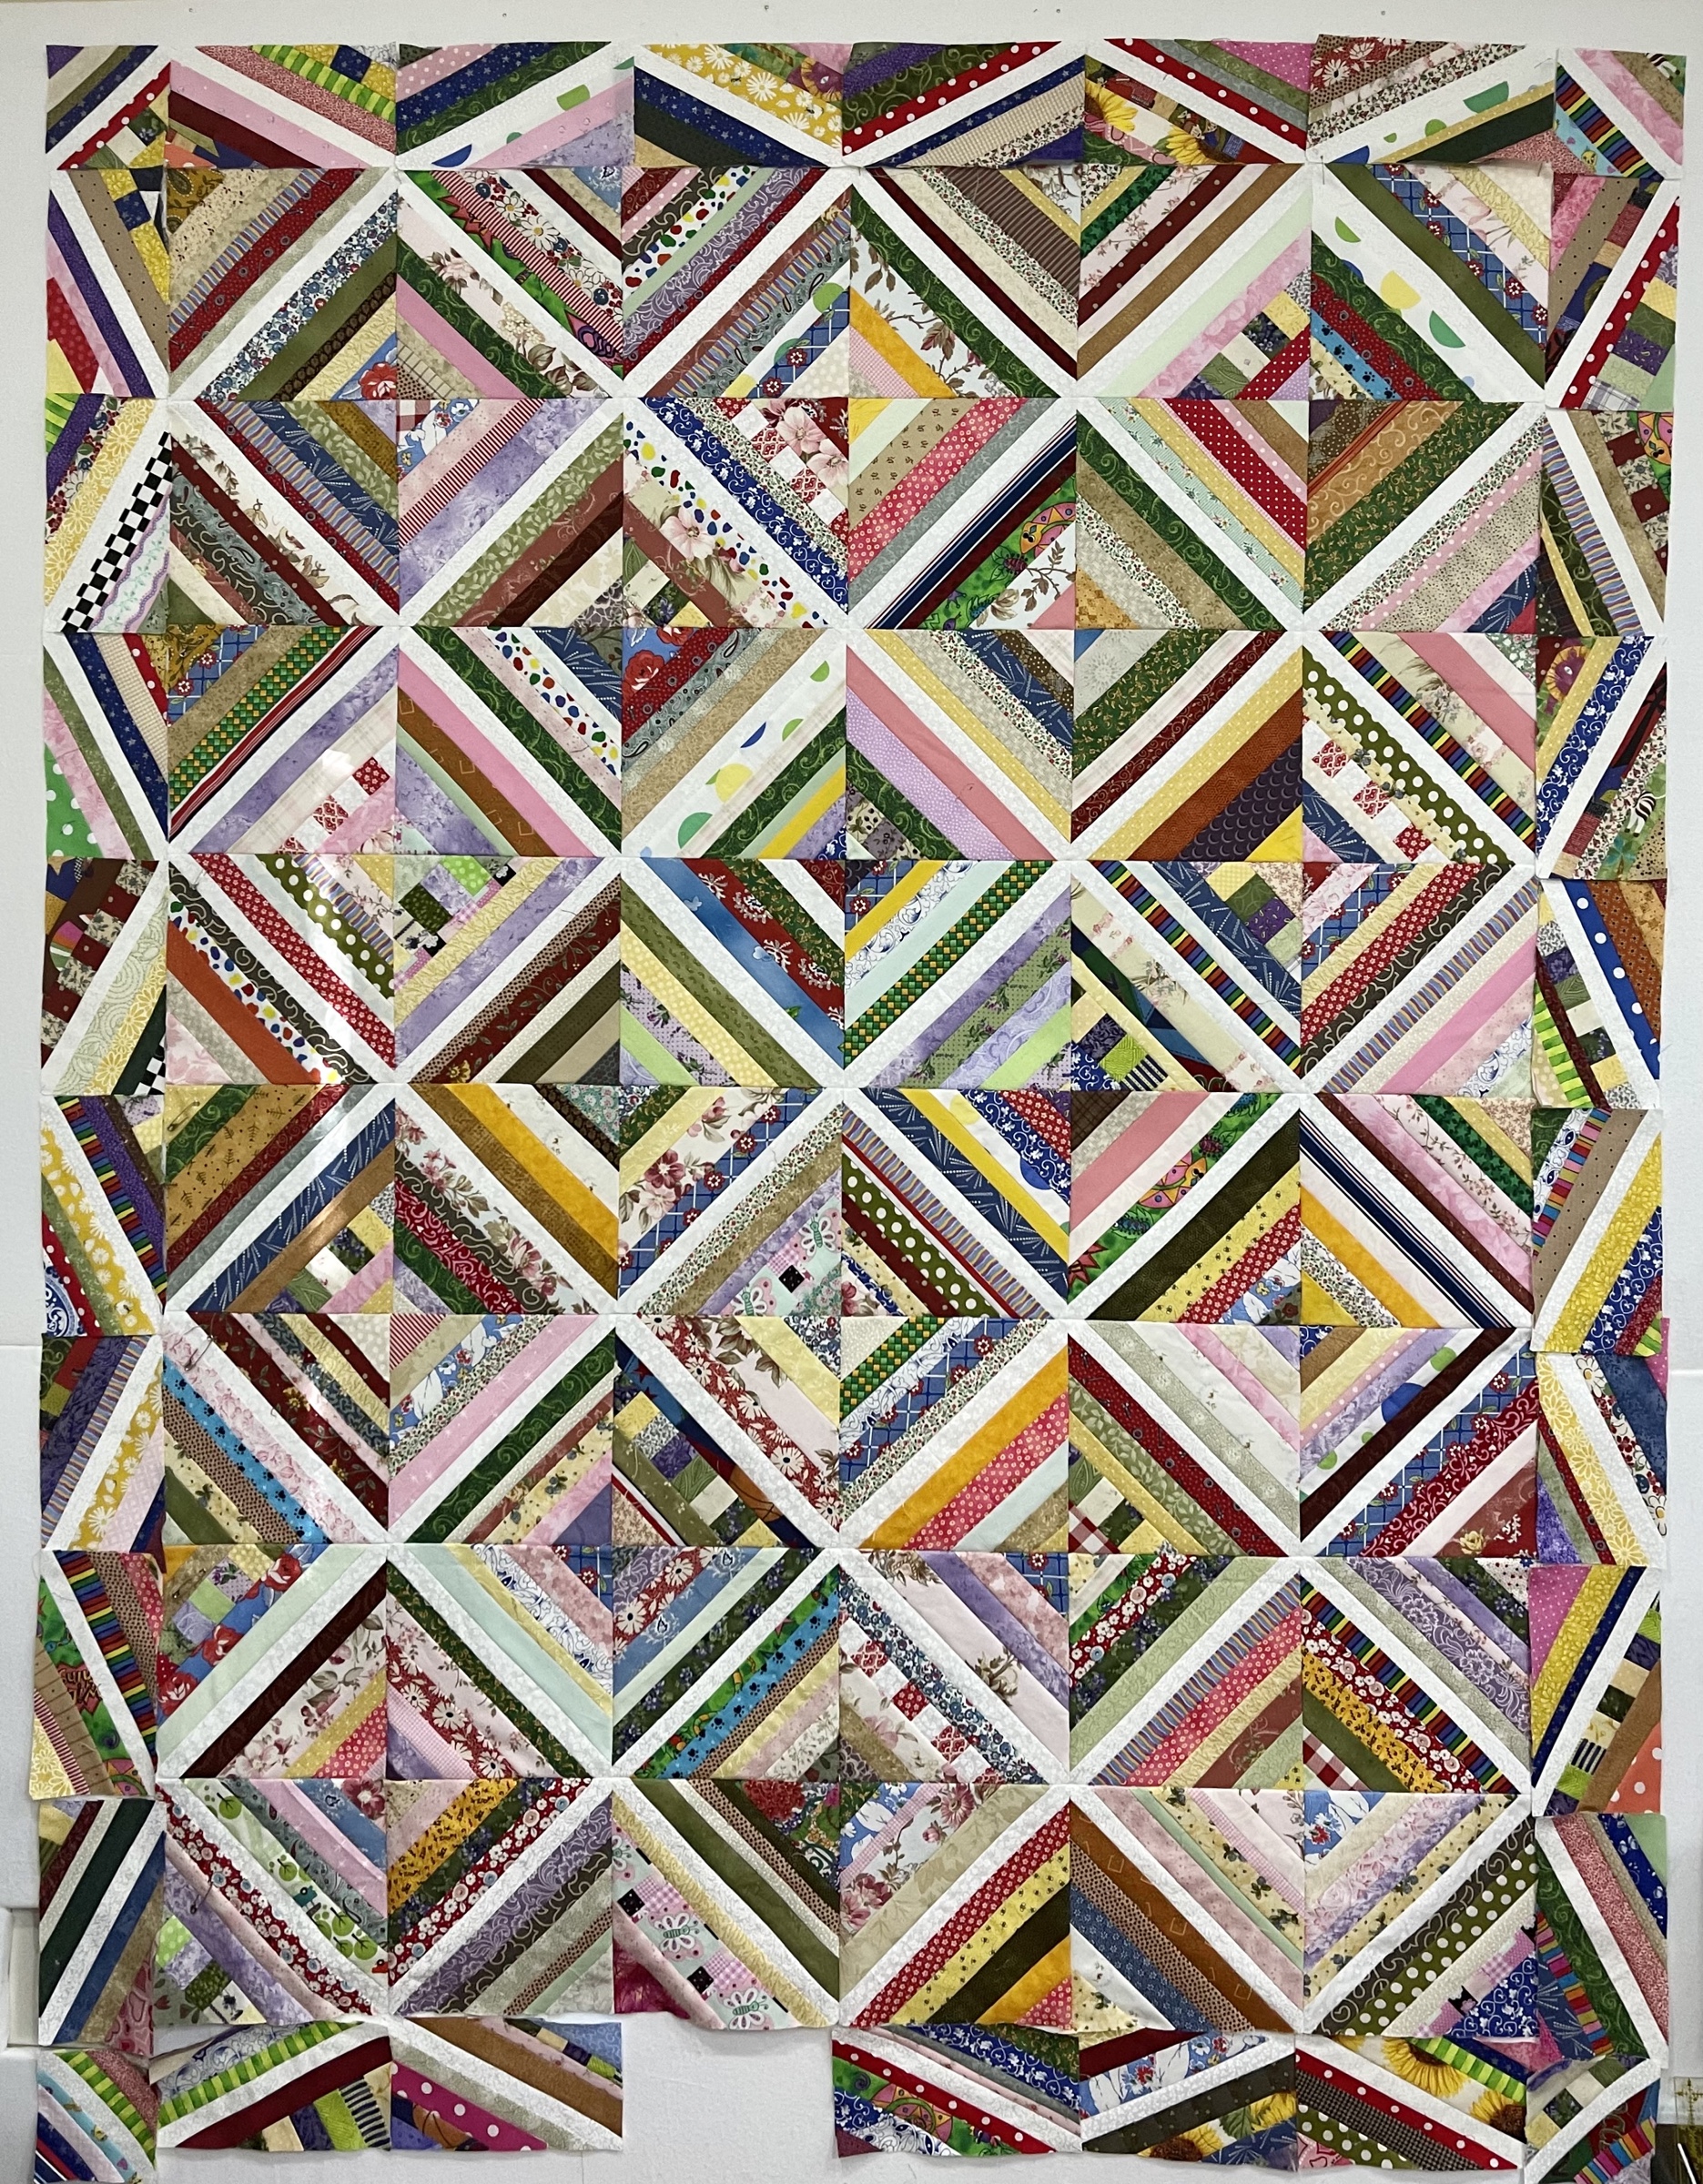
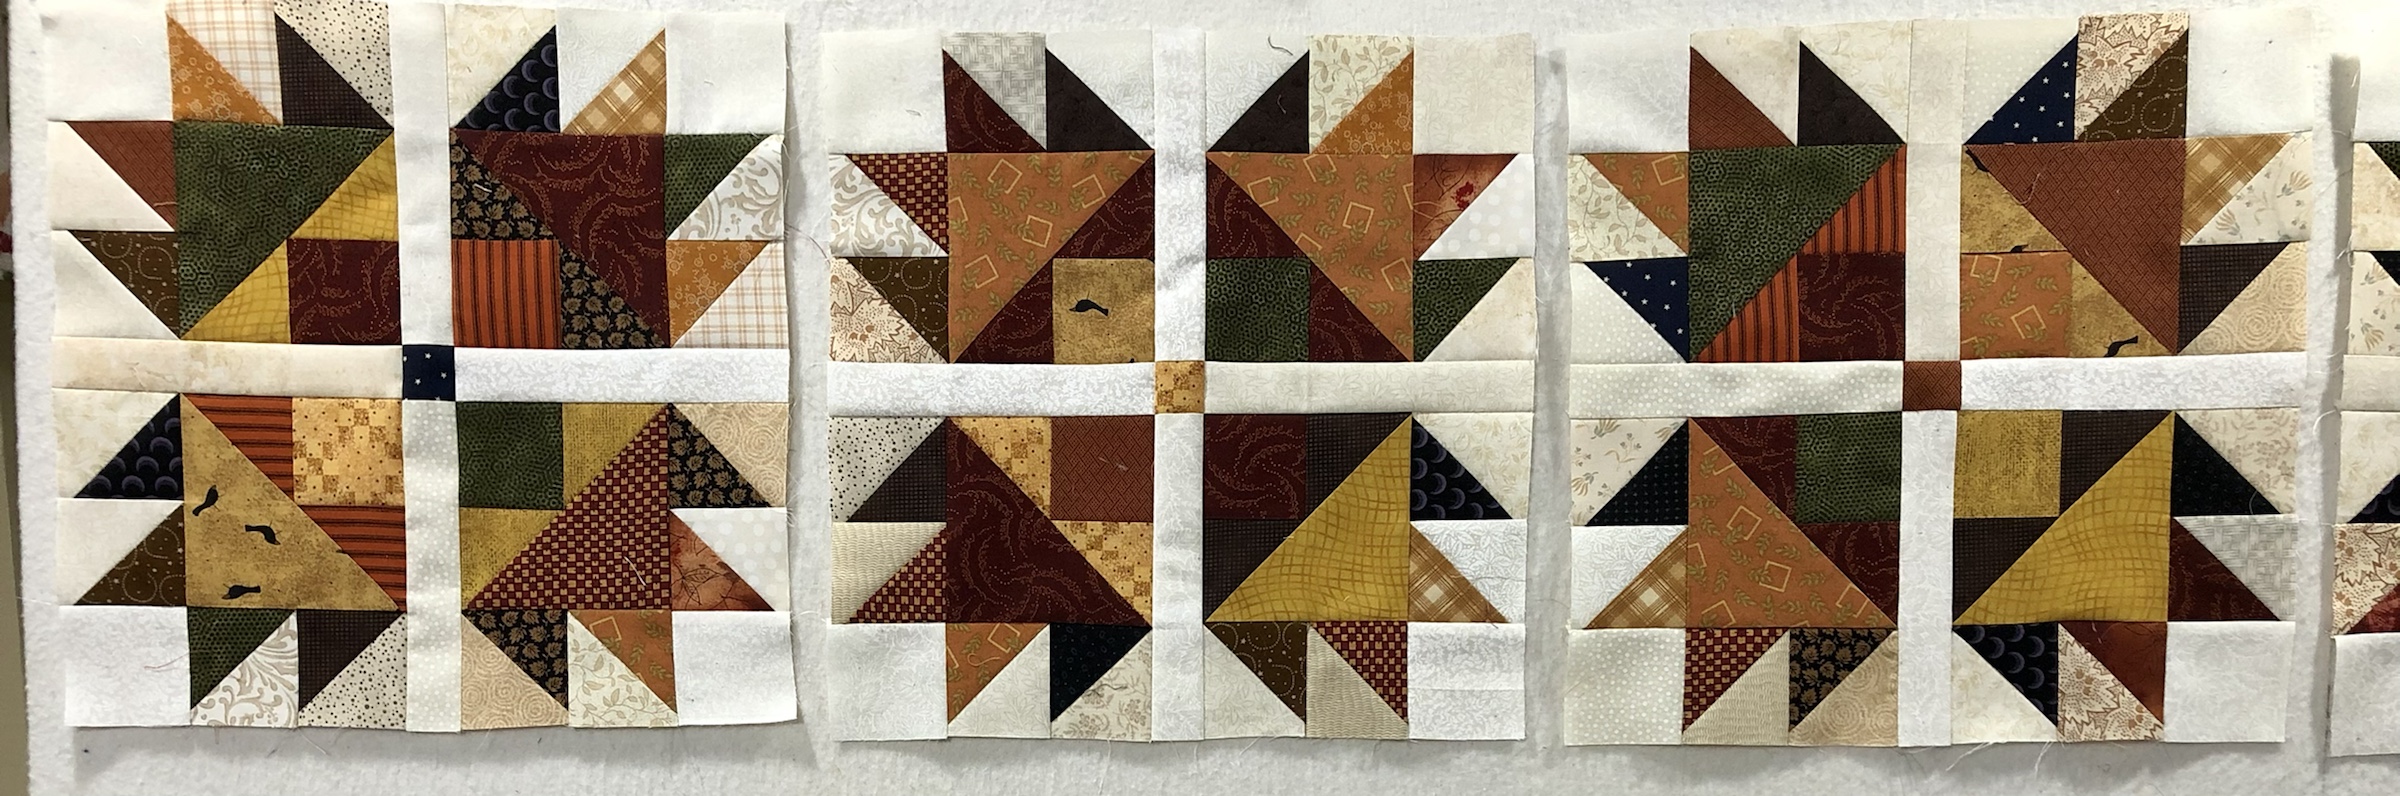
If you scroll back to the top you’ll see the pattern calls for block sashings made from lots and lots of small rectangles.

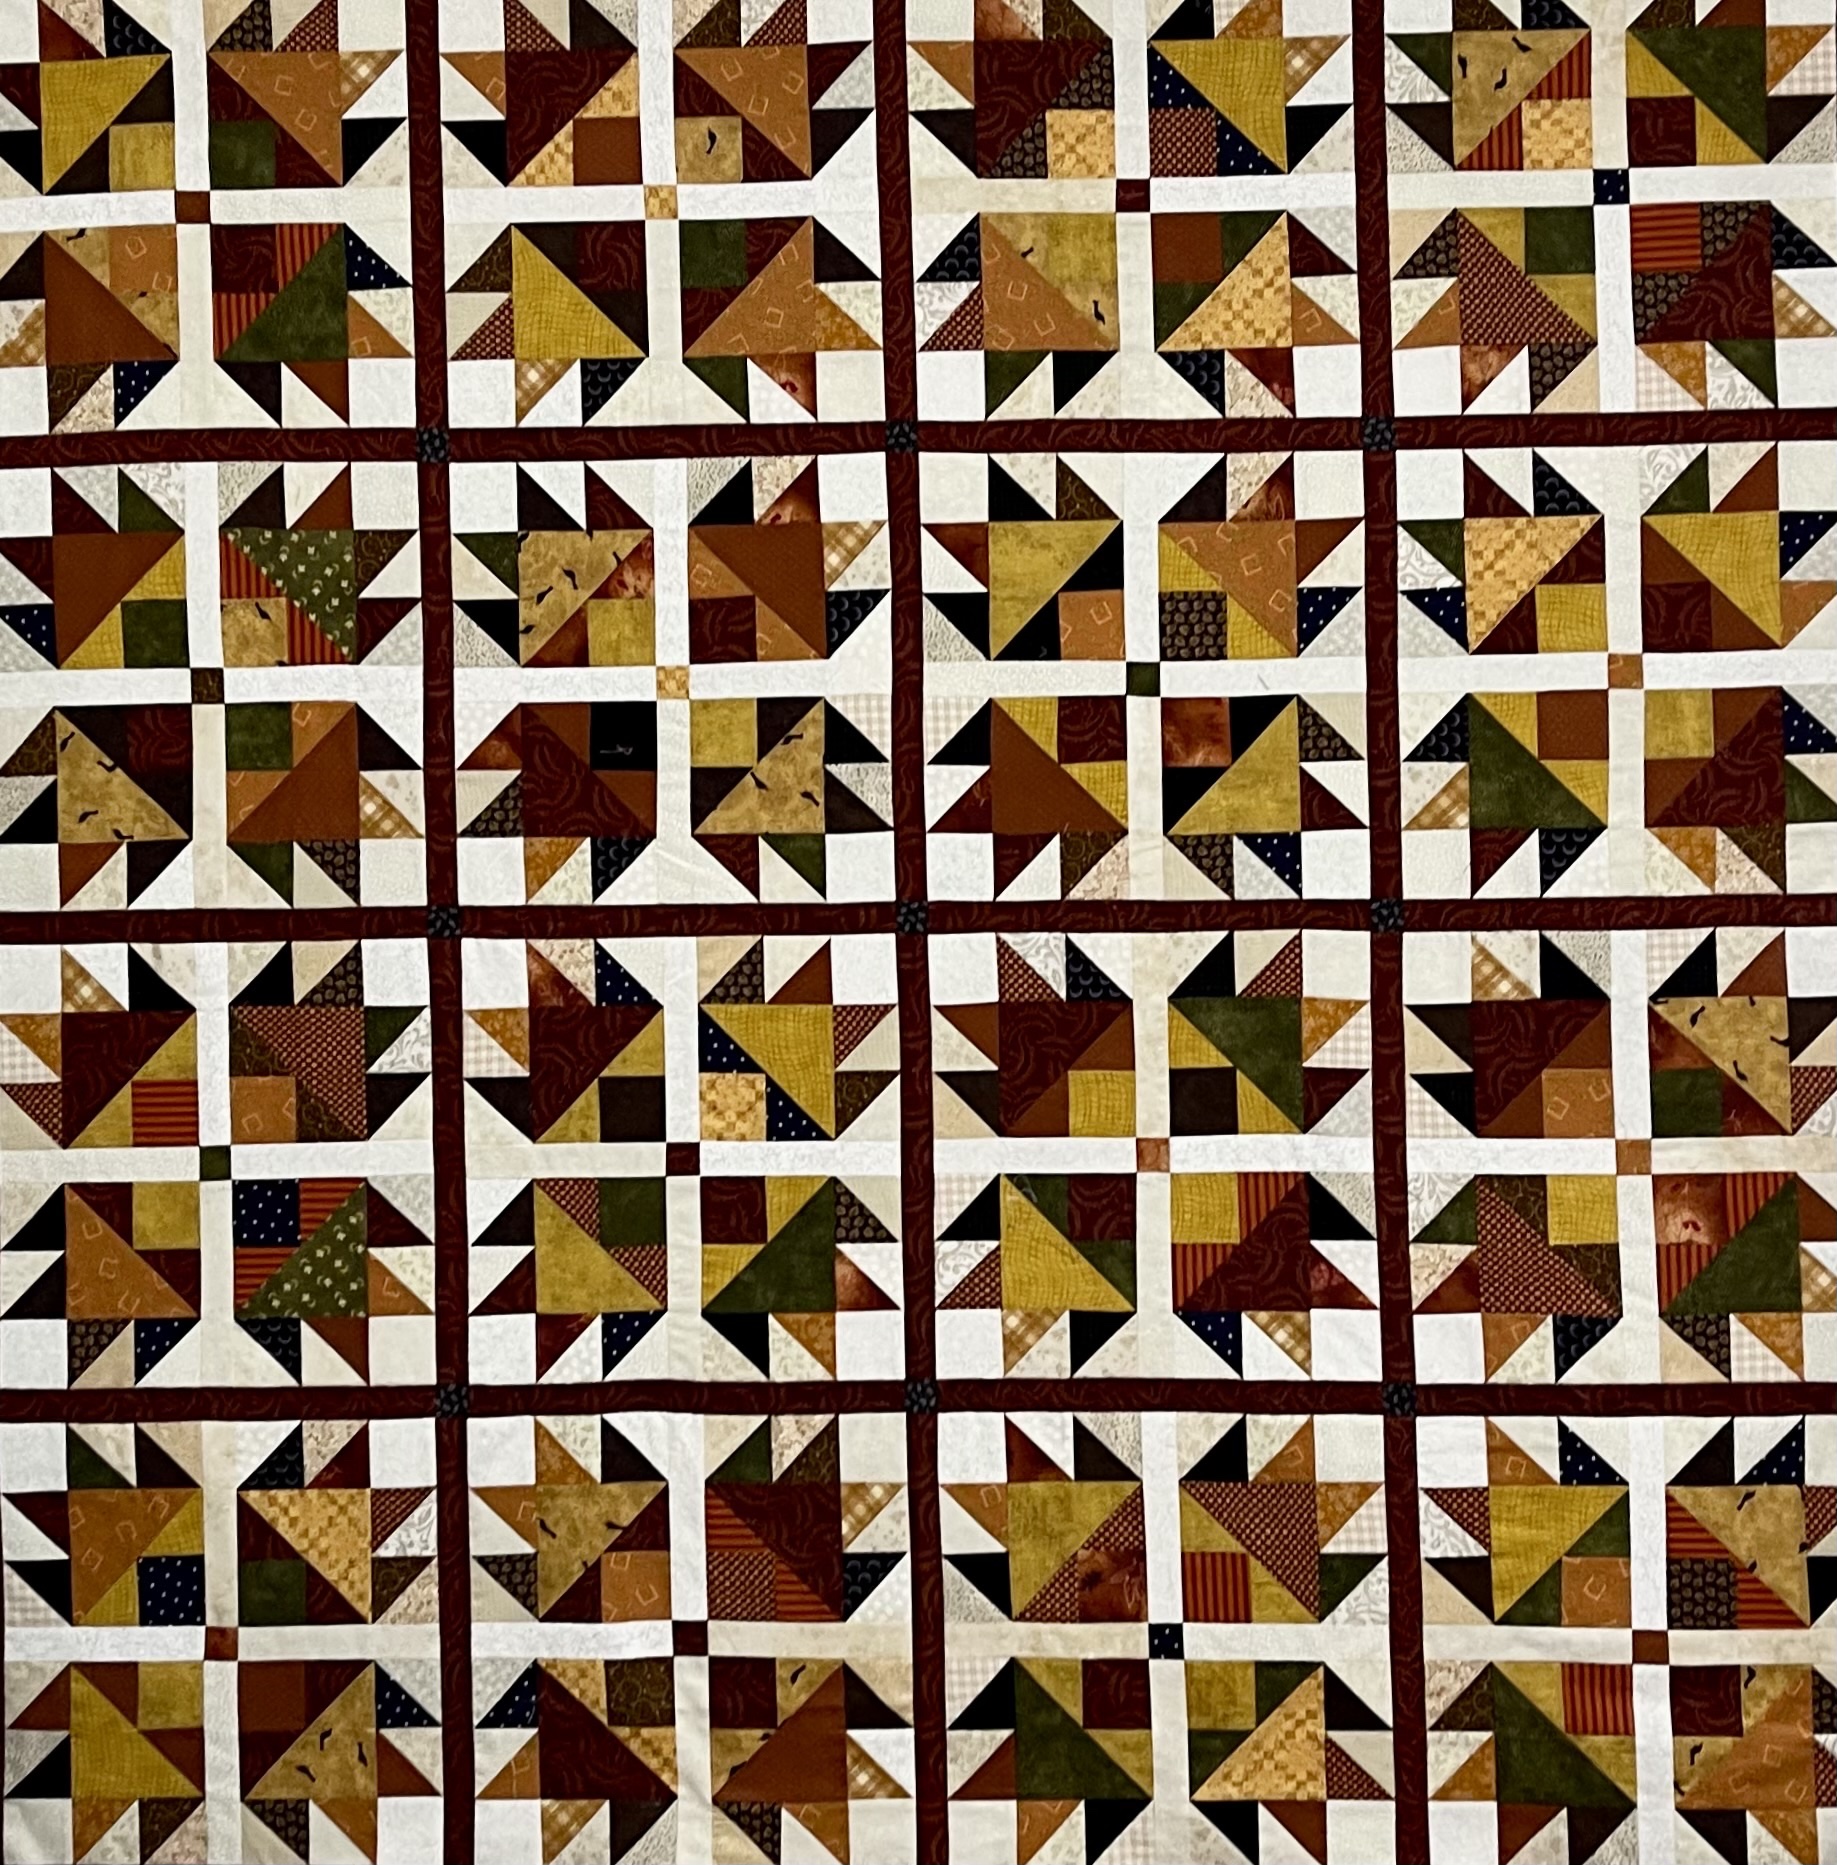
I decided on a 1” finished dark red print sashing. My quilt top finished at approx. 51×51. I folded it up and put it into the stack of quilt tops to be quilted.

Enter the idea for a king sized quilt. Now just let me interject…I was also on a 2 week prescription drug that gave me insomnia…really bad insomnia.

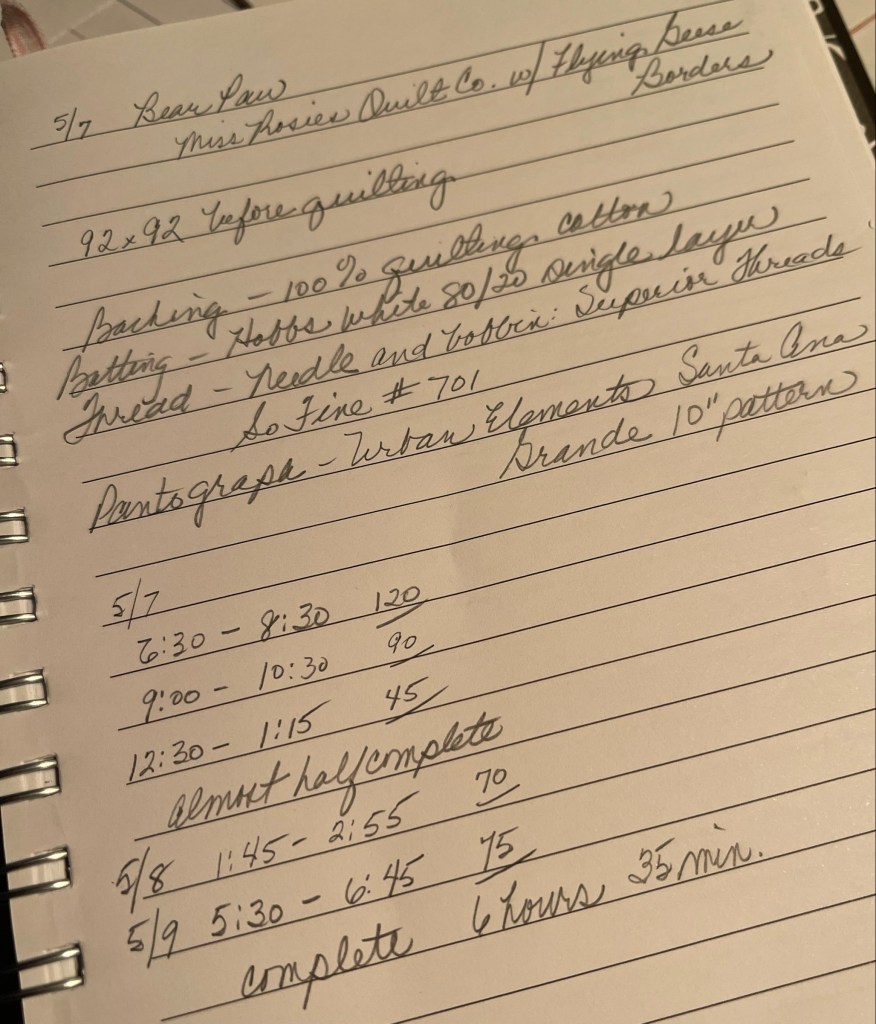
I’ve quilted before when exhausted…think most quilting retreats…but never on 2 or 3 hours of sleep for days running. My solution: WRITE EVERYTHING DOWN IN STEPS!

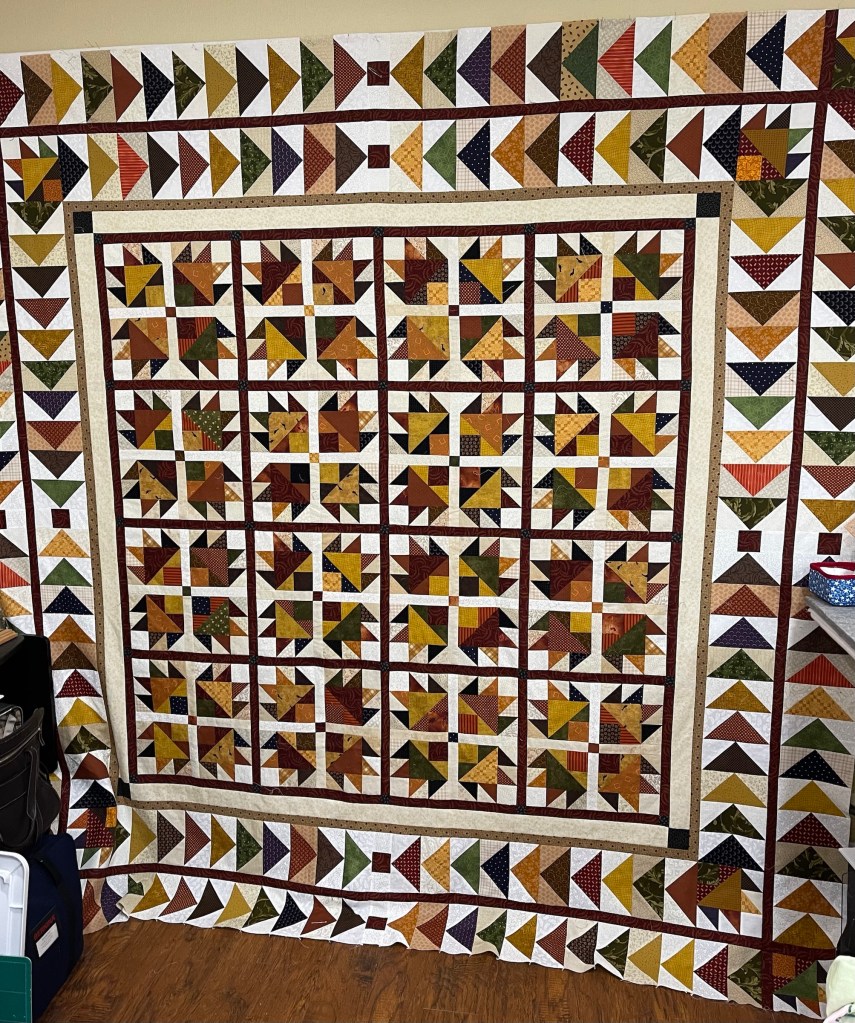
So the transition from 51×51 to about 90×90 began. I decided to add borders, at least 20” of borders to each side. Below you will see I added a 1” finished border of the red sashing fabric, a 2” border (and black print cornerstones) of an ivory fabric and another 1” finished border of a brown print.

At this point I decide to add a border of 3×6 Flying geese. I needed 84 of these blocks. It was at this point things got fuzzy. Fuzzy as in “How on earth did I end up making 252 Flying Geese blocks???” People!! Sleep is important!

I liked this layout for the Flying Geese border but I need to address both the corners and the 2 inches in the middle where the Flying Geese don’t quite come together.

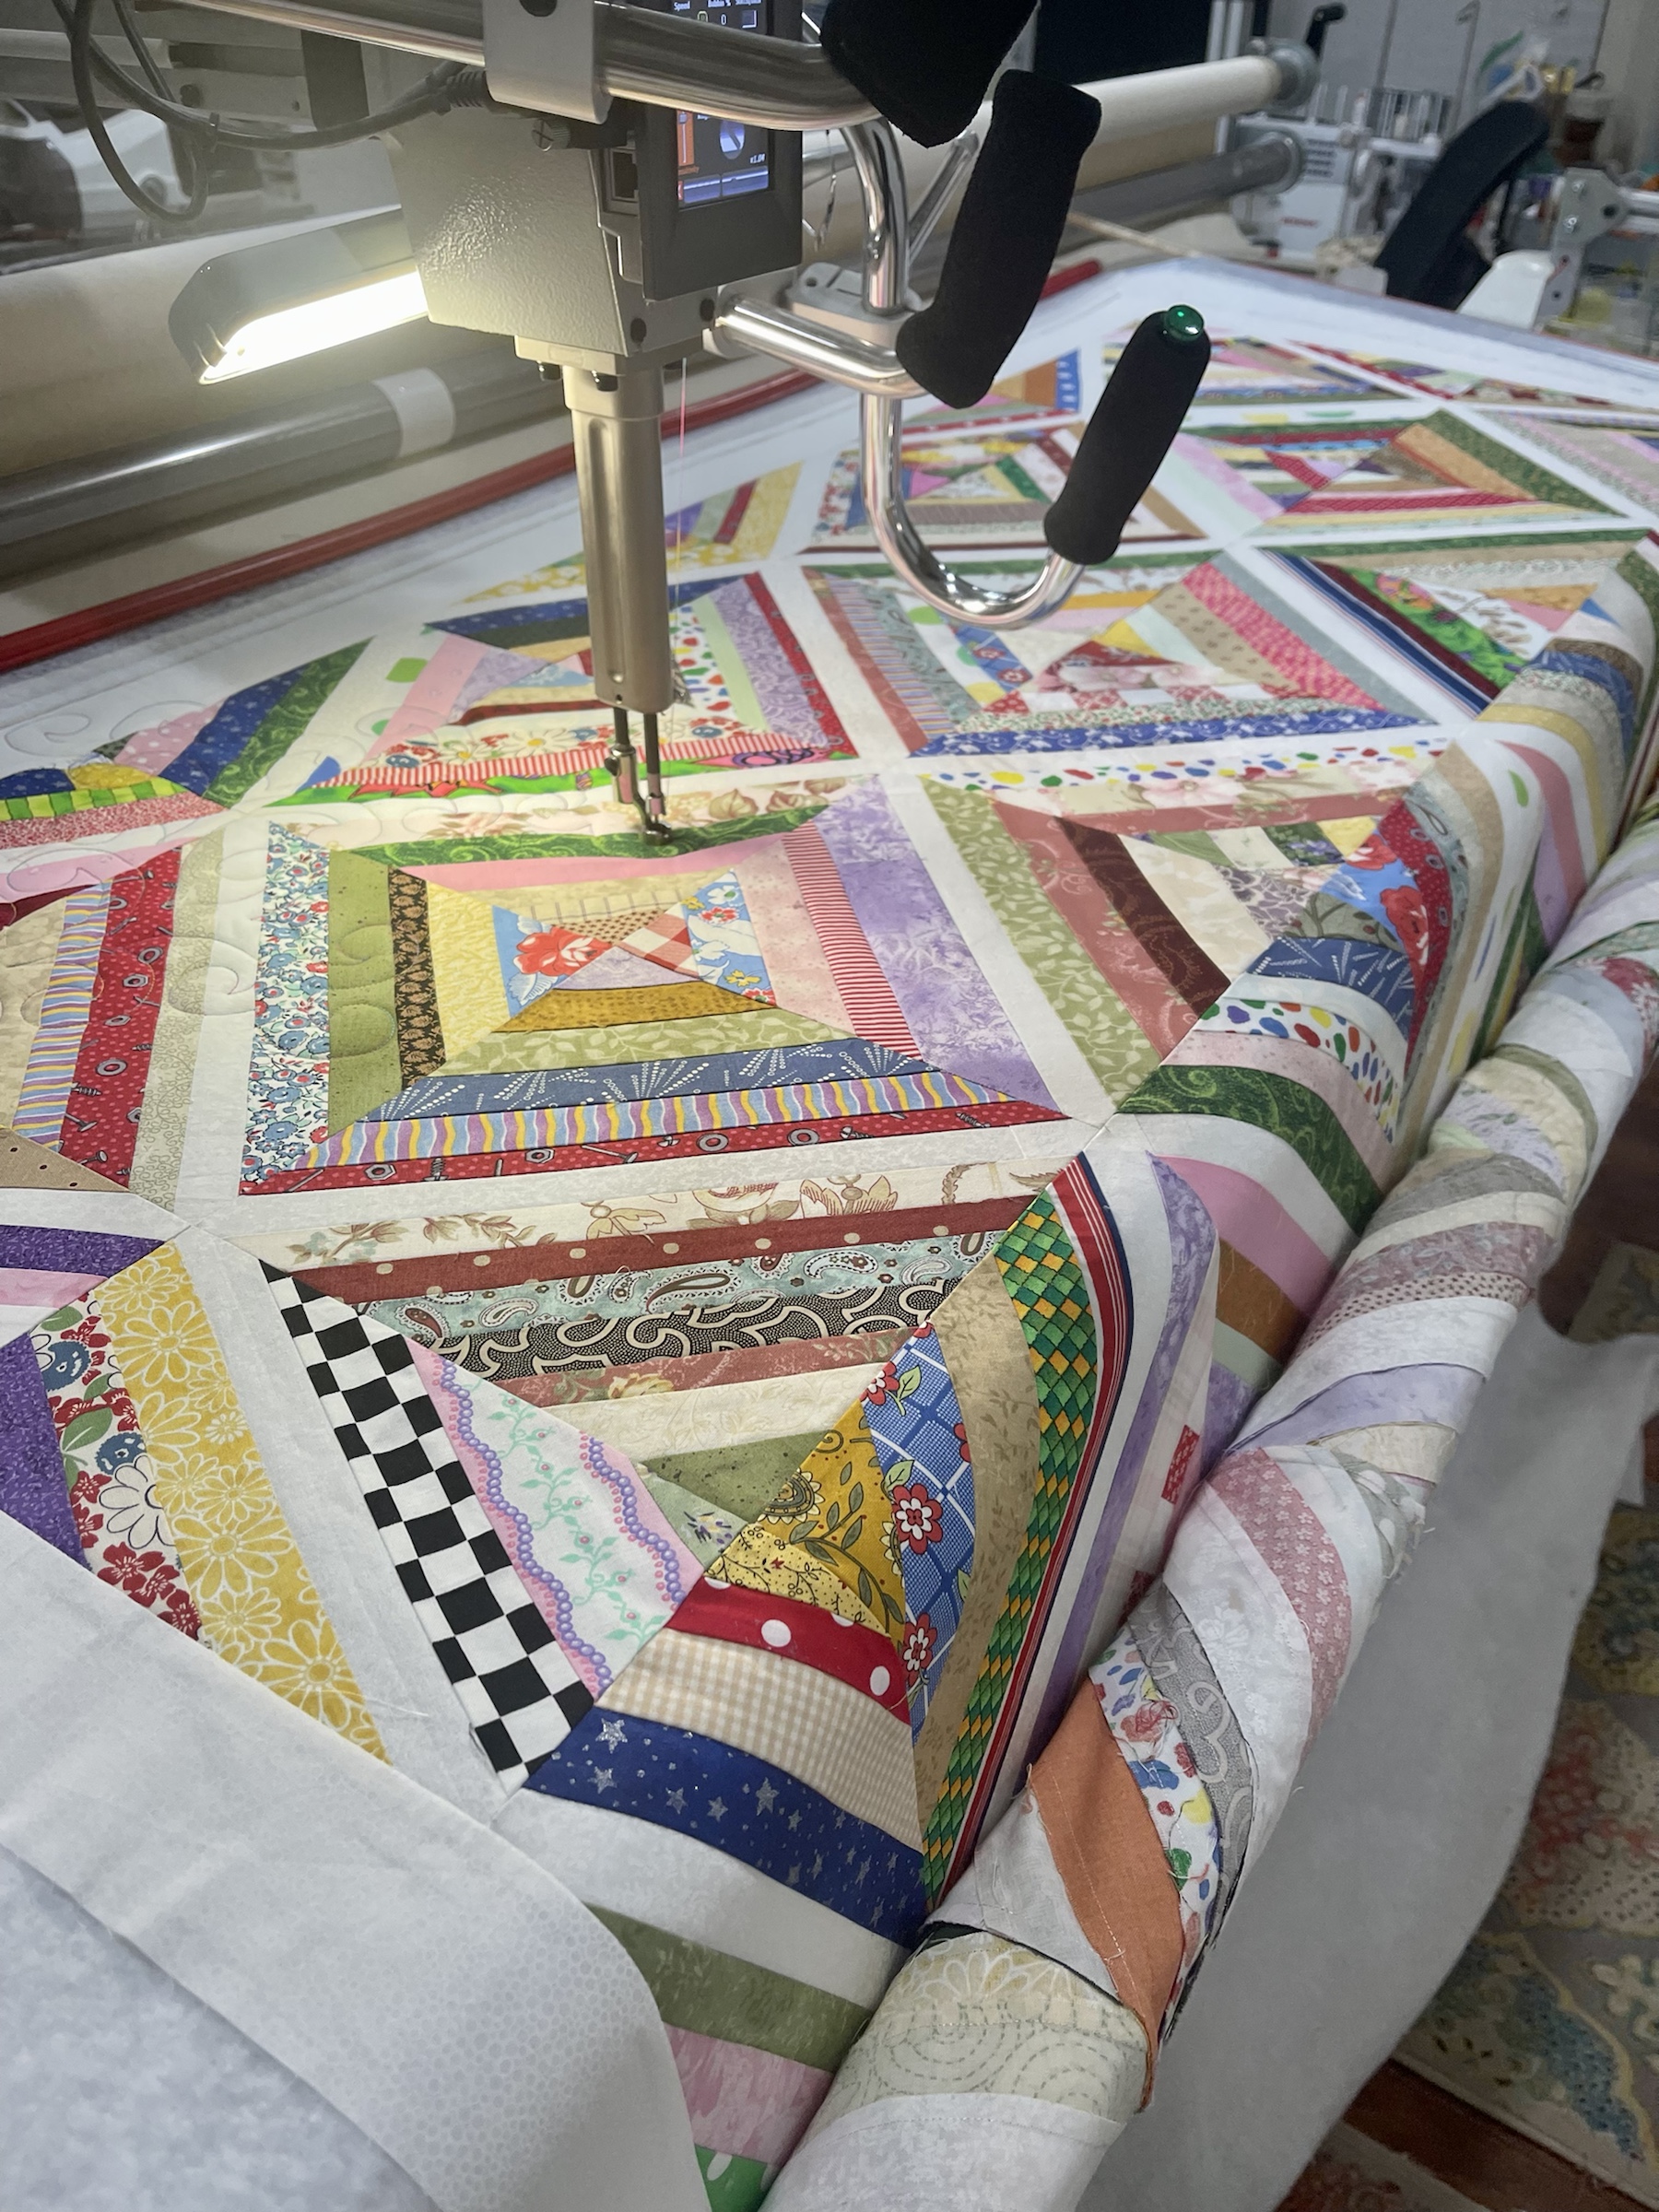
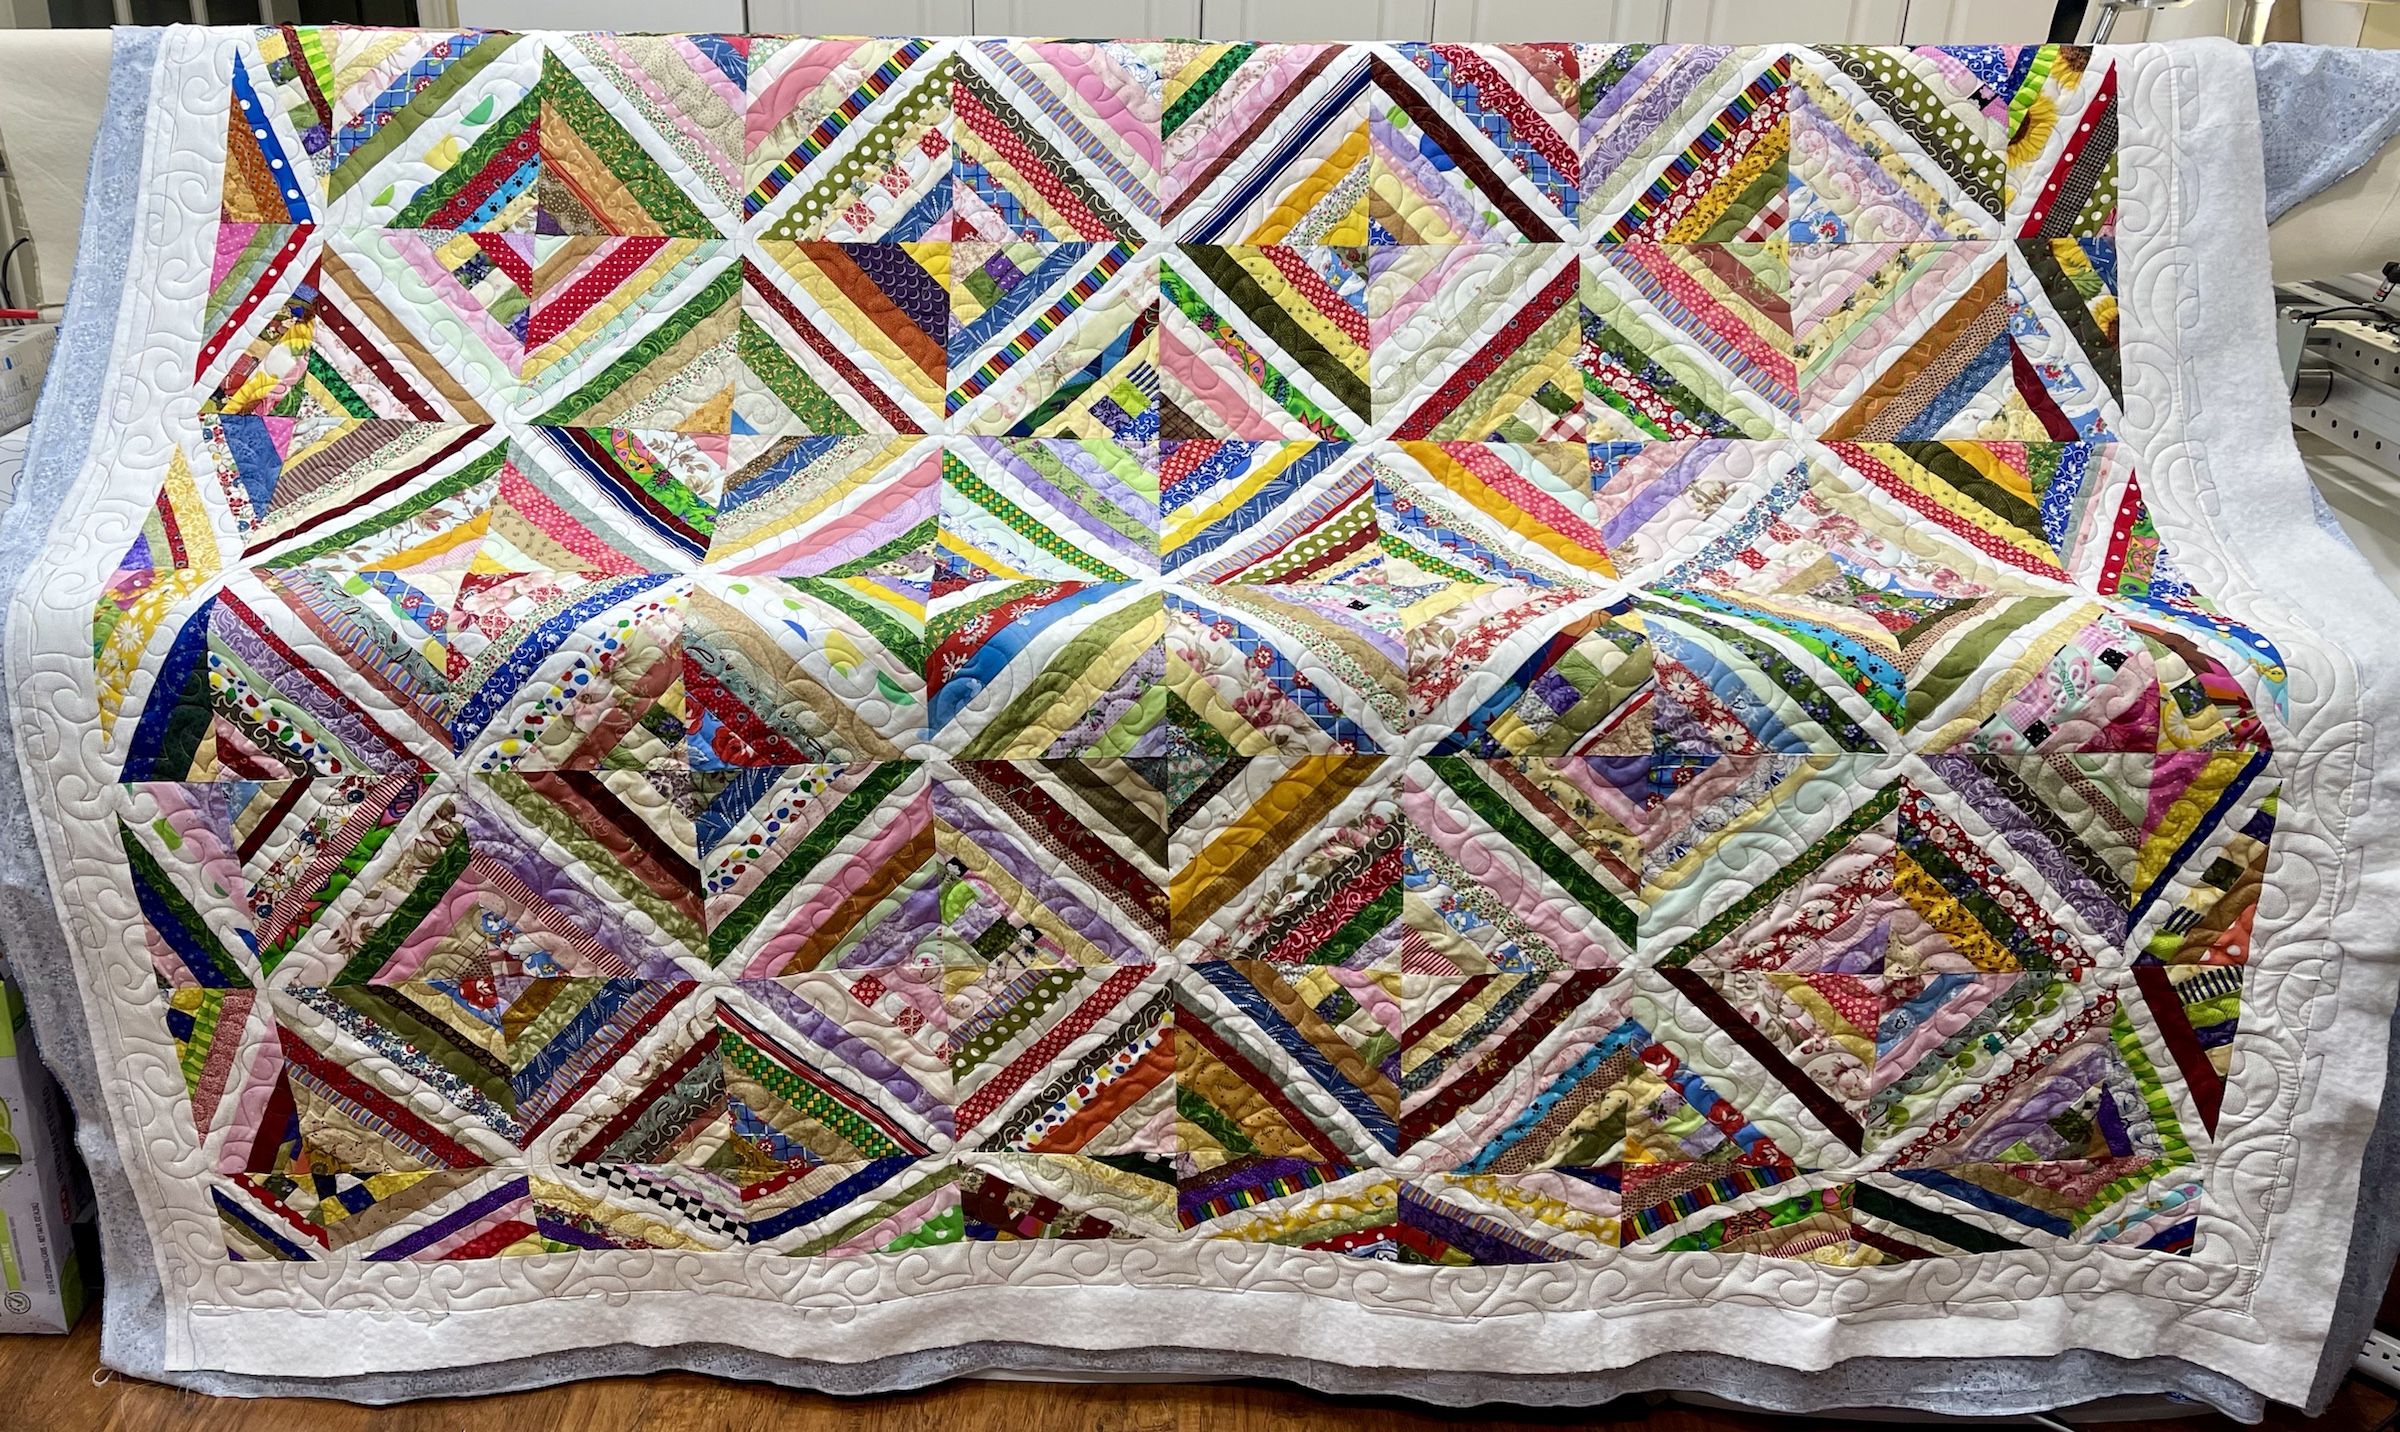
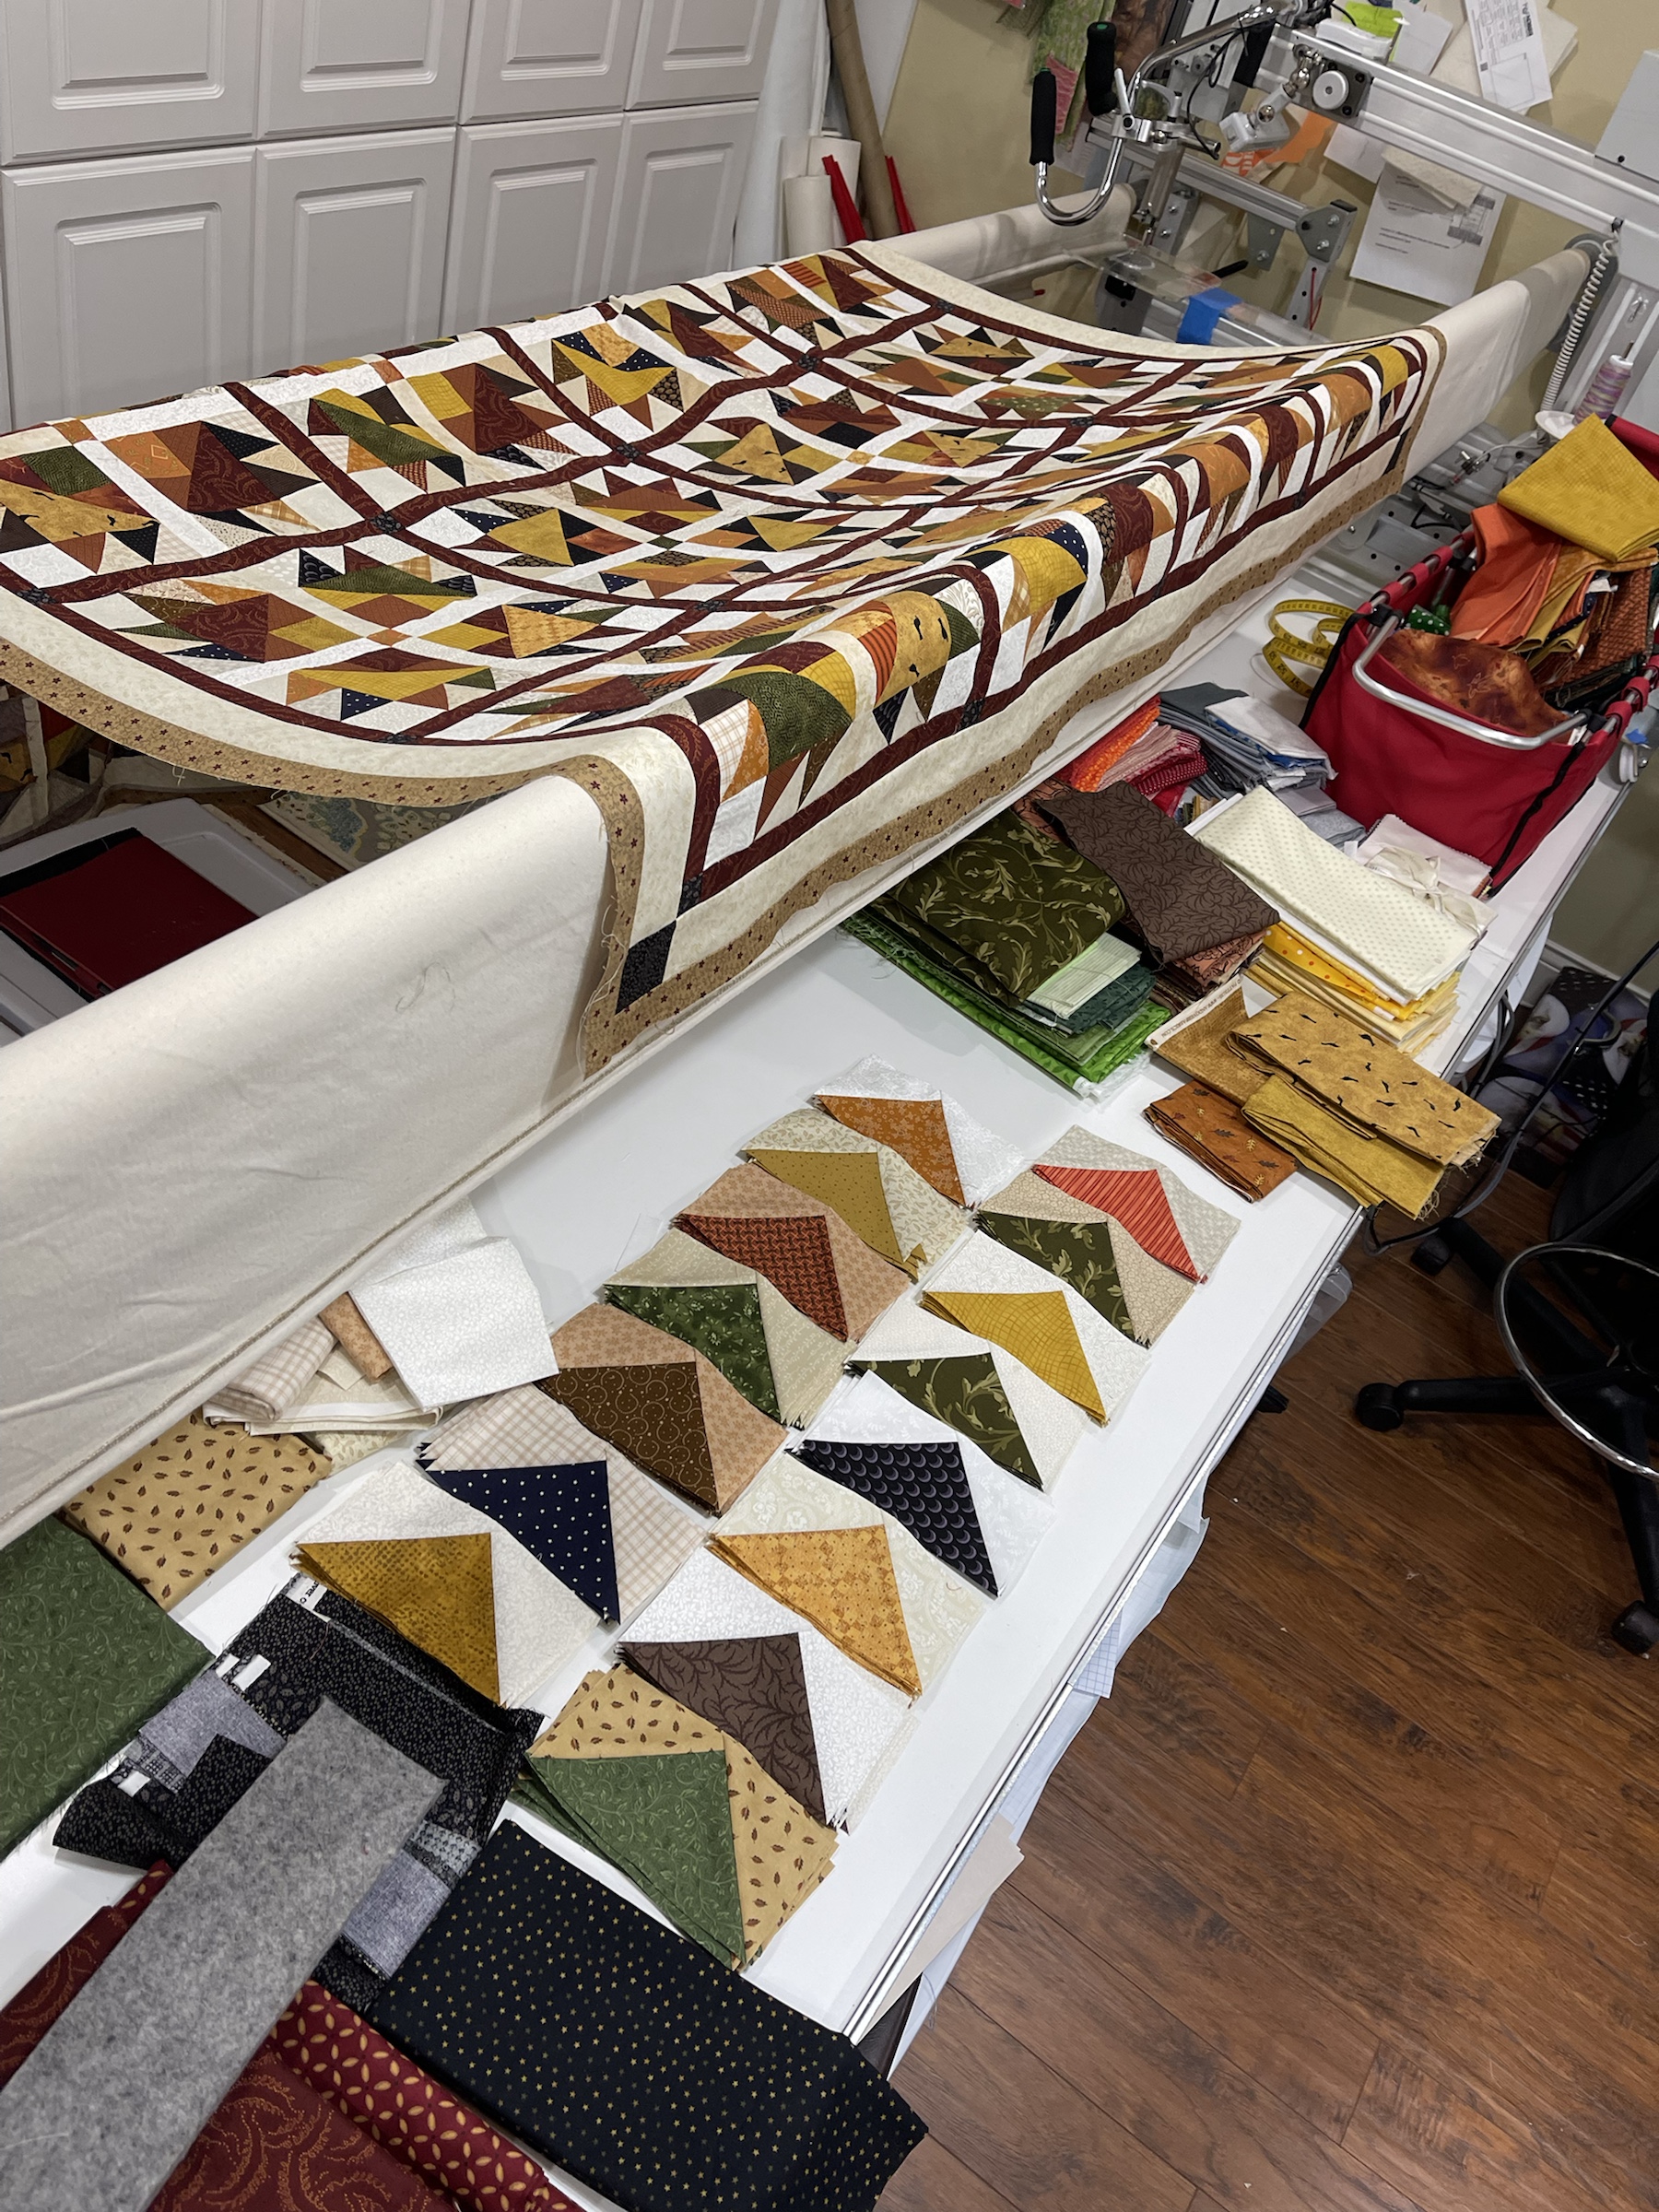
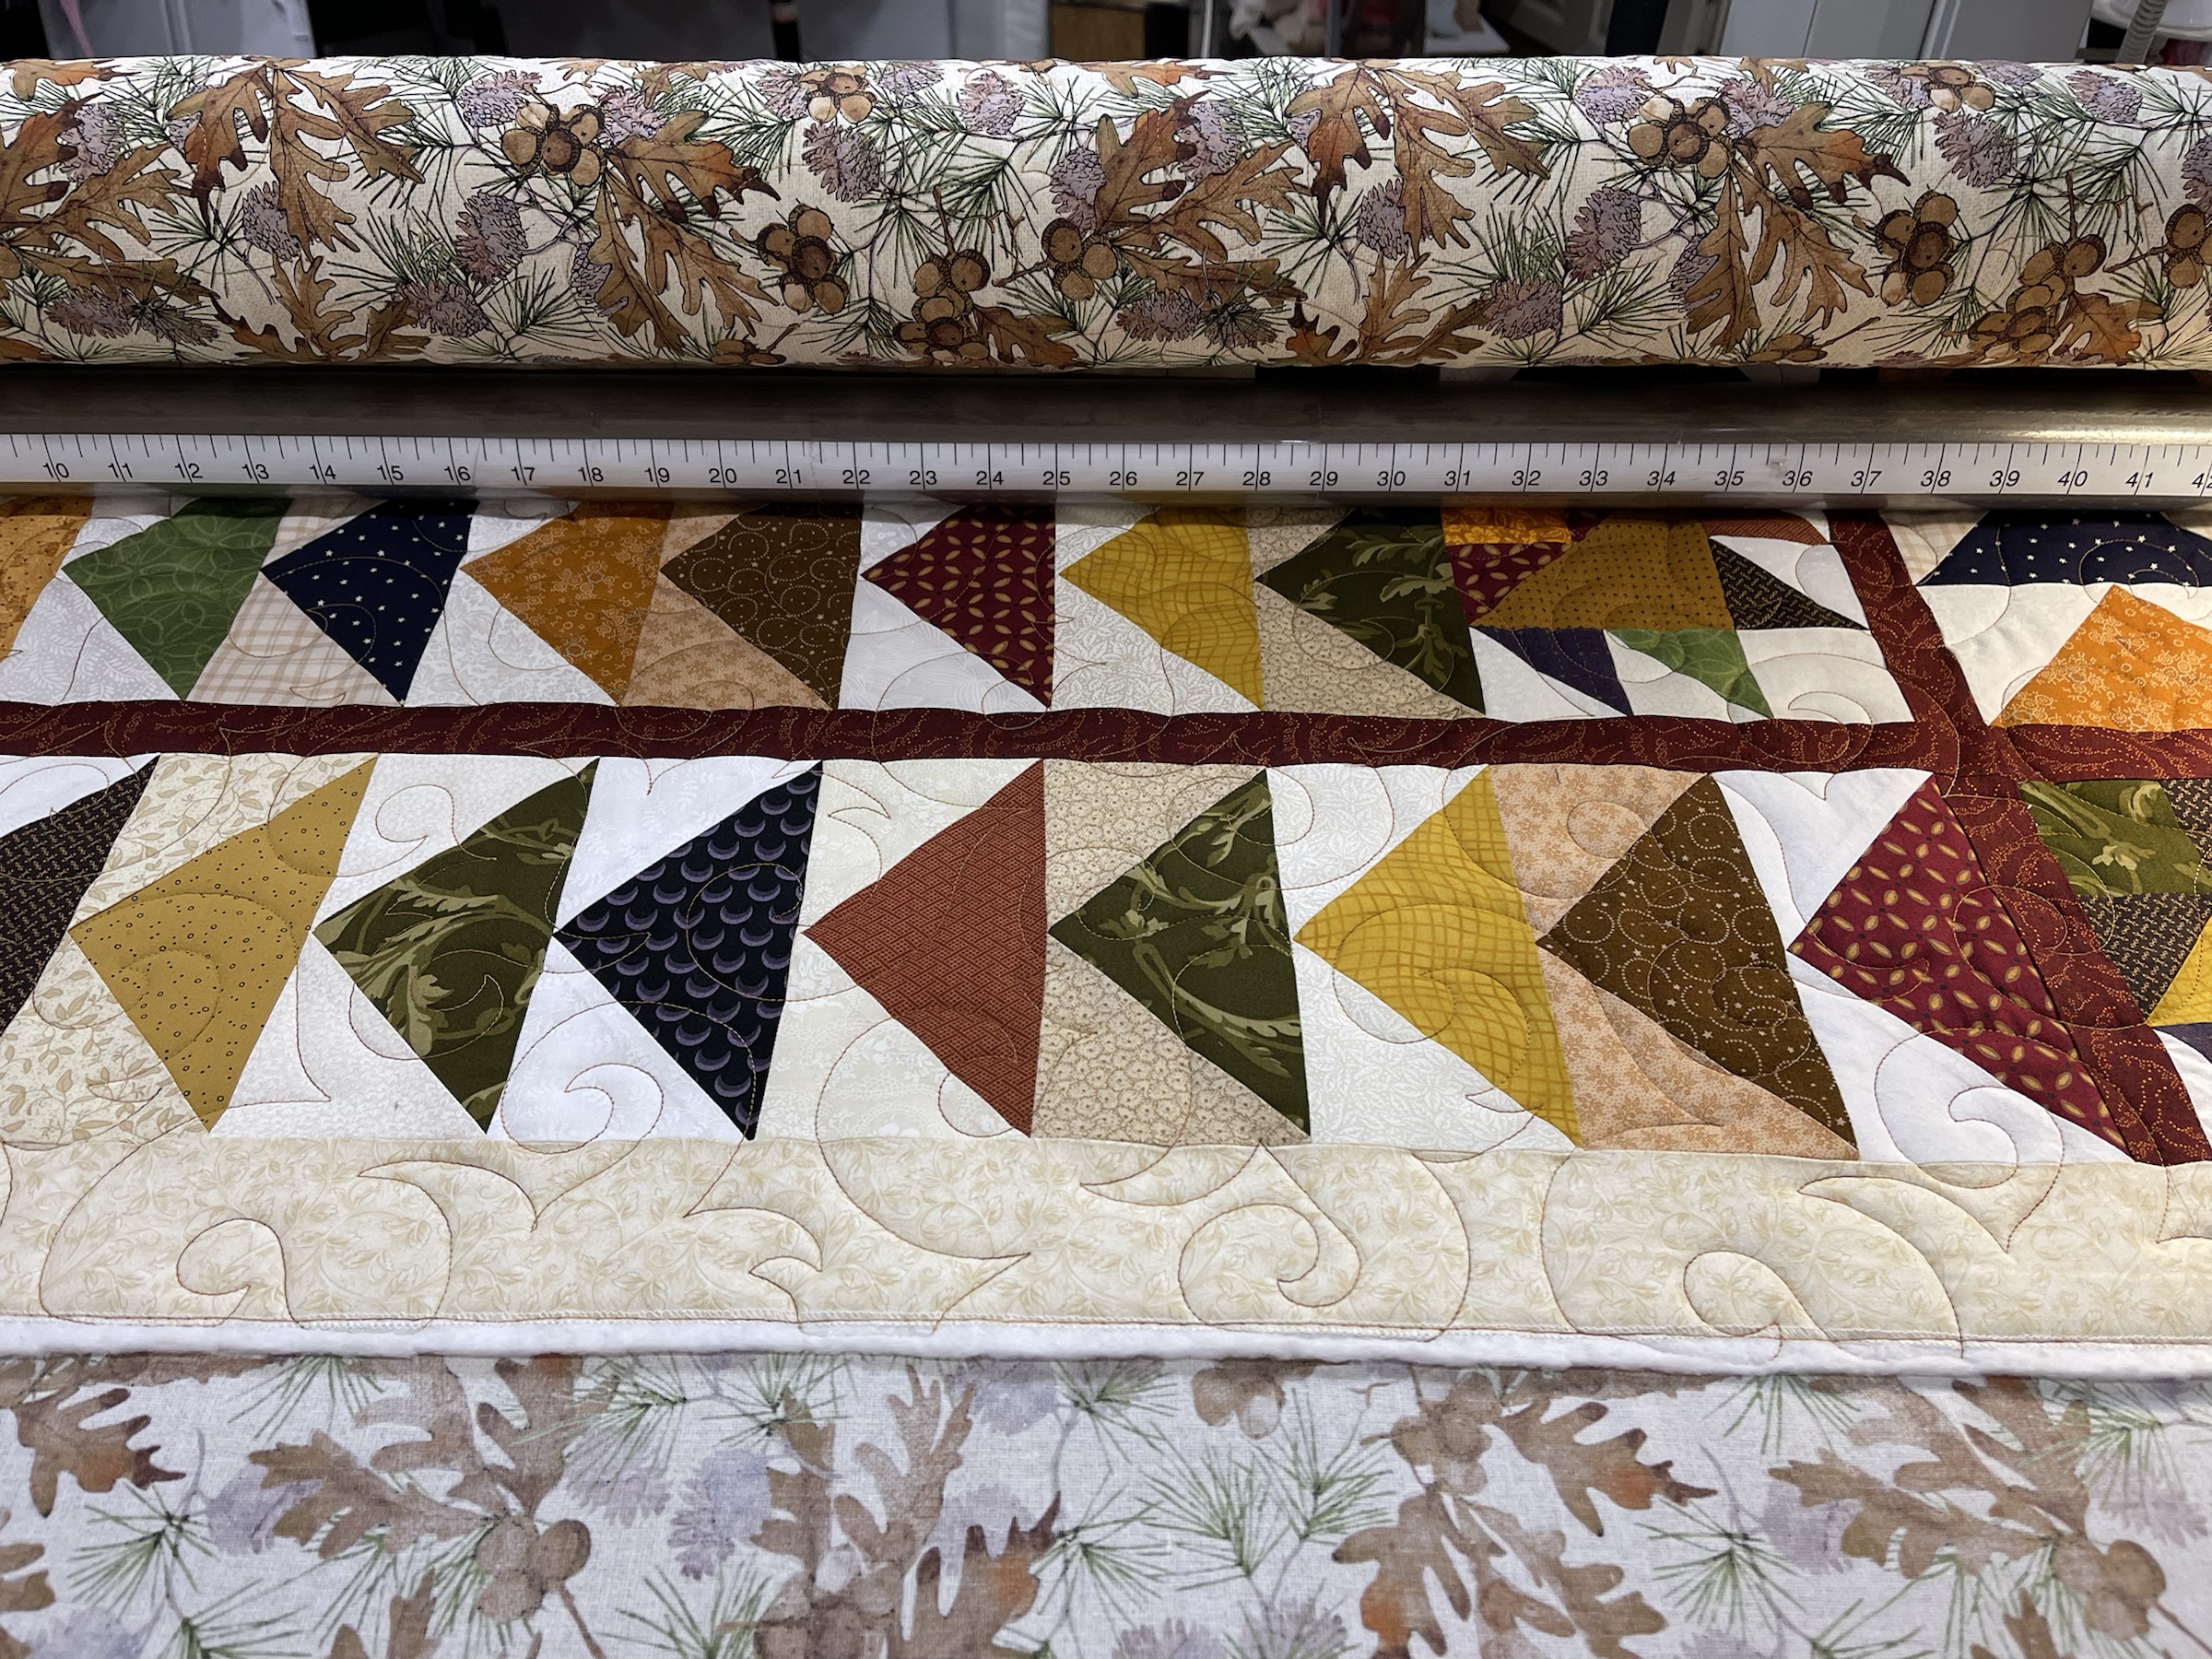
I made 8 more Bear Paw blocks to use as border cornerstones, add a 1” border and then another round of the Geese blocks. I addressed the gap issue of each Goose border by adding a 2” pieced strip of a red and 2 white 2” blocks. There’s a final 2” border to be added but at this point my design wall is just too small. You can see the final border below on the longarm.

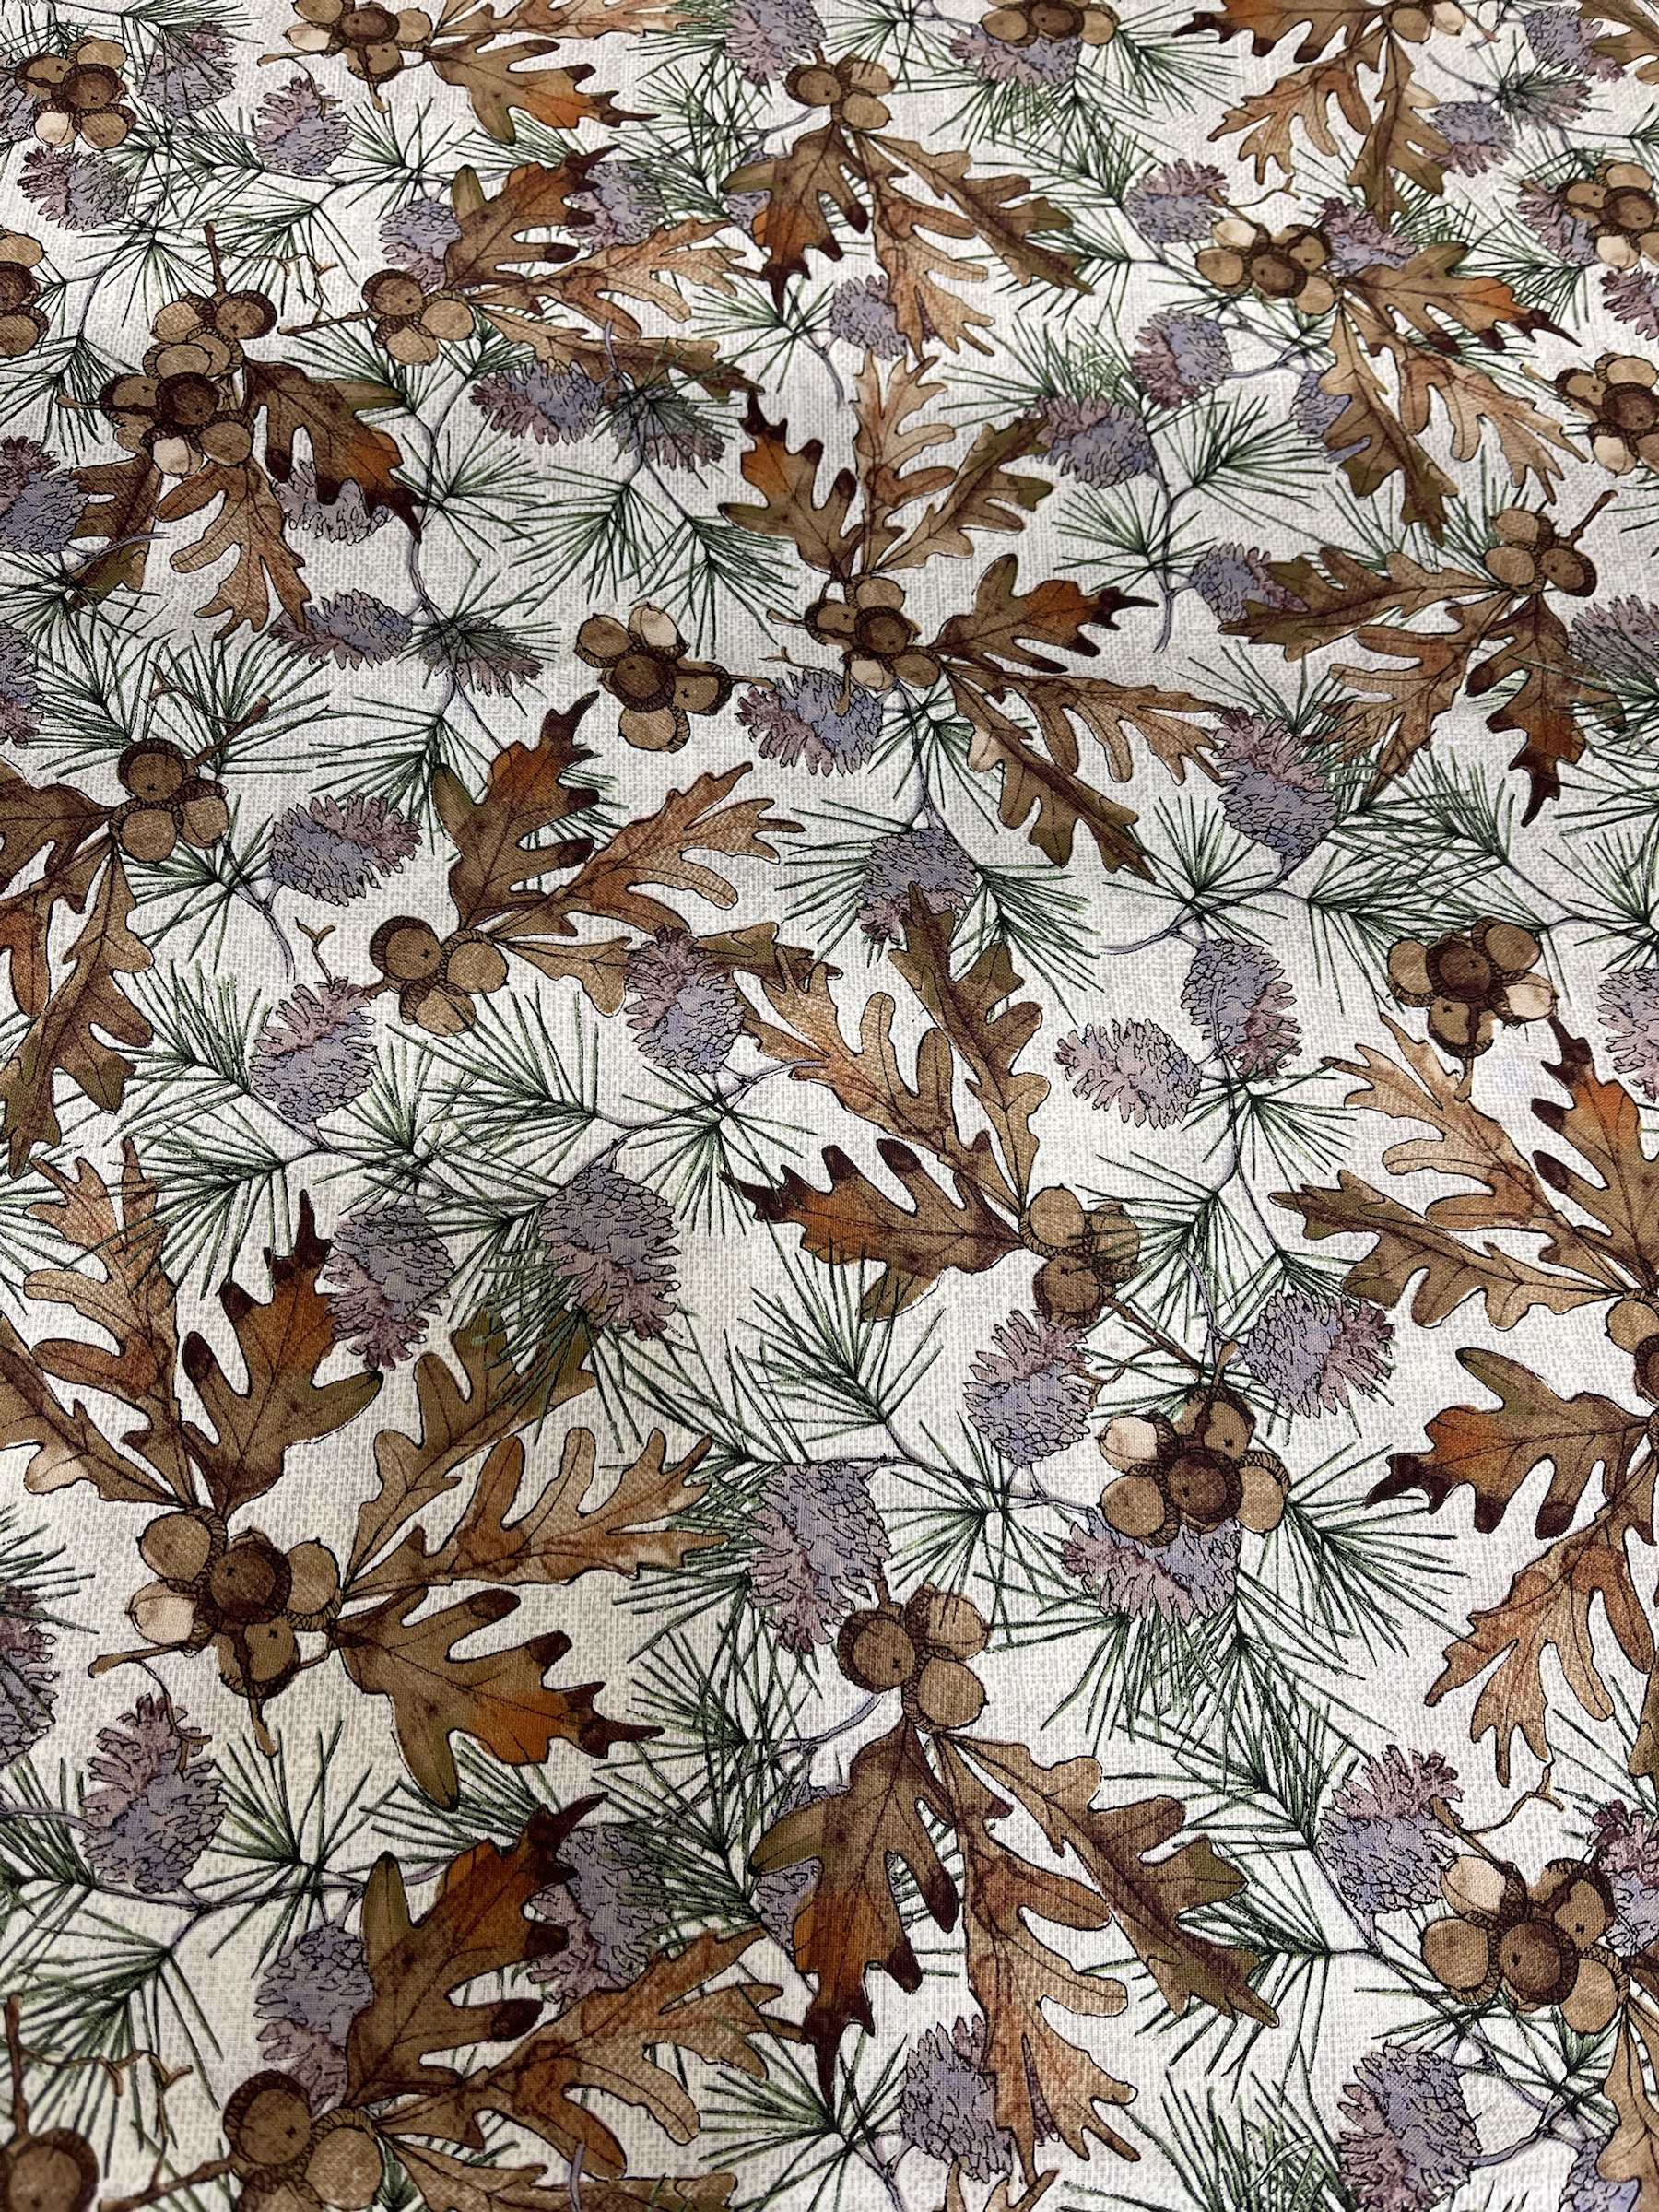
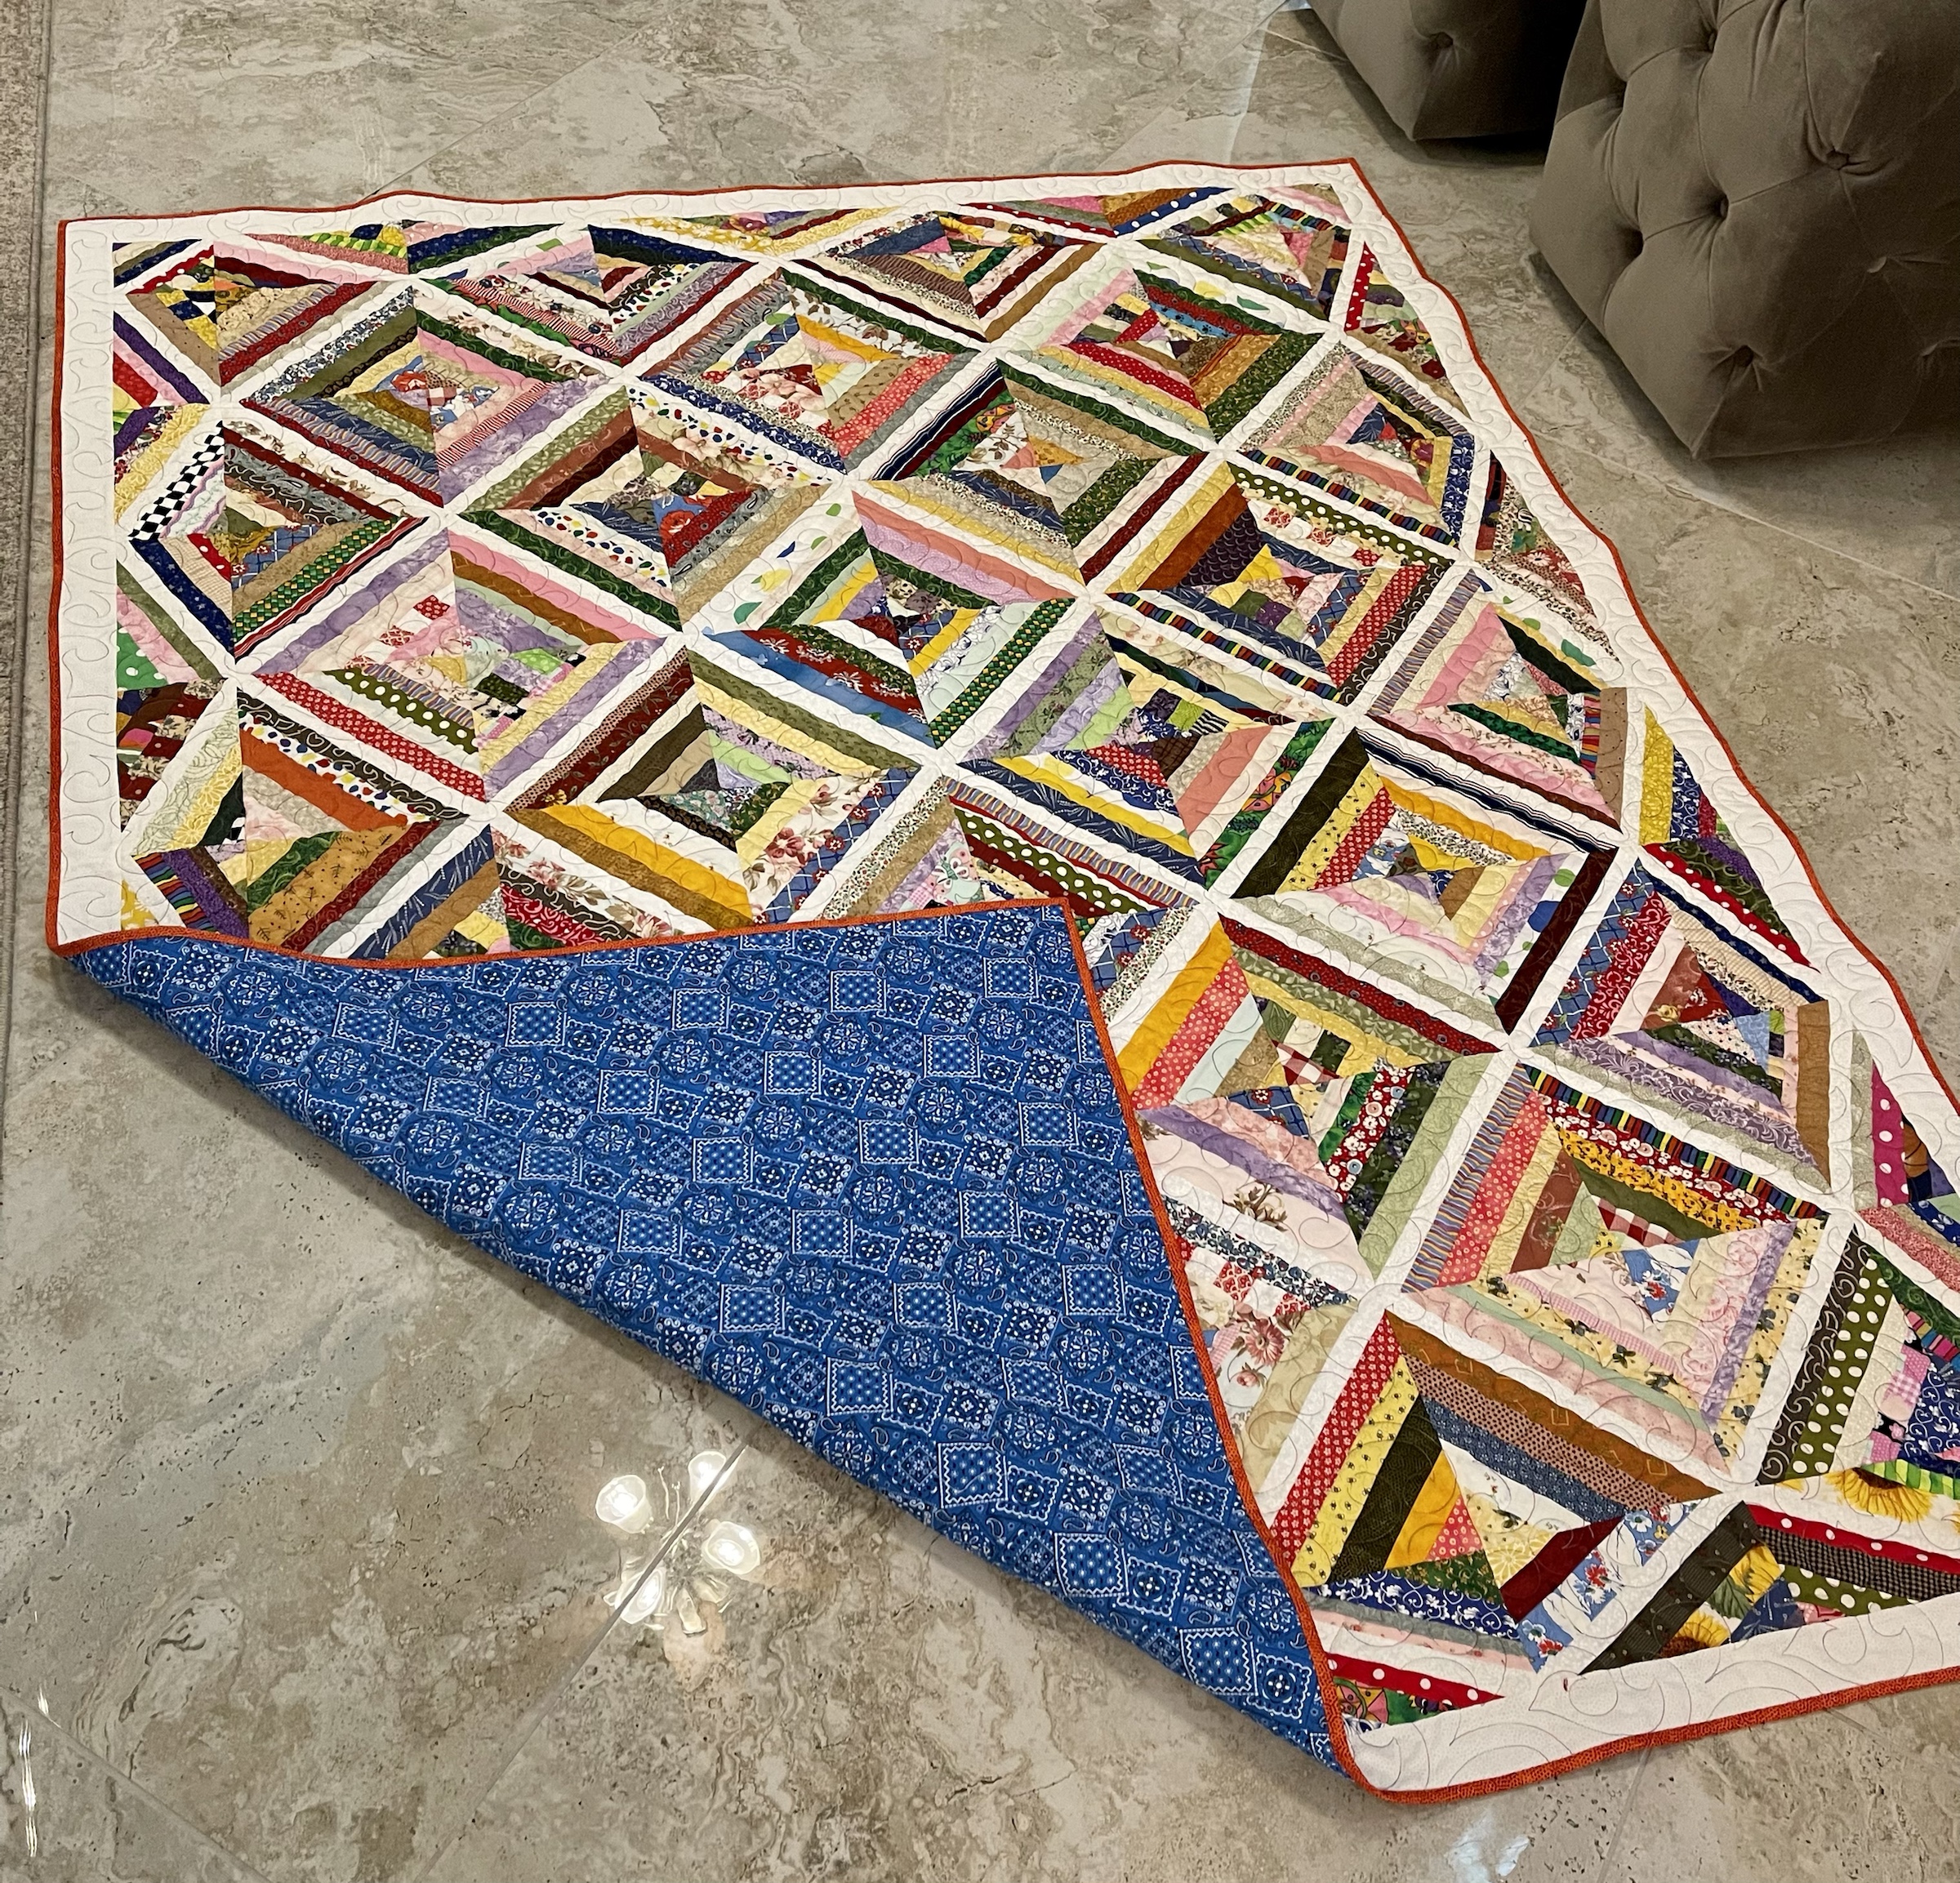
But first, look at this backing fabric. I love it!

My batting choice for this quilt? I always love Hobbs 80/20.

https://www.hobbsbatting.com/

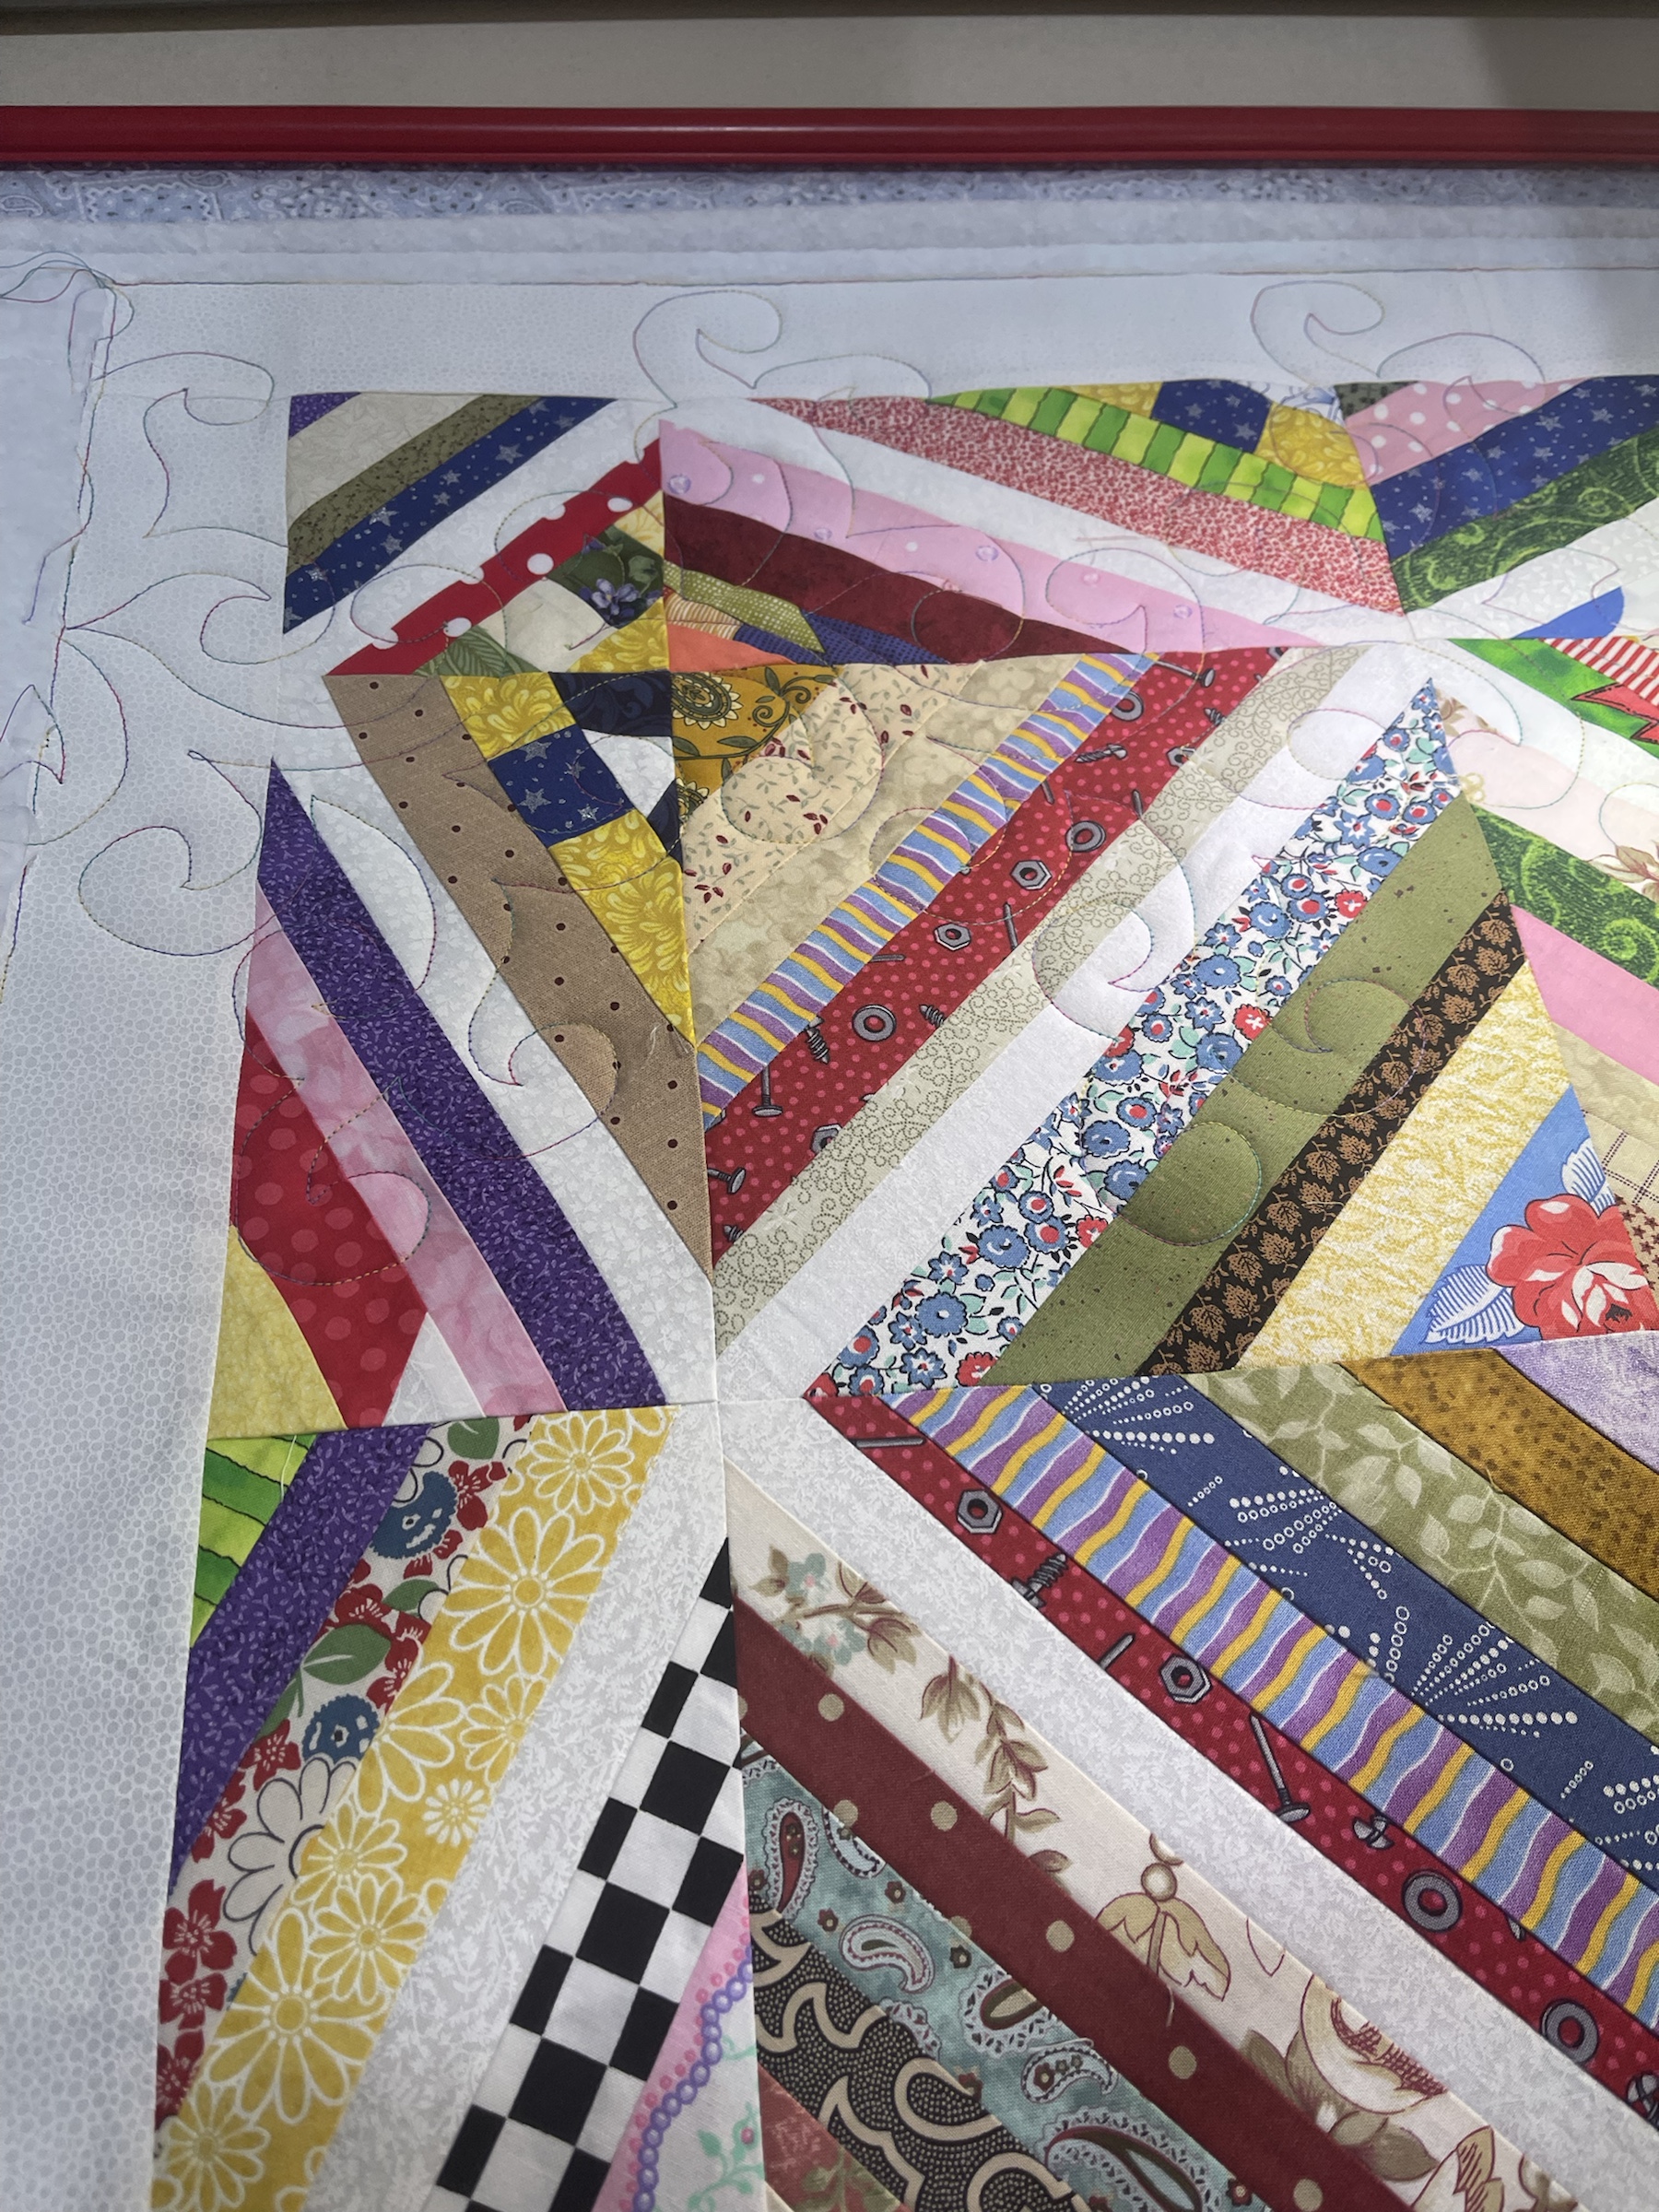
A hand guided panto or edge-to-edge is my quilting choice.

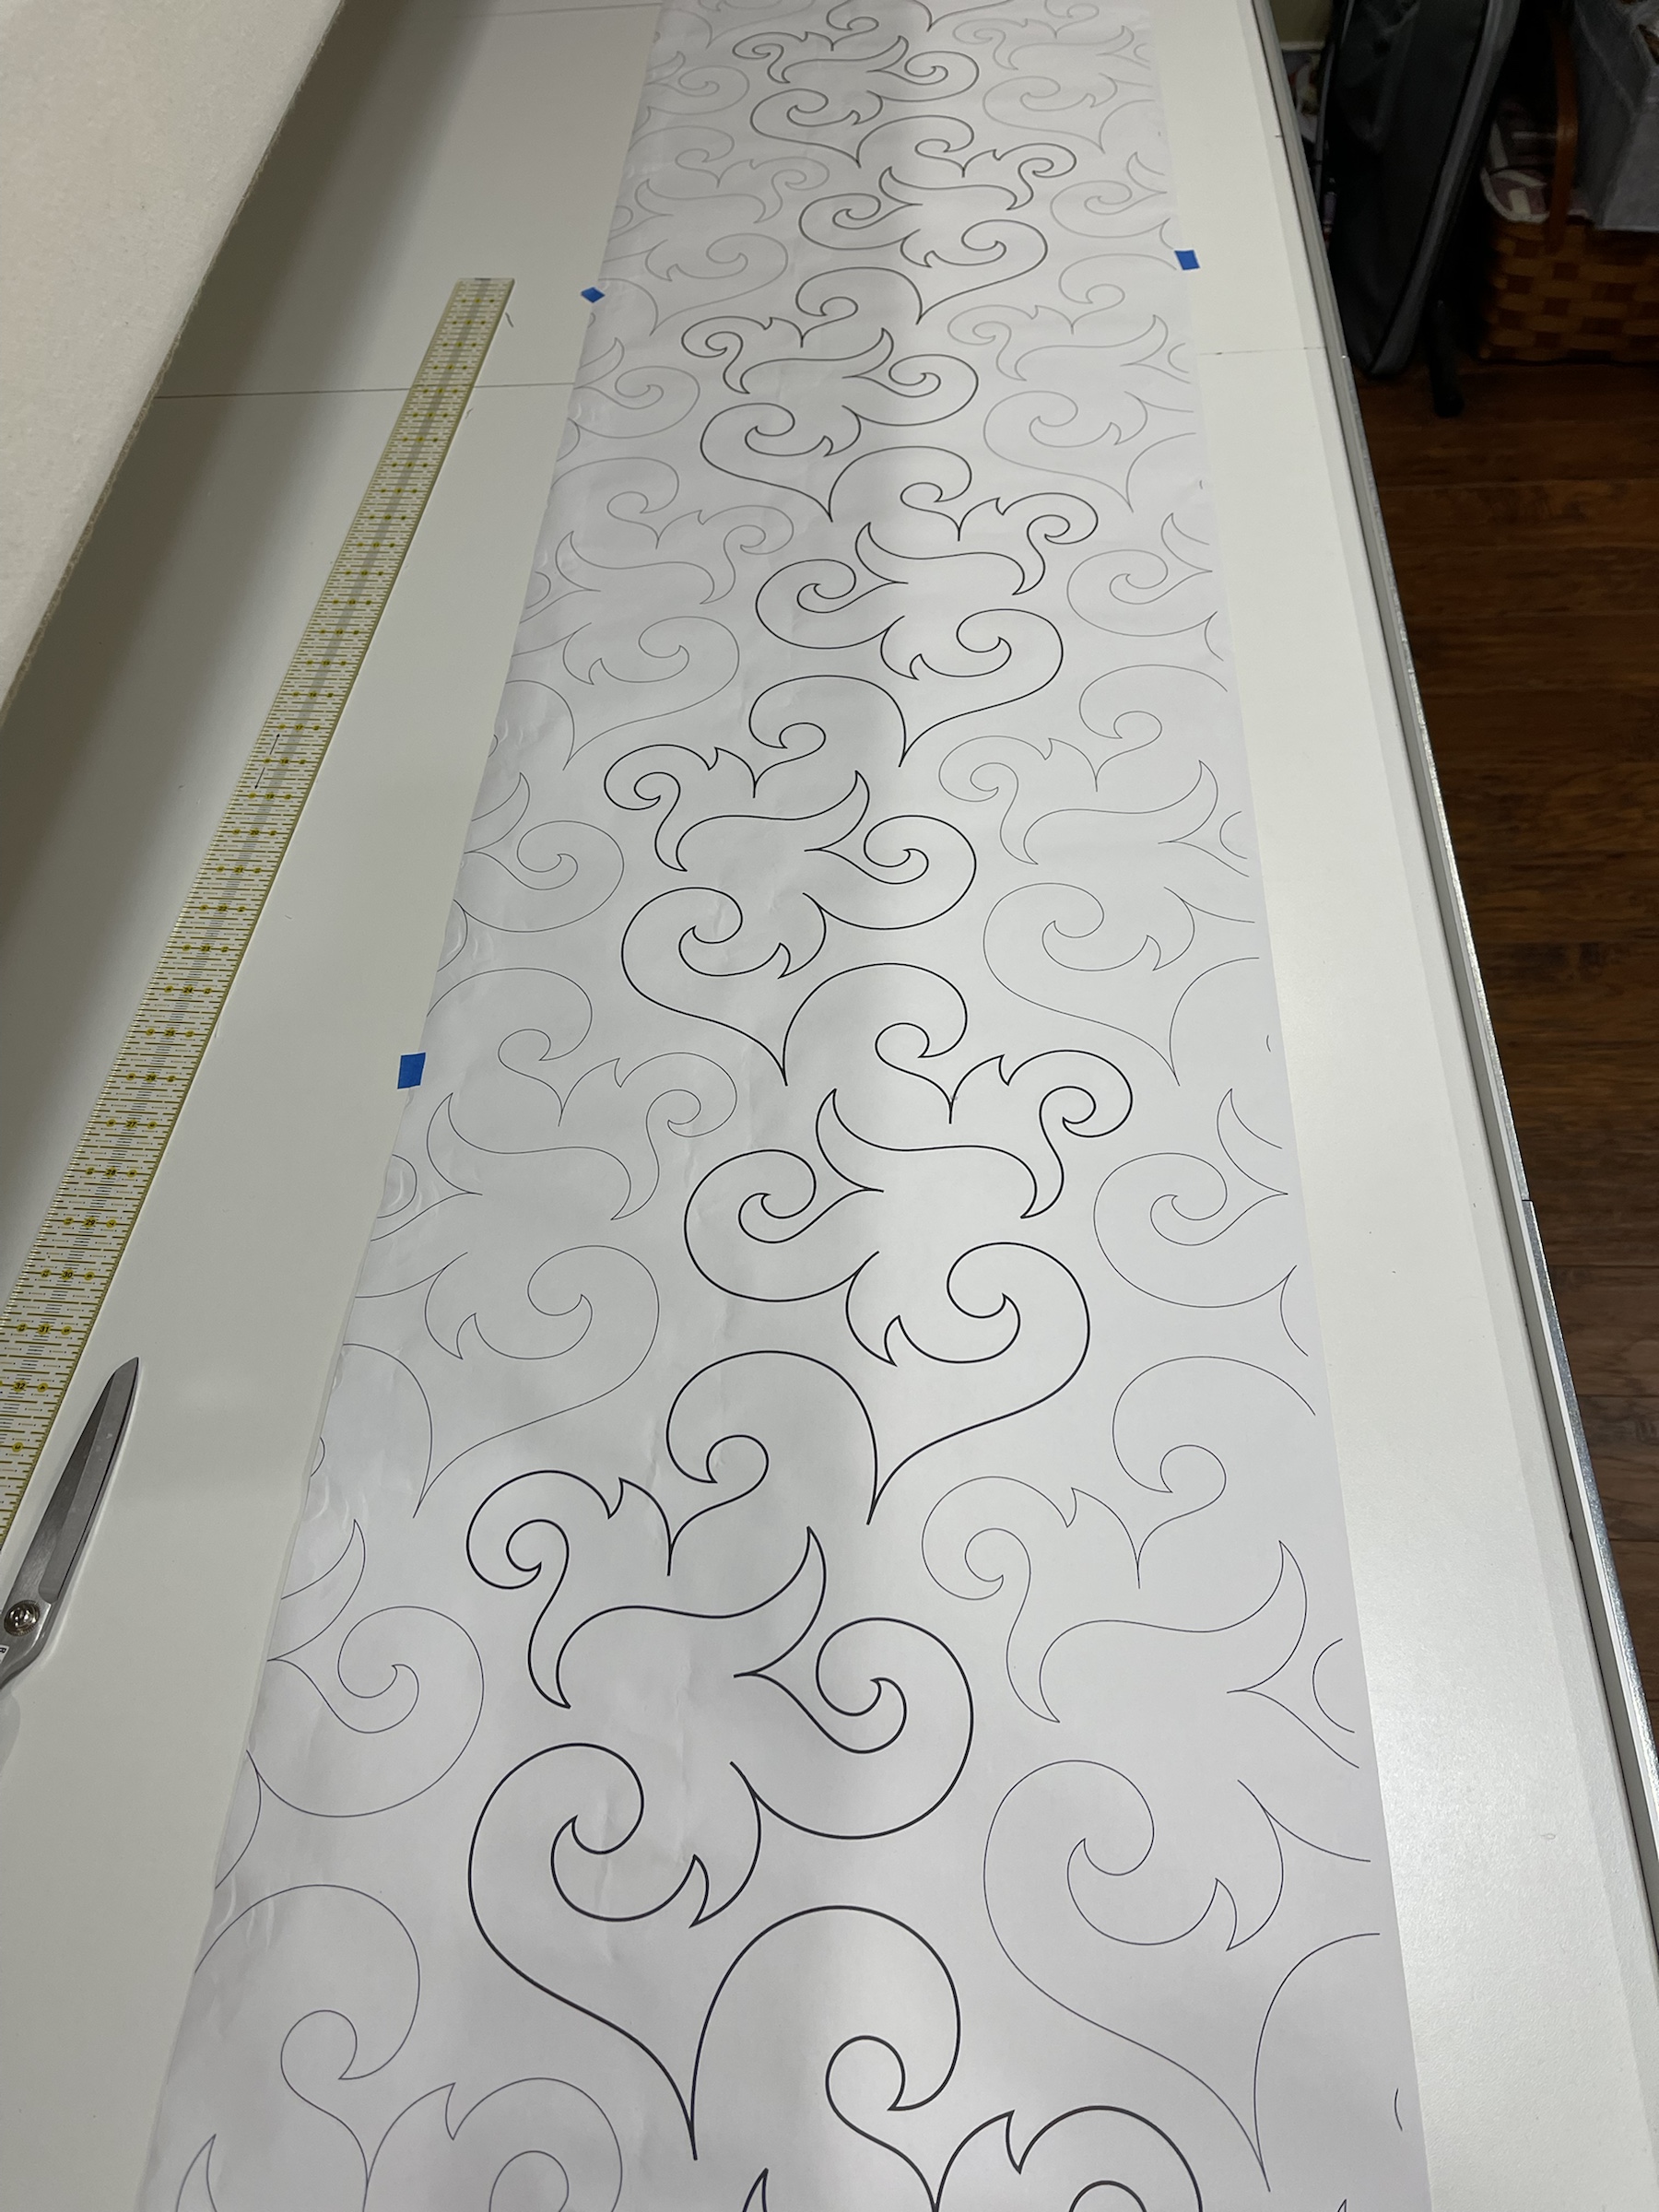
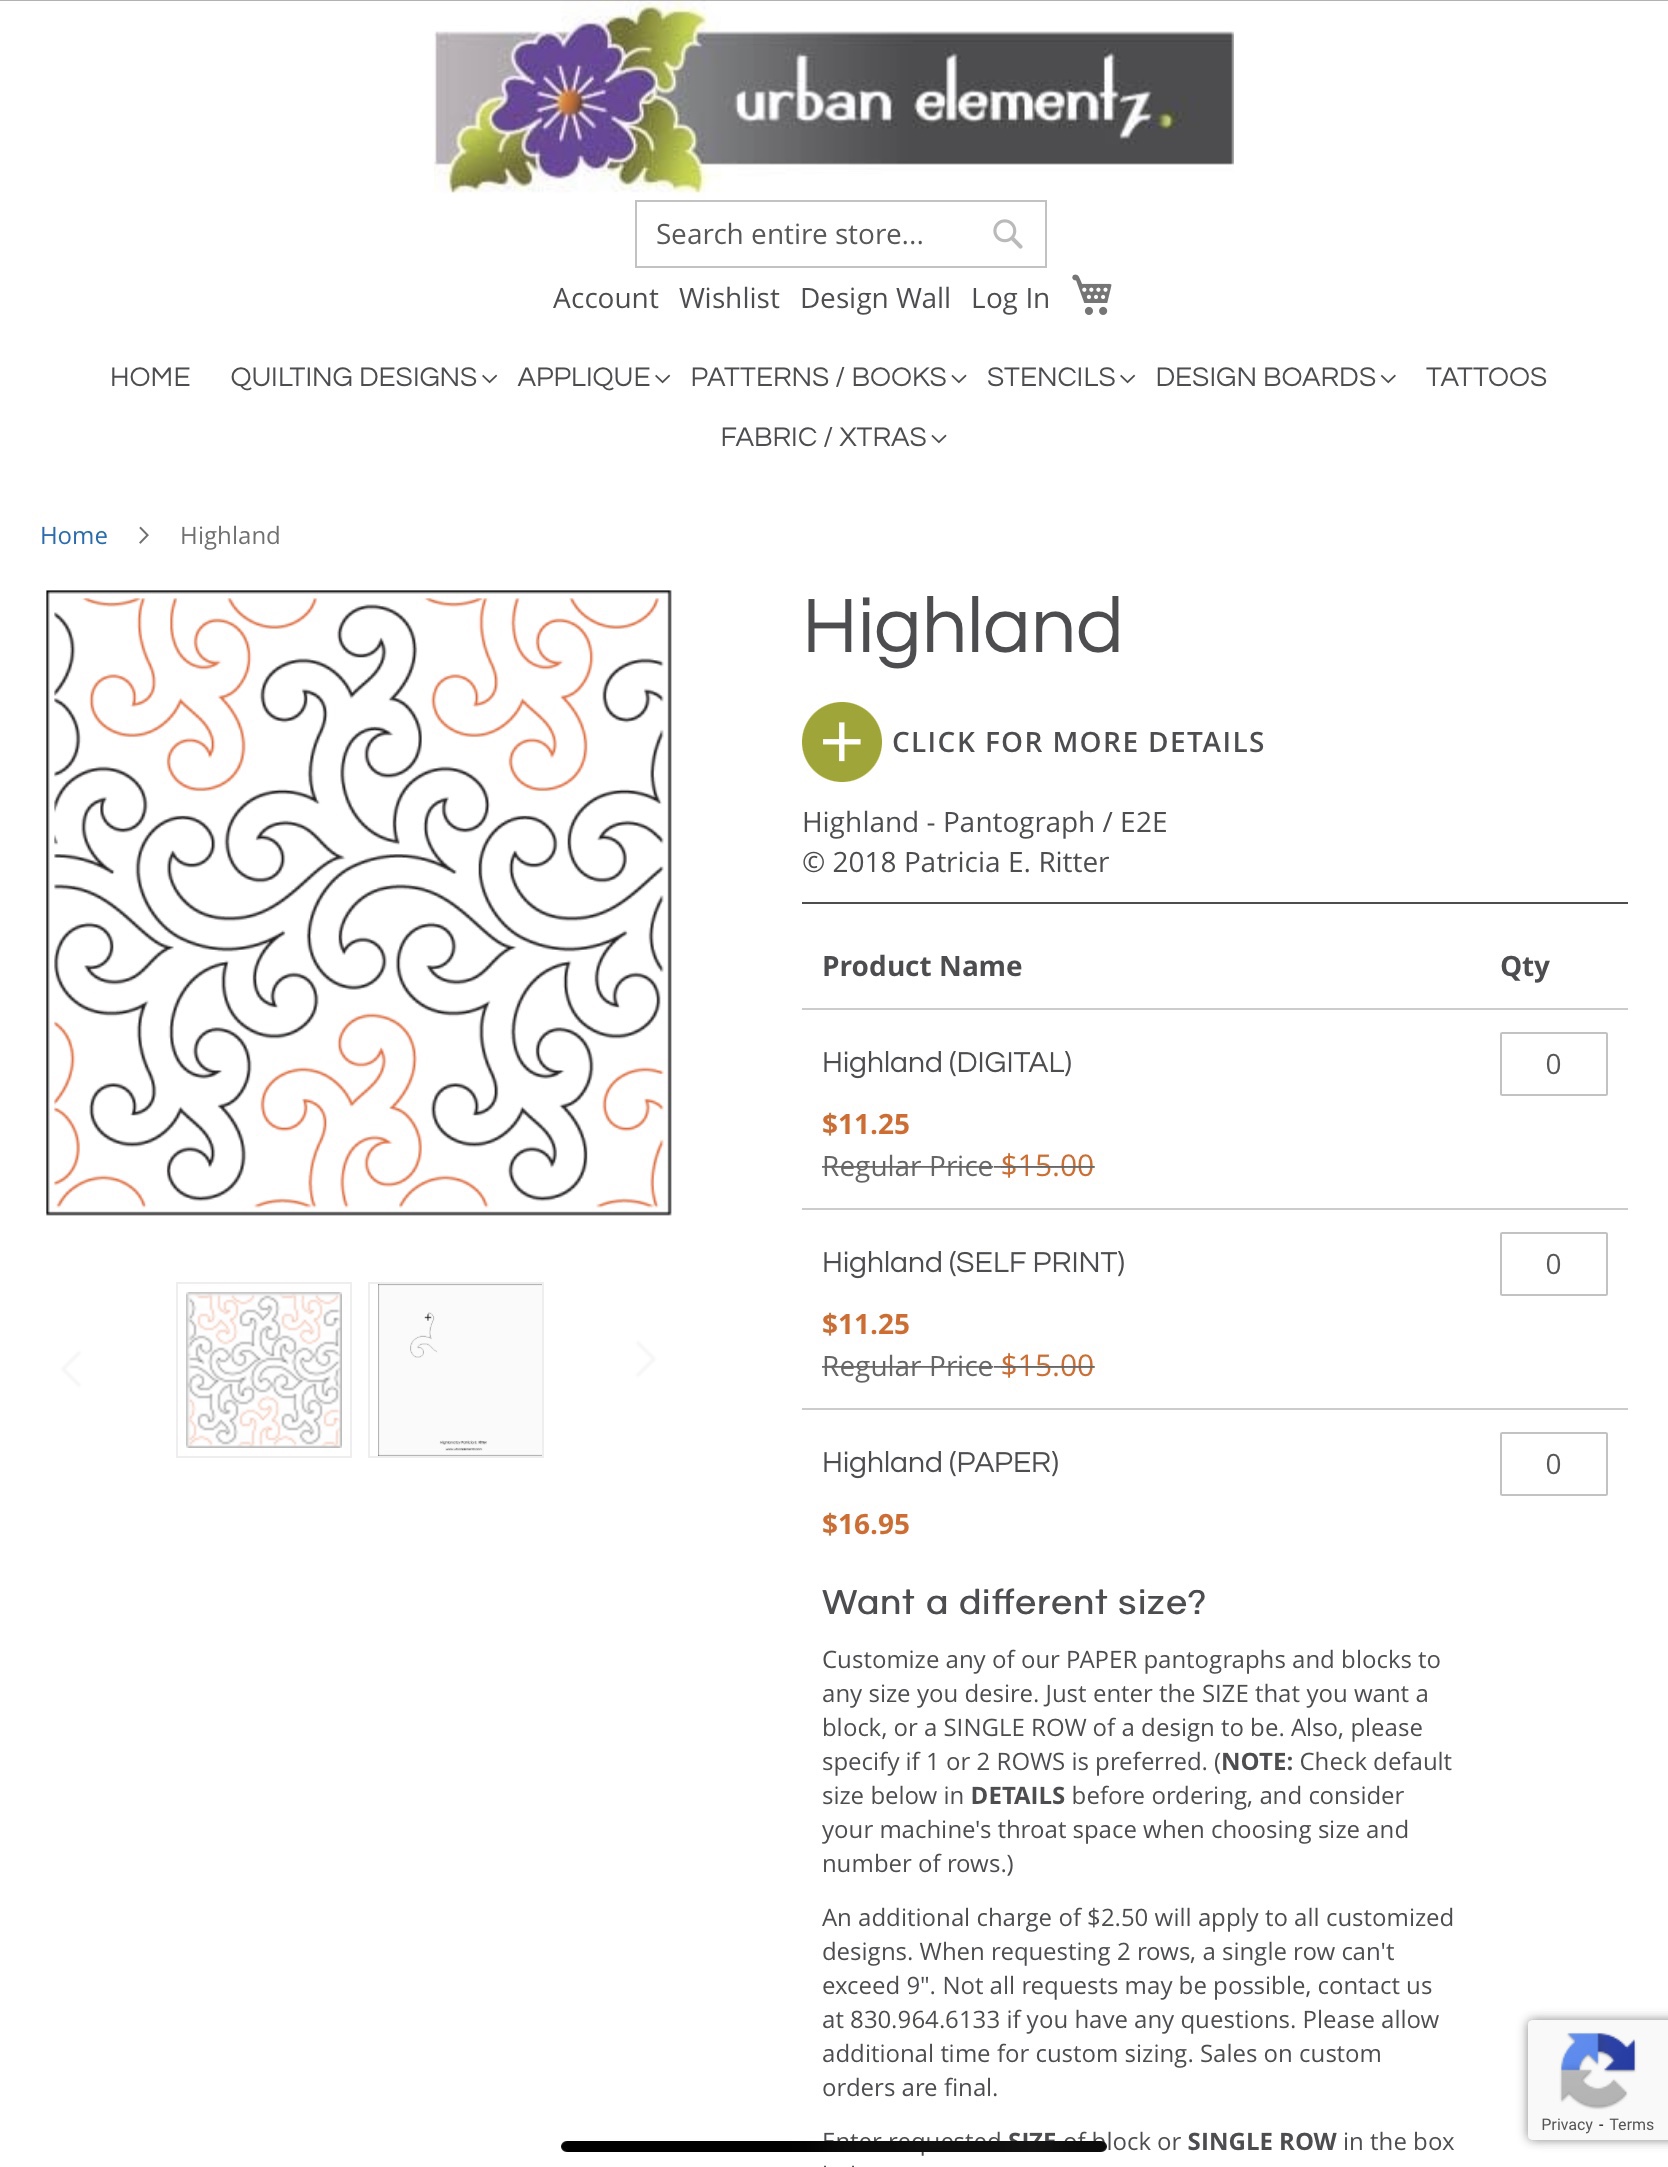
This paper panto is by Urban Elements and is titled: Santa Ana Grande, a 10” pattern.

https://www.urbanelementz.com/

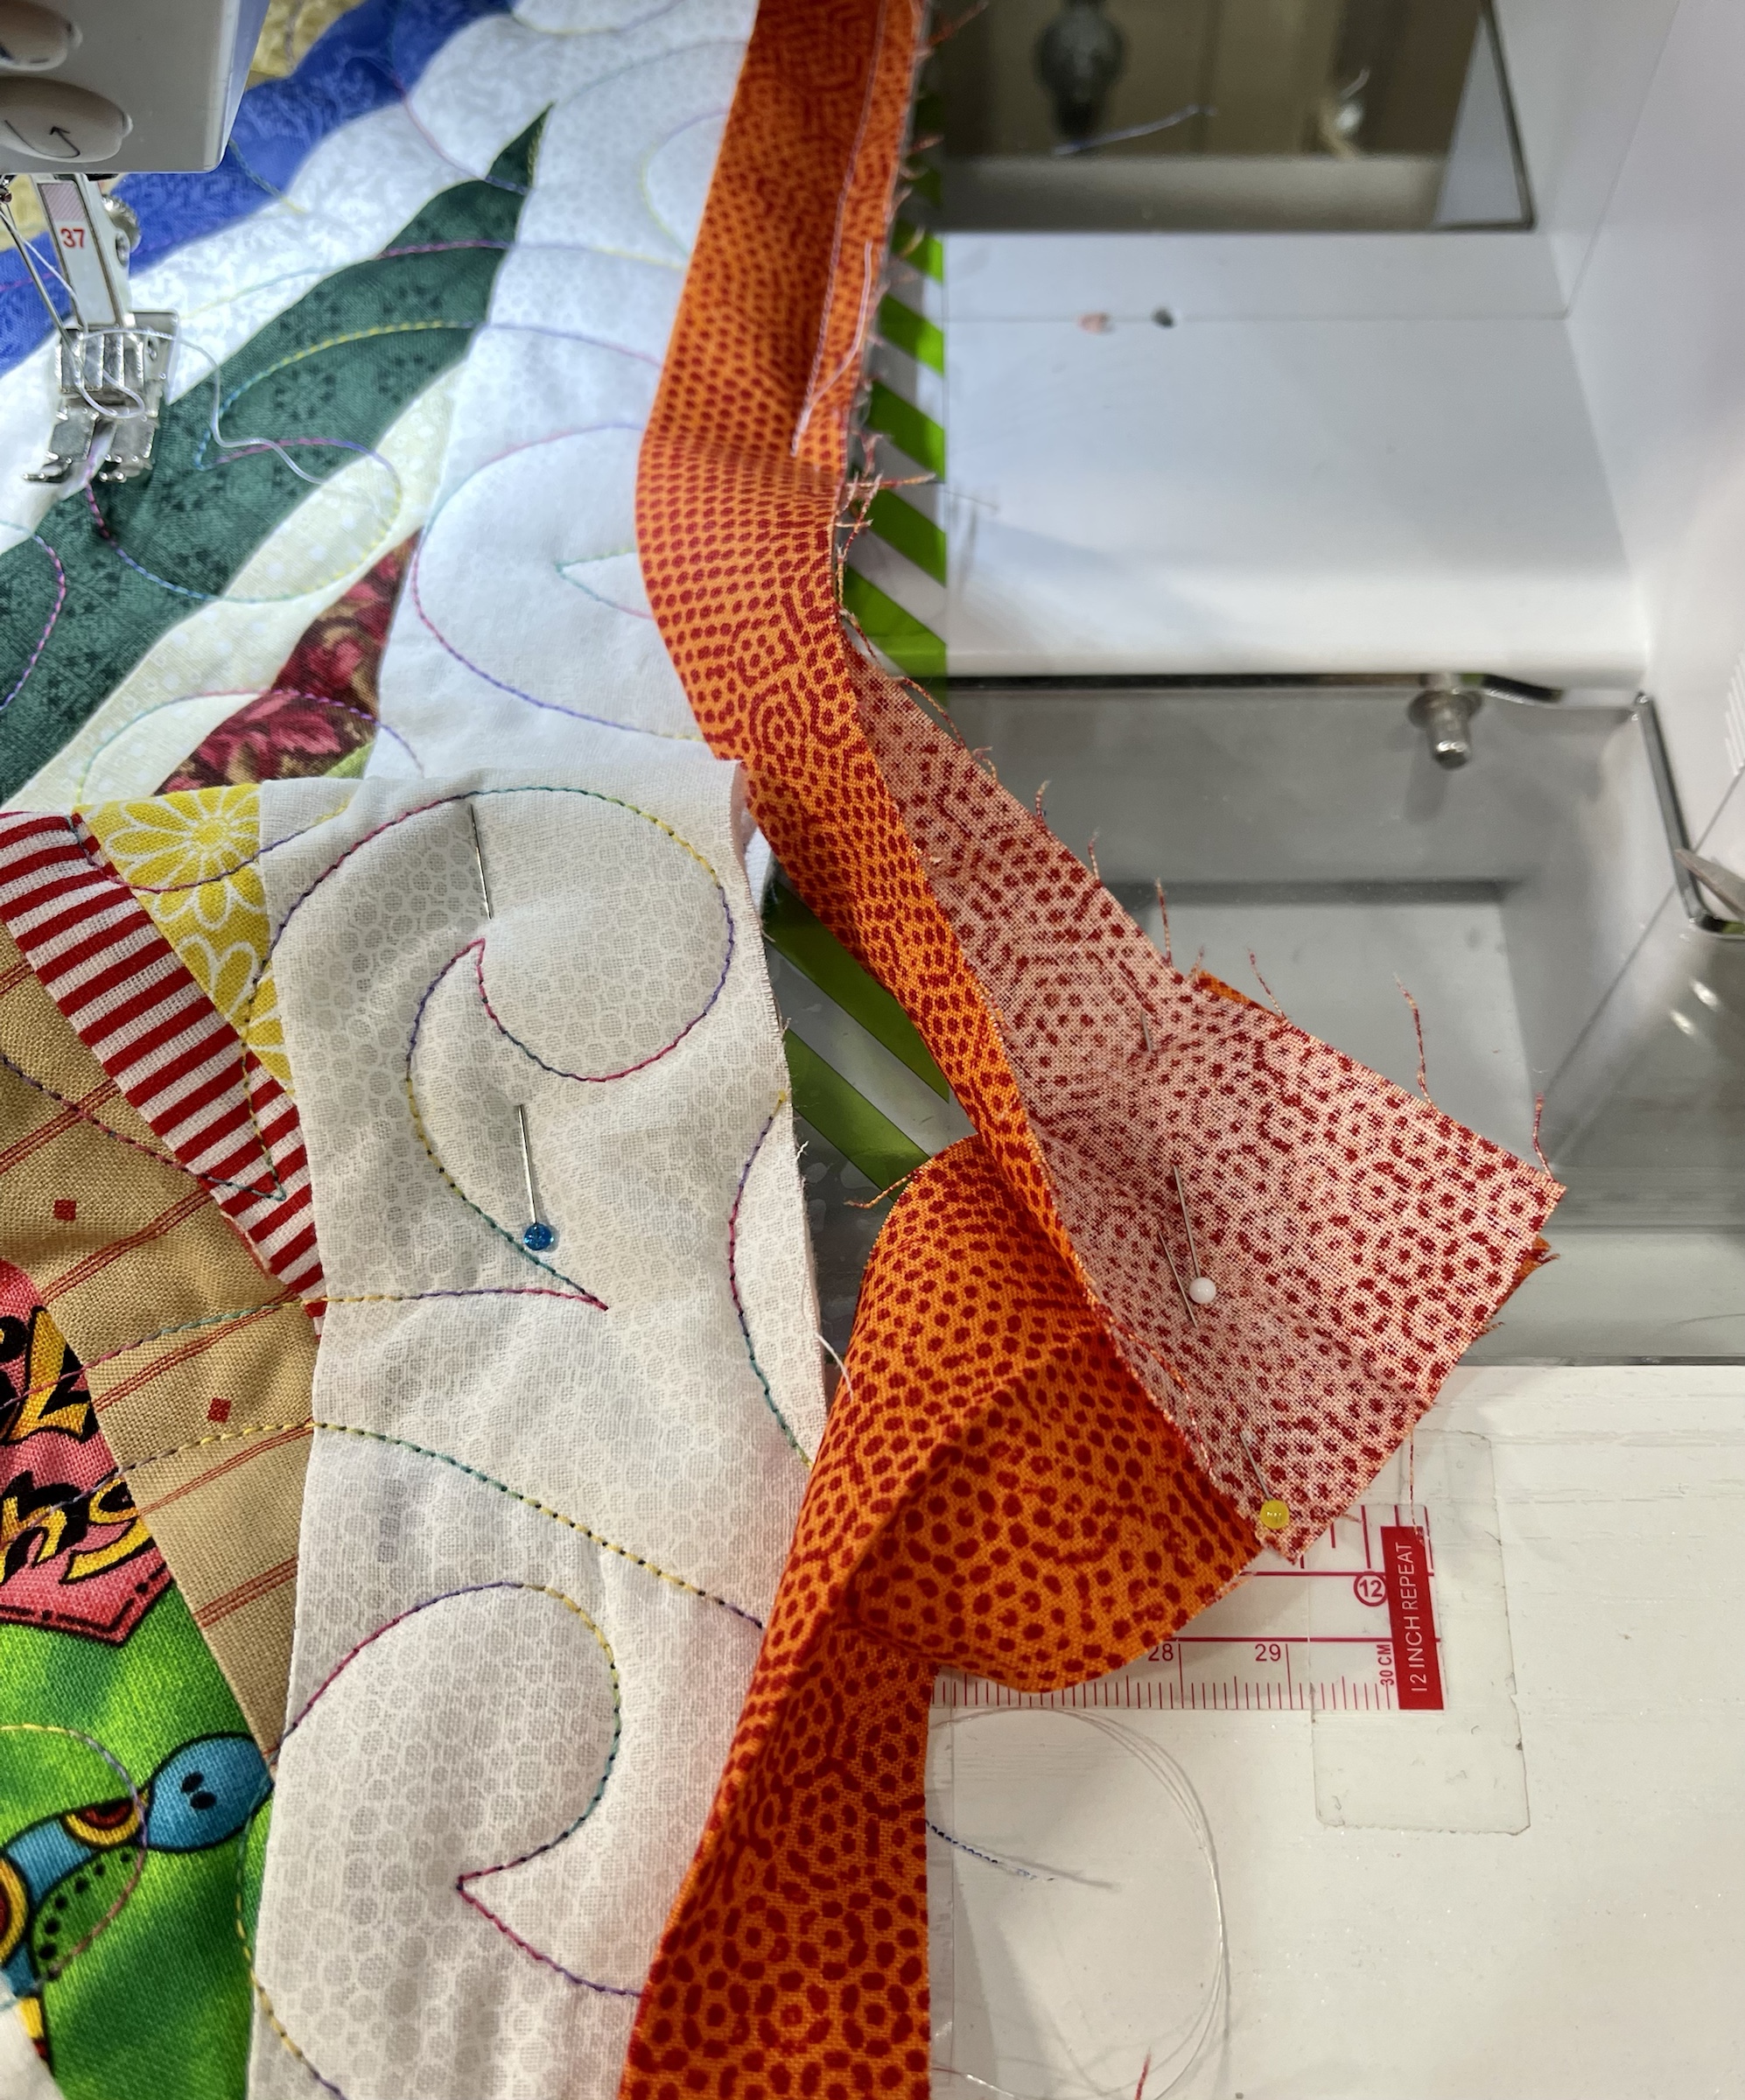
The needle and bobbin thread is by Superior Threads, the So Fine product, variegated color #701.

https://www.superiorthreads.com/

I’m not terribly keen on actually doing pantos…I find myself bored. Was I ever happy to take this picture! Quilting finished! All 6 hours and 35 minutes of quilting. Which reminds me…do you keep a journal of your quilting? I do, because without it I would have no idea what I did, what I used and how long the quilting took! No idea!!

Off the longarm and trimmed.

All 90.5” x 4 of binding finished!

My quilt took a trip to the DortWorld Day Spa (the washer dryer) and it came out all soft and cuddly. I knew I had some temperamental fabrics in the quilt so in the washing machine rather than use laundry detergent I used 1/8th cup blue Dawn Dishwashing Liquid, selected a cold water wash and added an extra rinse cycle. Why blue Dawn? Head over to my blog post of July 2021, grab a cup of coffee and read all the details. https://rhondadort.com/2021/07/

When’s the next time I will make a king size quilt top…probably never! These things are HUGE! 🤣

Happy quilting and blessings, Rhonda

A String Quilt!

I save scraps…lots and lots of scraps. This March I decided it was time to make a plan for all those scraps.

A search in Pinterest offered up several String Quilt Tutorials, I chose this one, a tutorial from:

https://filminthefridge.com/2009/04/27/a-string-quilt-block-tutorial-paper-pieced-method/

A very easy straightforward tutorial that produced perfect results.

When you look at the above quilt, initially it appears that you will be making 4 strip triangles, sewing them together into a square and then adding white sashing. Look again! What appears to be white sashing strips are actually the center strip of a square block! Who sits around and thinks up these things!

How did I decide on my block size? My standard sized ream of newsprint. The largest square from a 8 1/2 x 11” sheet of newsprint is an 8 1/2” square. I stitched directly on the newsprint just as the tutorial shows, knowing my blocks would finish to 8” squares.

The fact that I already owned this versatile quilters ruler helped tremendously with the block trimming once the fabric strips were sewn in place.

But my influences also came from another quilter: Bonnie Hunter! You may know she recently created a wonderful tribute to the Ukrainian people with her Hearts of Hope Sew-Along.

https://quiltville.blogspot.com/p/hearts-of-hope-sew-along.html

It was her outside border from this wonderful quilt that inspired me to create something similar and that’s how the outside 4 1/2 x 8 1/2” rectangles came to be.

A couple of things: I constructed all the interior 8 1/2” blocks at a retreat in Moulton, Texas. https://1914boehmhouse.com/ My absolute favorite retreat venue!

Here’s me at home making the outside rectangle blocks.

Only one more border block to go before I’m ready to finish the quilt top but how did I decide on the size of the border rectangles? I reduced only the width resulting in a 4 1/2 x 8 1/2” finishing to a 4×8” rectangle. Can you see that these calculations also resulted in 4” finished cornerstones?

What about the newsprint on the back of each block? I constructed the entire quilt top leaving the paper in place. Only then did I begin the rather satisfying process of peeling the paper away. I sew on a Bernina and to make this paper removal easy I reduced my sewing stitch length to 1.7. Sure I had a huge mess in and all around my recliner but a few minutes with the vacuum cleaner solved the mess in a snap!

Finally before loading on the longarm, I decided a “visual stopping” white final border was in order. All the diagonal lines of this quilt top send your eye in a thousand directions. The white (or any same fabric color) border stops your eye and holds it to the quilt.

No need for custom quilting, a nice hand guided “edge-to-edge” is the perfect choice.

This quilting design is from Urban Elements: https://www.urbanelementz.com/ specifically the pattern titled: Highland.

I used variegated thread in both the needle and bobbin, specifically Superior Threads So Fine numbers #705 in the needle and #711 in the bobbin. I also used a single layer of white Hobbs 80/20 batting.

A nice orange binding works well with the royal blue bandana fabric on the quilt back. If I recall correctly this orange fabric is: Freckles by Andover. CORRECTION: (thank you Paula) This fabric is Dimples by Andover! The bandana print fabric…pulled from my stash, purchased years ago.

A couple of things to keep in mind: if you want to utilize this border block idea your interior blocks will need to be rows/columns of even numbers. My quilt body is 6 blocks wide by 8 blocks long. Odd numbers of blocks will not allow your outside border rectangles to visually line up properly.

After the trip through the washer/dryer. Because I had so many different fabrics of undetermined age/maker, I laundered the quilt in cool water, 1/8 cup of Blue Dawn Dishwashing liquid and 2 color catchers. The dishwashing liquid acts as Synthrapol to capture errant fabric dyes that are released during the washing process. This keeps those floating die particles from redepositing on surrounding fabrics. I forgot to take a picture of them but the two color catchers were very reddish pink in color after the quilt was laundered. For THIS laundry cycle I only used Dawn…no laundry detergent.

And have you noticed: the outside rectangle border blocks are mirror images of each other. One block has the white center strip running top left to bottom right, the next block has the white center strip running bottom left to top right. Very important!

Oh, and another thing…is it noticeable that all my center white strips in the quilt body are not the same size? Picture me furiously stitching away for a few days only to suddenly realize I had cut two different widths of white strips. While most are cut 1 1/2” wide, many are cut 1 1/4”. Would you have noticed without my pointing this out? Maybe not.

I love the idea that I made a quilt from pieces of fabric that many would have tossed! The finished size after quilting and laundering: 58×75”. Perfect as a throw for chilly evenings!

Save your scraps! Blessings to all and happy quilting, Rhonda