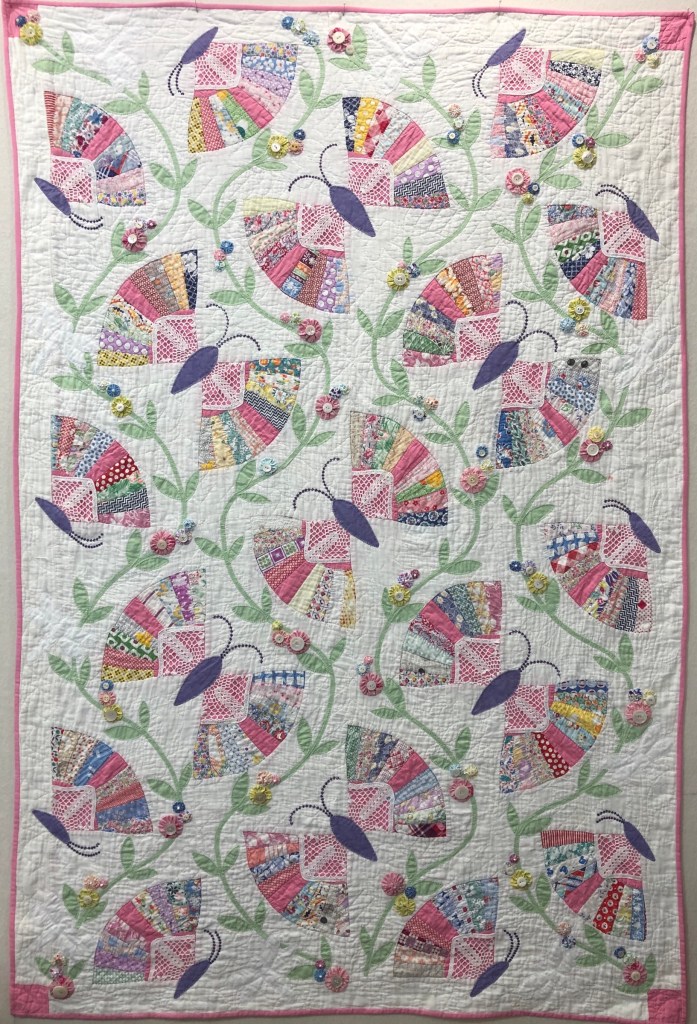
100% finished, binding, through the washer/dryer, finished! I left you in the last blog post about at the picture below. It did take a long time to raw edge machine applique the stems and 3 different sizes of leaves, but when the last leaf was finished I knew it was time well spent.
See that pink spot at the bottom right corner below? Nail polish. I decided it should be left alone, why take a chance to further do damage by trying to remove it.
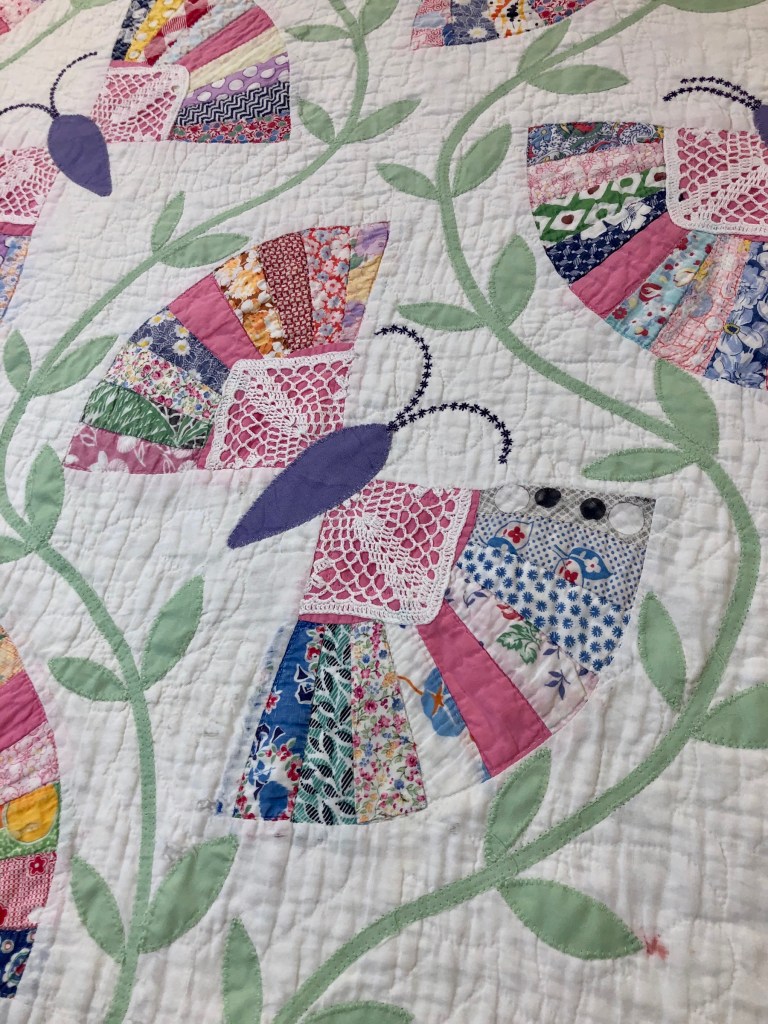
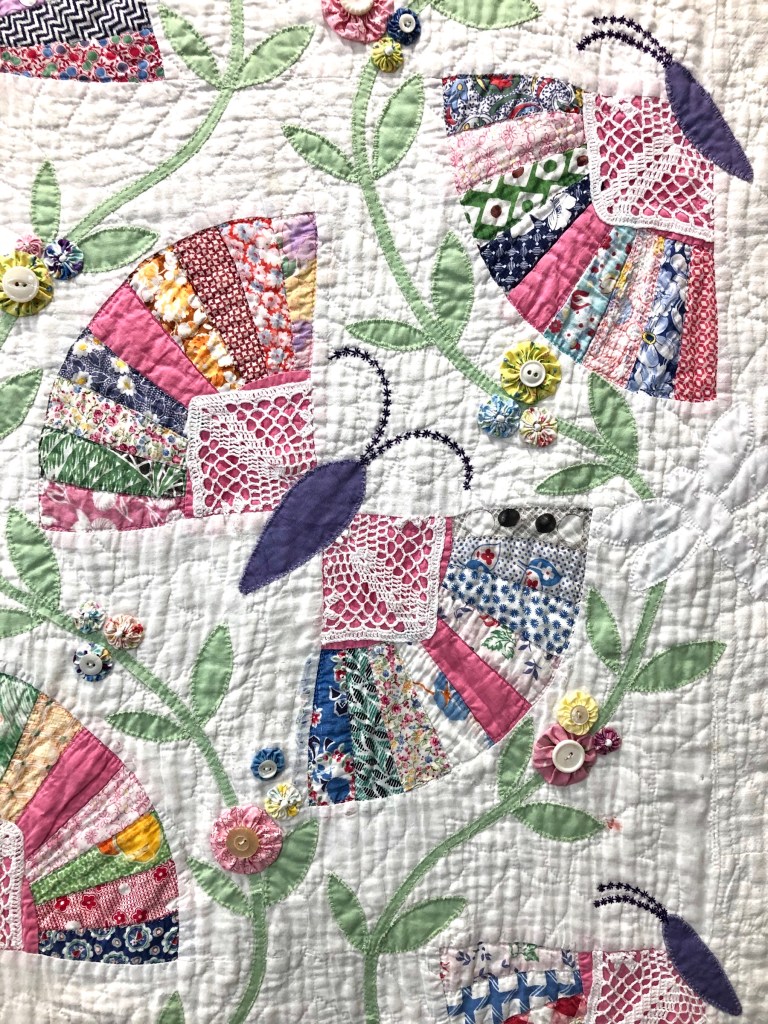
On to the flowers. Over the previous few months whenever I had a spare minute or two I was making yo-yo’s, 3 different sizes. I used the vintage fabric in the fans as a jumping off point in choosing the new quilting fabric for the yo-yo’s. Each flower got either a vintage button or a white ceramic bead in its center. The buttons were sewn on by machine, I sew on a Bernina and the #18 foot was a time saver. Initially it was my intention to leave the yo-yo’s attached to the quilt using only the stitching of either the buttons or beads. After looking at the quilt for a day or two I realized I couldn’t live with “floppy flowers” so they each were carefully stitched down around their outer edge by hand. Yes it took quite awhile but I was happy with the end results.
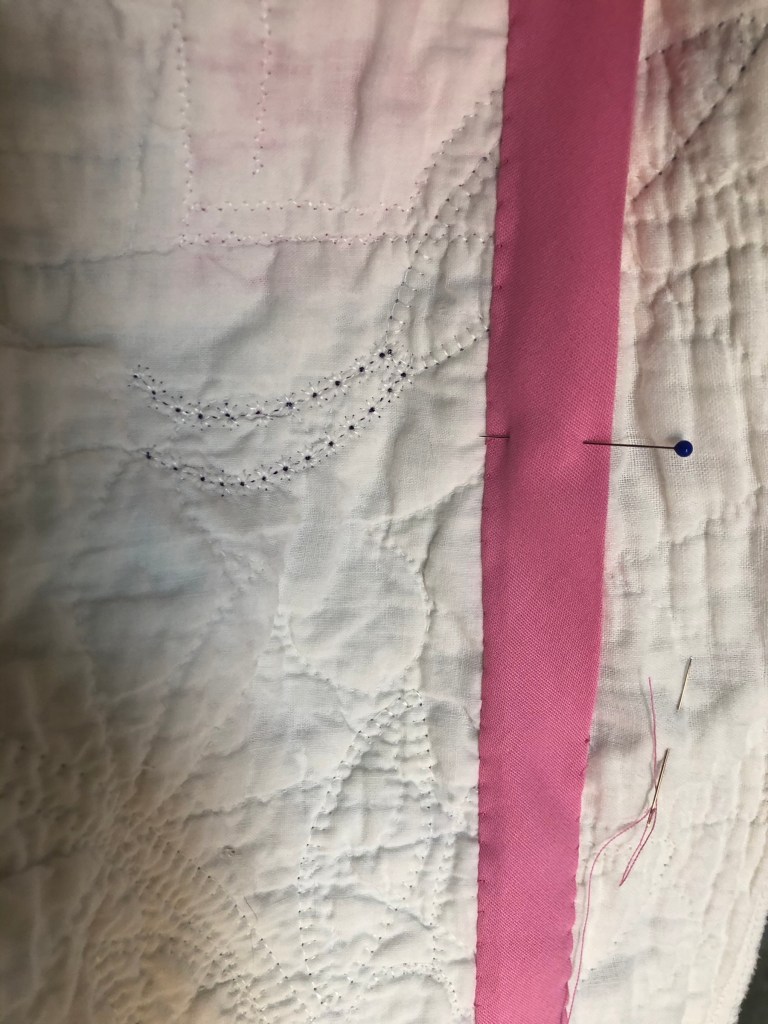
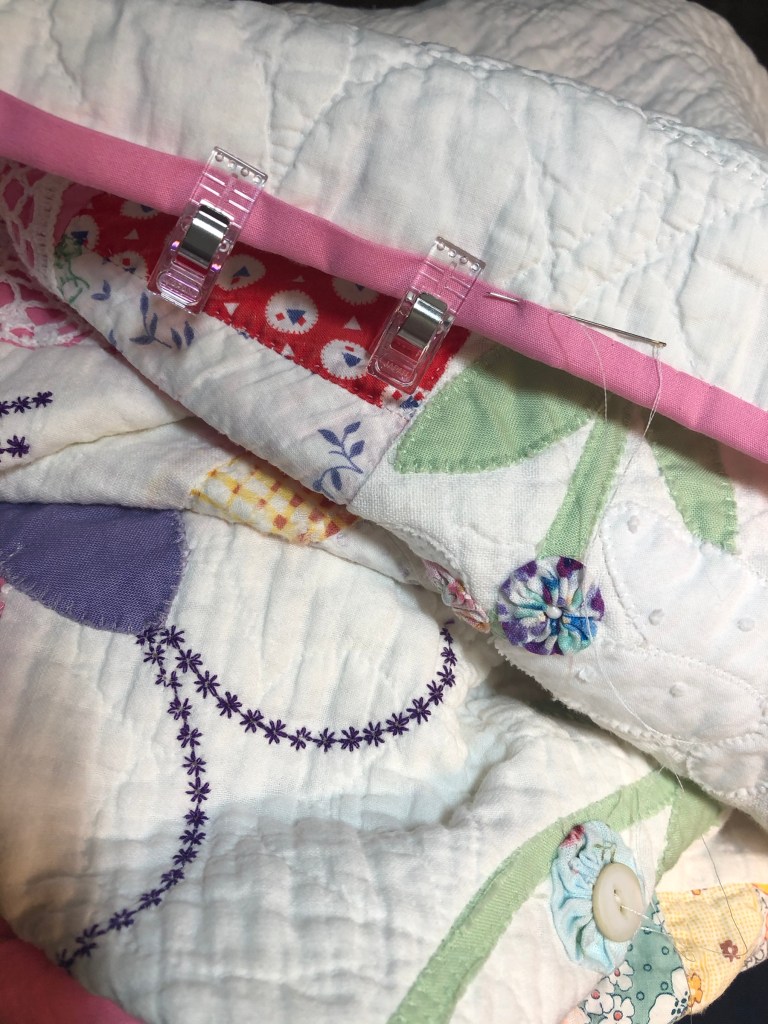
Remember from the previous blog I said I cut down the side border by half as as to have a matching border on all 4 sized? I sewed the new old border to the raw edge of the quilt body using a 1/4″ seam, trimmed away any excess batting, etc., pressed the seam open, machine straight stitched the seams open on both sides and finally, pressed once more. I covered this unsightly operation on the back of my quilt by sewing on a pink bias strip of fabric (think bias binding) so as to hide my quilt surgery. Worked like a charm!
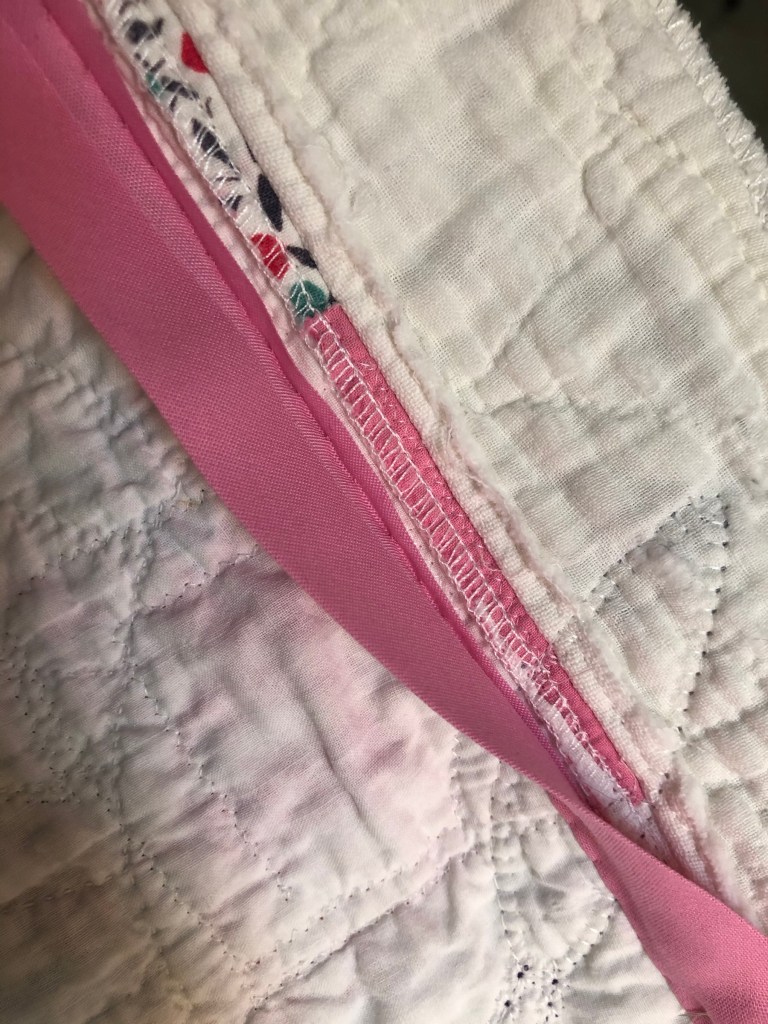
Each side of the pink bias strip was sewn down by hand.
And finally, the binding. Do you know I once asked a certified quilt judge “If I hire someone to bind my quilt do I have to list it as a 2 person project?” That’s how much I dislike binding. You know her answer was a resounding yes.
But…it’s not finished ’till the binding is pressed! We all go to great lengths to make wonderful fabulous things but how many of you remember to press your binding once the hand stitching is complete? It makes such a difference! Take the time to press, you’ll be happy you did!

More stuff to think about: A few blogs ago I featured the Saving of the Double Wedding Ring quilt. In that project I used the quilt block to determine my surface additions and made no attempt to disguise the DWR block pattern. In this Save project I took the quilt block and enhanced/disguised it using surface design to make the fans into butterflies.
Stay tuned to my next blog post where I feature a Save project where the new surface design has almost nothing to do with the underlying quilt block patterns. Got your interest piqued?

Remember way back up at the top of this post I mentioned that this piece (once finished) took a trip through the washer/dryer? Several reasons for this: 1. I used a great deal of Elmer’s Washable School Glue and 2. I made this piece to be used as a Throw. I needed the stiffness of the glue to be washed out and I also needed to know that as I was using it, should something be spilled on my piece, never fear, it could withstand the my laundry room. I have a front load washing machine. I set the control to Delicate Cycle, warm water, no fabric softener. The dryer was set to Normal where I used half of a generic no-scent dryer sheet.
I hope you look at old battered once beautiful quilts in a whole new manner after reading this post. It makes me so happy to take something that’s seen better days and make it fresh and new again! If you should decide to take the plunge and freshen up your own well loved vintage quilt, know I’m here to help, just an Comment or an Email away.
Let me know if you have questions, I’m always here to help! As an important side note, take care of yourself and your loved ones, it’s a troubling time with the global spread of this nasty virus. I’m re-learning how to spend time sequestered in my home, learning not to take things for granted and counting my blessings at each turn.
Happy Quilting and blessings to all,
Rhonda