Vintage Handkerchief, Elmer’s Glue and a Sewing Machine; Embellishing With Decorative Stitches

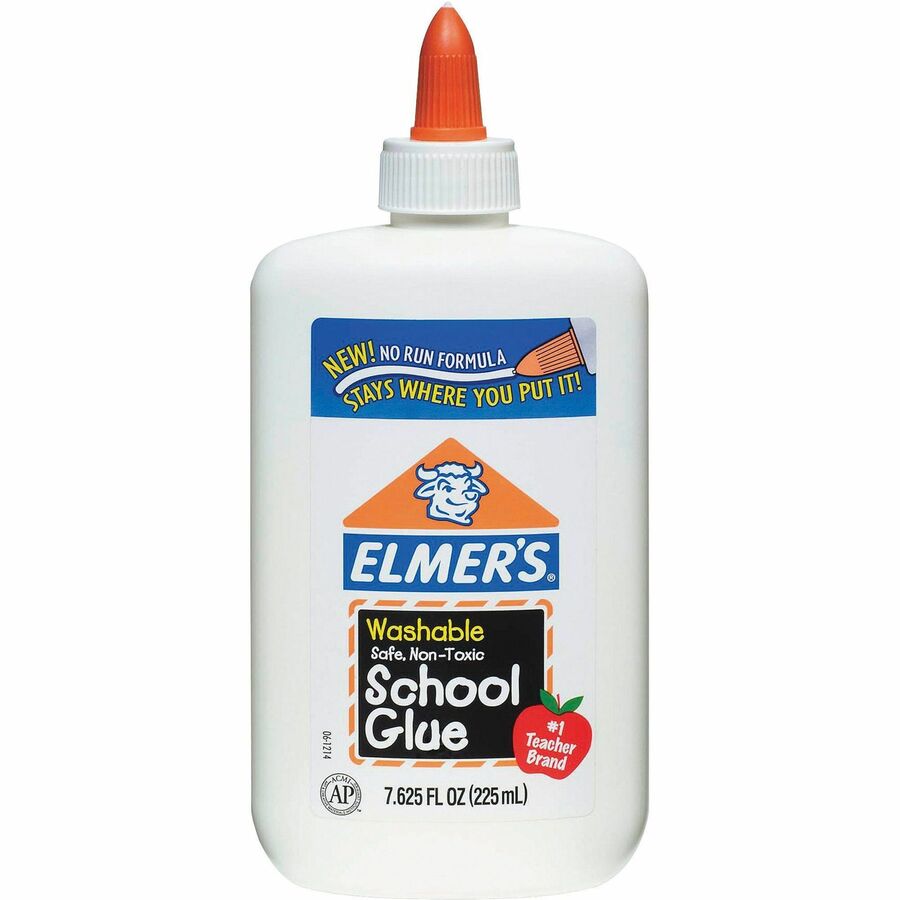
Embellishing your quilt blocks can take on many forms, one of which is utilizing the built-in stitches on your sewing machine. But sometimes you might want to stitch on something as sheer/light weight as a vintage handkerchief. You have a few options, let me take you through two similar techniques I like to use. They each involve using my friend Elmer…Elmer’s Washable School Glue. (I only have experience using the white glue, not the clear.)

Many of the sewing machine built on stitches are dense and it is the density that sometimes gets us into trouble by causing the sheer/light weight fabric to pucker and/or distort.

This technique also works well with machine embroidery on a very sheer washable fabric where no underlay is possible.

Use this glue ONLY on items/quilts that you plan to MACHINE quilt (never on potential hand quilting) and LAUNDER. If you wish you can easily use this technique and then launder your embellished piece before adding it to a quilt block.

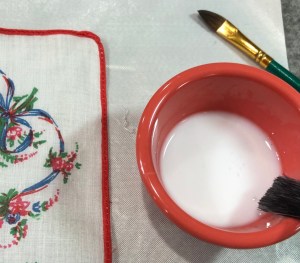
My recipe: 1 to 1 ratio of Elmer’s to water, stir until well blended. If you want a stiffer piece to stitch or for machine embroider, considering a mix of two parts glue to one part water would be a good place to start.

Cool completely and clean the sole plate of your iron when finished.

Before you jump in and use a beautiful sheer piece, do a bit of experimenting. Hopefully you will like this method as much as I do.

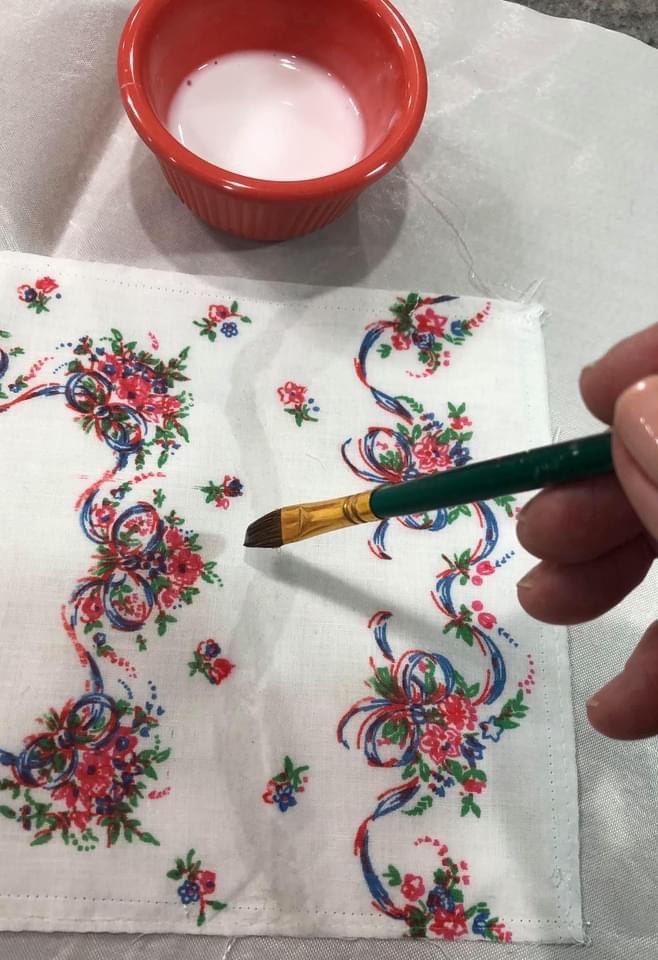
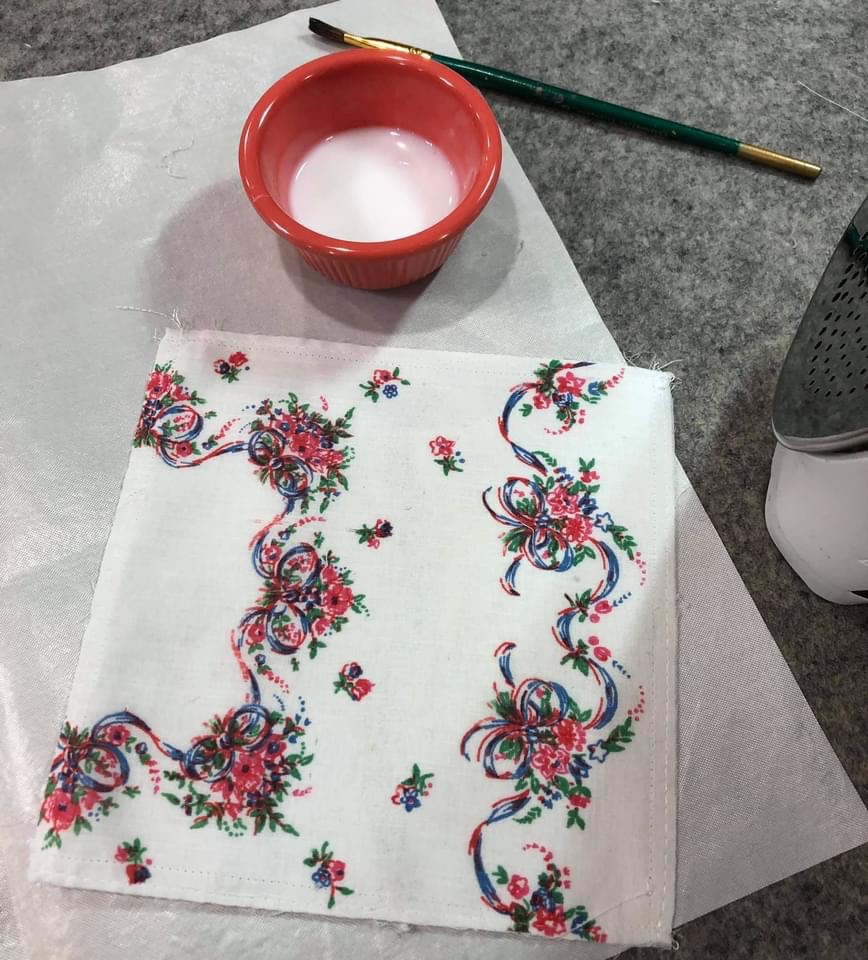
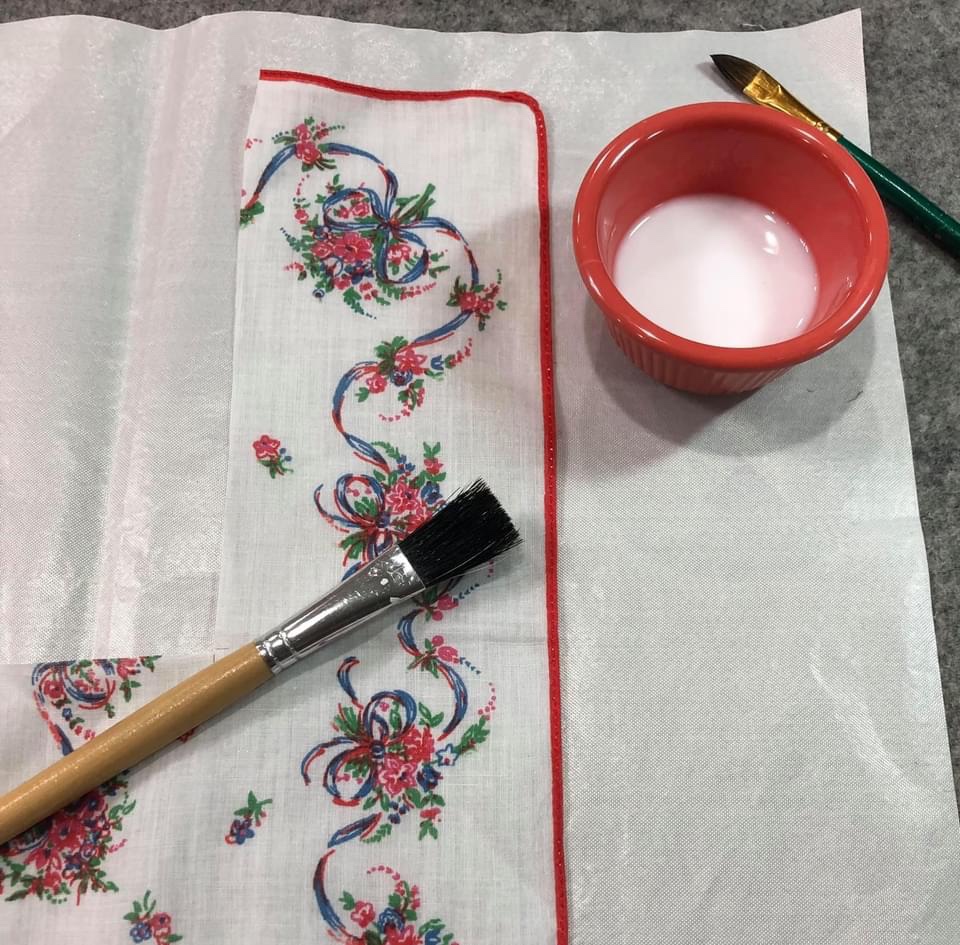
In this picture I have backed my vintage handkerchief with laundered and pressed bleached muslin. Using an artist paintbrush, I lightly wet the area with the water/glue mixture where I plan to stitch. No need to over saturate. Have you noticed I am working on a white Teflon pressing sheet? I want to protect my ironing board surface from the mix.

You can either allow your fabric to air dry or carefully press it with a dry iron. Why a dry iron? If you use steam you will be adding moisture to existing moisture that you are trying to dry.

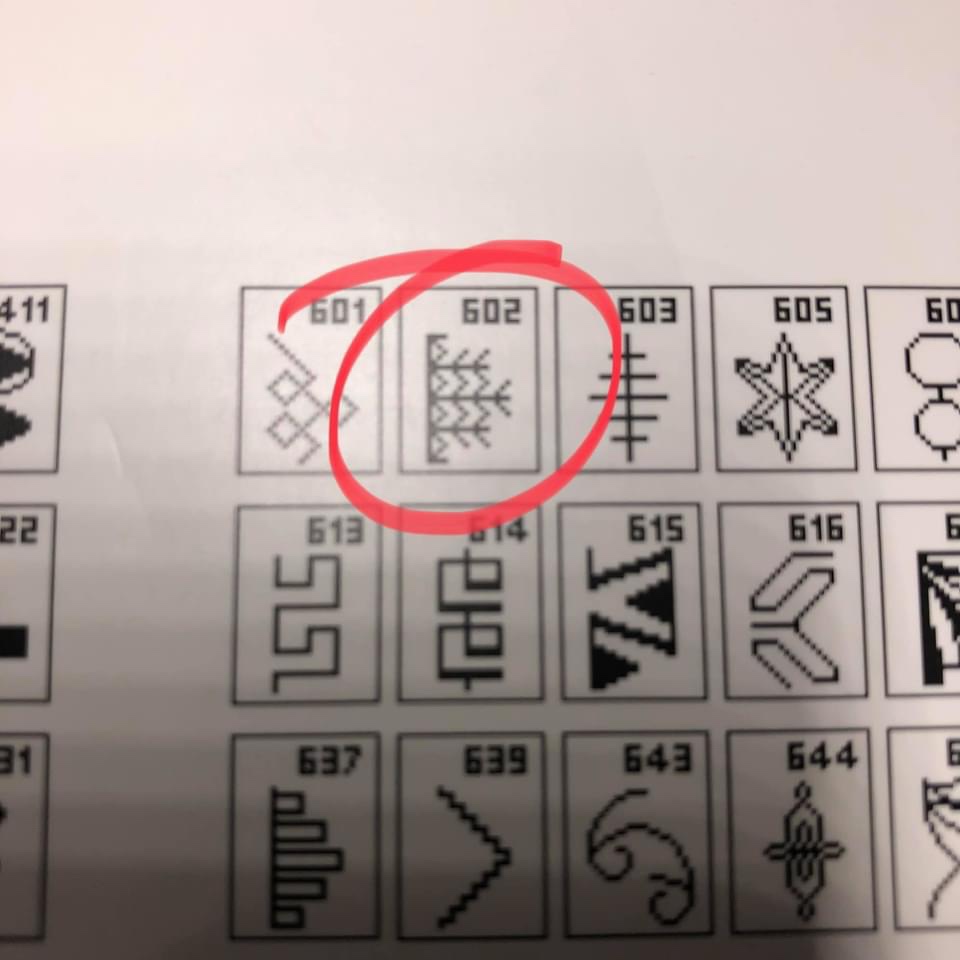
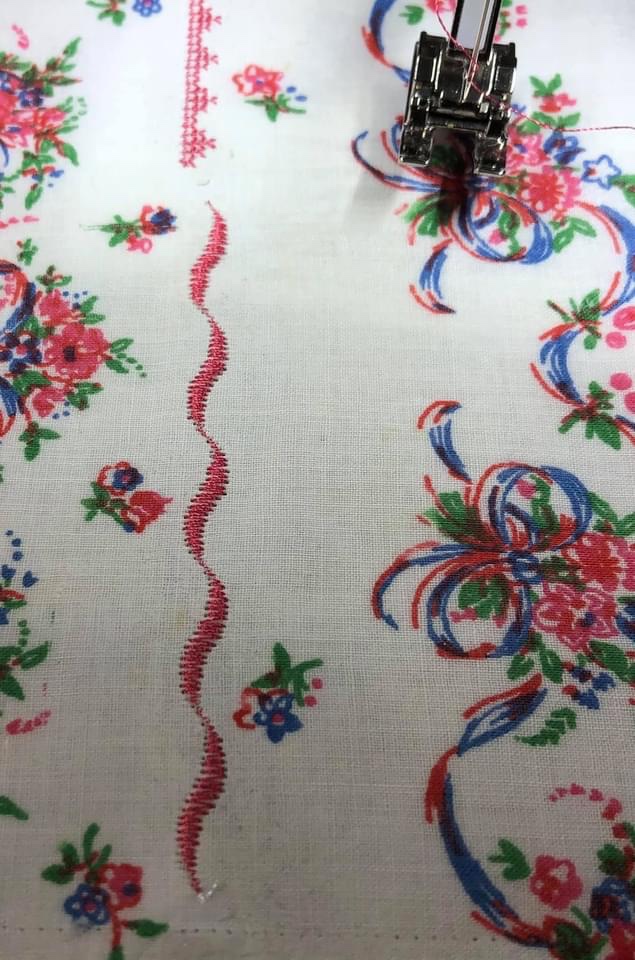
I sew mostly on a Bernina 550. For my first example I have chosen stitch #602.

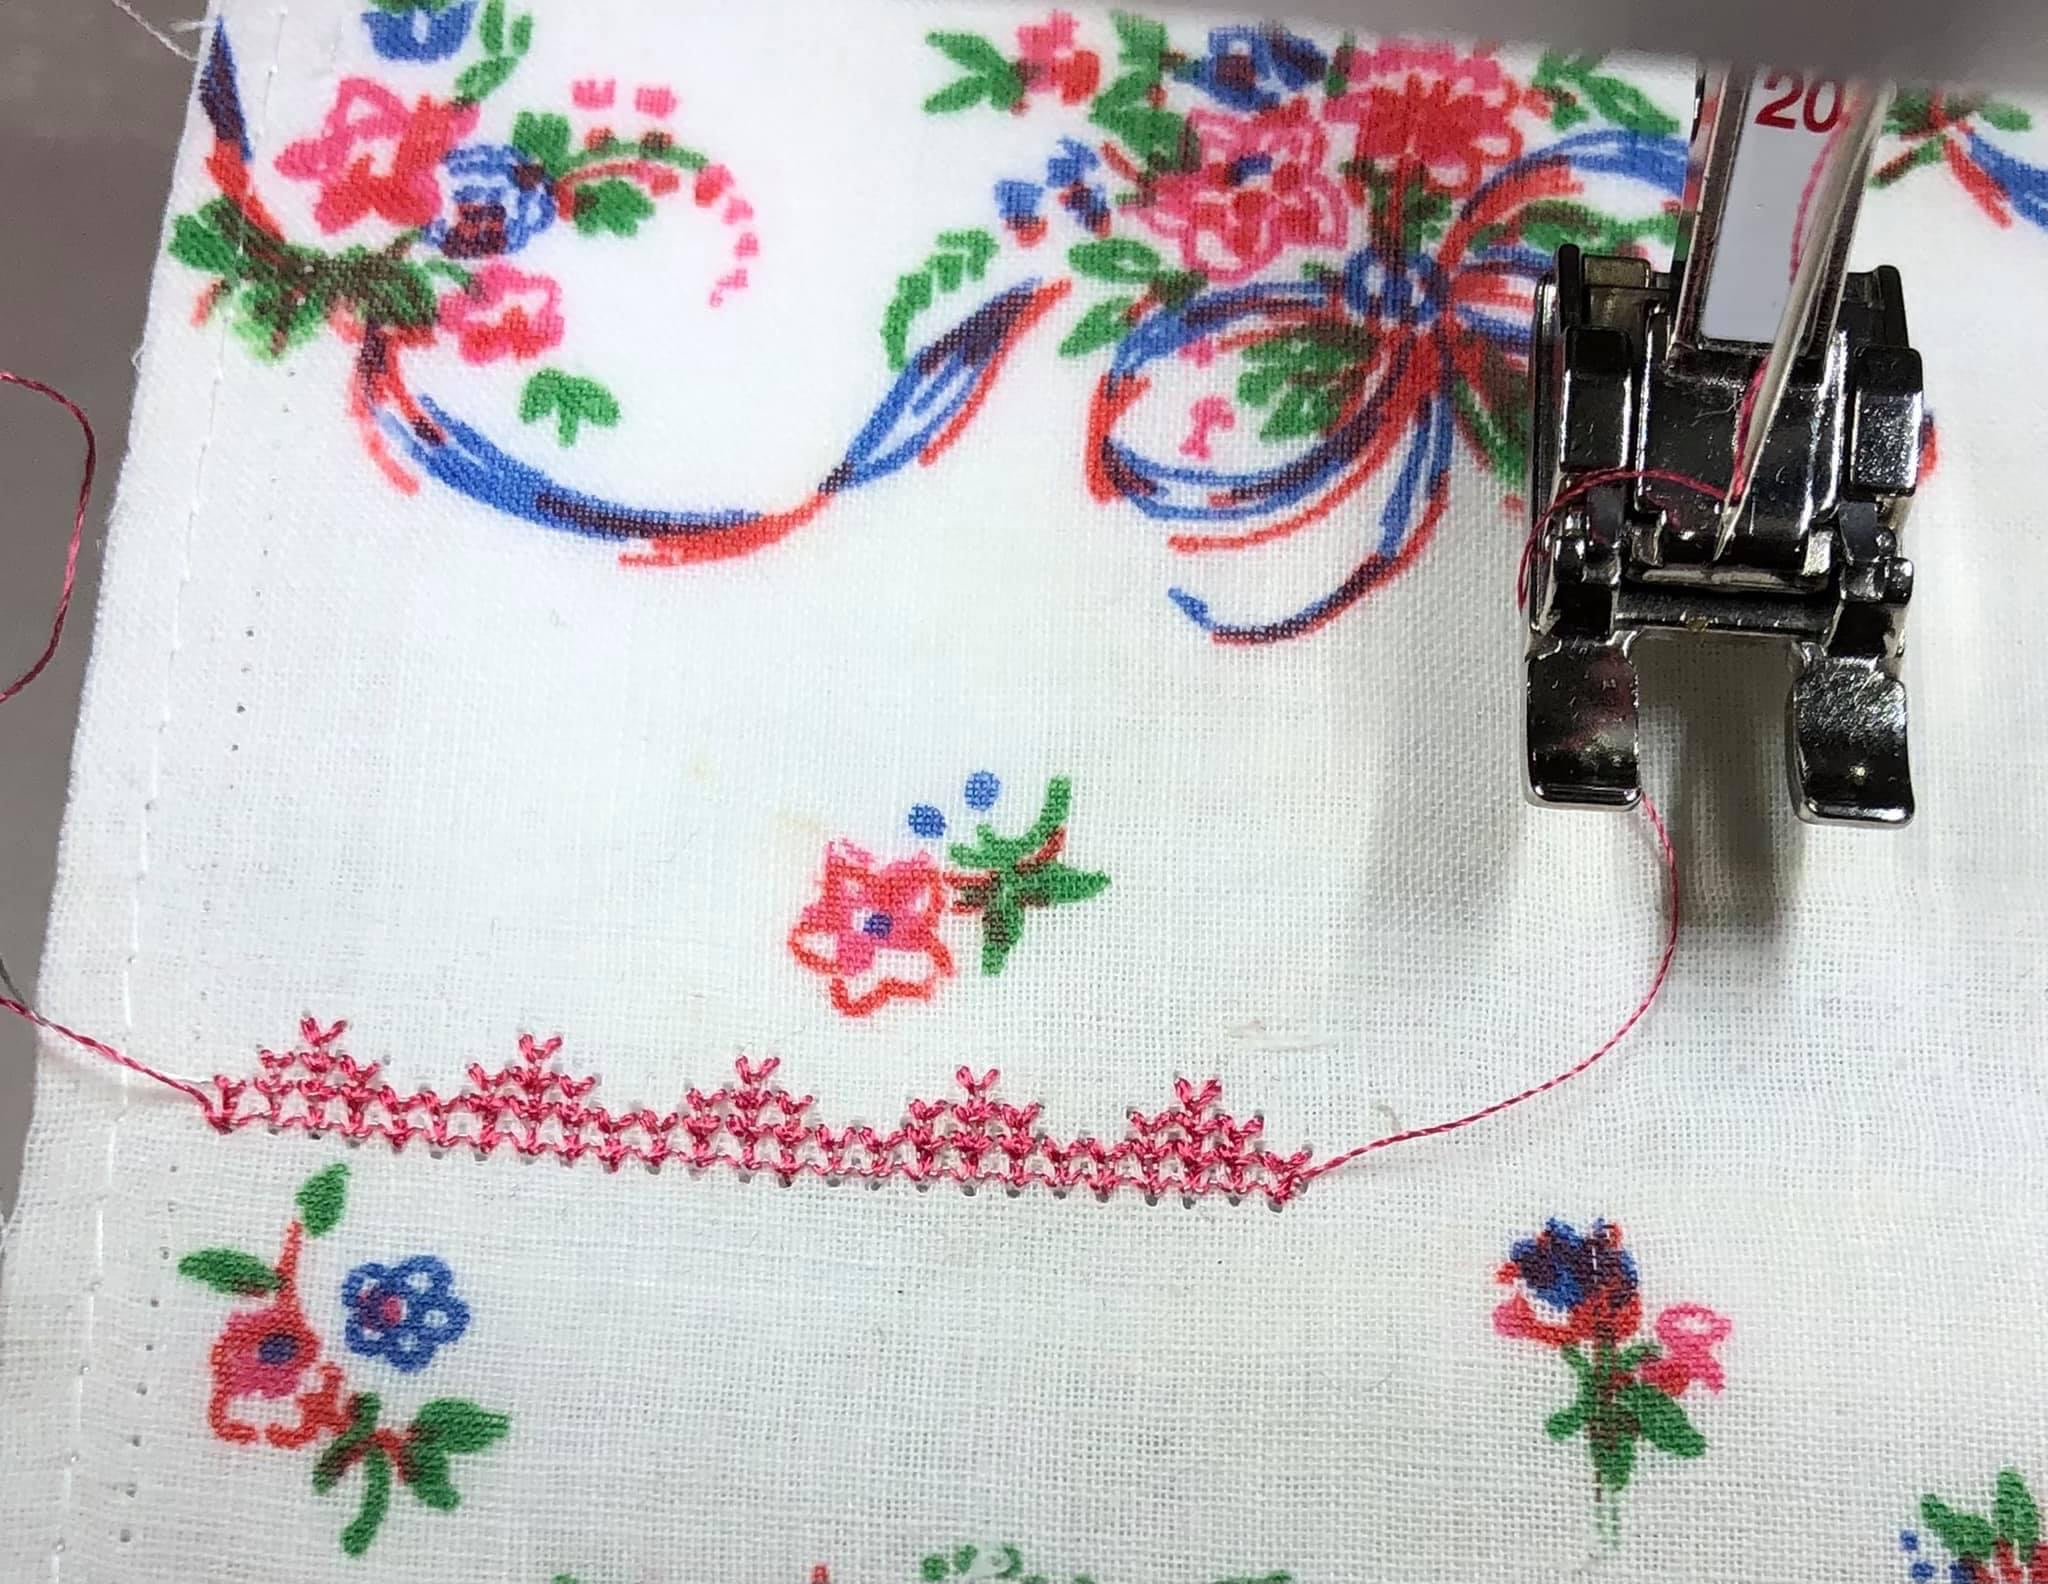
I get a beautiful stitch with no puckering.

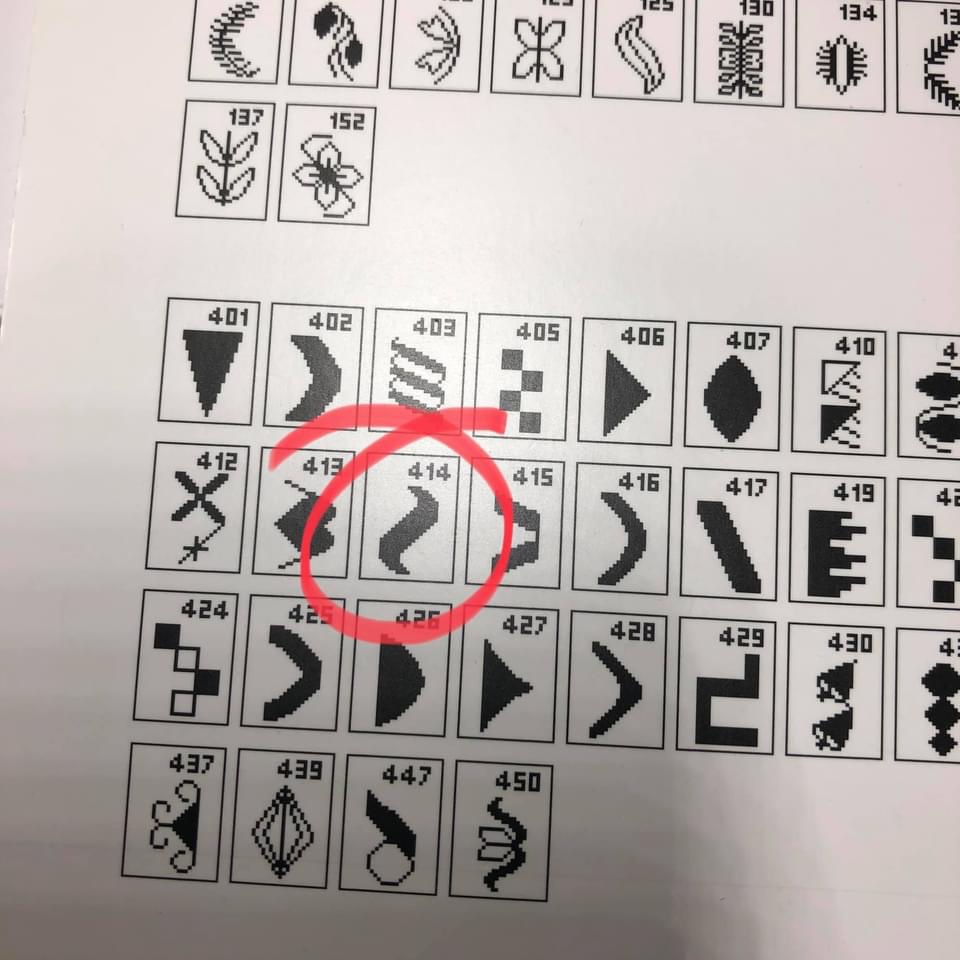
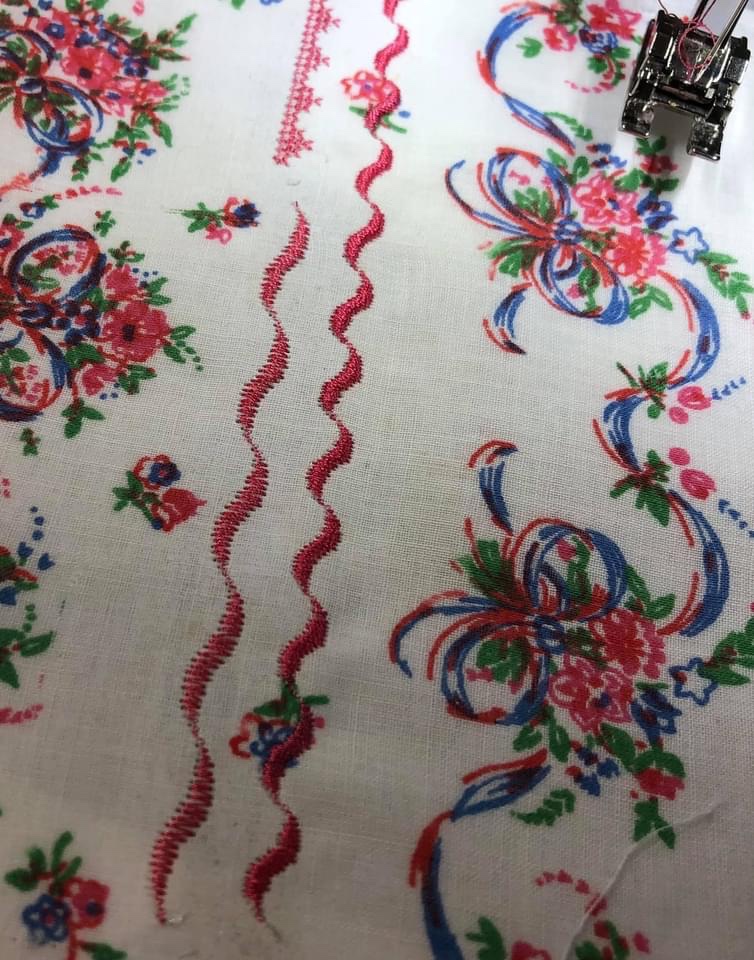
So let’s choose a stitch that has a greater stitch density, #414.

Again, the glue/water stiffened fabric gives a beautiful stitch without any fabric distortion.

But what happens if I reduce the #414 stitch length to make the design even more compact? Not a thing!

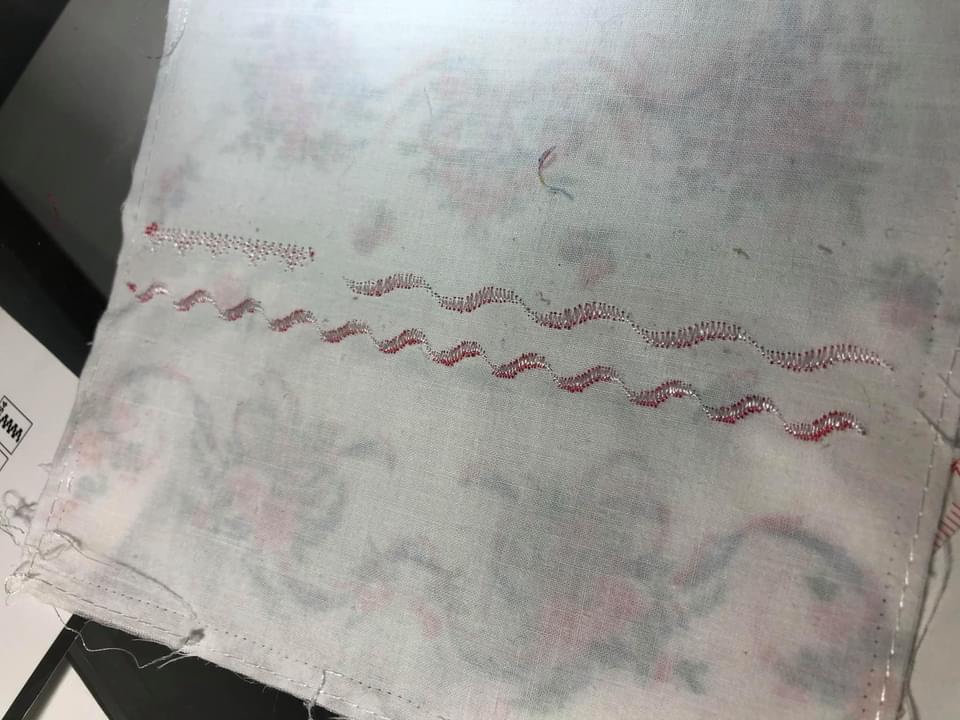
The view of the back of the handkerchief muslin block.

What happens if I choose not to back the sheer handkerchief with muslin? Because I am going to cover a larger area this time with the mix, I choose a larger paint brush.

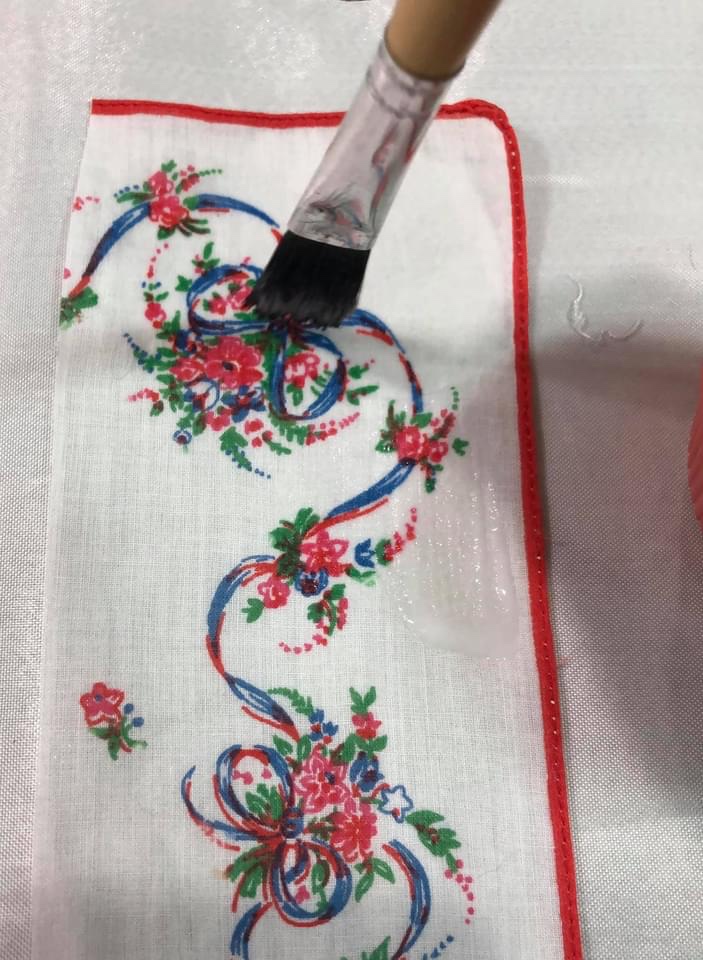
I was a little heavy handed with the glue, next time I will use more care.

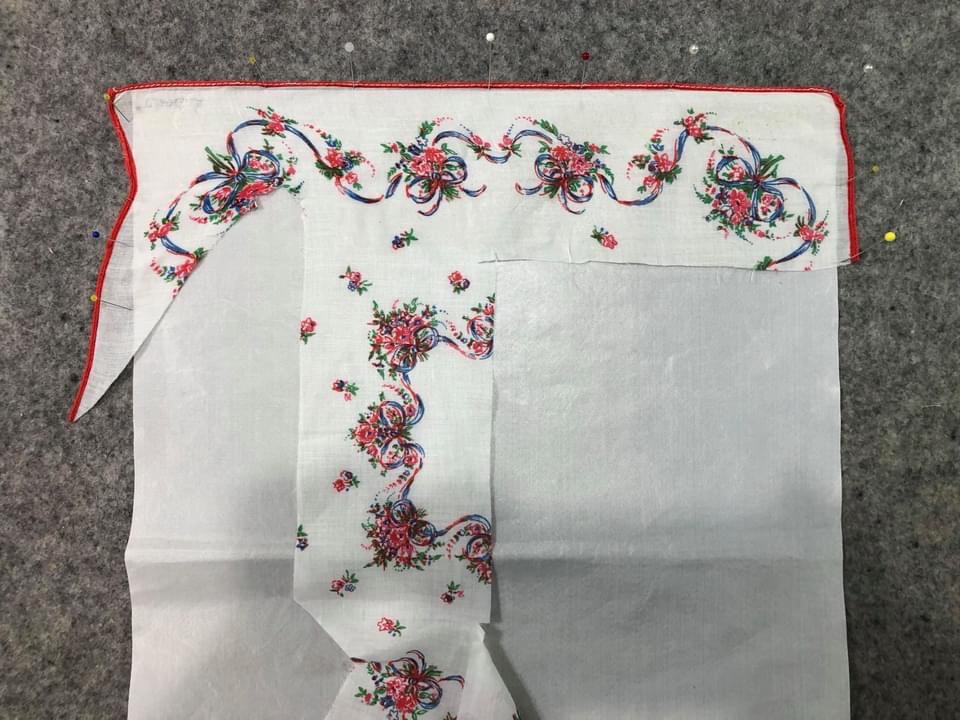
I can either carefully press or let my piece air dry. I have pinned the handkerchief as straight as possible to my wool pressing mat and because I was impatient I carefully dry pressed.

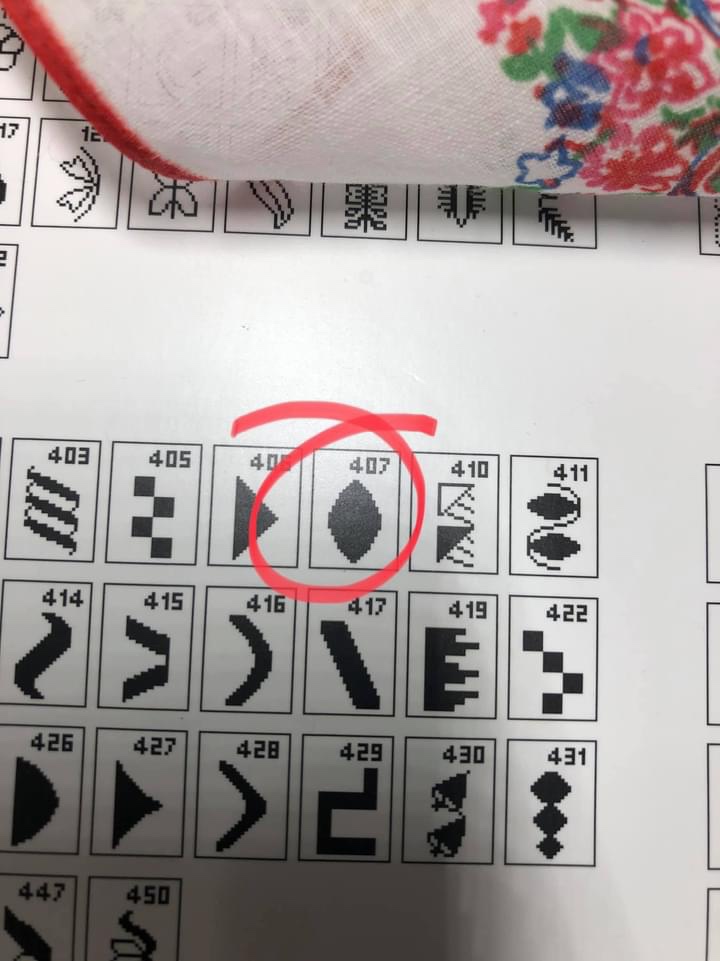
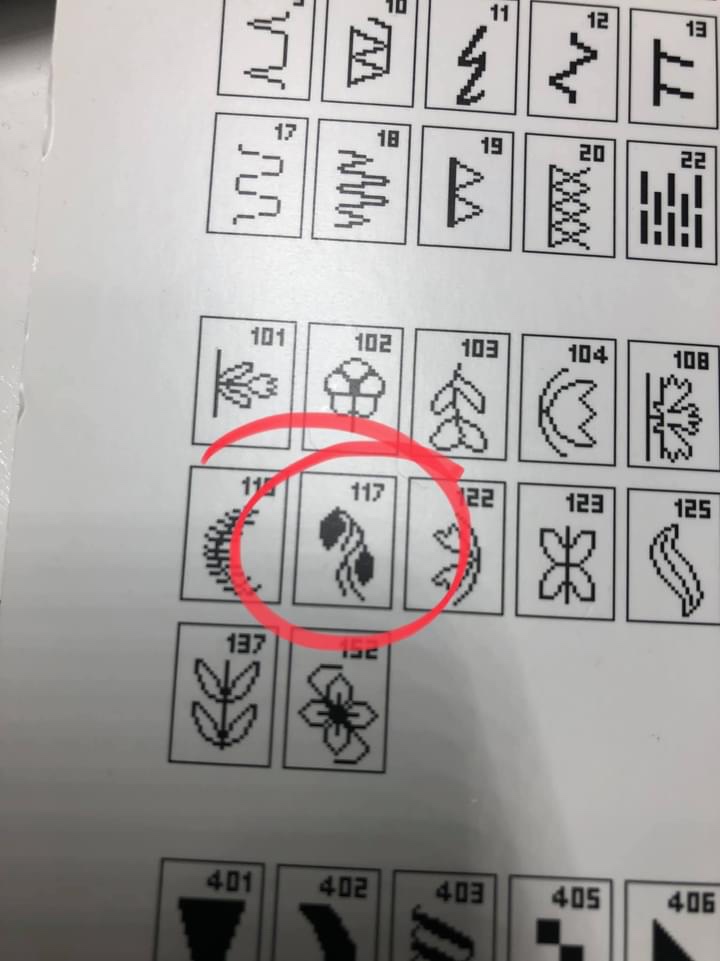
Choosing a very dense stitch #407 for my “glue/water only handkerchief”, I begin my test.

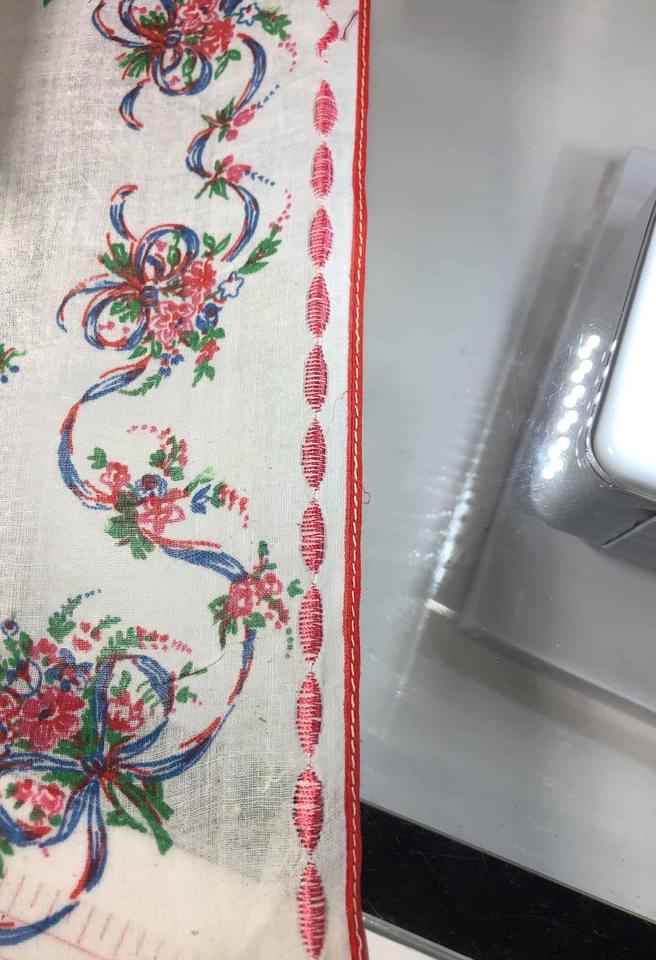
Absolutely no puckering of the sheer handkerchief.

Another stitch, another example.

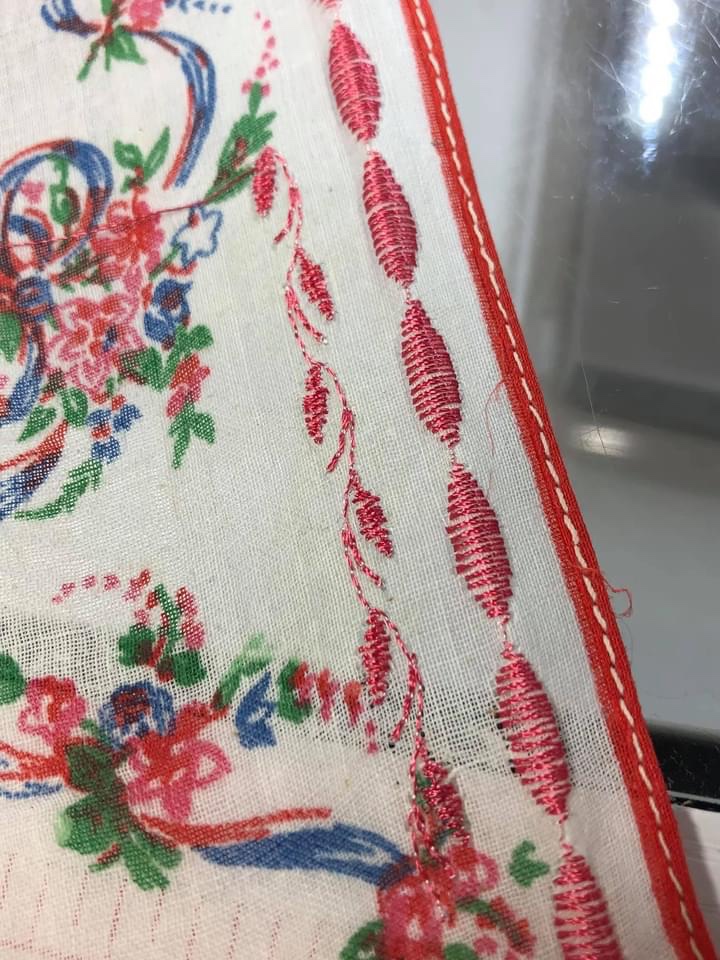
I love being able to stitch on sheer fabrics using glue mix as my inexpensive stabilizer.

Sometimes it is unusual household items that prove very helpful!

Happy stitching and blessings! Stay safe during this ugly pandemic!

Rhonda

Class 2: Vintage Lattice Stars, an Introduction

I’m so excited to tell you about what we are going to make in Class 2 beginning March 1, 2021. We are going to follow a pattern by a professional designer, Karen Walker. Owner of Laugh Yourself into Stitches, (laughyourselfintostitches.com) Karen created Lattice Stars but has allowed me to rename our project Vintage Lattice Stars! How great is that!

Karen’s patterns are very straightforward making them easy to follow. She has gone the extra step for us by making the pattern available as both a downloadable .pdf or as a traditional purchased paper pattern but here is the best part: she has priced the .pdf at only $3.99 and the hard copy at $6.50 and that includes shipping…USA only. ***Please note: International purchases are only available in .pdf downloads.

Click on the above blue link to take you to Karen’s website.

The pattern has 4 different finished sizes to choose from so you can make anything from a Throw to a King-sized bed quilt. Being quilters, we recognize a great deal when we see one!

I have created 2 examples for you, the first is the pink and white finished and partially embellished quilt, zoom in on the picture to see all the added elements.

The second is the red/white/blue/yellow quilt top that has yet to get its borders:

The special tools I used for the Class 2 quilts are:

12 ½” square quilters ruler,

6 ½” square quilters ruler,

Ultimate Flying Geese Tool

June Taylor Shape Cutter.

While these tools helped me, they are not absolutely necessary to create the quilt. You have the option of deciding which or all to add to your quilting resources collection.

Let’s talk a bit about the 2 quilts I have pictured above for you. The pink and white fabrics are things I pulled from my stash. Zoom in on the picture to see all the embellishment I added and know that more embellishments are yet to come.

The second quilt top uses Moda fabrics, mostly (but not all) from the Back Porch collection. To begin the quilt top I purchased and used 11 half yard cuts. I did not use up all of the individual 11 fabrics, I have a bit left over to go into my growing Stash Scrap Bin.

The white fabric in both quilts is the same, something I had on hand. It is a quiet white tone-on-tone with a small ivy leaf and vine design.

Use this link to download the different size specifications: https://www.laughyourselfintostitches.com/shop/p/latticestarsquiltpattern

As soon as you purchase your pattern, begin thinking about your color scheme and your vintage linens stash. You will have until March 1st to gather your things together. And if I know many of you like I think I do, after you get your pattern, some of you will have already made a quilt top or two by then! Remember, it is easy and acceptable to mix old with new. Not all your star centers need be vintage.

The sky’s the limit on a quilt like this! I may make one in Christmas colors using a vintage Christmas tablecloth as my star centers. I have been on eBay looking for just the perfect piece to cut apart. Are you excited to use your star making/flying geese making skills for a new project? I know I am excited to present this new class to you!

Happy fabric and linens collecting! Remember, the class begins March 1st so you have plenty of time!

Rhonda