I’m shifting gears while my vintage linens quilt is still on the longarm. The quilting is finished, my dilemma is that I do not have a large enough area to take it off the machine, lay it out and trim to bind. I have a plan: using my channel locks I’m going to put a light pink thread in the needle and baste top/down one side/across the bottom/up the remaining side, remove from the longarm and lay out on the king bed. I’ll lay a medium size cutting mat underneath the quilt and trim to size via scissors. If anyone sees the folly in this let me know asap!
In the mean time I’ve started a new project to keep me busy when I’m not binge-learning EQ8.
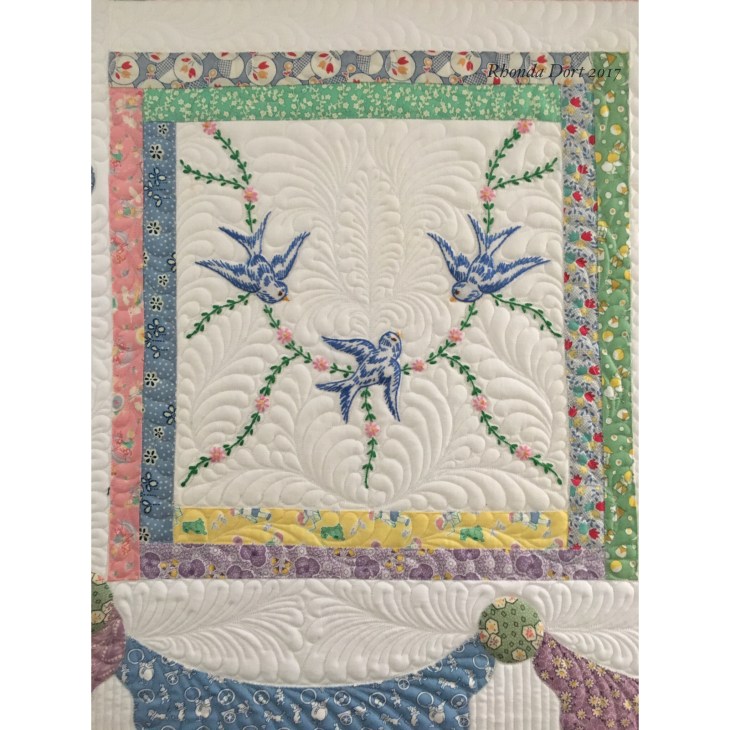
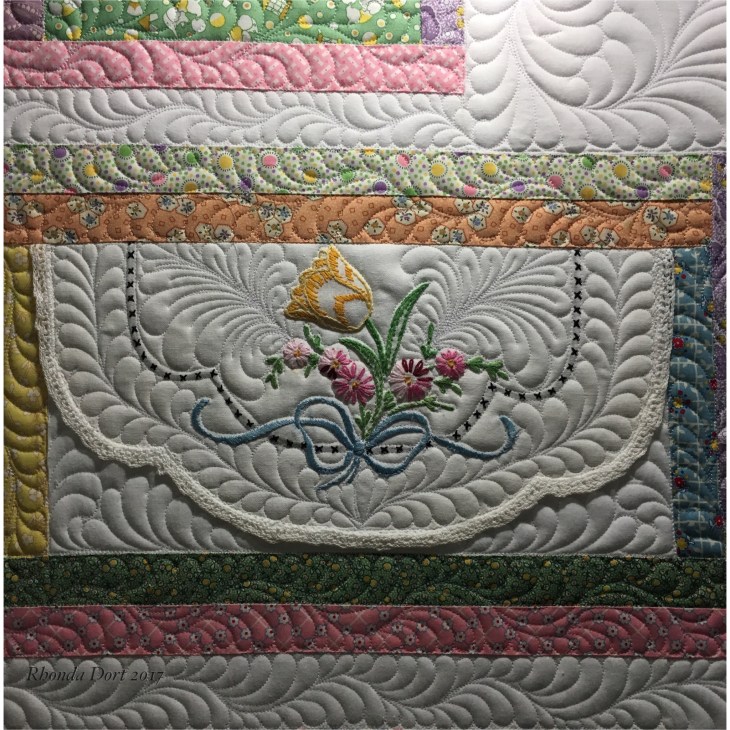
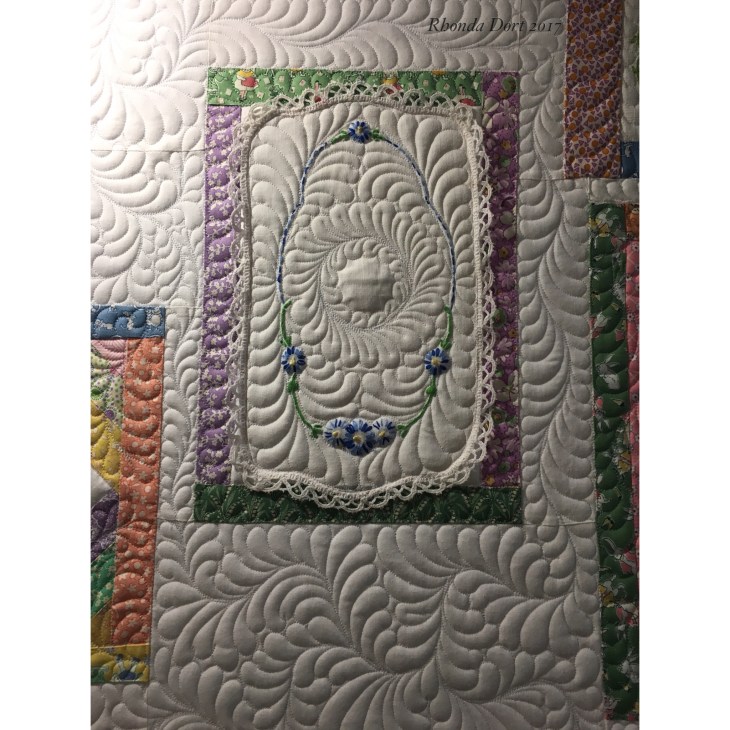
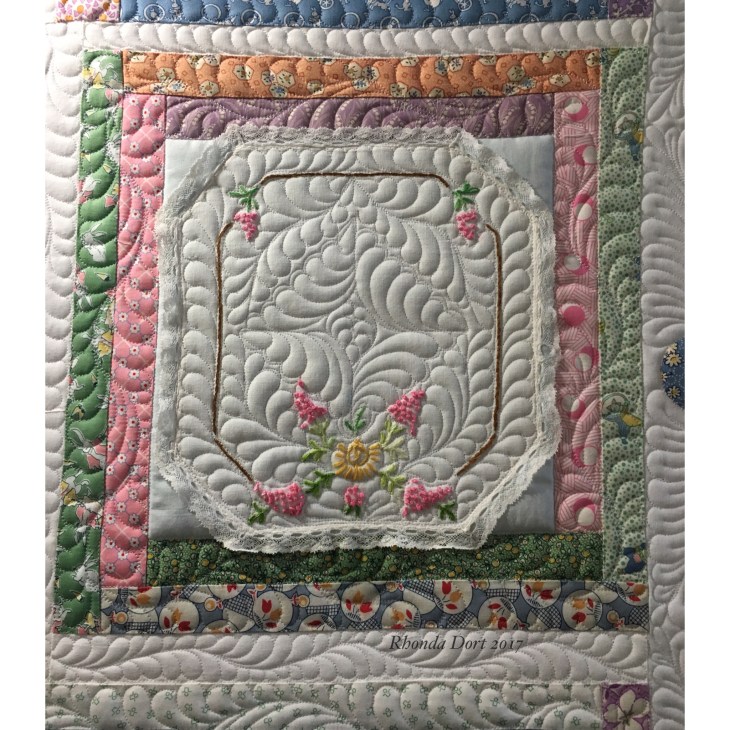
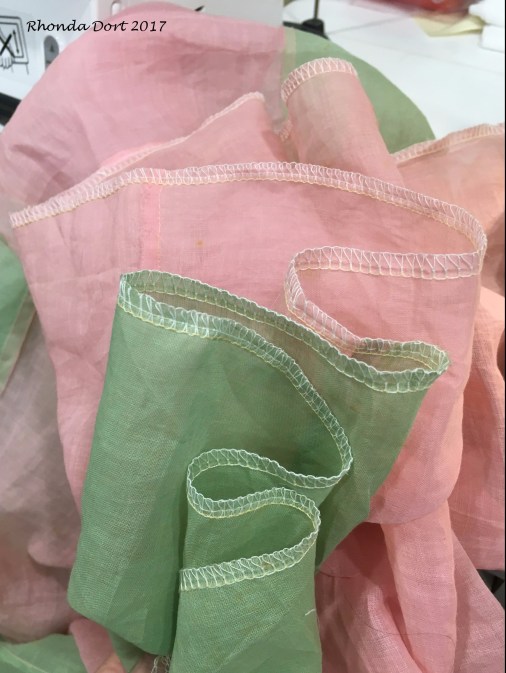
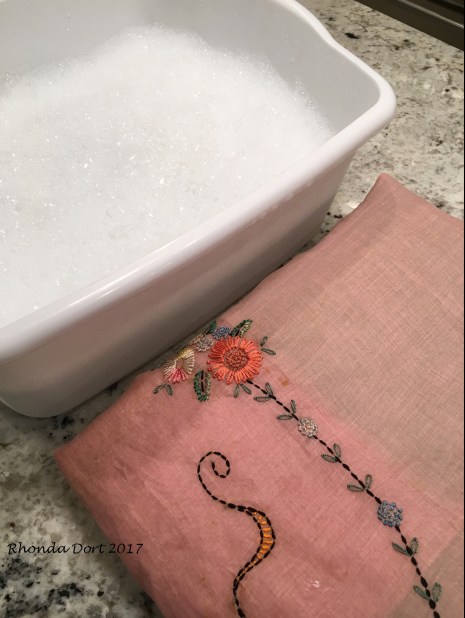
Meet vintage summer weight bed coverlet:
Are you familiar with the garment fabric called Lawn? For a very good short article on this fabric: click here. Lawn is remarkably thin/light weight. I’m showing it here laying atop a white bedspread.
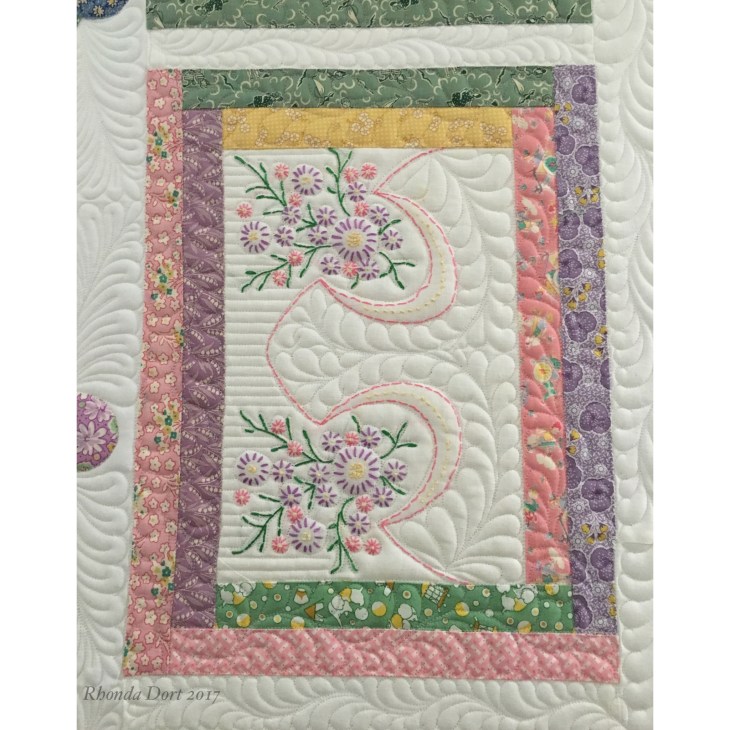
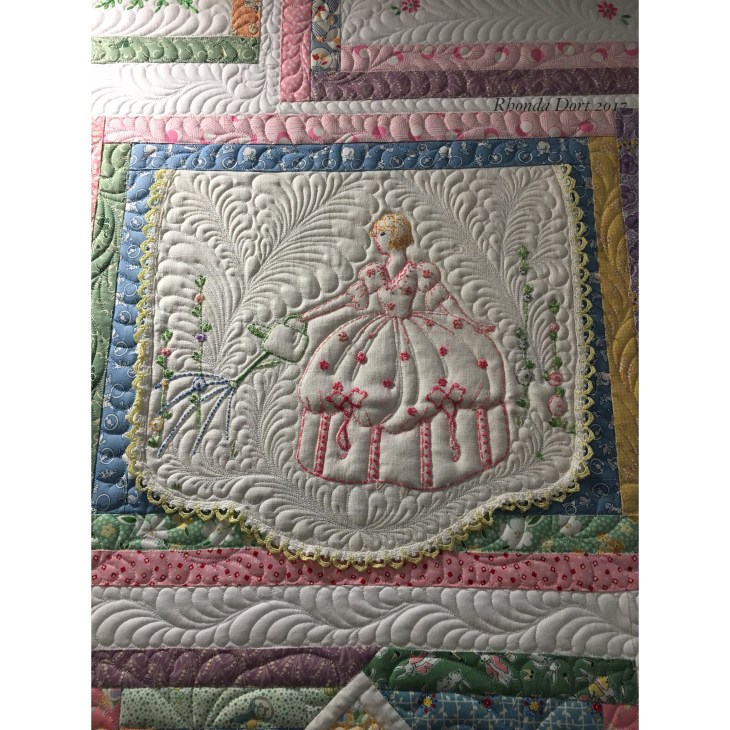
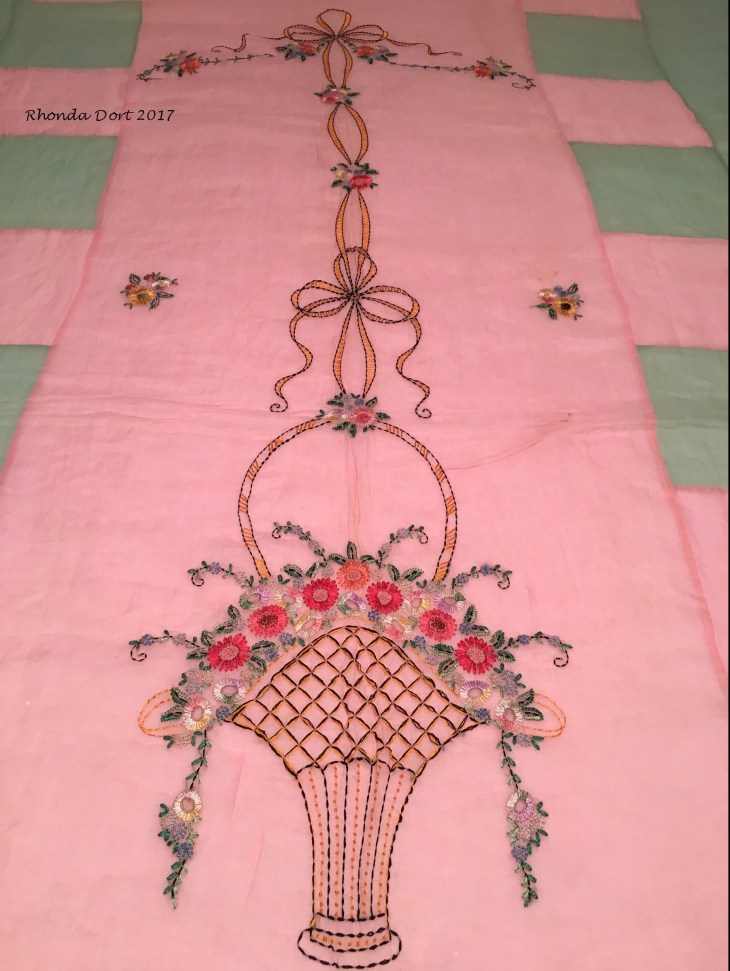
Purchased on Ebay sometime earlier this year, I was very pleased when it was delivered to my home. Now, let me say “my-oh-my was this item dirty”! So dirty in fact that I could hardly wait to wash my hands each time I worked on the unfinished embroidery. Not particularly stained dirty, just full of the dust and grime from the passage of time. That rhymed! Be warned, I will be addressing poetry again further down in this post…
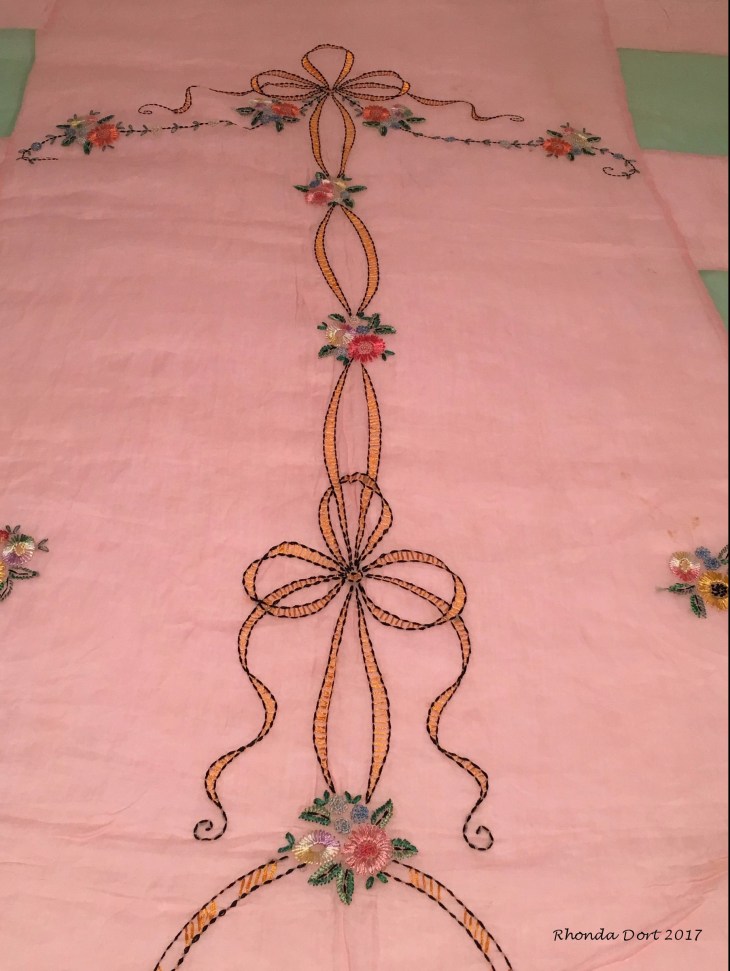
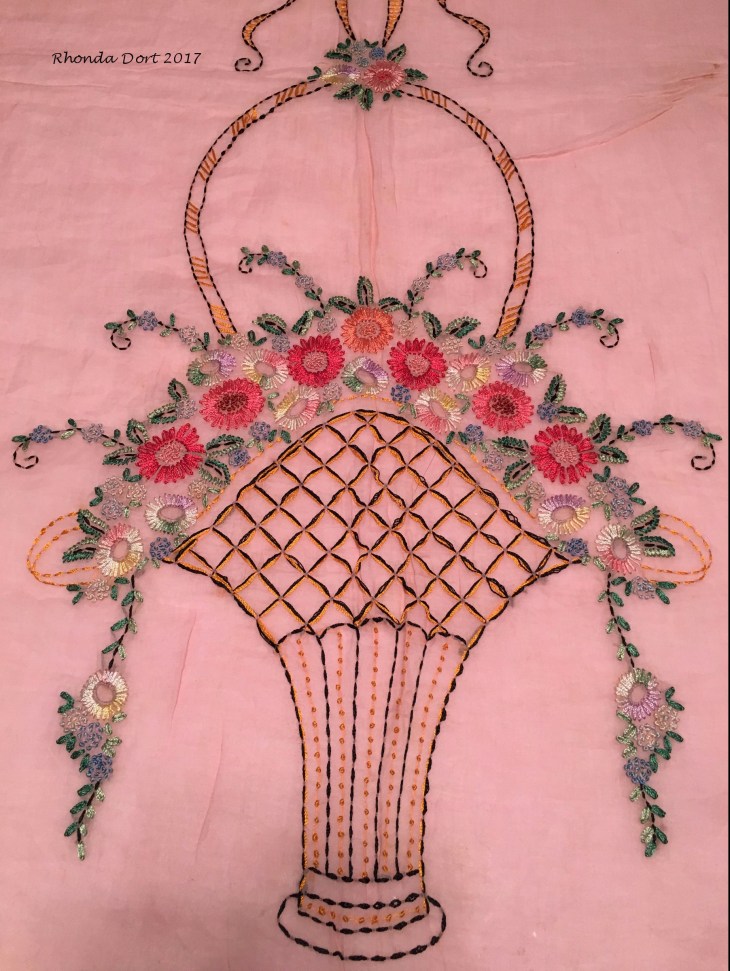
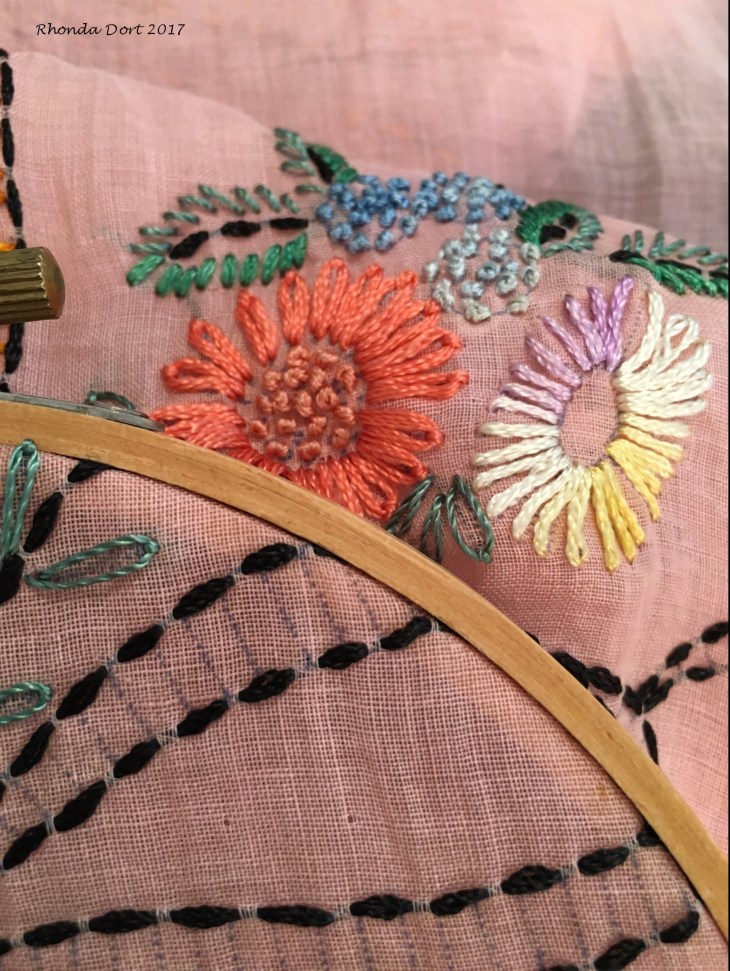
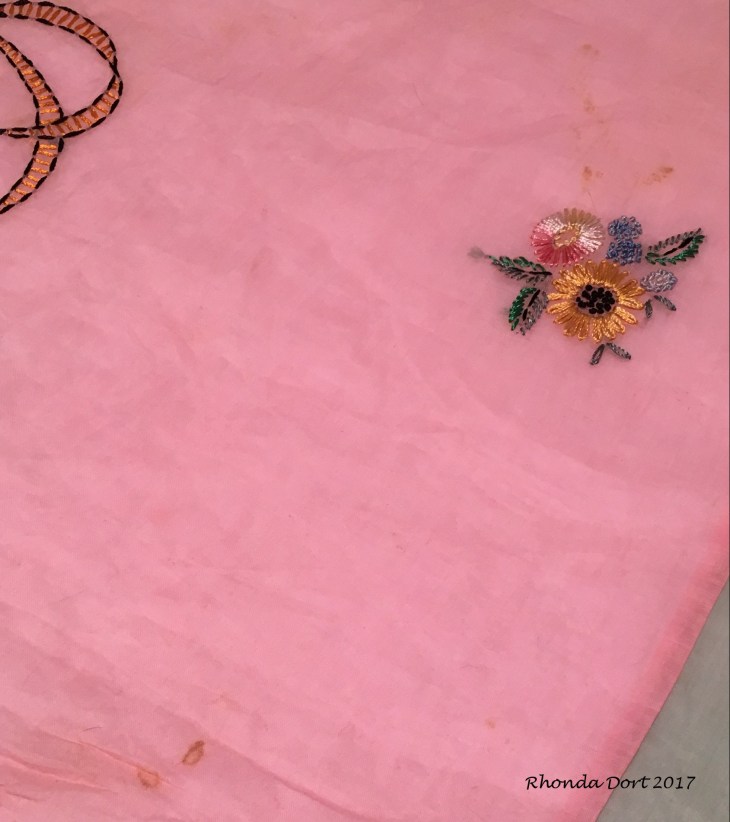
This arrived from the Ebay seller with about 90% of the hand embroidery completed. A quick trip to ABC Stitchery in Spring, Tx allowed me to purchase the right Satin DMC colors to finish the project. Oh goodness! After doing the embroidery work for the first time with the satin floss I believe the original creator of this work most likely died of frustration. Satin embroidery floss is horrible to work with! Sure, it looks great but she did THE ENTIRE PROJECT with this crazy stuff!


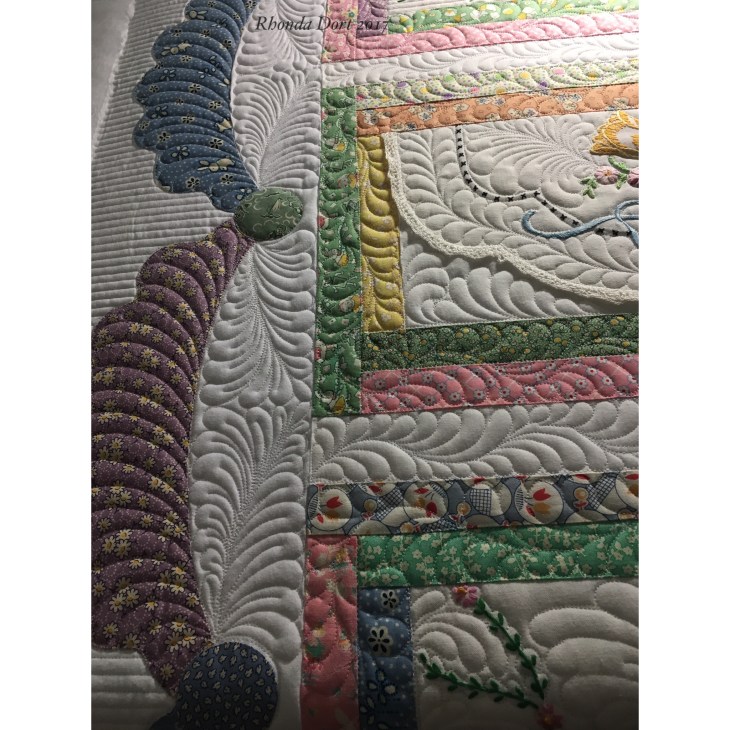
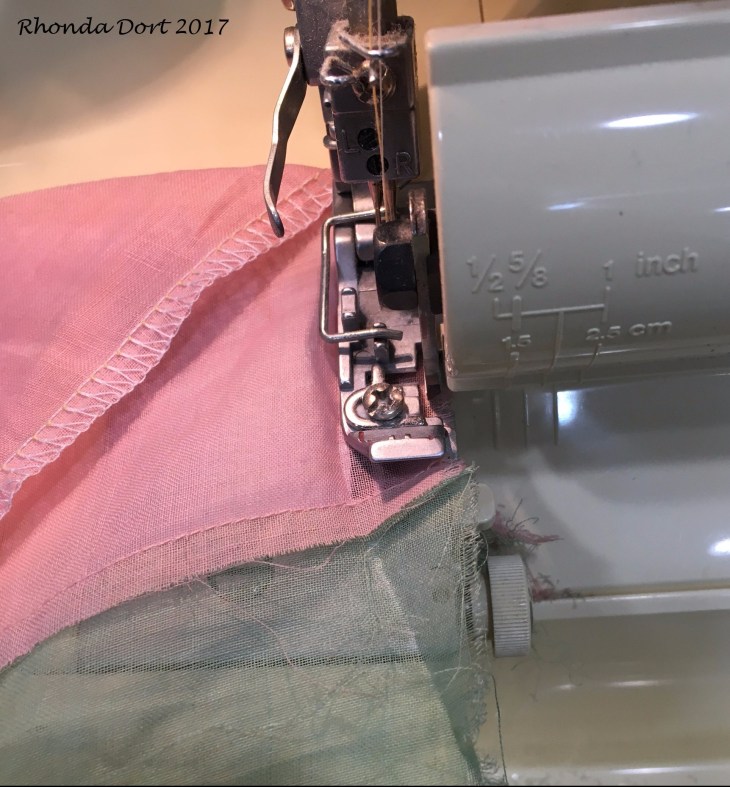
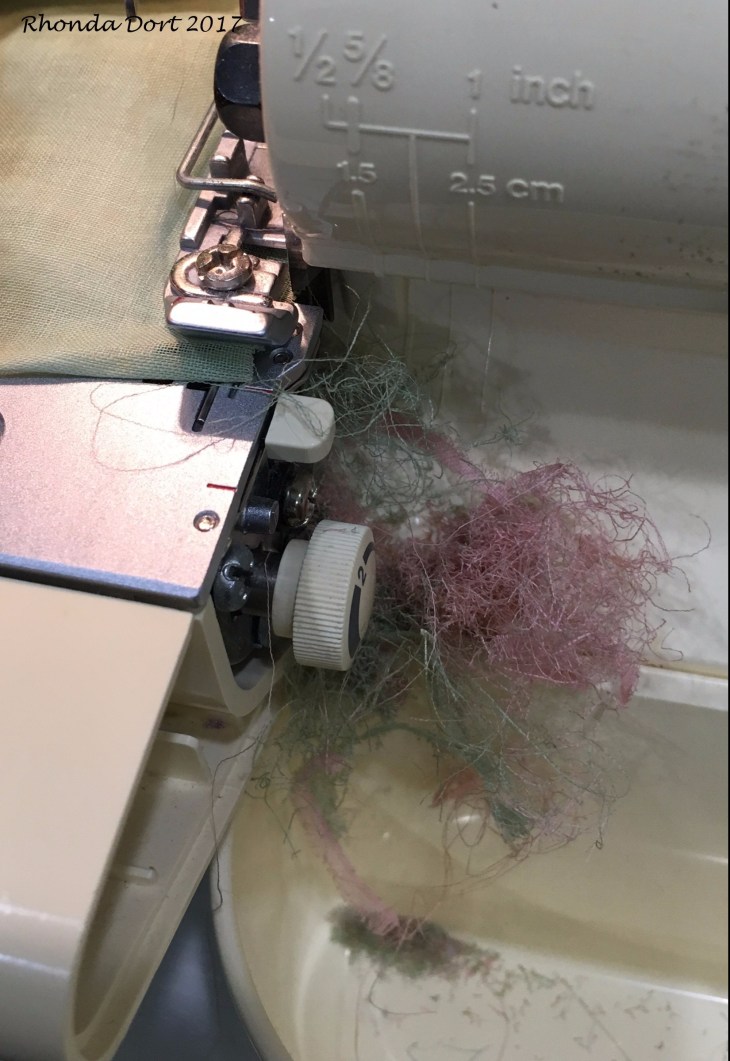
The sides of the piece were cut so the green Lawn fabric salvage was the edge. The top and bottom were beginning to fray so I serged an edge using care so as not to serge/cut the fabric, only the threads that had come loose.
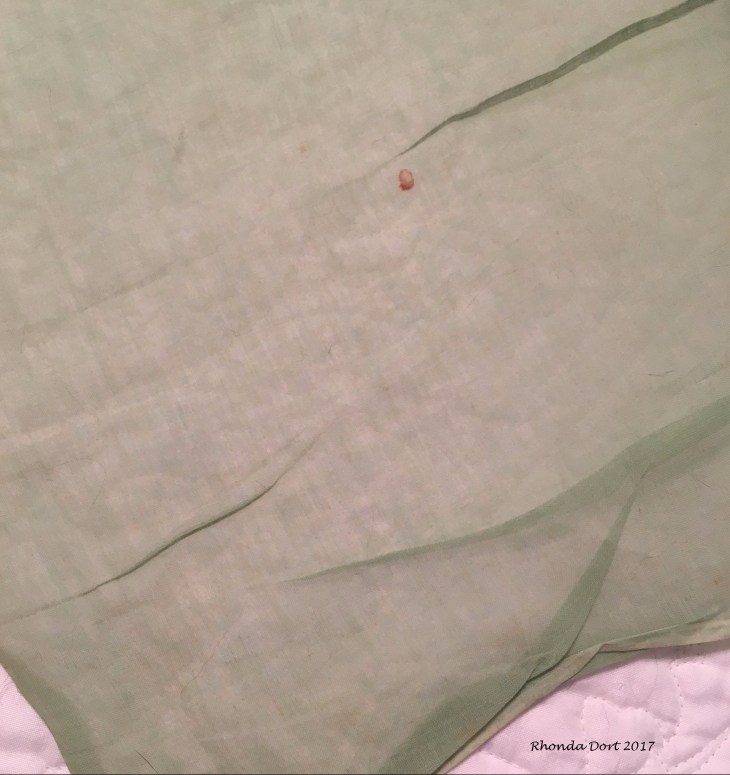
The overall condition of the piece (minus the dust and grime) was excellent. There are maybe 5 or 6 of these little less than 1/4″ spots on the piece. I am thrilled that they are not rust!
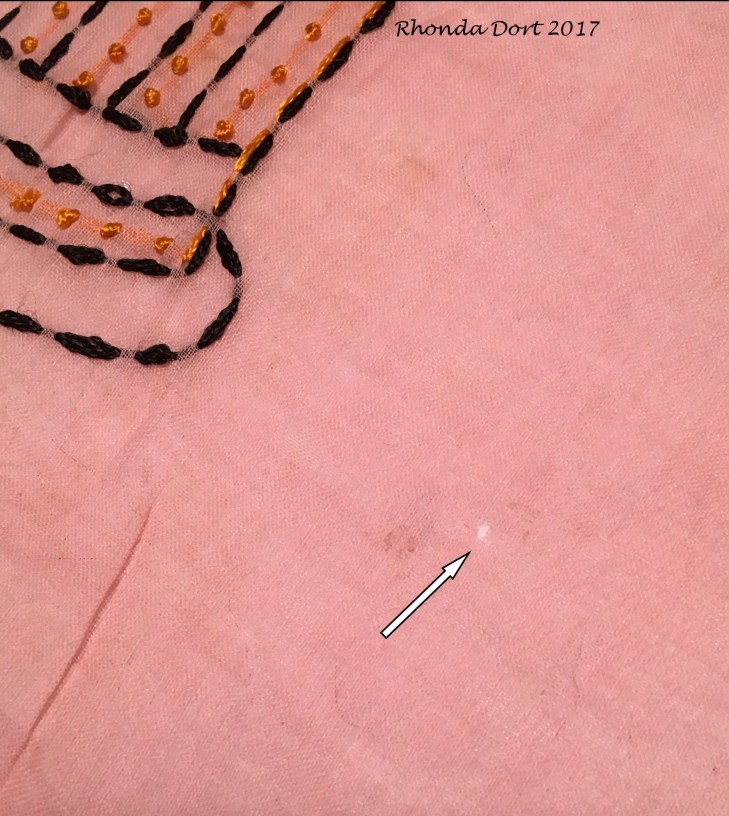
Remember earlier I said there was more poetry to come? There are tiny, and I do mean tiny little holes in 4 or 5 places. I’m assuming they are areas where tiny little creatures (silverfish?) munched. So, think back to your childhood…what internationally famous poem about munching insects comes to mind?
| The Termite by Ogden Nash |
||
| Some primal termite knocked on wood And tasted it, and found it good! And that is why your Cousin May Fell through the parlor floor today. |
With the hand embroidery finished and the raw edges serged, it was time to think about how to clean this beauty. As the piece has a lot of black satin embroidery floss, I was concerned about the floss fading onto the pink and/or green Lawn. Blue Dawn dishwashing detergent to the rescue! You might know that Dawn (the blue original Dawn) acts in the same manner as Synthropol in that it binds errant dyes in the soak water, hampering them from re-attaching to the fibers/fabric.
The picture below is the water after the piece had been submerged only about 20 seconds!
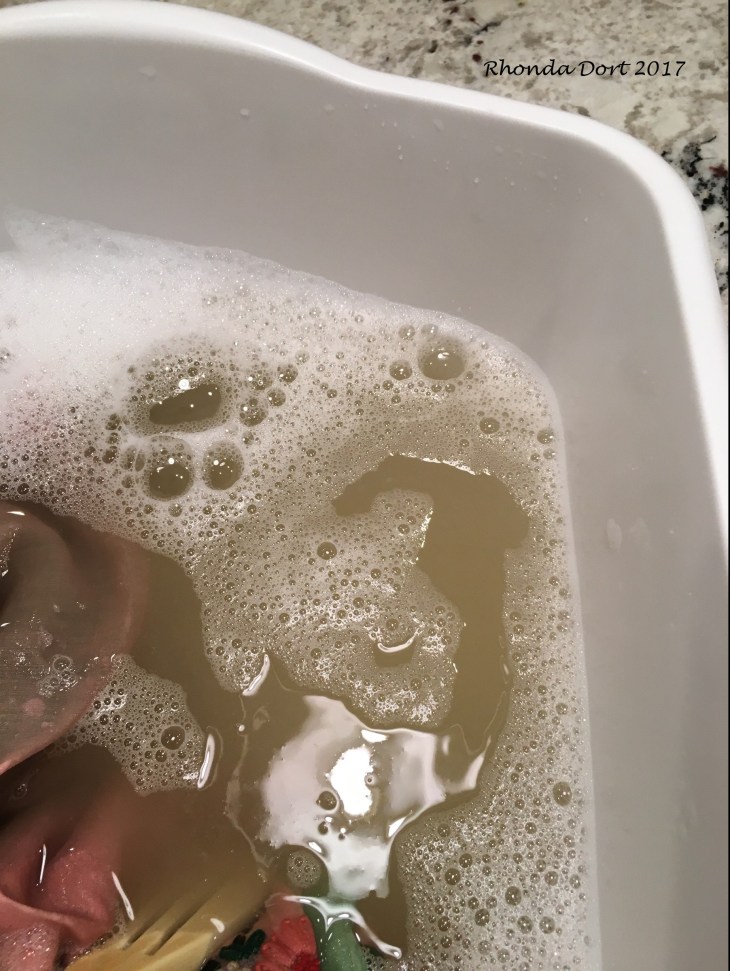
Here’s how horrible the soak water looks after 2 minutes! Yikes! Like I said, this piece was dirty!
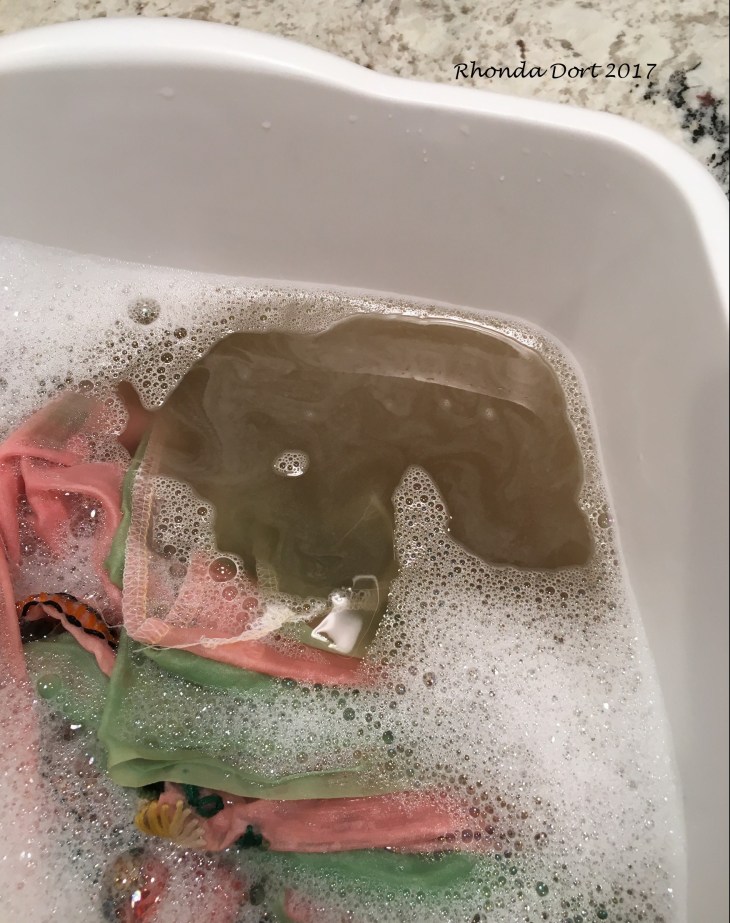
I let the piece soak in the first tub of water about 10 minutes, drained, lightly rinsed in warm tap water and put it into a second tub of Dawn soak water. Once again, the water is just horrible. I will continue this process all morning until the soak water is clear and clean.
I just realized that I have no place to lay this piece out to dry. Hm….. I’ll have to think on that for the rest of the morning. It very well may have to be draped over a shower curtain rod.
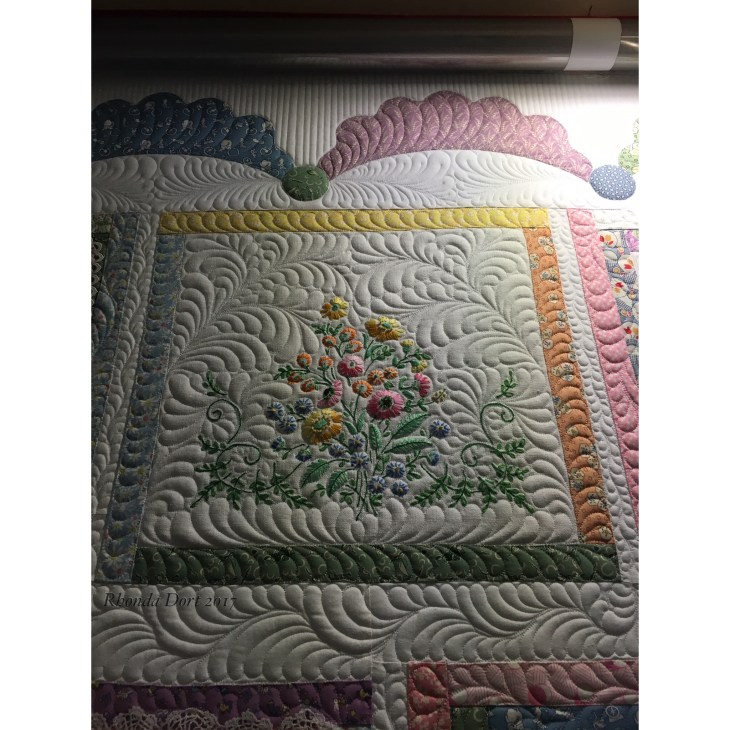
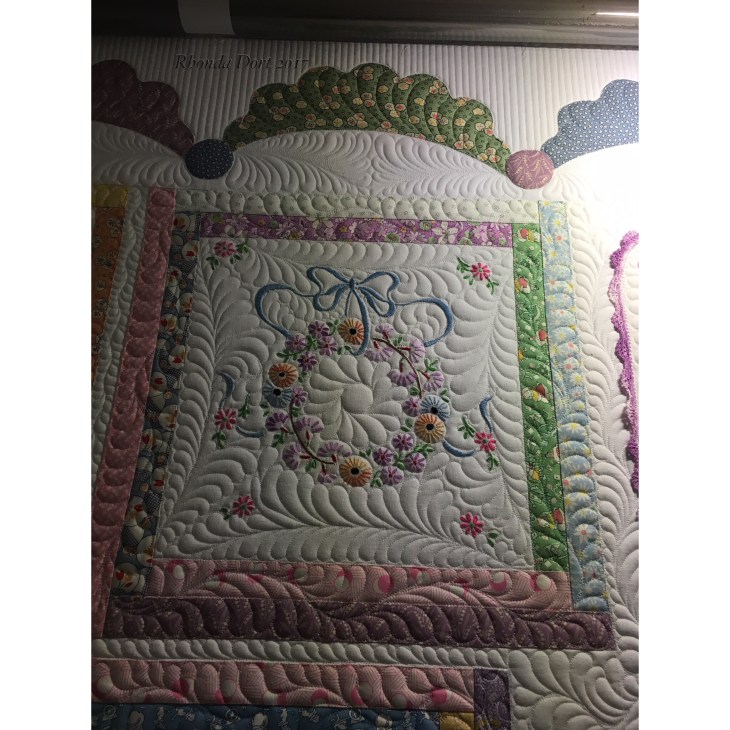
So what will I do with this beautiful piece when it’s clean? I will lay it atop a solid very light pink cotton quilting fabric, double batt, Hobbs white 80/20 and also their Poly Down and use the same light pink solid fabric as backing. Get everything loaded on the longarm (Innova) and quilt! What thread will I use? WonderFil of course! At this point I’m not sure if I’ll use Deco Bob which is 80 weight or go with Invisafil at 100 weight. I’ll keep you posted!
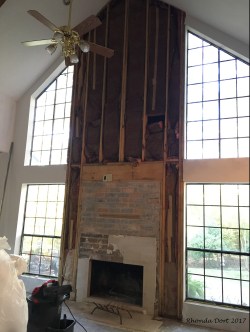
***house update: I’m pulling out my hair trying to find a stacked stone for the fireplace wall:
Until next time, blessings to all and happy quilting,
Rhonda