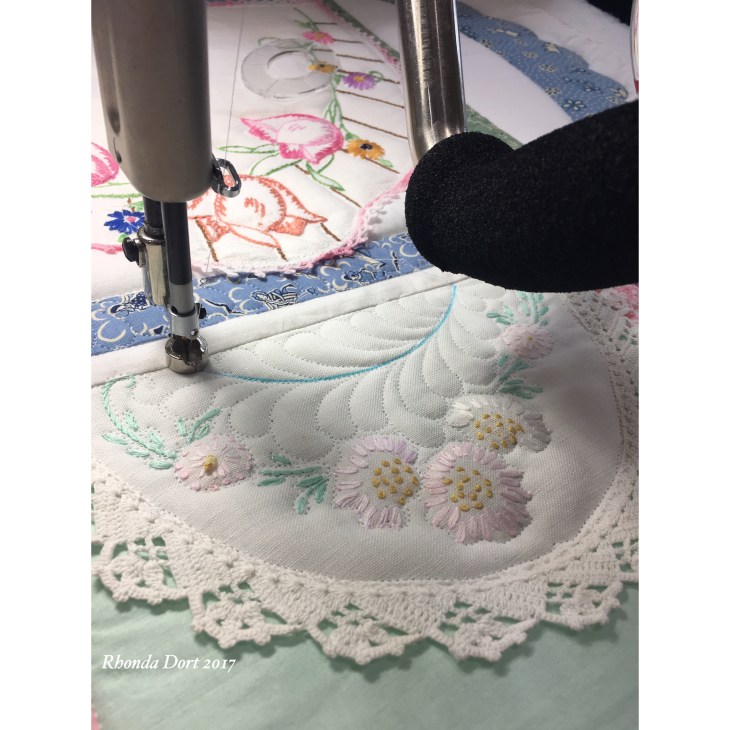
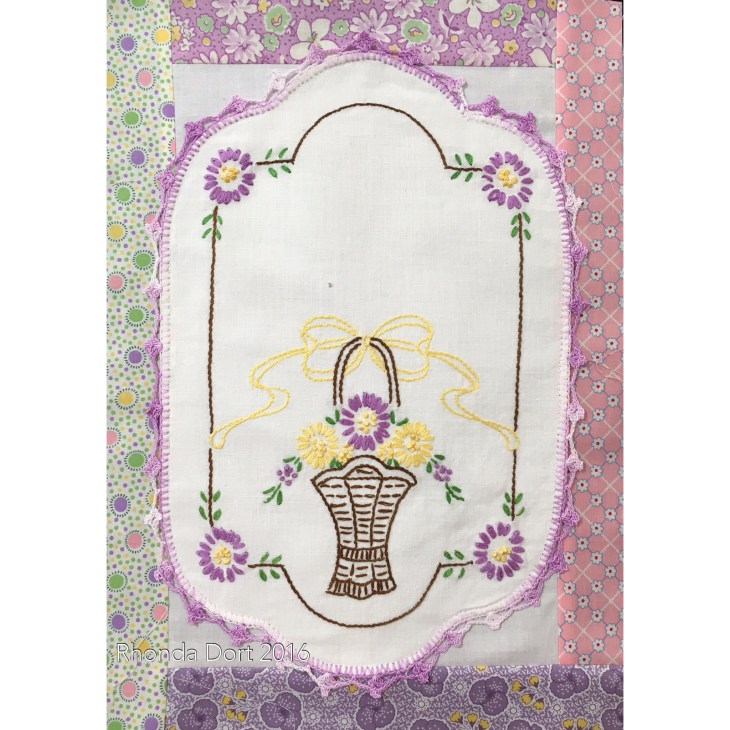
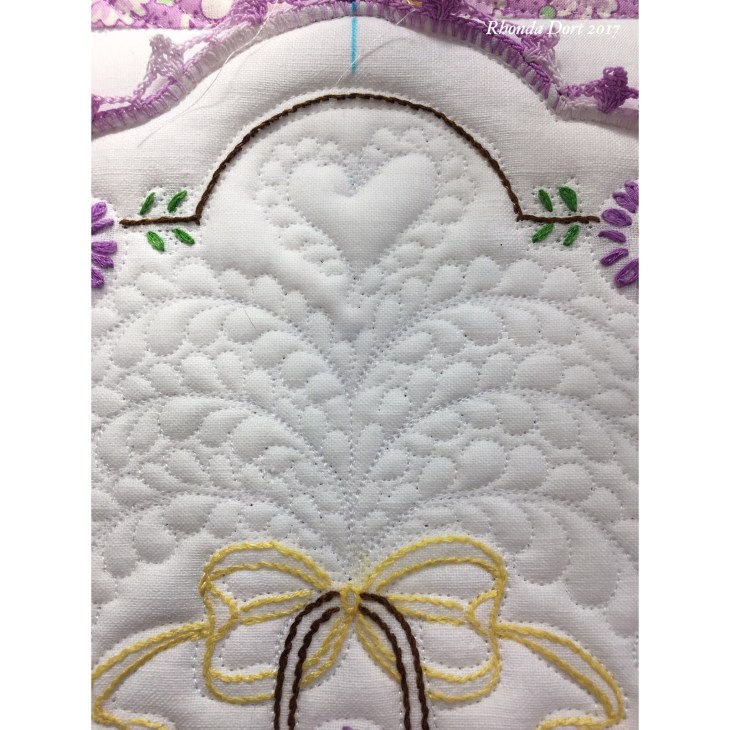
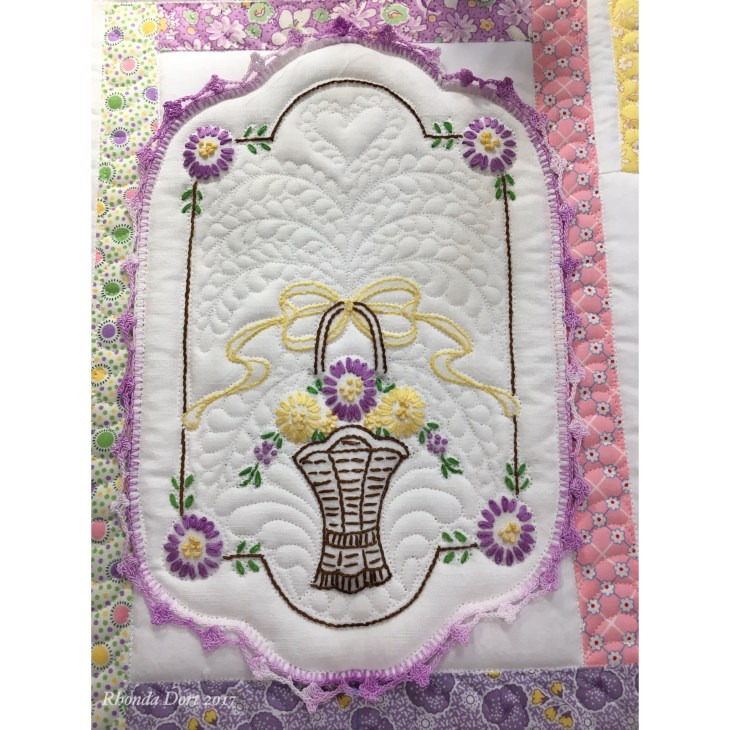
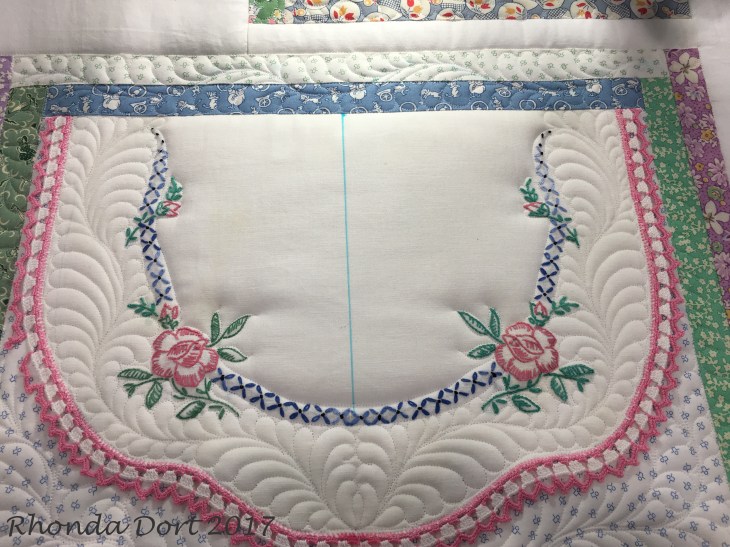
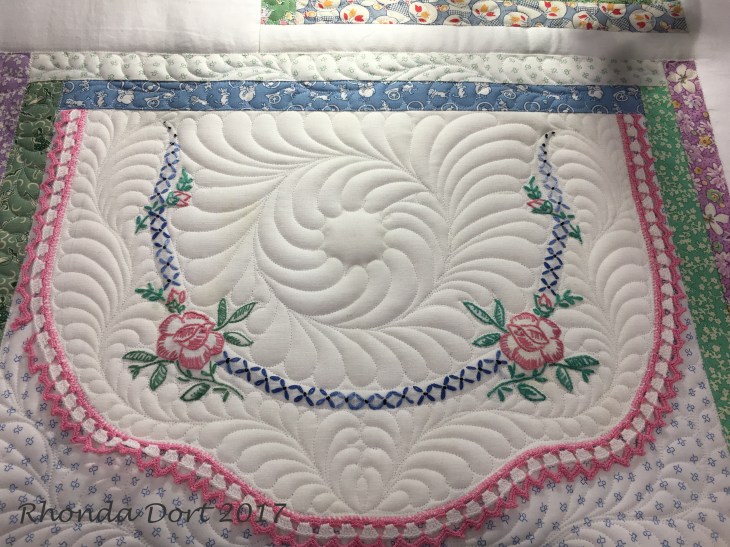
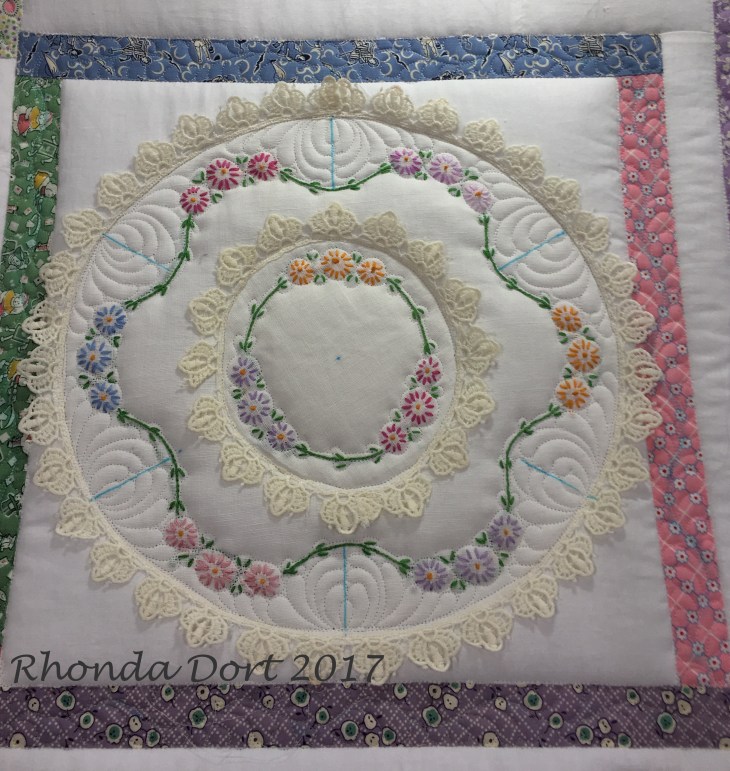
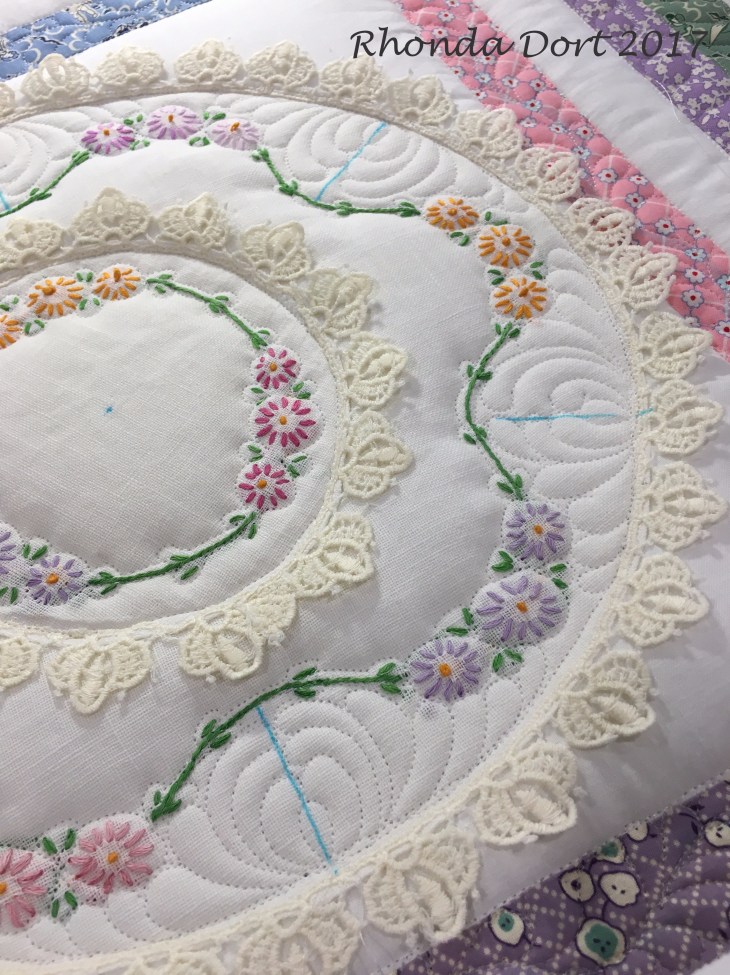
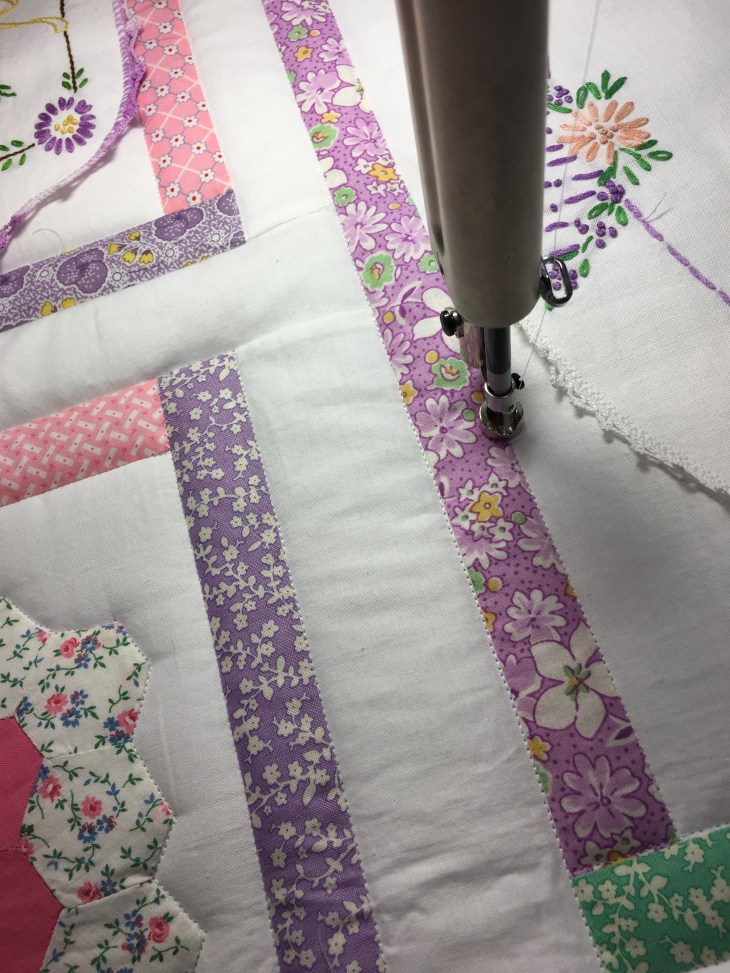
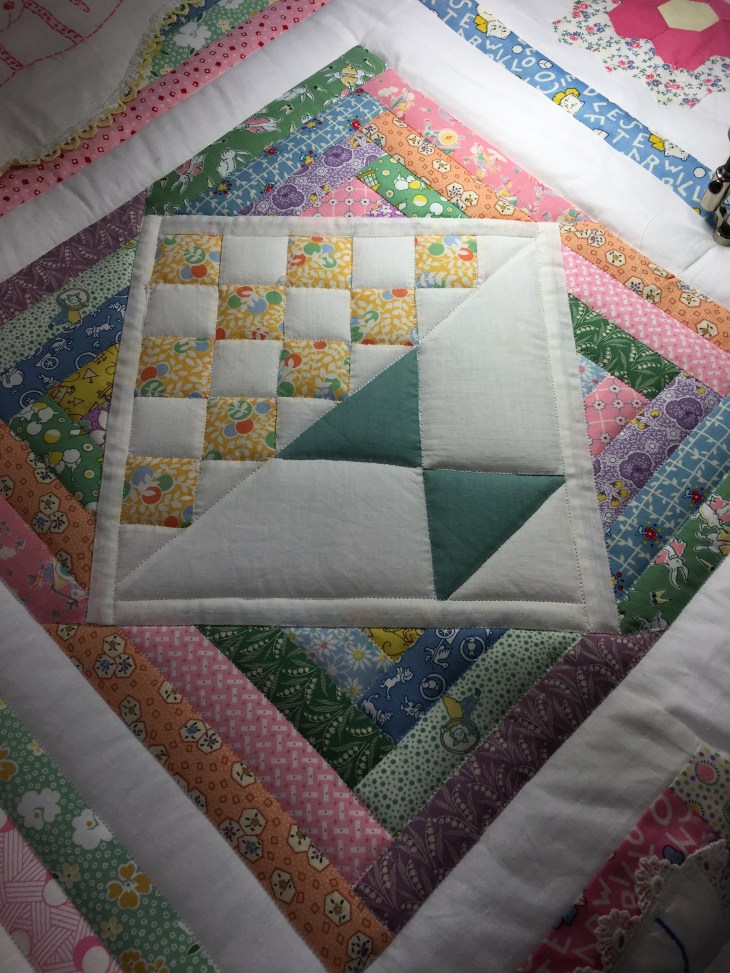
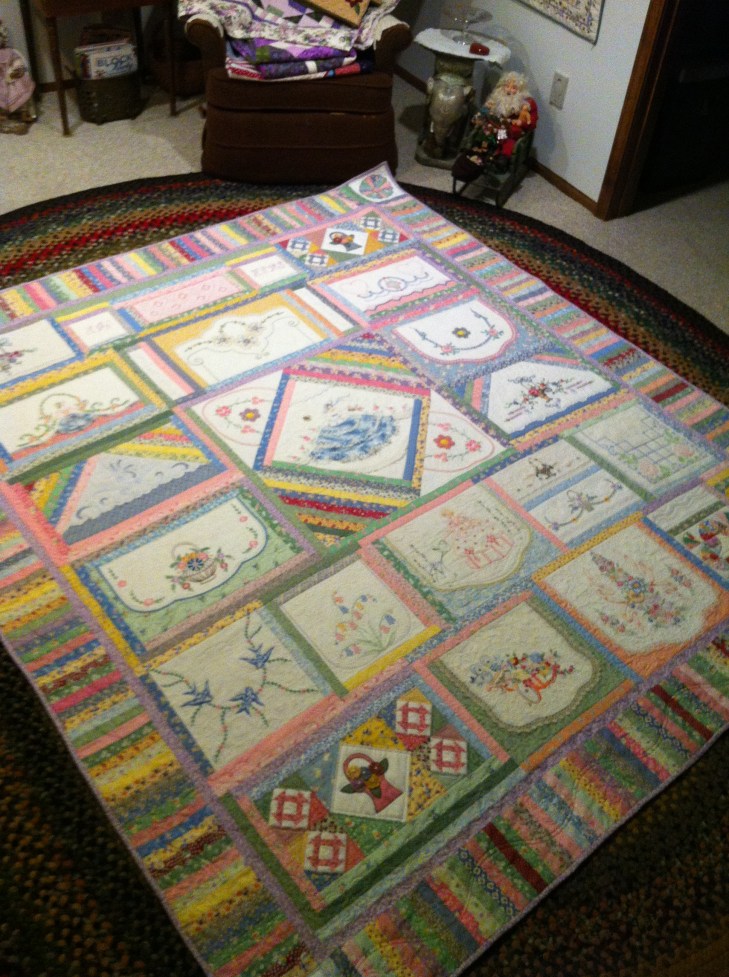
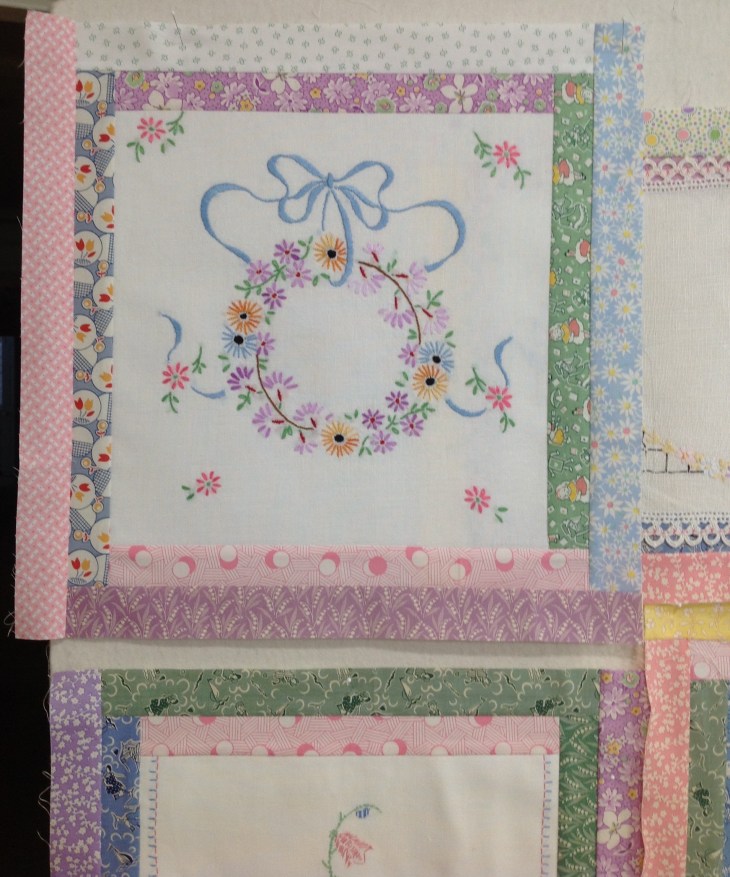
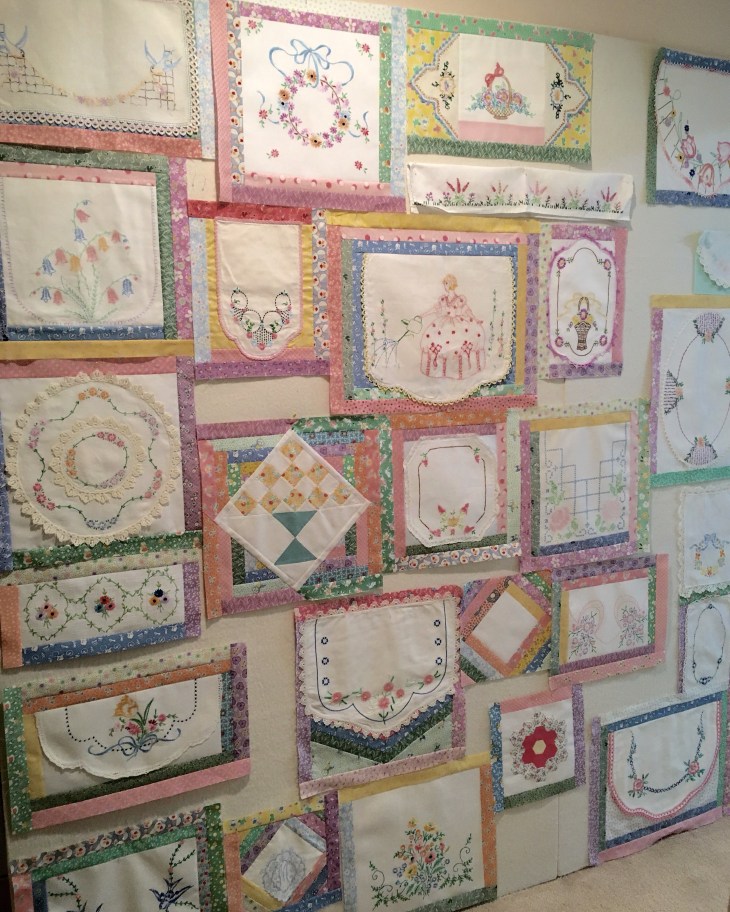
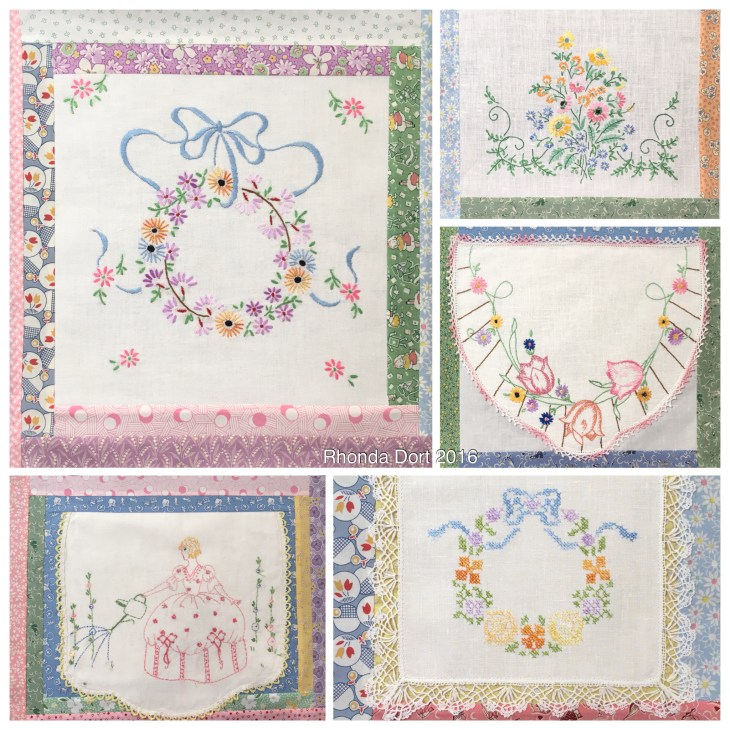
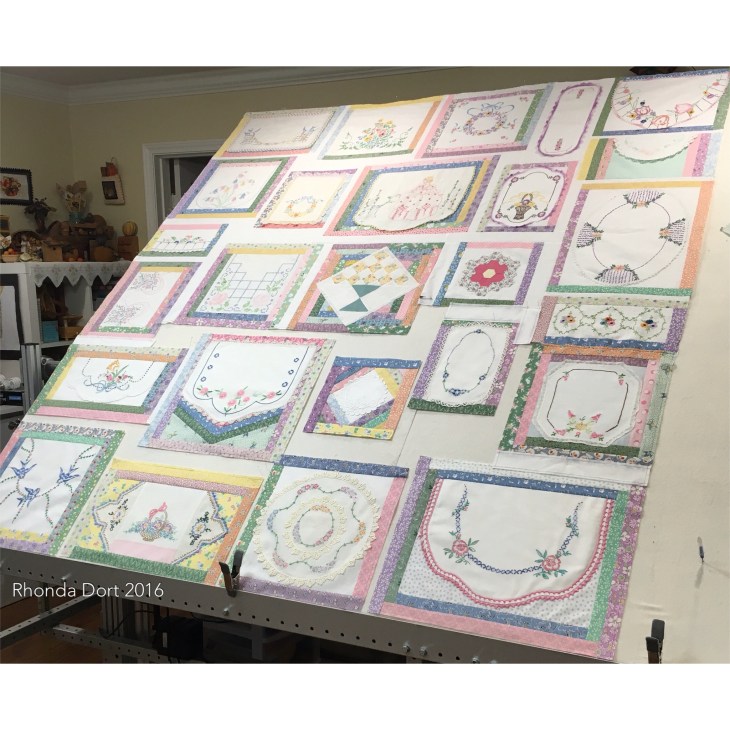
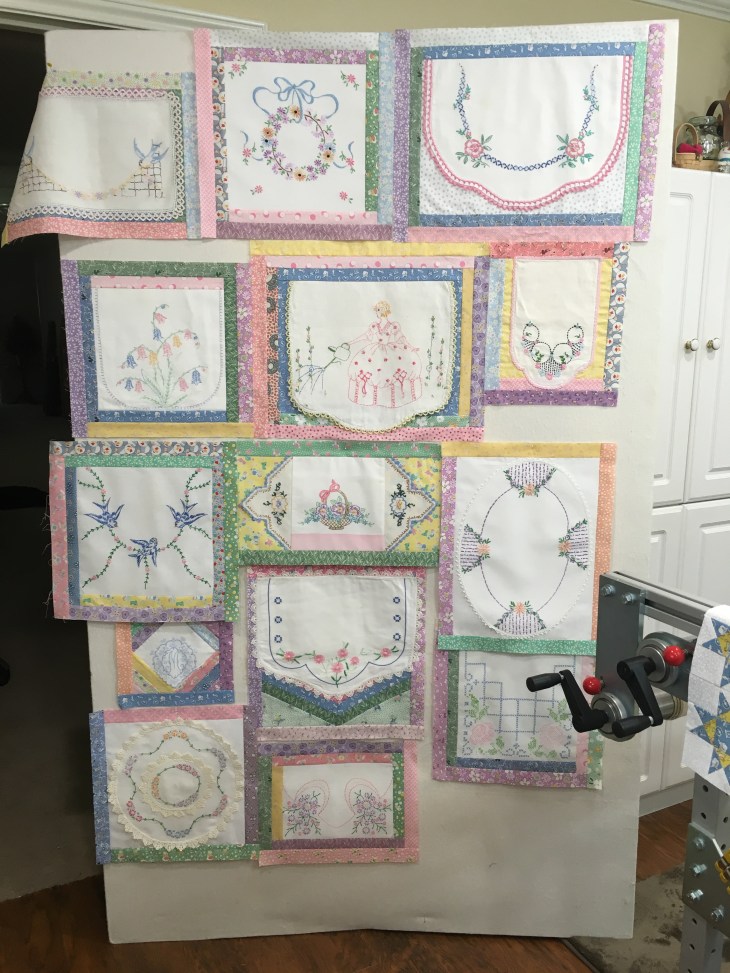
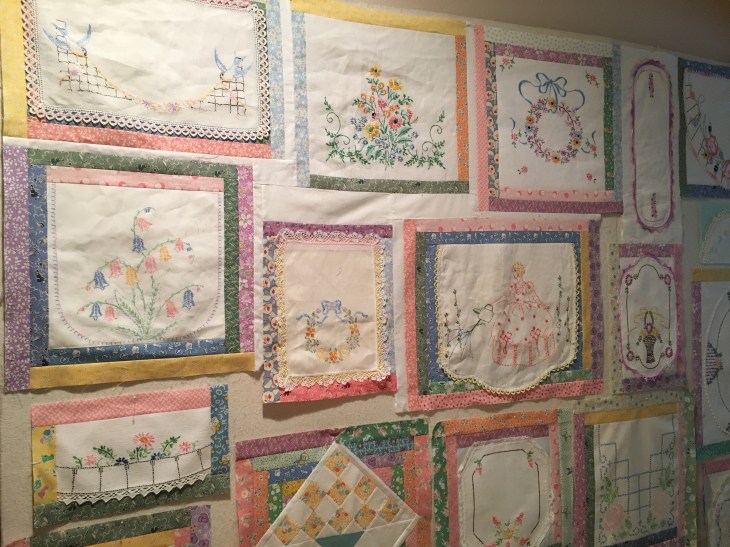
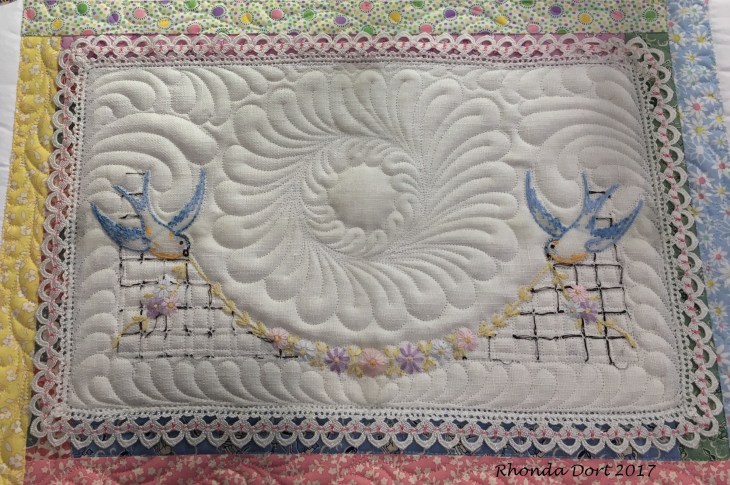
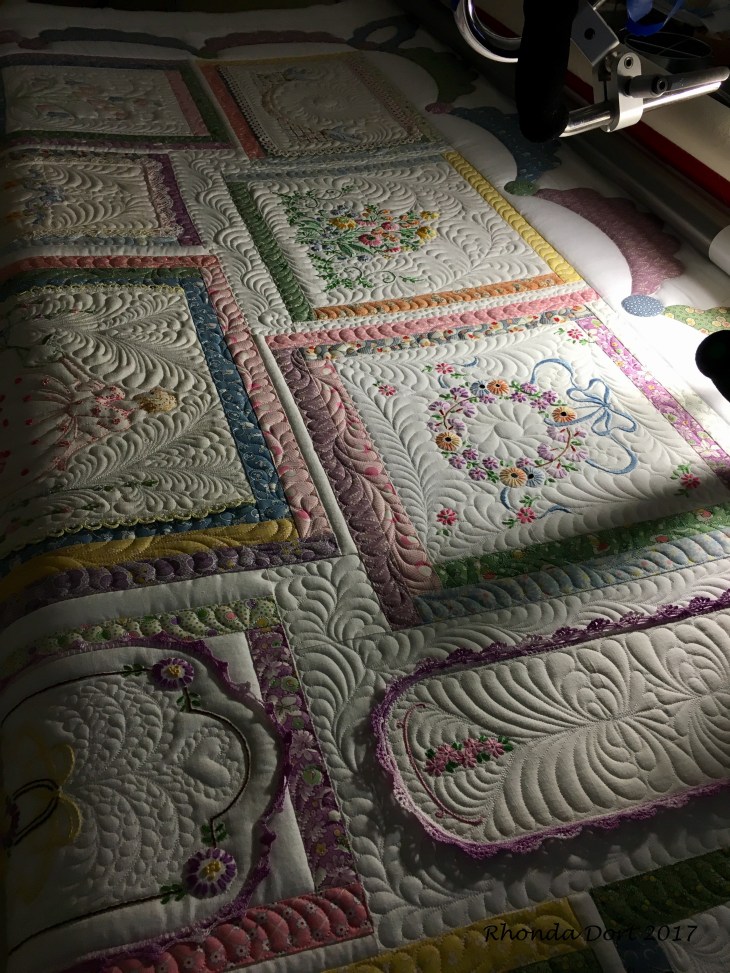
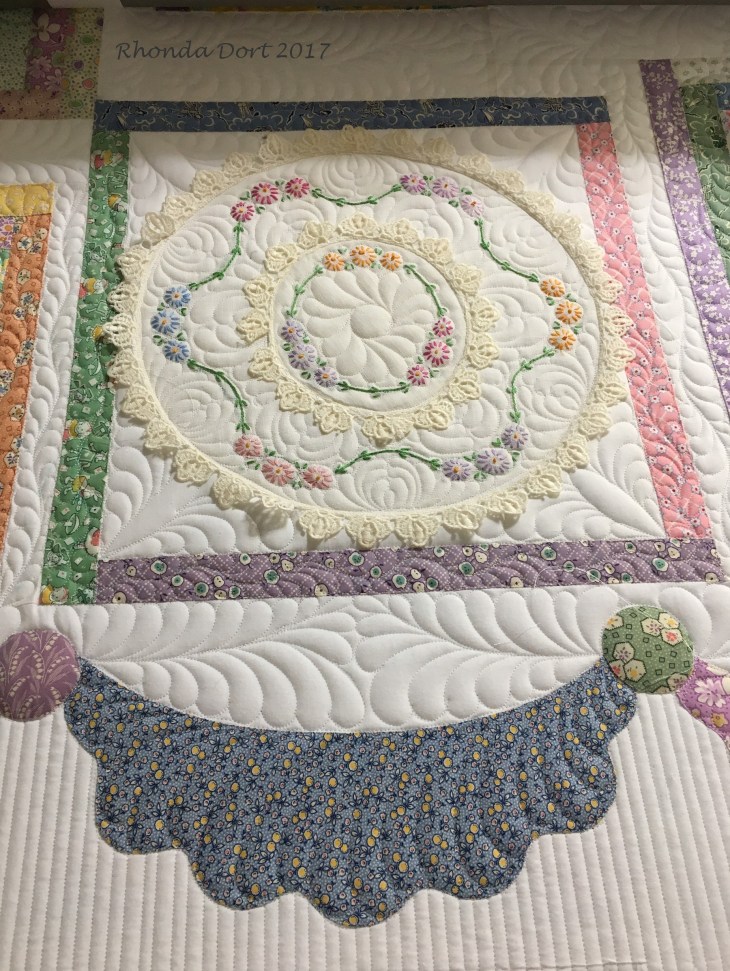
I’ve quilted the 26 blocks and now it’s on to the sashings and border. My goal is to have wandering/vining feathers throughout the sashings and connect them to each other where I can. But first, let me show you a few of my favorite blocks:
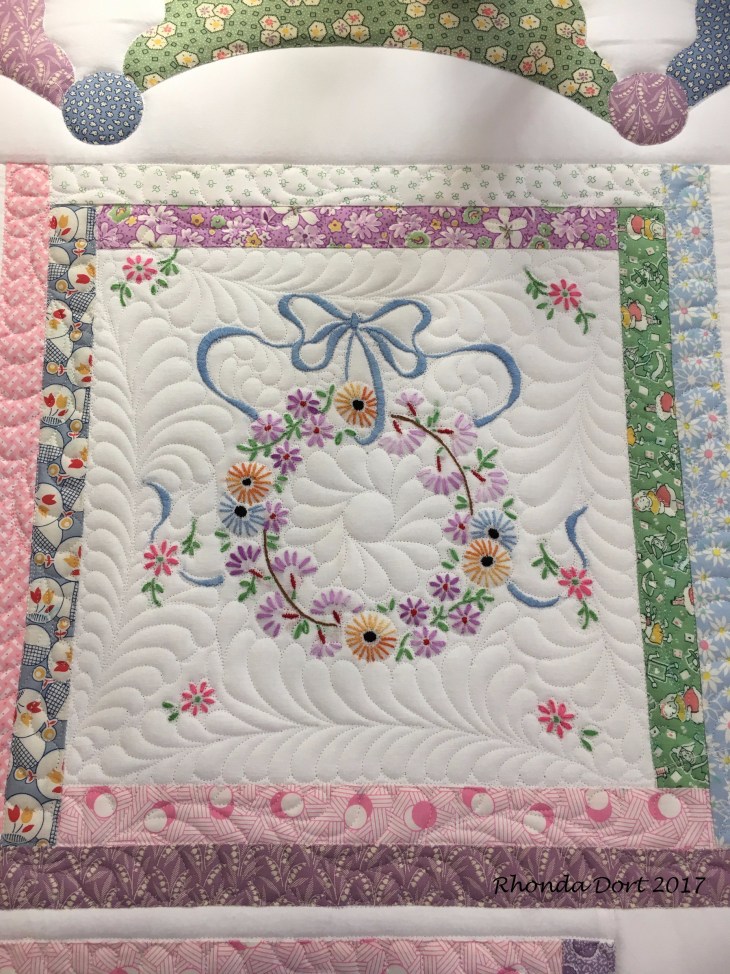
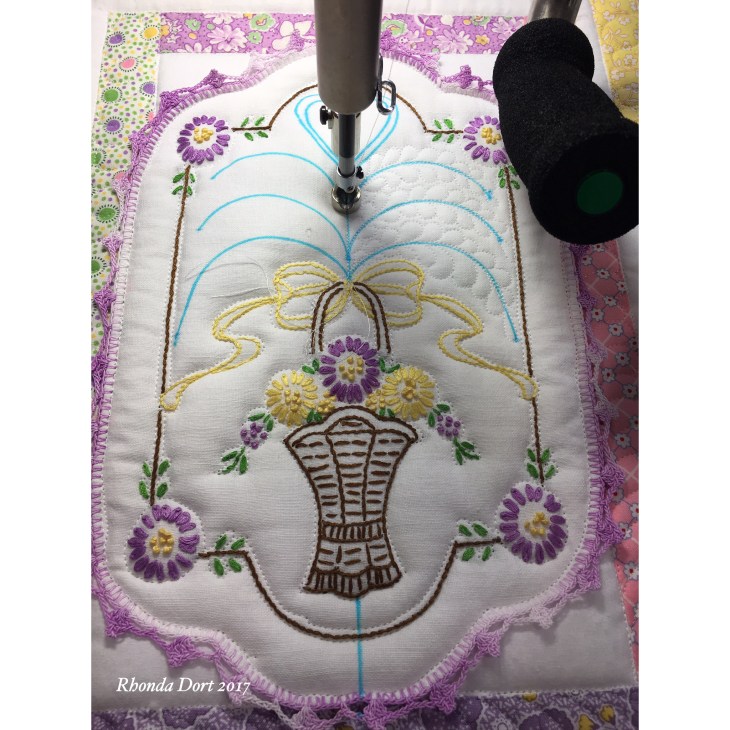
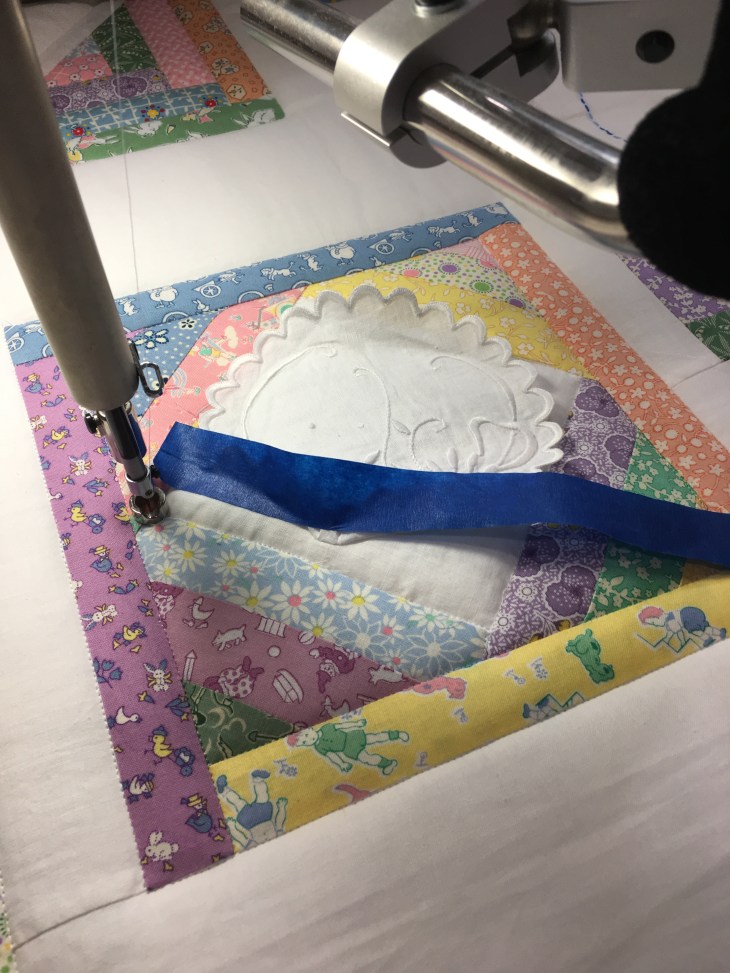
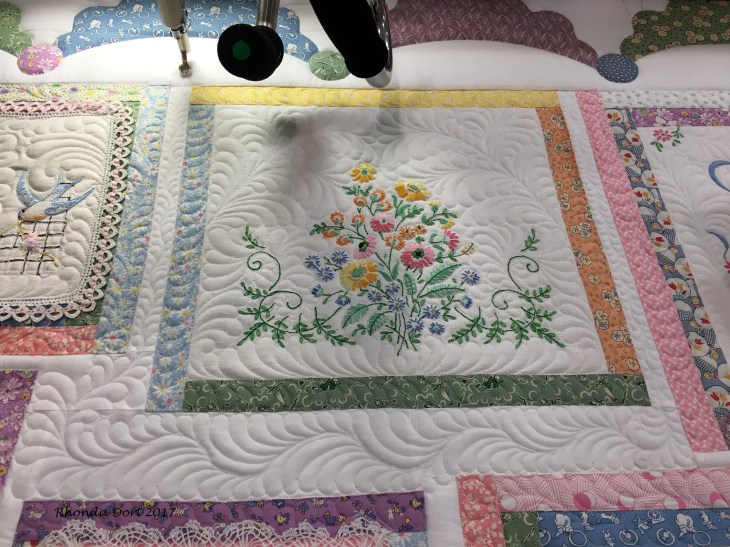
The picture below appears to be redundant but notice, I’ve begun the sashing/negative space quilting below the block:
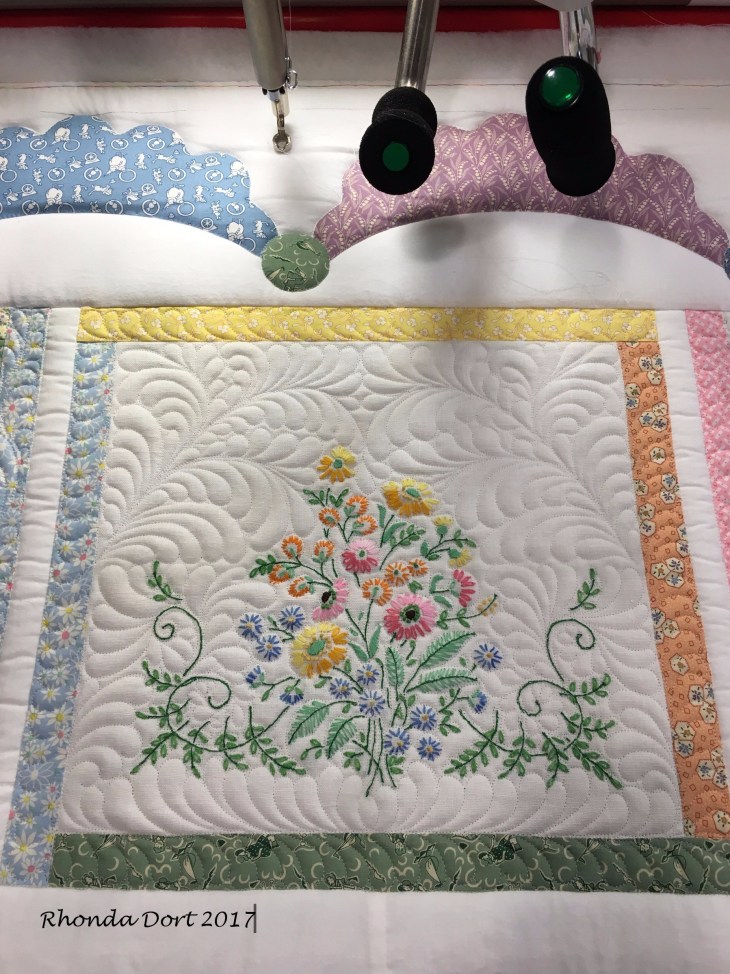
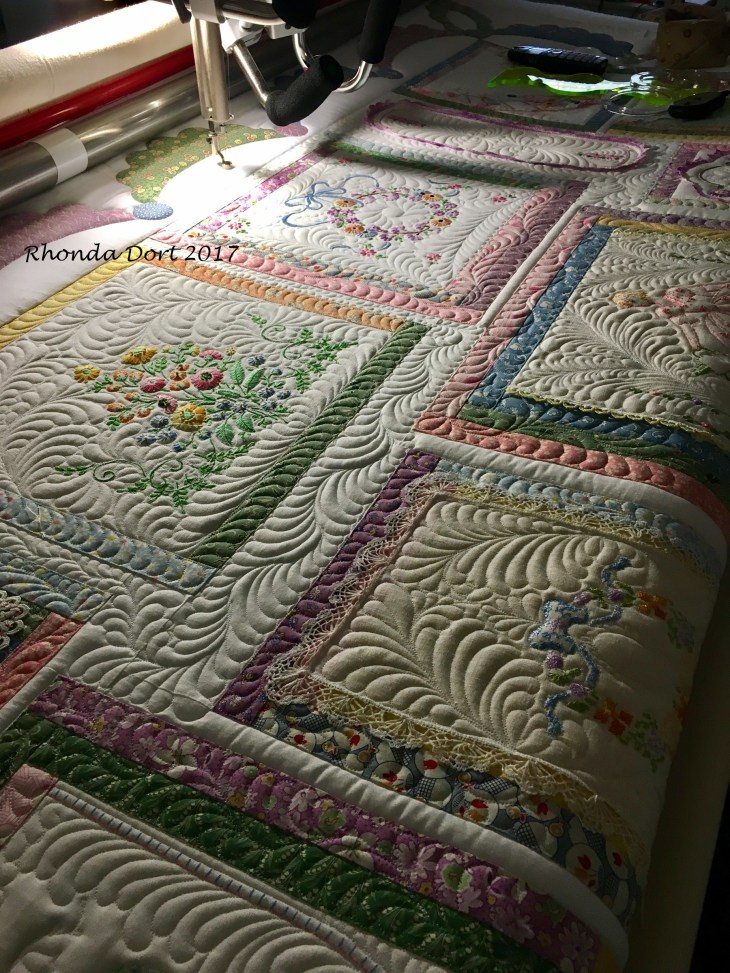
I’m a slow learner about certain things… I have been in awe over certain quilting pictures where the lighting is just low enough to really make the quilting pop. Had no idea how to achieve this effect until the other day I walked into the sewing room to discover I’d left the longarm on for about an hour with the overhead lights turned off. Wow! Just the effect I’d been trying to achieve! Who knew!
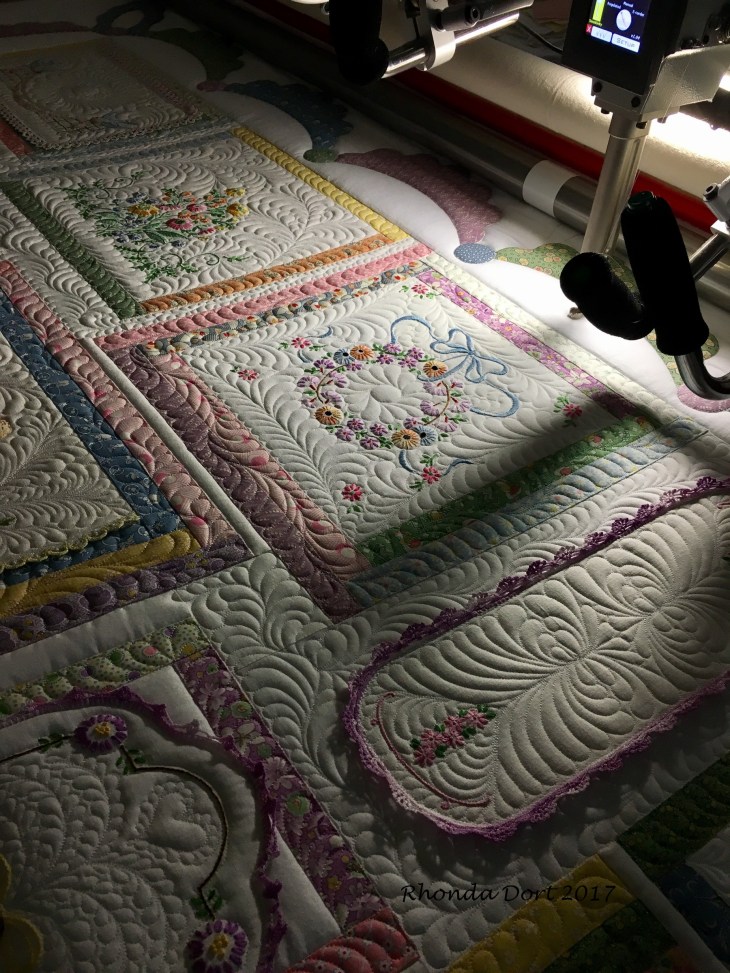

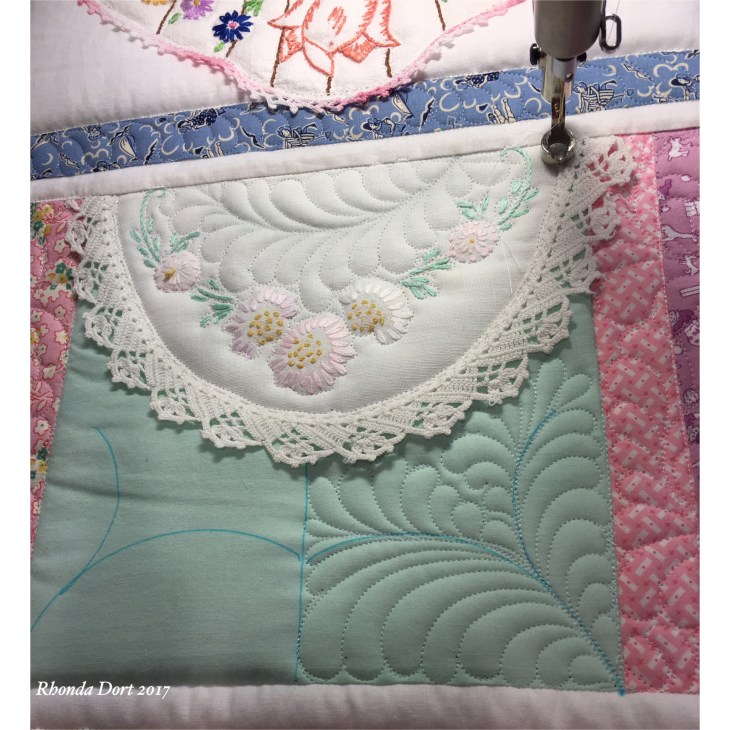
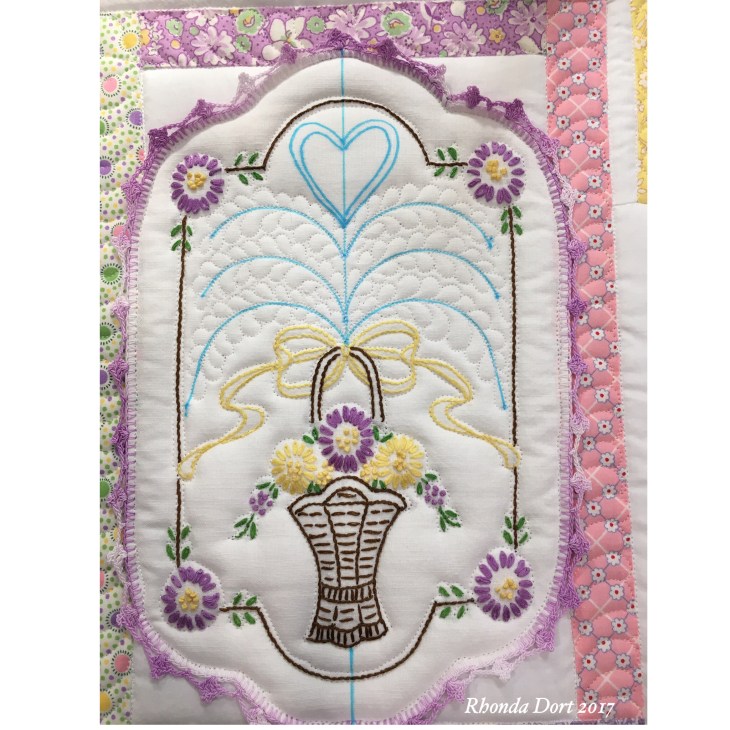
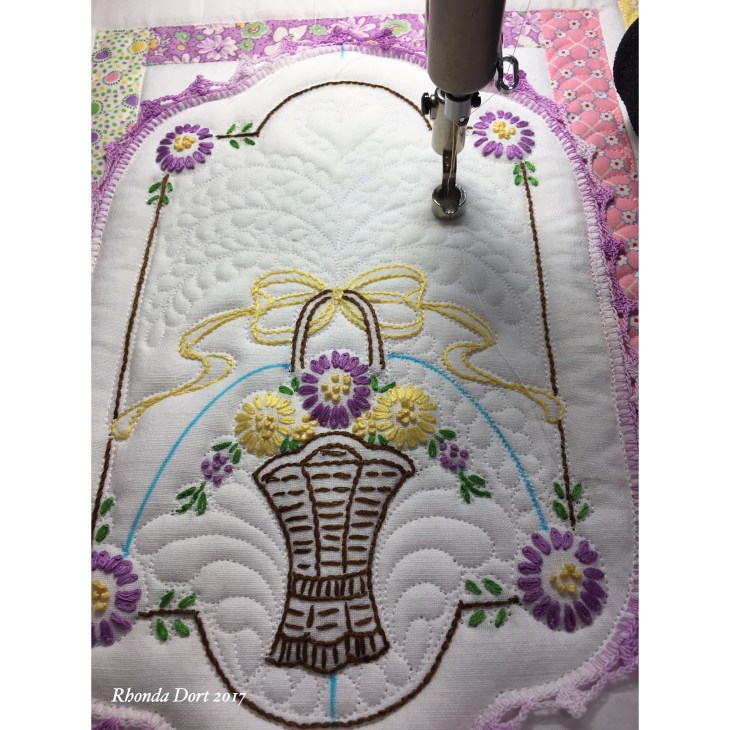
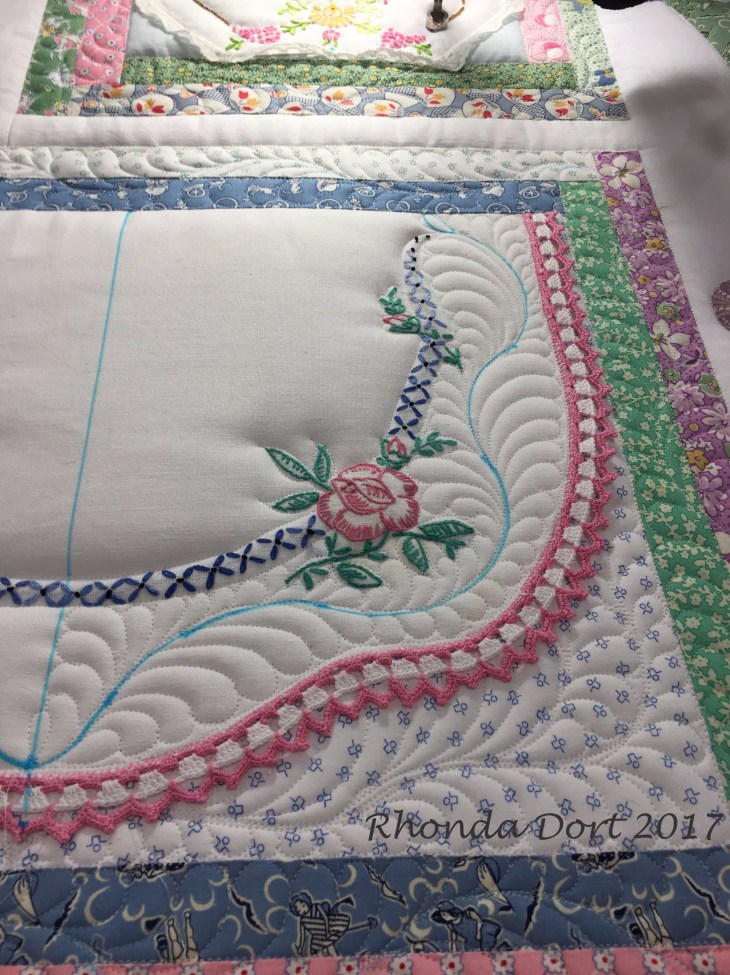
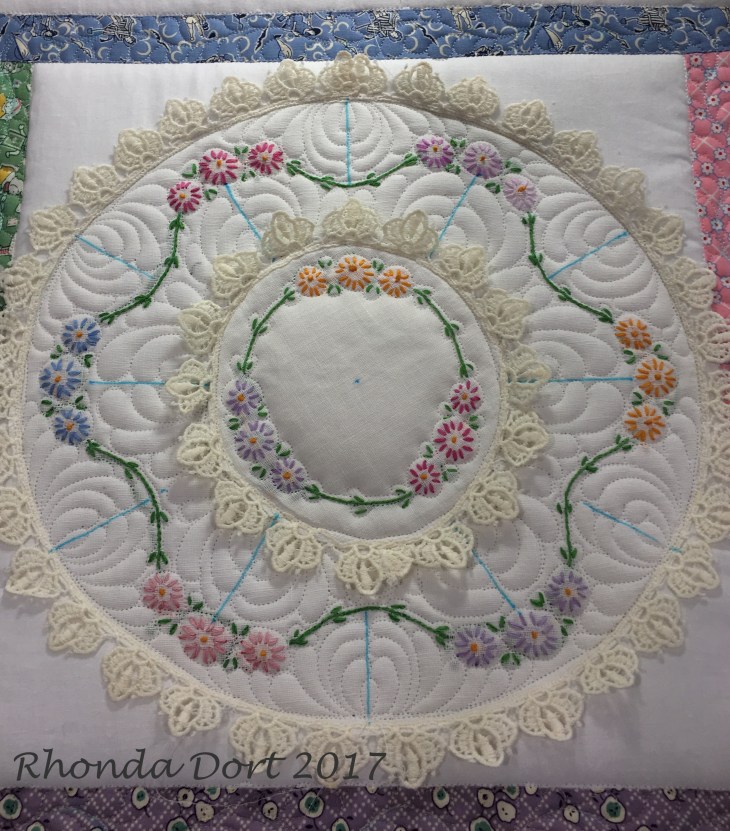
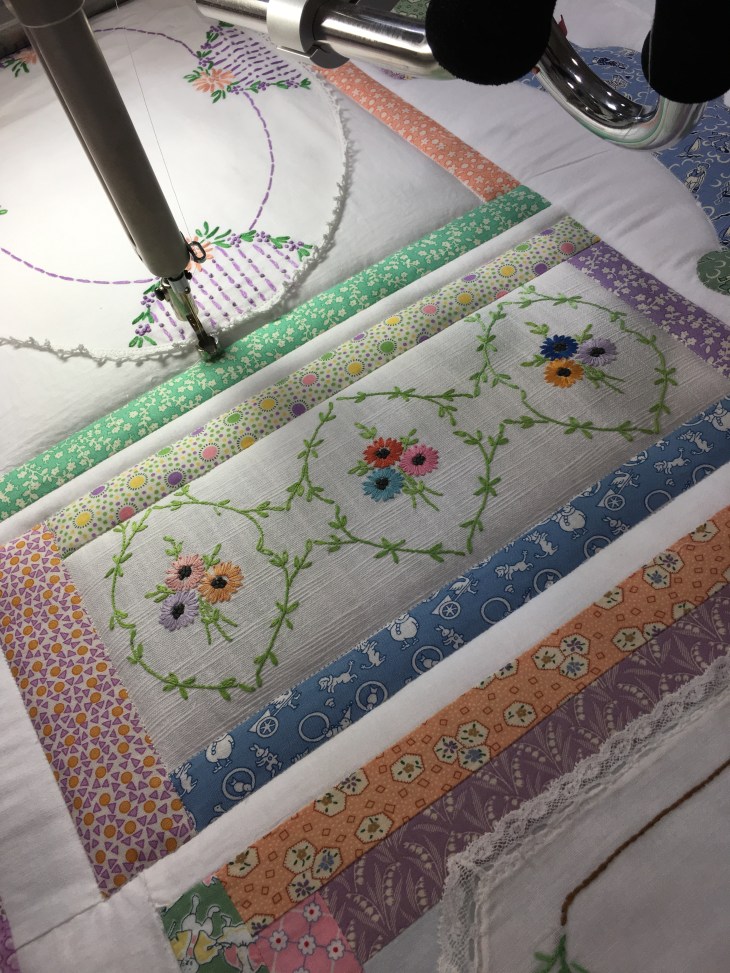
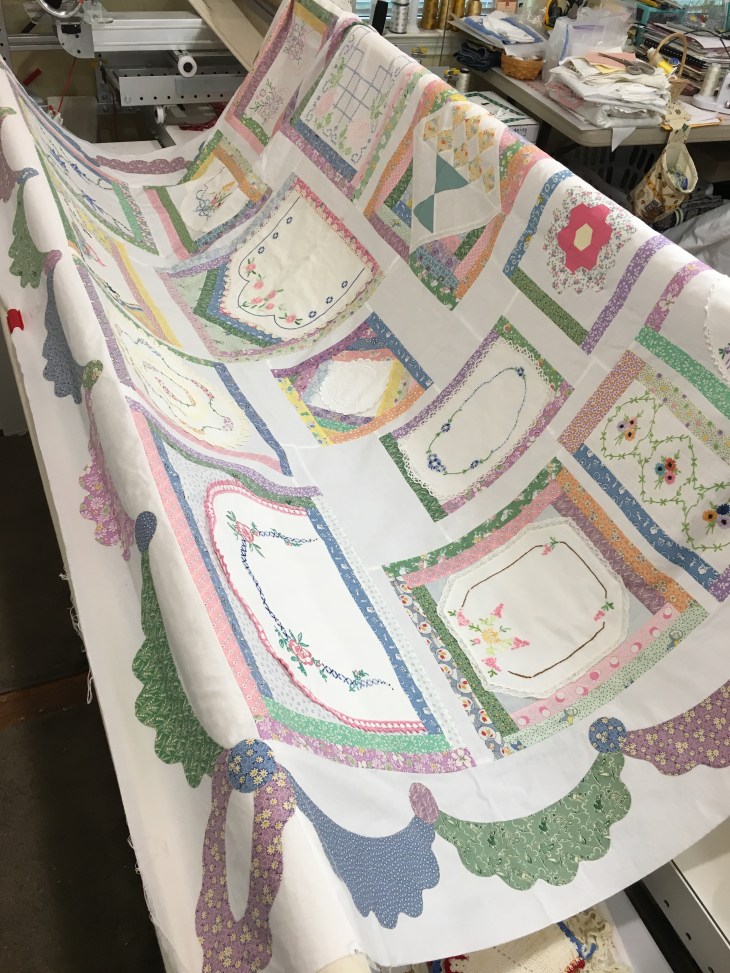
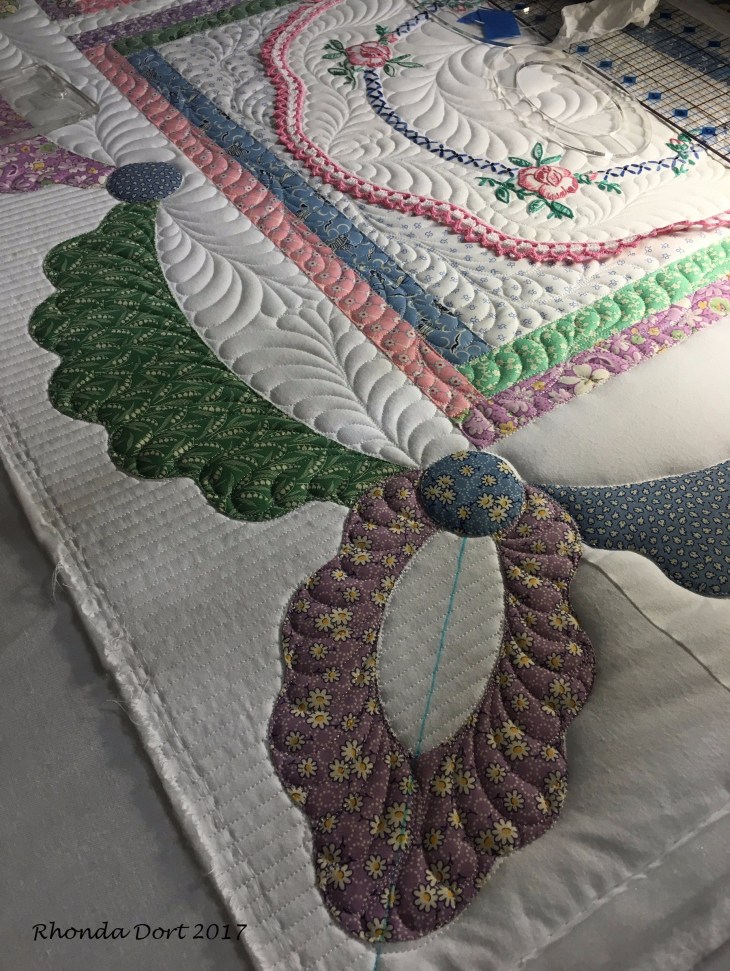
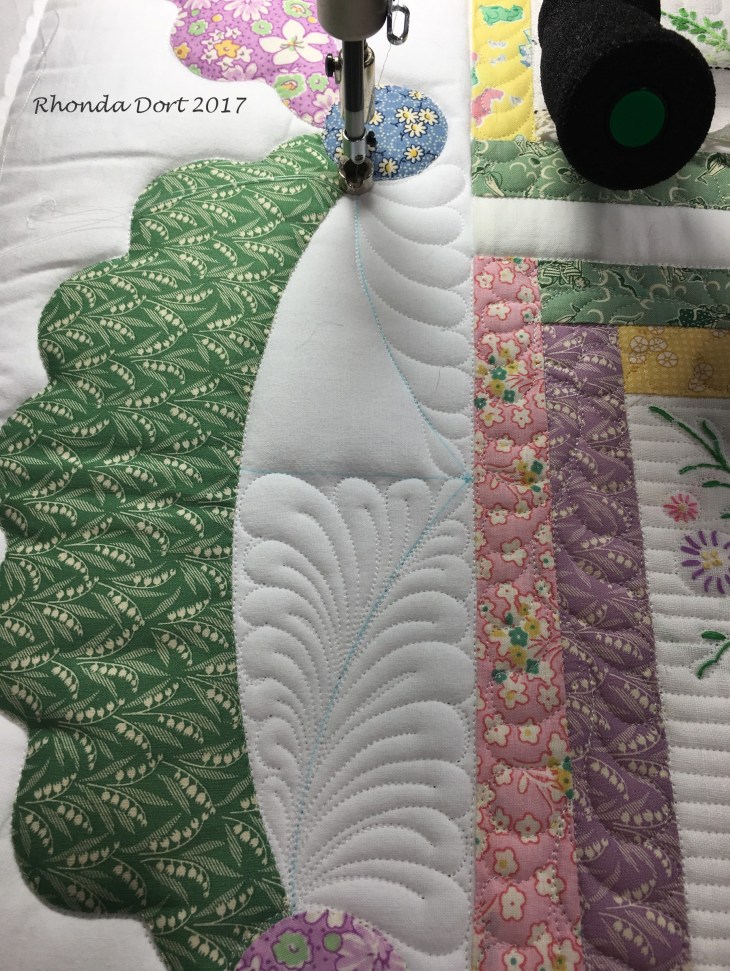
The next picture demonstrates the transition from blocks to sashings to the border. Inside each swag I marked and quilted two separate feather sets.

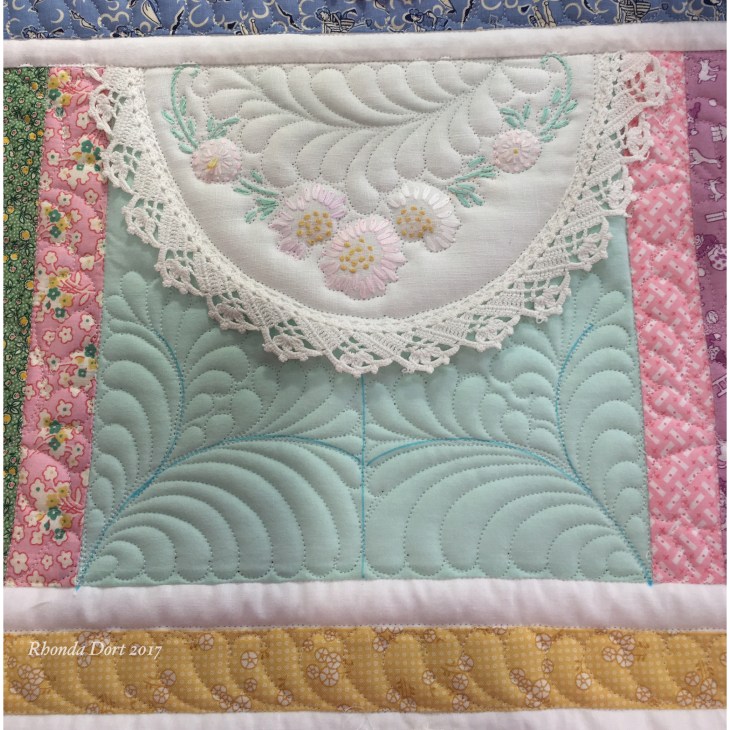
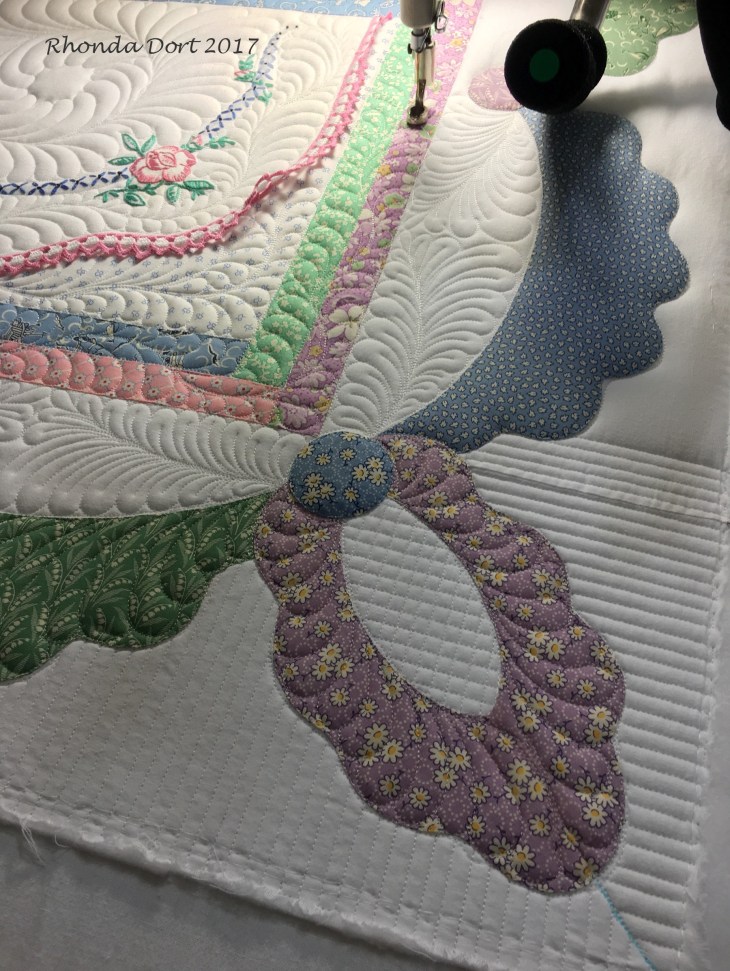
I liked the look just “ok” and mulled over the situation for an hour or two.

Decided to quilt the 1/4″ parallel lines beneath the swag to see if that would solve my dilemma. I liked the look of the lines but still was not happy with the feathers.
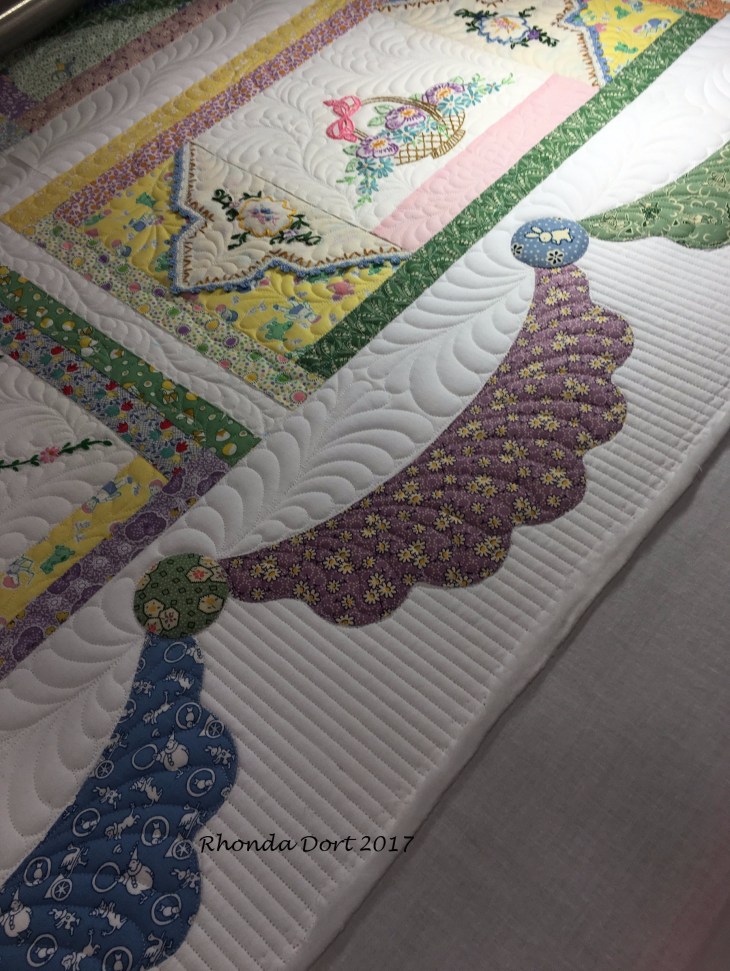

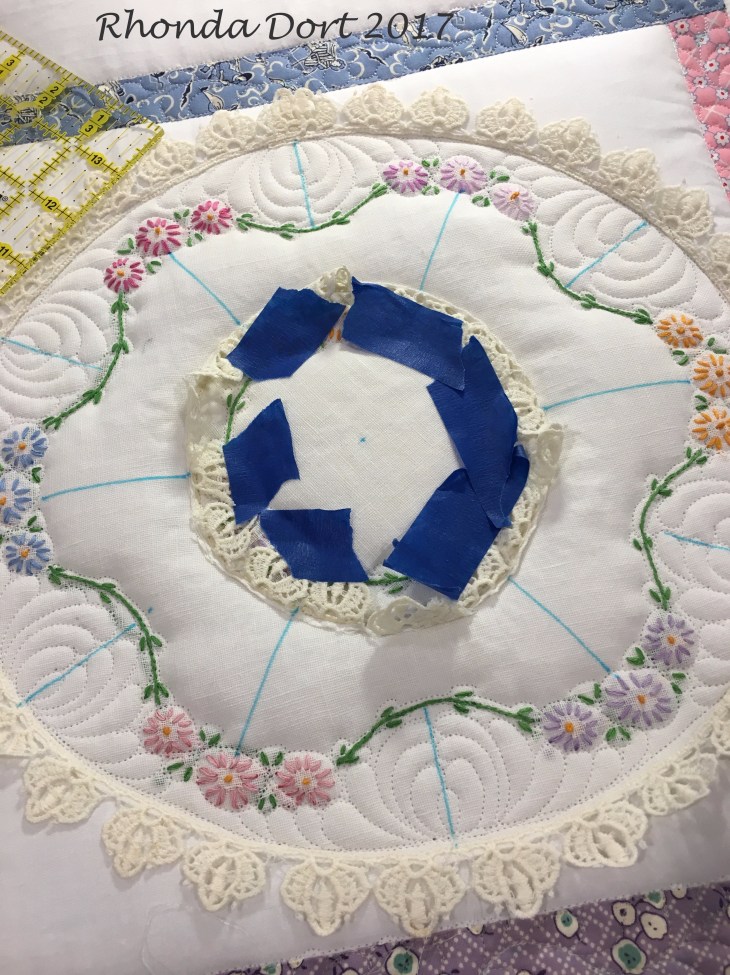
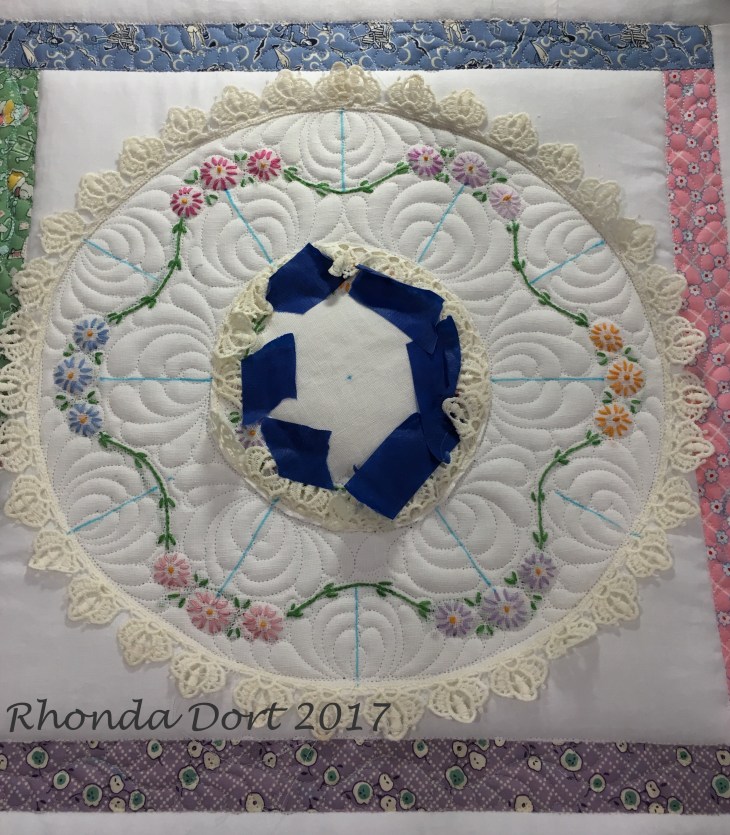
Giving it some time, I decided to go ahead and decide how to handle the 4 corner appliques.
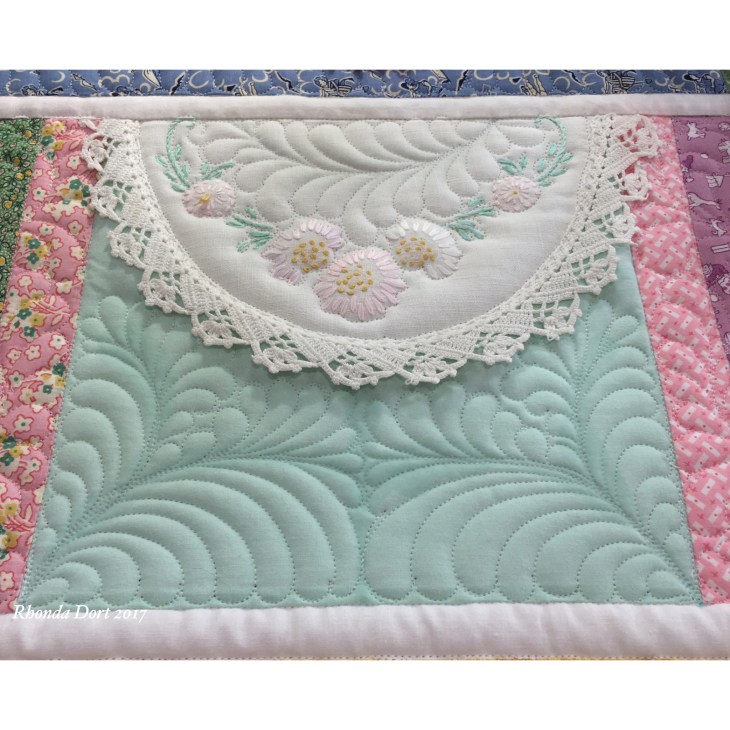
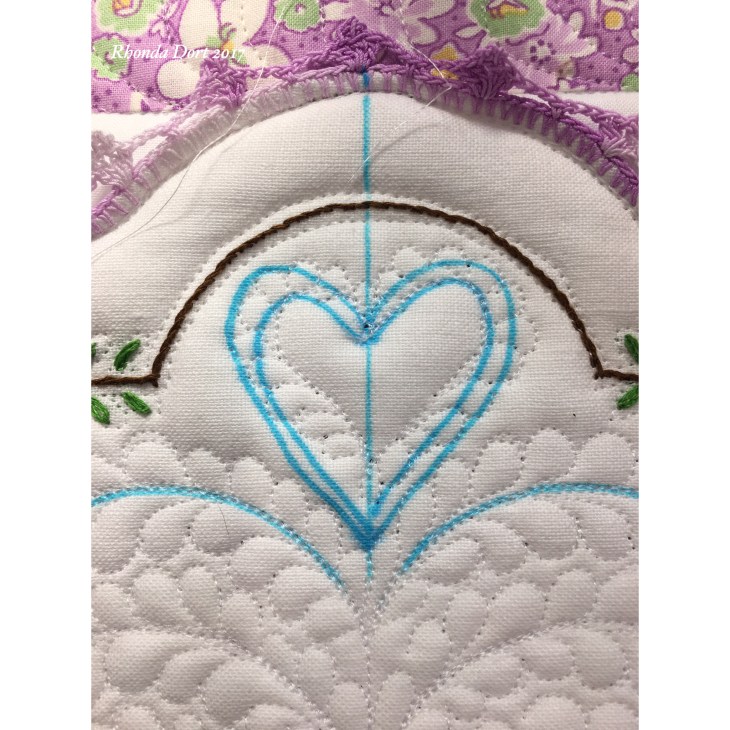
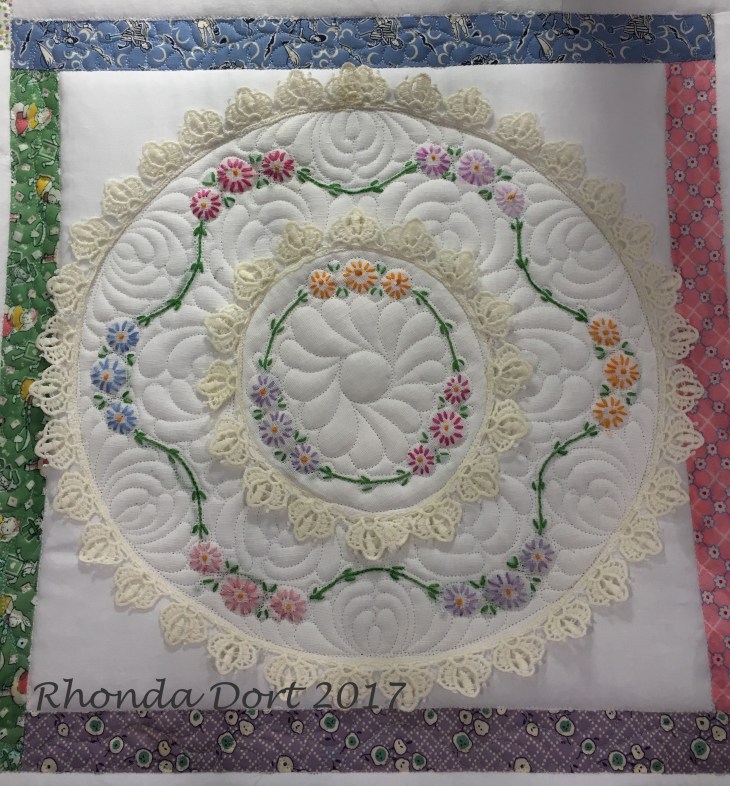
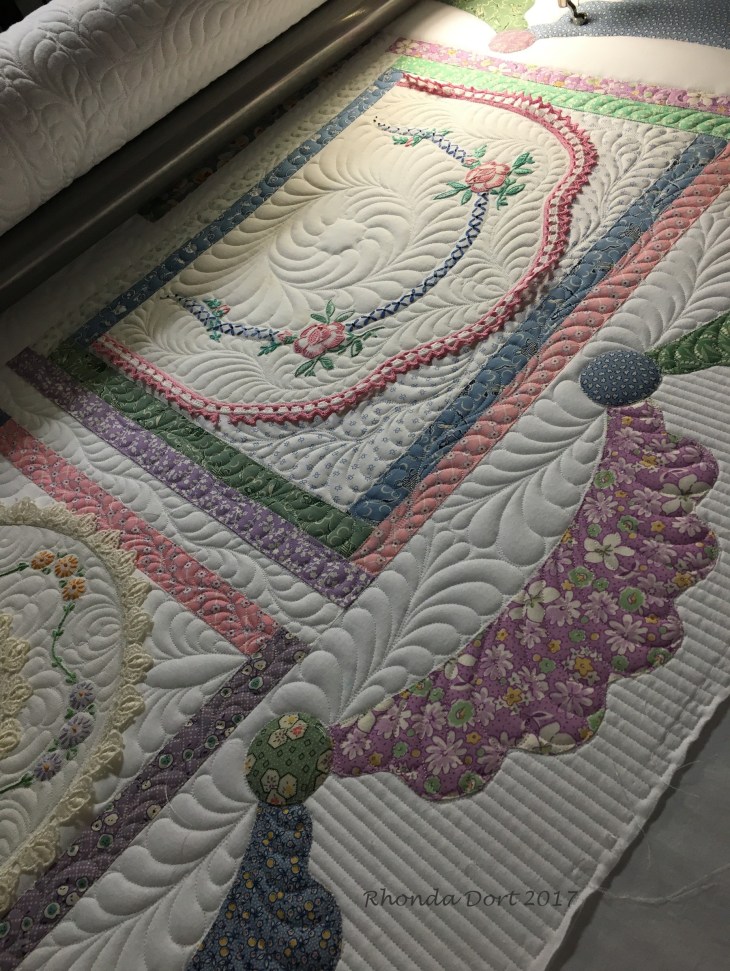
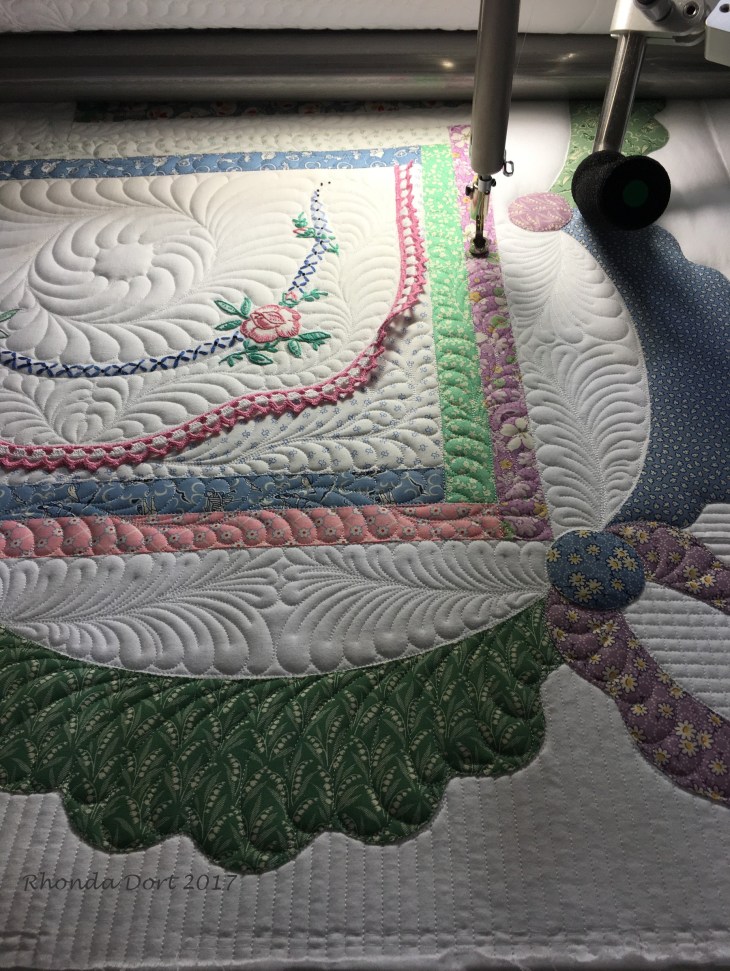
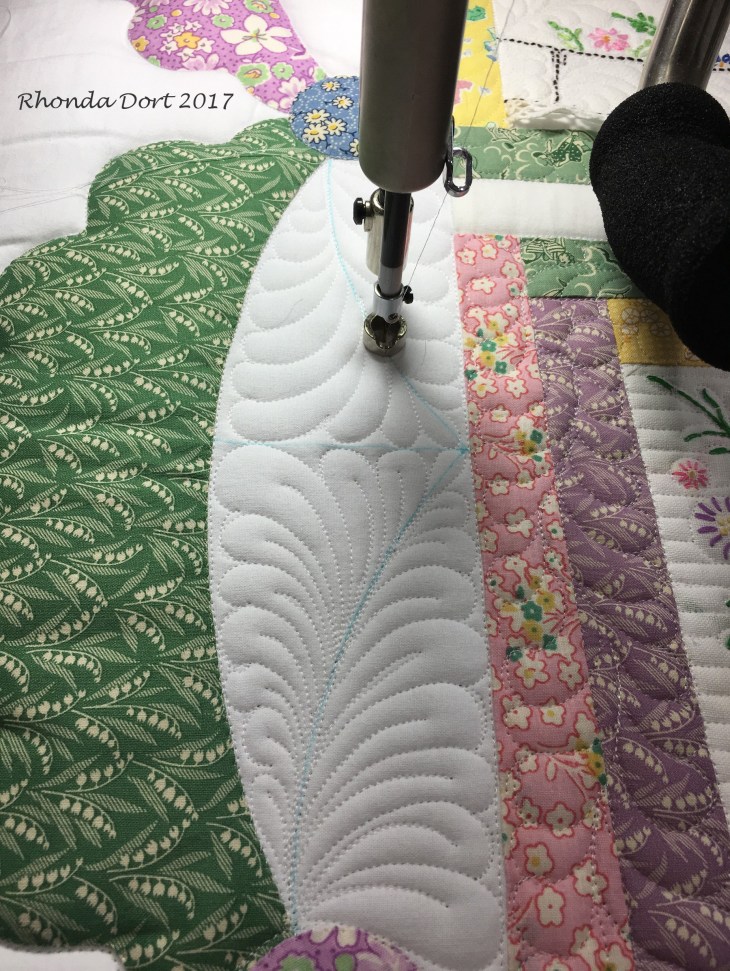
And then in a flash it came to me! The feathers above the swags needed veining to give them depth and character:
The picture below shows what my “already quilted feathers” look like after I added the veining:
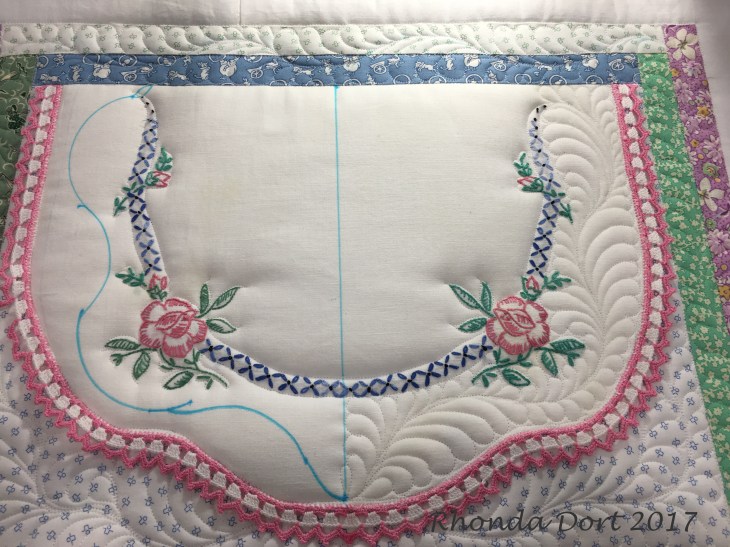
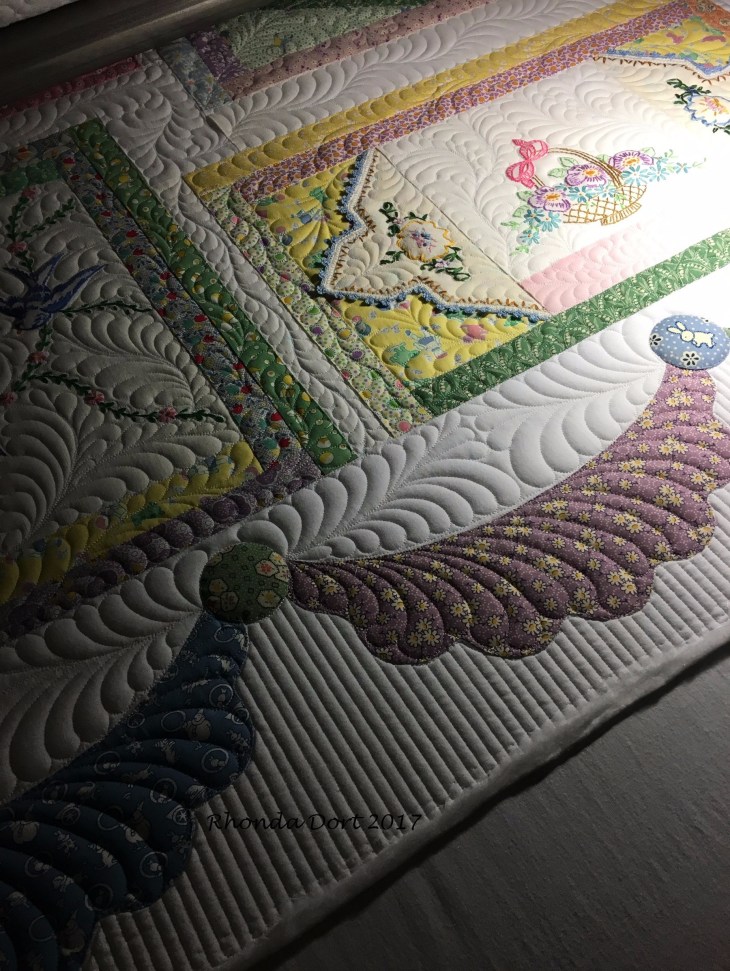
So, here’s a short tutorial on how I accomplished the border feathering: 1. Divide the space between the applique circles and mark. 2. Using an oval acrylic template, mark a gentle curve from the appliqued circle to the top most point of the area center line. 3. Begin quilting the feathers at an outer edge, quilting towards the center as shown below. I always quilt the feathers and then add the vein. If you want to do the veining as you work your way up the spine, of course do so!

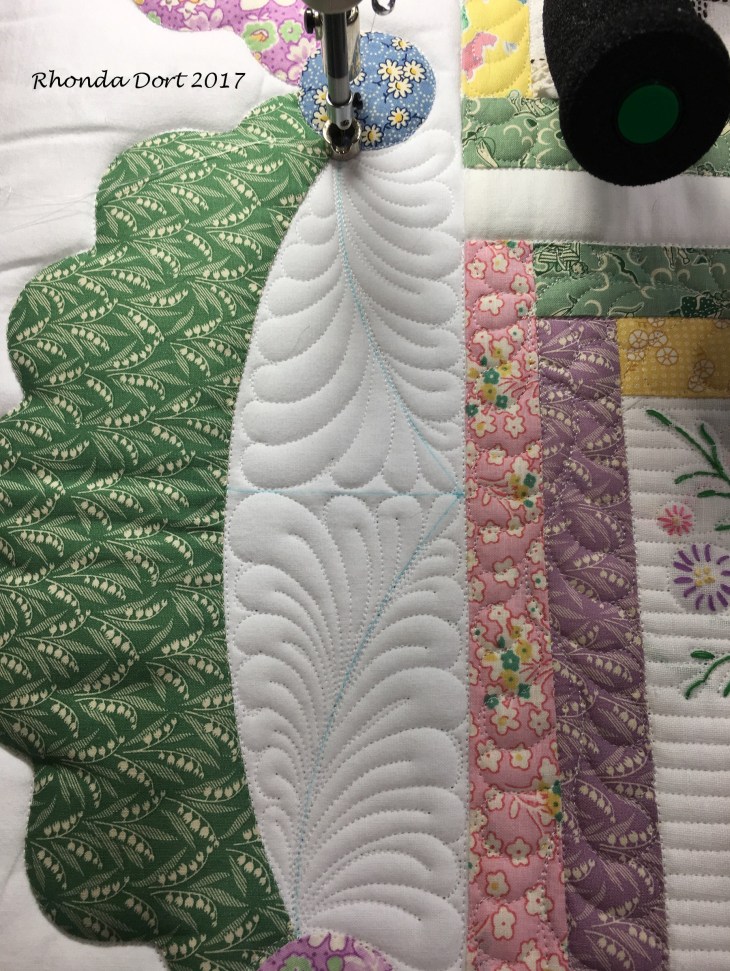
After finishing the lower feathering, I’ve begun quilting one side of the upper feathers:
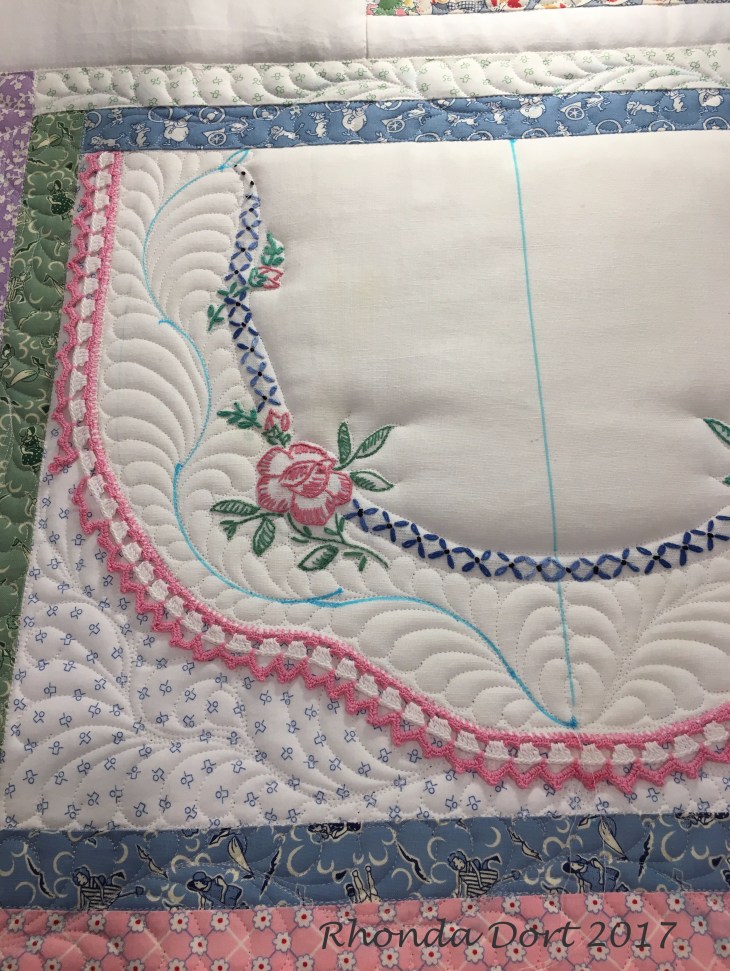
One side of the feathering completed and the other side needing the veining:
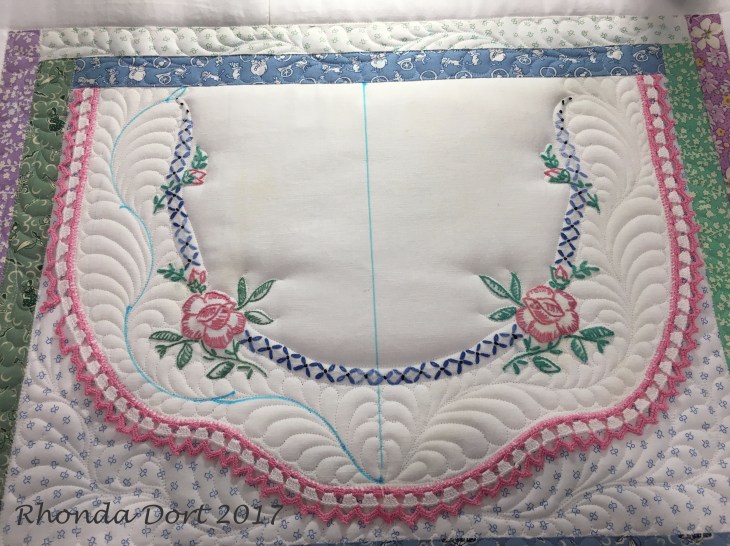
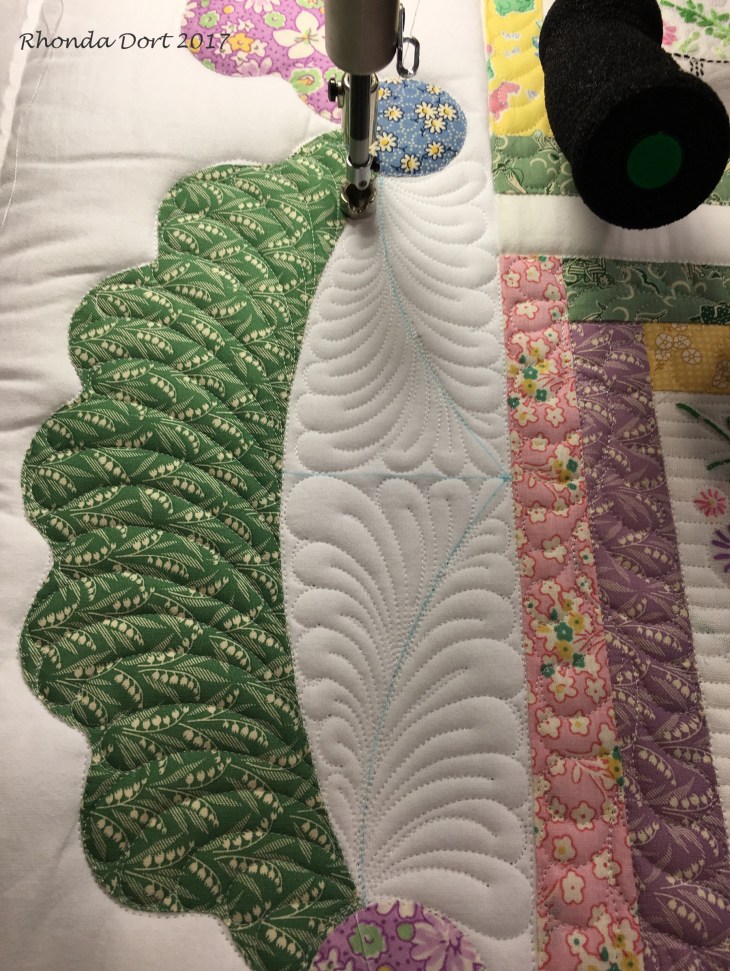
Ta-Da! Feathering complete!
When you’re intimidated by the quilting area remember: you want to “Divide and Conquer” the space! The big spaces become much smaller and much more manageable!
I’m mulling over the idea of quilting the top and bottom border parallel lines, taking the quilt off the machine, rotating 90 degrees and reloading. It is so much easier to stitch the lines vertically than horizontally. My biggest concern is getting the quilt loaded perfectly… More on my final decision in a later post…
About my quilting, I’ve had my Innova Longarm for 3 years and 2 months. Without fail, every single time I quilt something I learn something. Every single time! This quilt project is no exception: I’ve been teaching myself to not see the hopping foot but rather to stay focused in the needle meeting the fabric. In all honesty the most perfect hopping foot would be an invisable one! I’ve also been trying to learn to slow down a bit. Feathering is basically the same motion over and over and over again and I can tend to quilt very quickly when I know exactaly what I want to do. By slowing down I always increase accuracy and I have more time to “think ahead” about feather placement. And finally, I’ve been concentrating on muscle memory to achieve accuracy in “bump back feathering” and veining.
*** House update: not too much to report. The flooring tile, all 9242 lbs. of it got manually moved today so we no longer have to park on the “wrong” side of the gate across the driveway. With homes in our immediate area in much worse shape than ours, we have elected to wait a few more weeks while our contractor addresses many emergency concerns of our friends and neighbors. This will allow me more time to search out the perfect Stacked Stone for the fireplace wall. If you’ve never looked for stone, wow, it’s amazing how much is available! Too many choices!
Happy Quilting! Let me know if you have any questions about anything in the 25 picture above.