

Do you SID? Stitch In the Ditch? Does just the very thought give you hives? Learn from the master, and by master I’m talking about Cindy Needham. If you’ve ever taken a class from her (in person or on Craftsy) then you’ll remember her mantra: ESS…every stink’in seam! I have learned at least 10,000 things from Cindy but honestly, the ESS has changed the way I longarm.
My rational for ESS: I spend hours upon hours developing and then creating my “one of a kind” quilts. So why hurry through the actual longarm quilting process? It makes perfect sense to be just as meticulous while quilting as it does while piecing. ESS takes a lot of time but then again so did the planning, the cutting, the stitching and the pressing. Enough about that. Now on to my Vintage Linens quilt project.
Here’s the pic from my last blog post, the finished quilt top.

The backing fabric is 100% cotton bleached medium weight muslin. I over-size cut, serged, laundered and loaded onto the longarm. Did you notice I did not press? I learned a longarm secret a few months ago… Whip that backing fabric out of the clothes dryer and quickly load it onto the longarm. Once loaded, roll the fabric onto the bar furthest from the front of the machine. With a spray bottle in hand, lightly spray the width of the fabric lightly with water. Rolling as needed through the entire length of the fabric, lightly spraying with water at each advancement until all the fabric has been spritzed and rolled. No ironing needed! Love it!
Here’s me hard at work stitching in the ditch in every seam. Almost every seam. Stitching in the seams that count! It has made a world of differenct in my finished quilts. It keeps the blocks true, it cleans up the look of things and it makes such a huge differenct with not having to deal with shifting quilt tops. Besides ESS I machine base along each side. For the first time ever in the history (my history) of longarming I floated this quilt top. Why? I’m not terribly sure. I’ve heard a lot about floating quilt tops and decided to give it a try. Will I do it again? I’m not sure. I was VERY NERVOUS throughout the entire SID-ESS process. Did it turn out ok? Yes. Sometimes I find that I have the backing/batting/quilt top pulled too taut. Not this time!
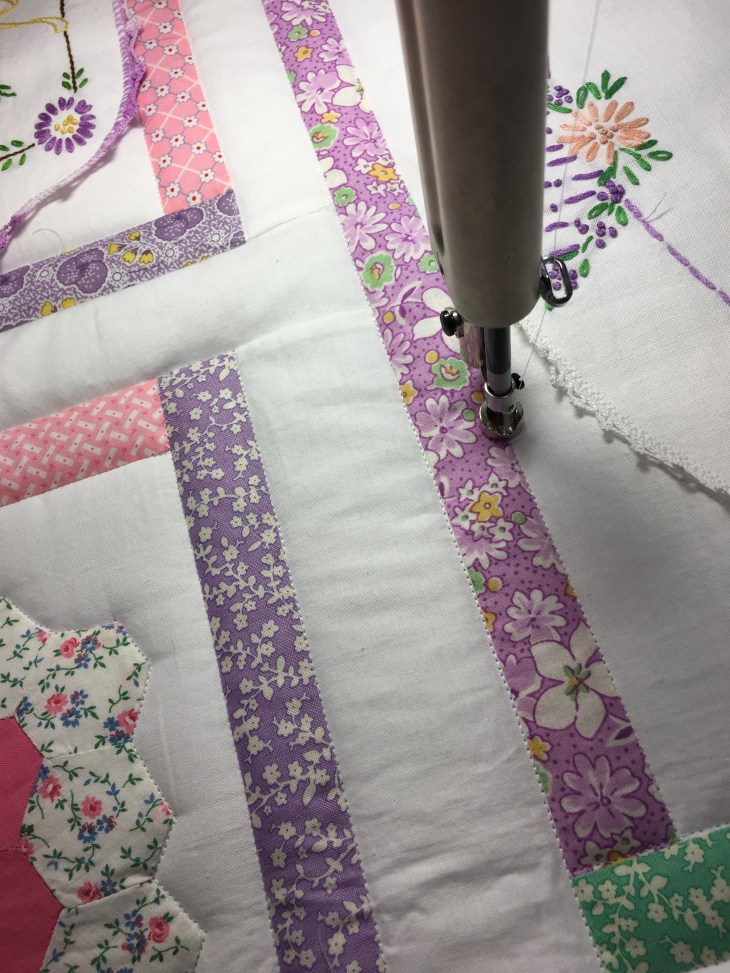
I did something else different this time. In order to keep my floating quilt top true, I used my channel locks as I SID-ESS’ed on about 80% of the block outside edges. That way I knew the top was not getting skewed in any given direction. Once again, it proved to me the importance of Mary Poppins Piecing (you know, when Mary Poppins uses the tape measure to determine the heights of the children Jane and Michael? Well, remember the tape measure results when she measured herself: Practically Perfect In Every Way!”)

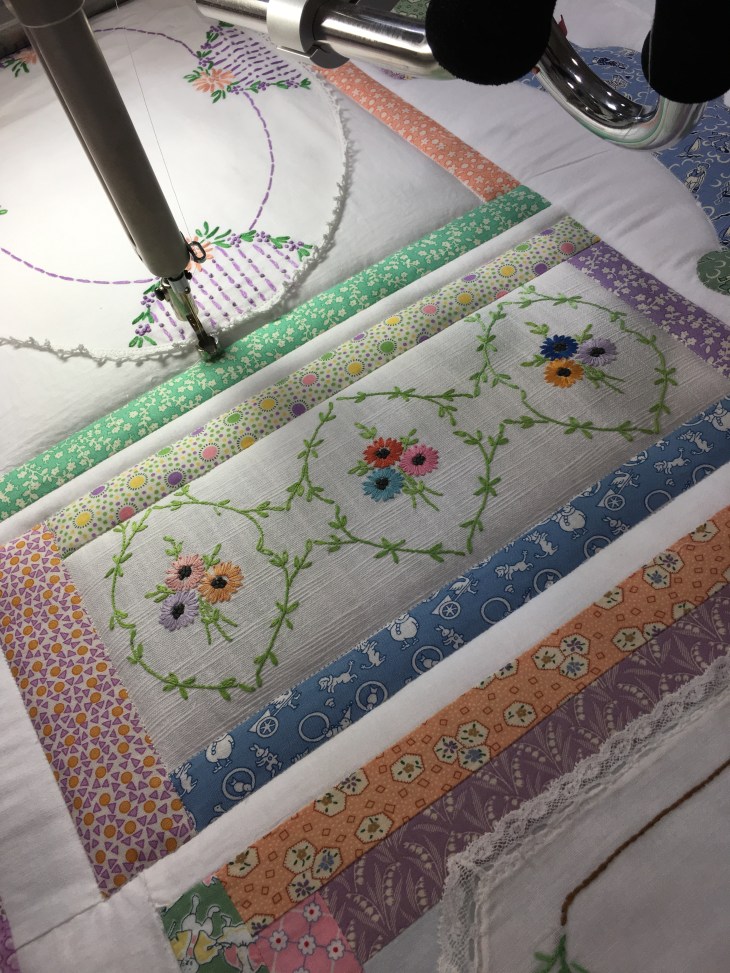
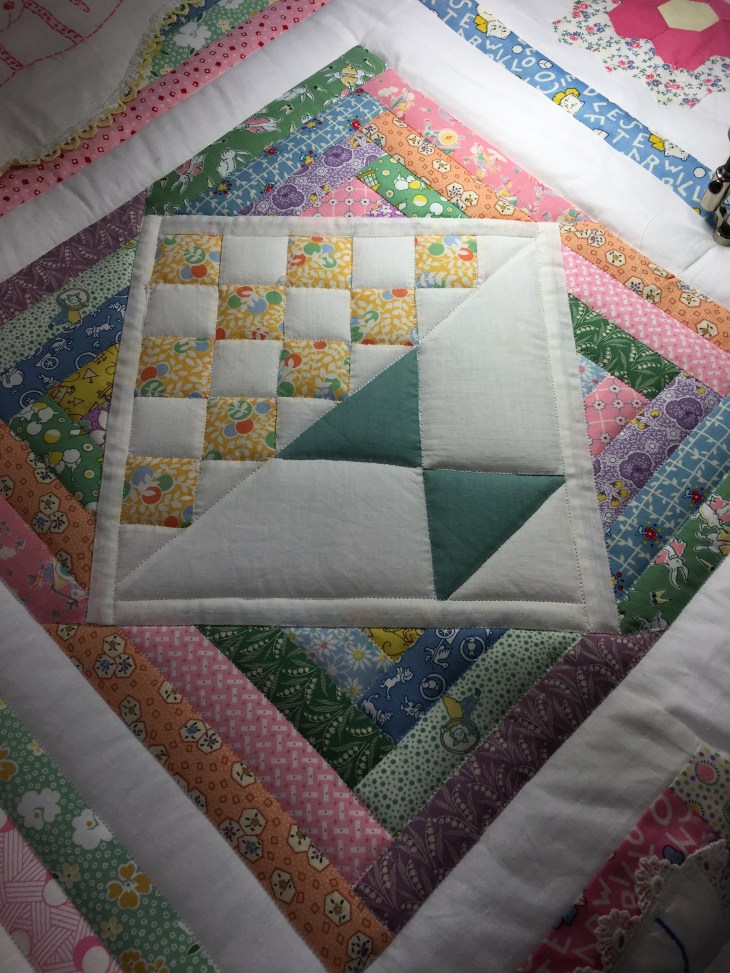
The above and below pictures show how crisp and clean the SID blocks look. It is worth your time! This vintage pieced basket block really stepped up to the plate with the stitch in the ditch.
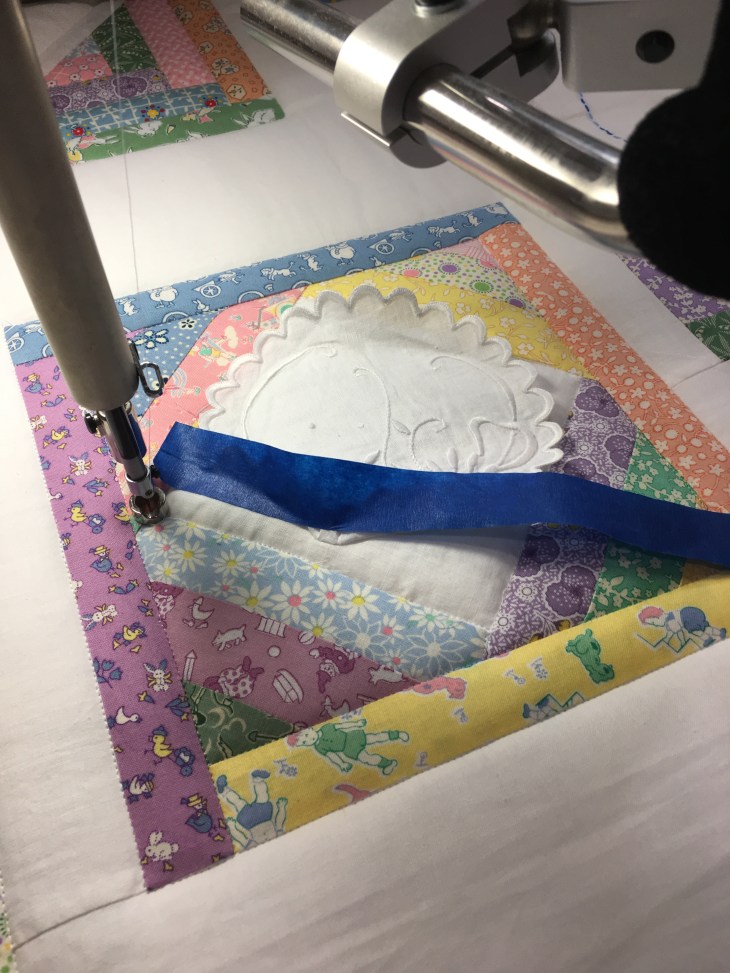
This last picture shows the versatility of our trusty blue friend; Painter’s Tape! It is remarkably handy when you need 3 hands. Use it to hold things out of the way that you’d really rather not be caught up in what ever you’re stitching. Below the tape is wrangling the white round doily edges so they are not lasting friends with SID-ESS 🙂
Have I convinced you of the importance of SID-ESS? Thank you Cindy Needham! Try it the next time you load a project on the longarm, a mid-arm or even your domestic machine. You put a lot of time and effort into what you’re about the quilt, take your time with the quilting!
Now it’s time to contemplate how I’m going to do all the pretty and fancy quilting. The nice thing is that each block is stabilized and almost no matter how much I quilt it, it will not distort 🙂
***house update: The contractor is working daily to make the necessary repairs to our first floor. Hopefully most of the major things will be completed by Thanksgiving!
Blessings to everyone and of course, Happy Quilting!
Rhonda


This is so stunningly beautiful, I am in awe of what you are doing with this quilt! I am intrigues about the no-iron backing method. How are you able to square it up before loading? any further tips you could pass along on this? Love your blog, found you through your post on Facebook.
LikeLike
Yes, yes, yes to ESS. I am a avid follower of Cindy Needham and first heard about ESS from Cindy in a Craftsy class, Design It, Quilt It. I am a believer in ESS and your quilt is a testament to a fabulous technique.
LikeLike
Isn’t she awesome!!!!
LikeLike
So, sew beautiful! Our prayers are with you….. with all that is going on, you still create beauty!
Luv ya!
Susan
LikeLiked by 1 person