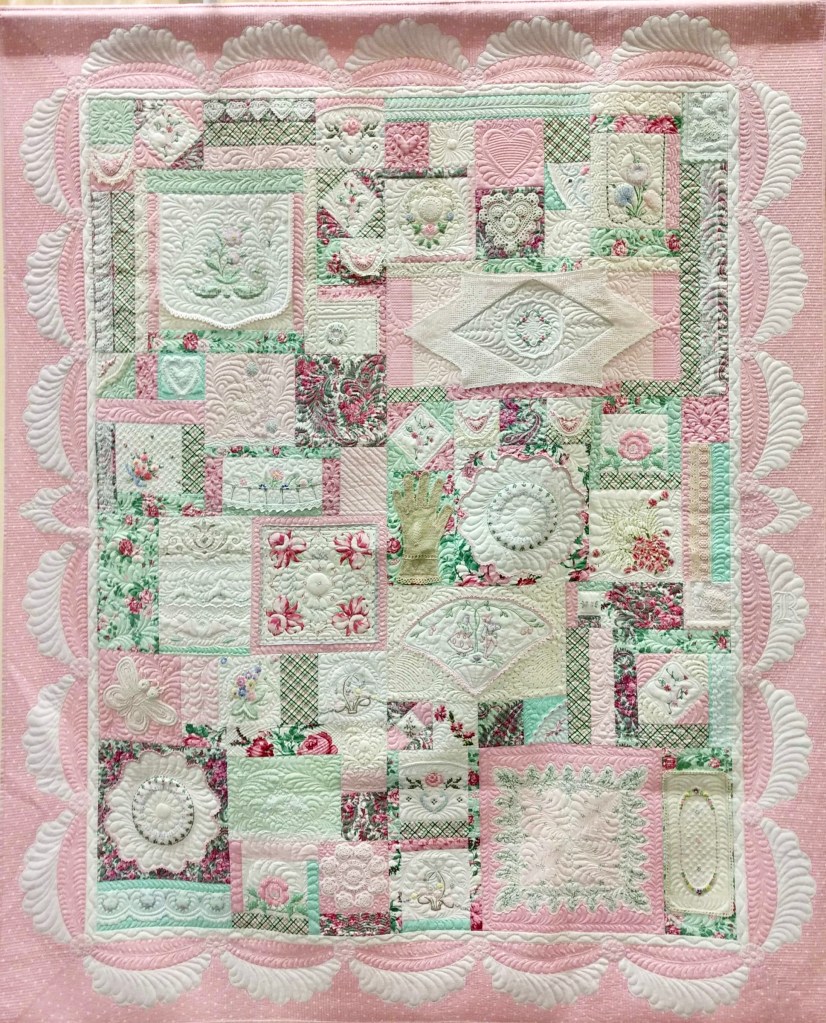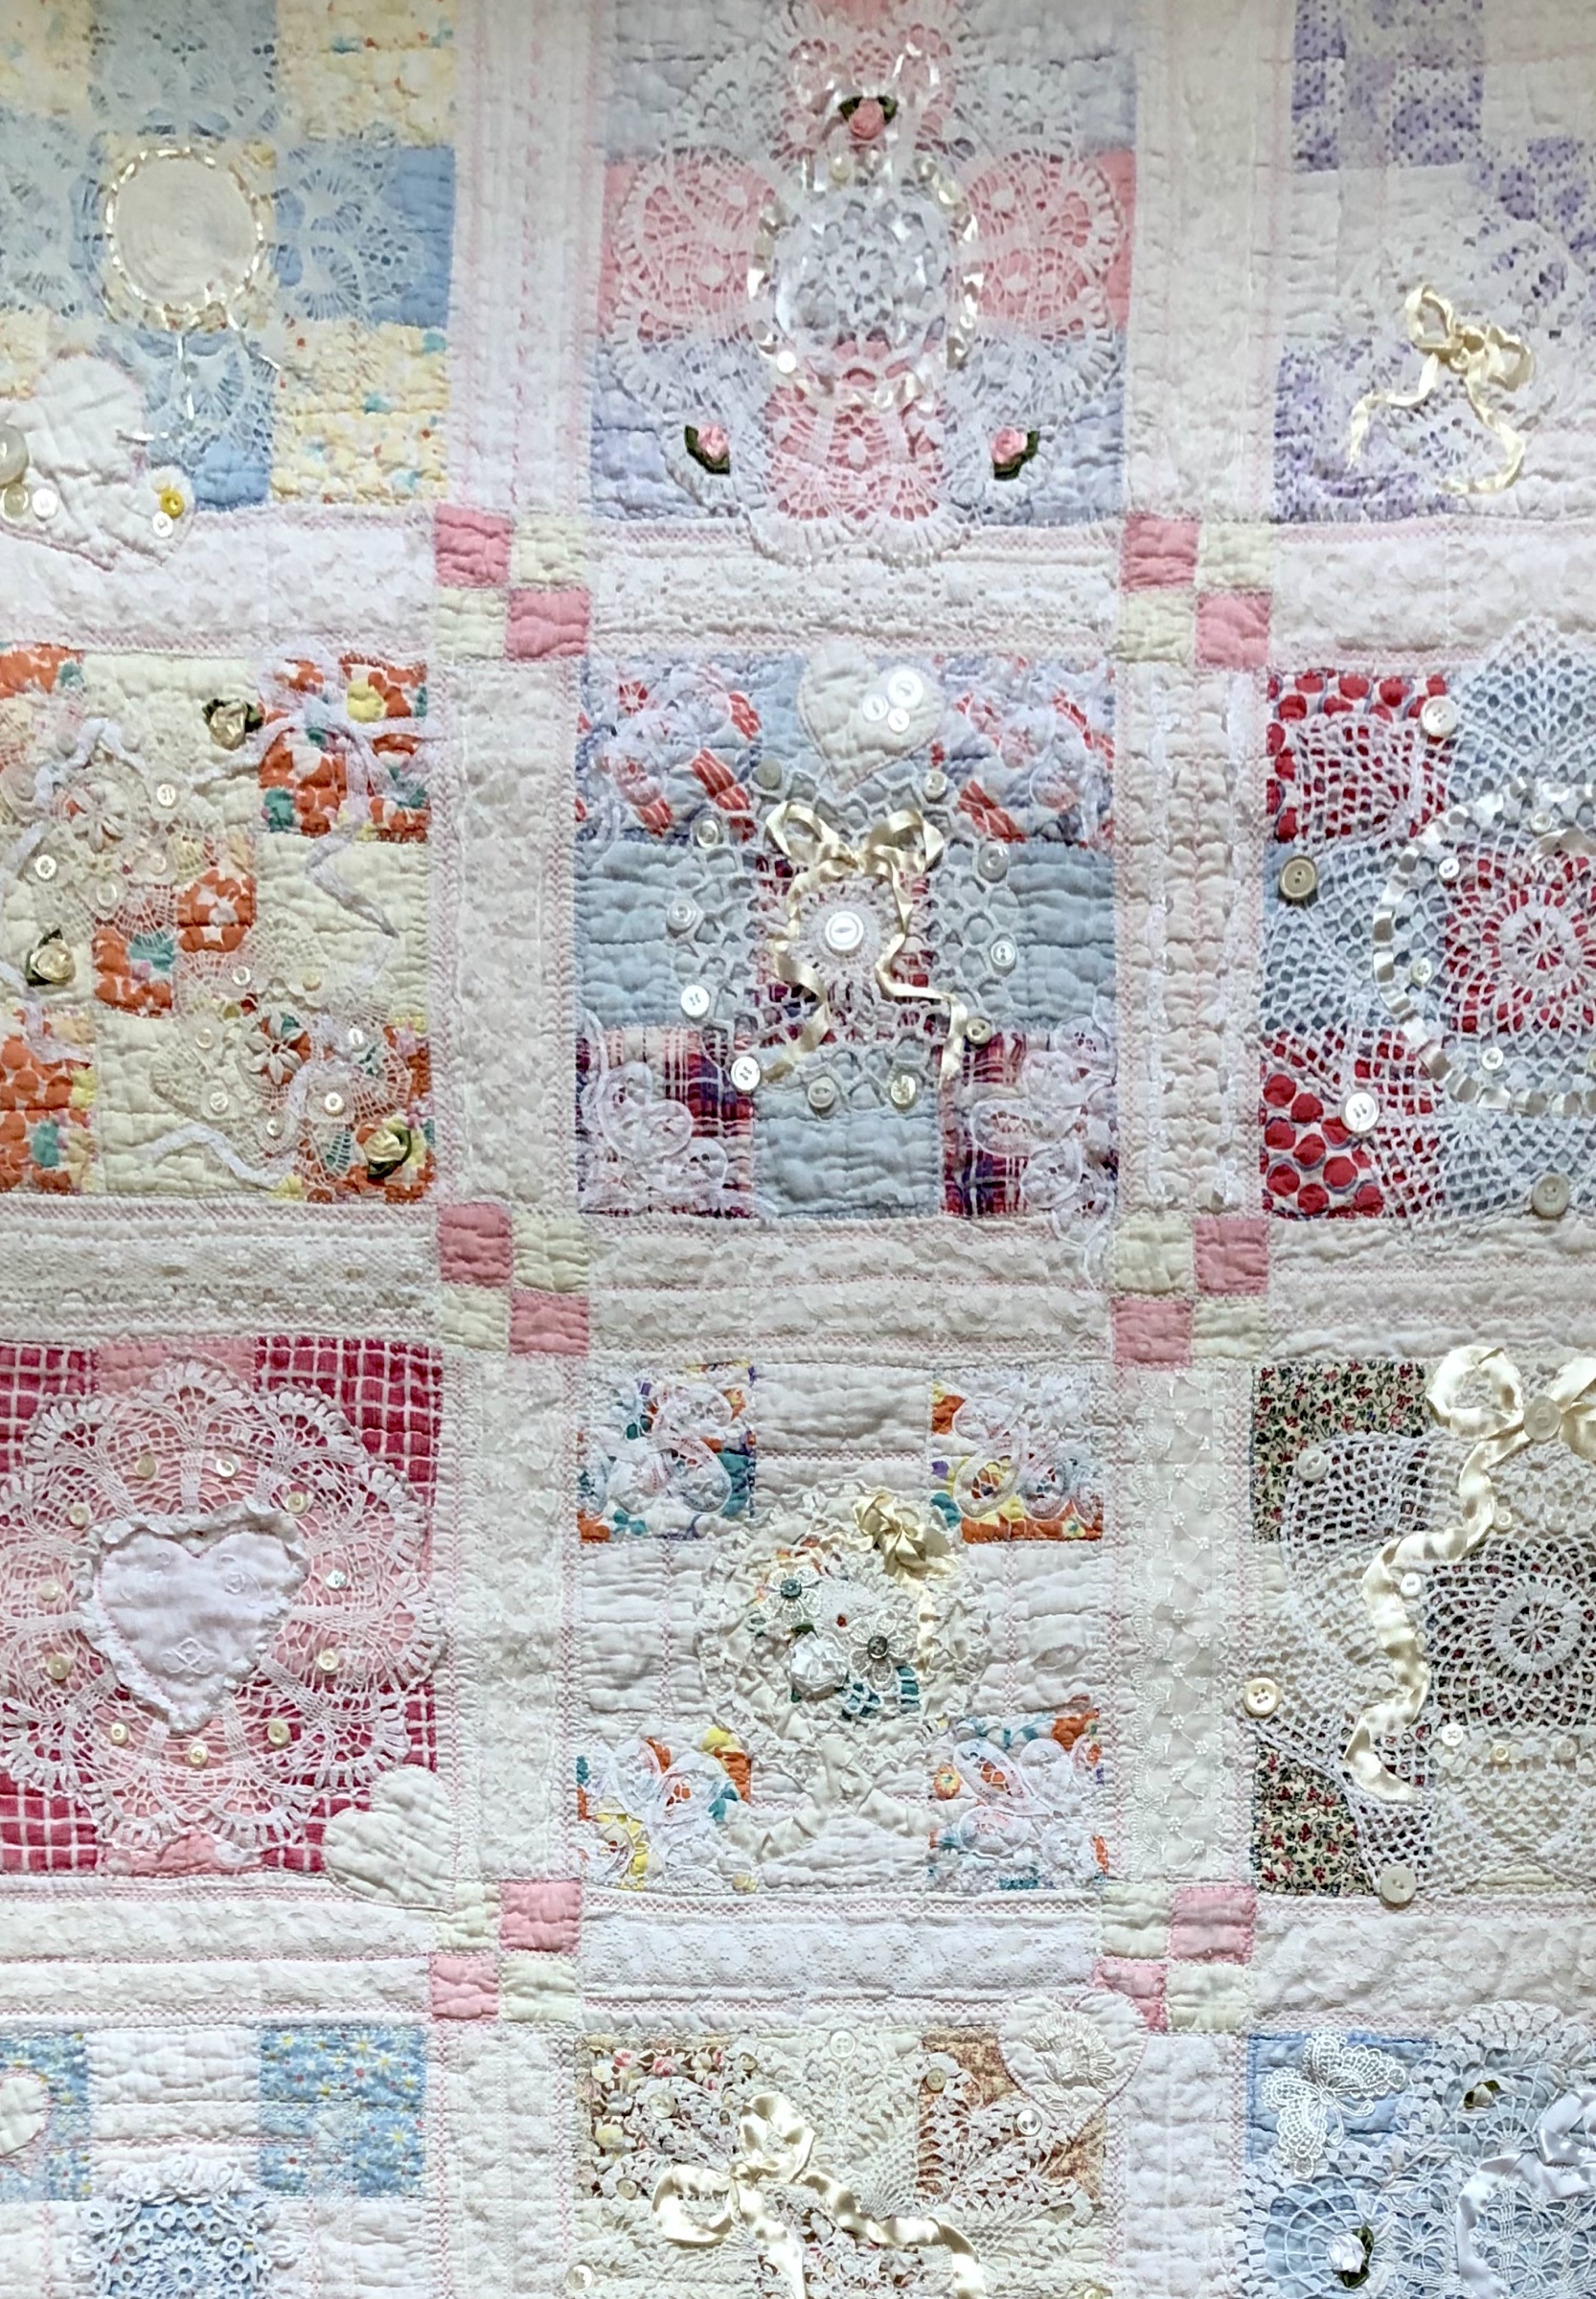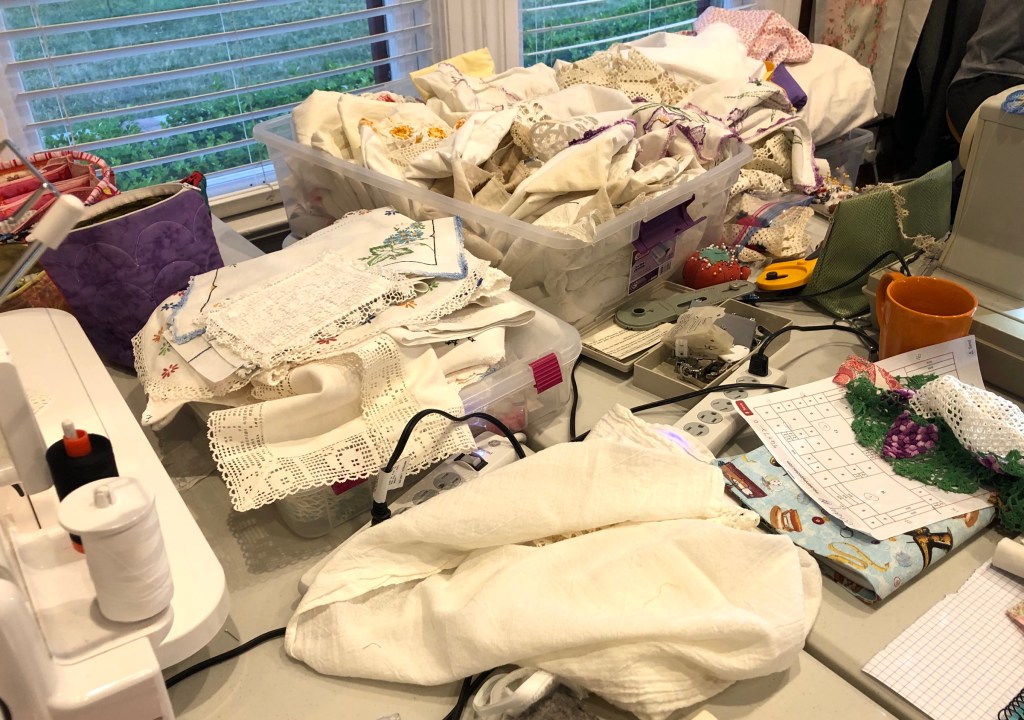
The embellishments! The add-ons! The bling! What ever you want to call them, it’s time to talk about the things I added to the finished quilt. Note: from this time onward, all stitching/securing/etc. is done by hand with a needle and thread.
I could almost rename this project to The Butterfly Quilt, you’ll see why as you keep reading.
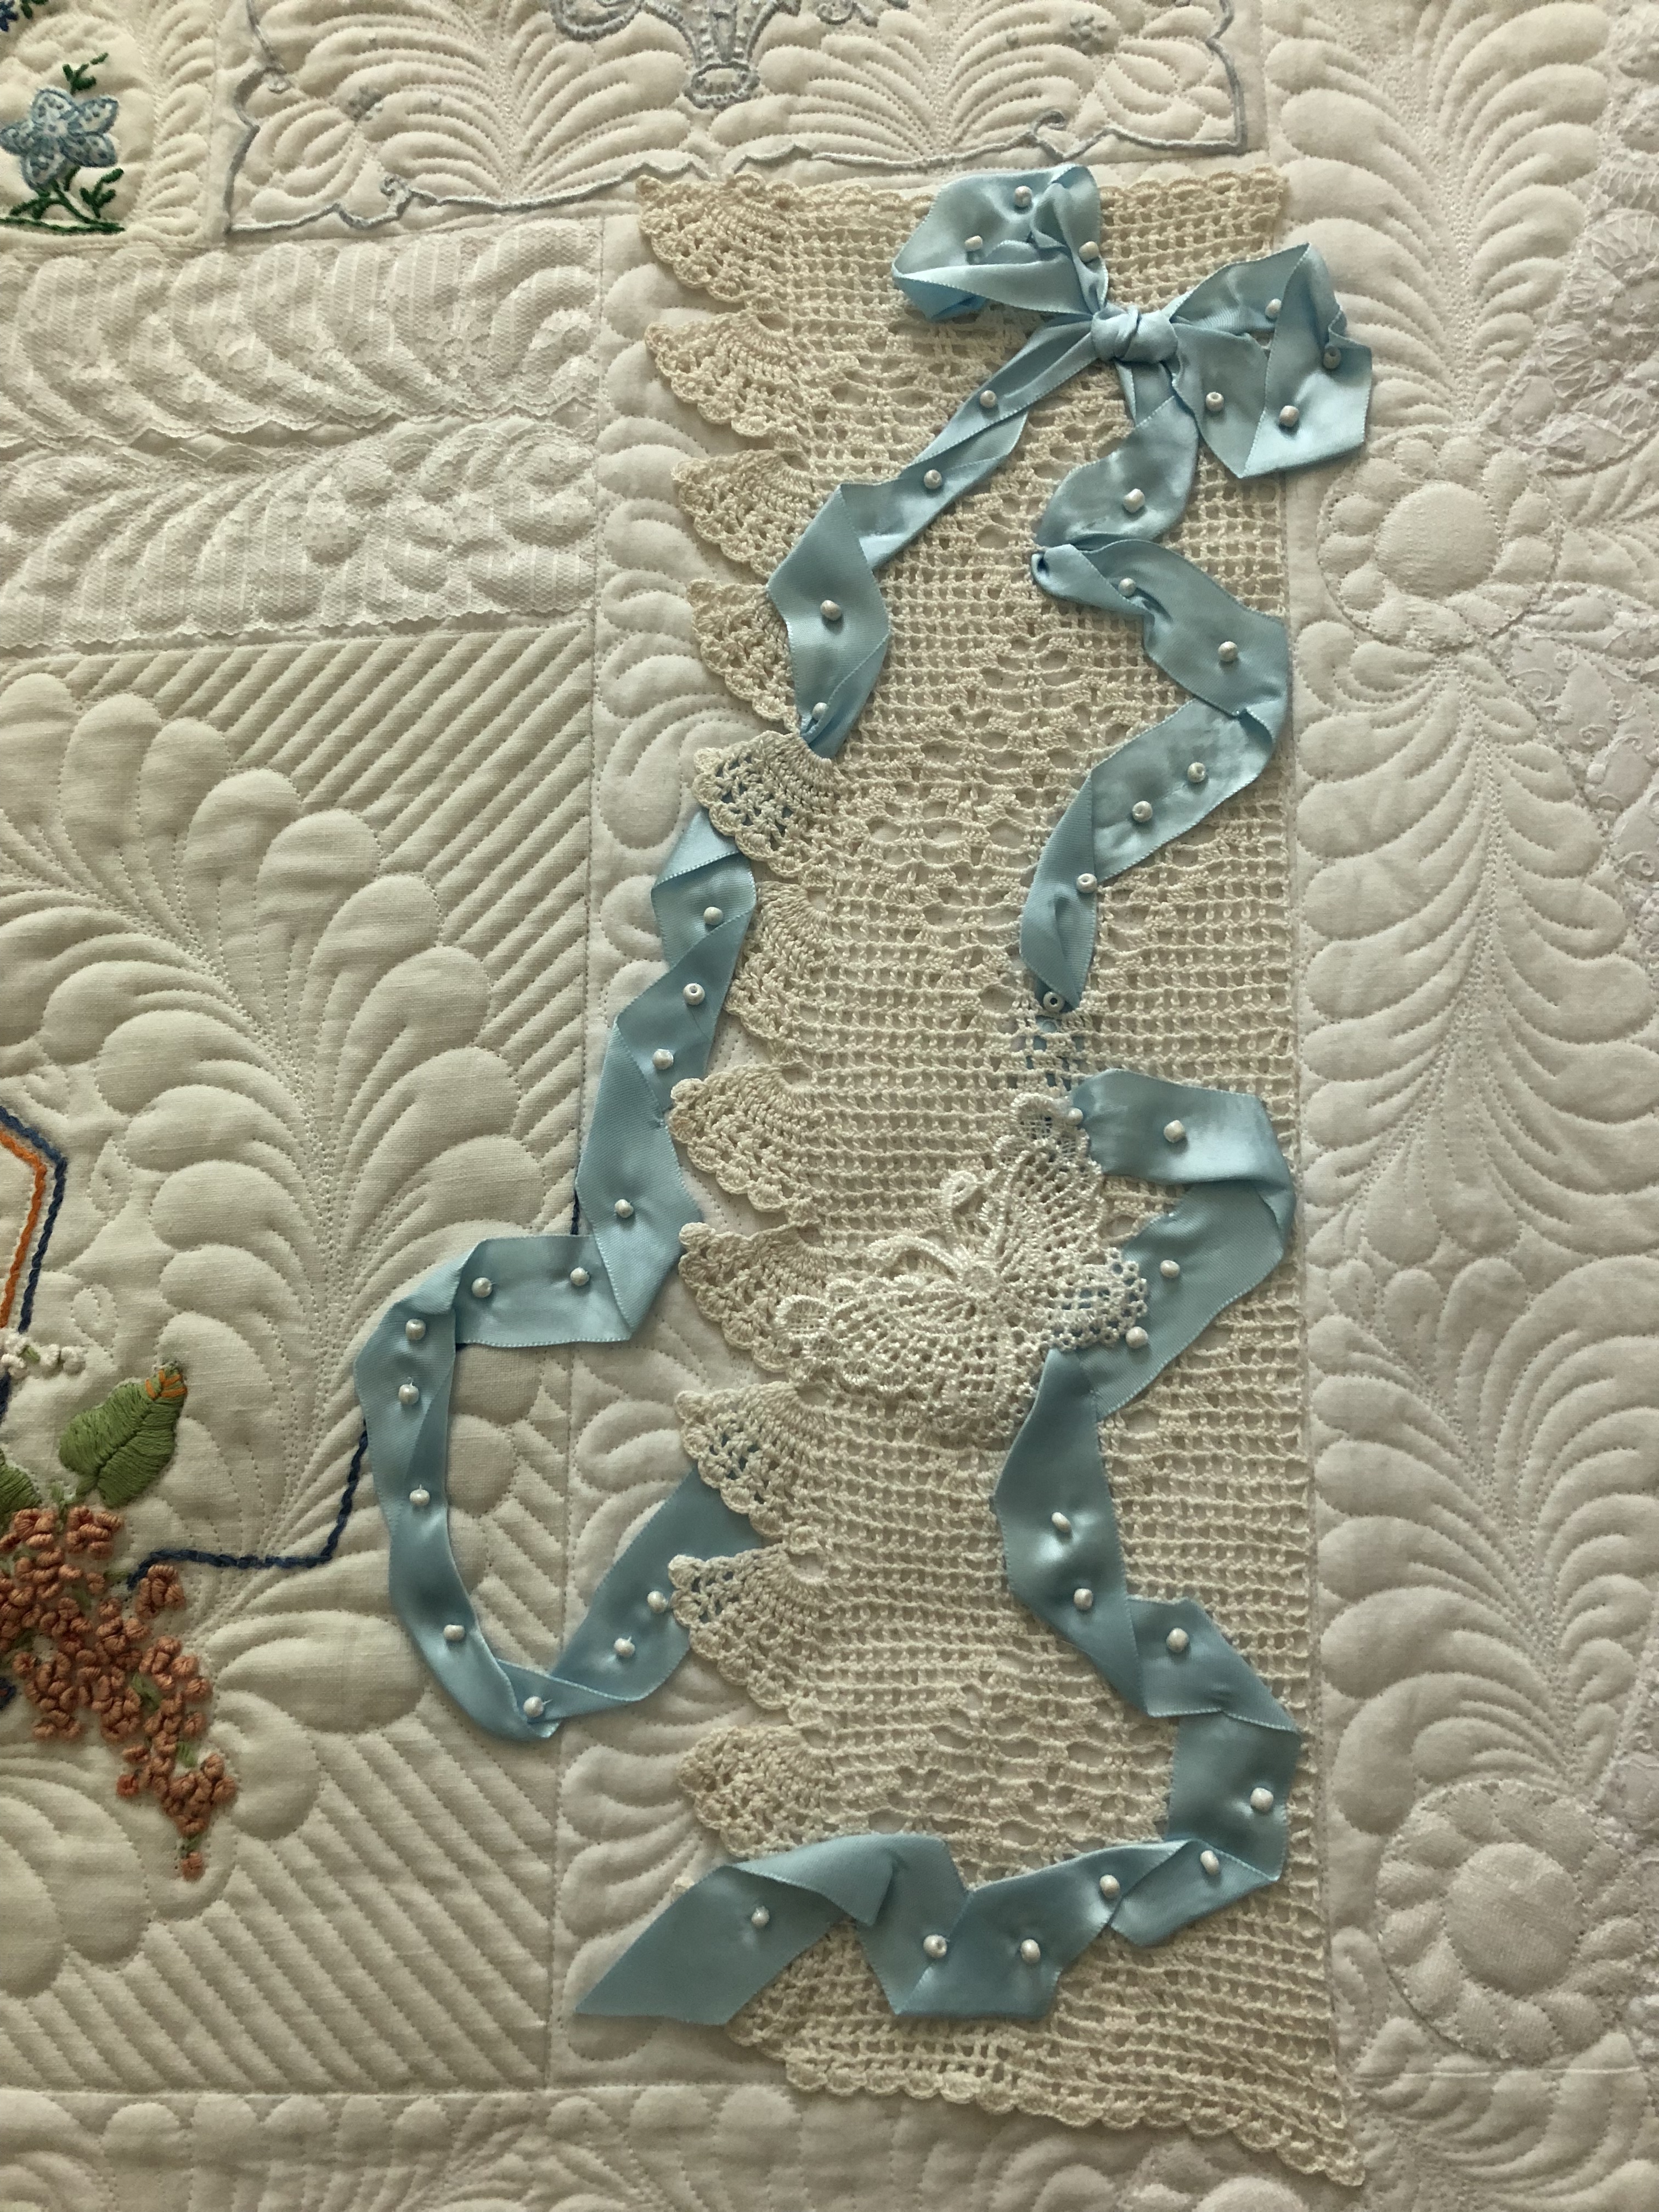
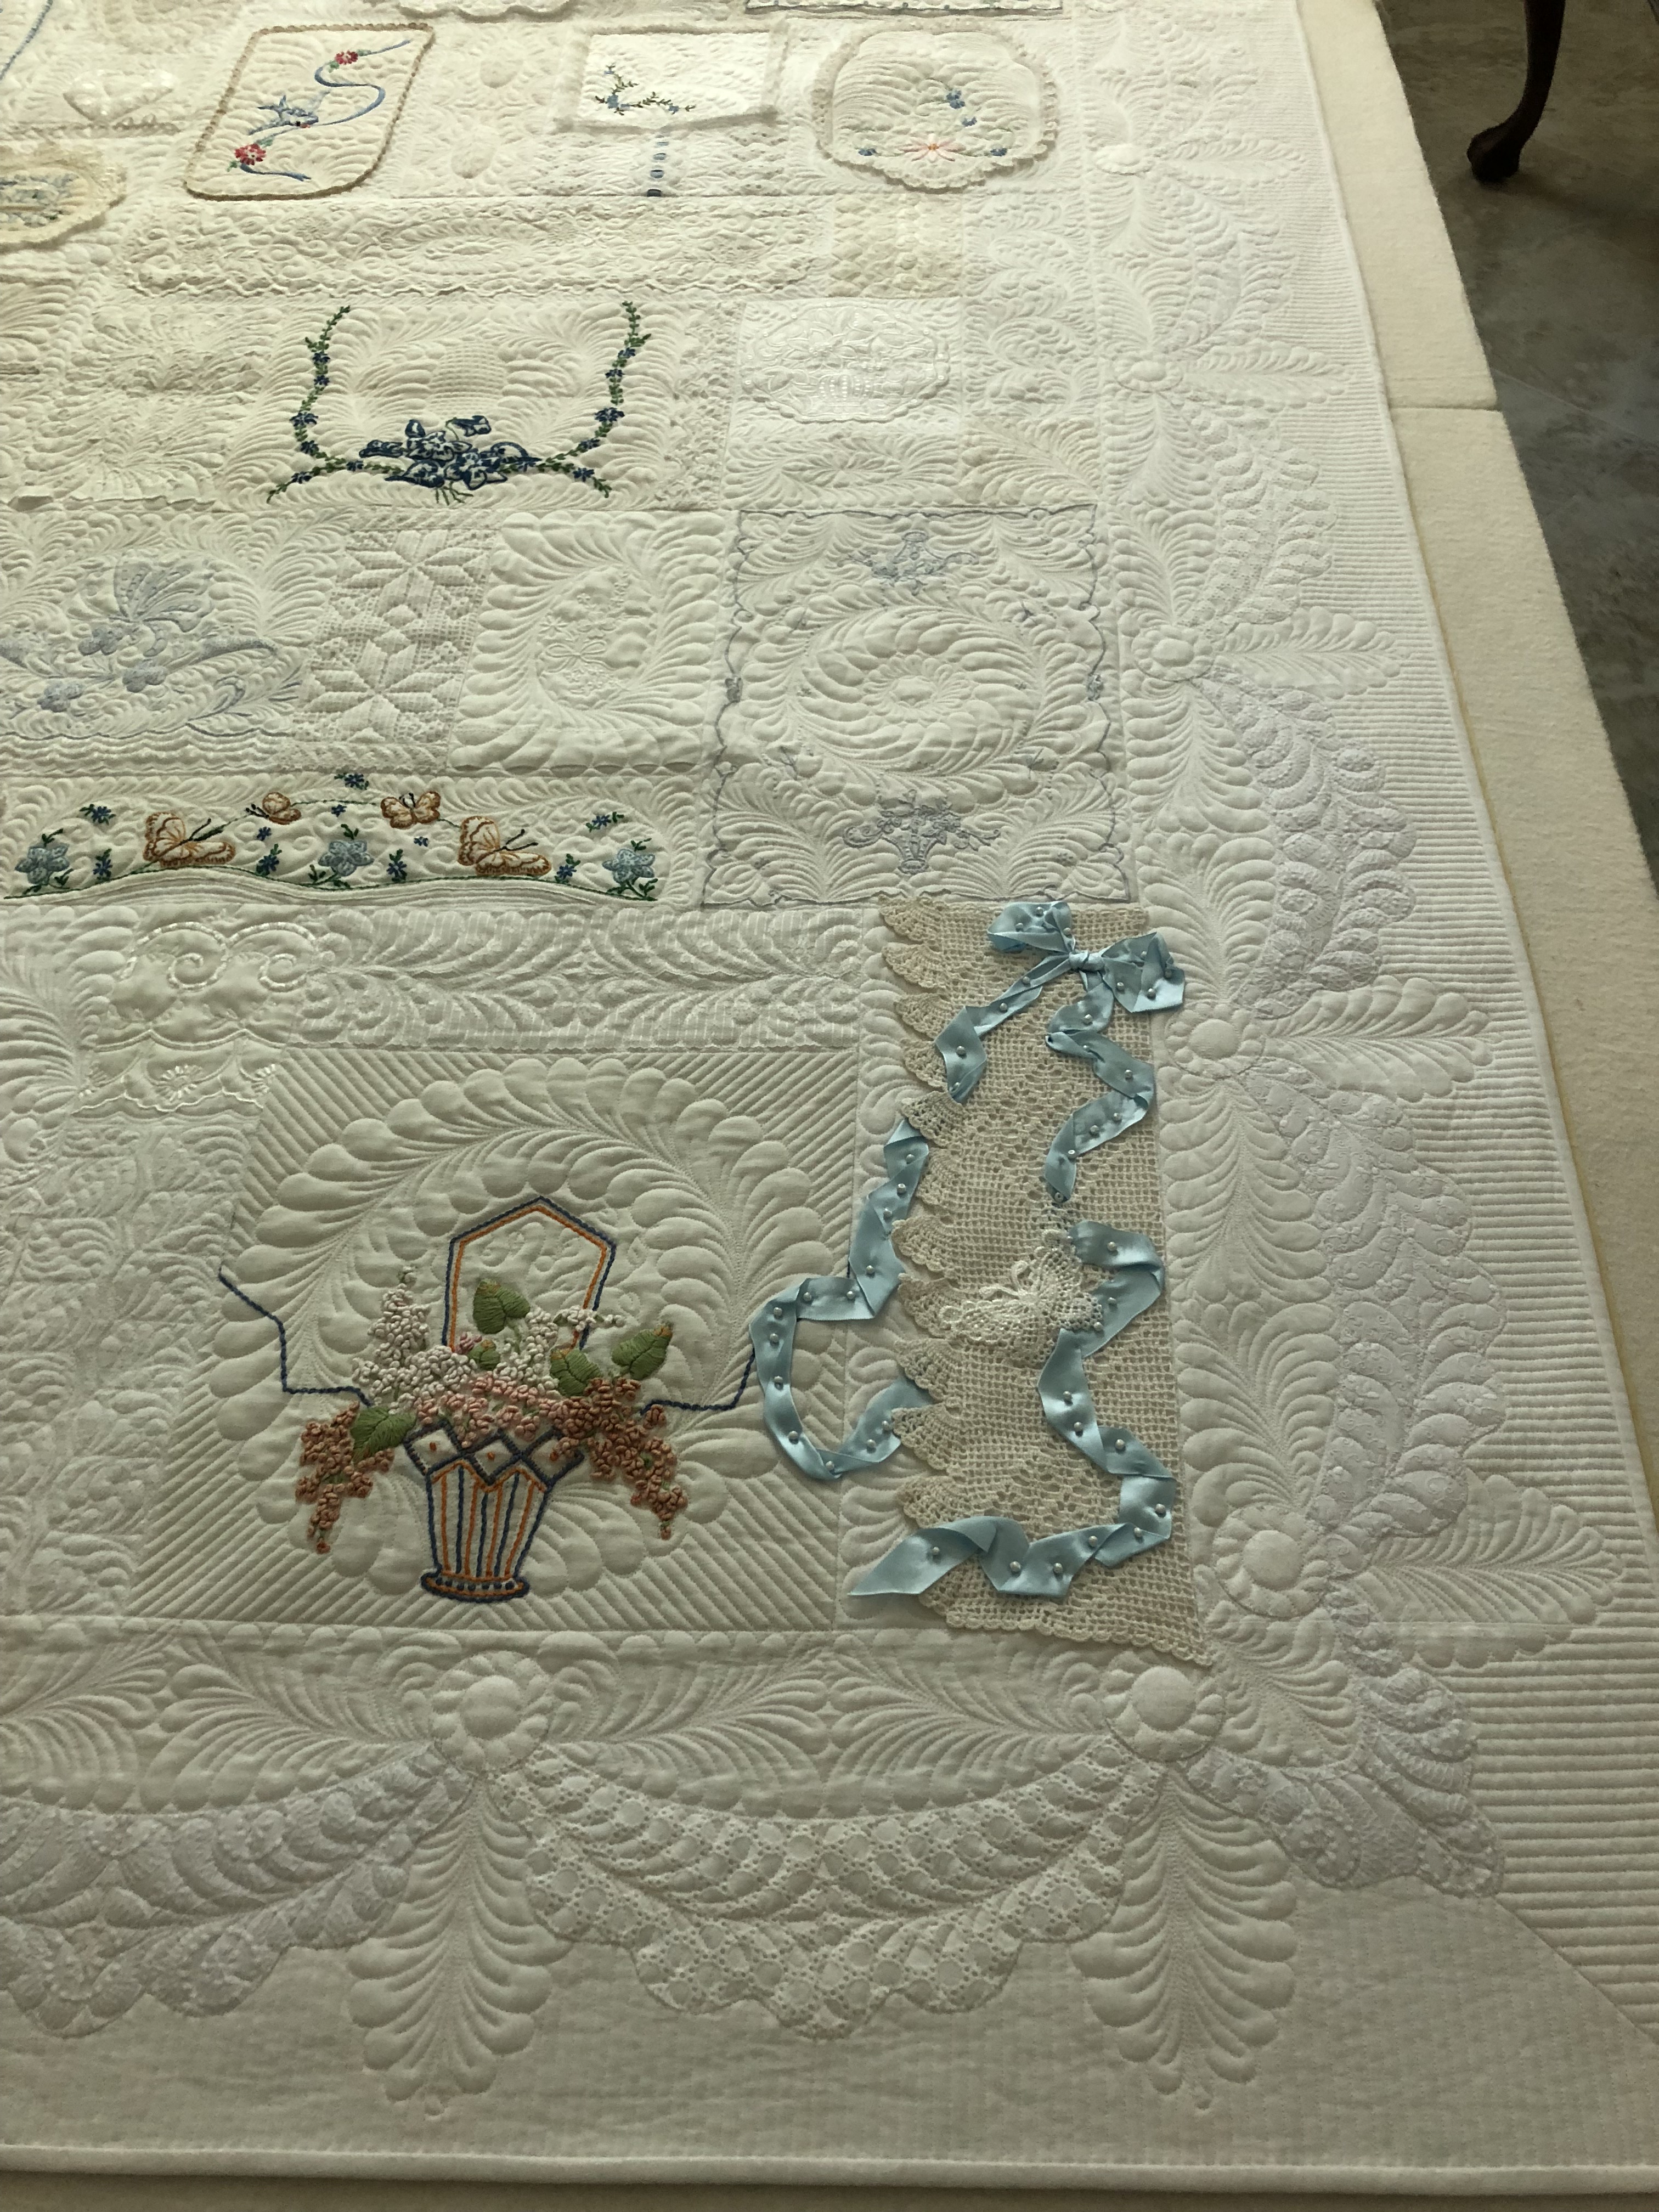
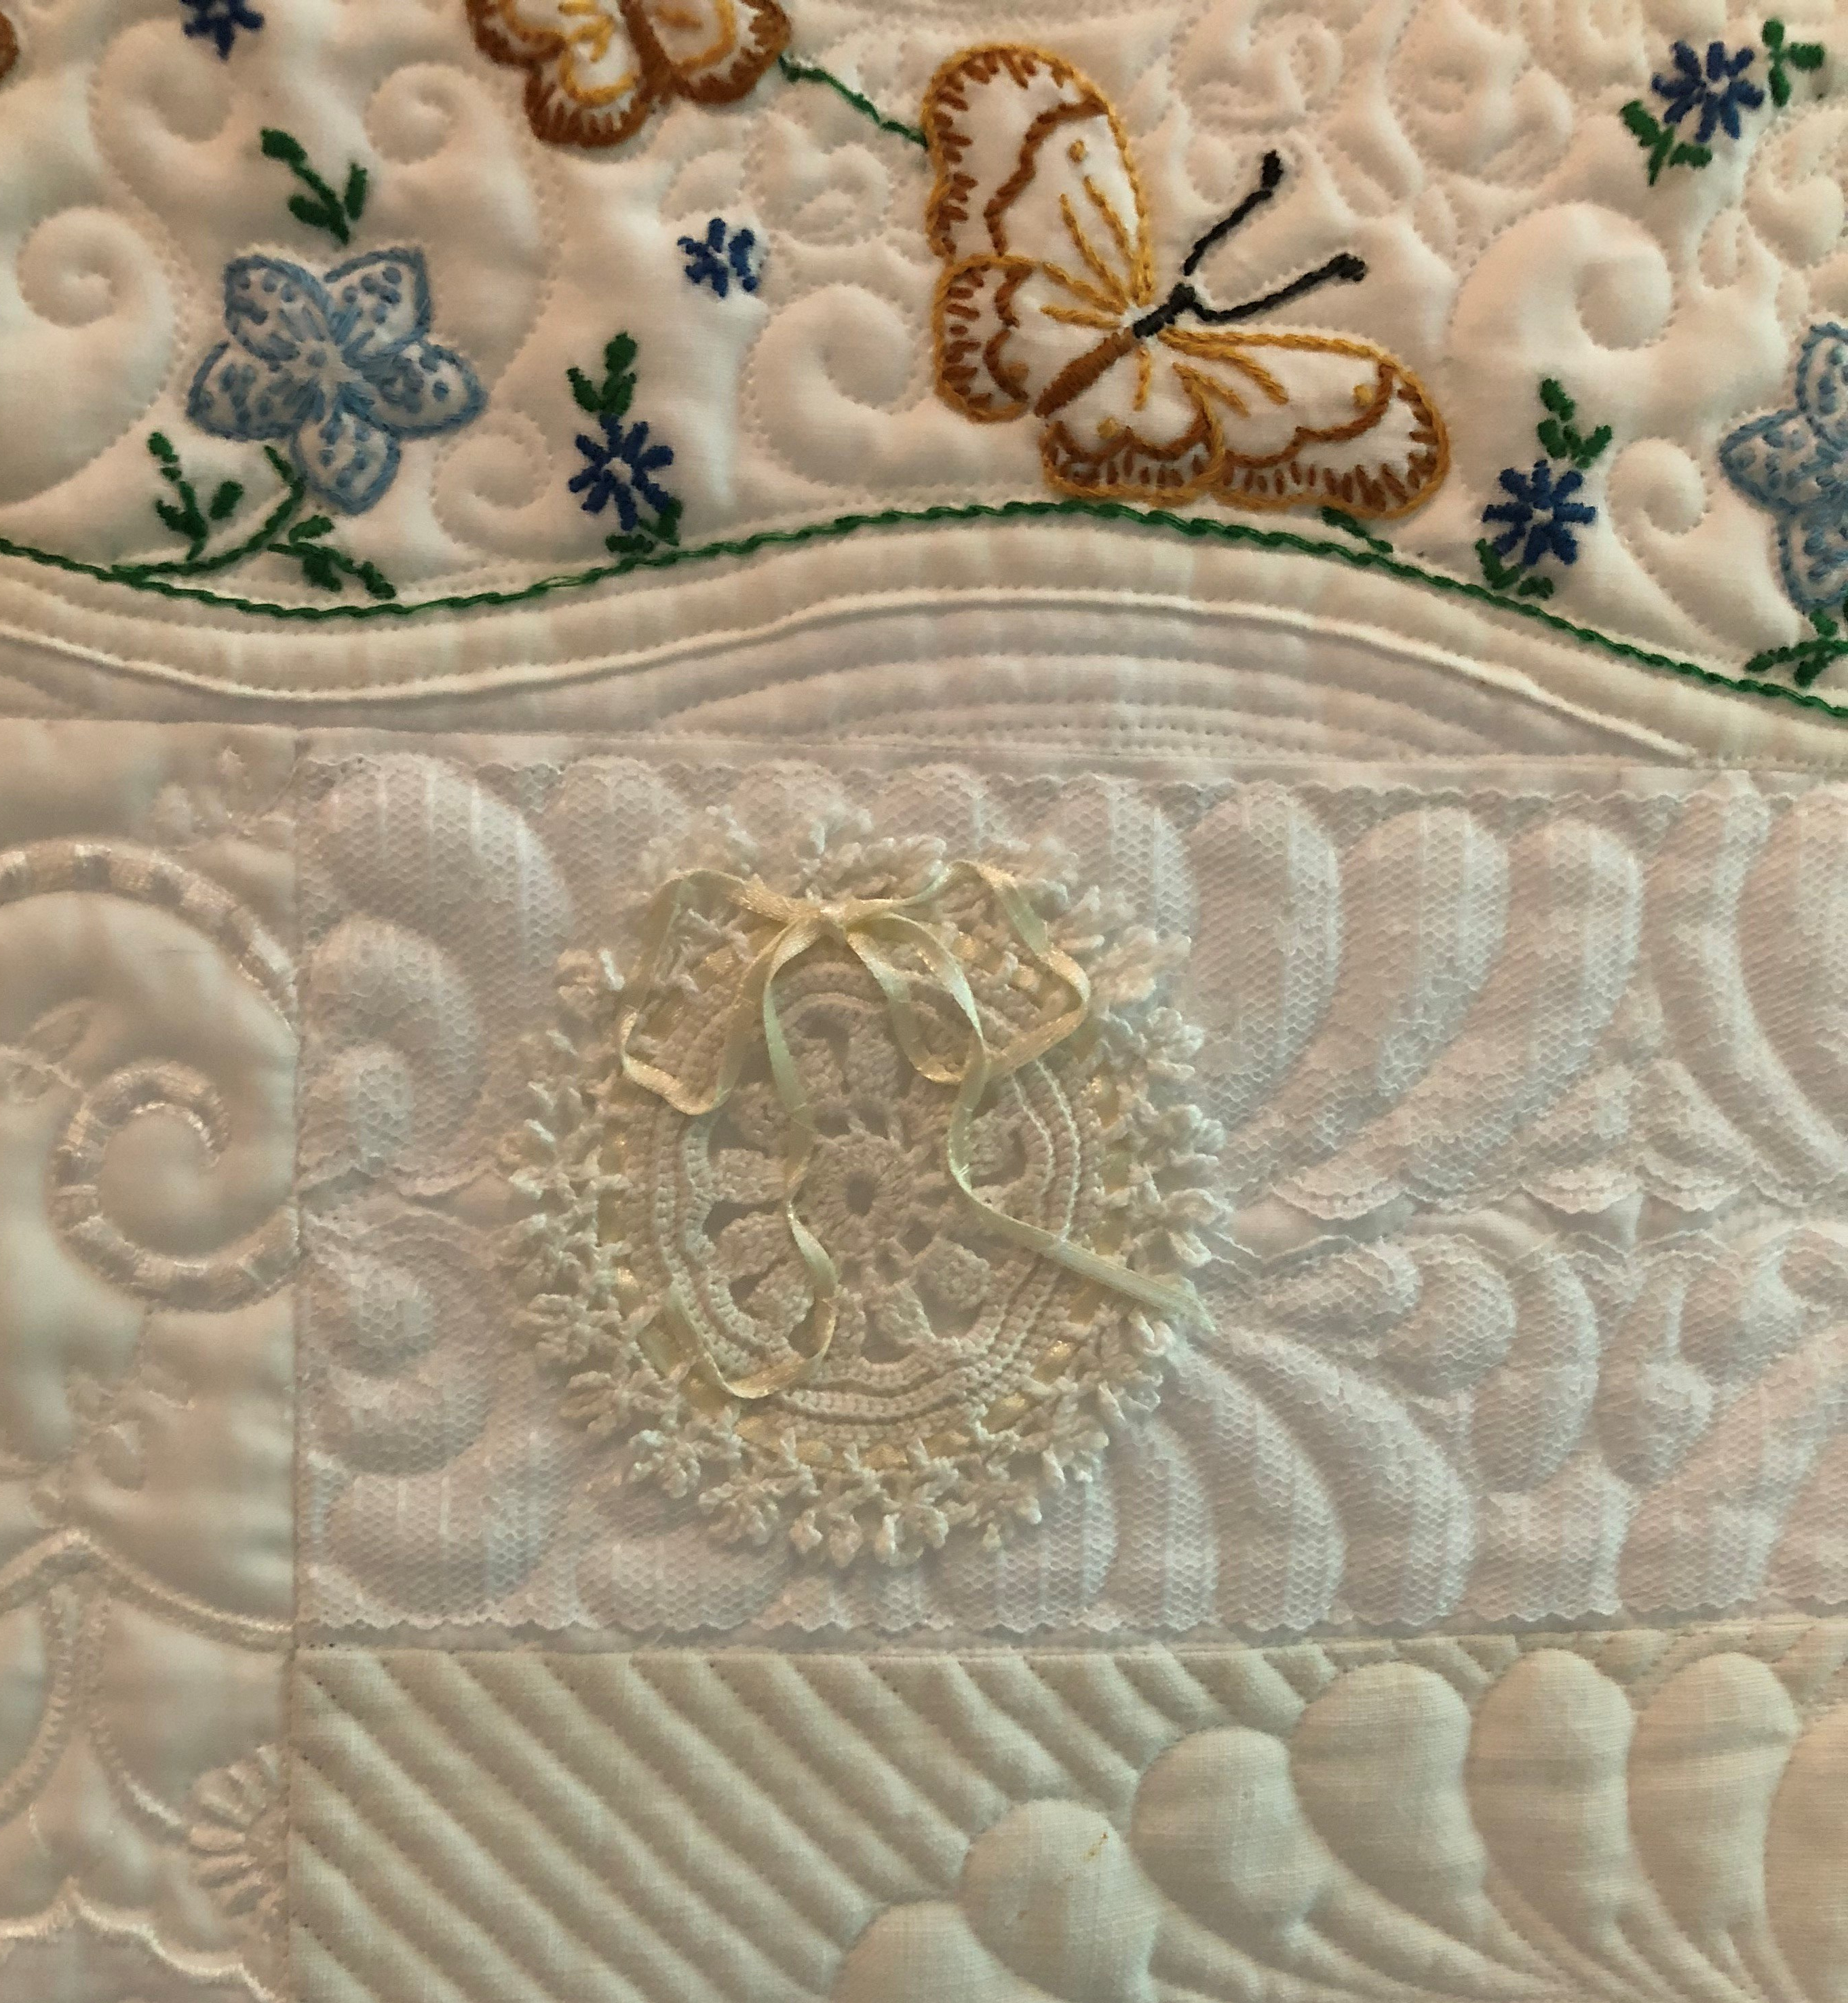
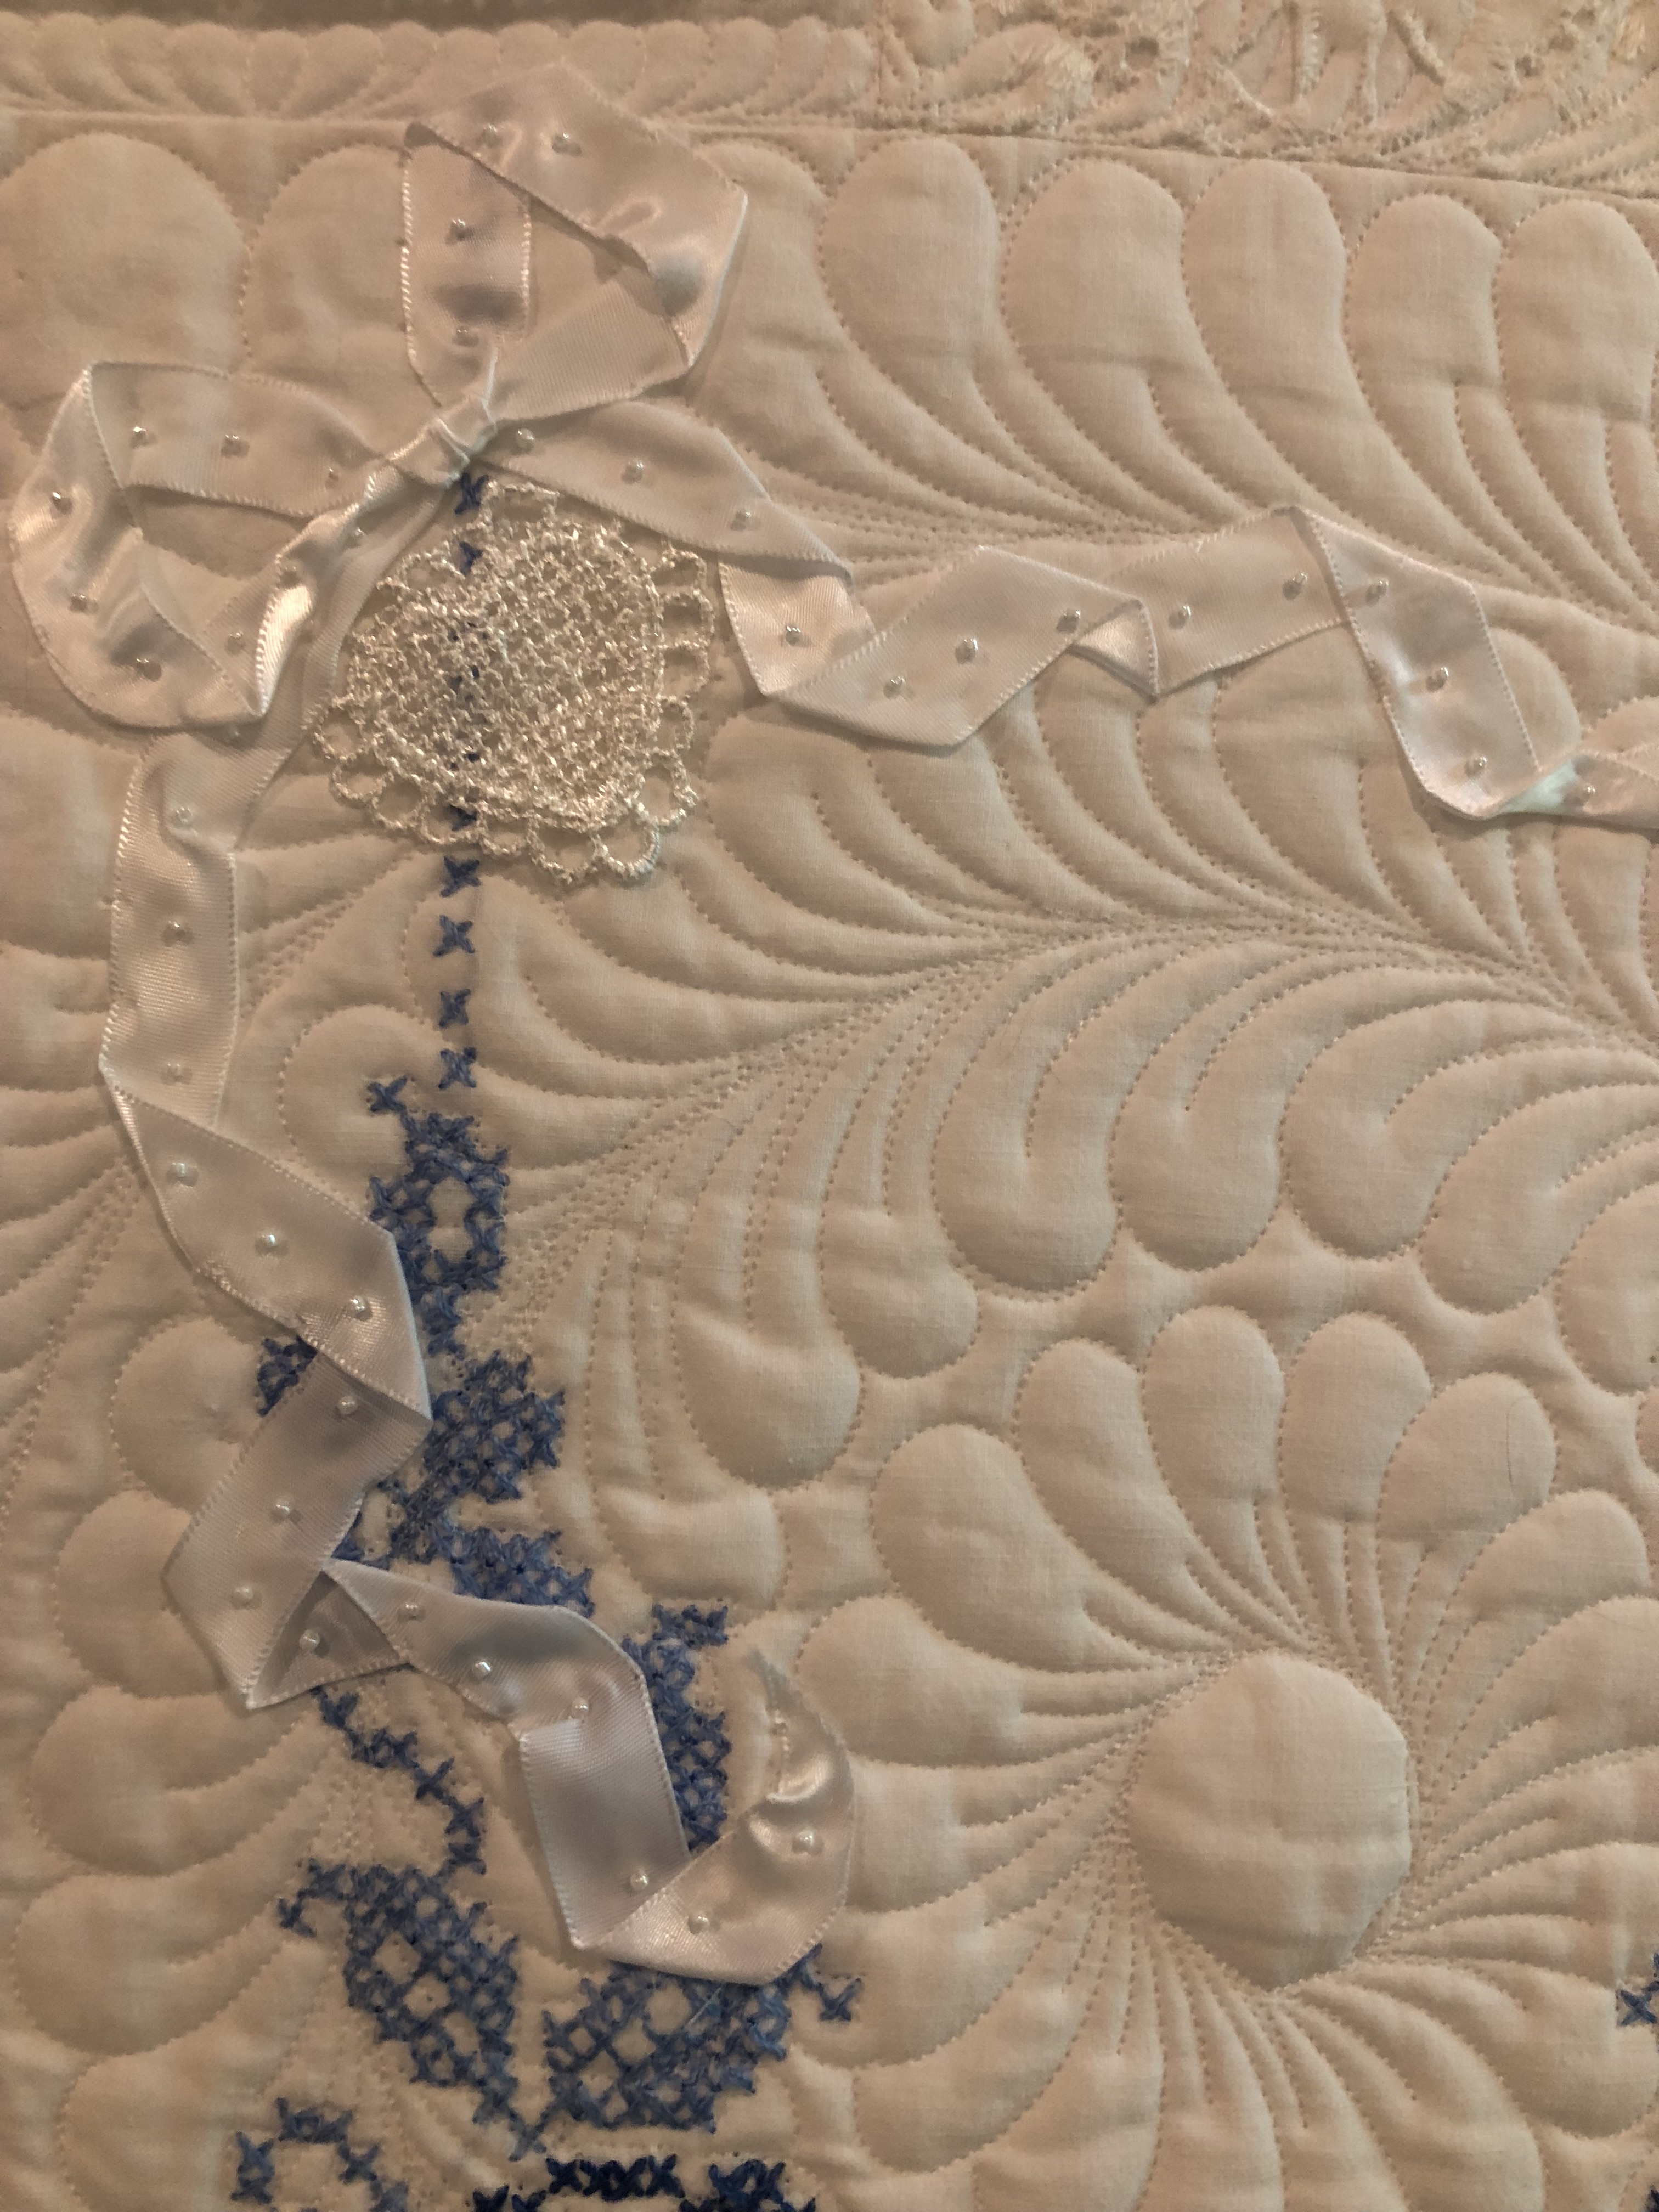
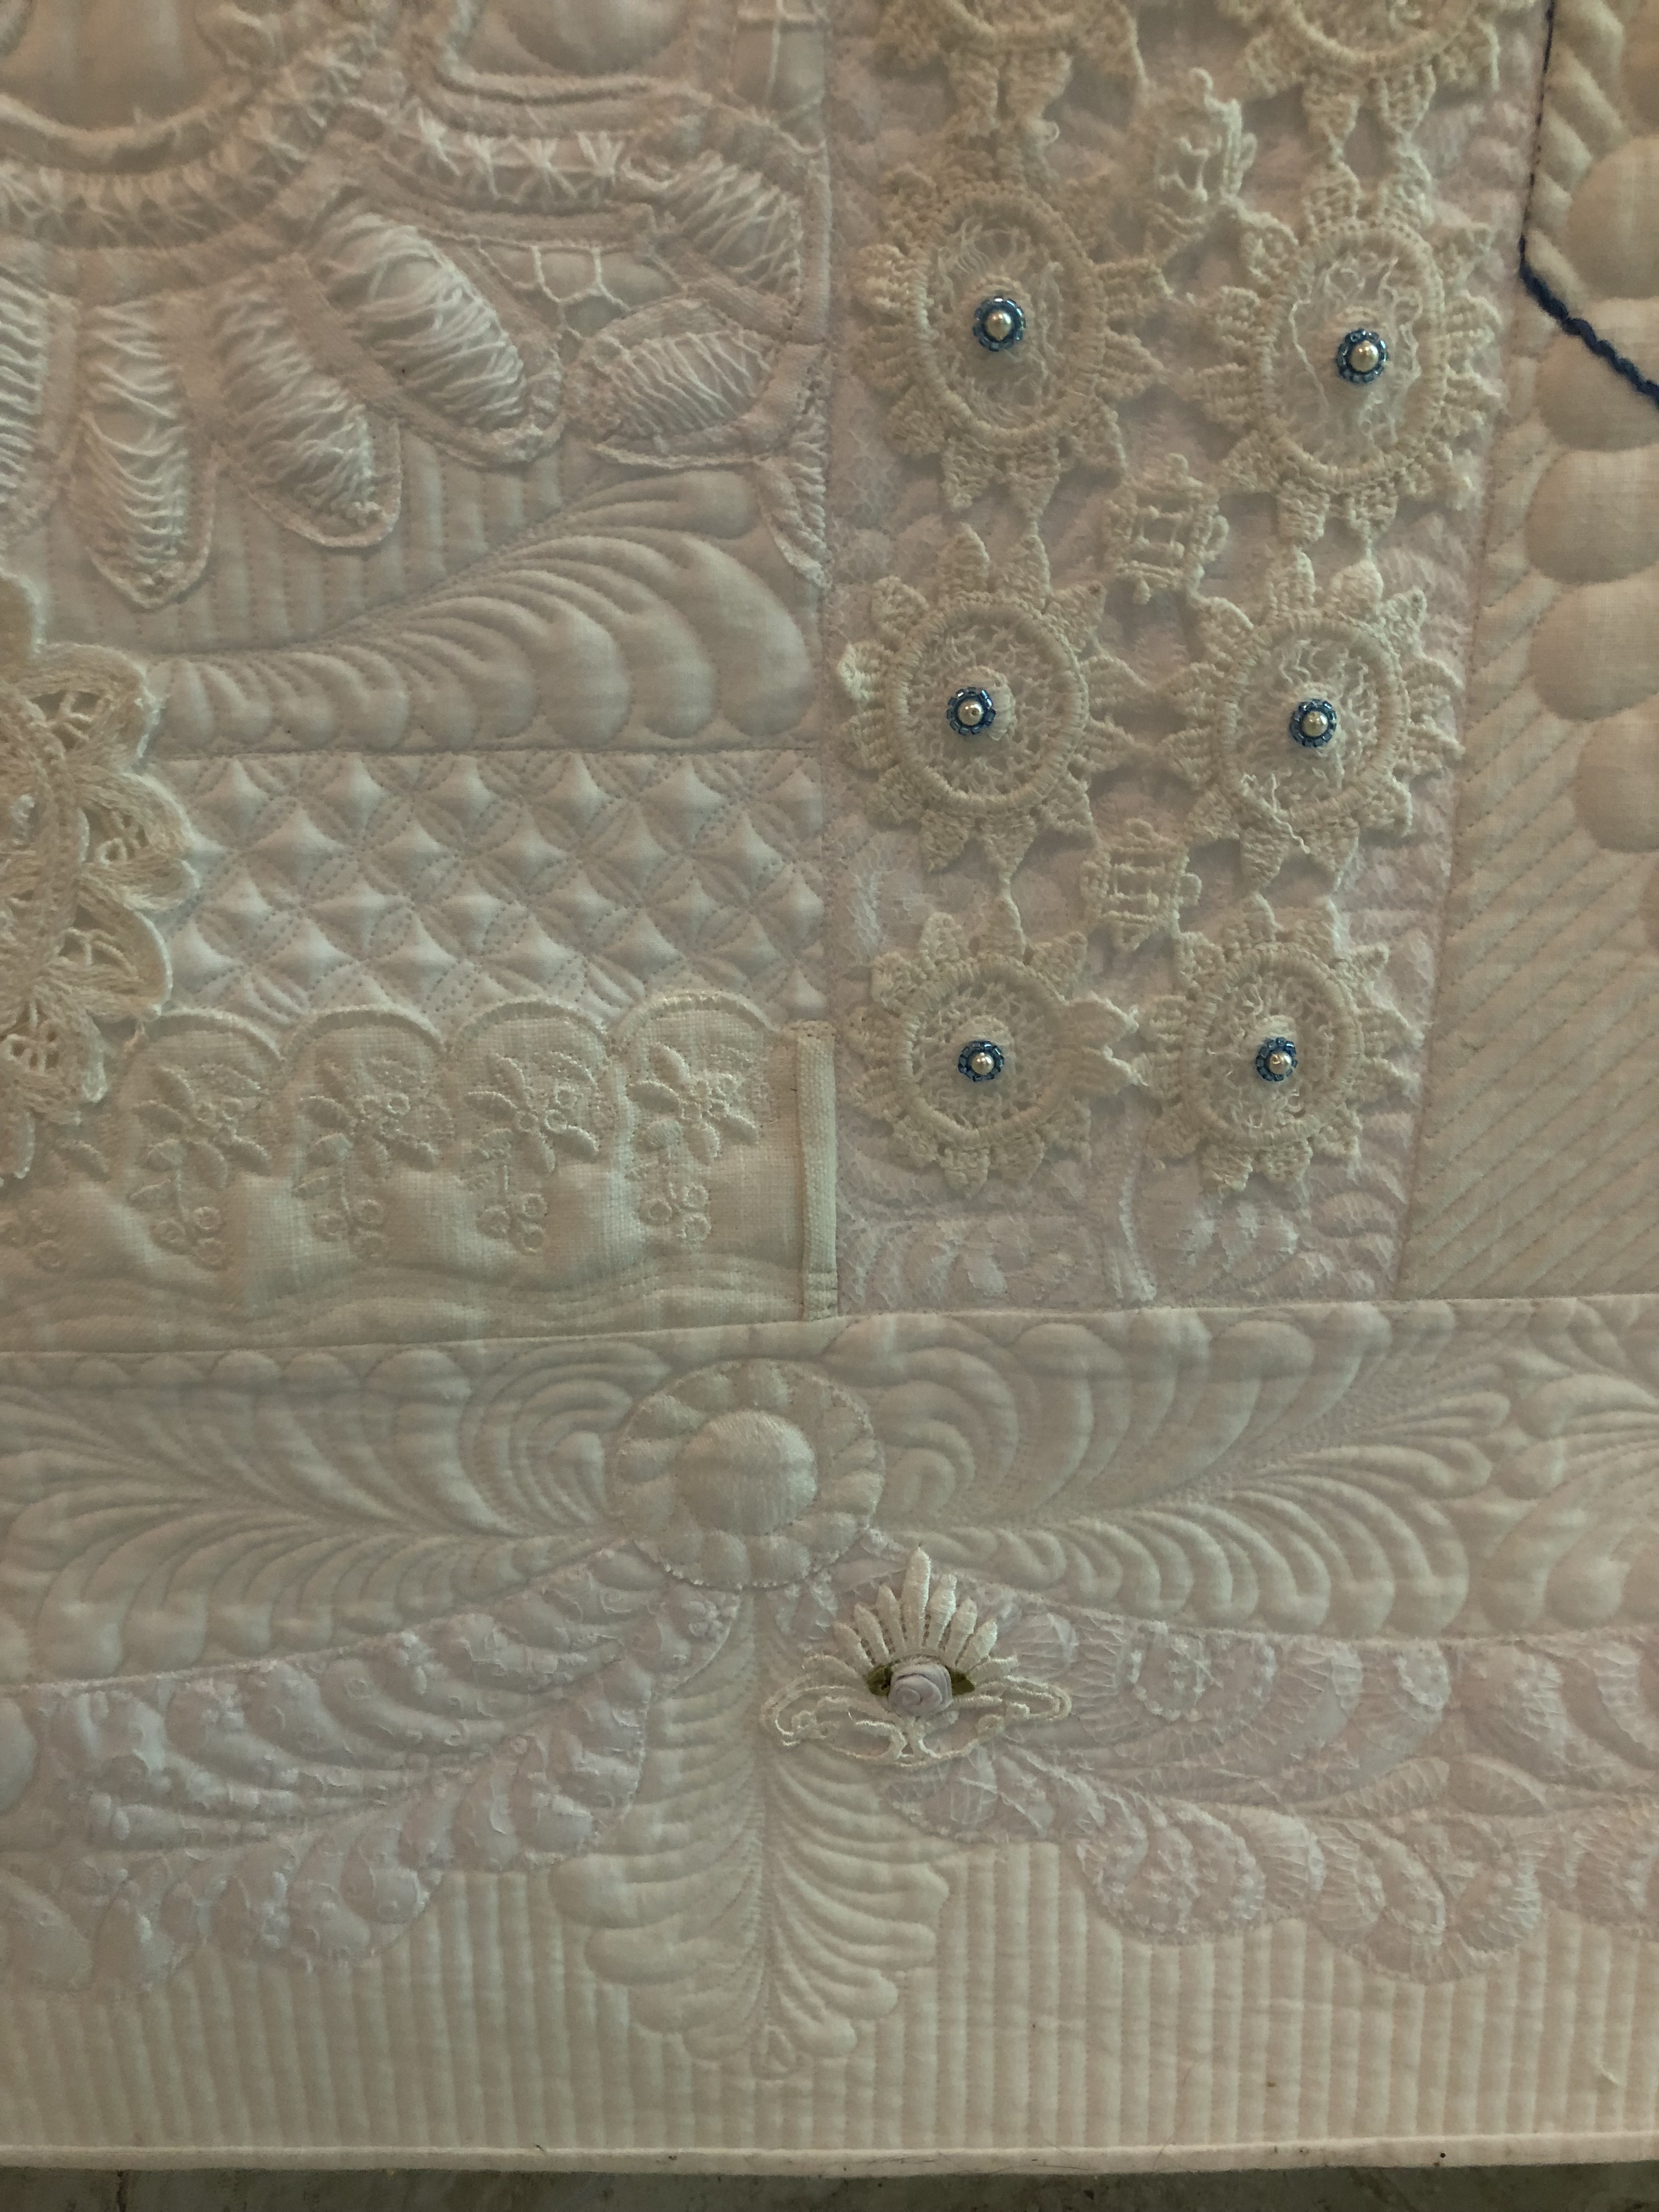
Let’s start with the bottom right corner where I quilted undulating feathers in the long vertical white rectangle. I had this beautiful piece of ivory crochet to hand stitch on top. This method allows the quilt to look well quilted from the back without me quilting through the crocheted piece. After it was secured in place I was able to make a blue satin bow with long streamers to strategically place both on top and through the crochet openings as I worked my way down the block. Once the ribbon was placed and pinned, using a very fine beading needle and Nymo thread, I attached the white Ceylon beads to the ribbon being very careful to take tiny stitches so as not to show on the back of the quilt. After the beading, I added the butterfly applique piece
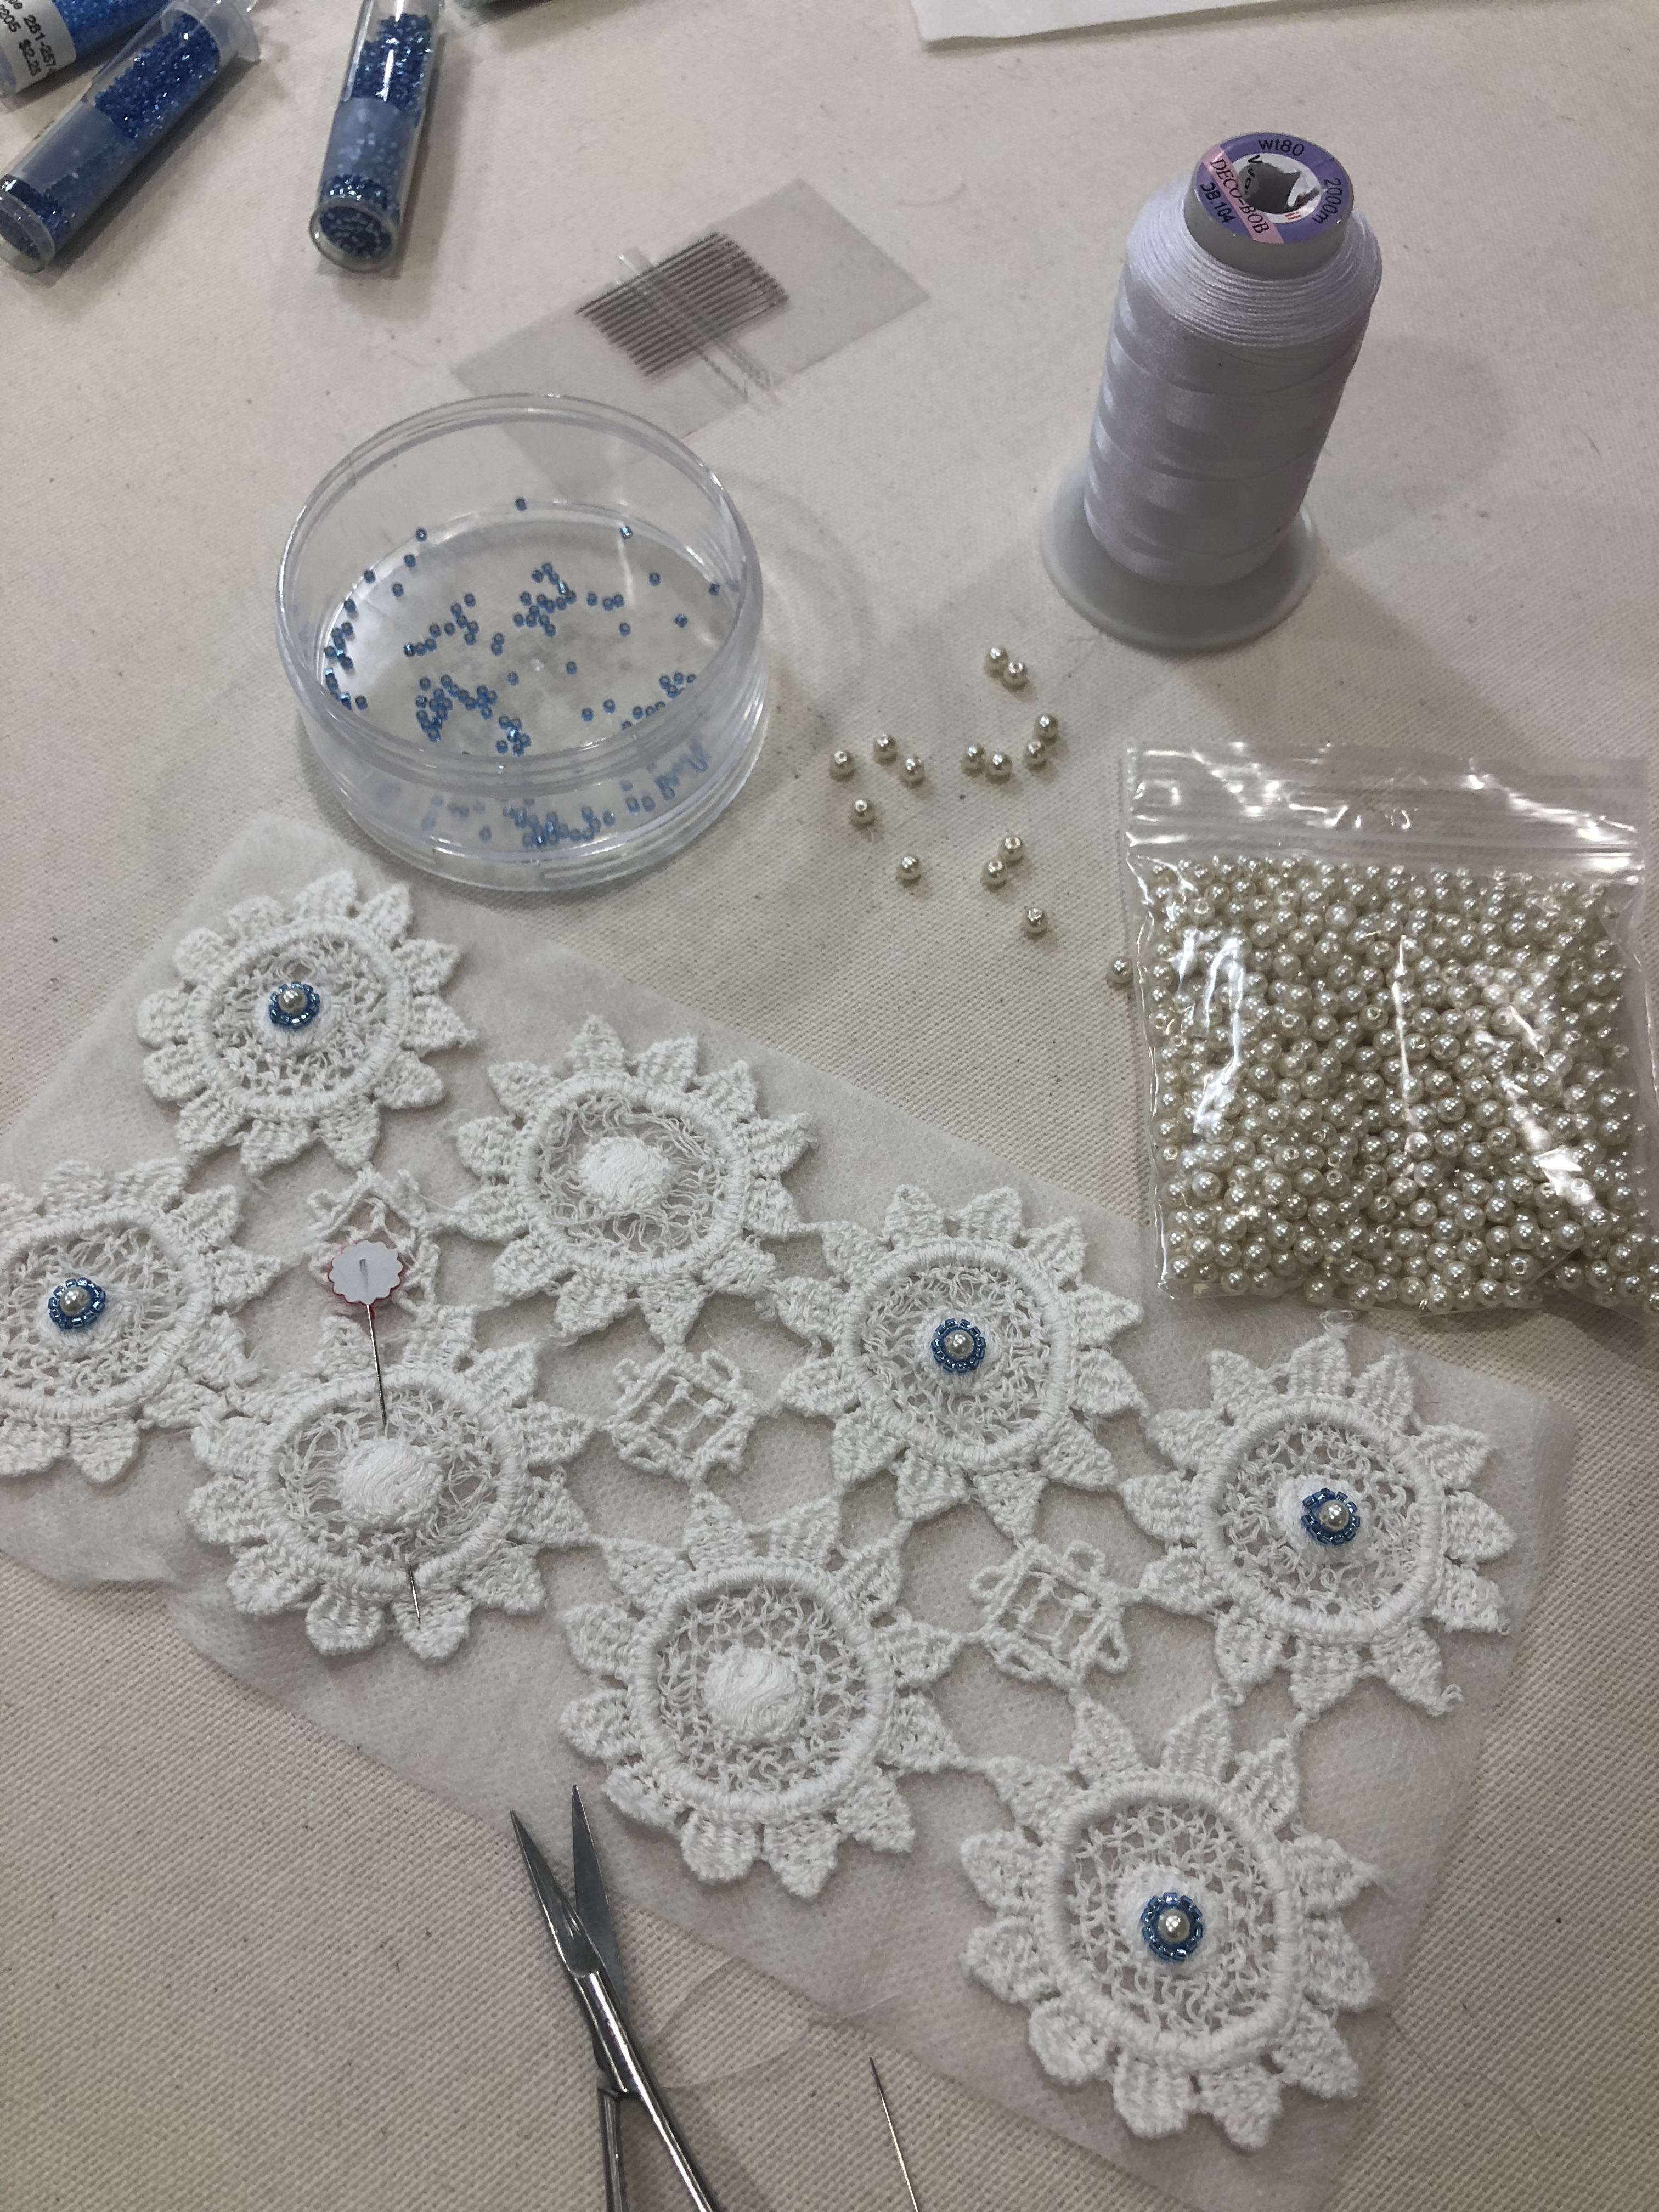
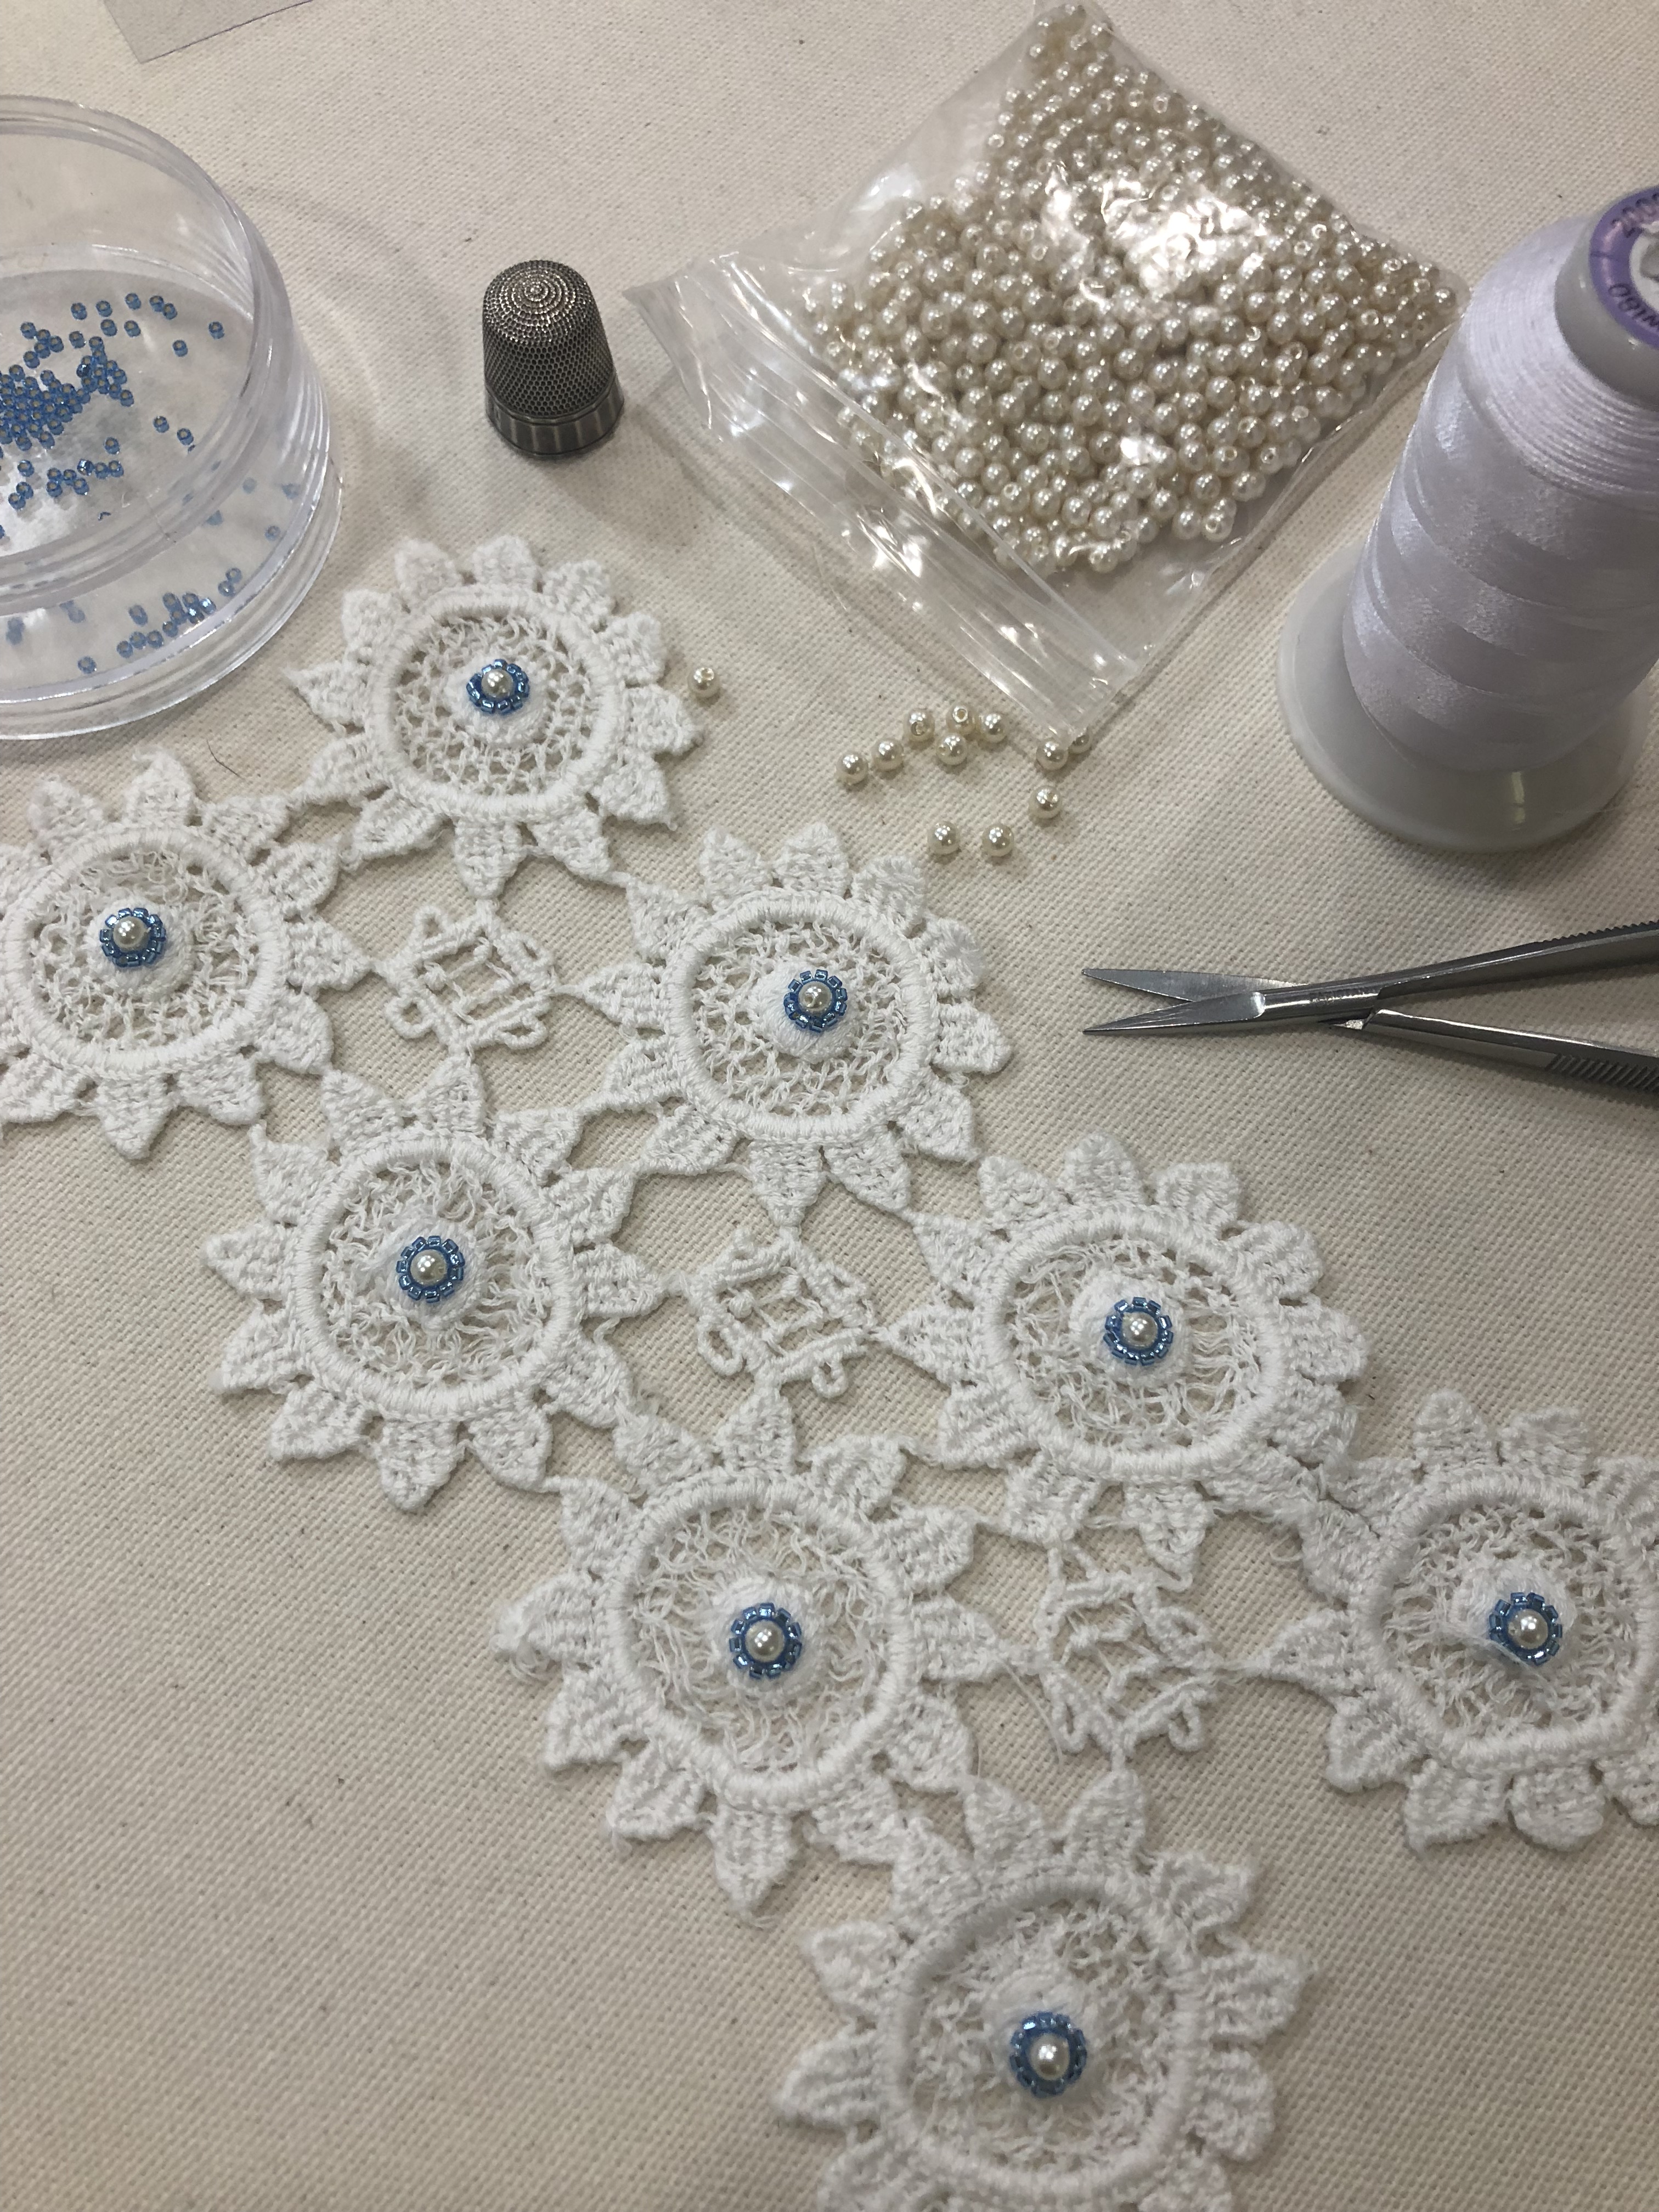
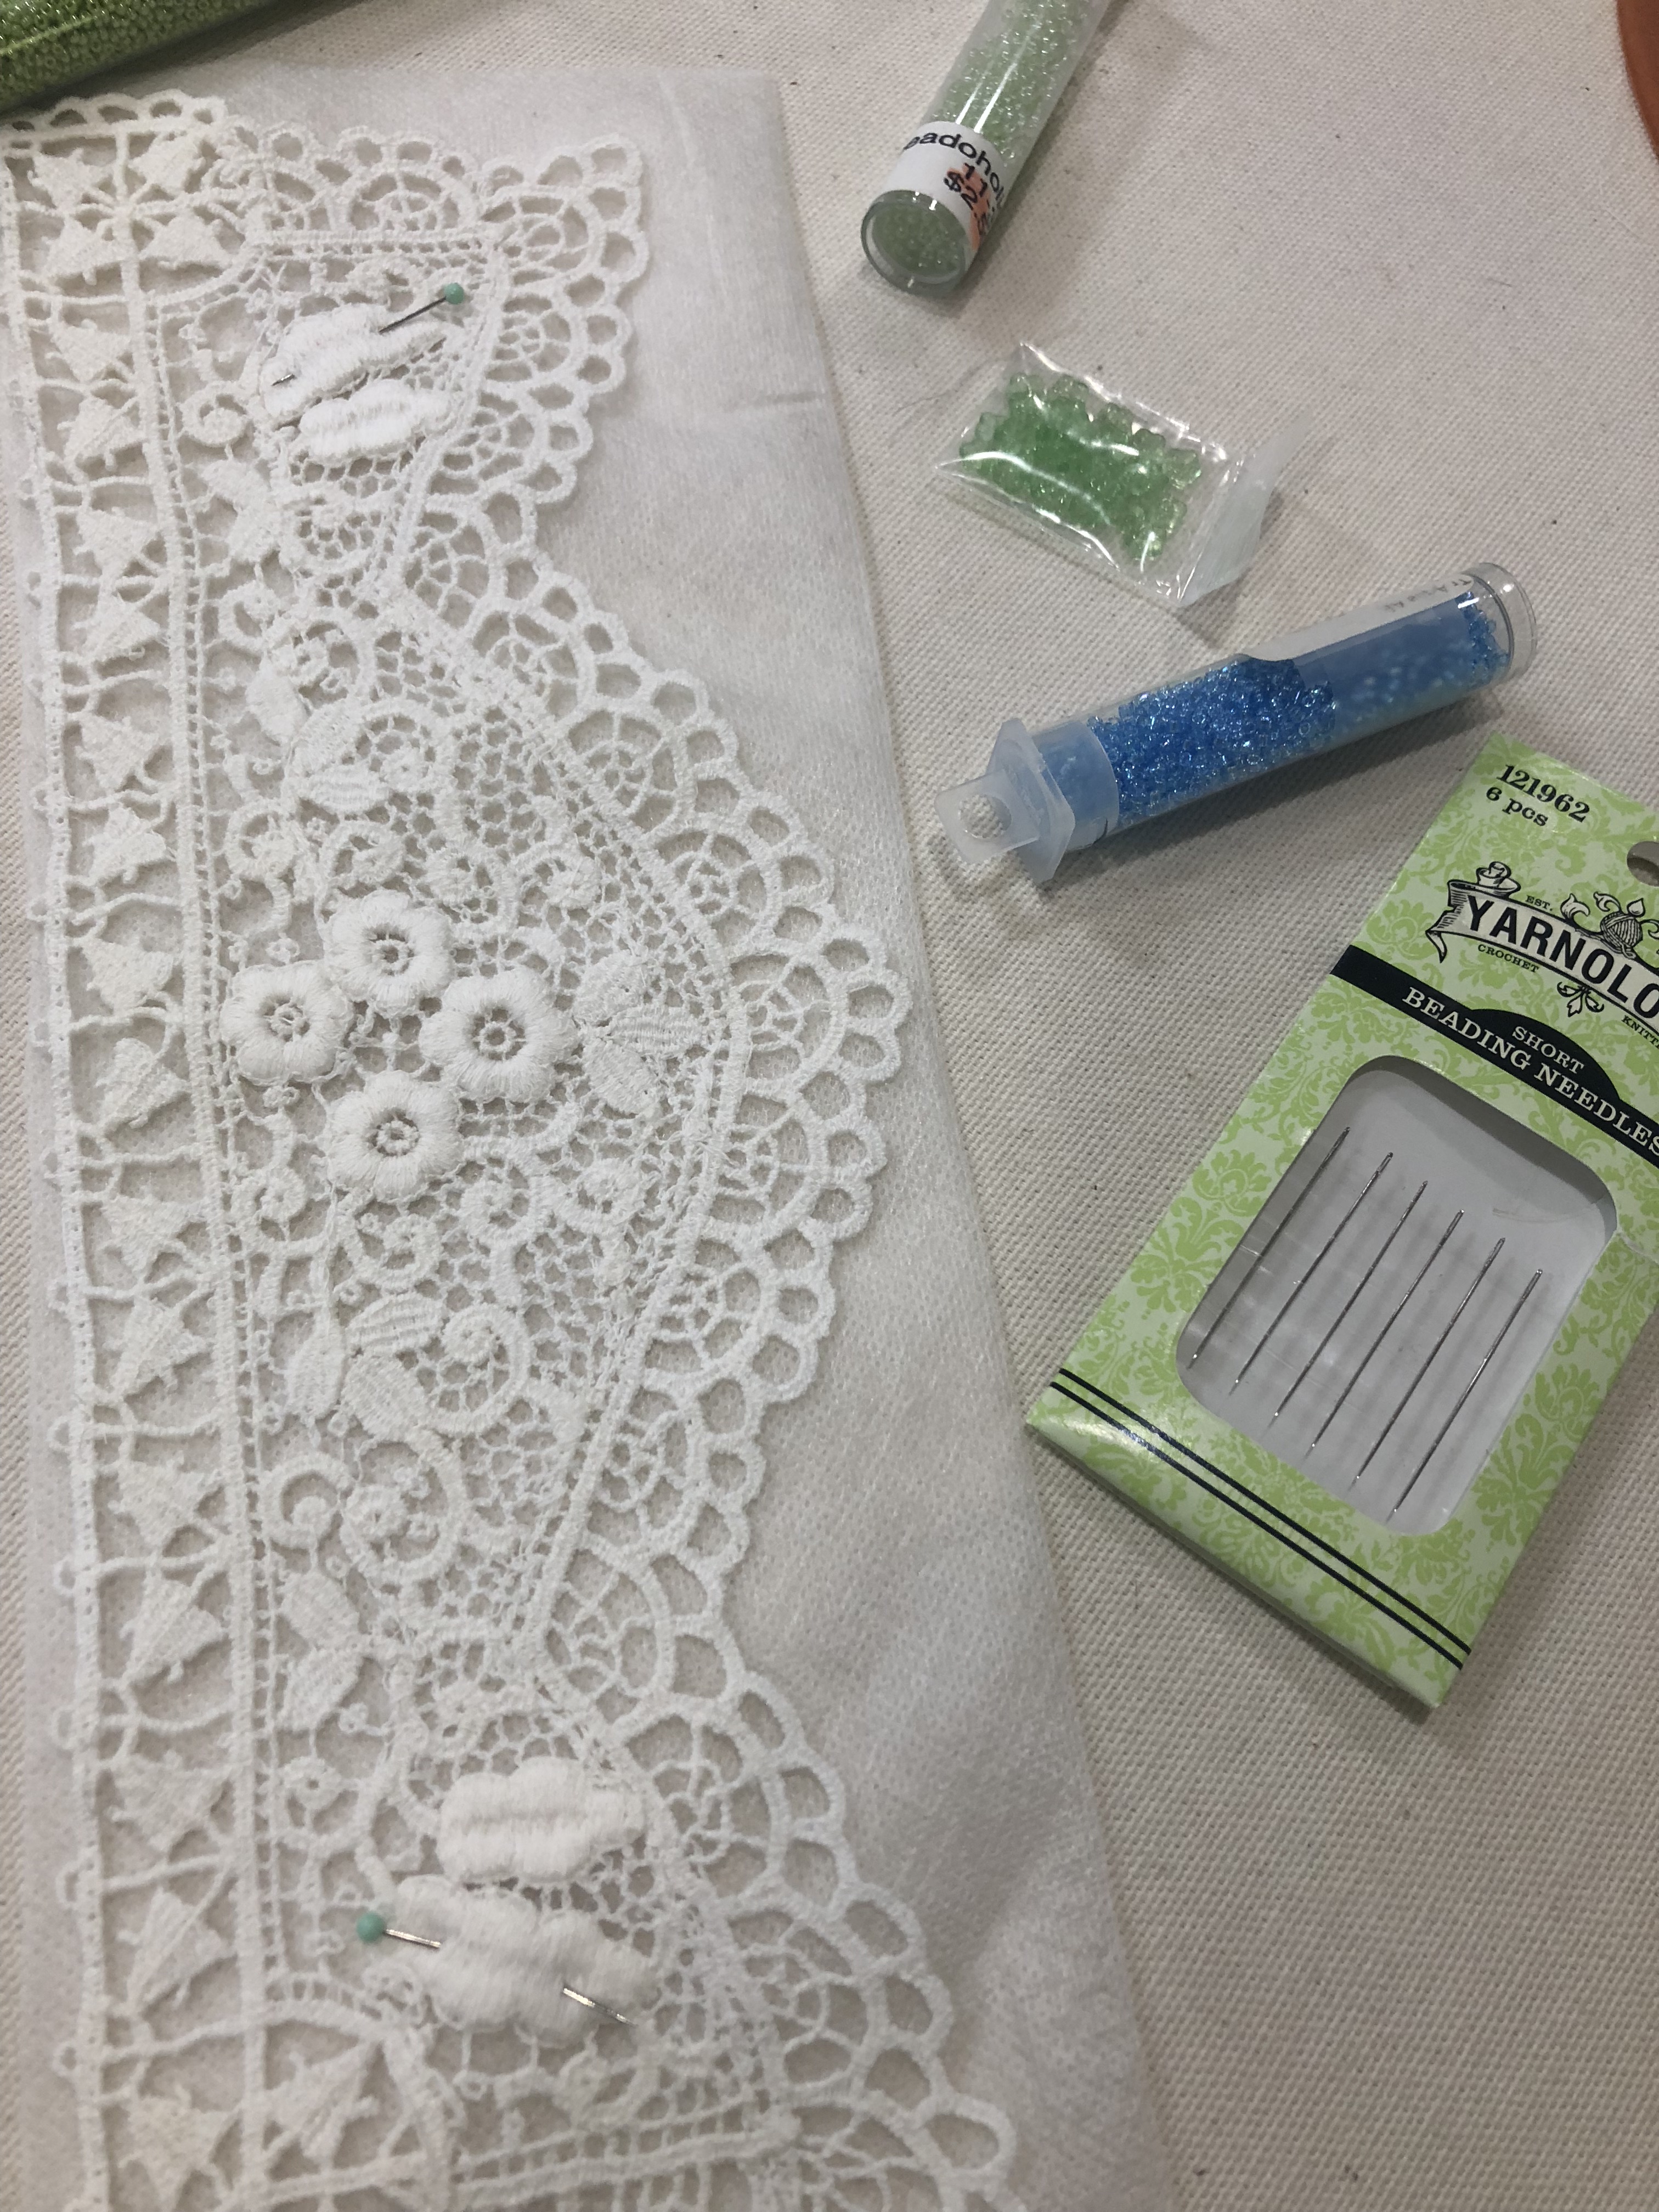
Below you’ll see I’m adding both seed pearls and size 15 seed beads to the centers of the flowers. The trim piece is very flimsy and difficult to handle so as an experiment I secured it on top of a single layer of machine embroidery wash away stabilizer before the embellishing began. Yes it worked, but would I do it again? Not worth the trouble, time and effort.
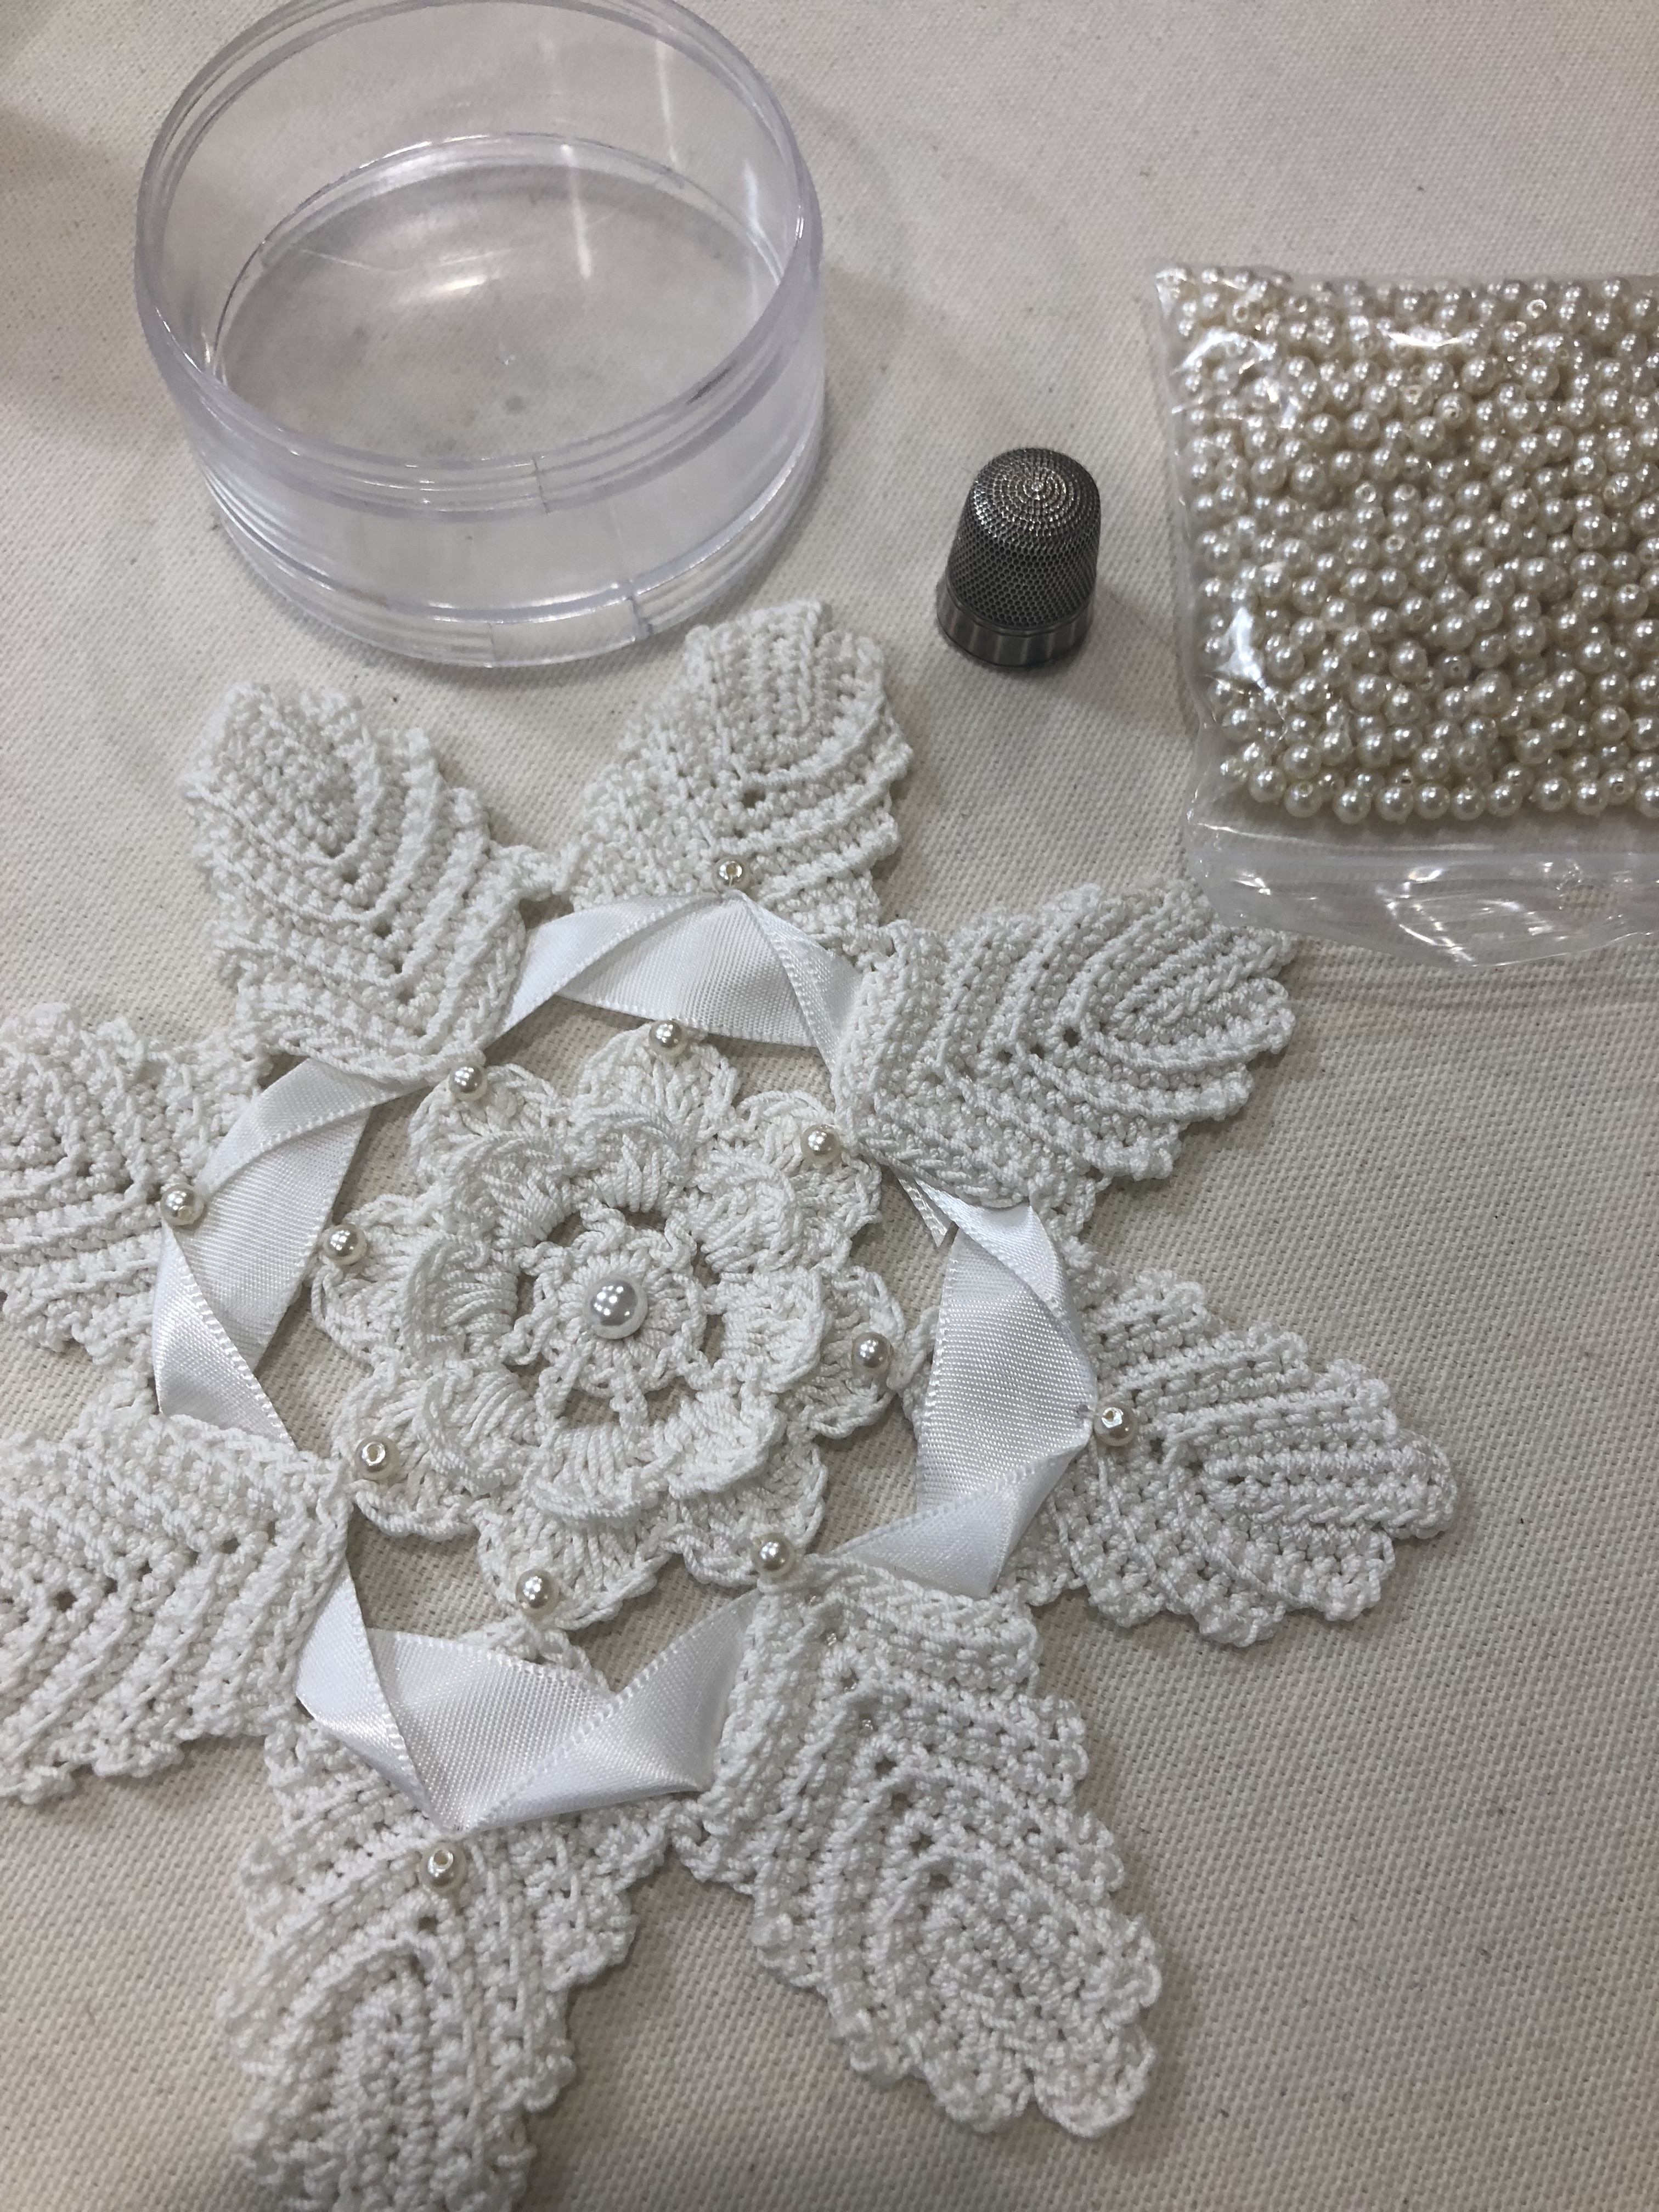
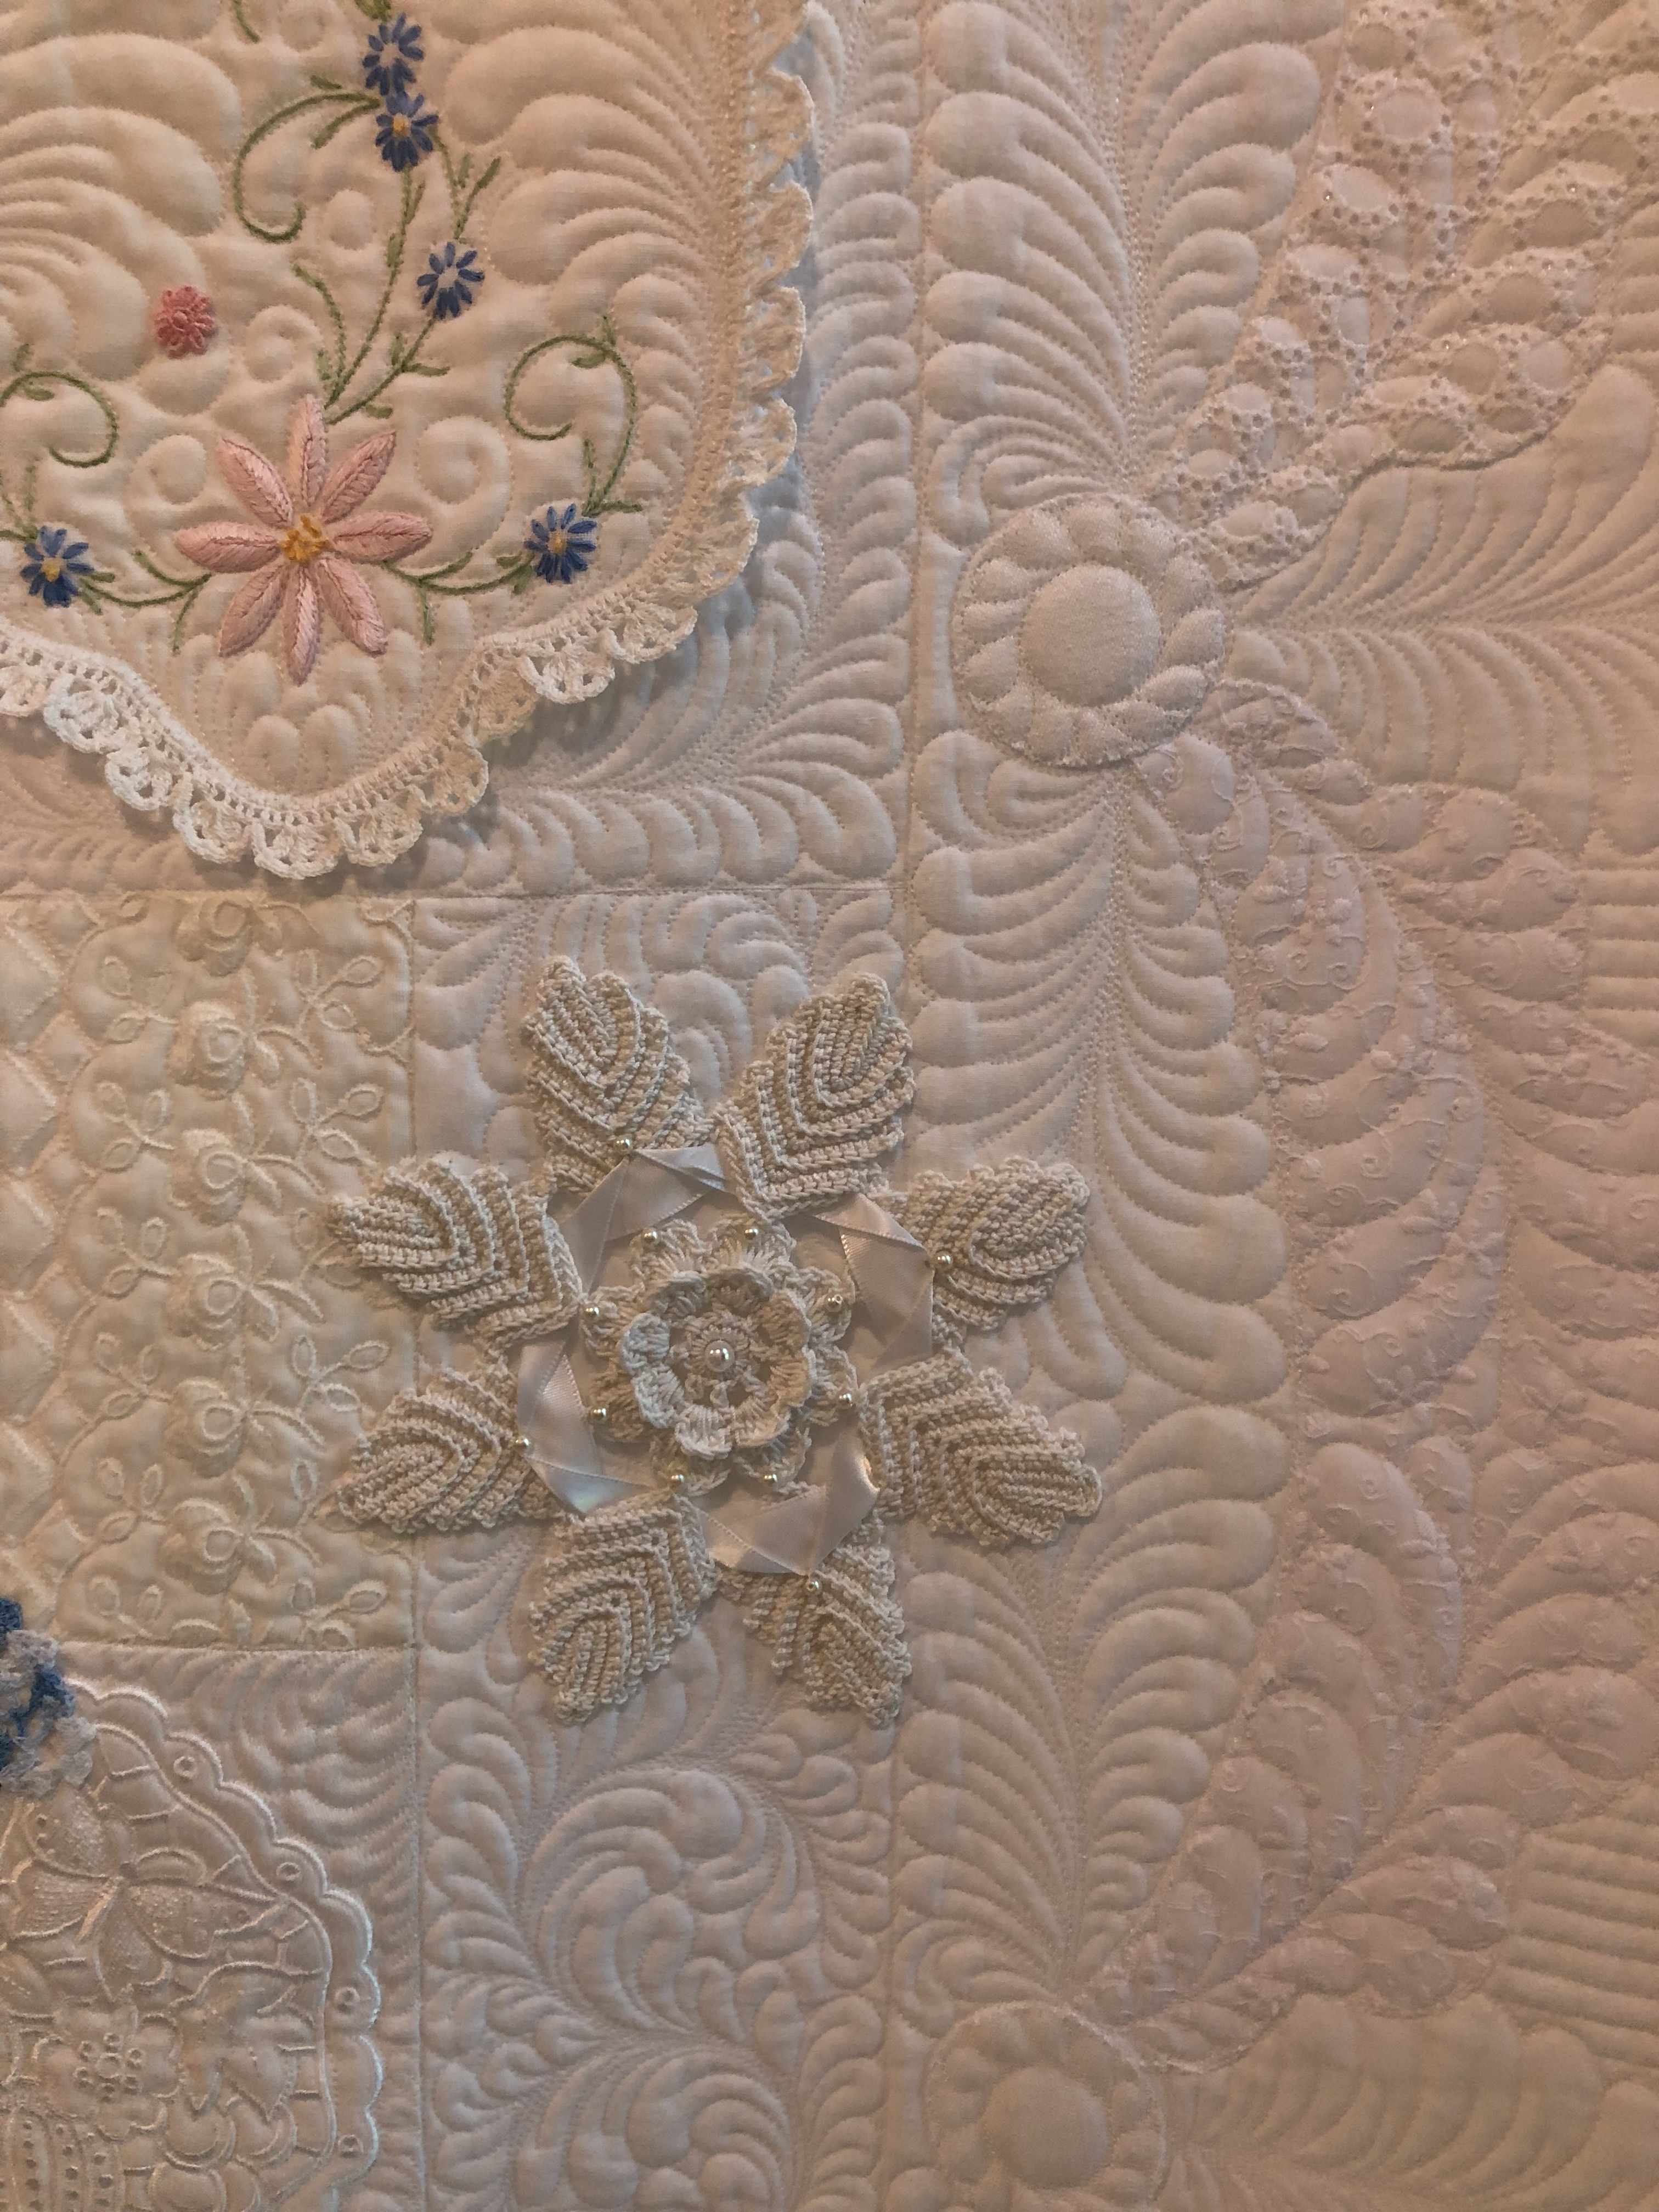
I think this crocheted piece below is fantastic, made even more so by dressing it up a bit with ivory satin ribbon and pearls.
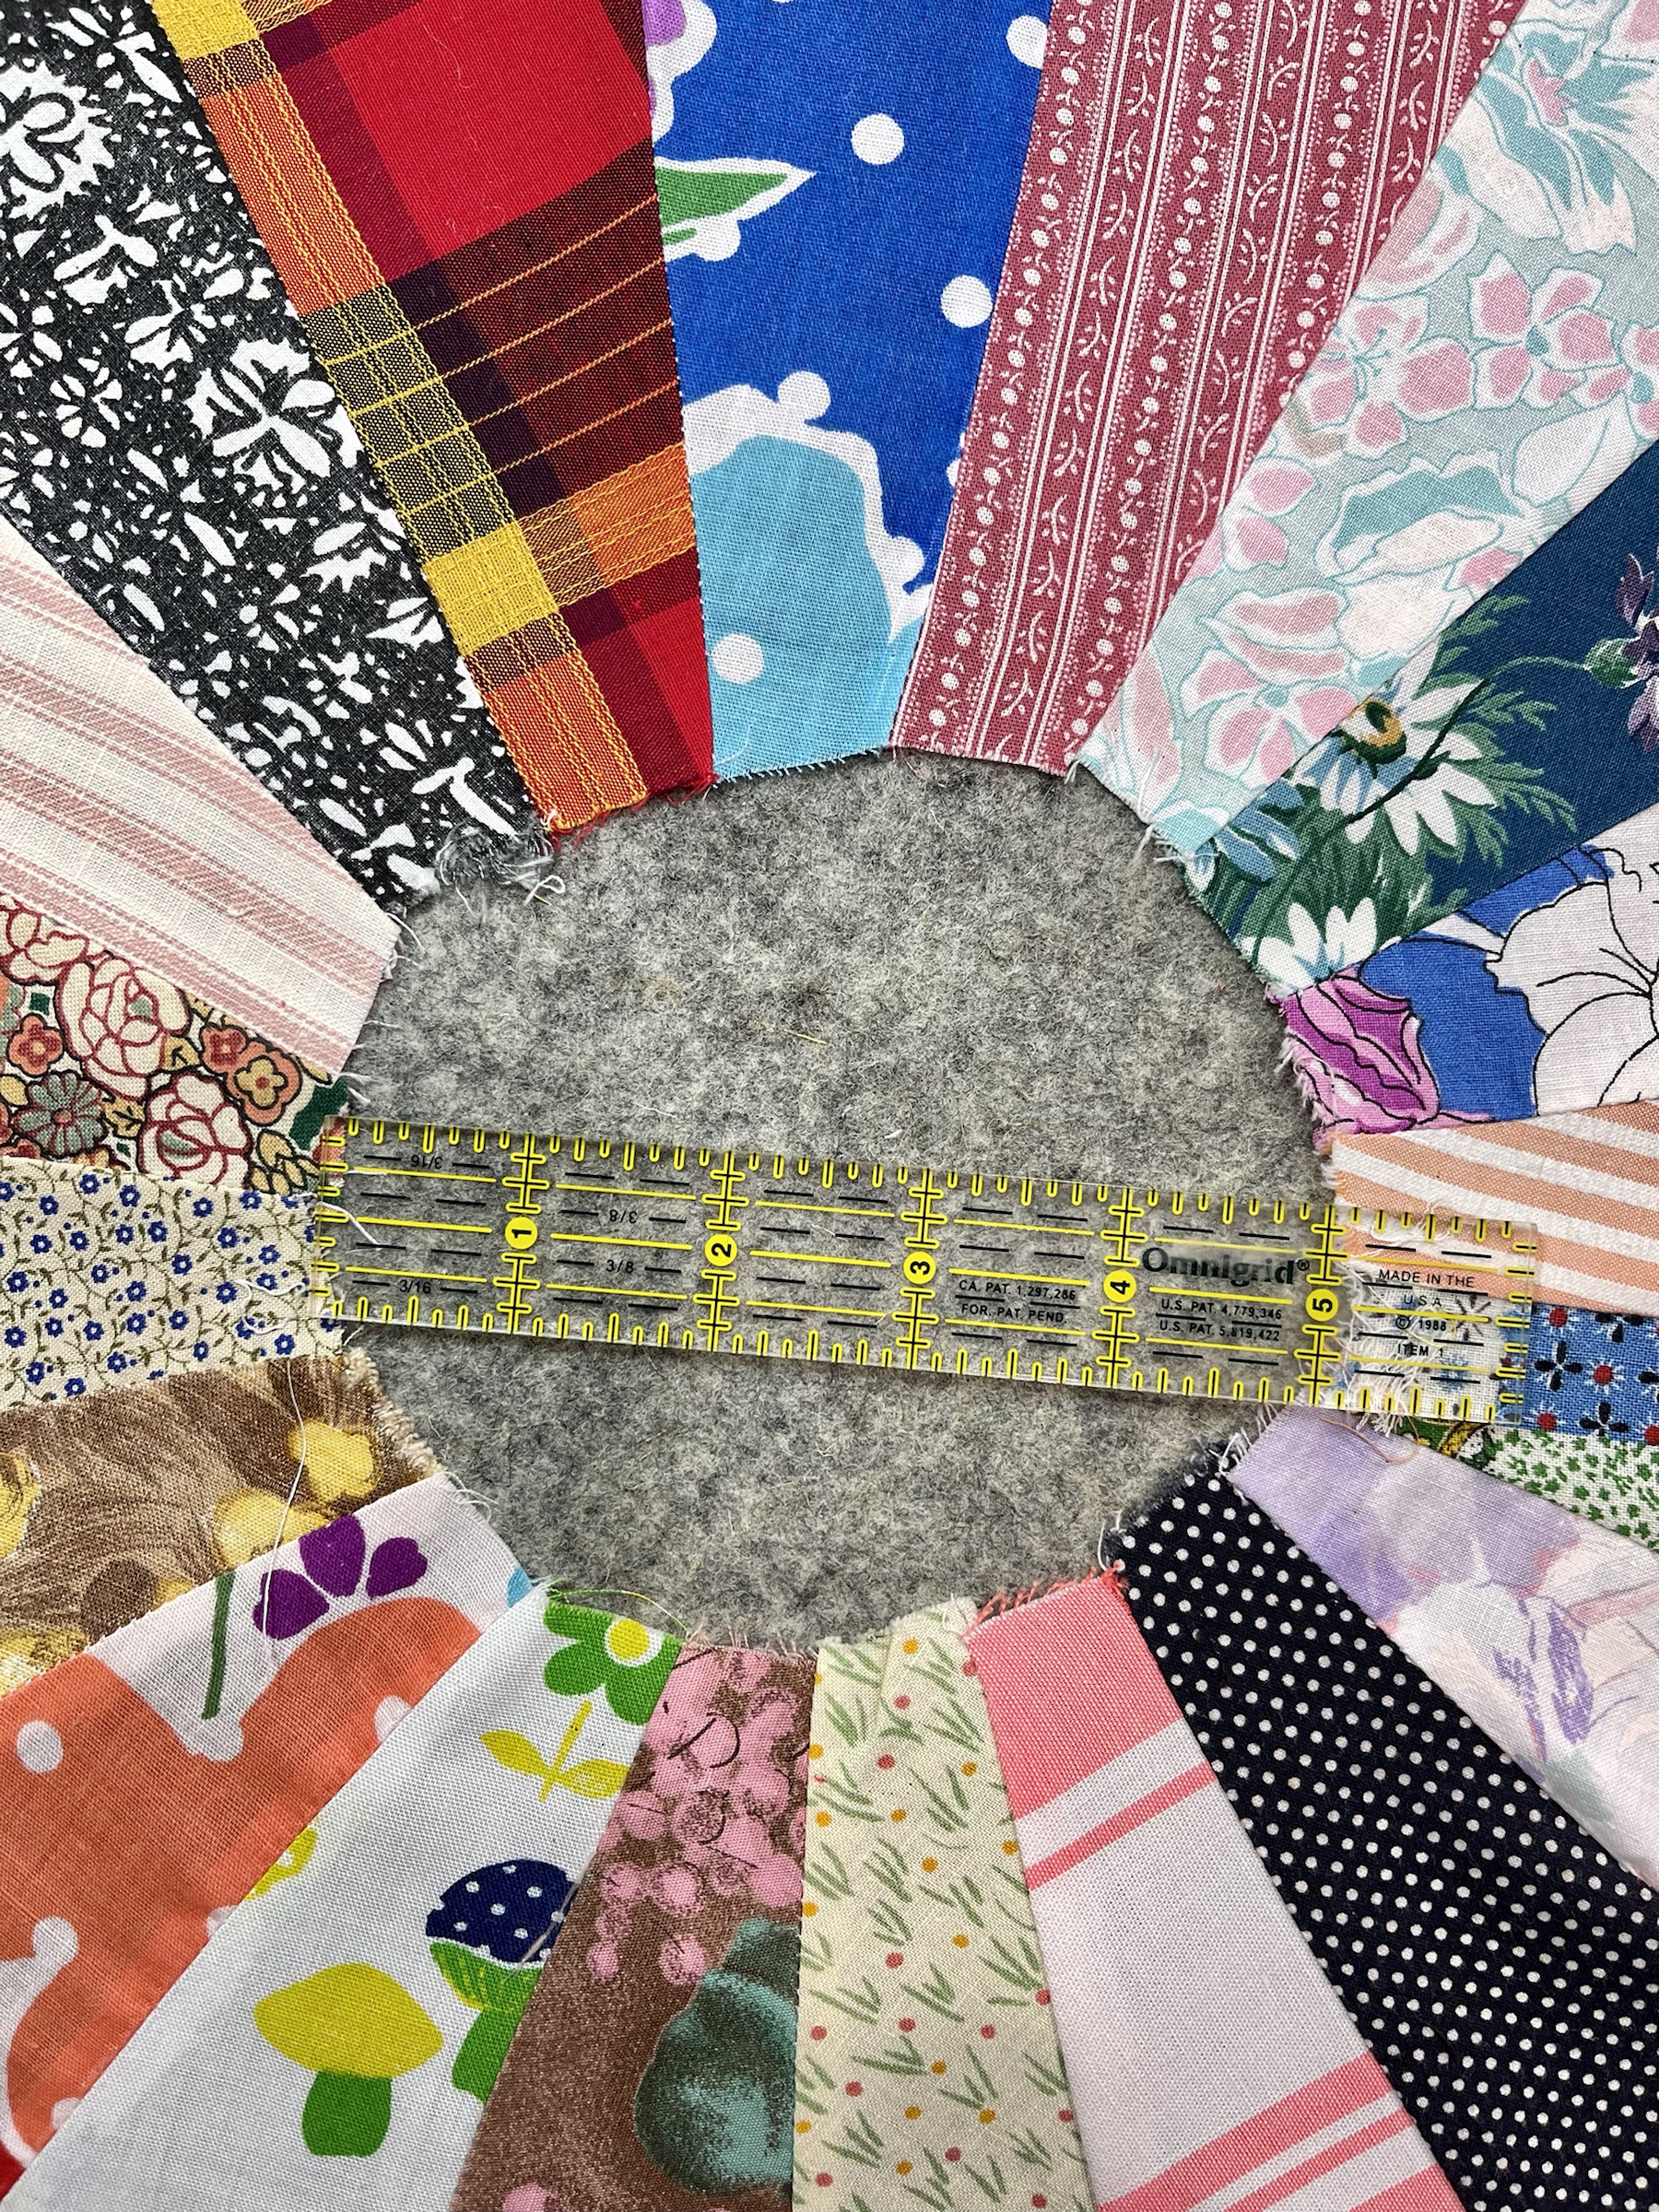
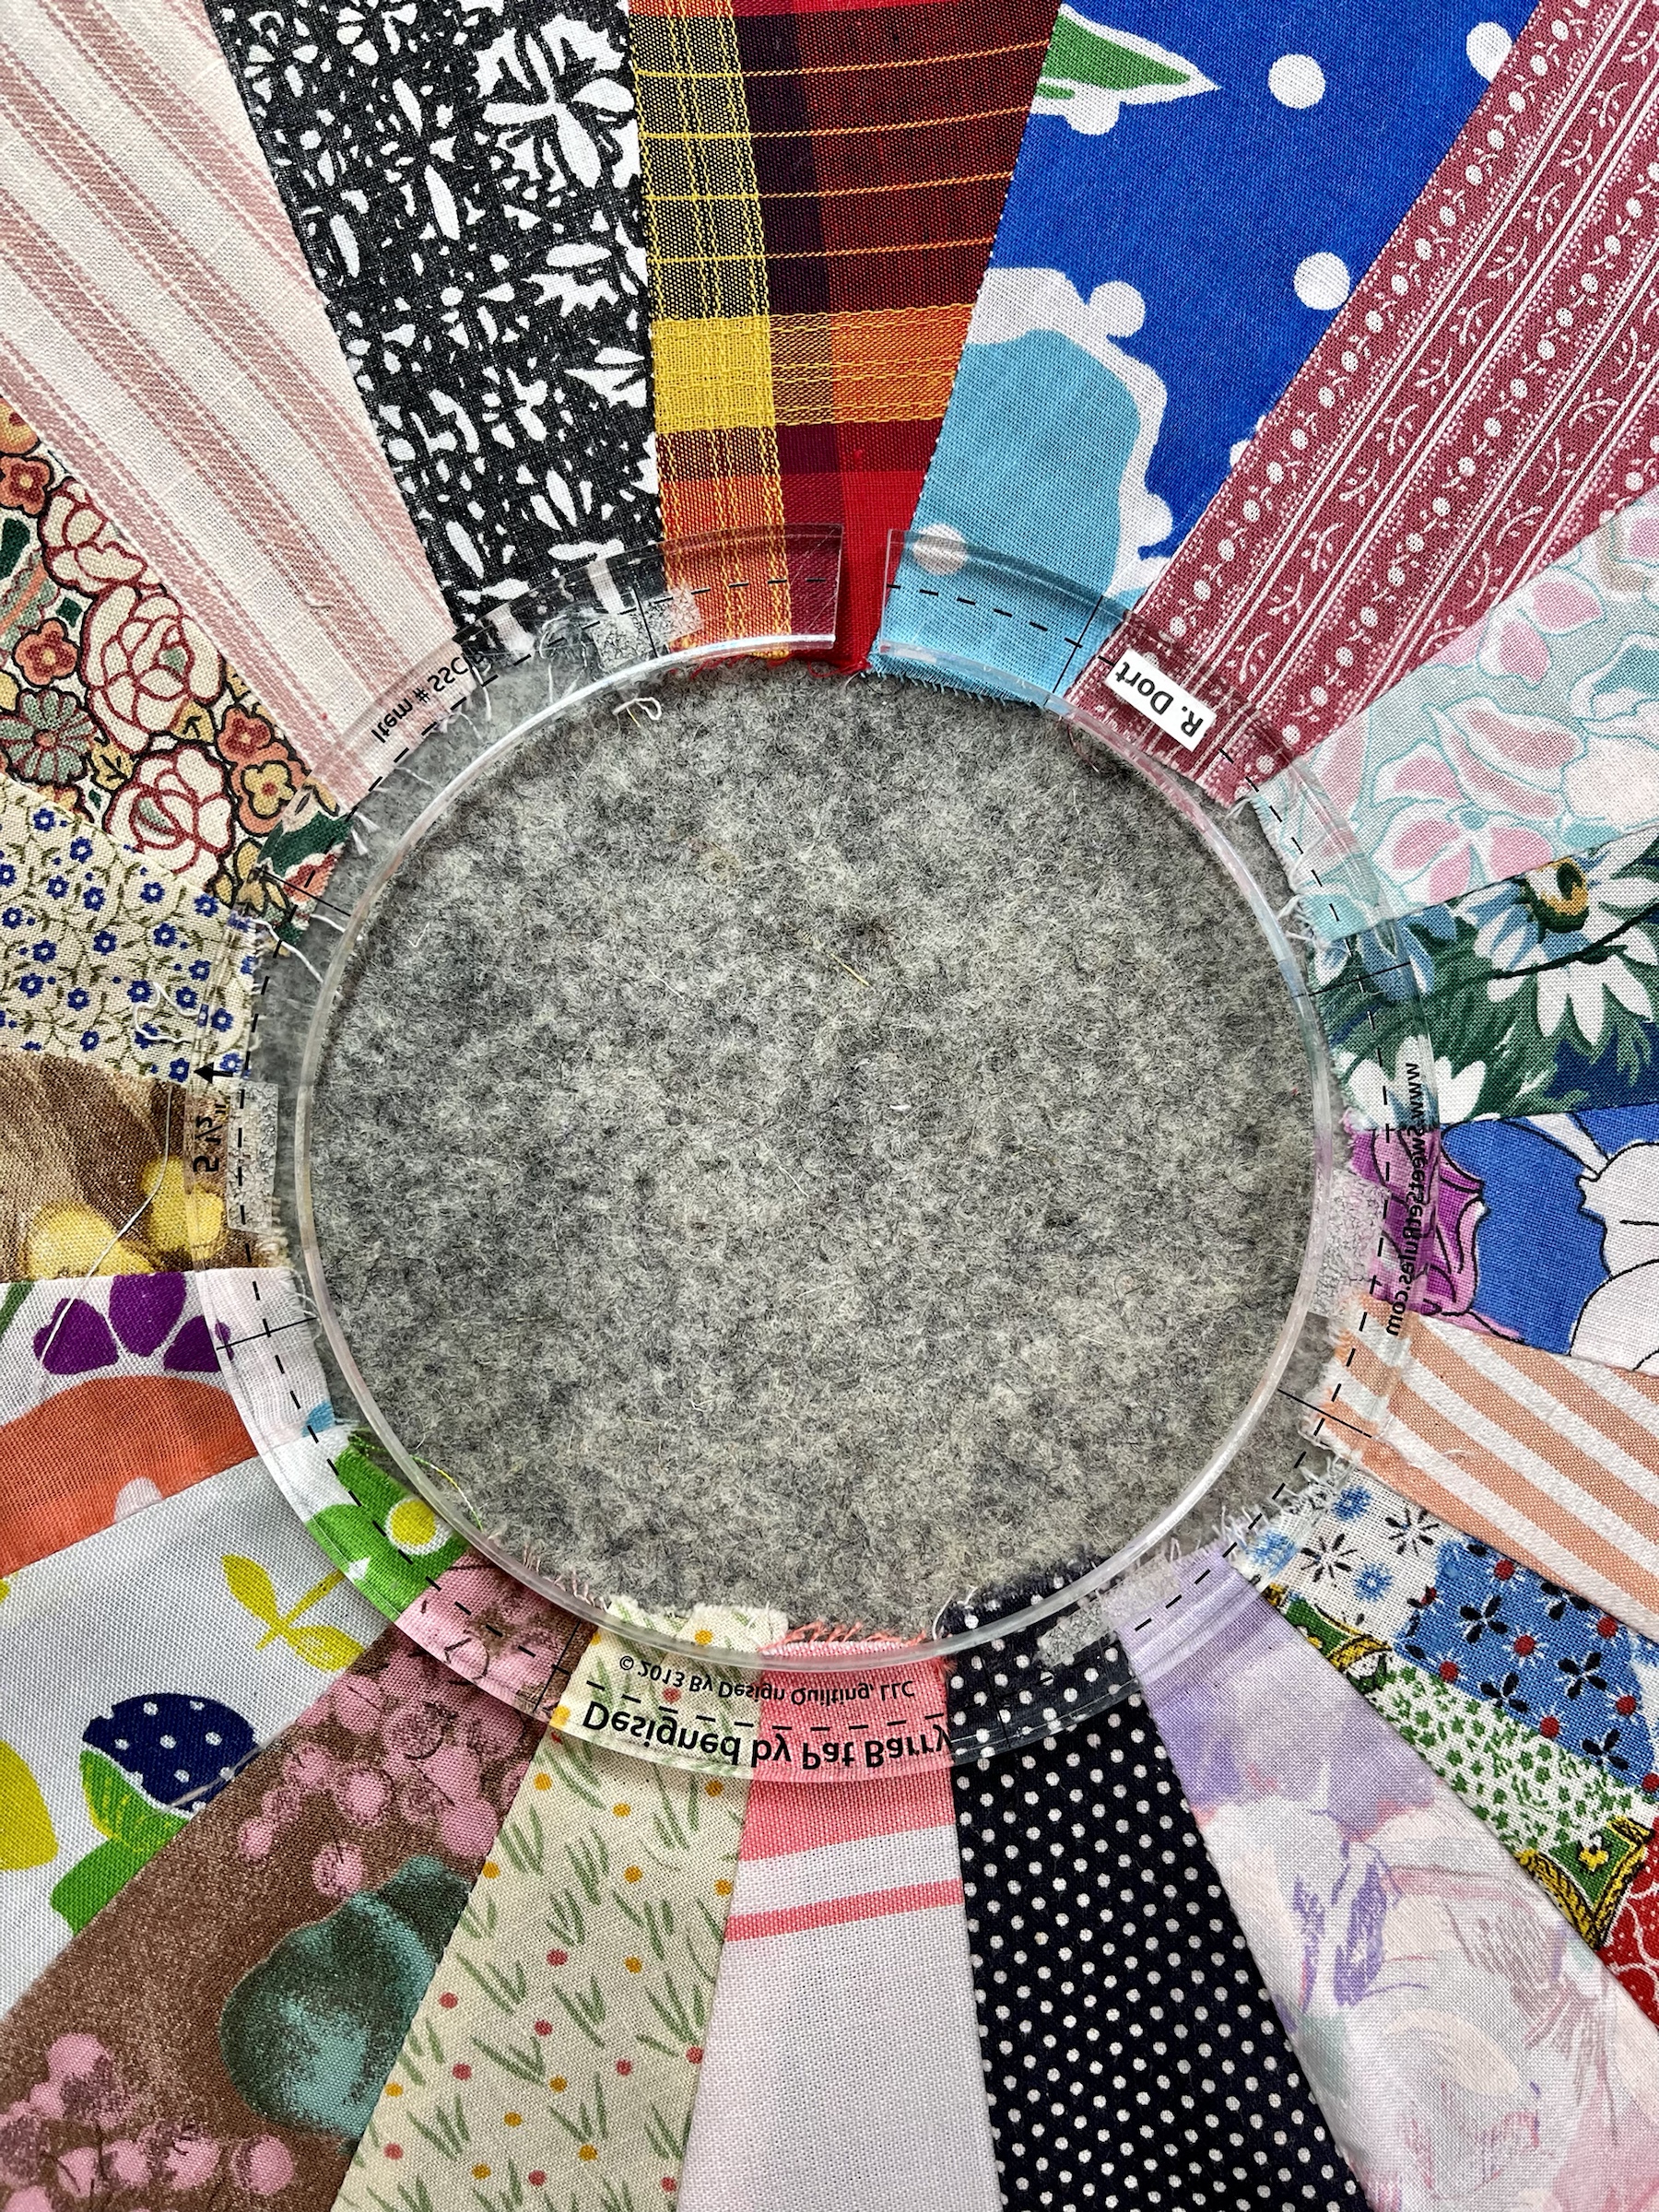
Below you’ll see I’m working on a very simple blue variegated crocheted circle. You’ve all seen the beautiful vintage crocheted pin cushions with the ribbon work around the outside? Well I decided to give it a try:
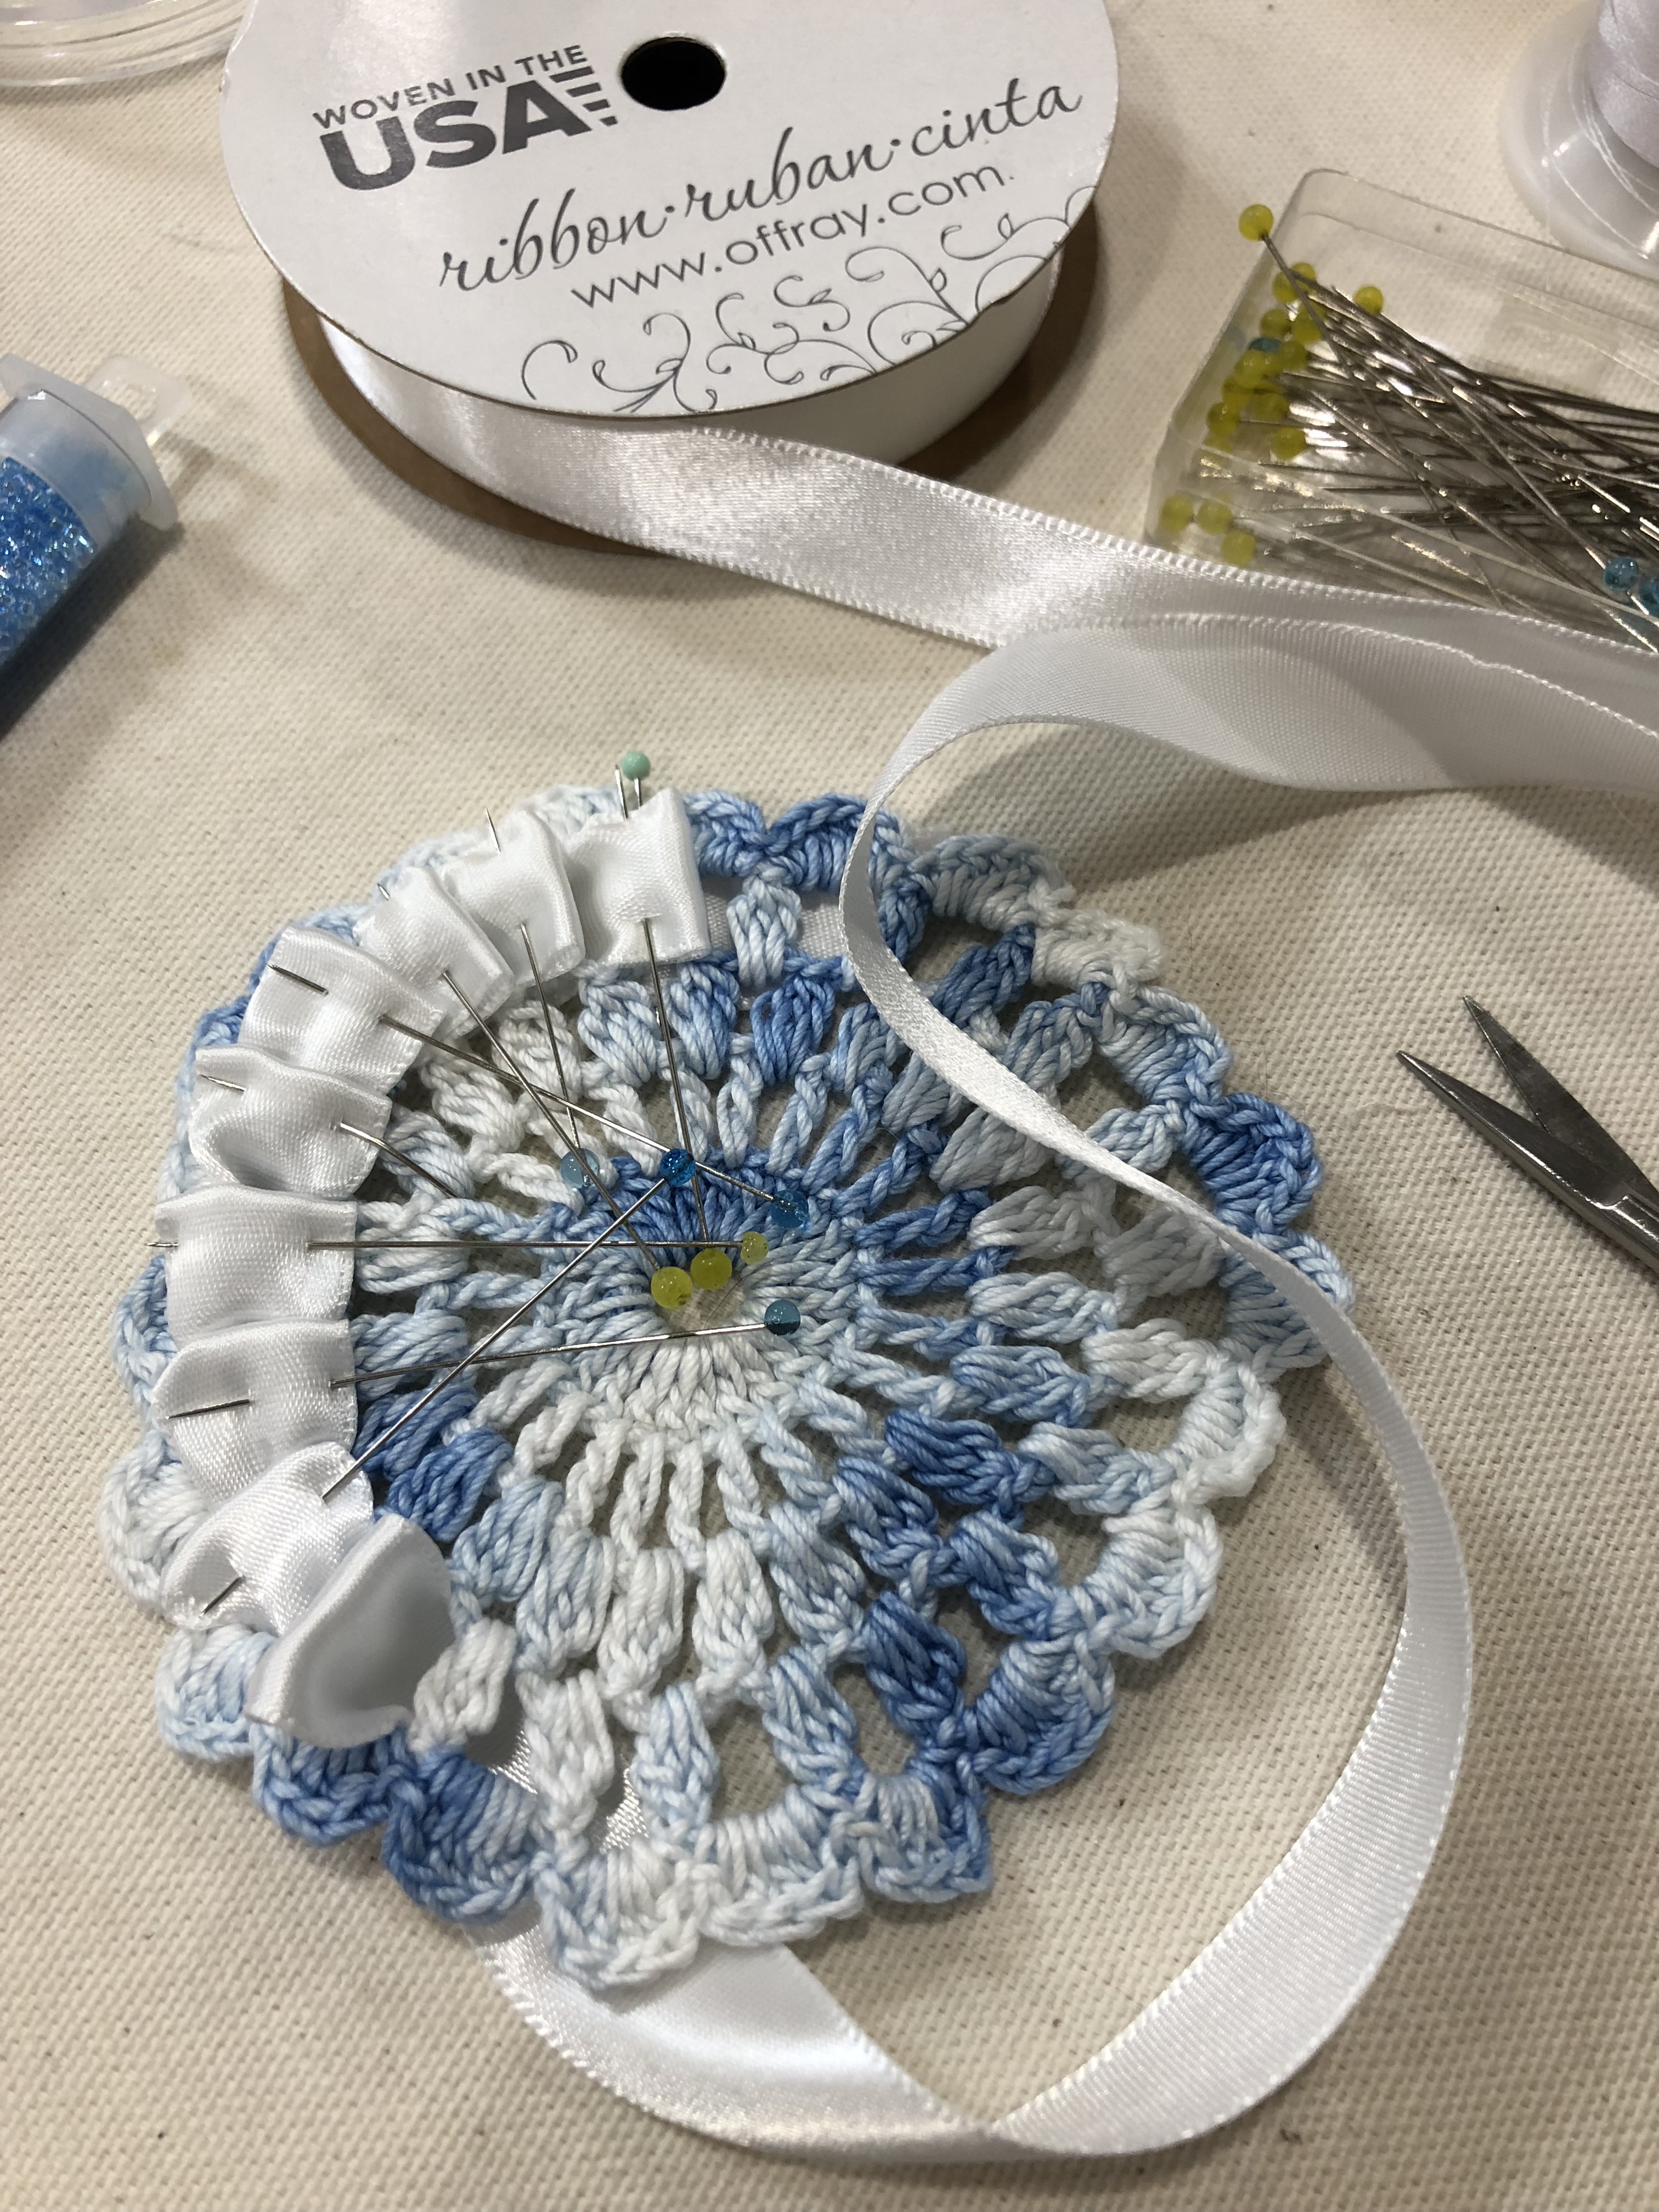
In order not to accidentally pull the ribbon taut, I had to pin each “bump” as I worked my way around the circle.
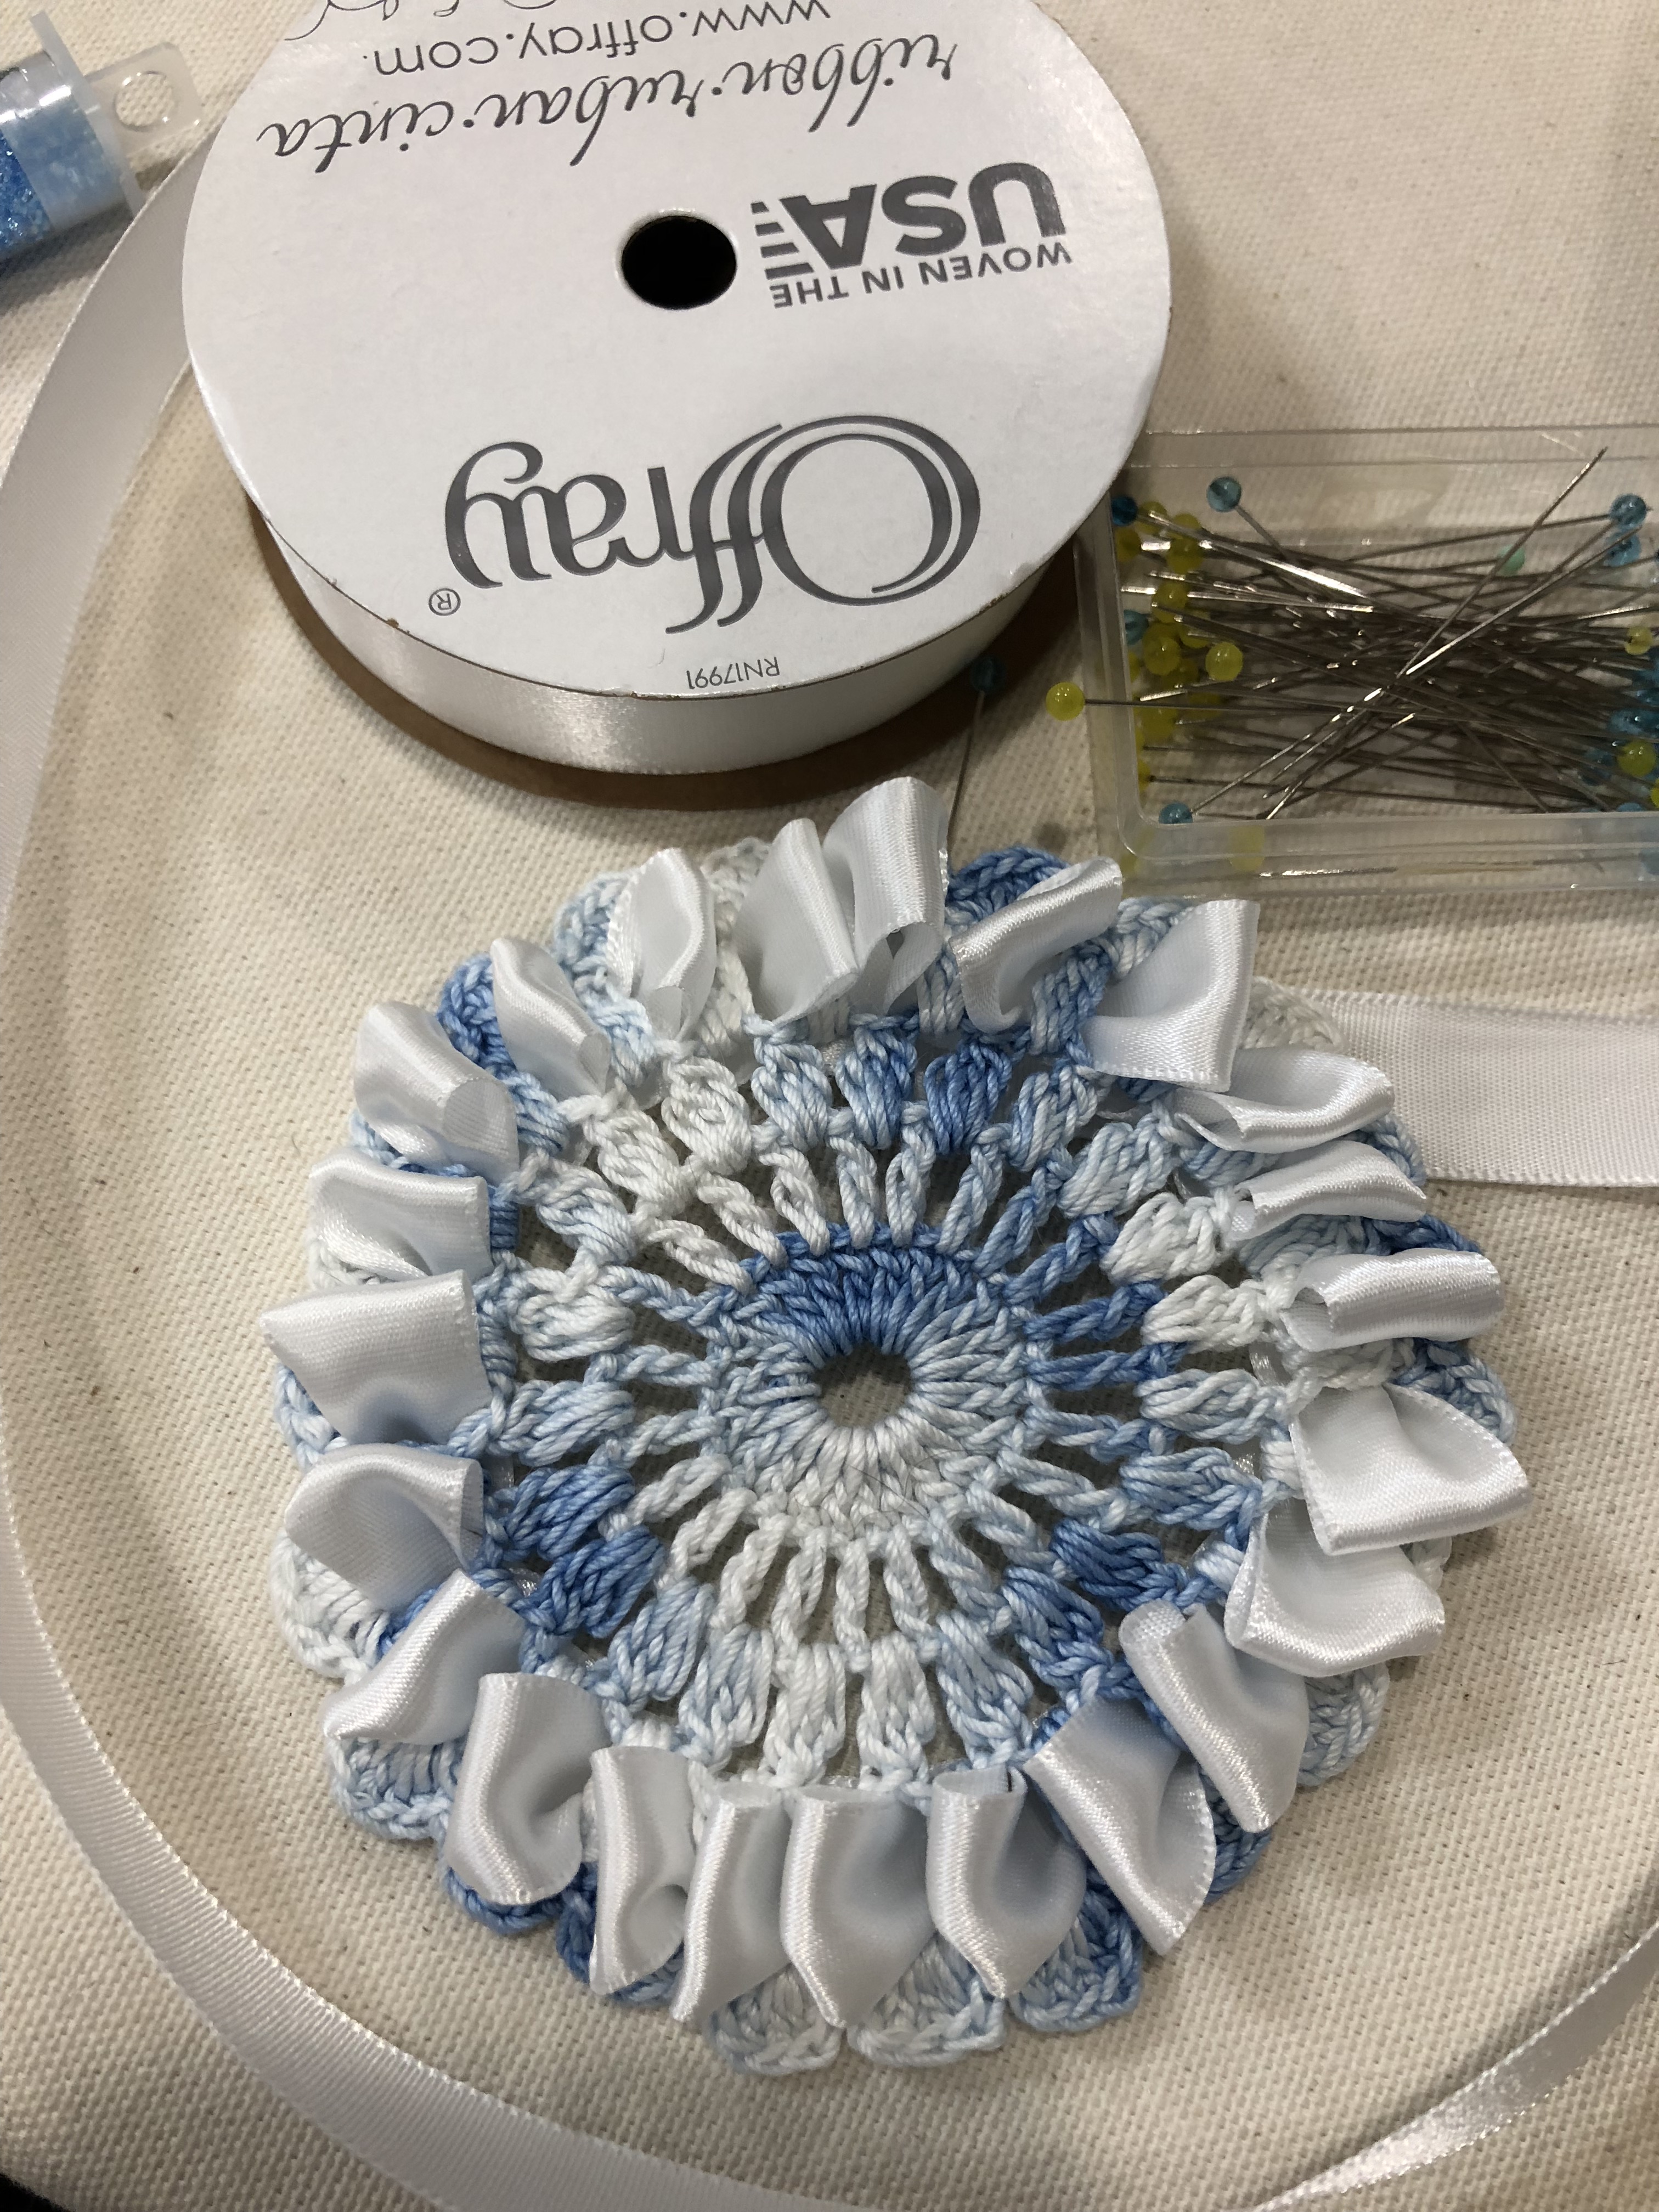
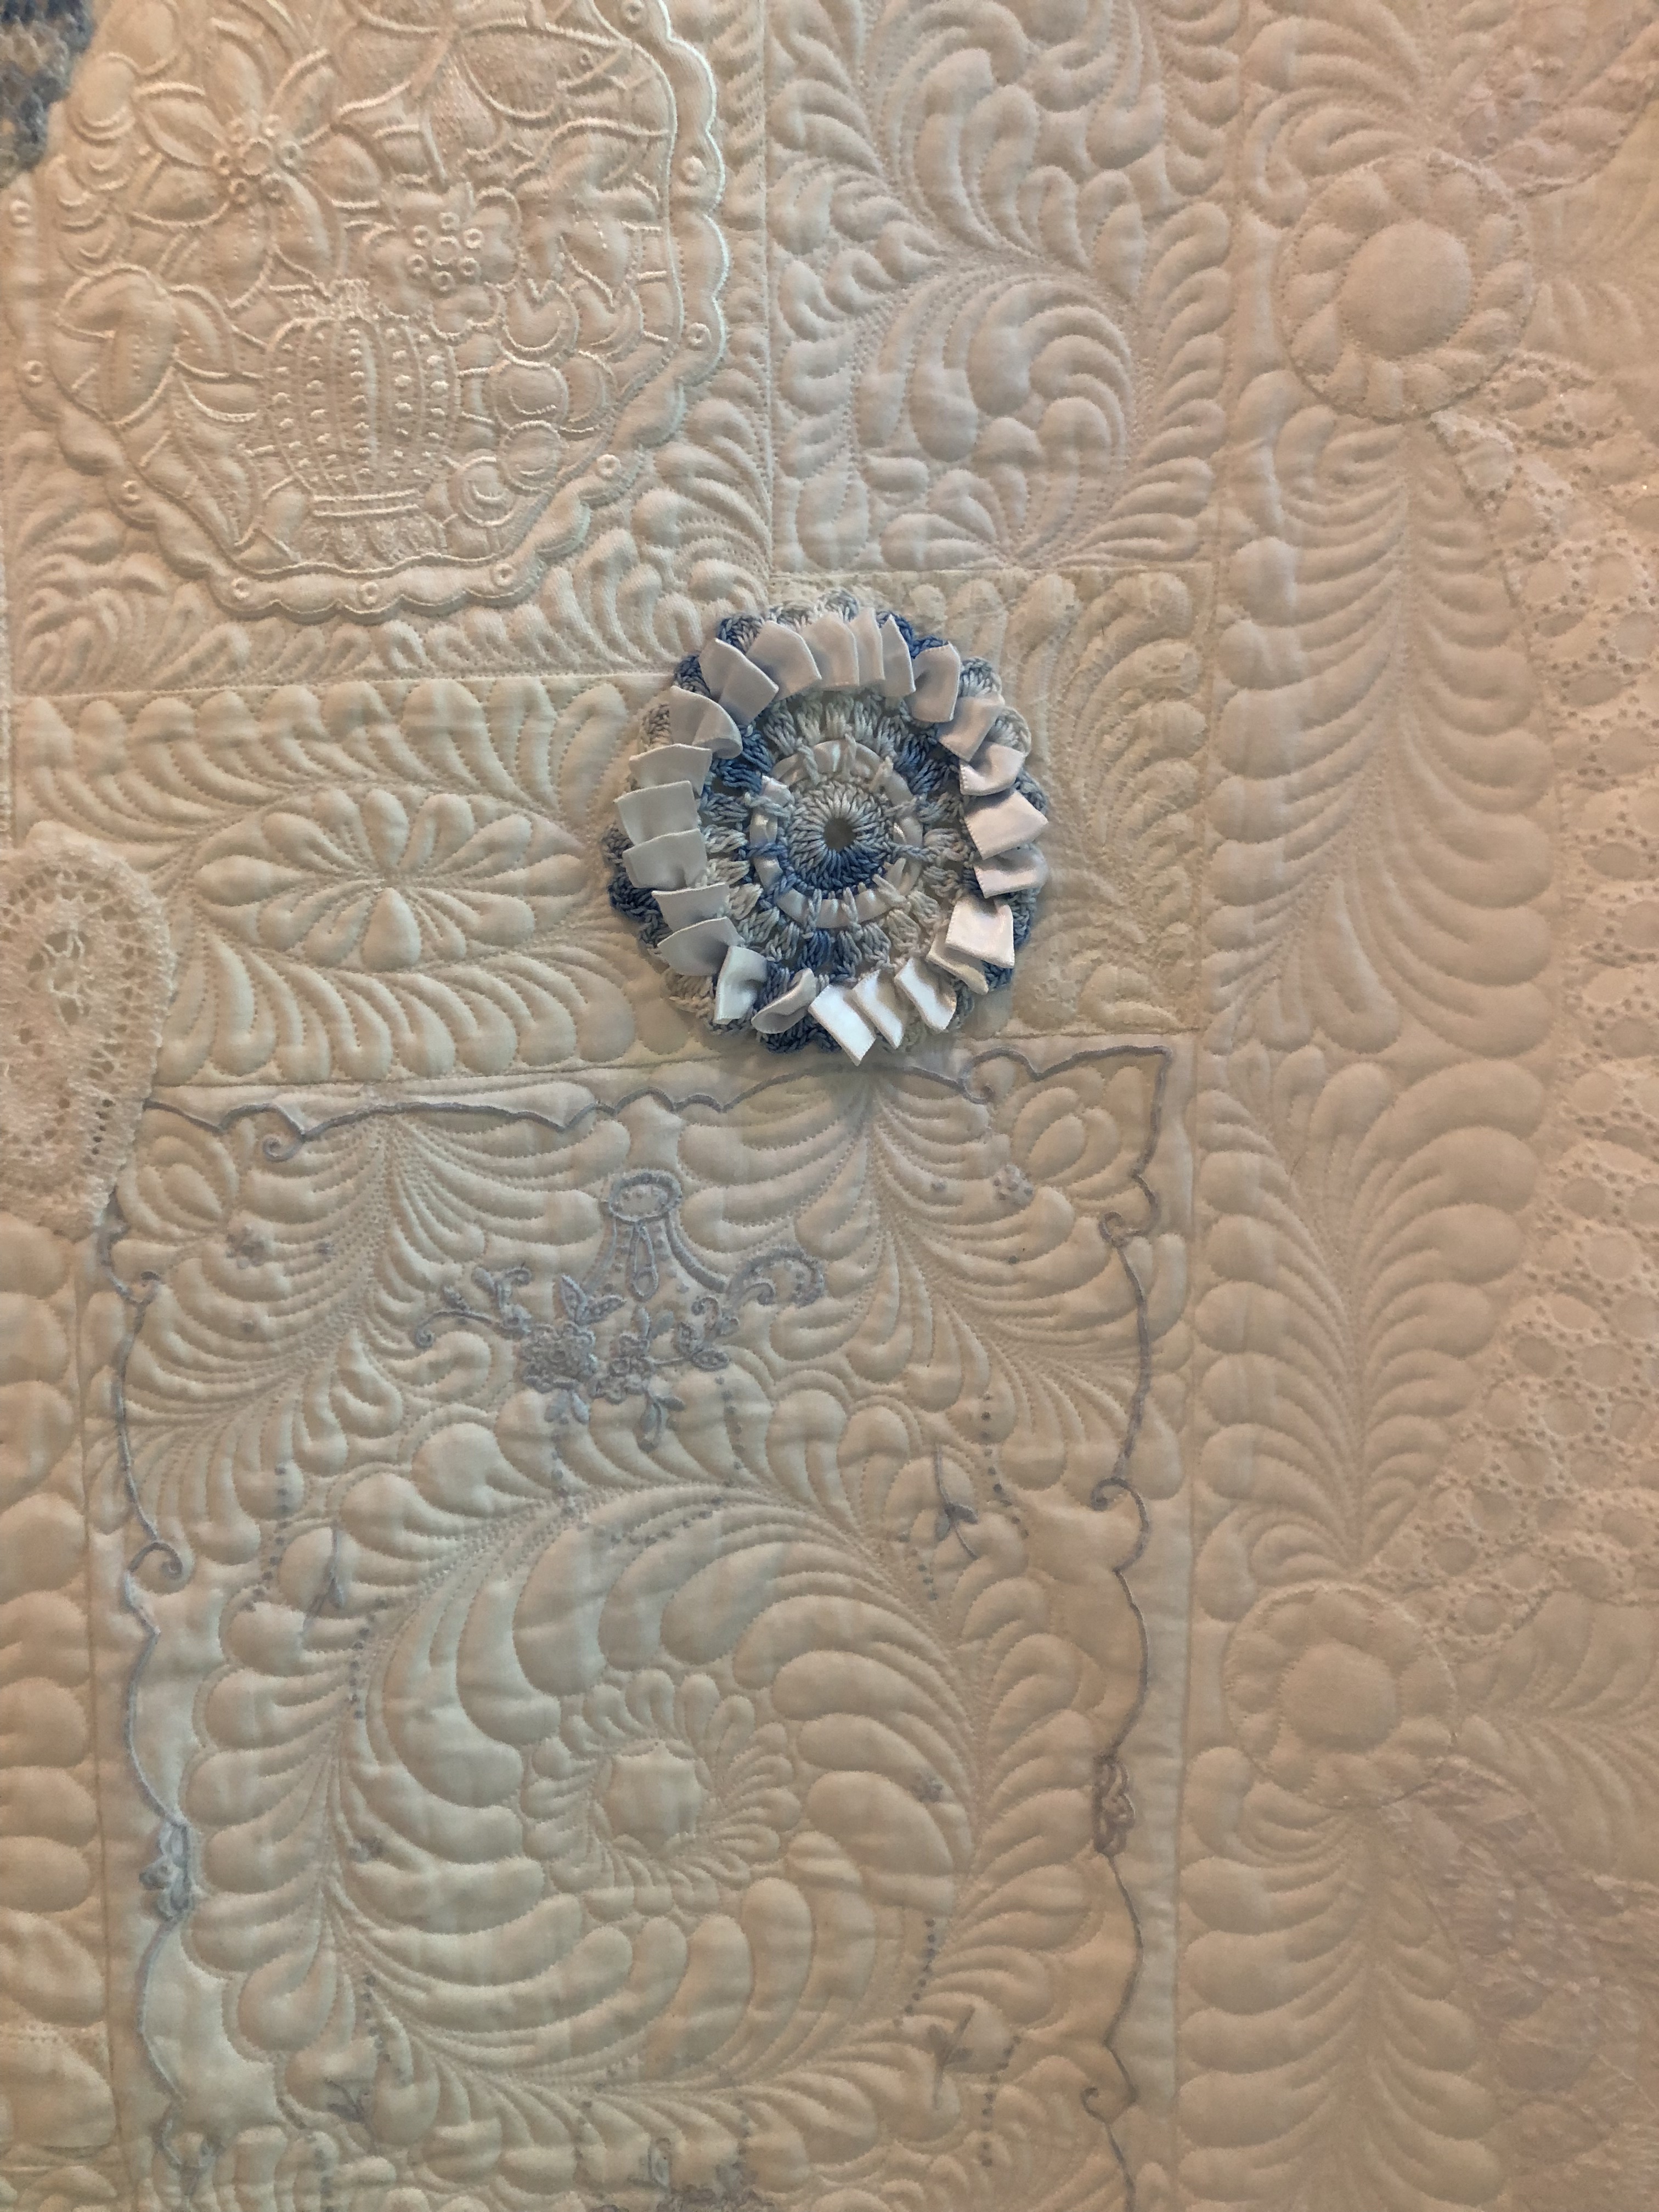
To give the piece a more vintage look, I pressed the ribbon flat after I secured the ends.
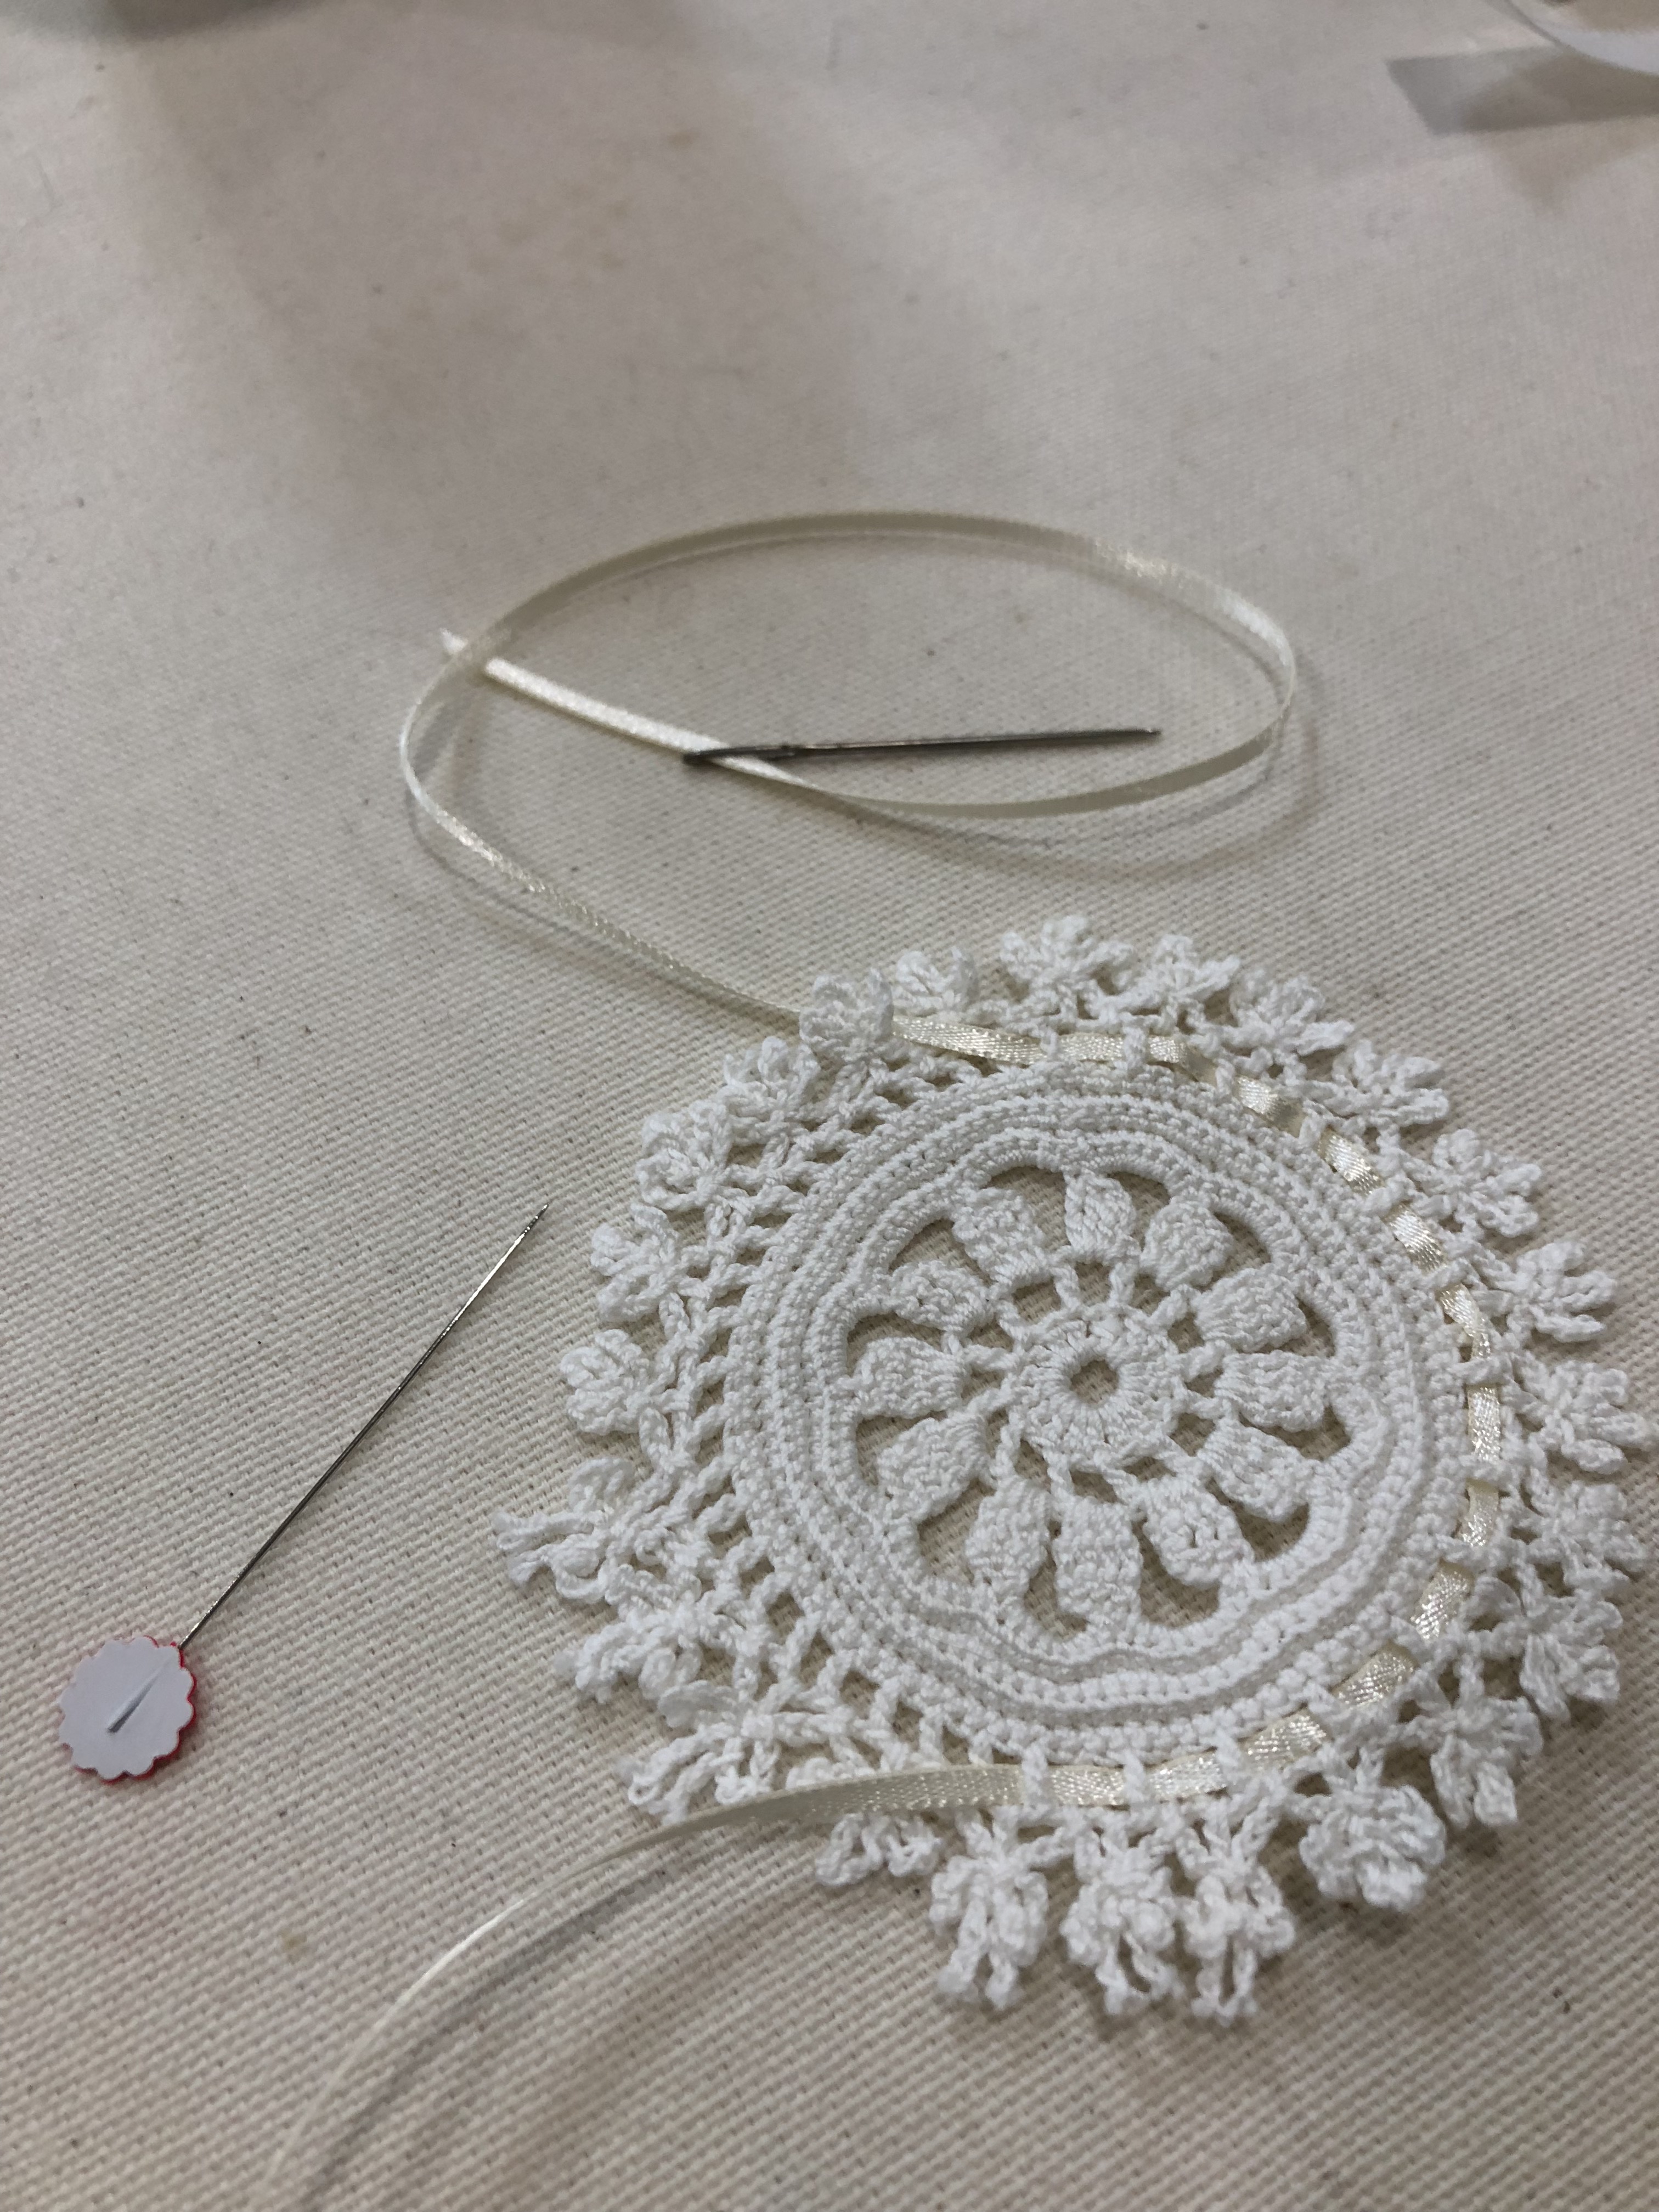
I found a tiny 1/8″ wide ivory ribbon that I used to weave in and out of the open crocheted spaces in the medallion above.
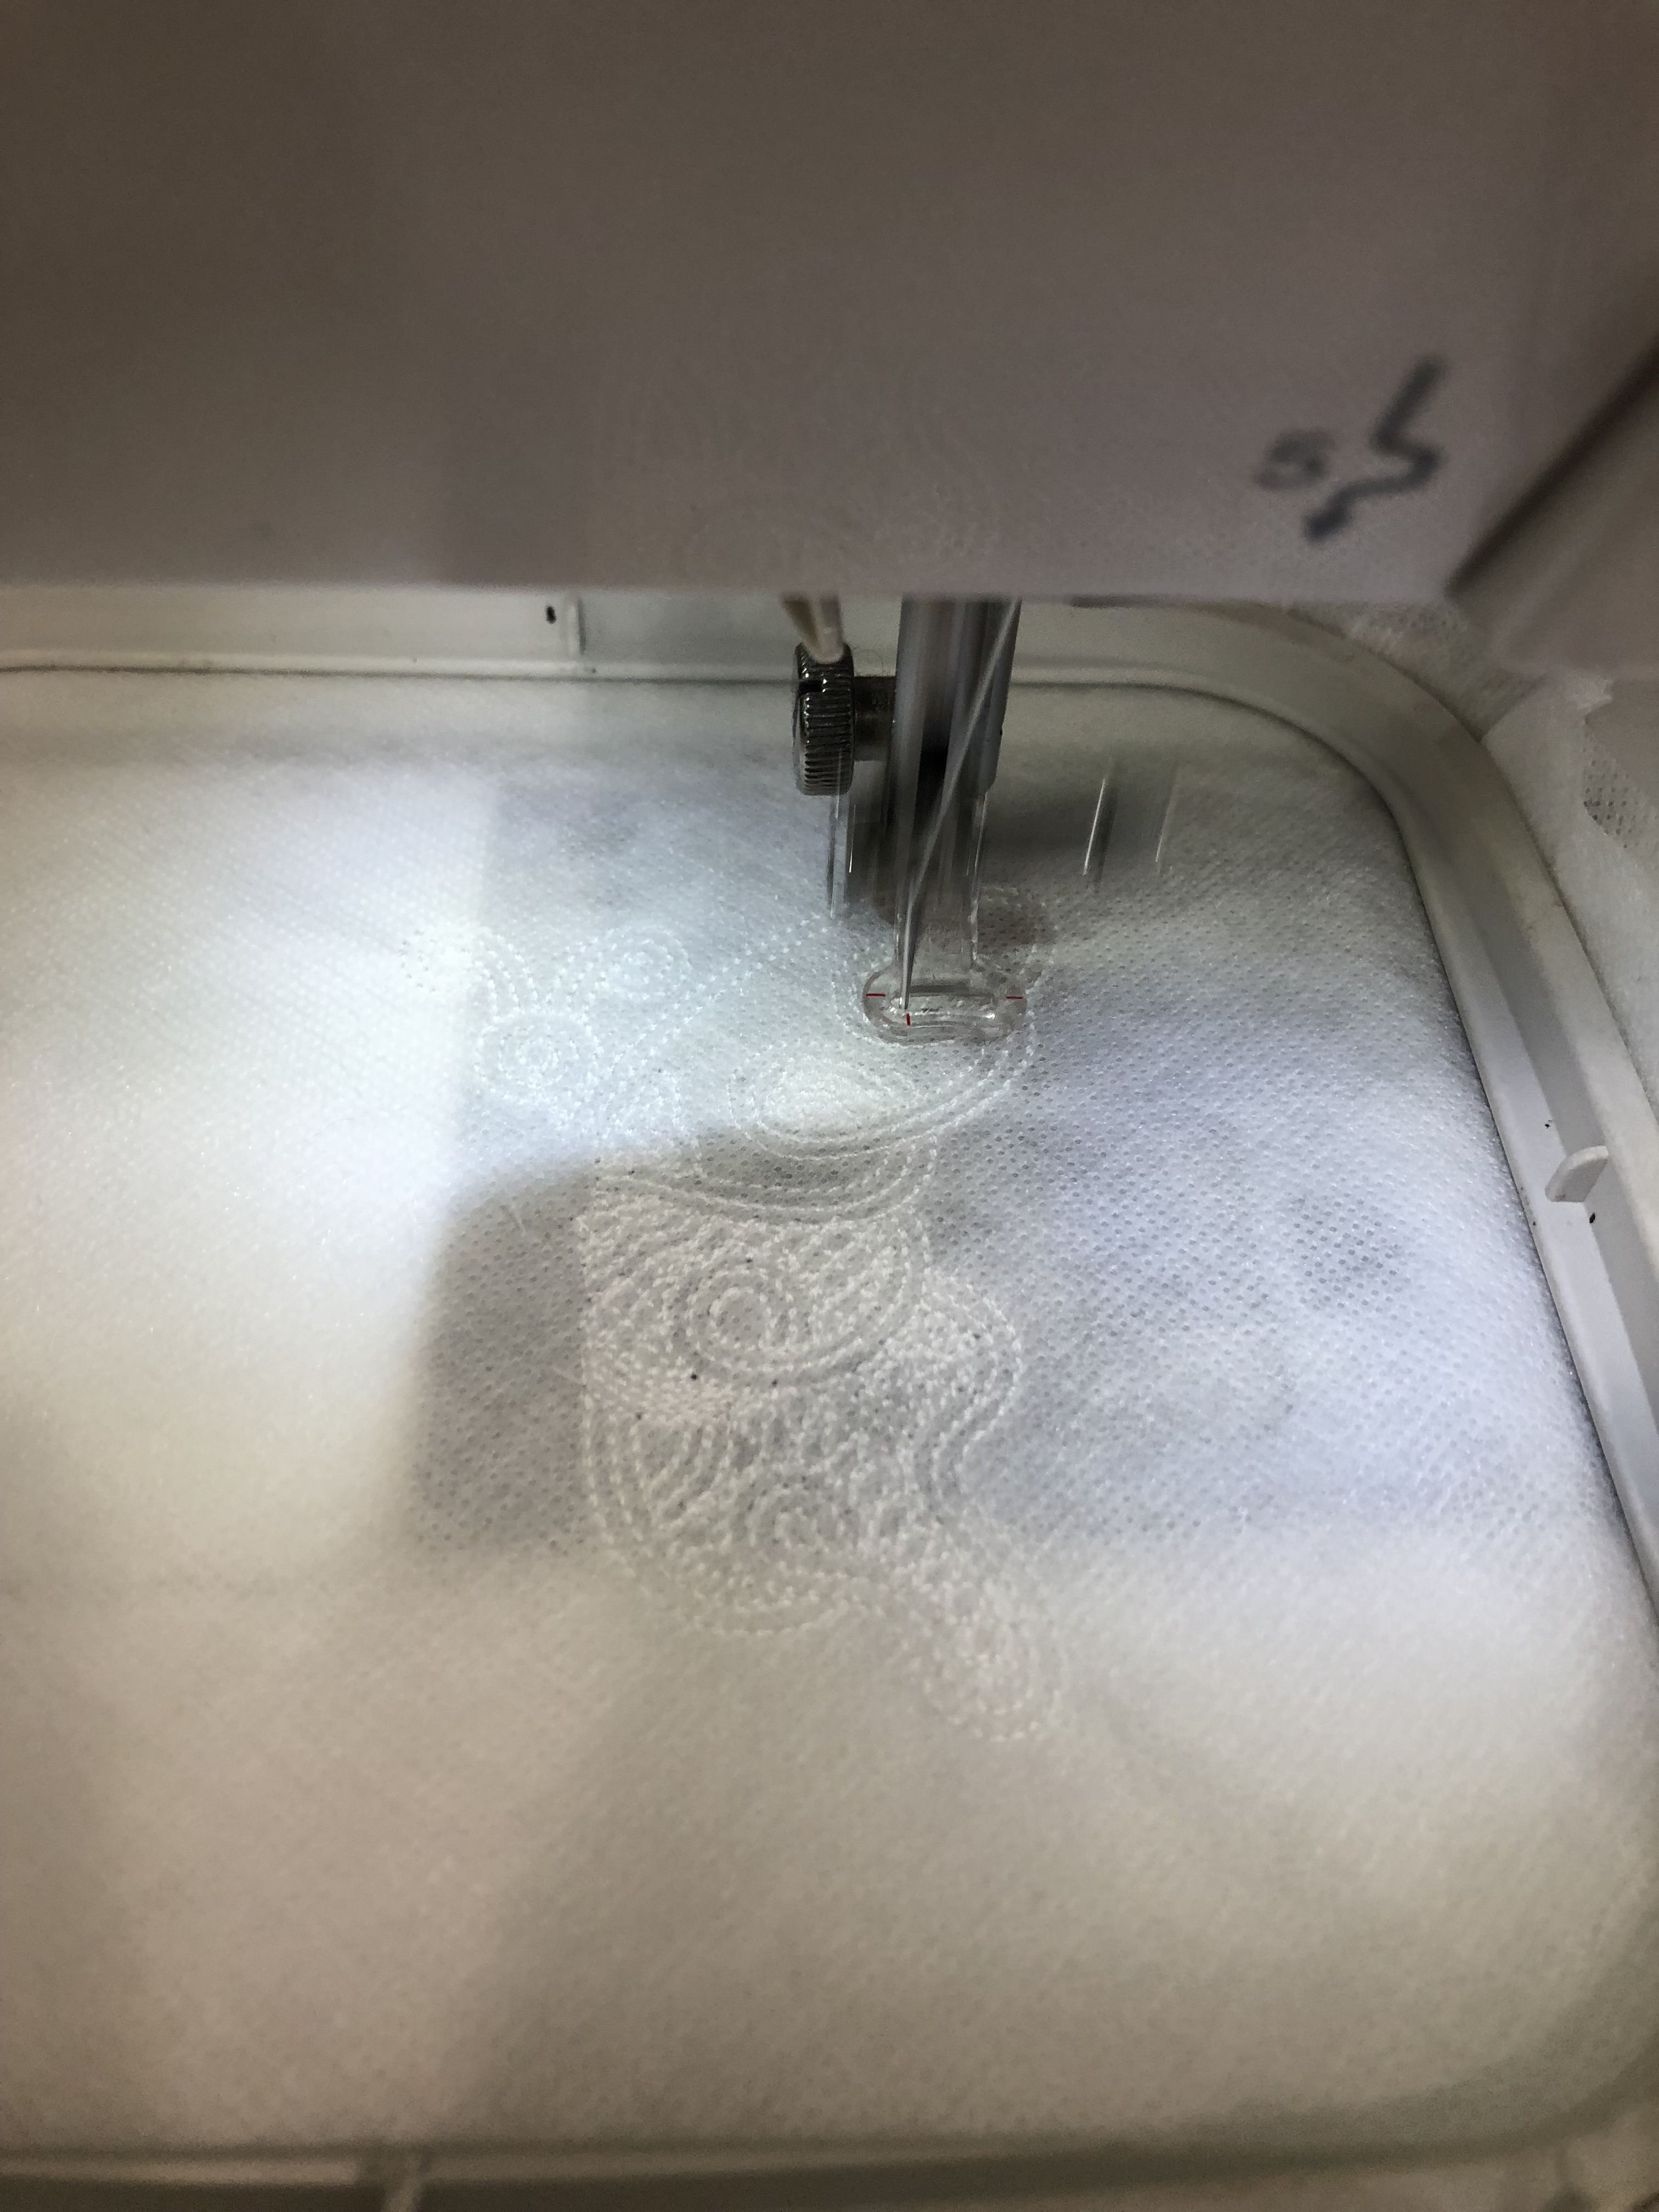
And then it was off to the races with my wonderful embroidery machine aka a Janome 11000! Here I’m not even half way through stitching out a white free-standing Battenberg lace butterfly on wash away stabilizer.
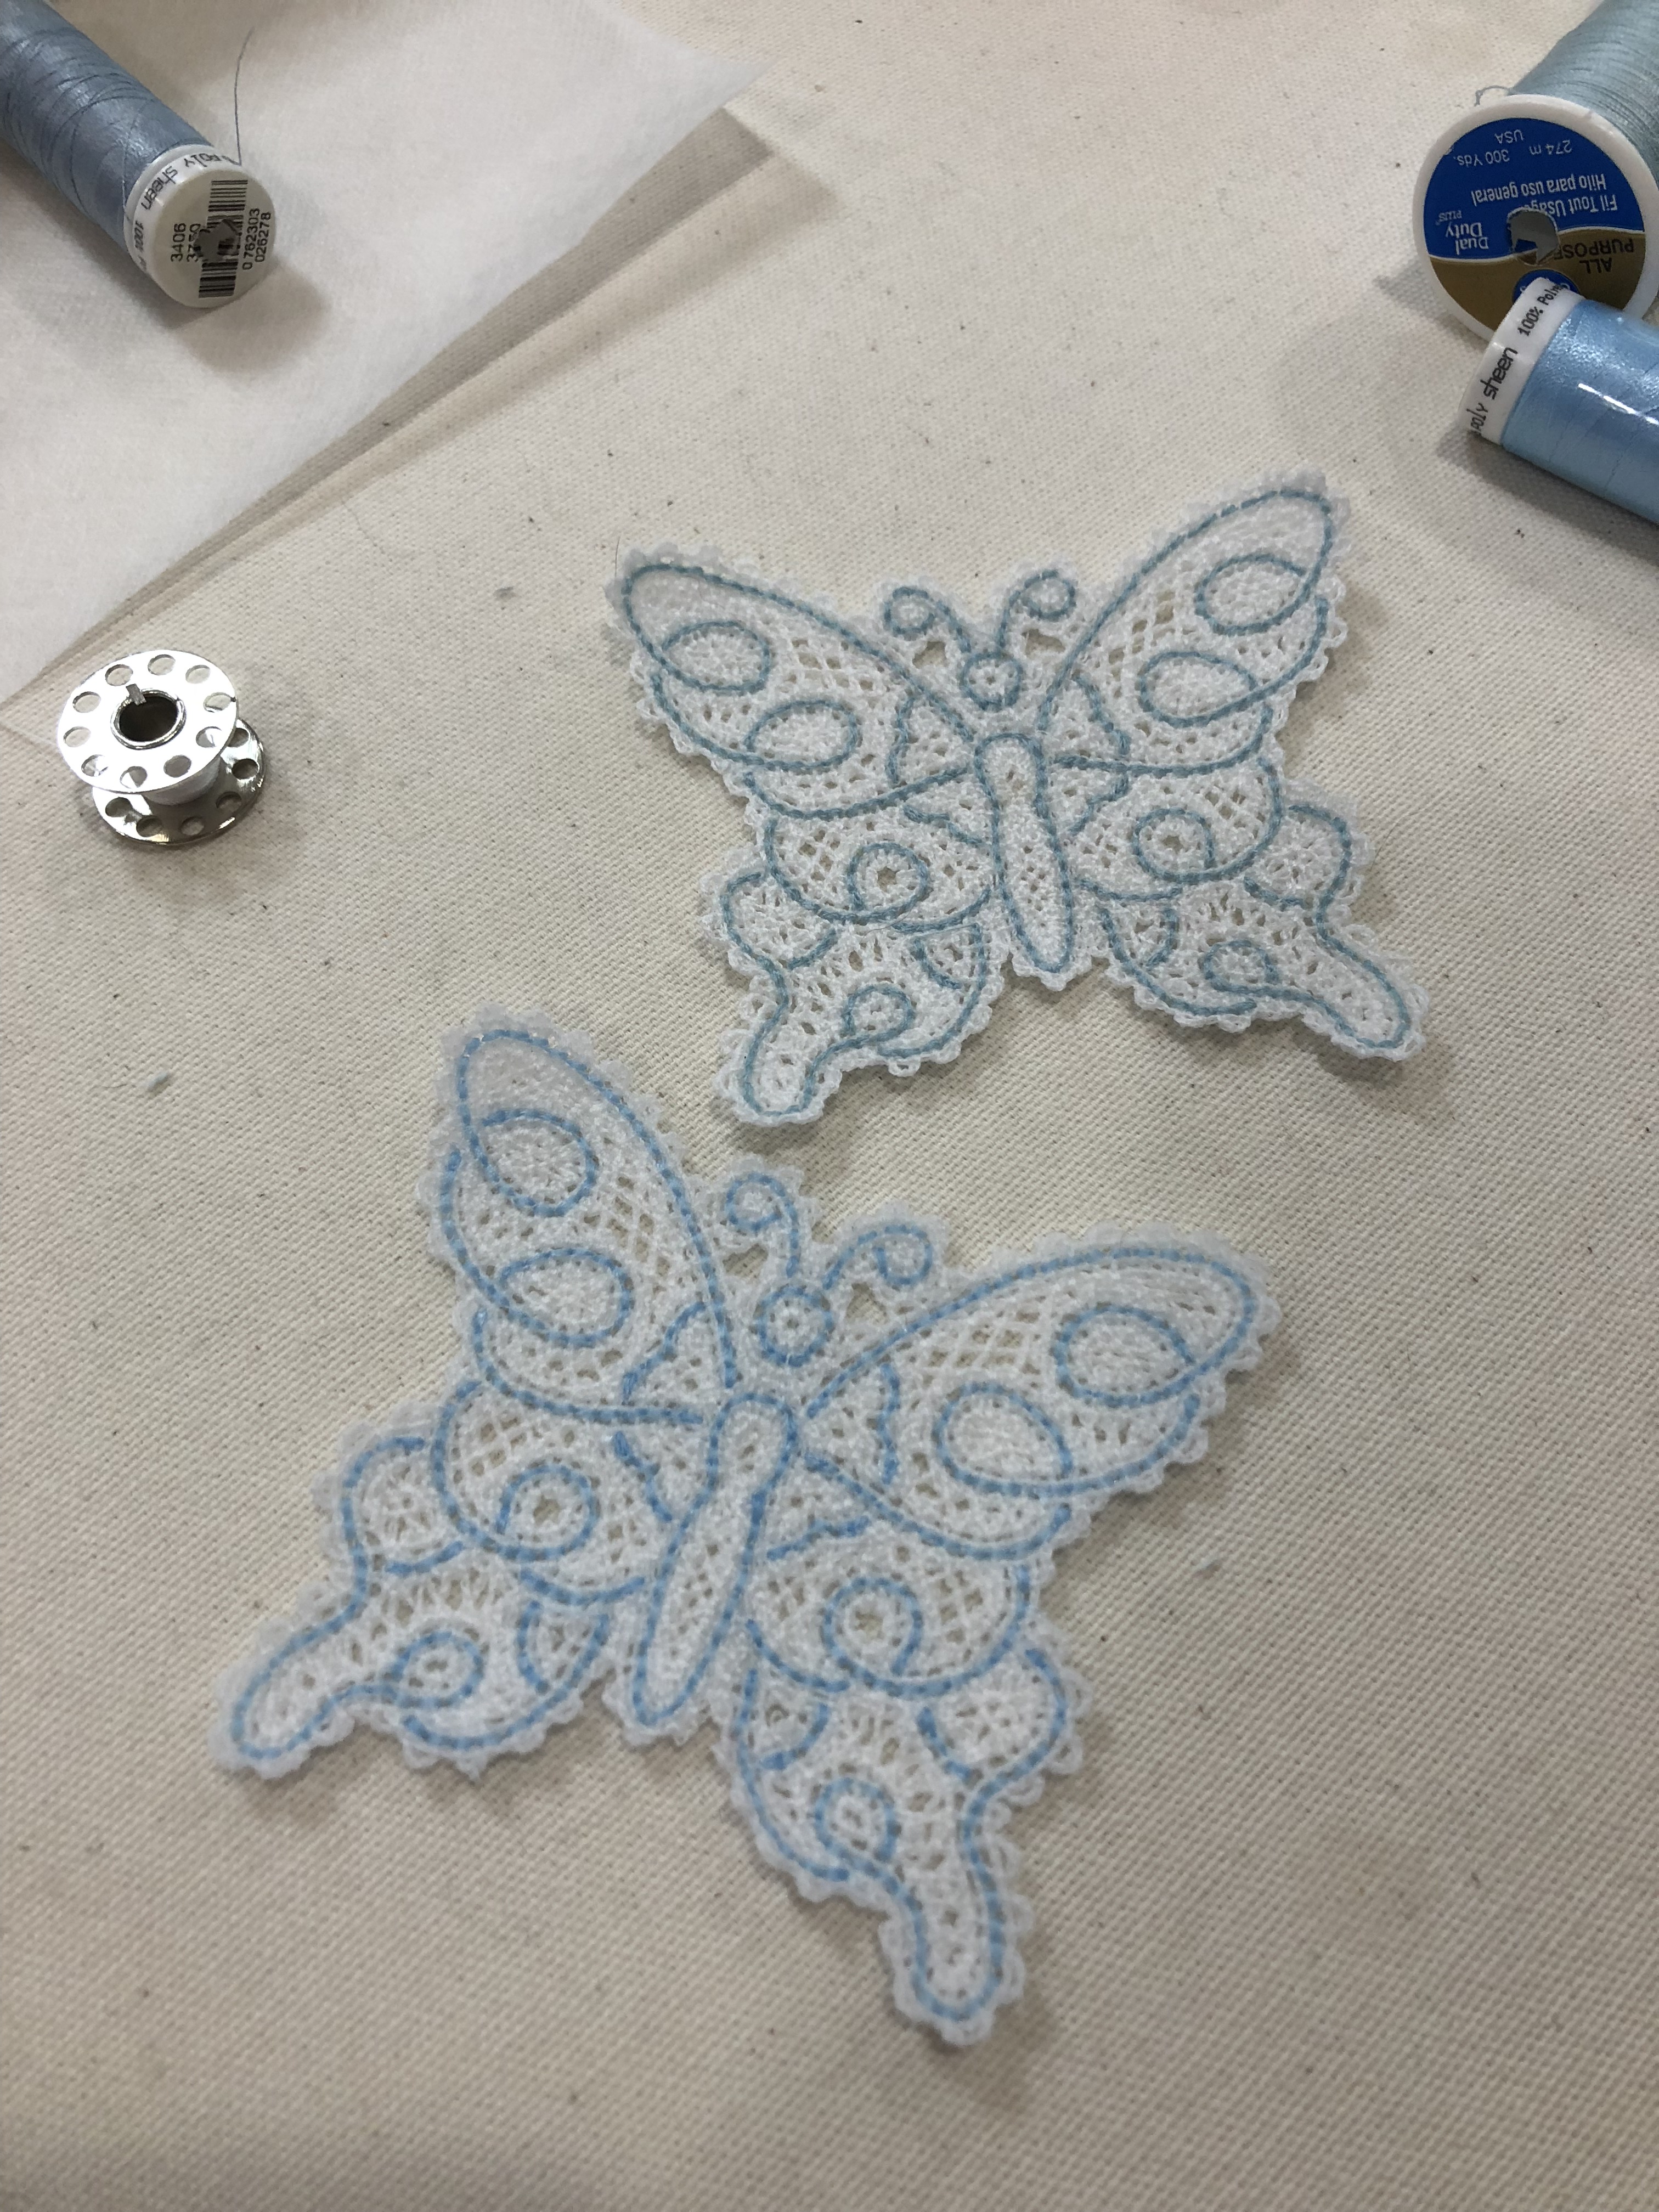
And 2 are finished:

So I experimented again, this time by stitching out a free-standing Battenberg lace heart onto clear water soluble wash away stabilizer. Success!

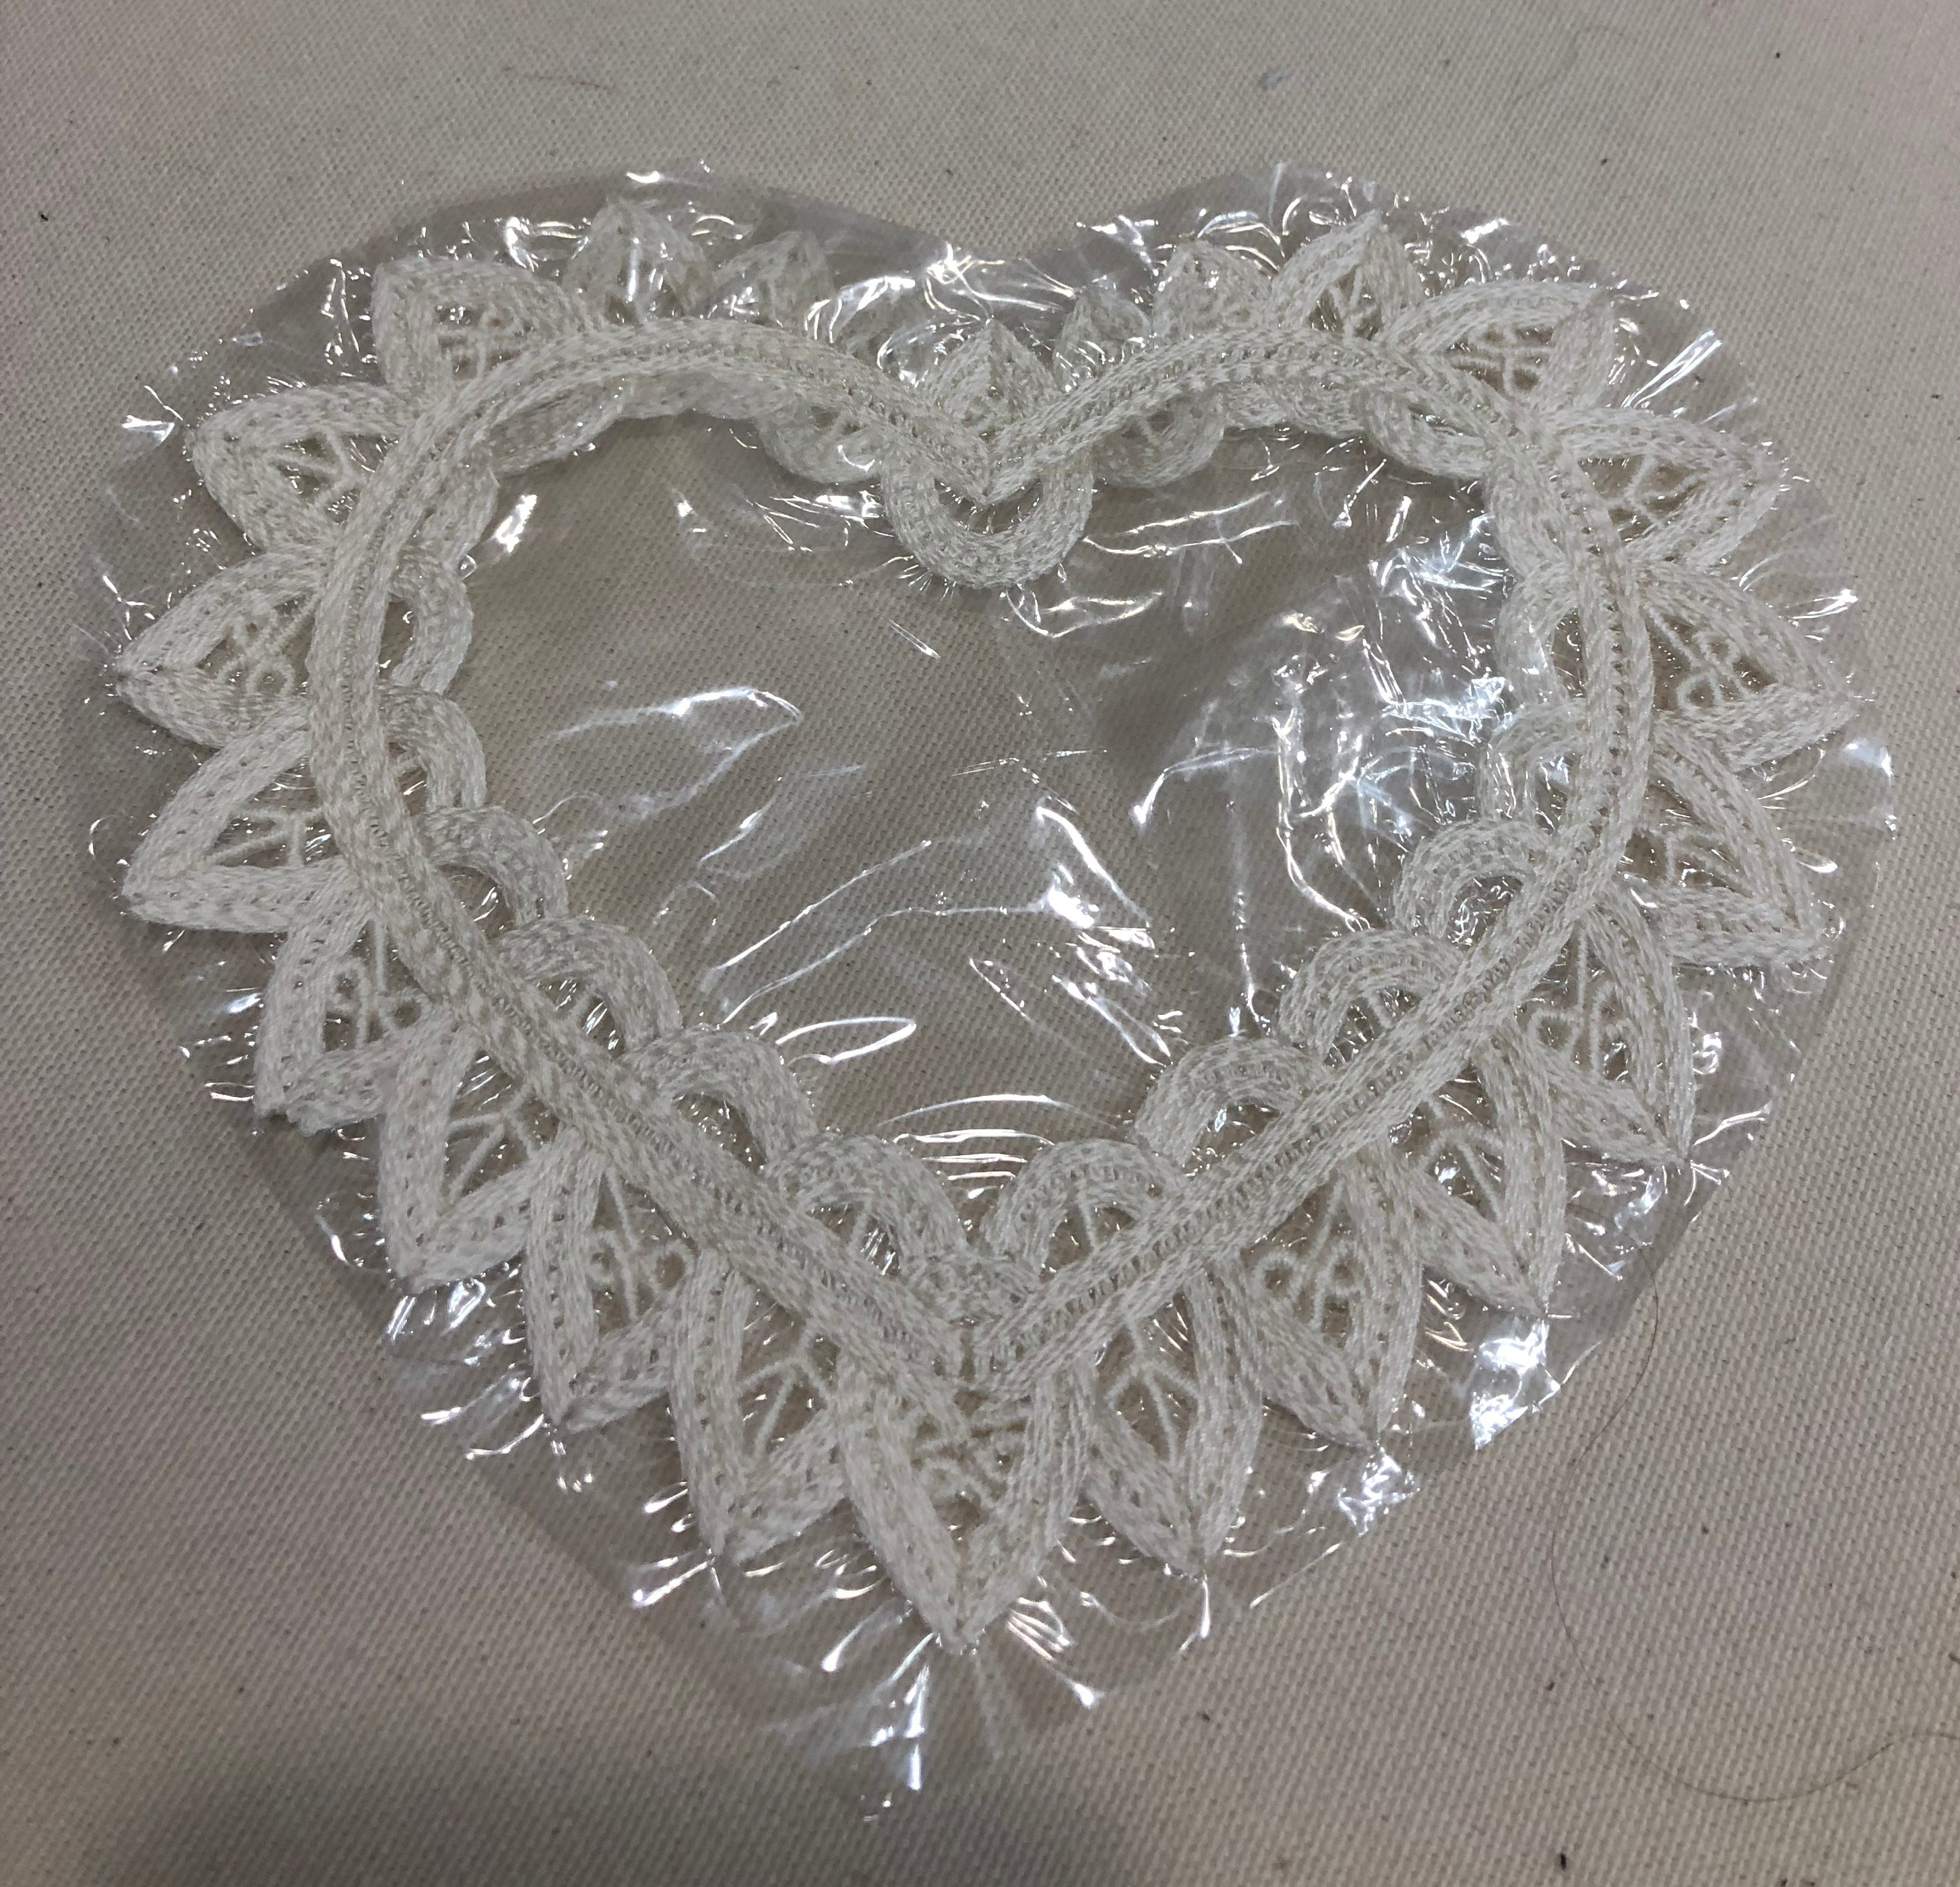
And then the failure…the beautiful free-standing ivory lace 6″ heart below… Not free standing lace. Imagine the trauma of watching it all fall apart when I immersed it in water. All 1.5 hours of machine embroidery stitching.
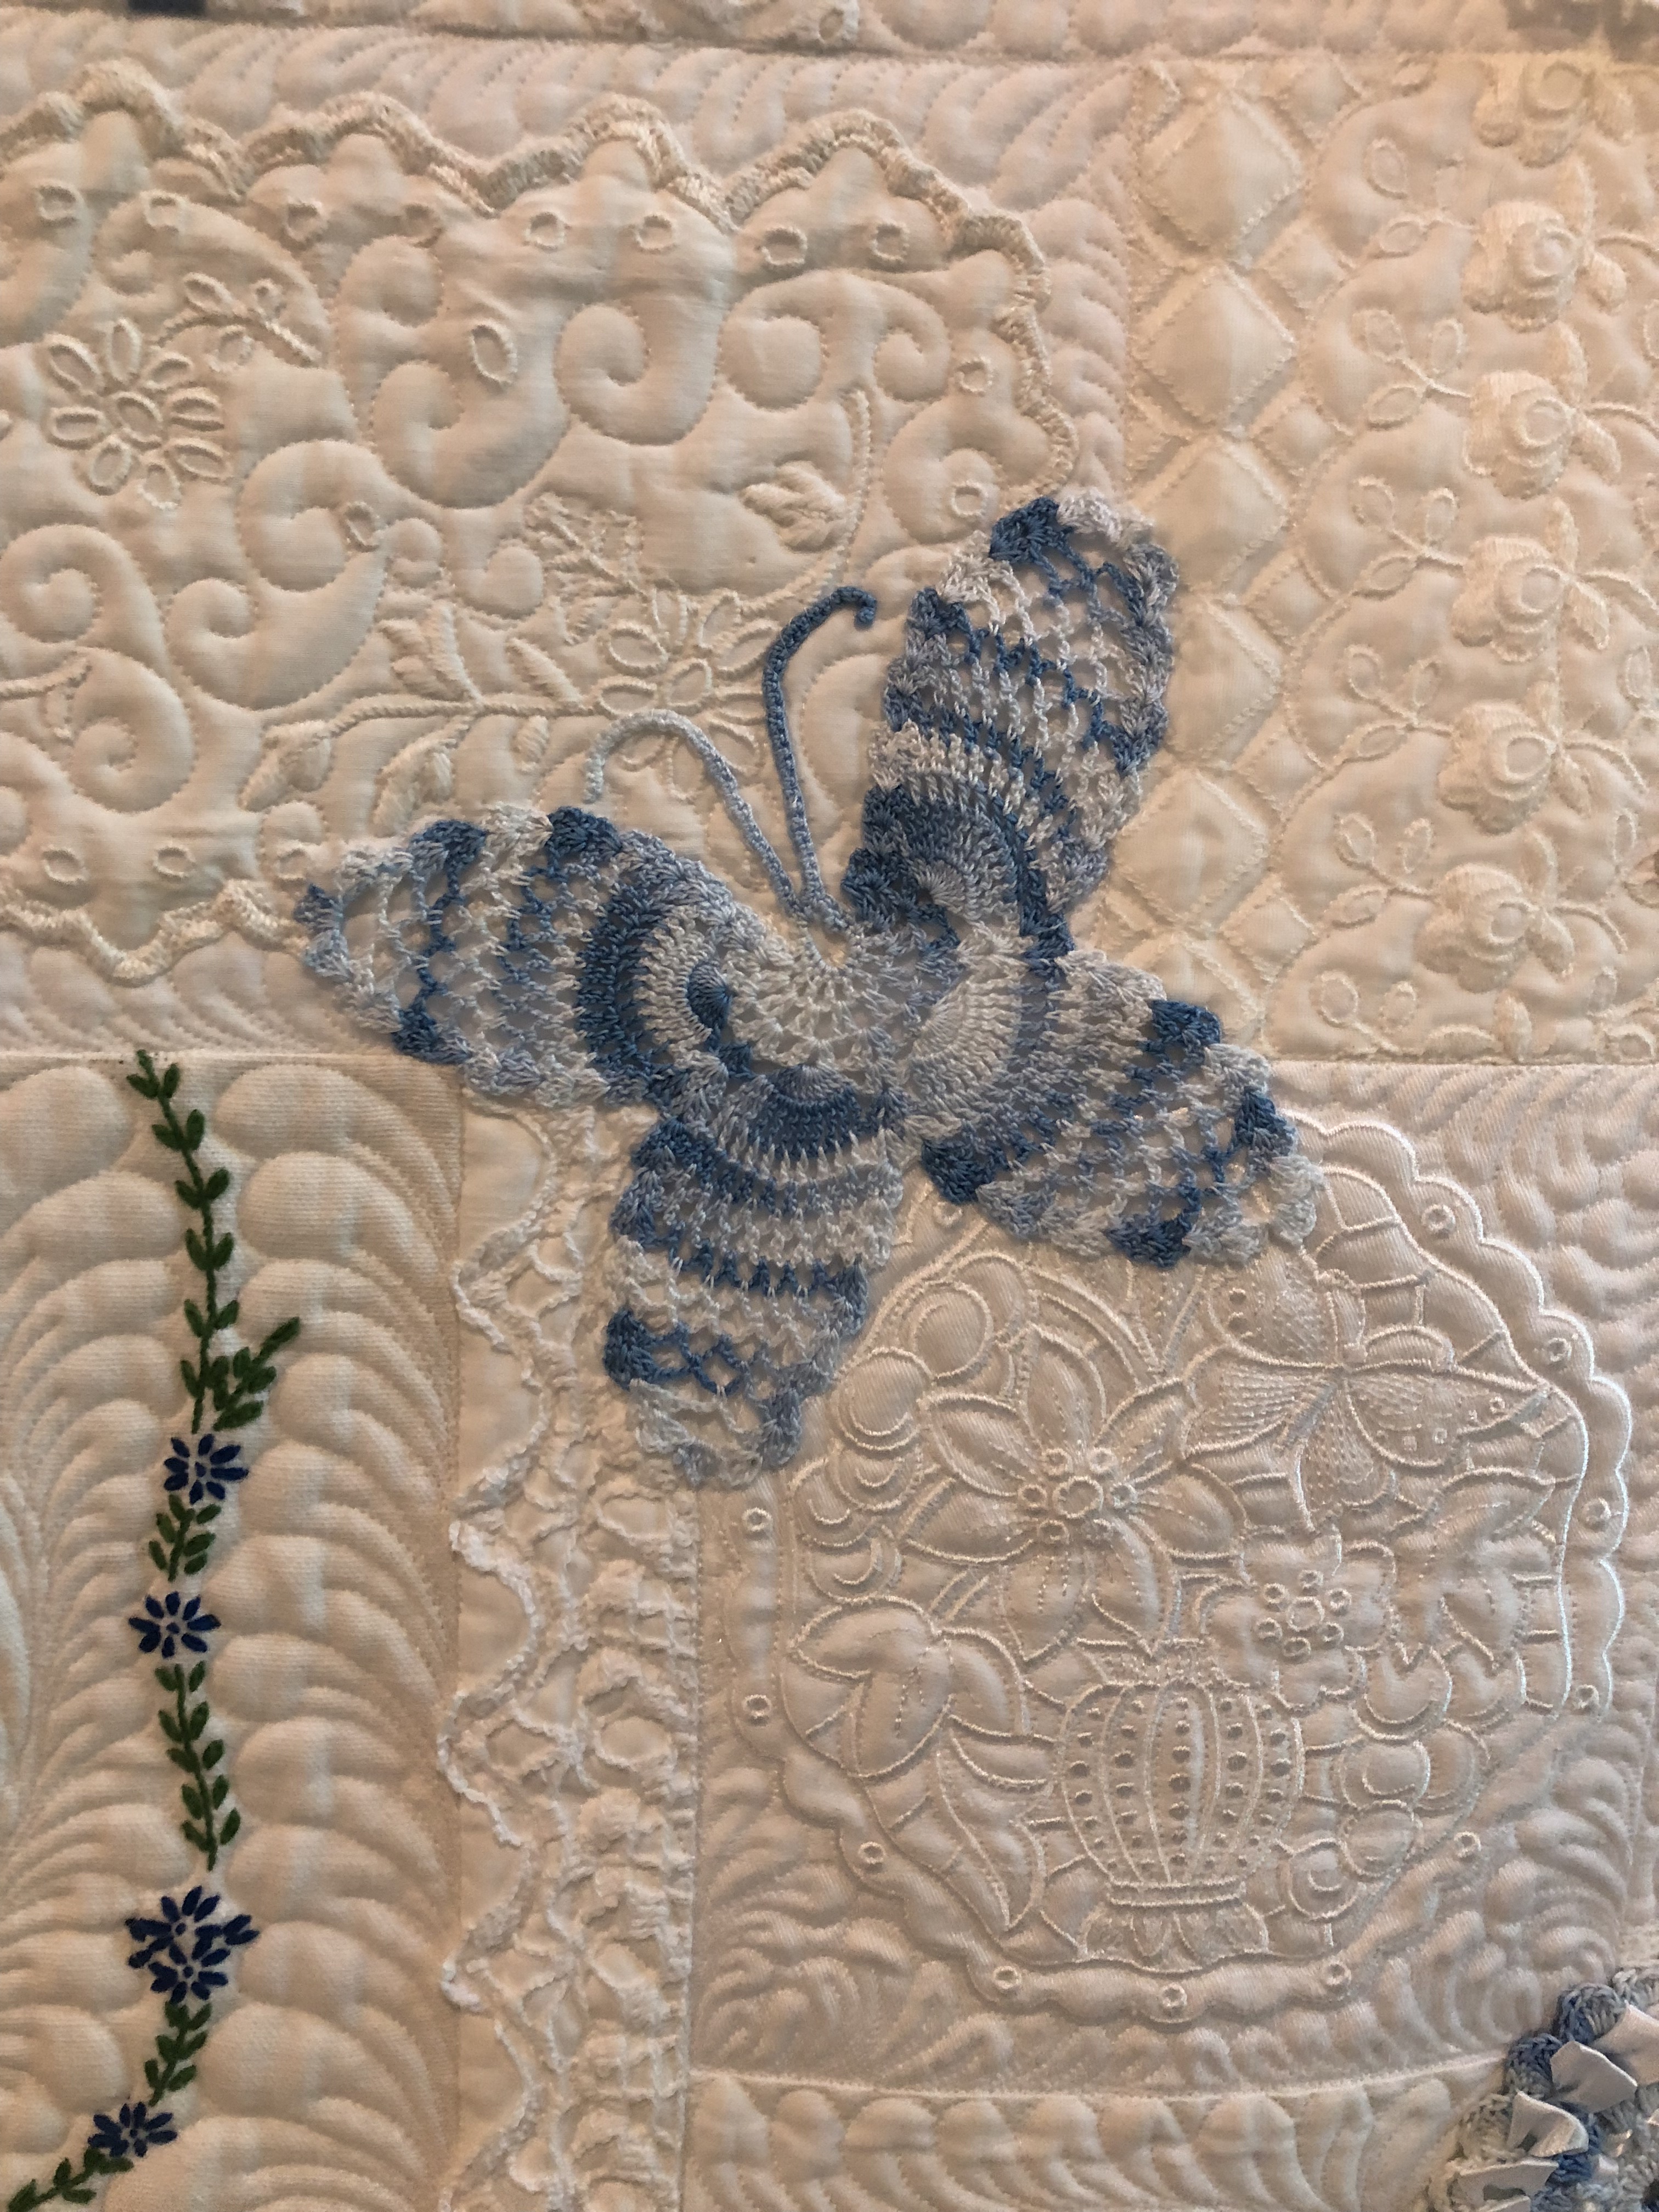
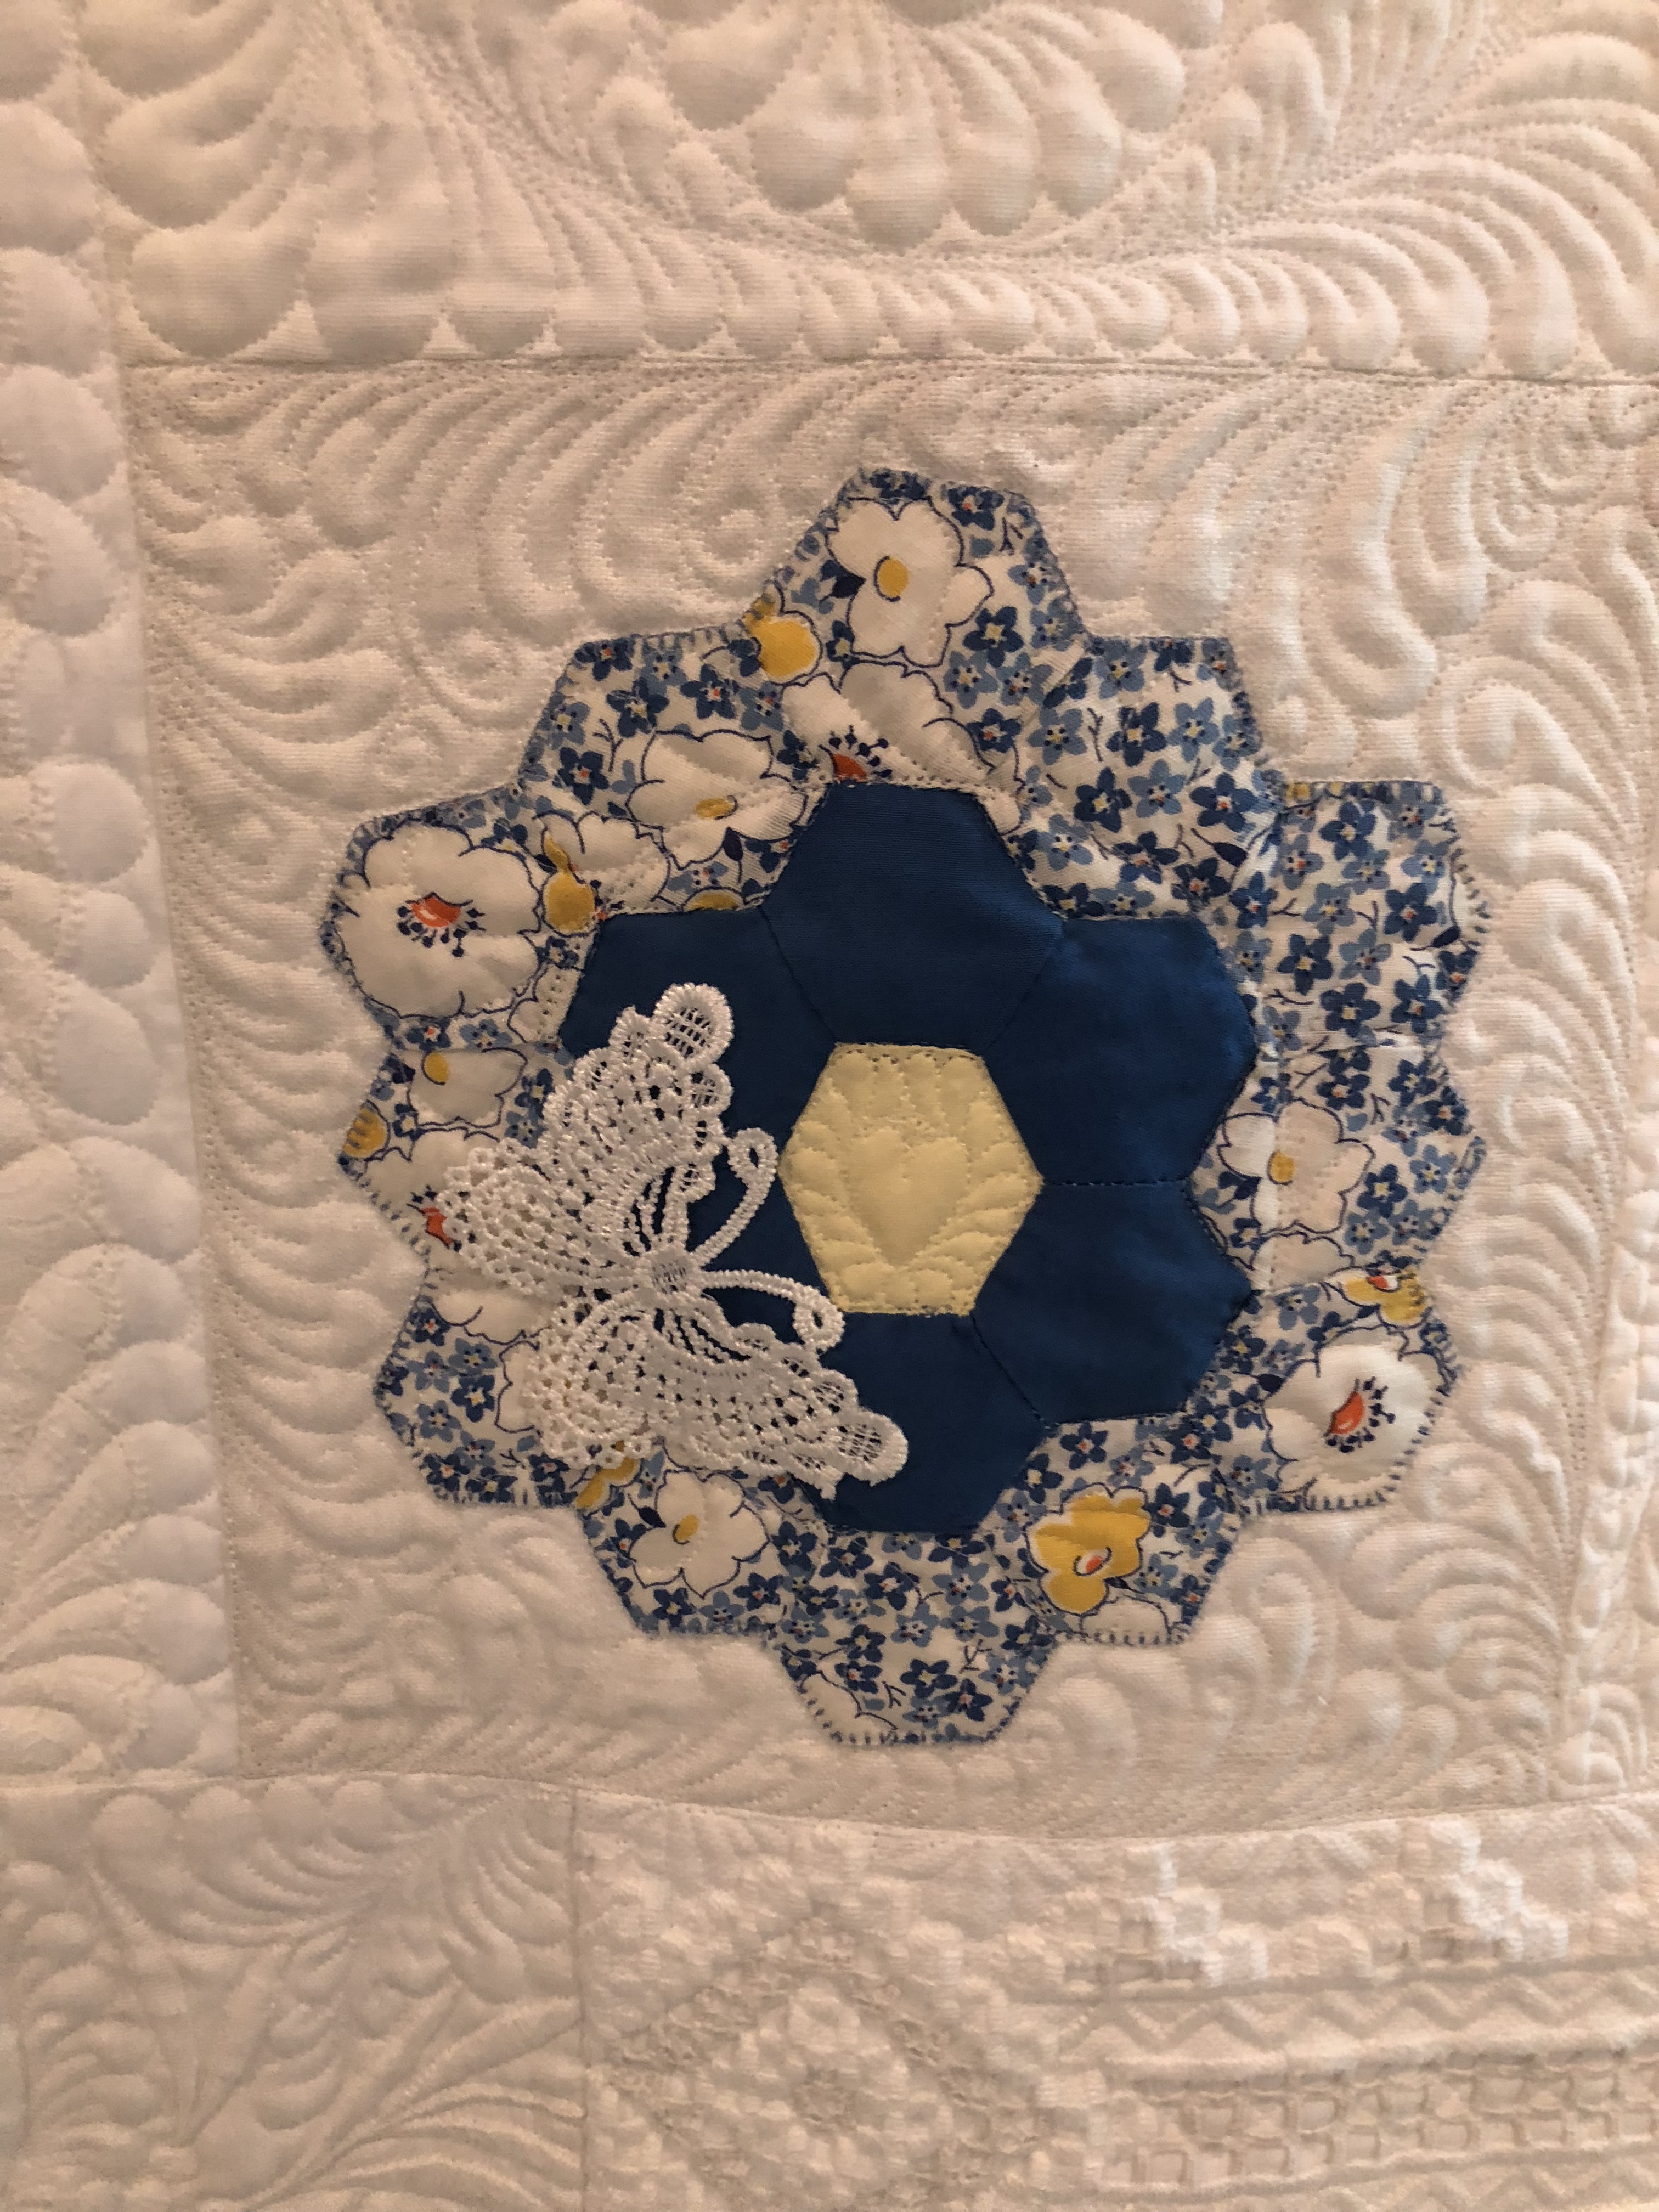
Another butterfly! This time a vintage hand crocheted blue and white variegated butterfly. There are 2 of these on the quilt.
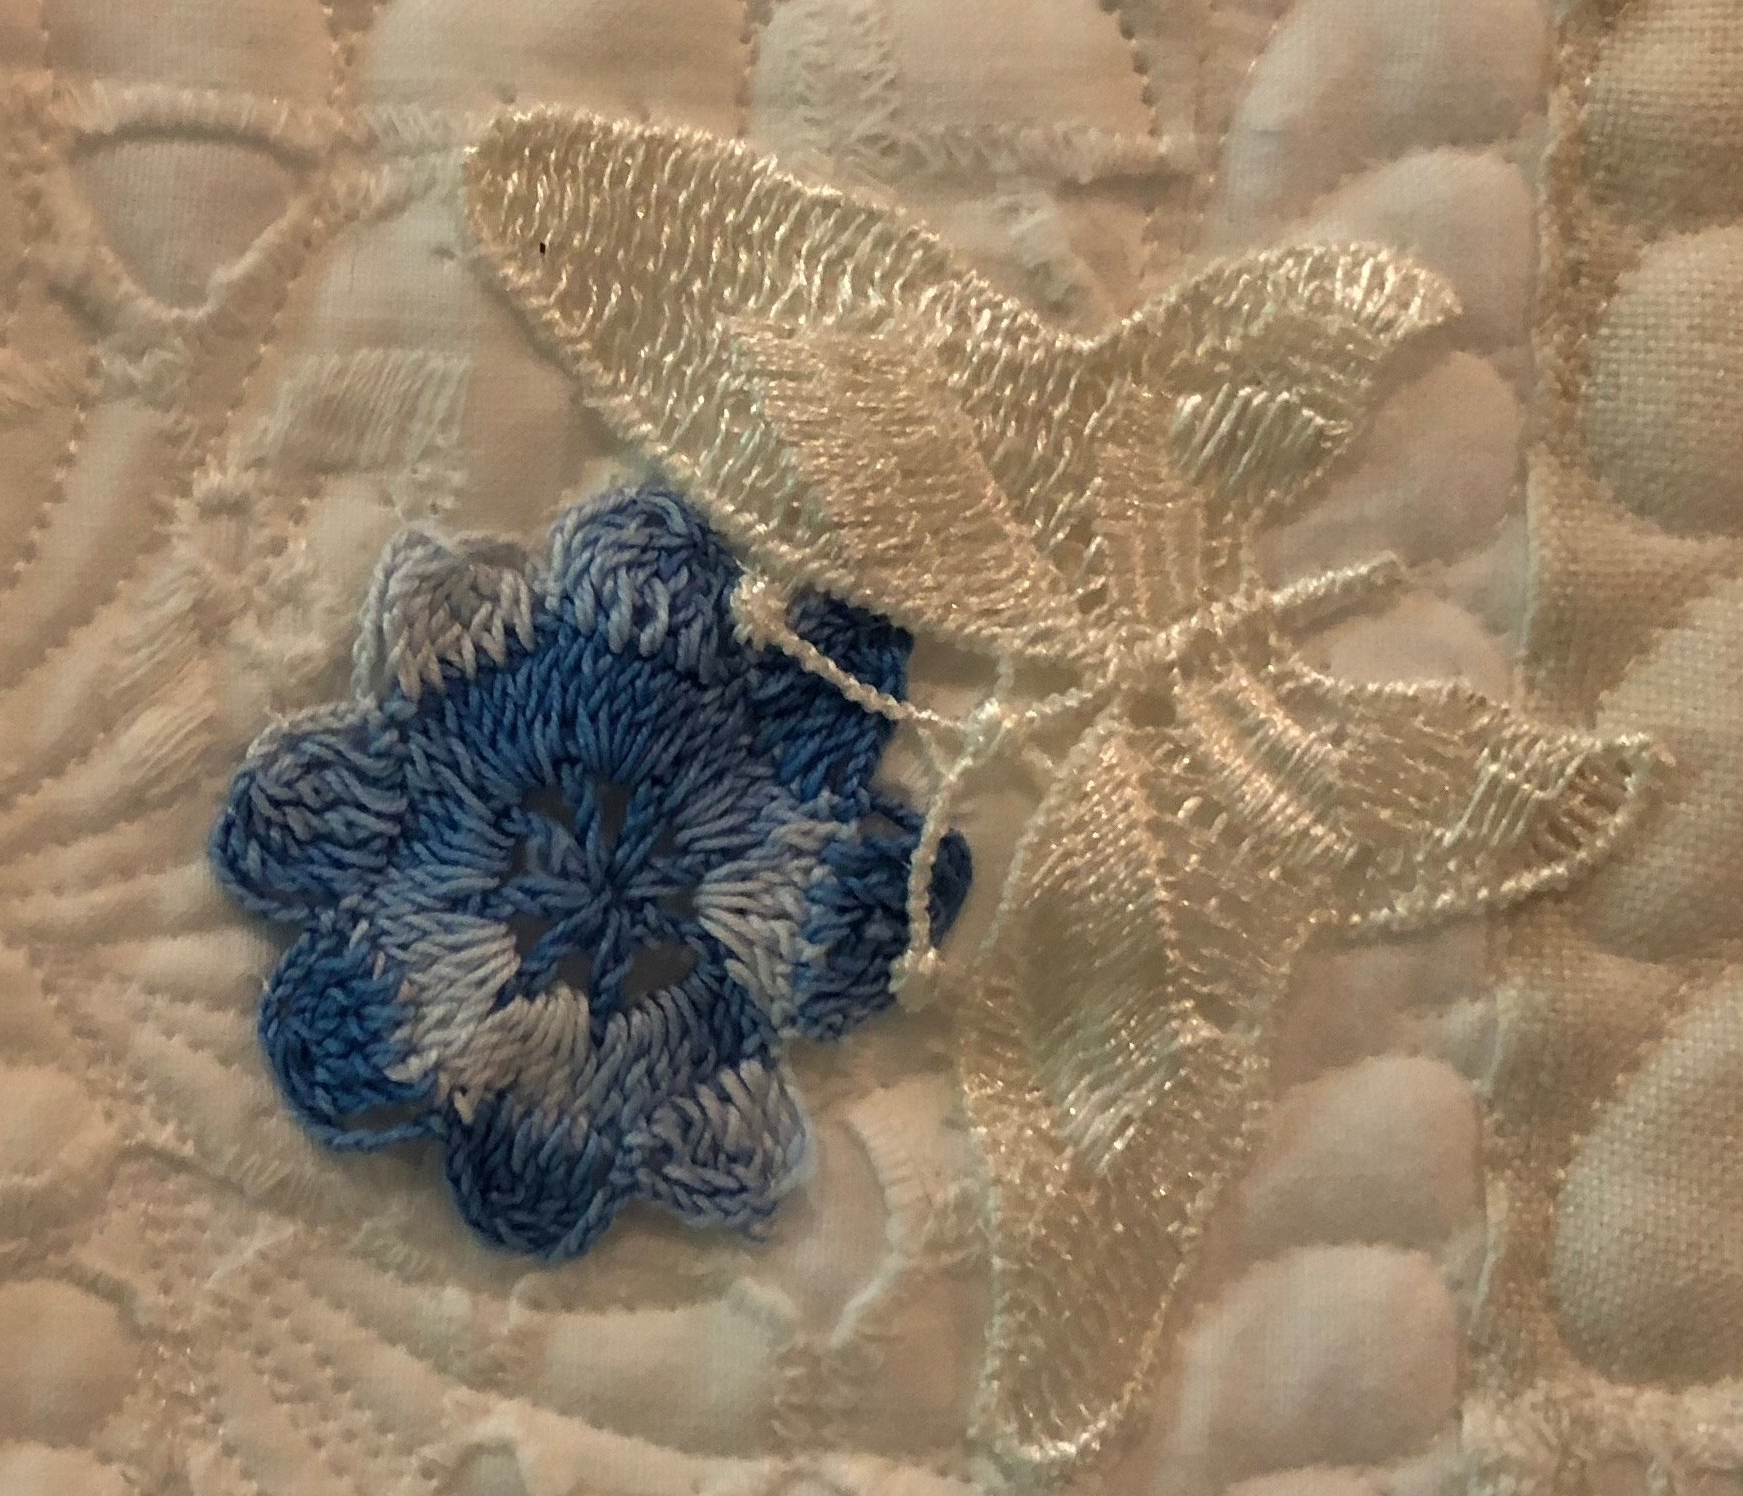
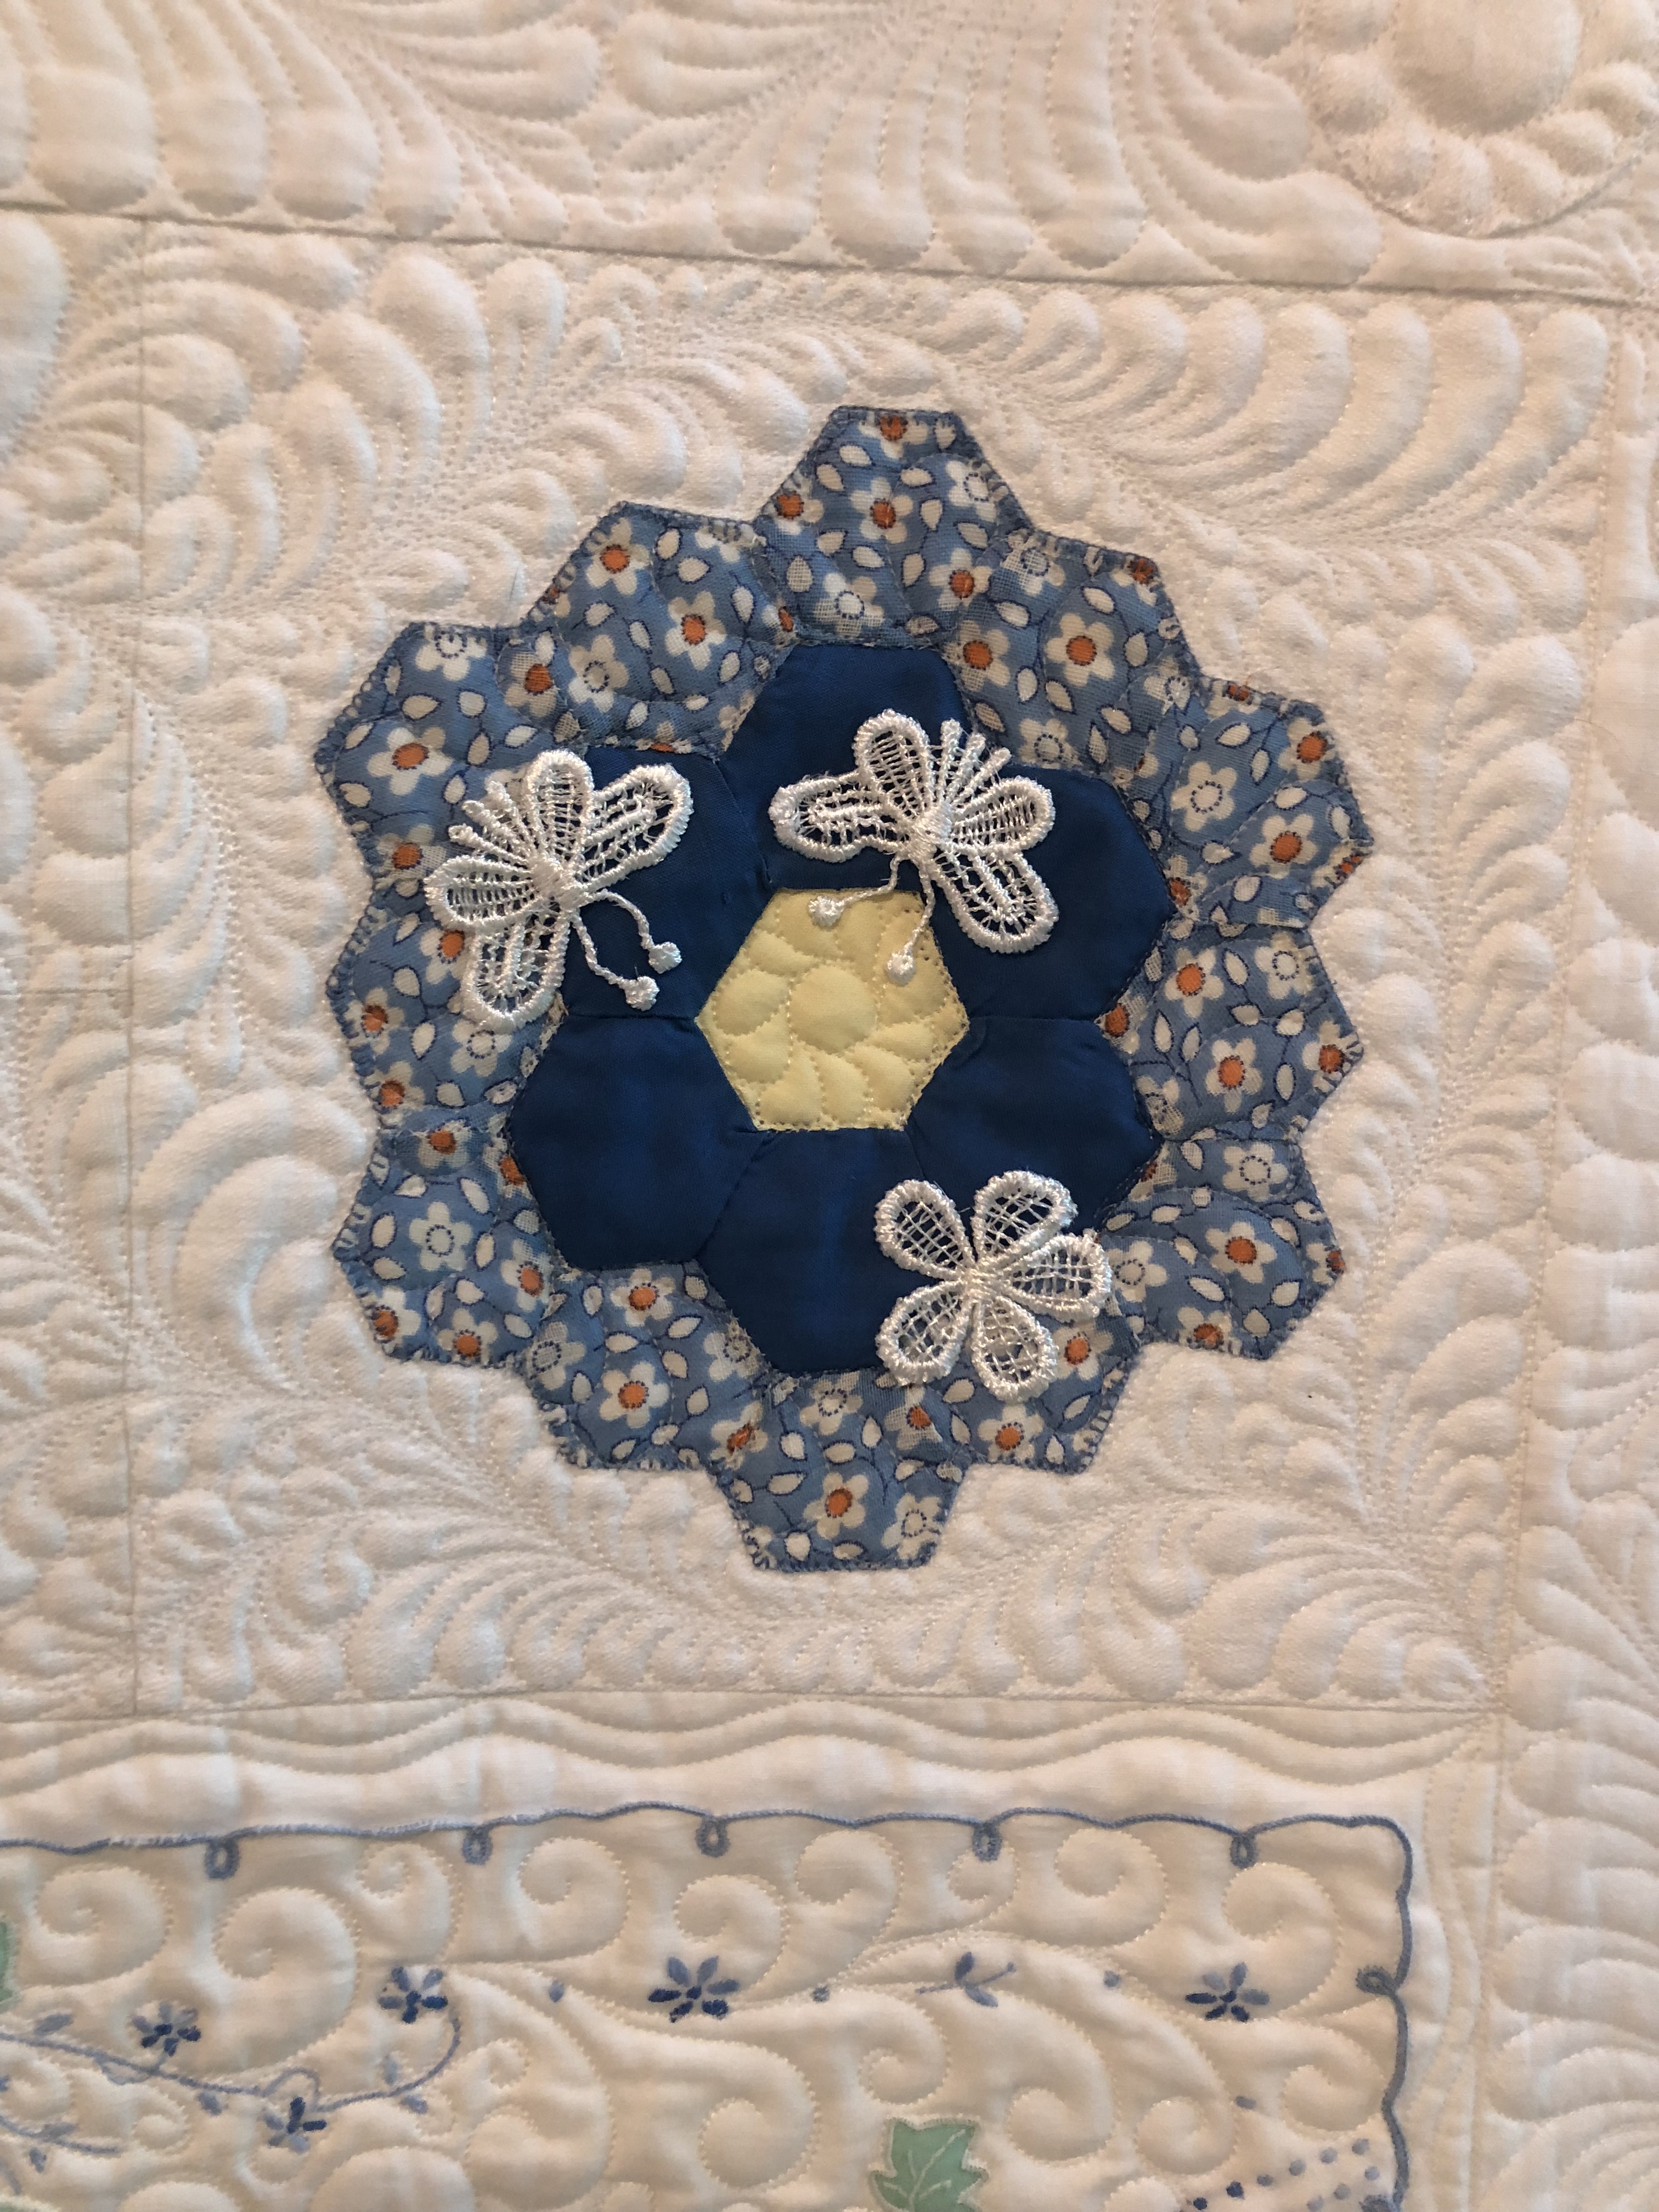
Here’s another new butterfly, this one new, paired with a vintage blue and white variegated crocheted flower. Do you know crochet generally has a front and a back side? This little blue flower has more color on the wrong side so that’s how I chose to stitch it on the quilt.
More ribbon work, this time in white satin with the same white seed beads and a new heart applique.
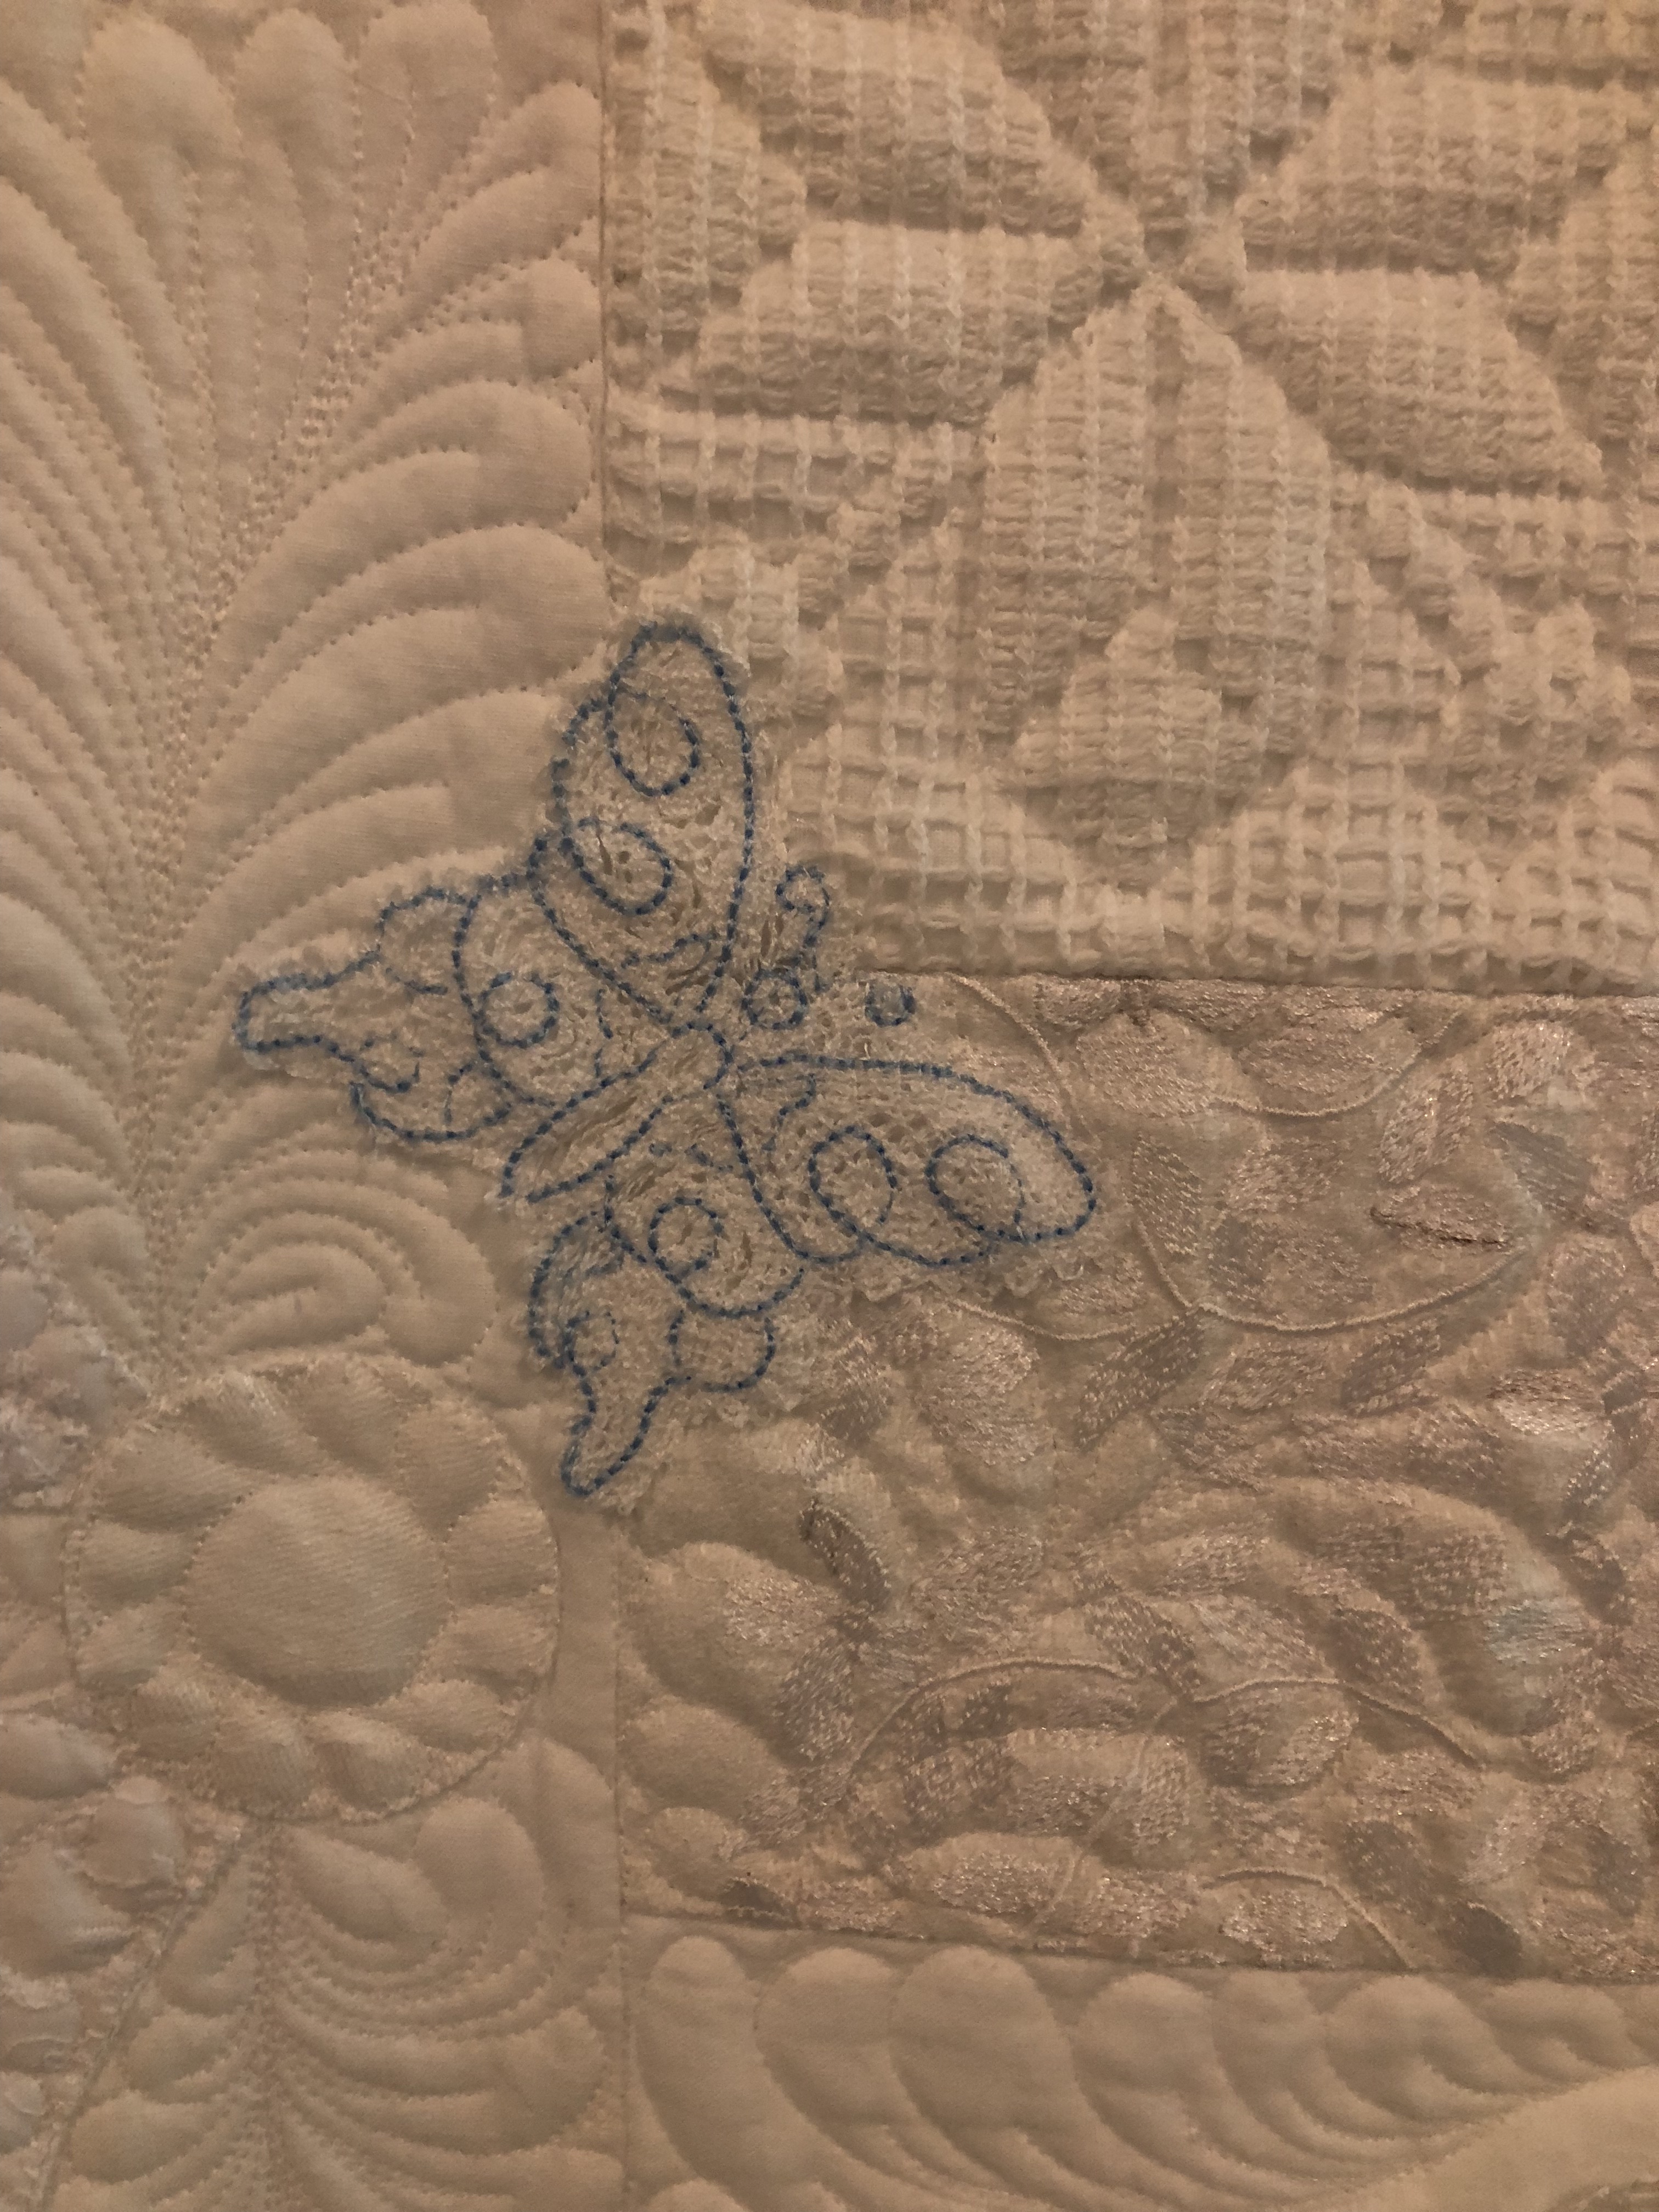
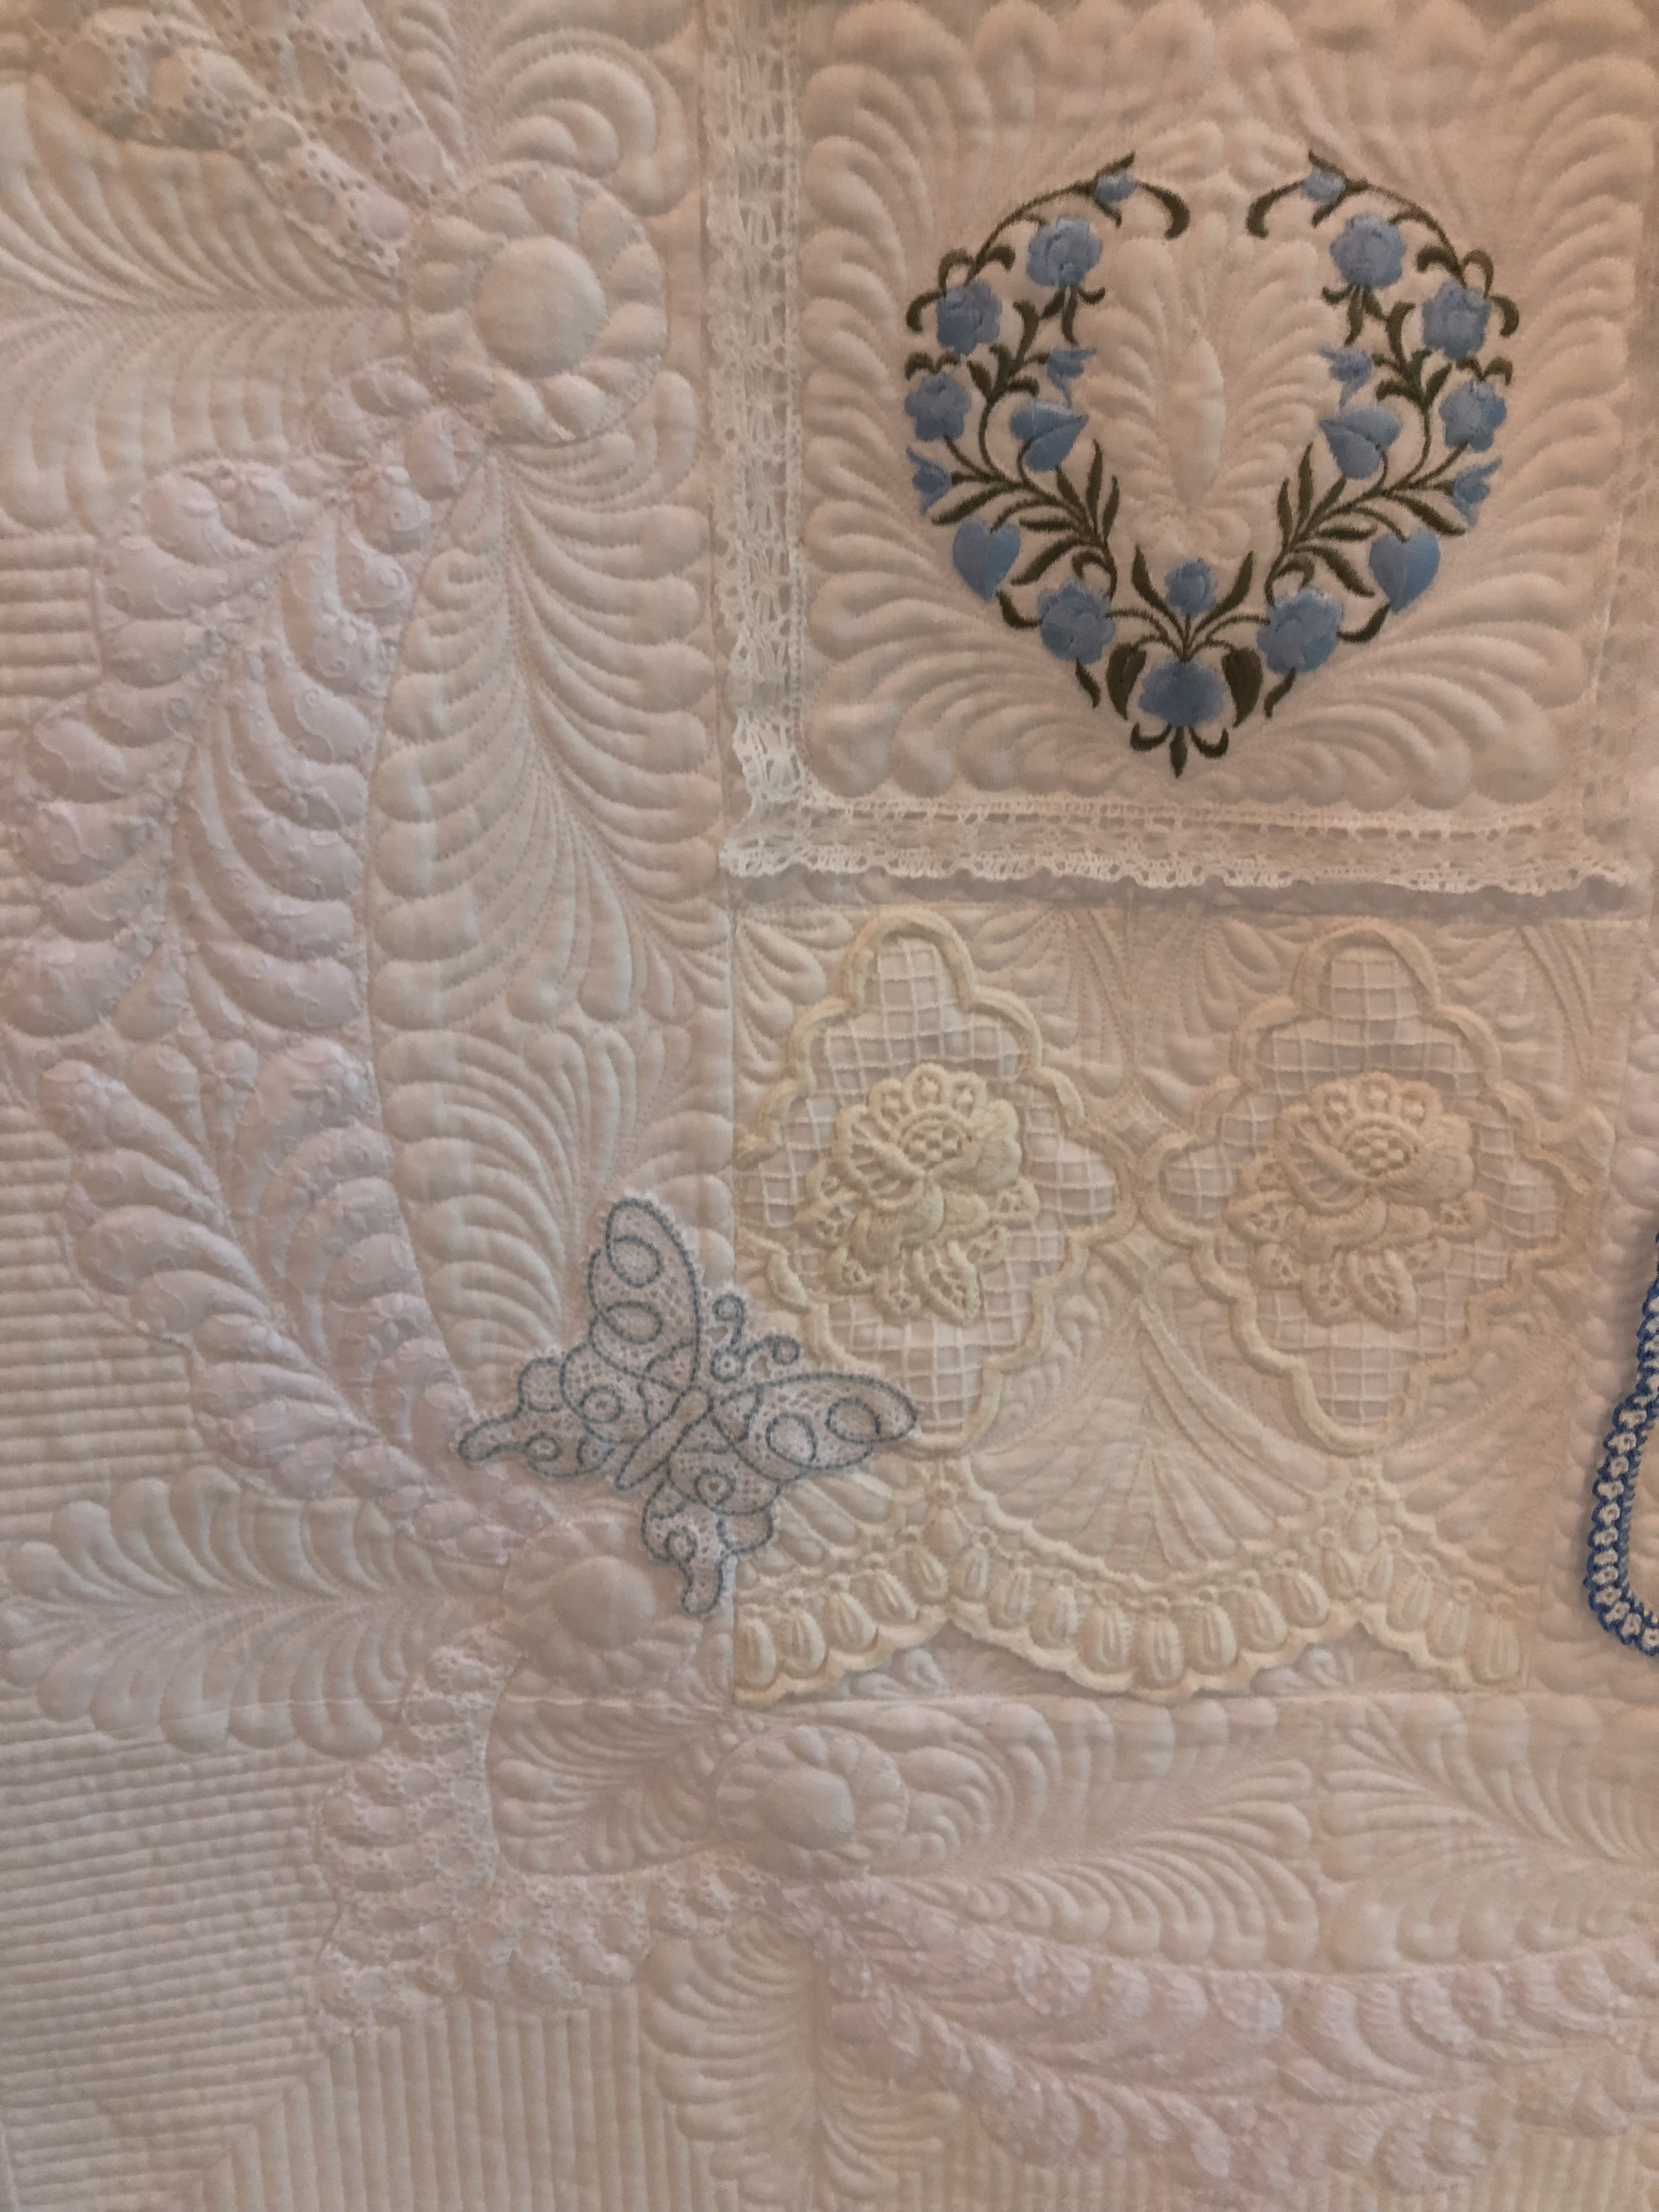
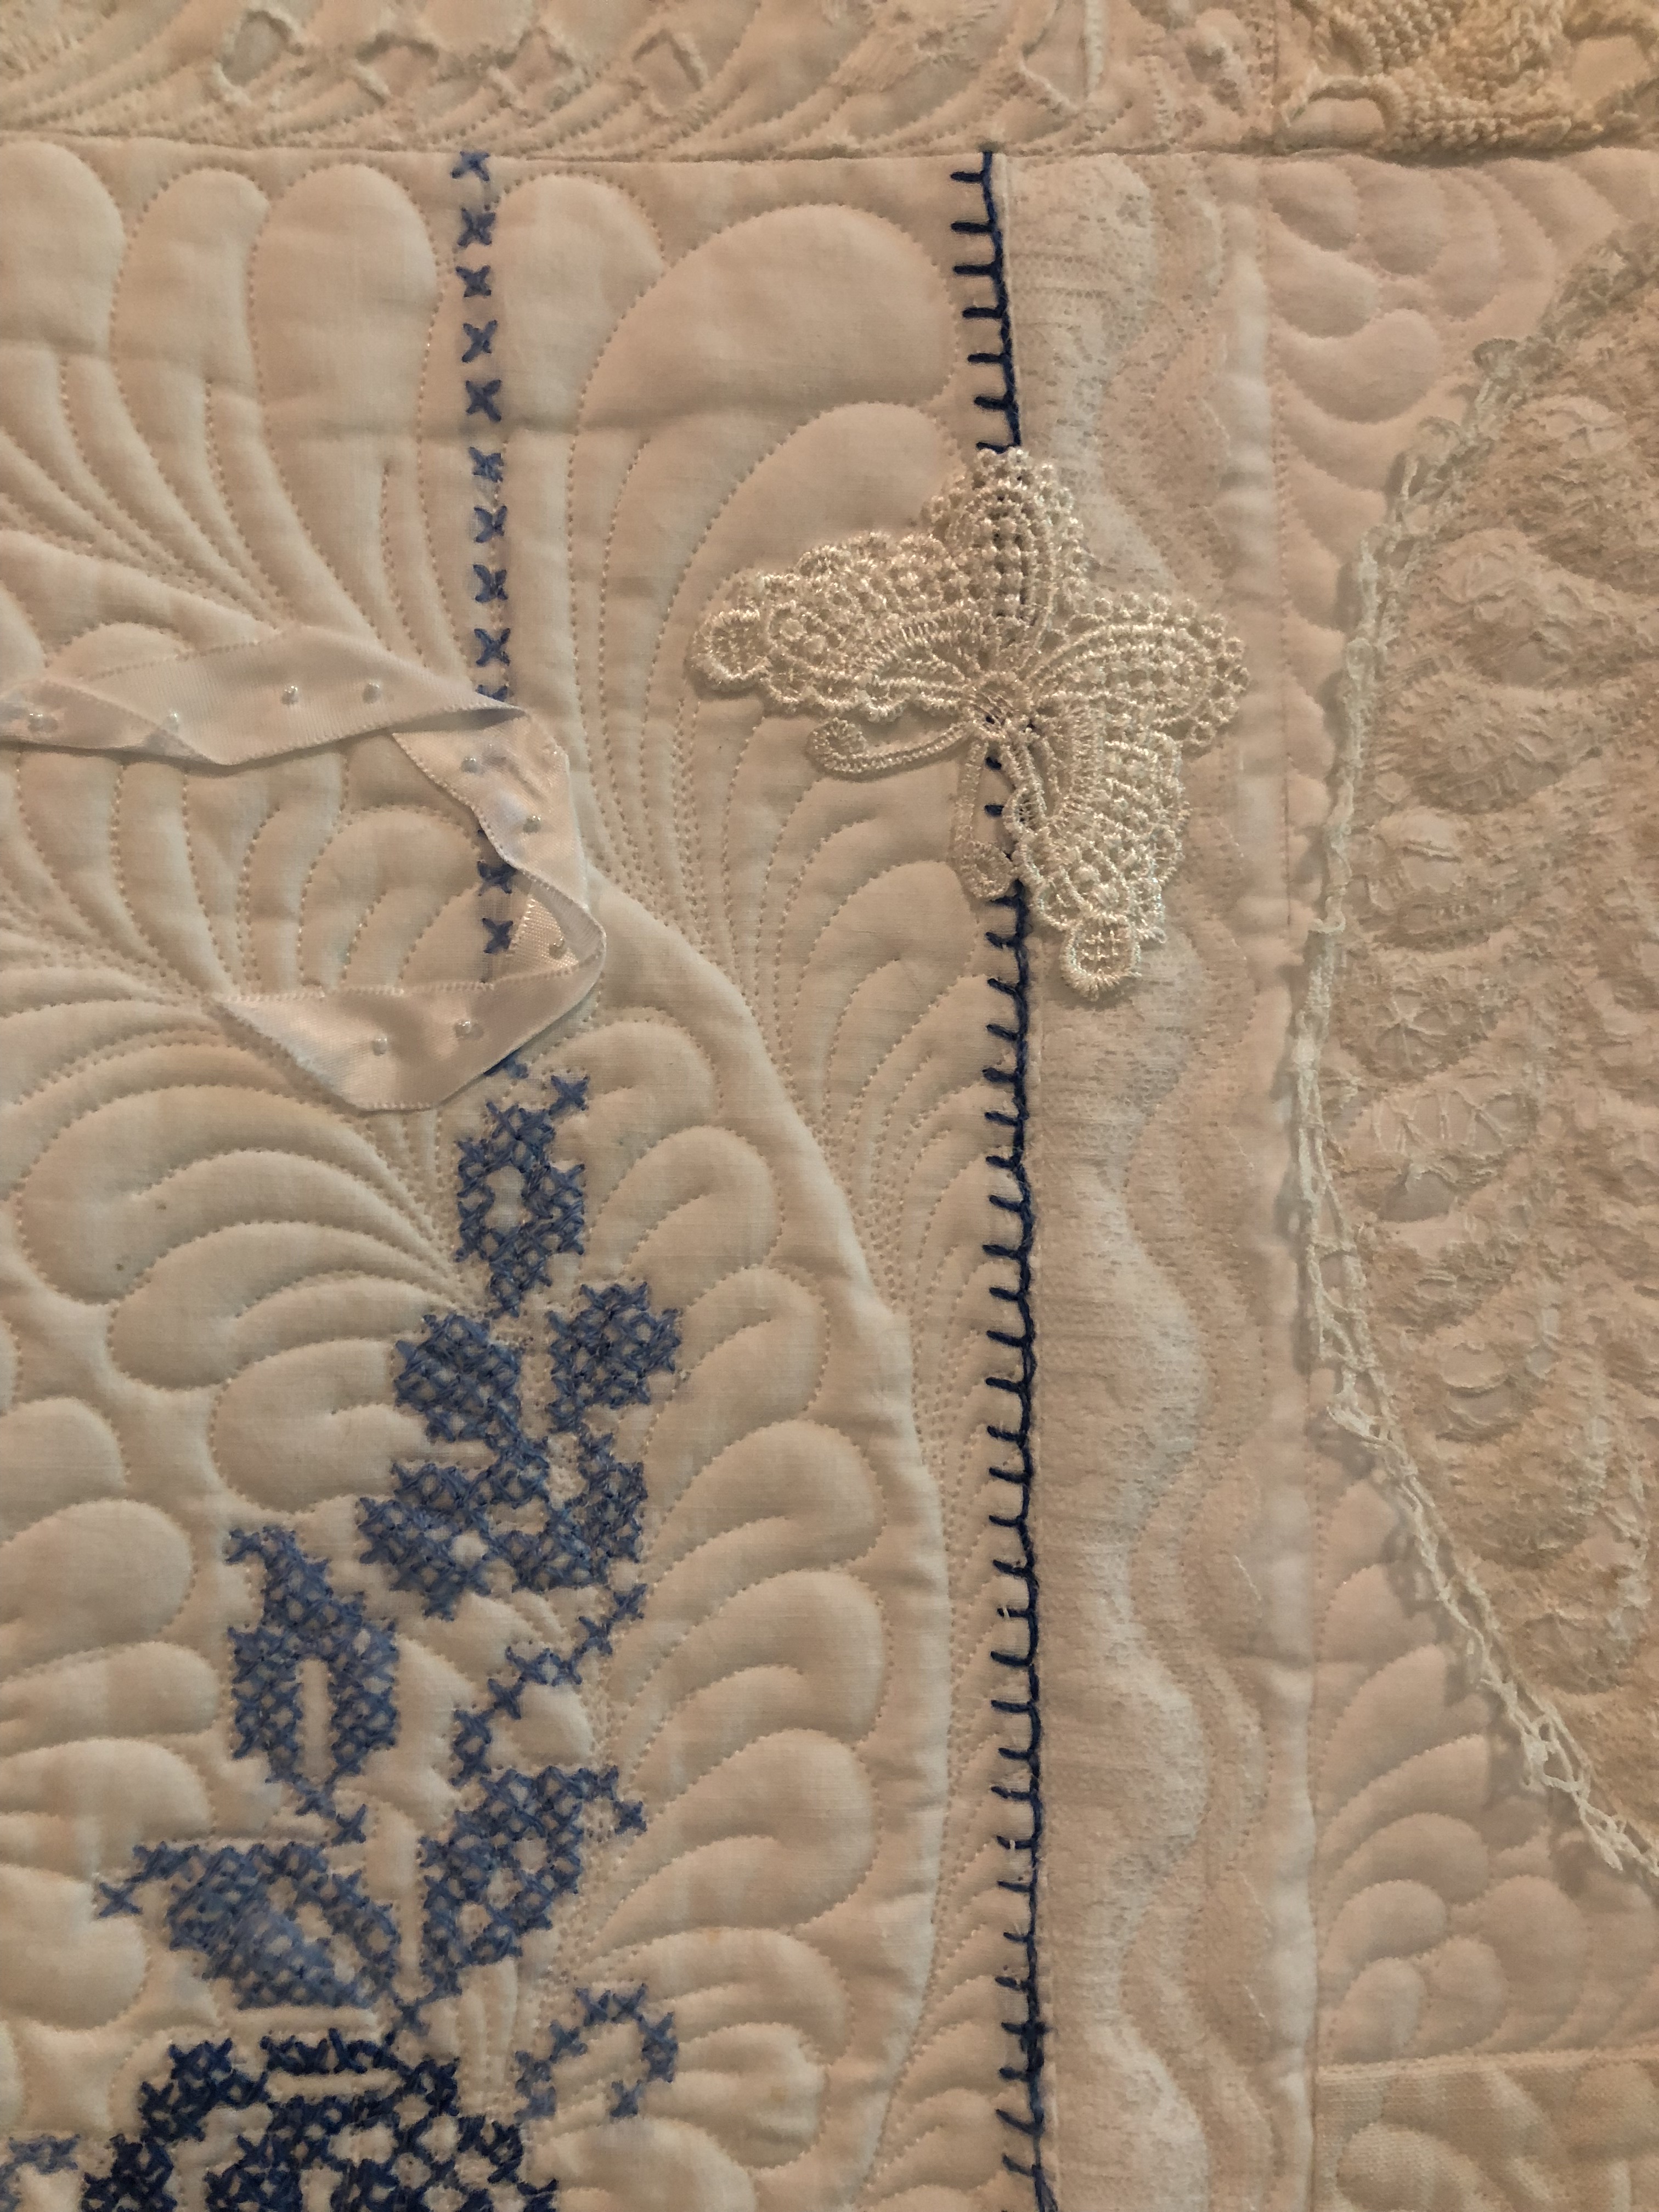
This new white butterfly applique does double duty: 1. it looks pretty, 2. it’s covering a torn part of the blue embroidery floss applique or button-hole stitched edge on the dresser scarf. In the early blog post 1 of 4 of this series you can easily see the problem area.
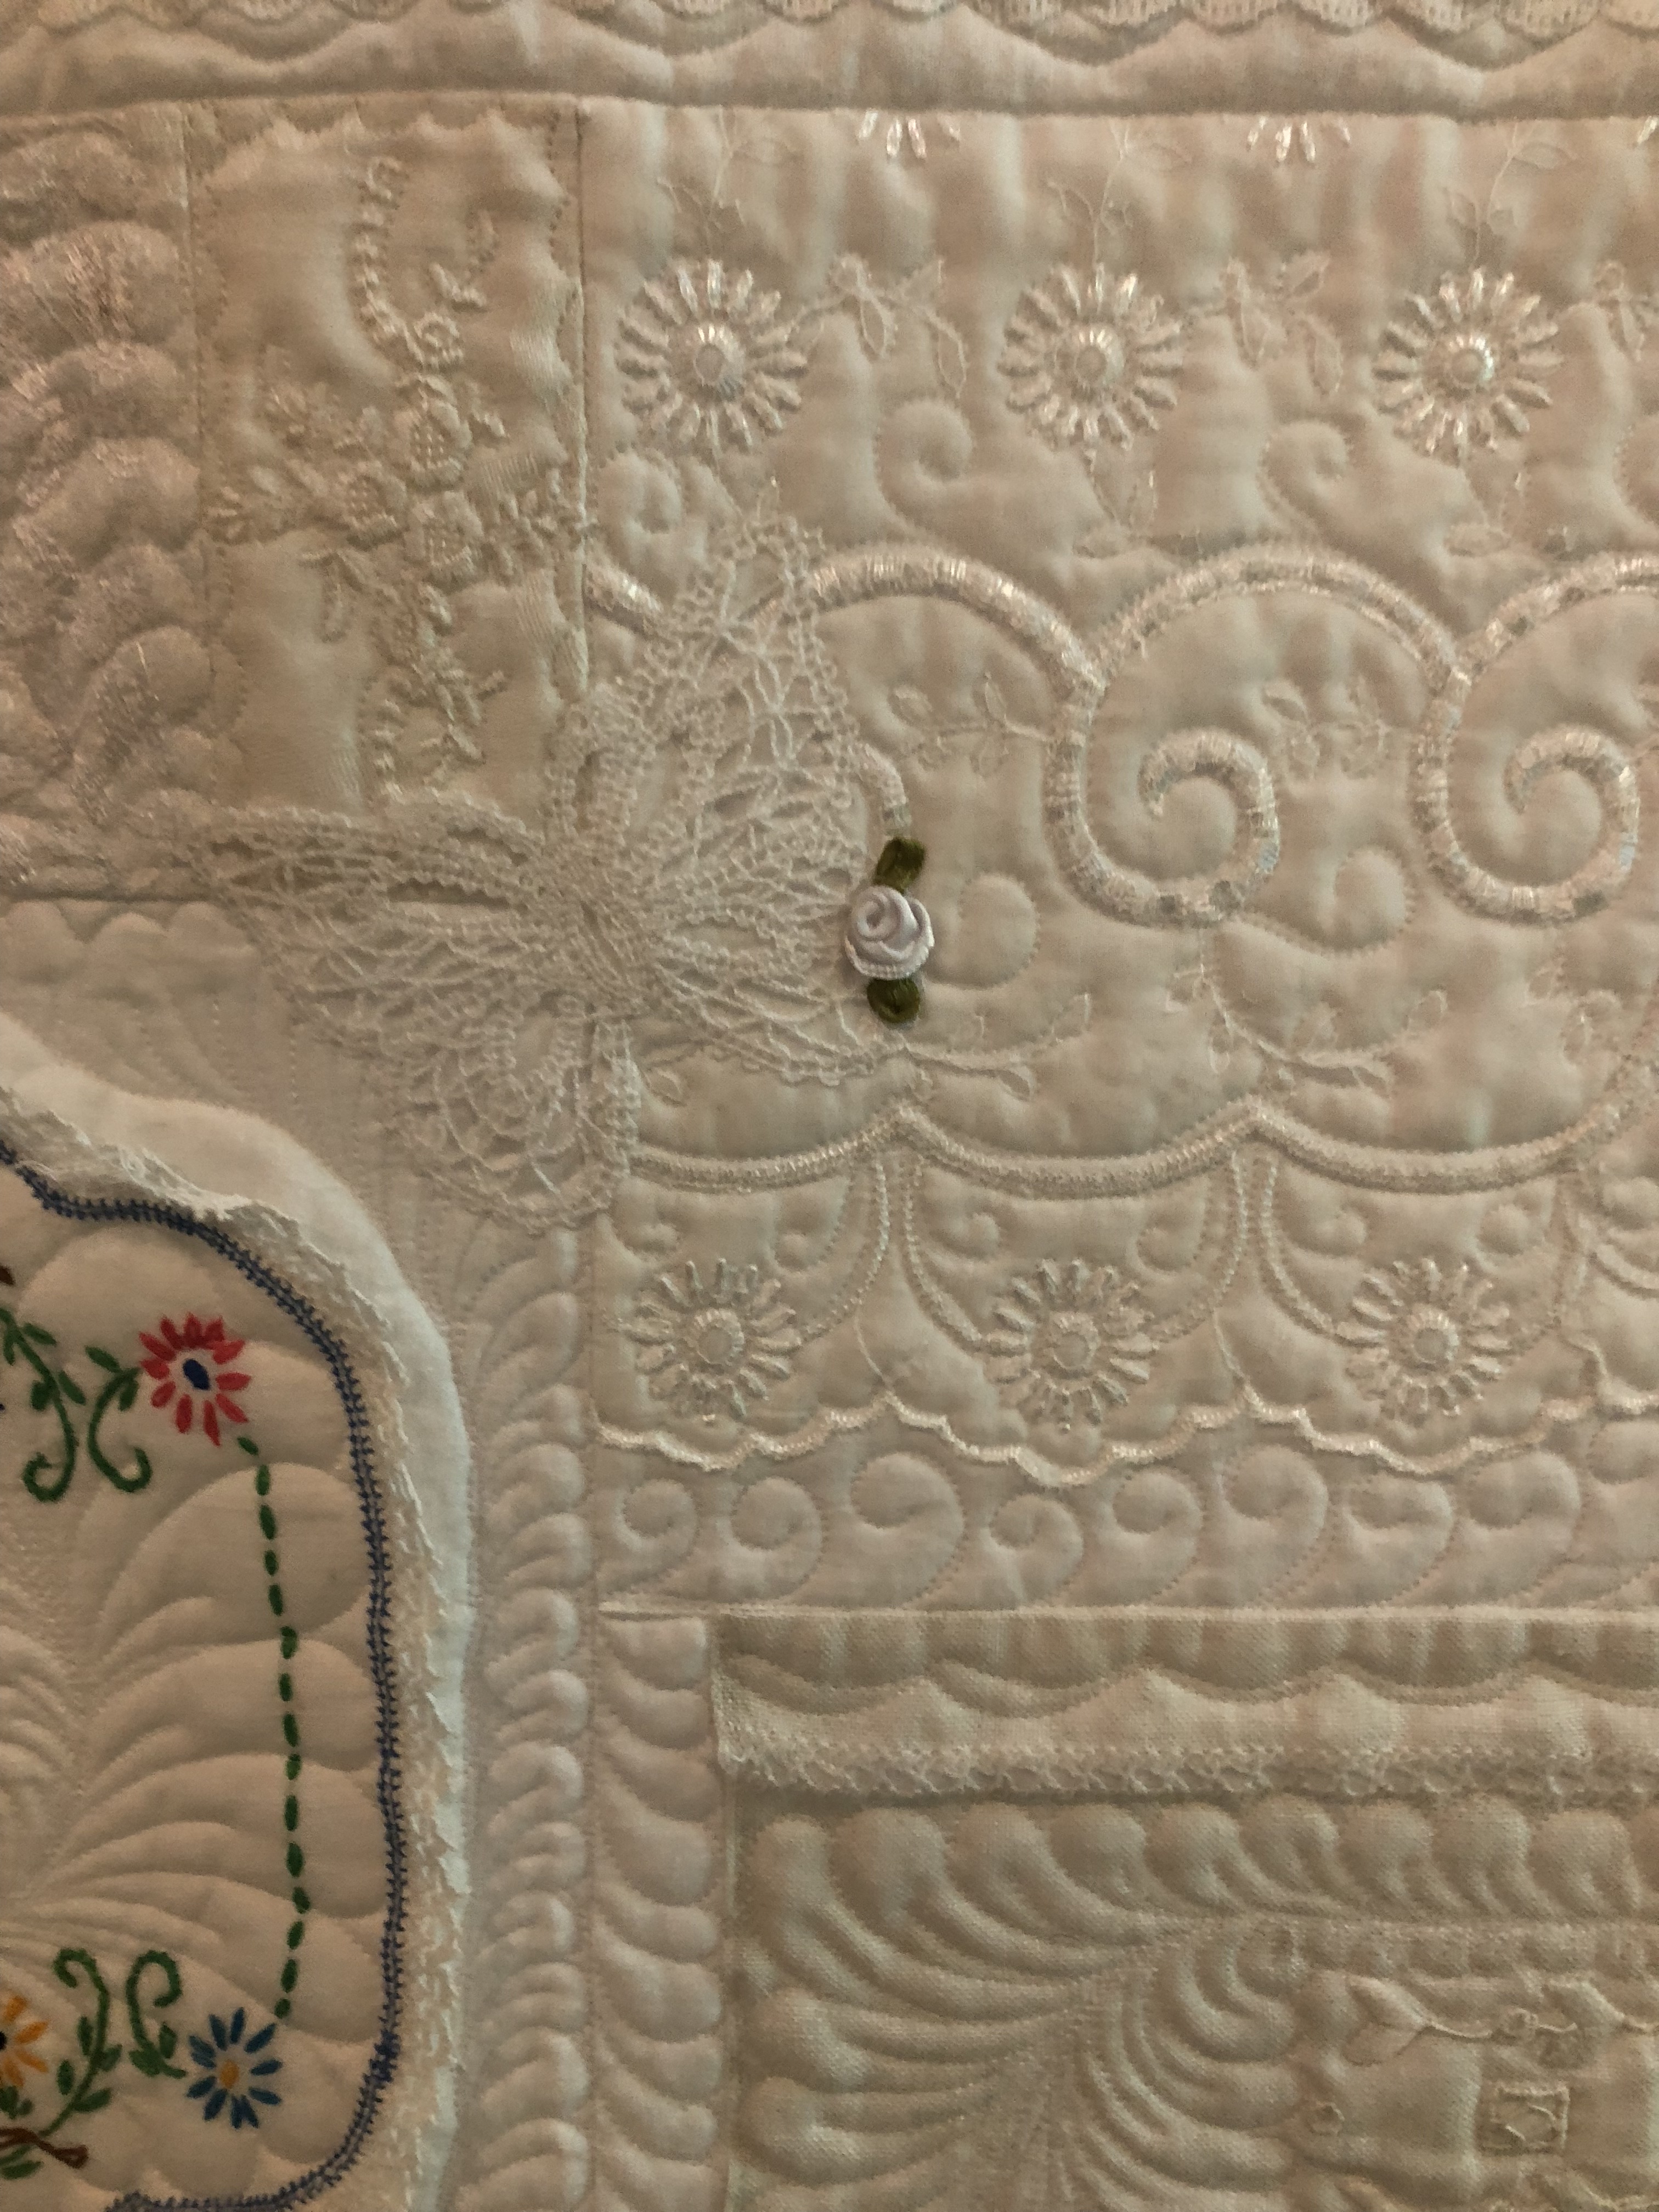
Again, double bling below. The butterfly is one I machine embroidery stitched (again, free-standing lace) and the small ribbon rose…well, this is something totally different: I love lilies, especially Star Gazer Lilies.
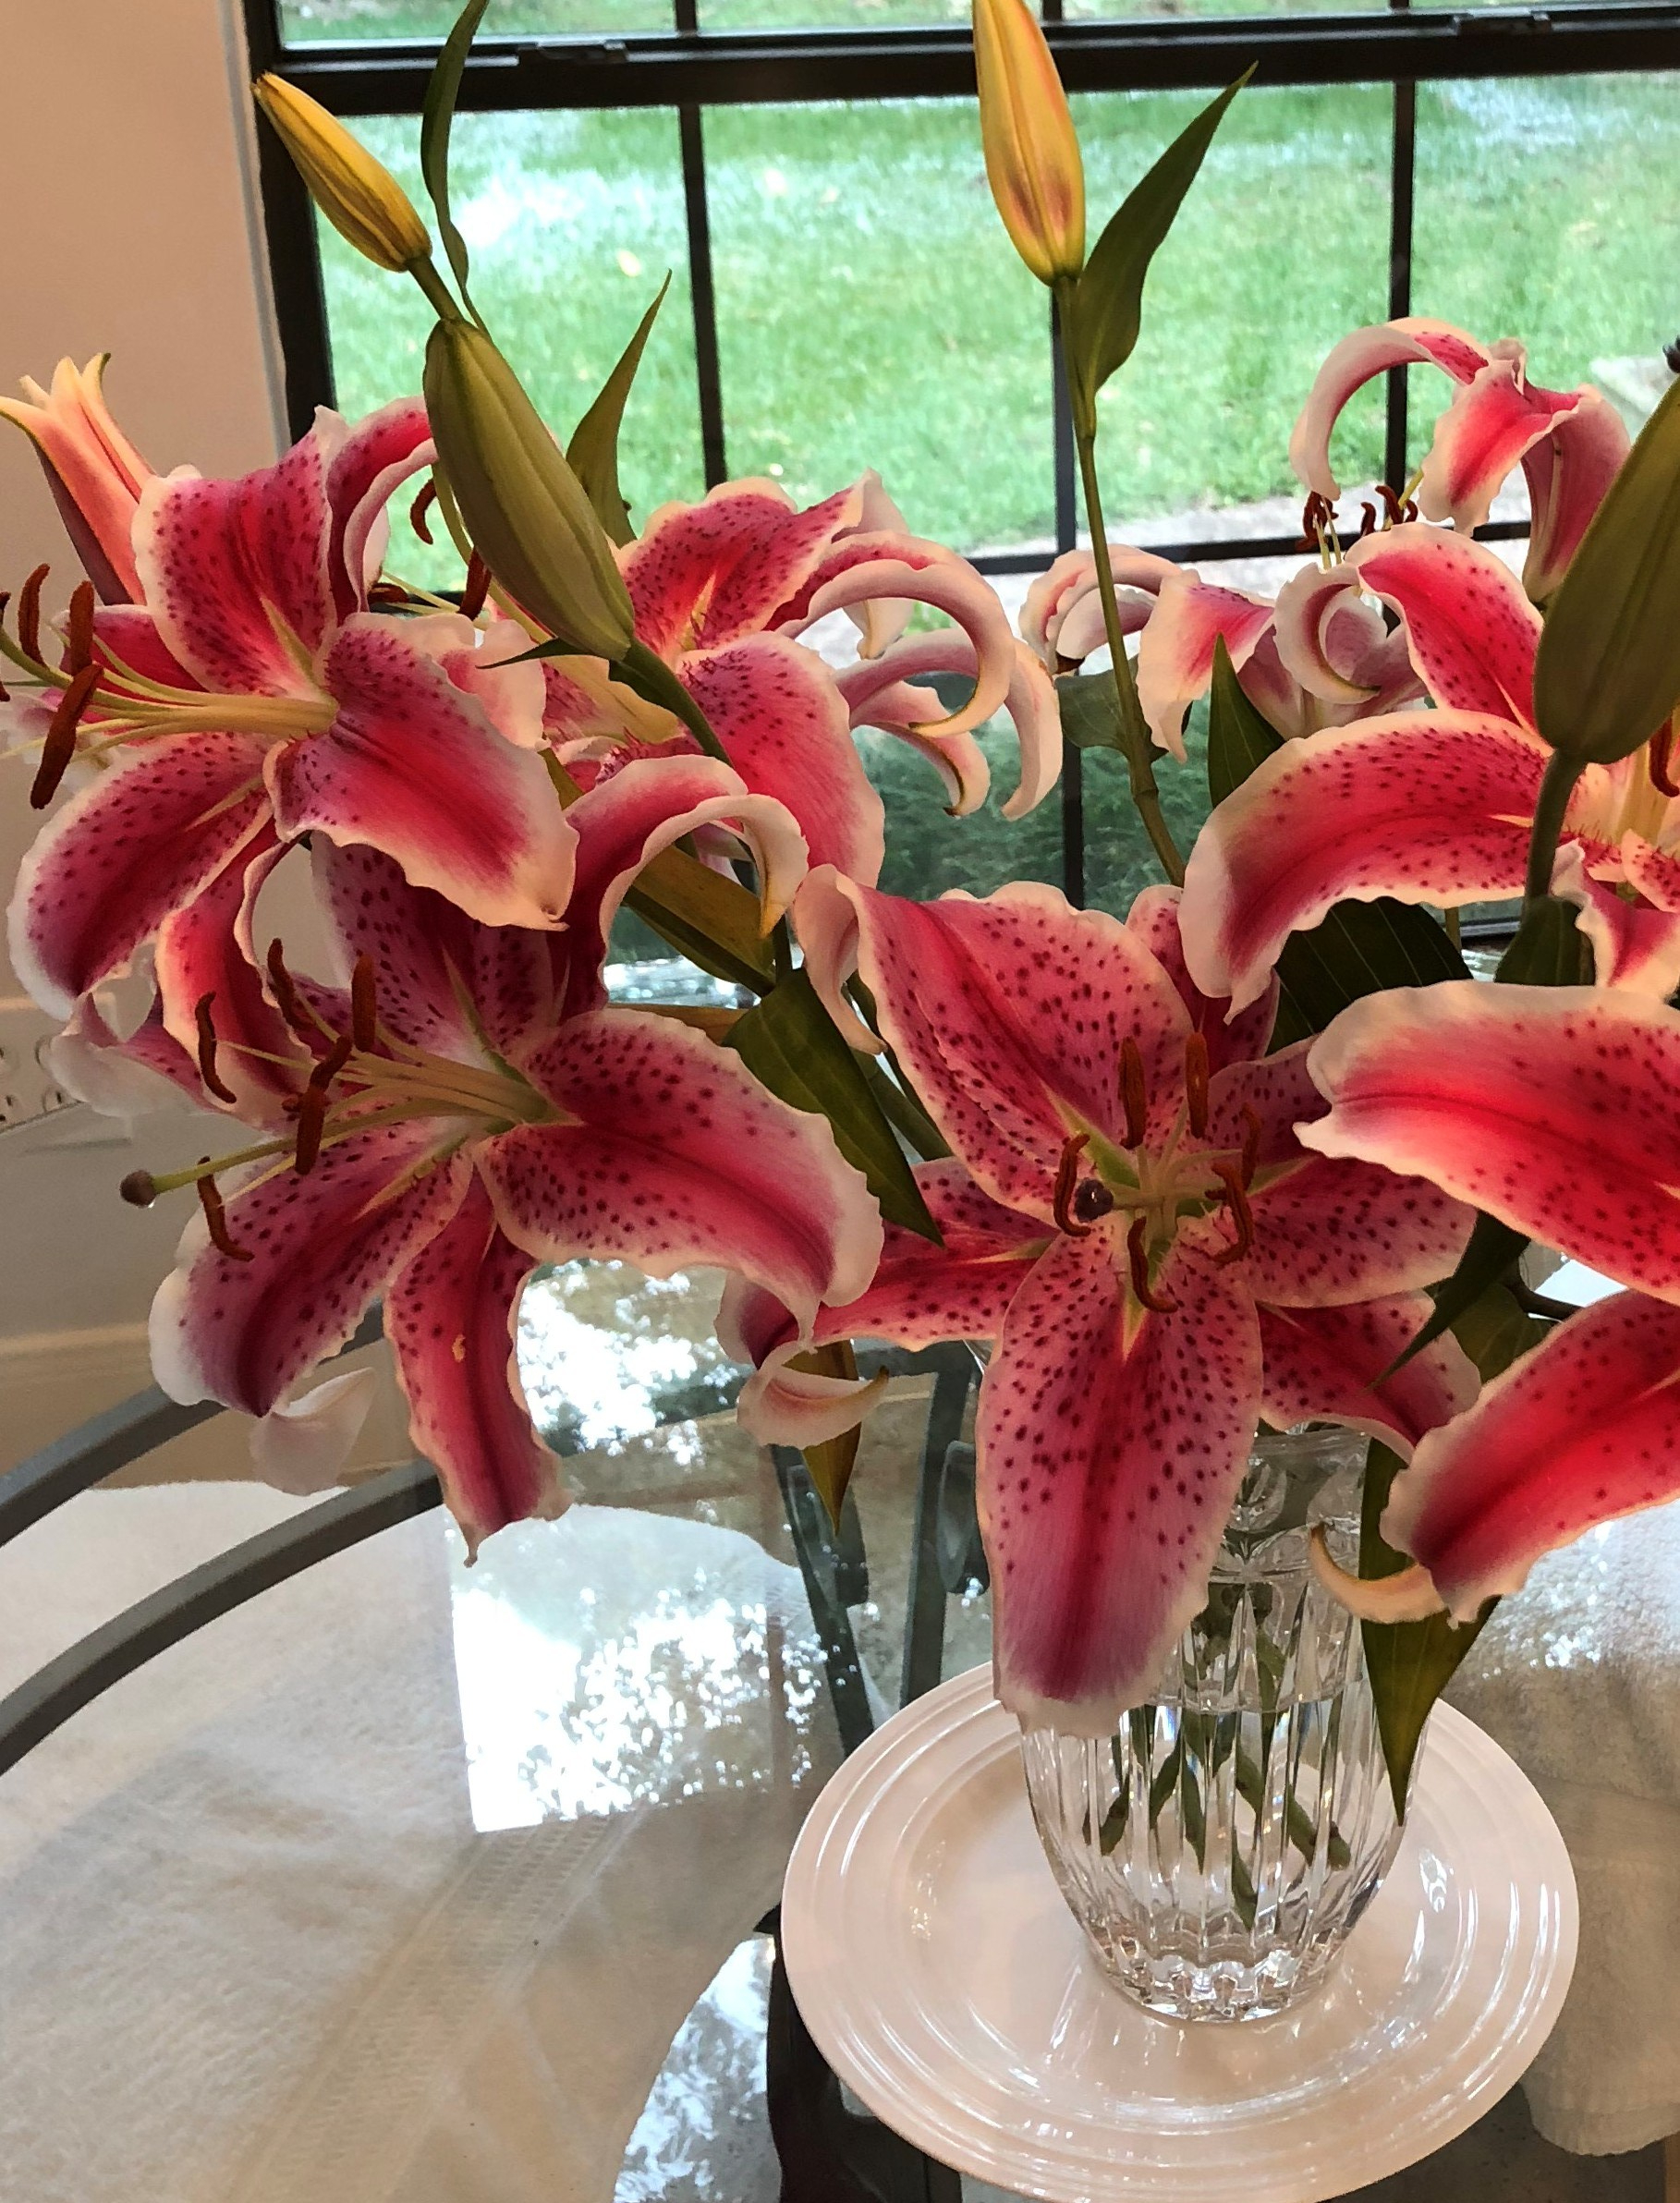
This has absolutely nothing to do with this quilt except when one is watering the lilies and unbeknownst to them they get a tiny fleck of the lily pollen on their fingernail and then touch their white quilt. Nothing known to man removes lily pollen. This little white ribbon rose hides this disaster. But if you think this is big, read on…
Look down in the border and find the white lace trim another white ribbon rose, yep, another disaster covered with an embellishment. What happened this time? Well it gets even crazier! I was sitting on my saddle stool up to my Big Board hand stitching a few of the embellished pieces to the quilt.
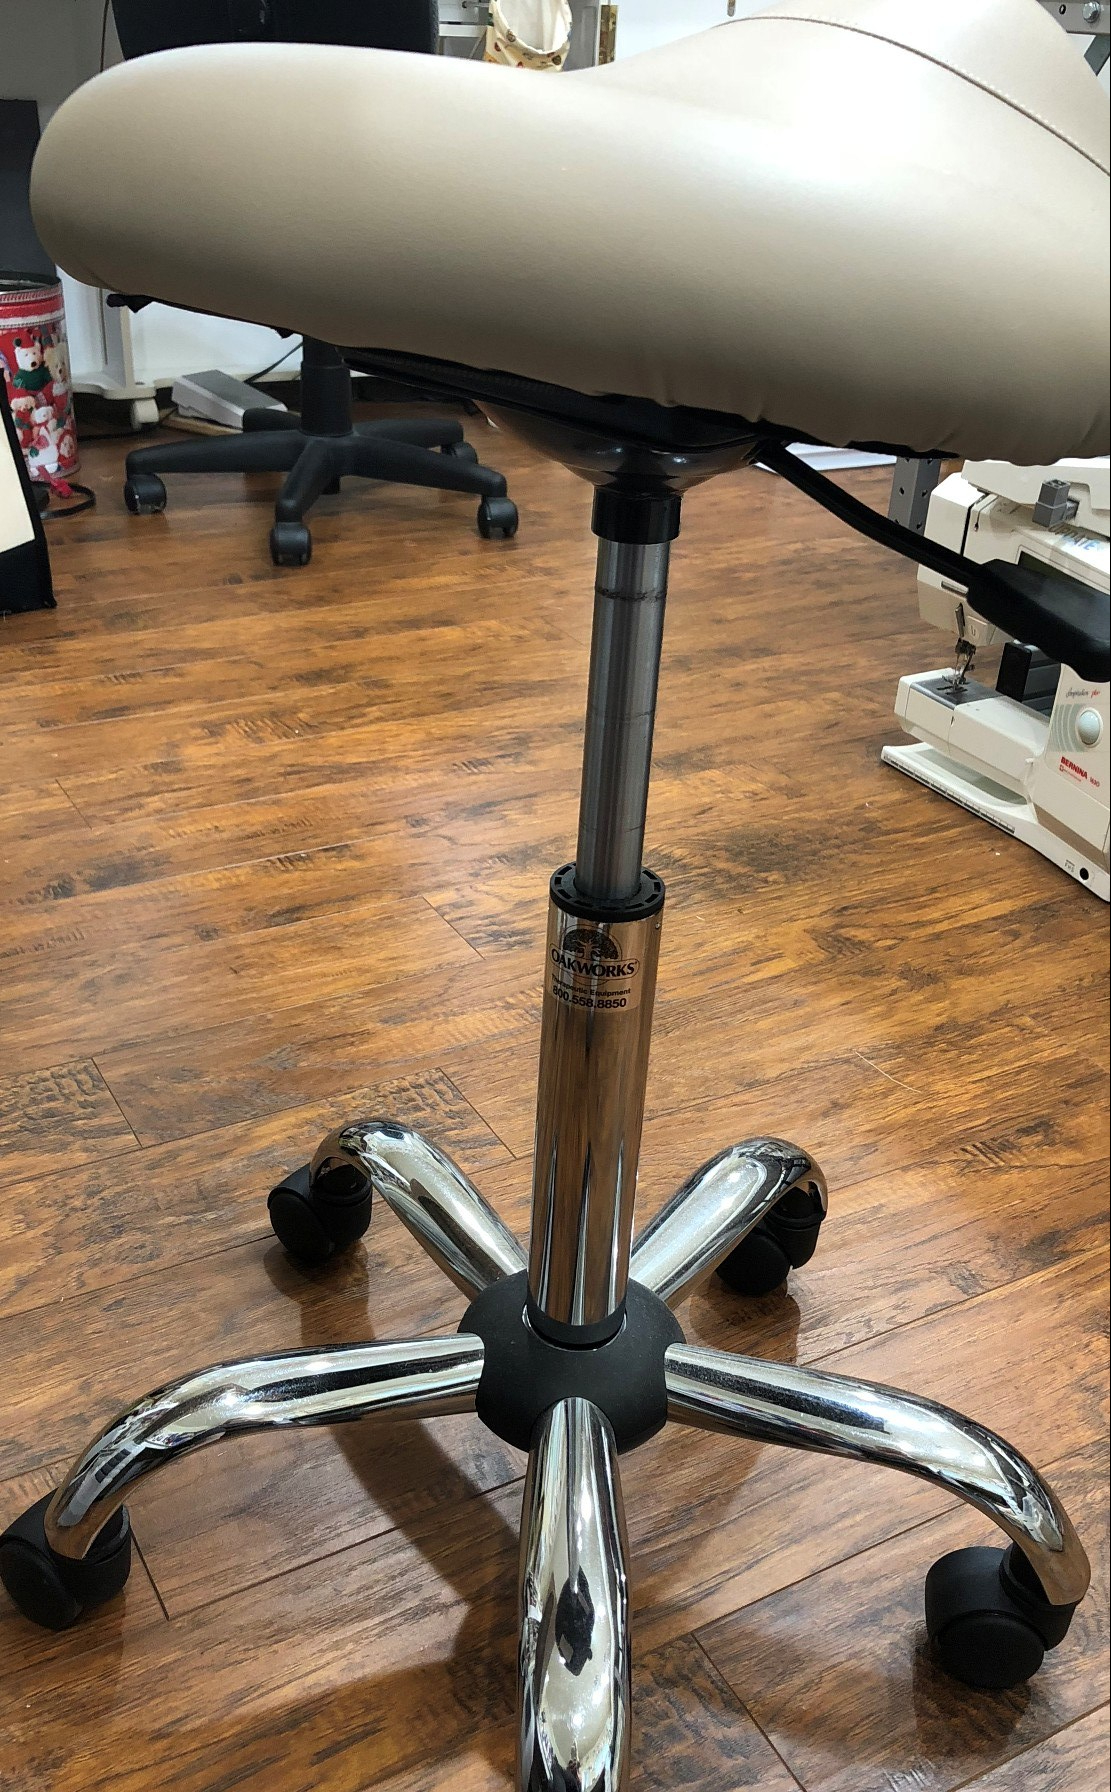
Imagine my horror when I realized that this border area touched the hydraulic lift part of the stool. Black hydraulic gunk on my white quilt! I made the next mistake of gently blotting with a tissue. That just drove the gunk deeper into the fabric. I cut my losses and immediately shifted my sewing activities elsewhere and stitched on the trim piece to cover the black mess.
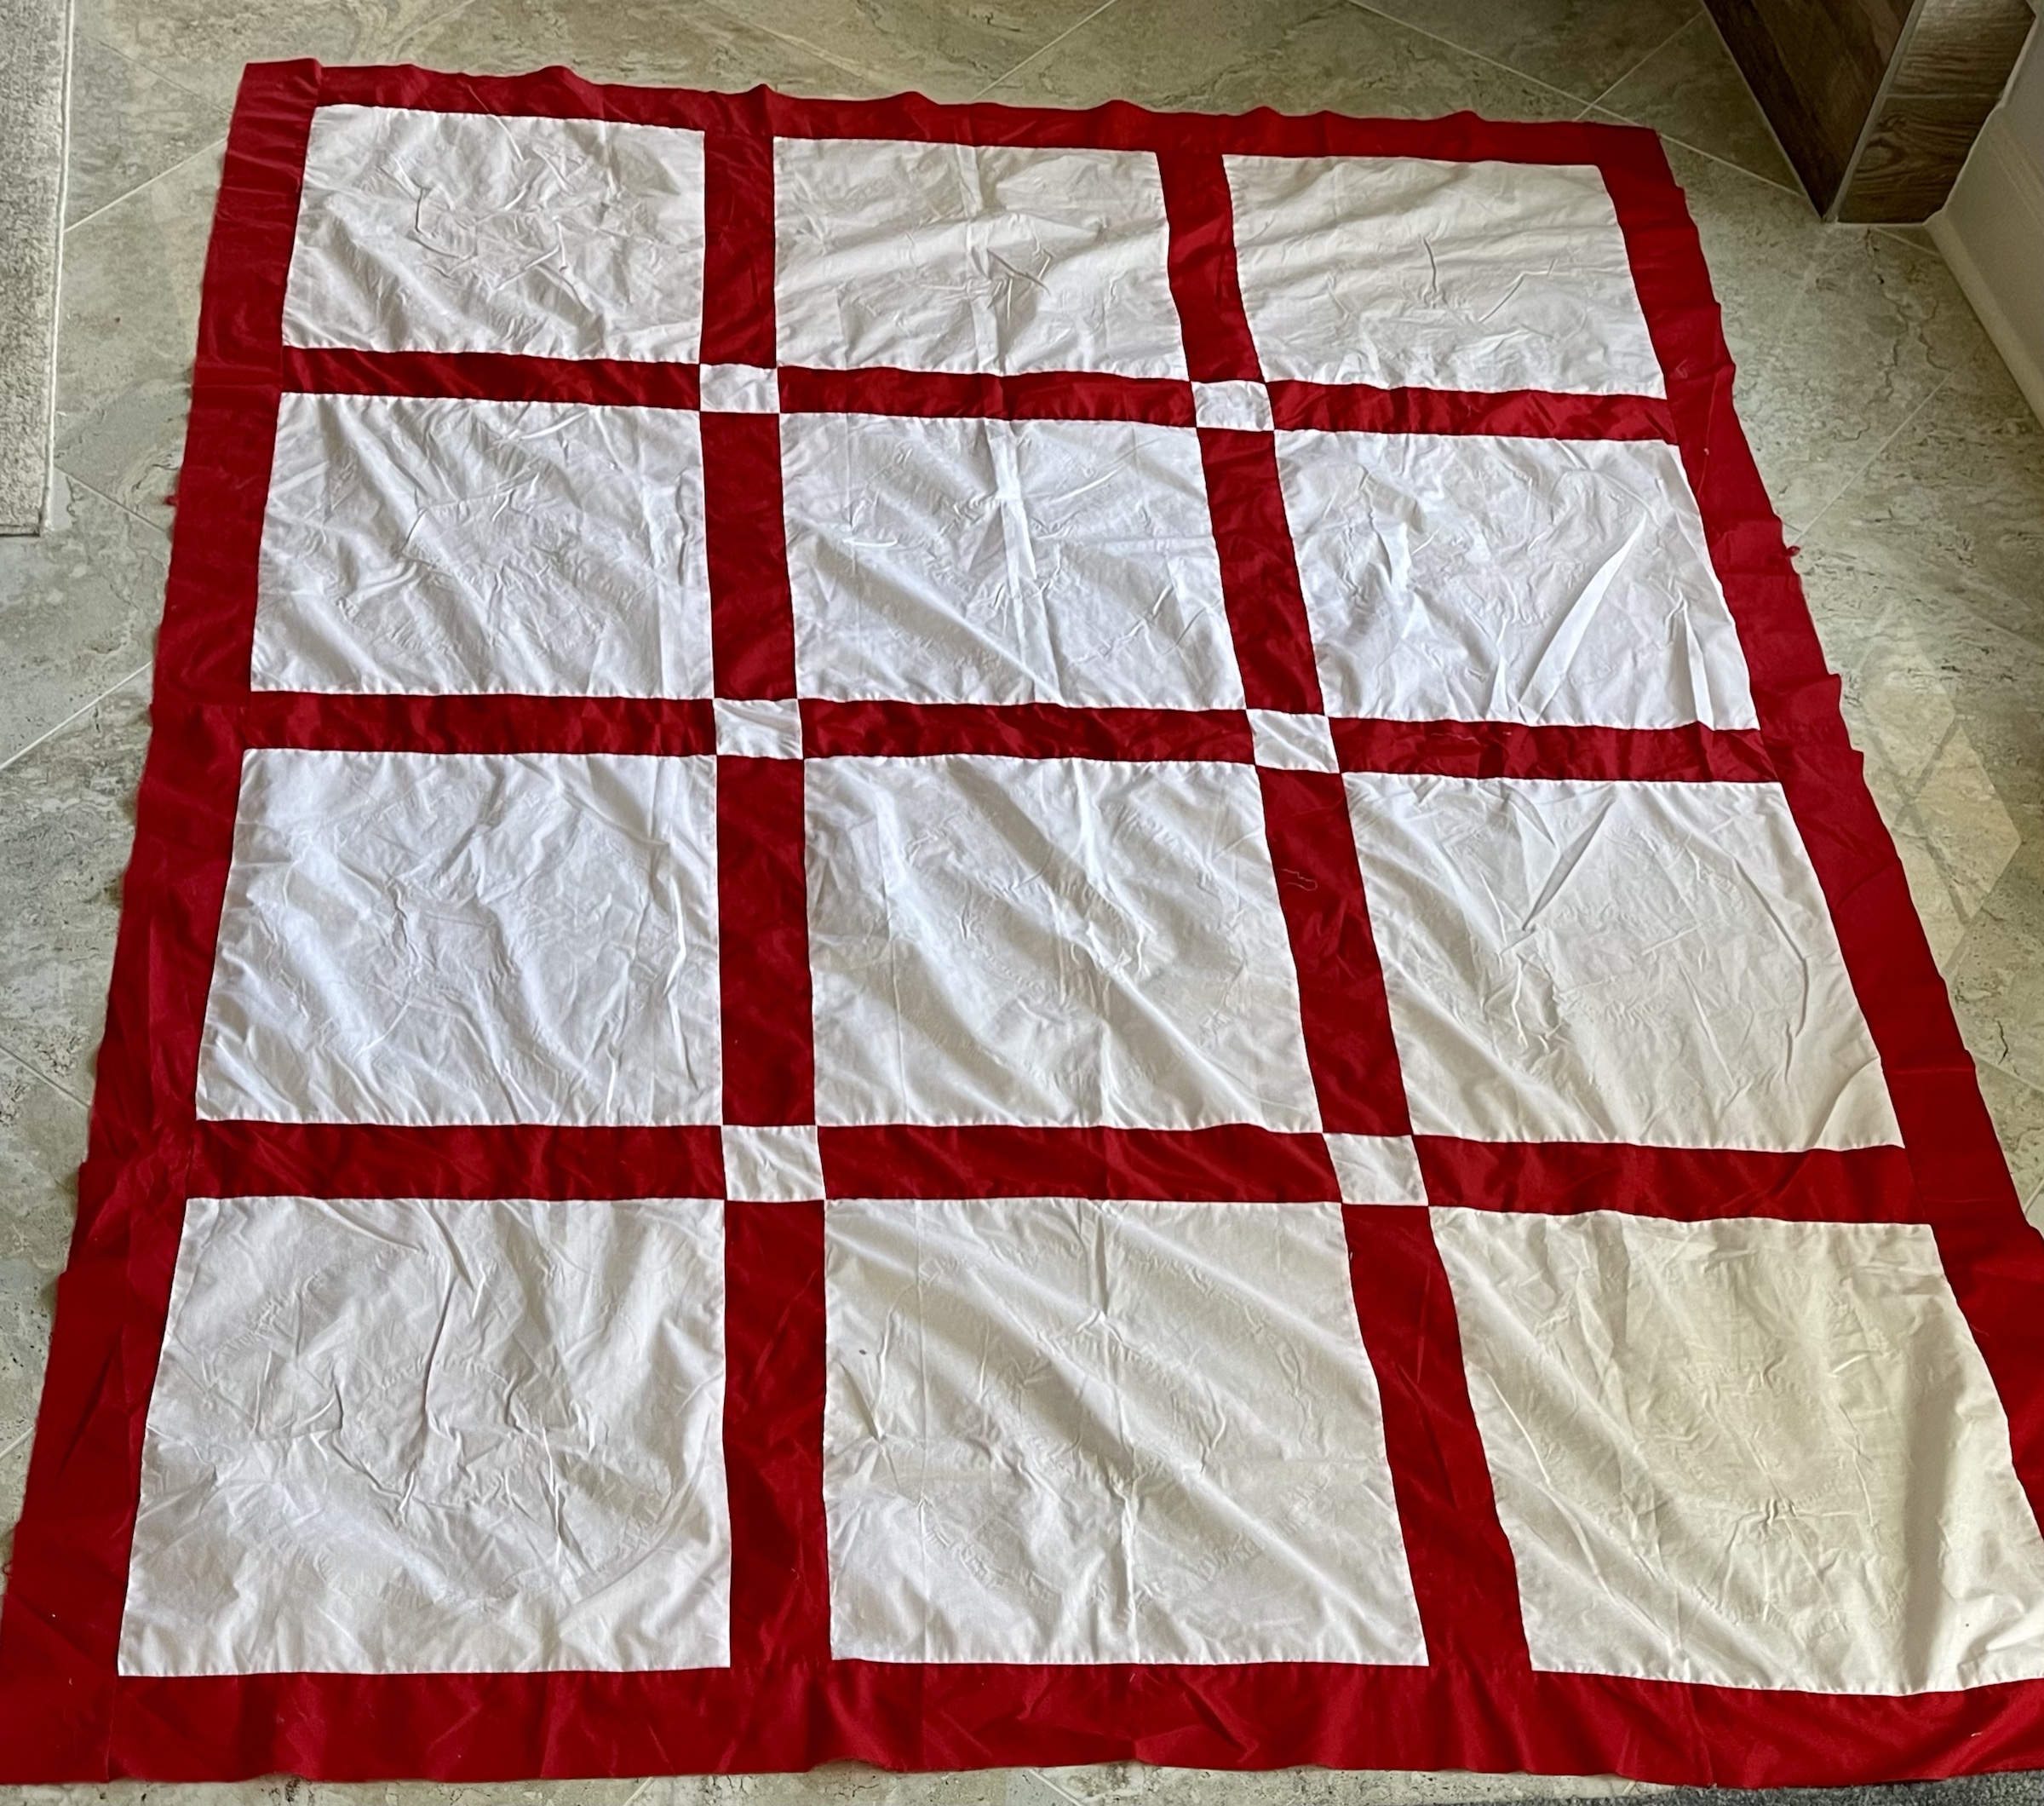
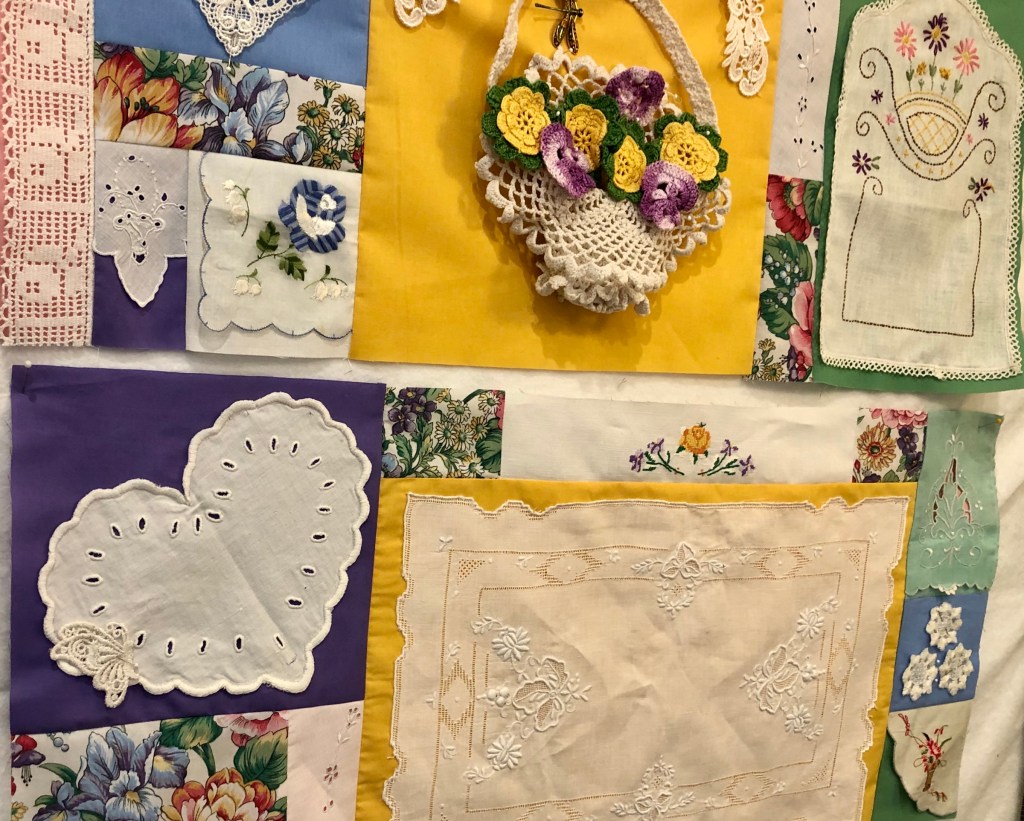
There are 2 Grandmother’s Flower Garden vintage blocks in the quilt and I felt the solid blue fabric was a bit too heavy. By adding new white applique pieces to each I was successful in “bringing down the color” to my liking.
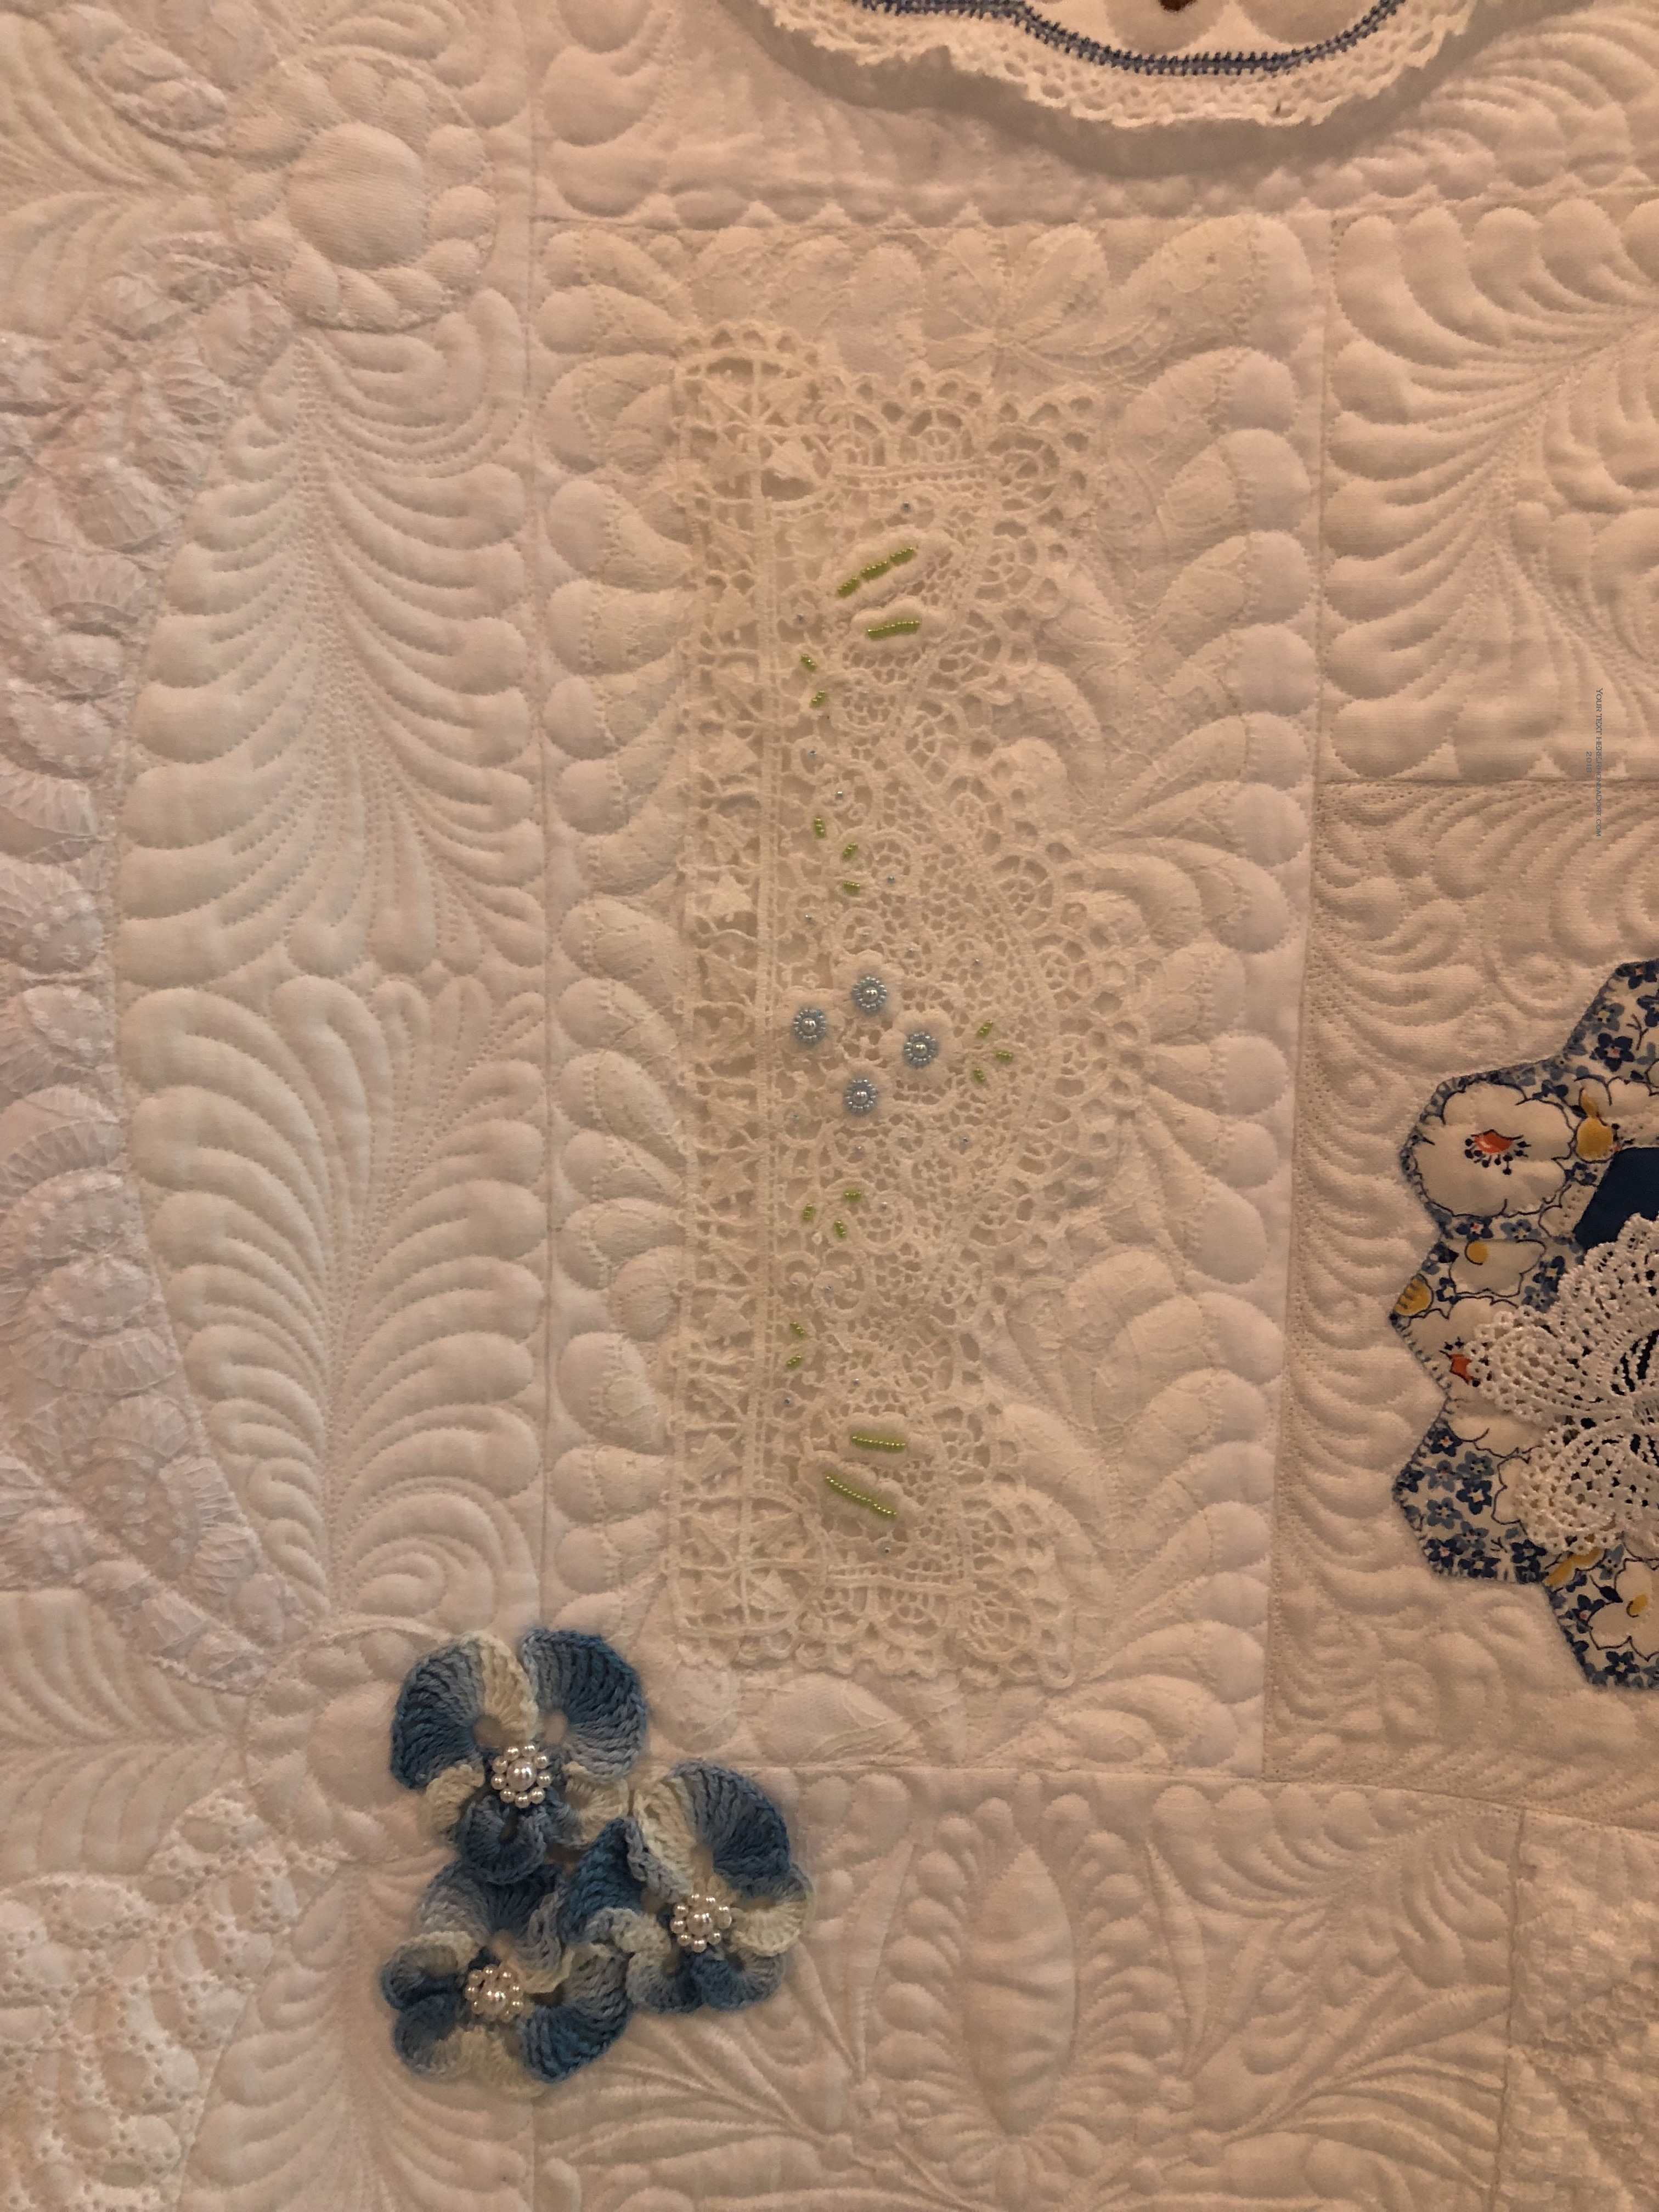
Here’s the final bit of embellishing:
Just the addition of some tiny blue, white and green seed beads made this piece fit the quilt. The cluster of vintage crocheted flowers with added pearl and seed bead centers finished this block nicely.
This is it! The end of the final tutorial on how you can, if you break it down, go full speed ahead into making your own “Mostly Vintage Linens Quilt” no matter your color scheme.
If you have a question, either email me or pose it in the comments section, I’ll try and respond quickly. If you’re already working on your own quilt or if you plan to start one soon, I’d love to see pictures!
You may realize the 1 year anniversary of Hurricane Harvey is fast approaching. I’m not sure how I feel about it…its been a horrible year, it’s been an awesome year. I read through my blog post following the storm and I find myself amazed at the outpouring of love from everyone. I cringe when there’s a heavy extended down pour of rain but I know it will pass in God’s perfect timing.
Thanks for reading and blessing to everyone!
Happy quilting,
Rhonda