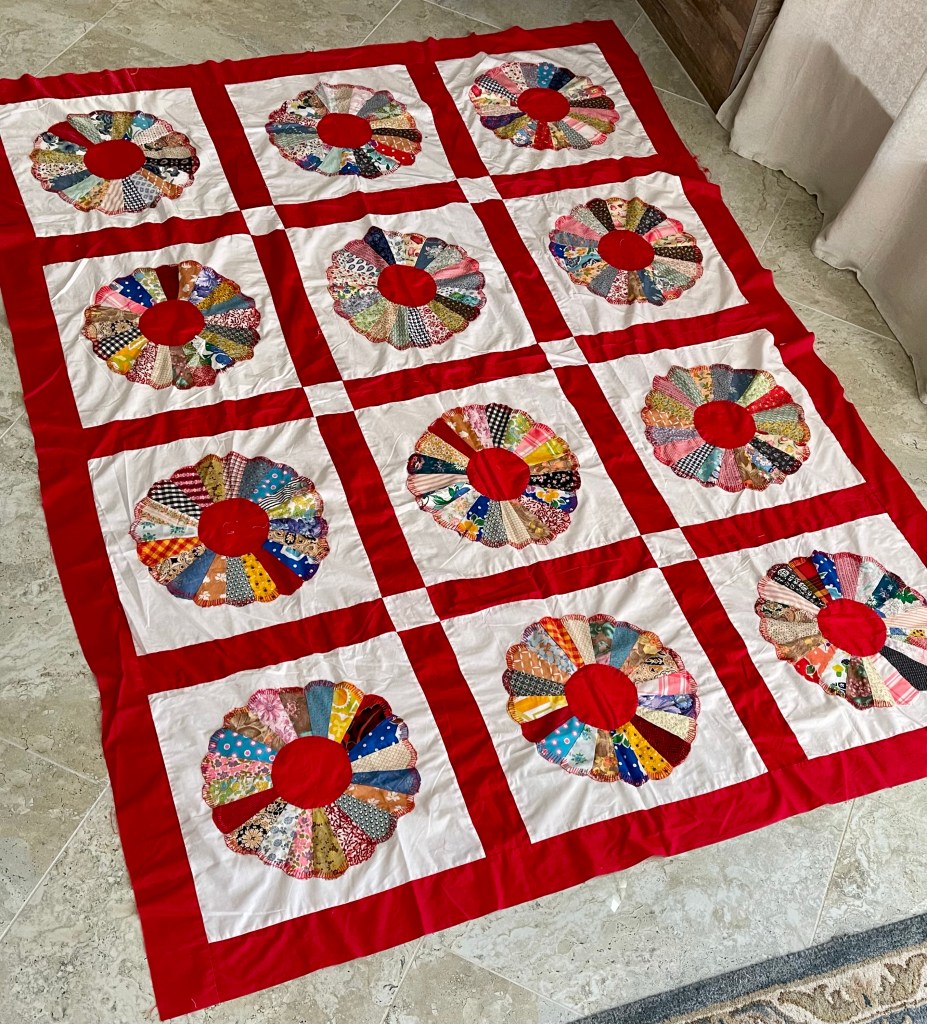
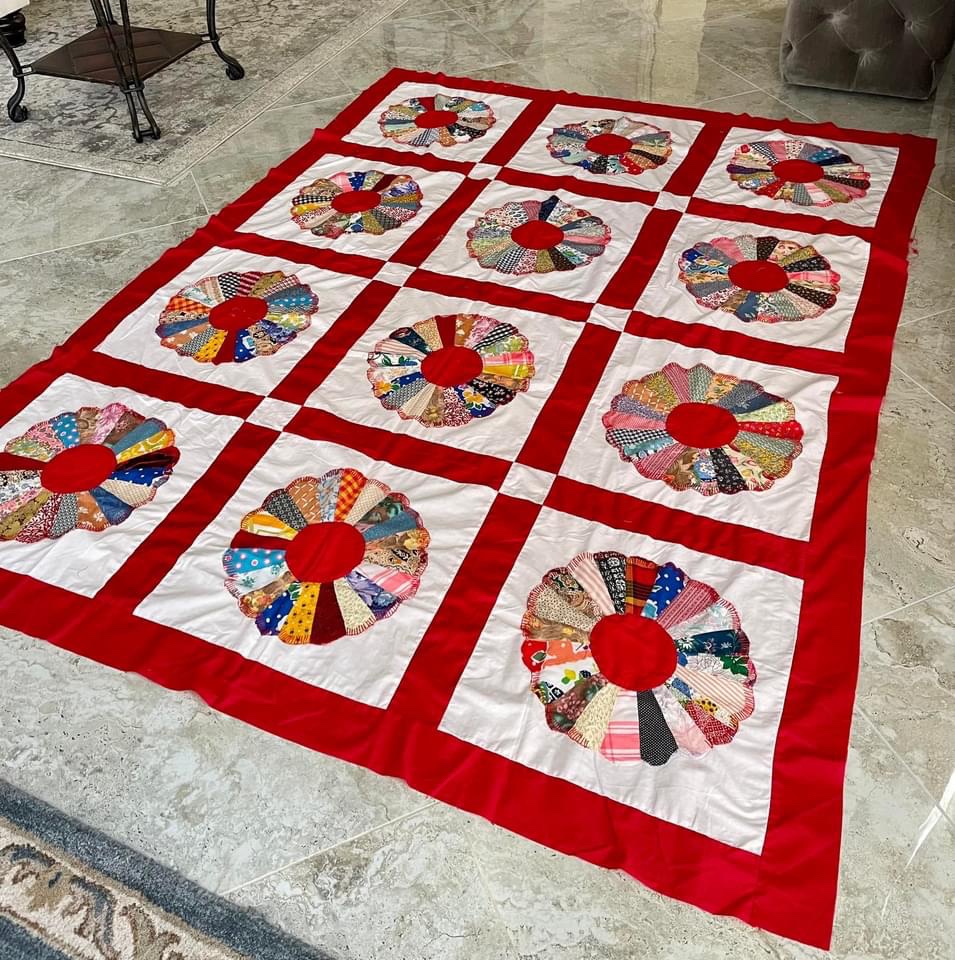
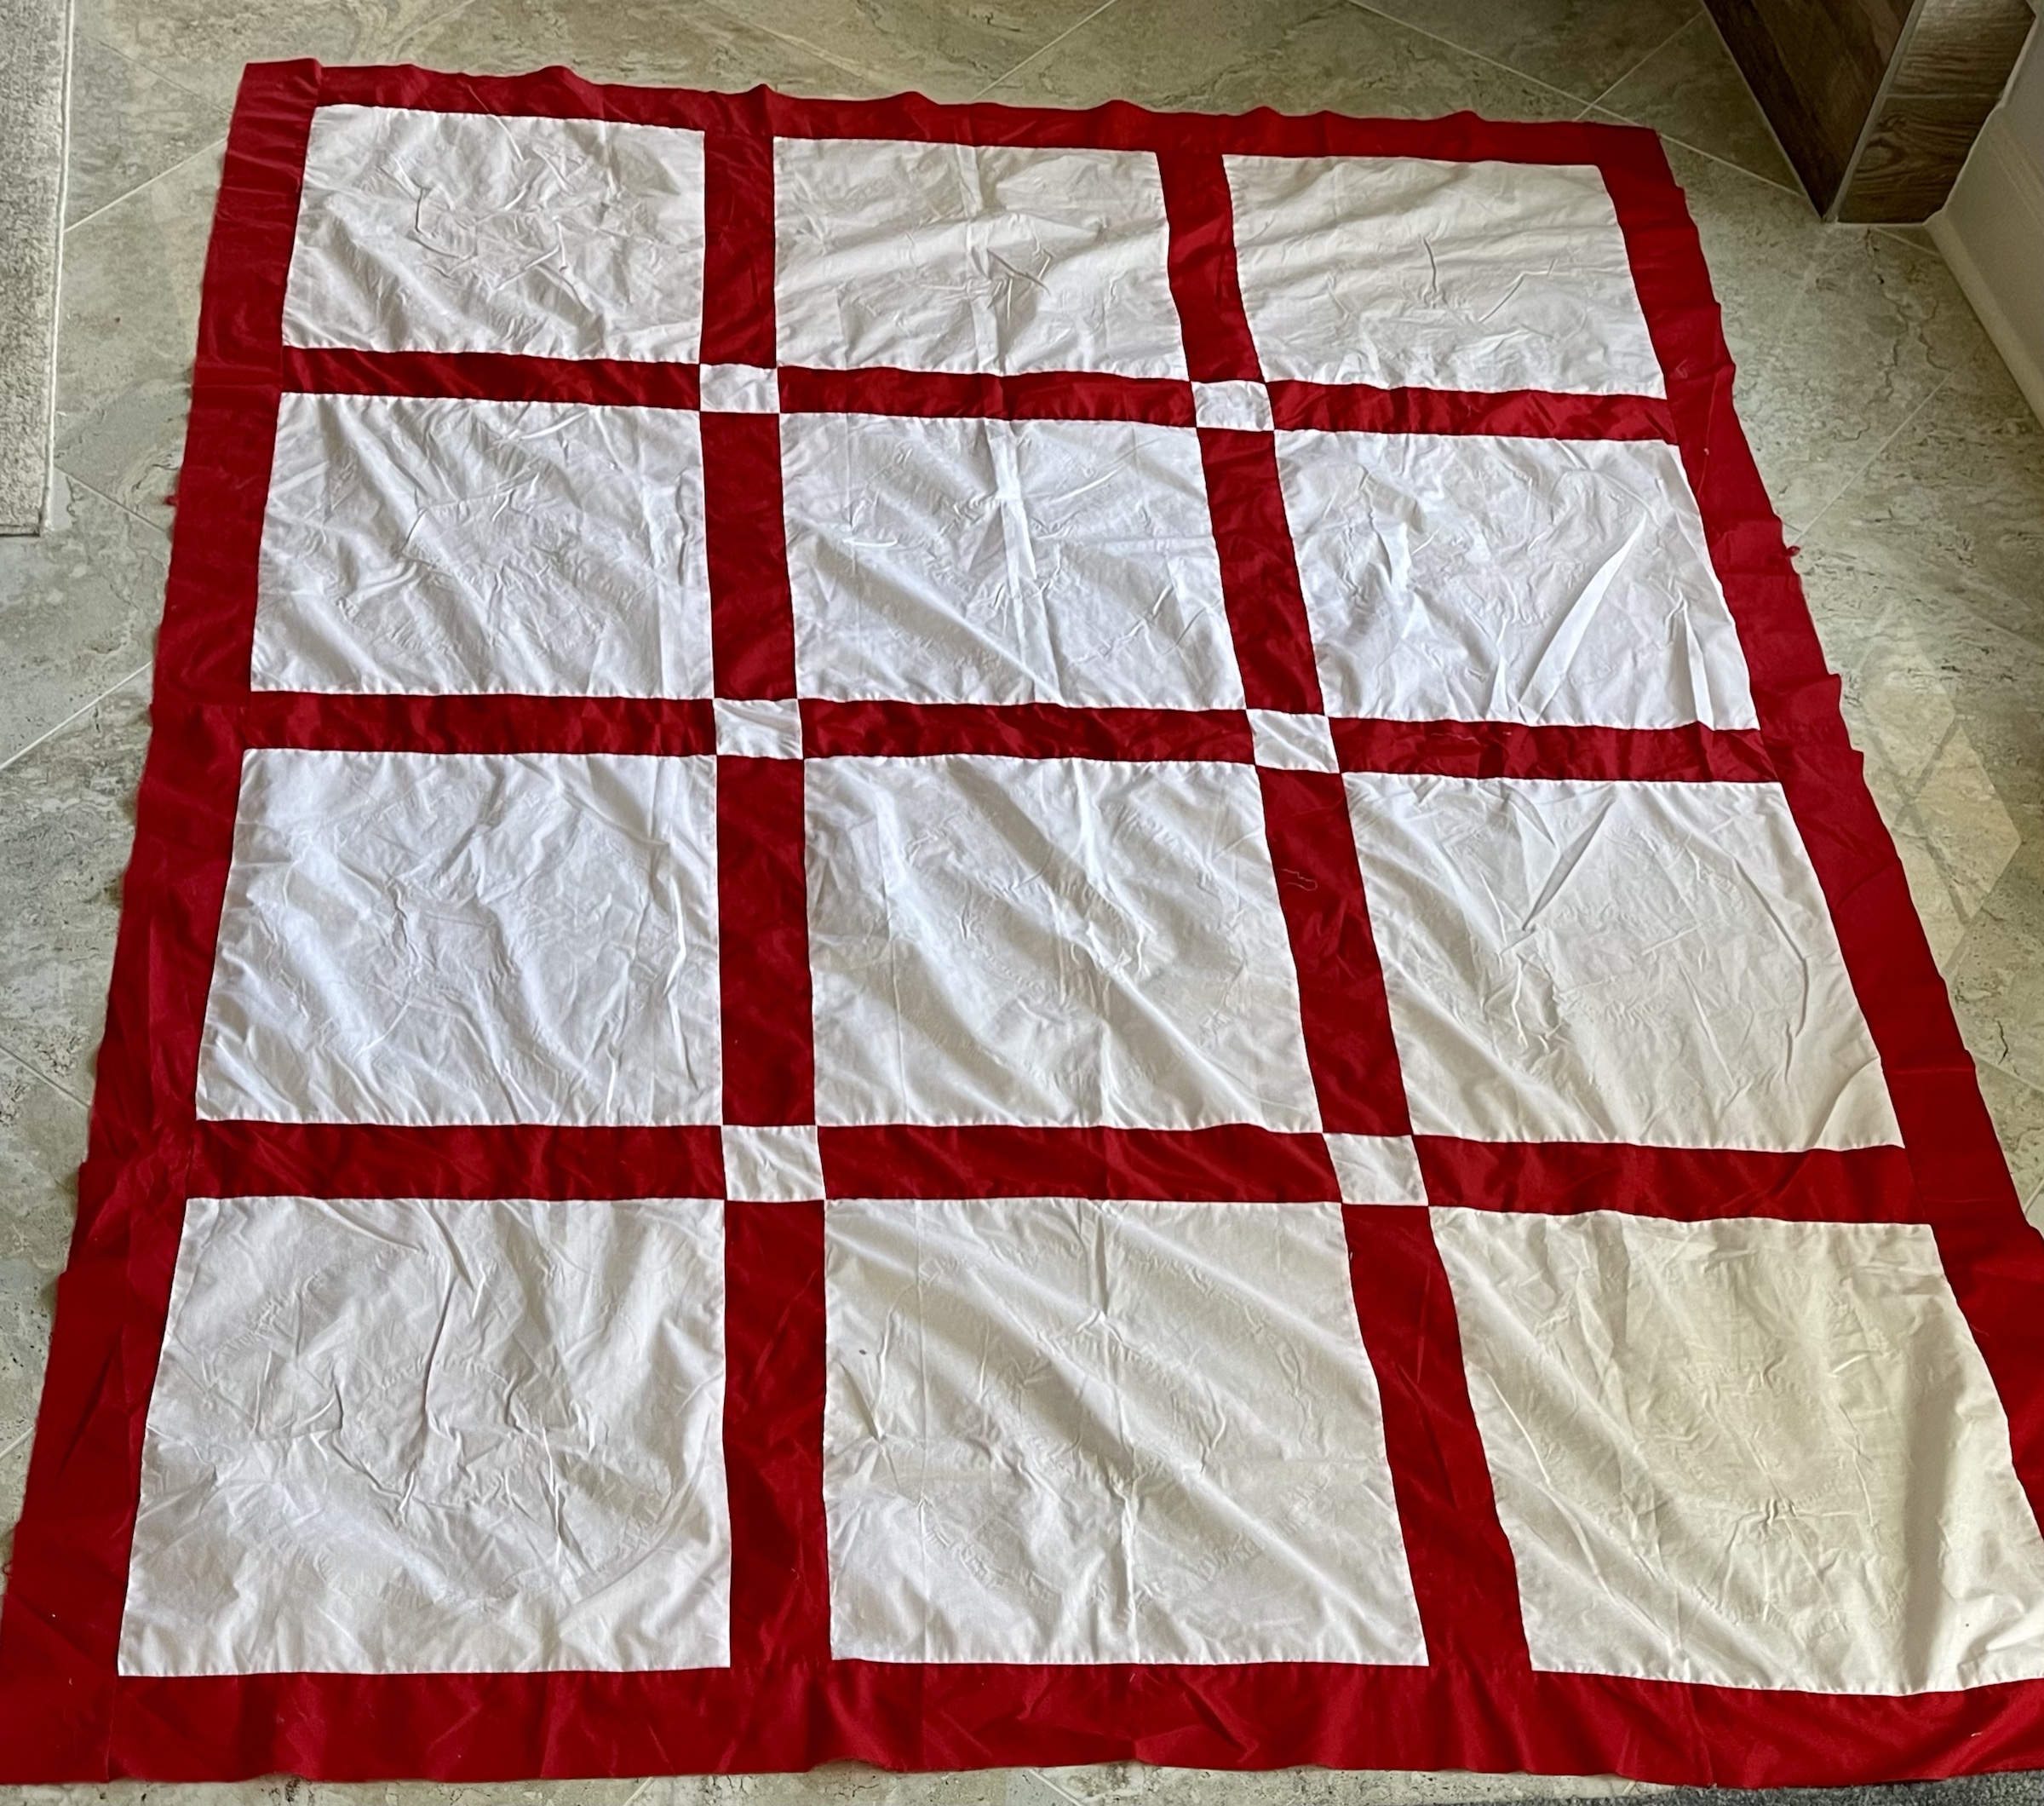
As a reminder, this is the quilt top before any changes were made.
I knew I wanted to remove the Dresdens as well as their center red circles.
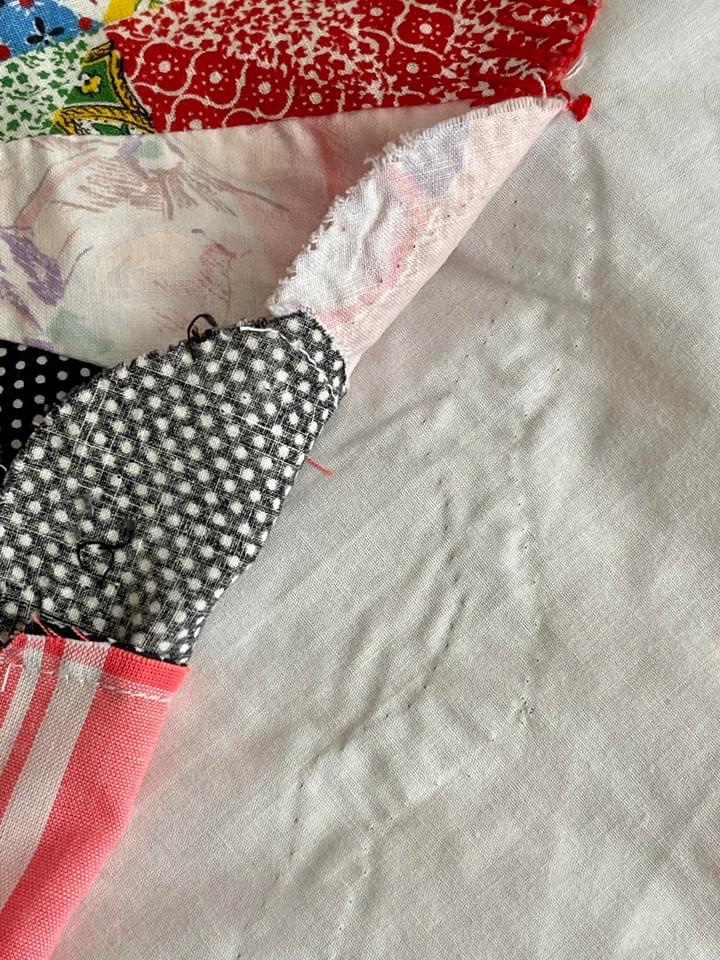
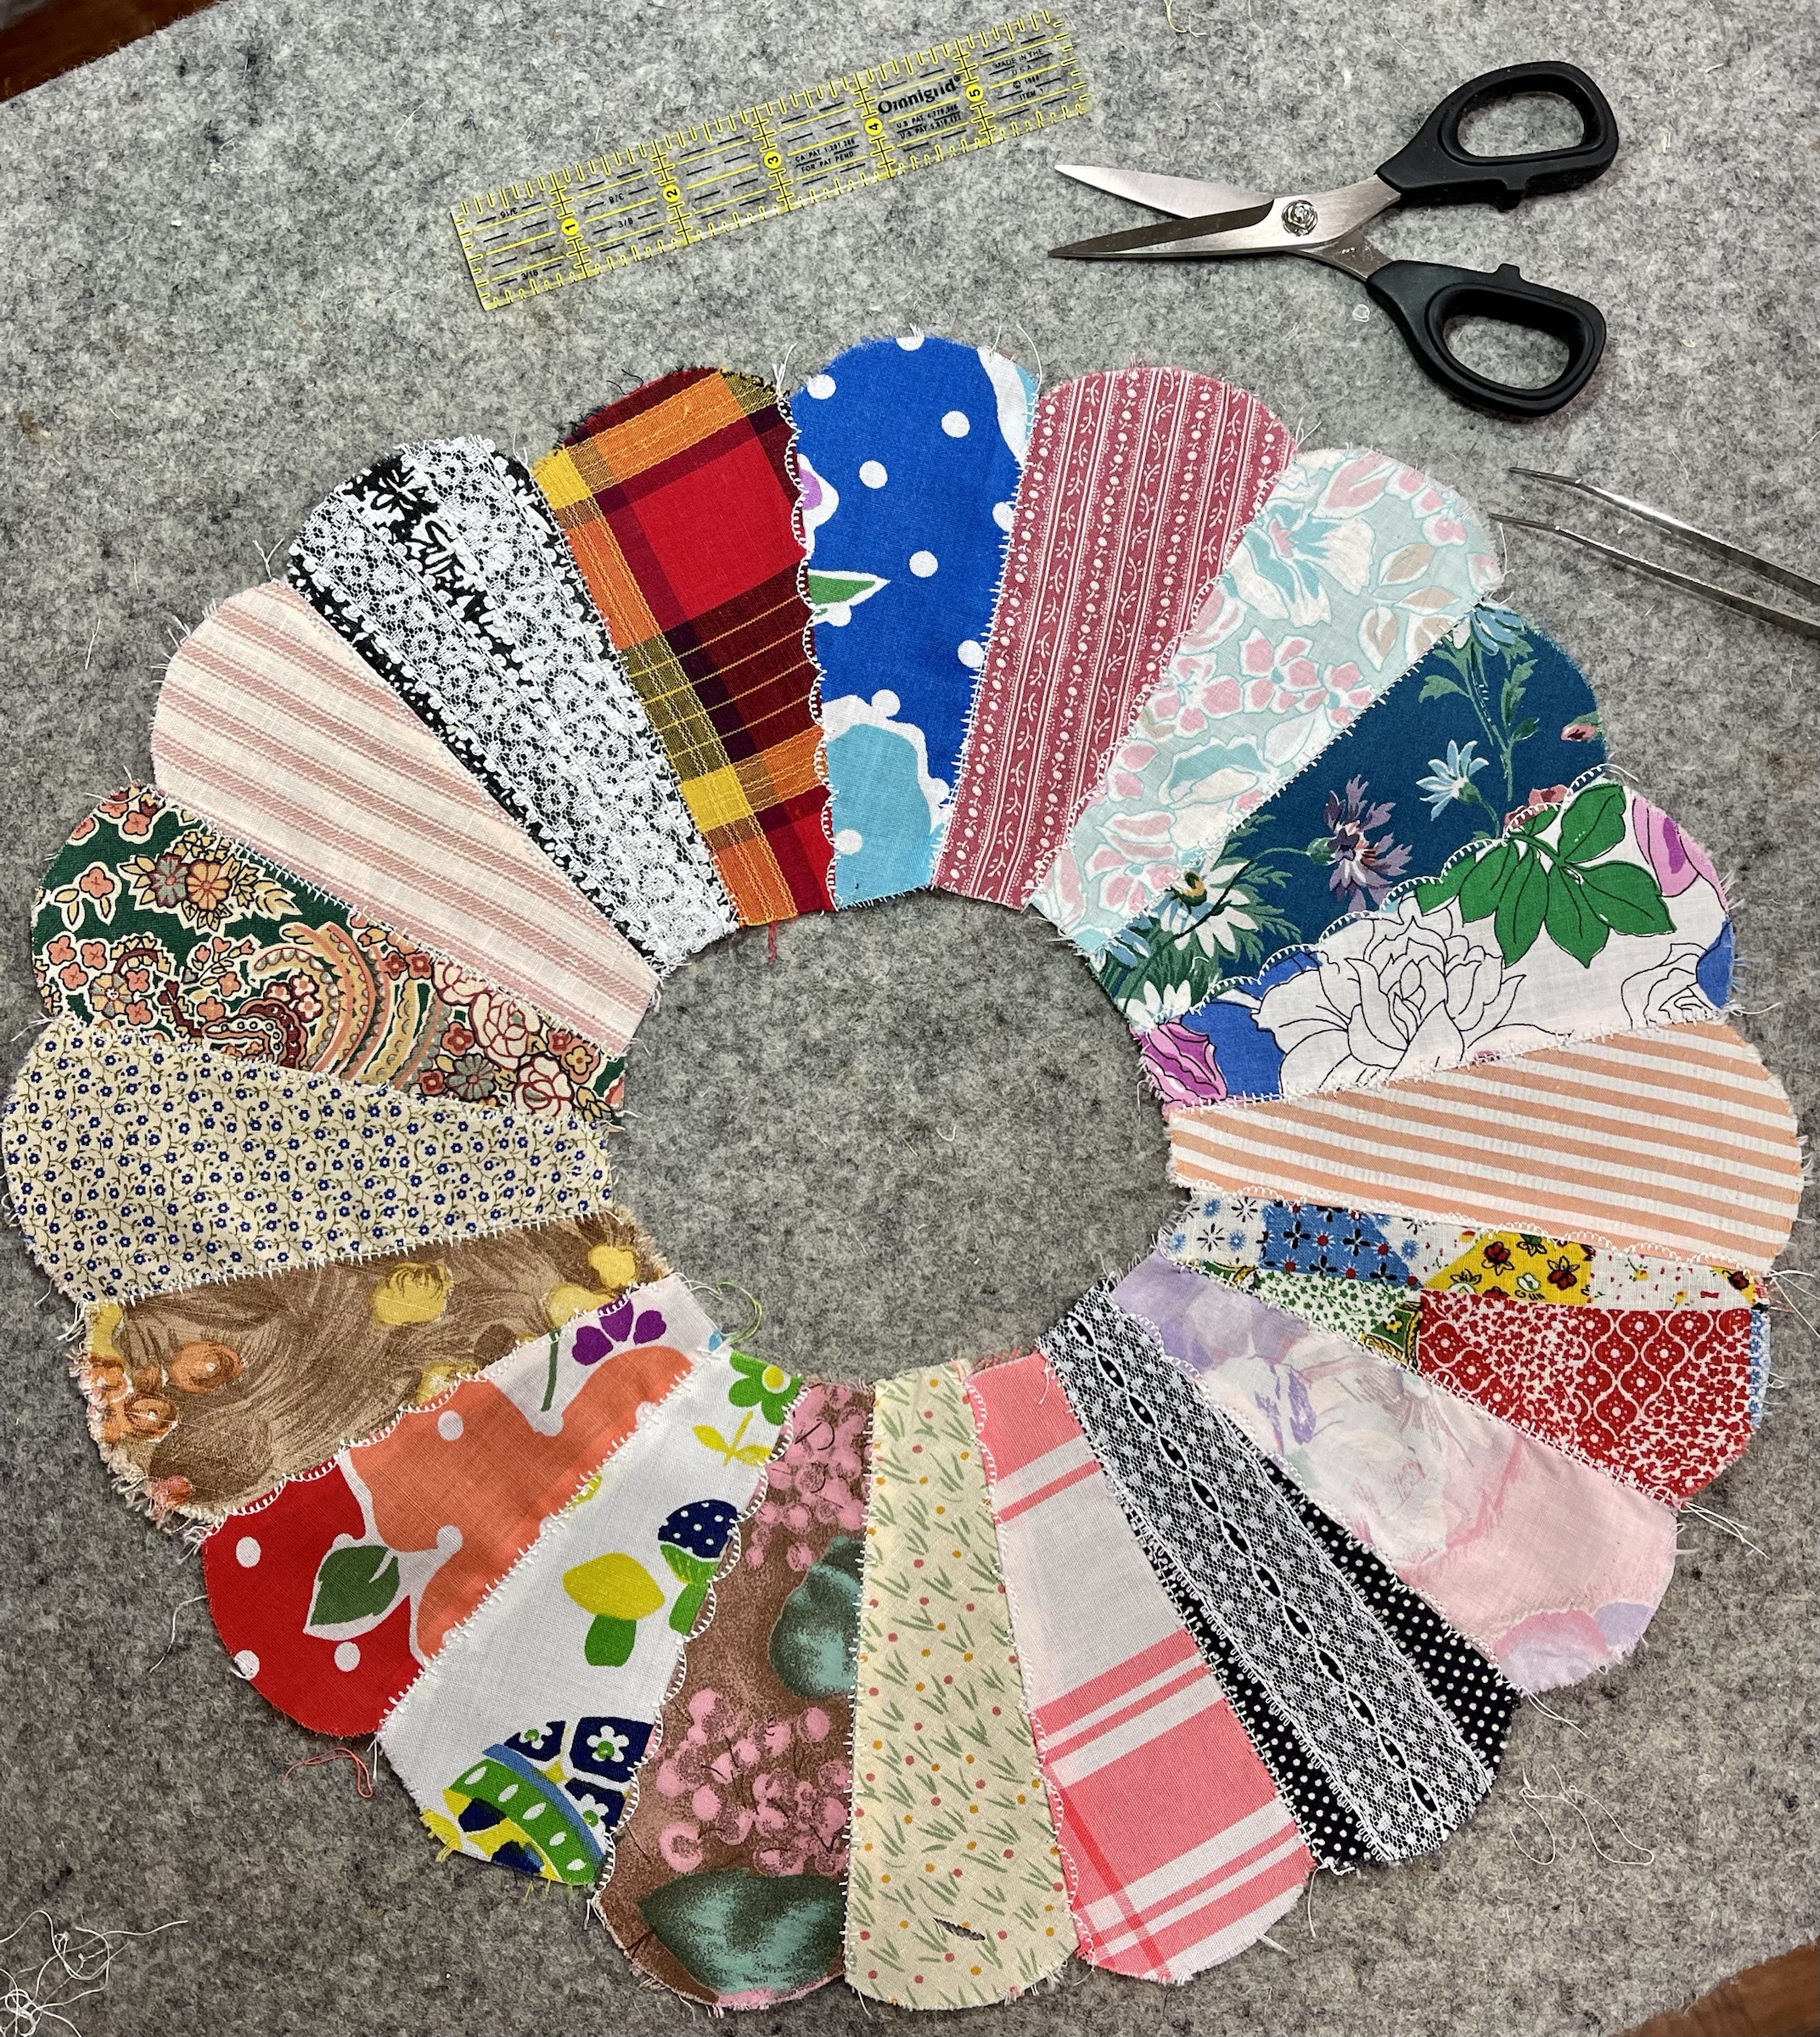
I’ve successfully detached each of the 12 Dresden Plates and this is what I was left with.
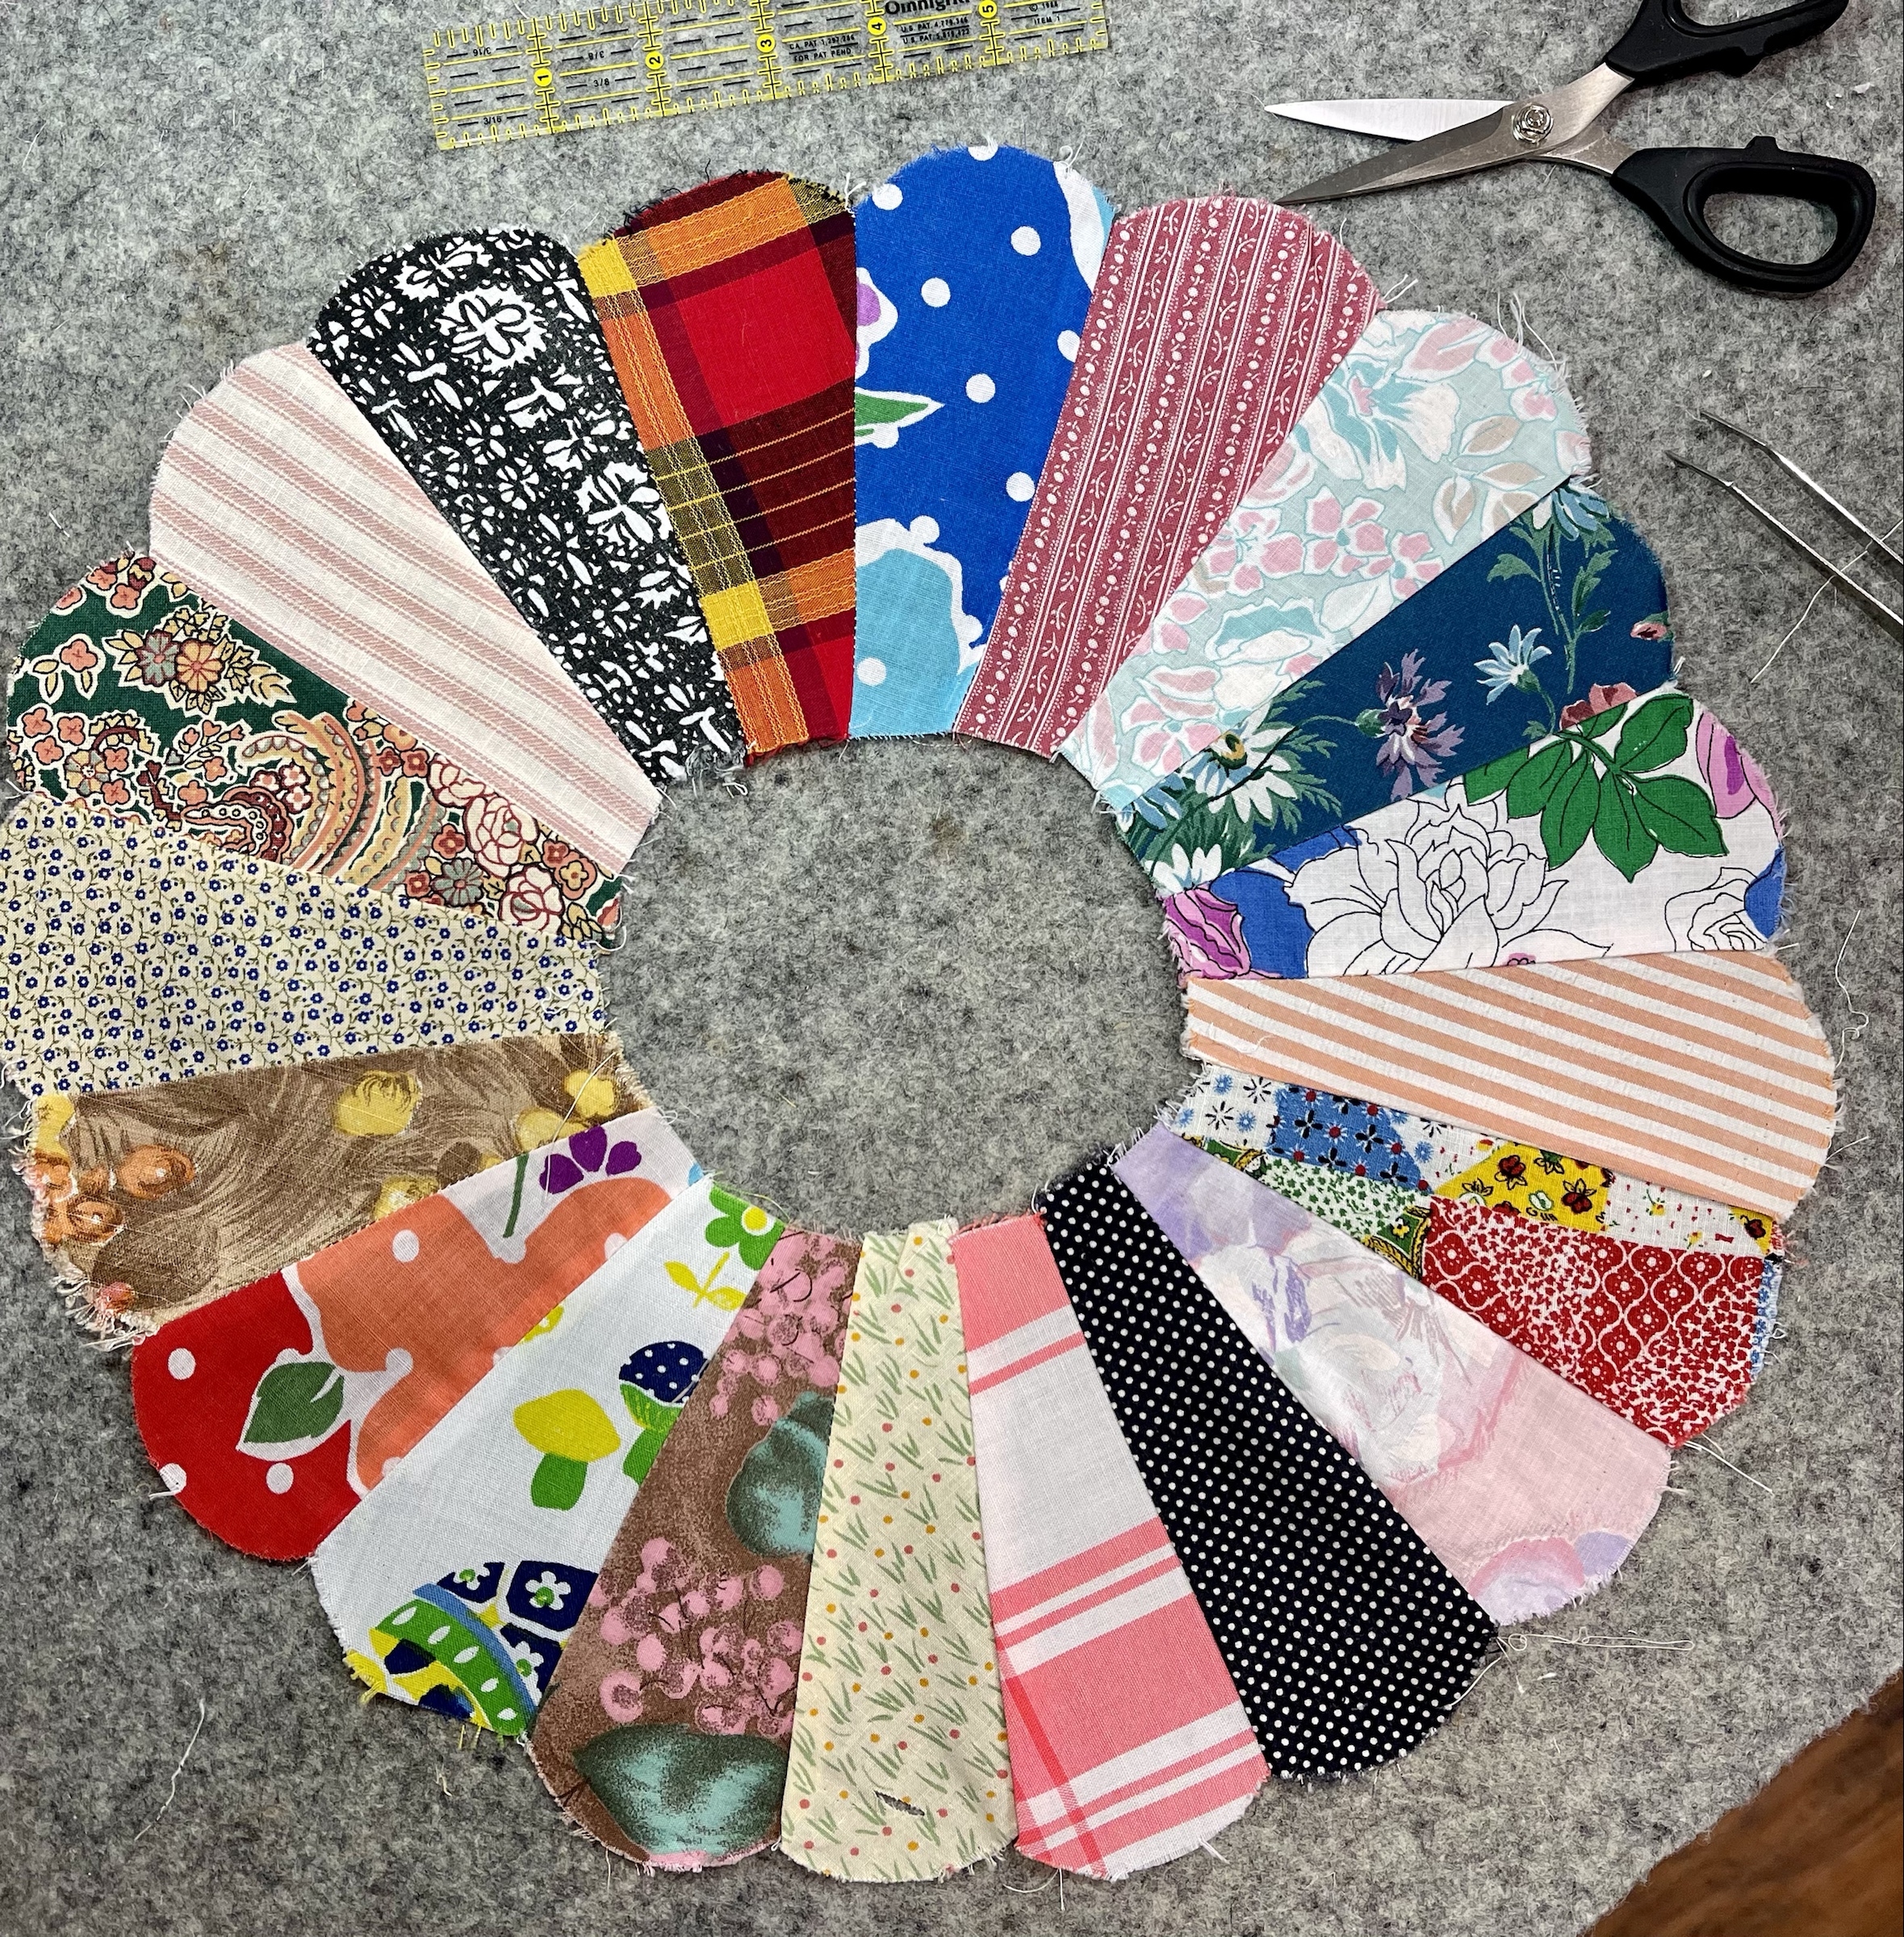
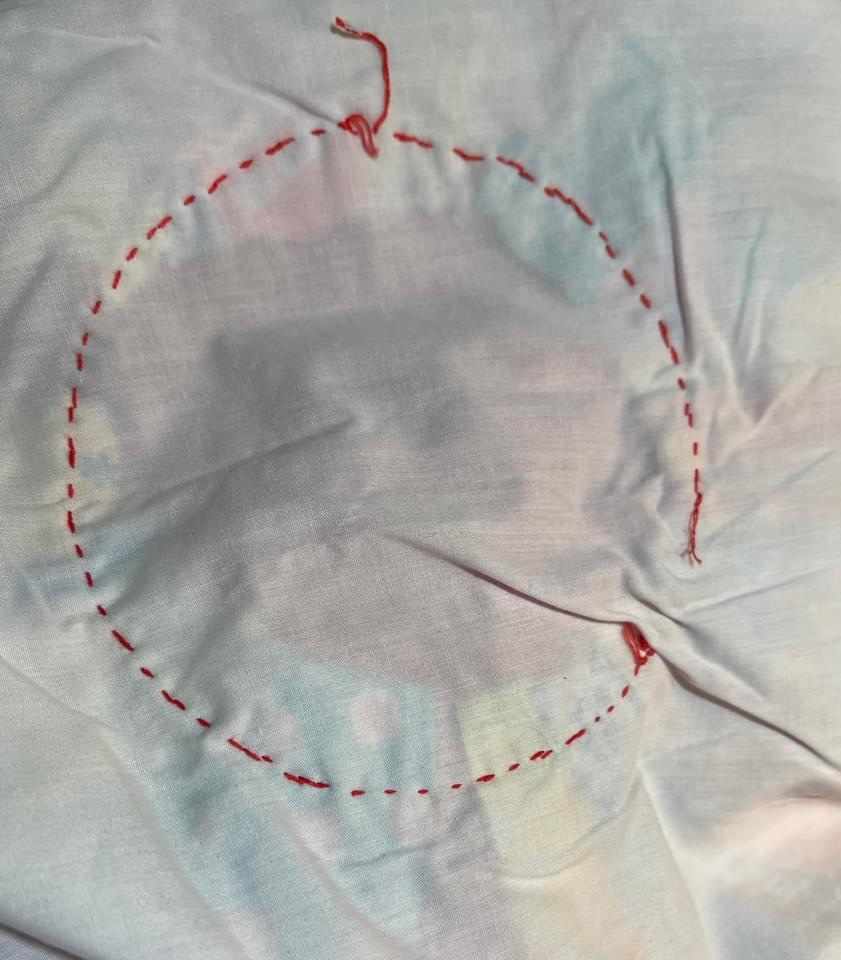
I then removed each of the center red circles.
What I’m facing now is how to handle the Dresdens, the wonky center opening as well as the various lengths of the actual petal pieces themselves.
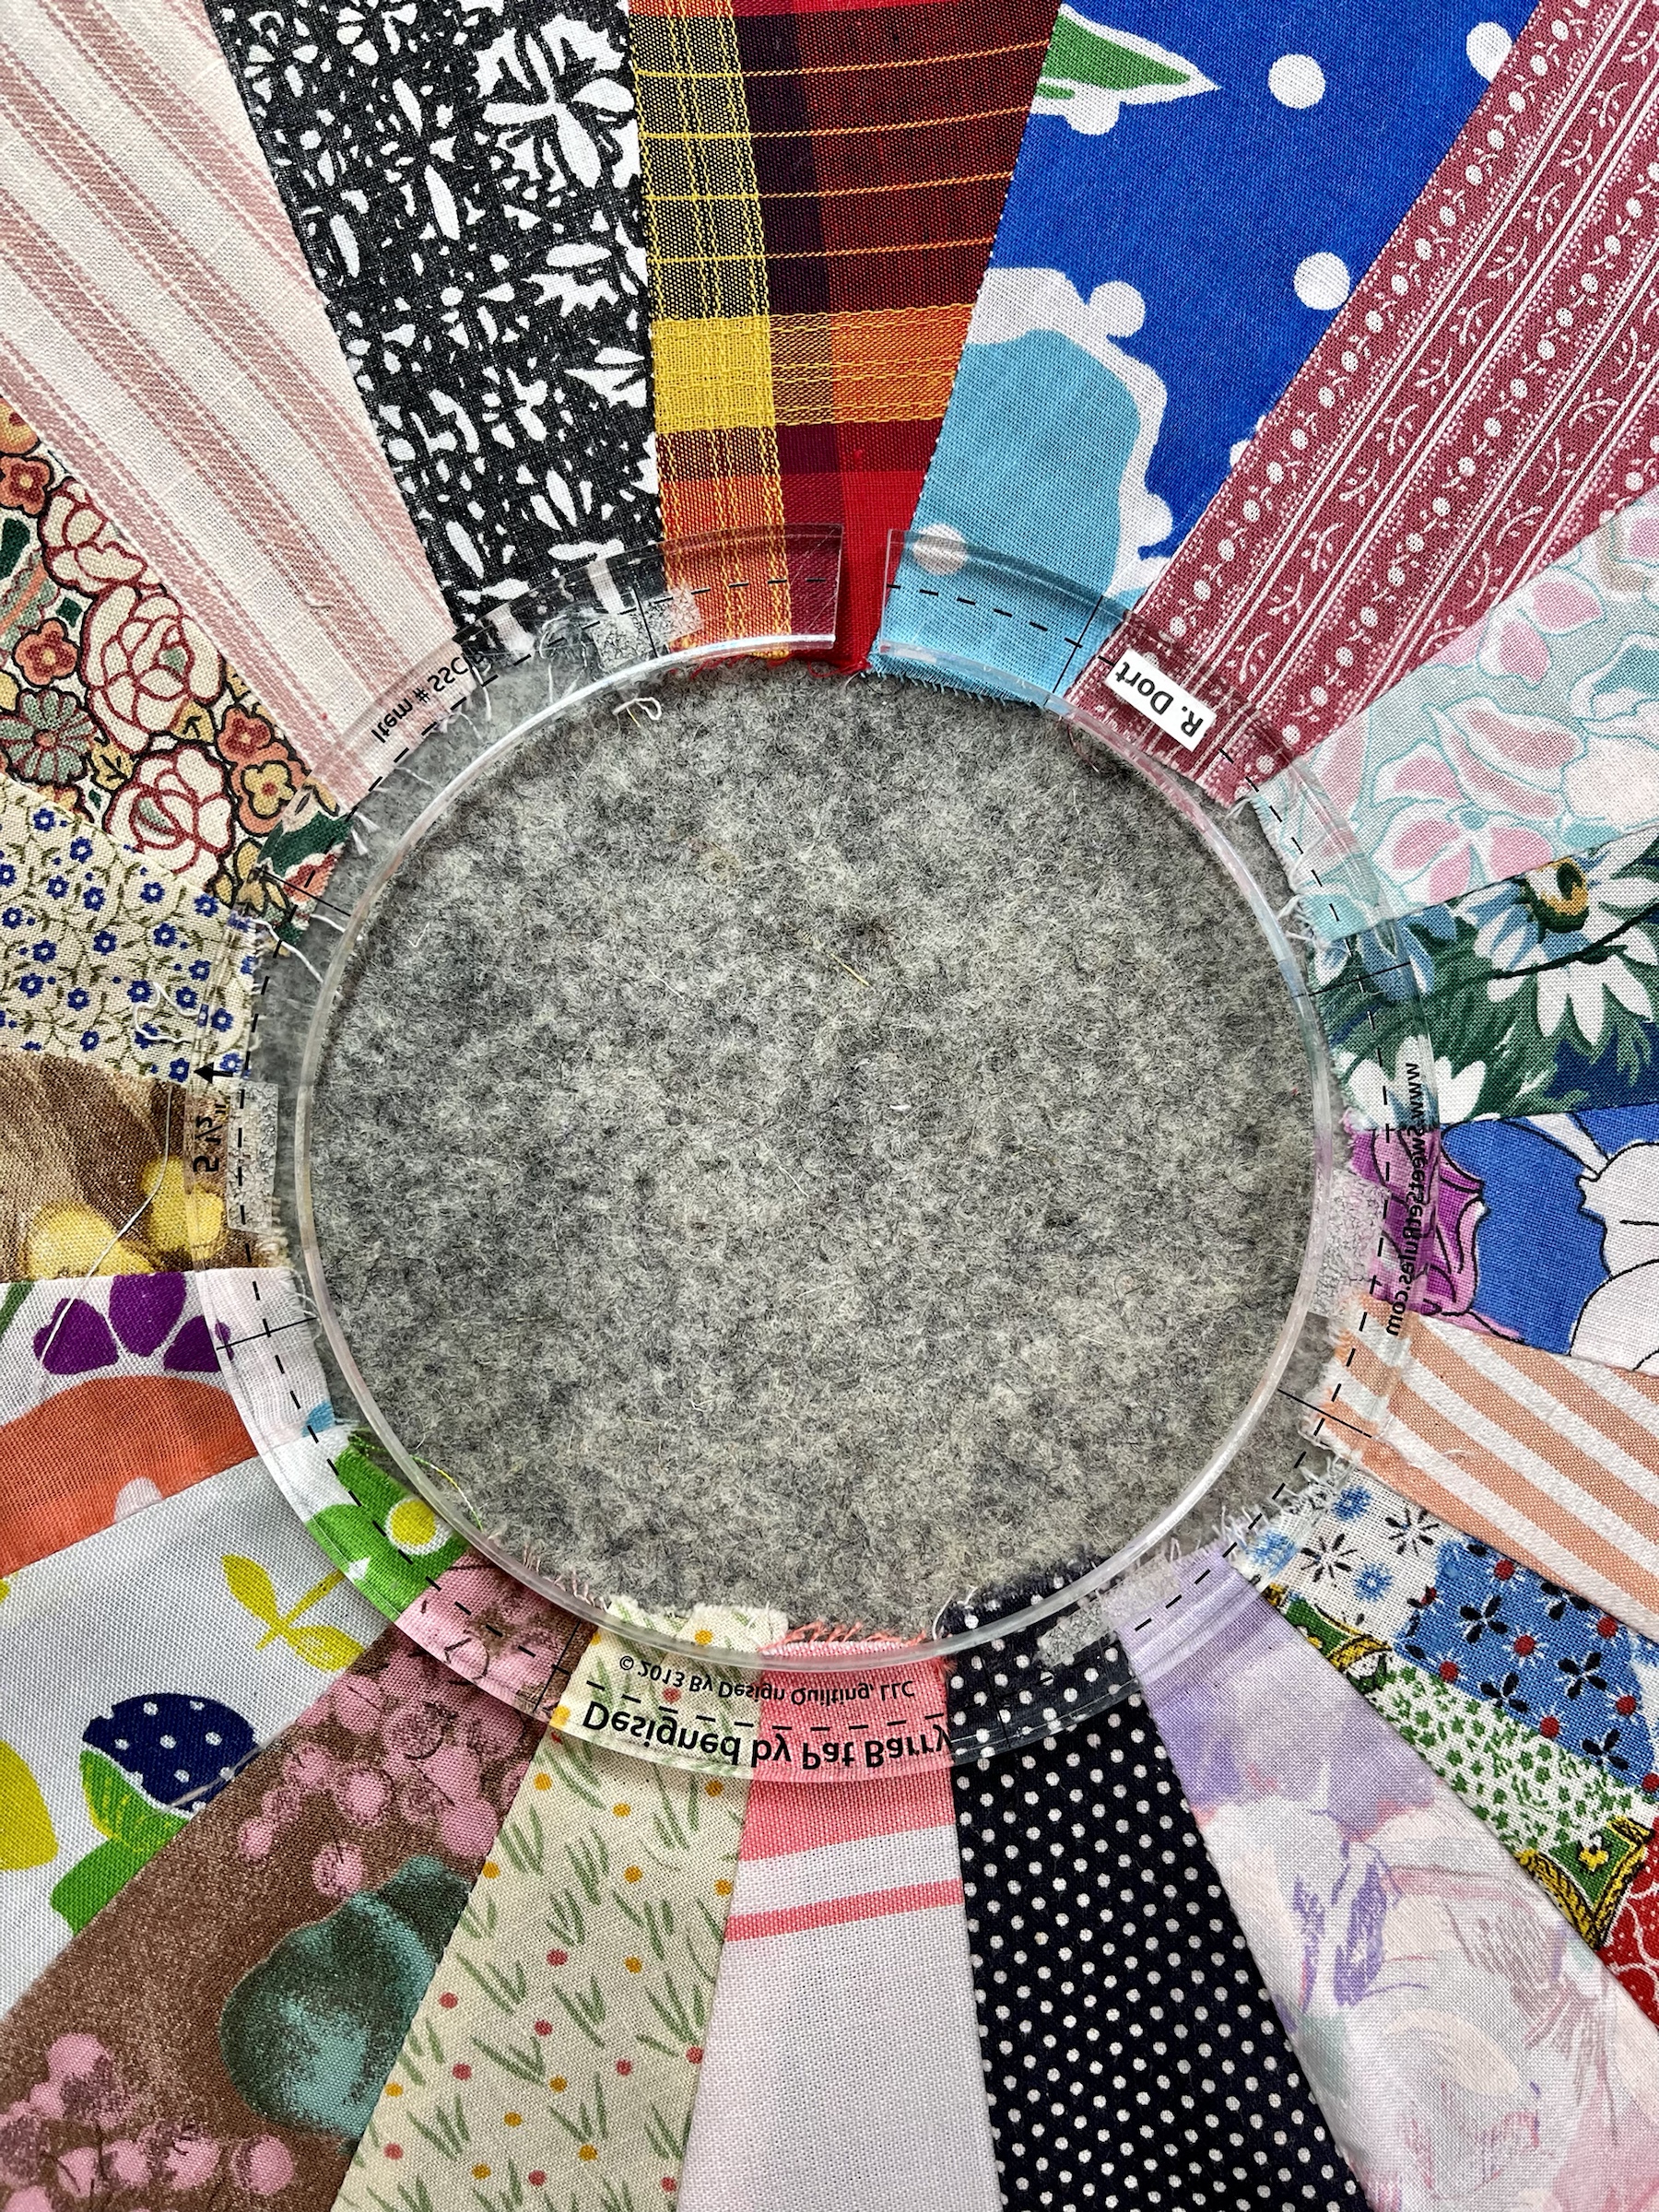
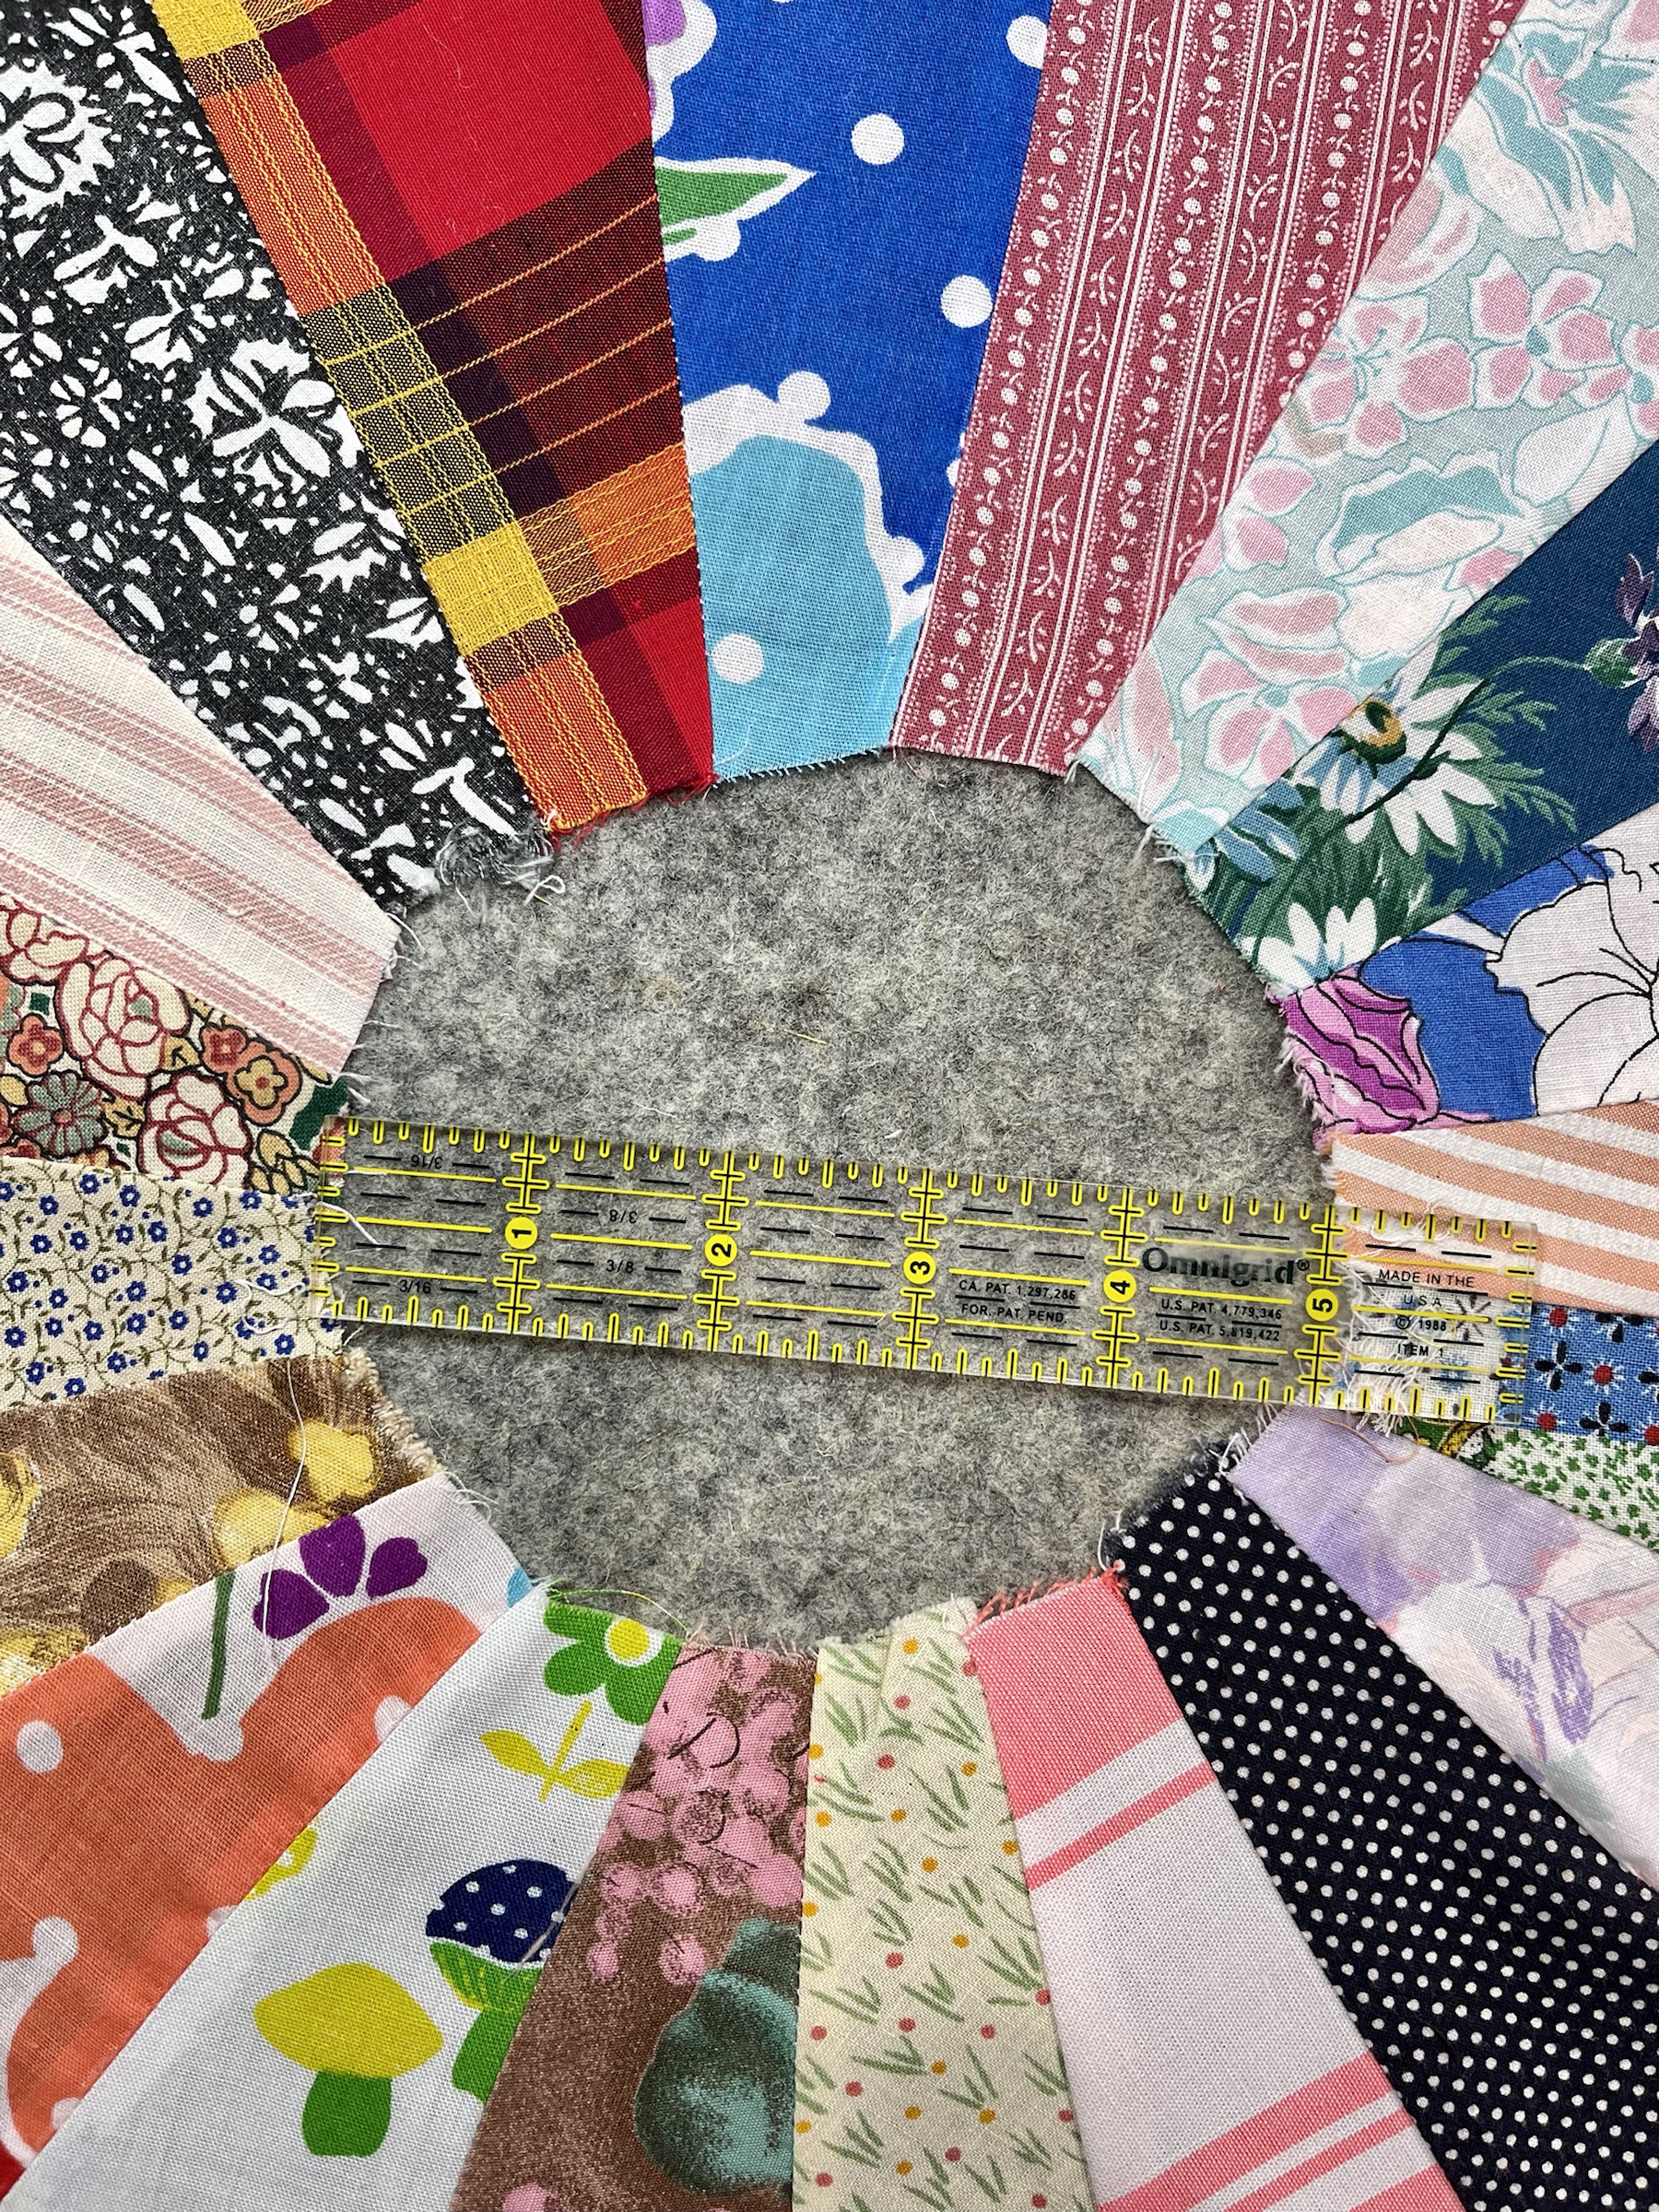
This is an acrylic template laid atop of the center and you can see all is not well with the mis-shaped opening.
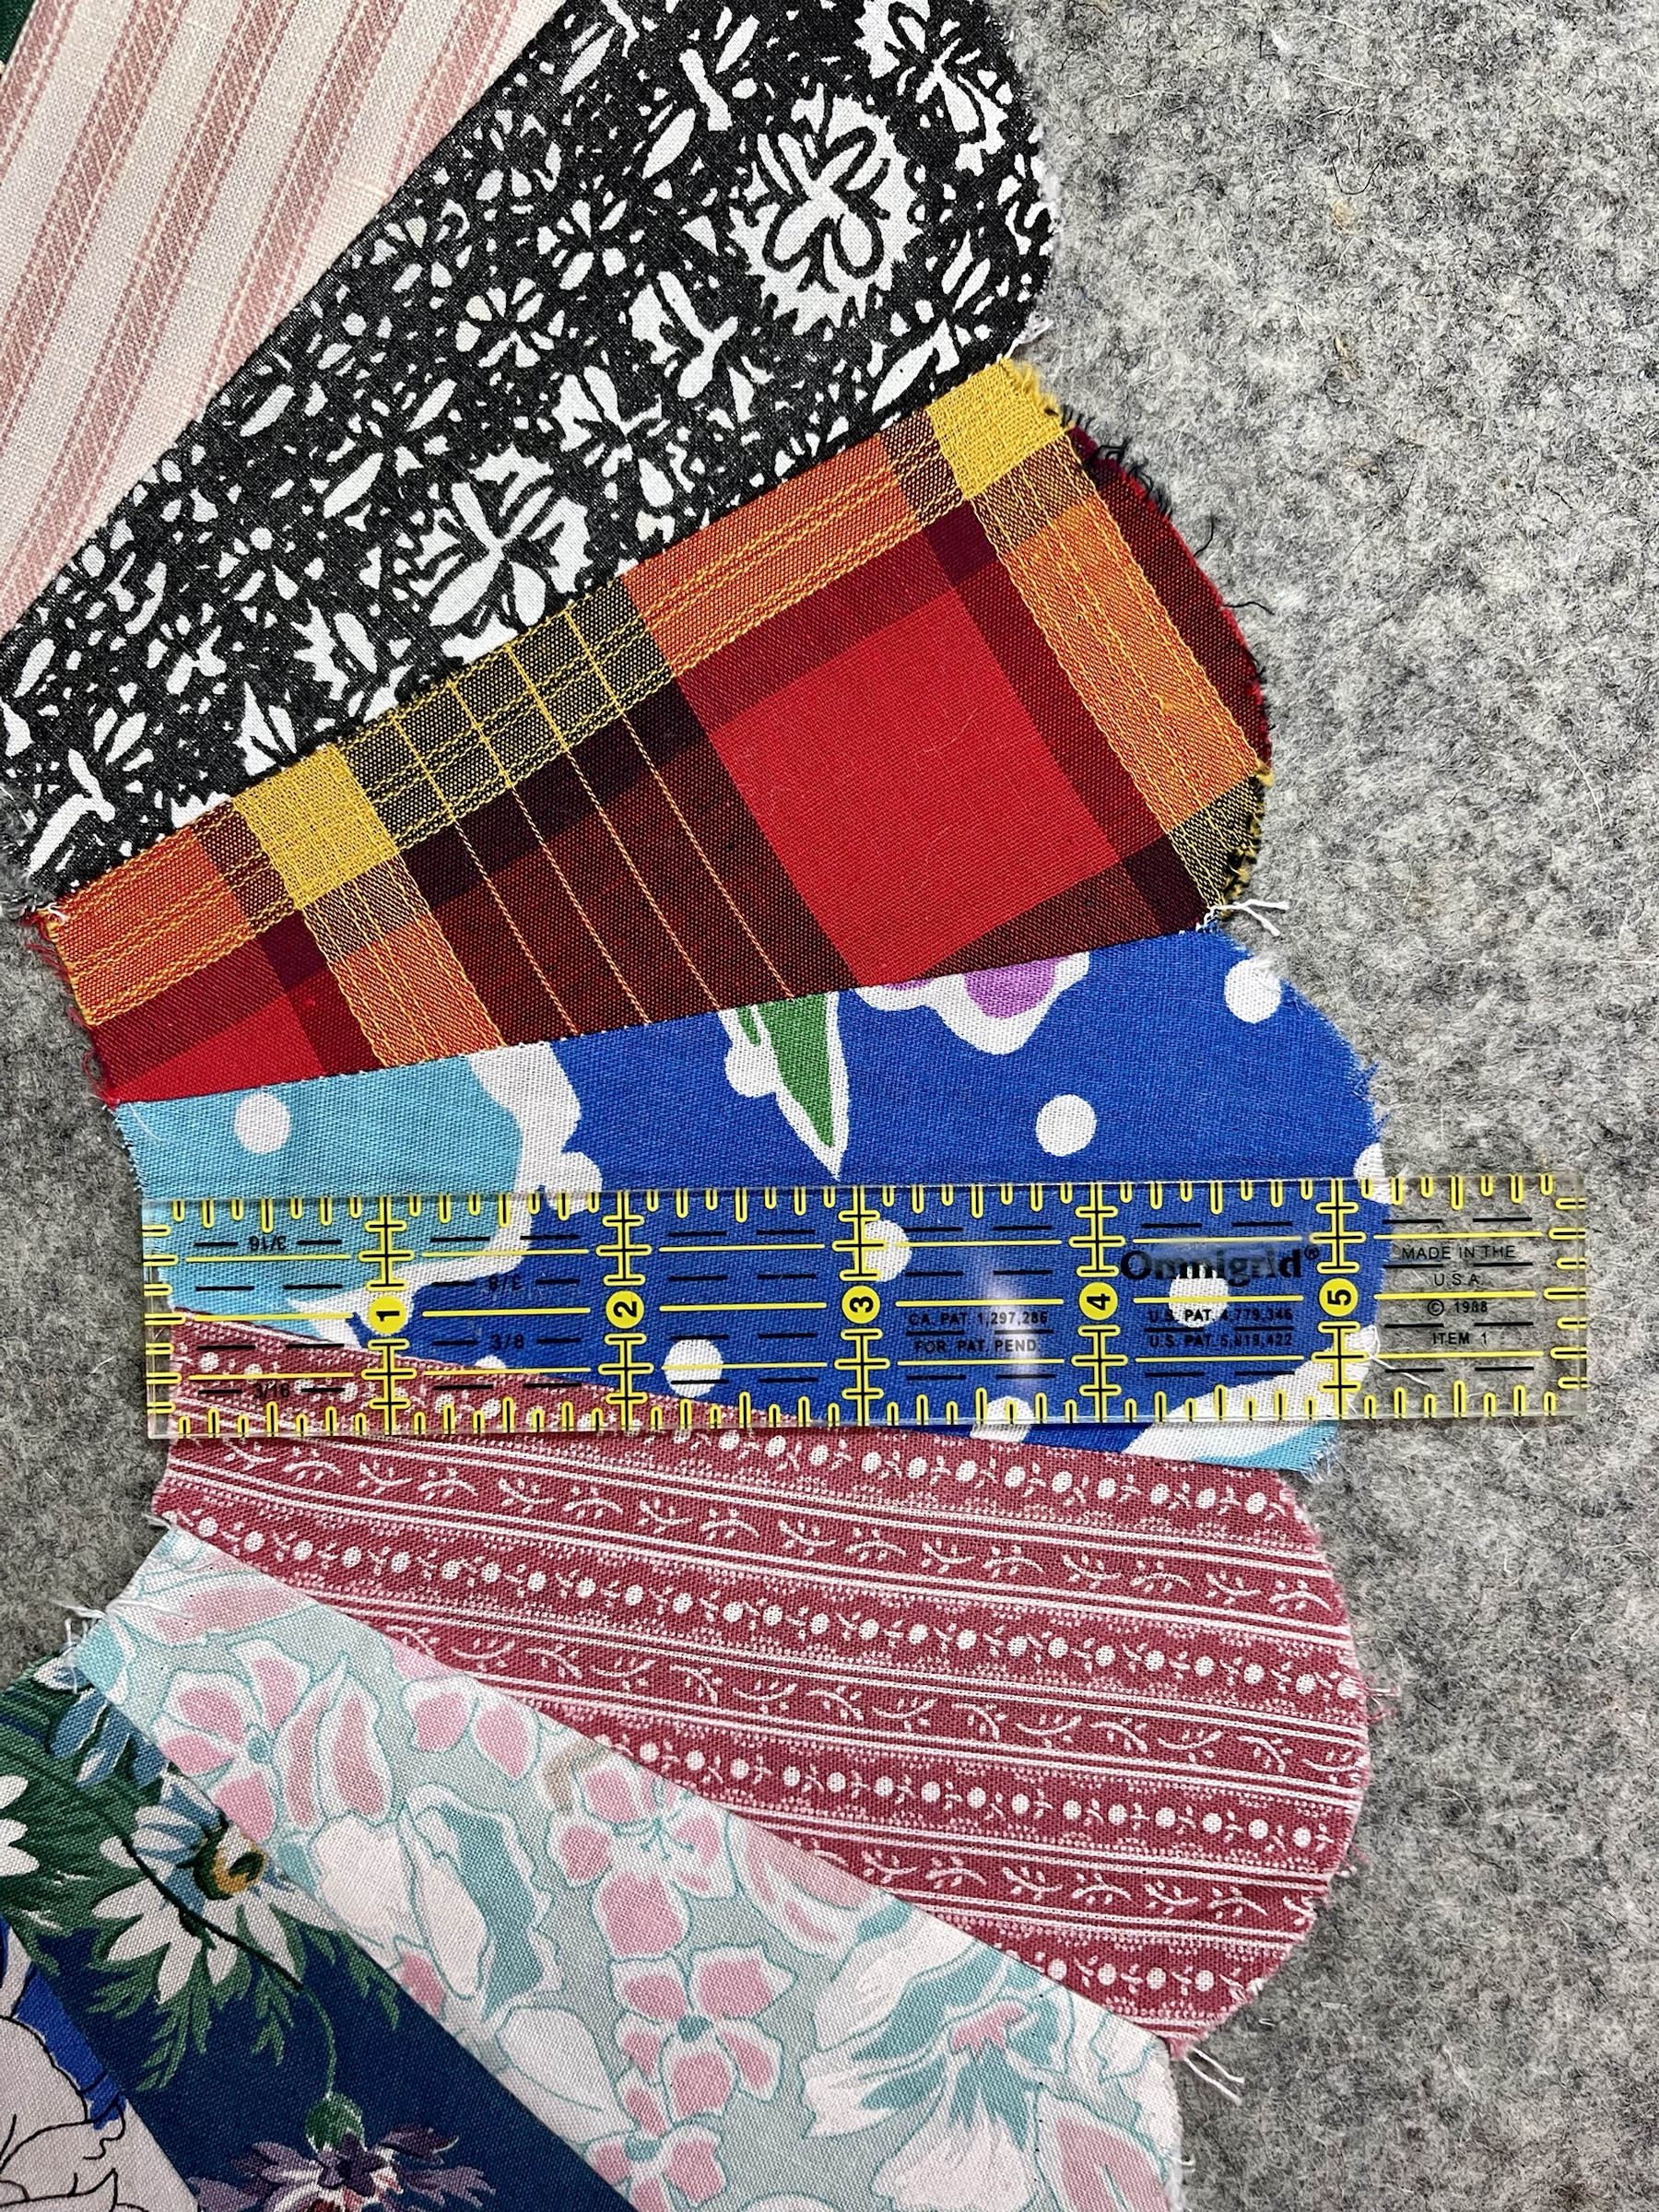
The petals ranged from 5 1/4” to 5/3/4” in length.
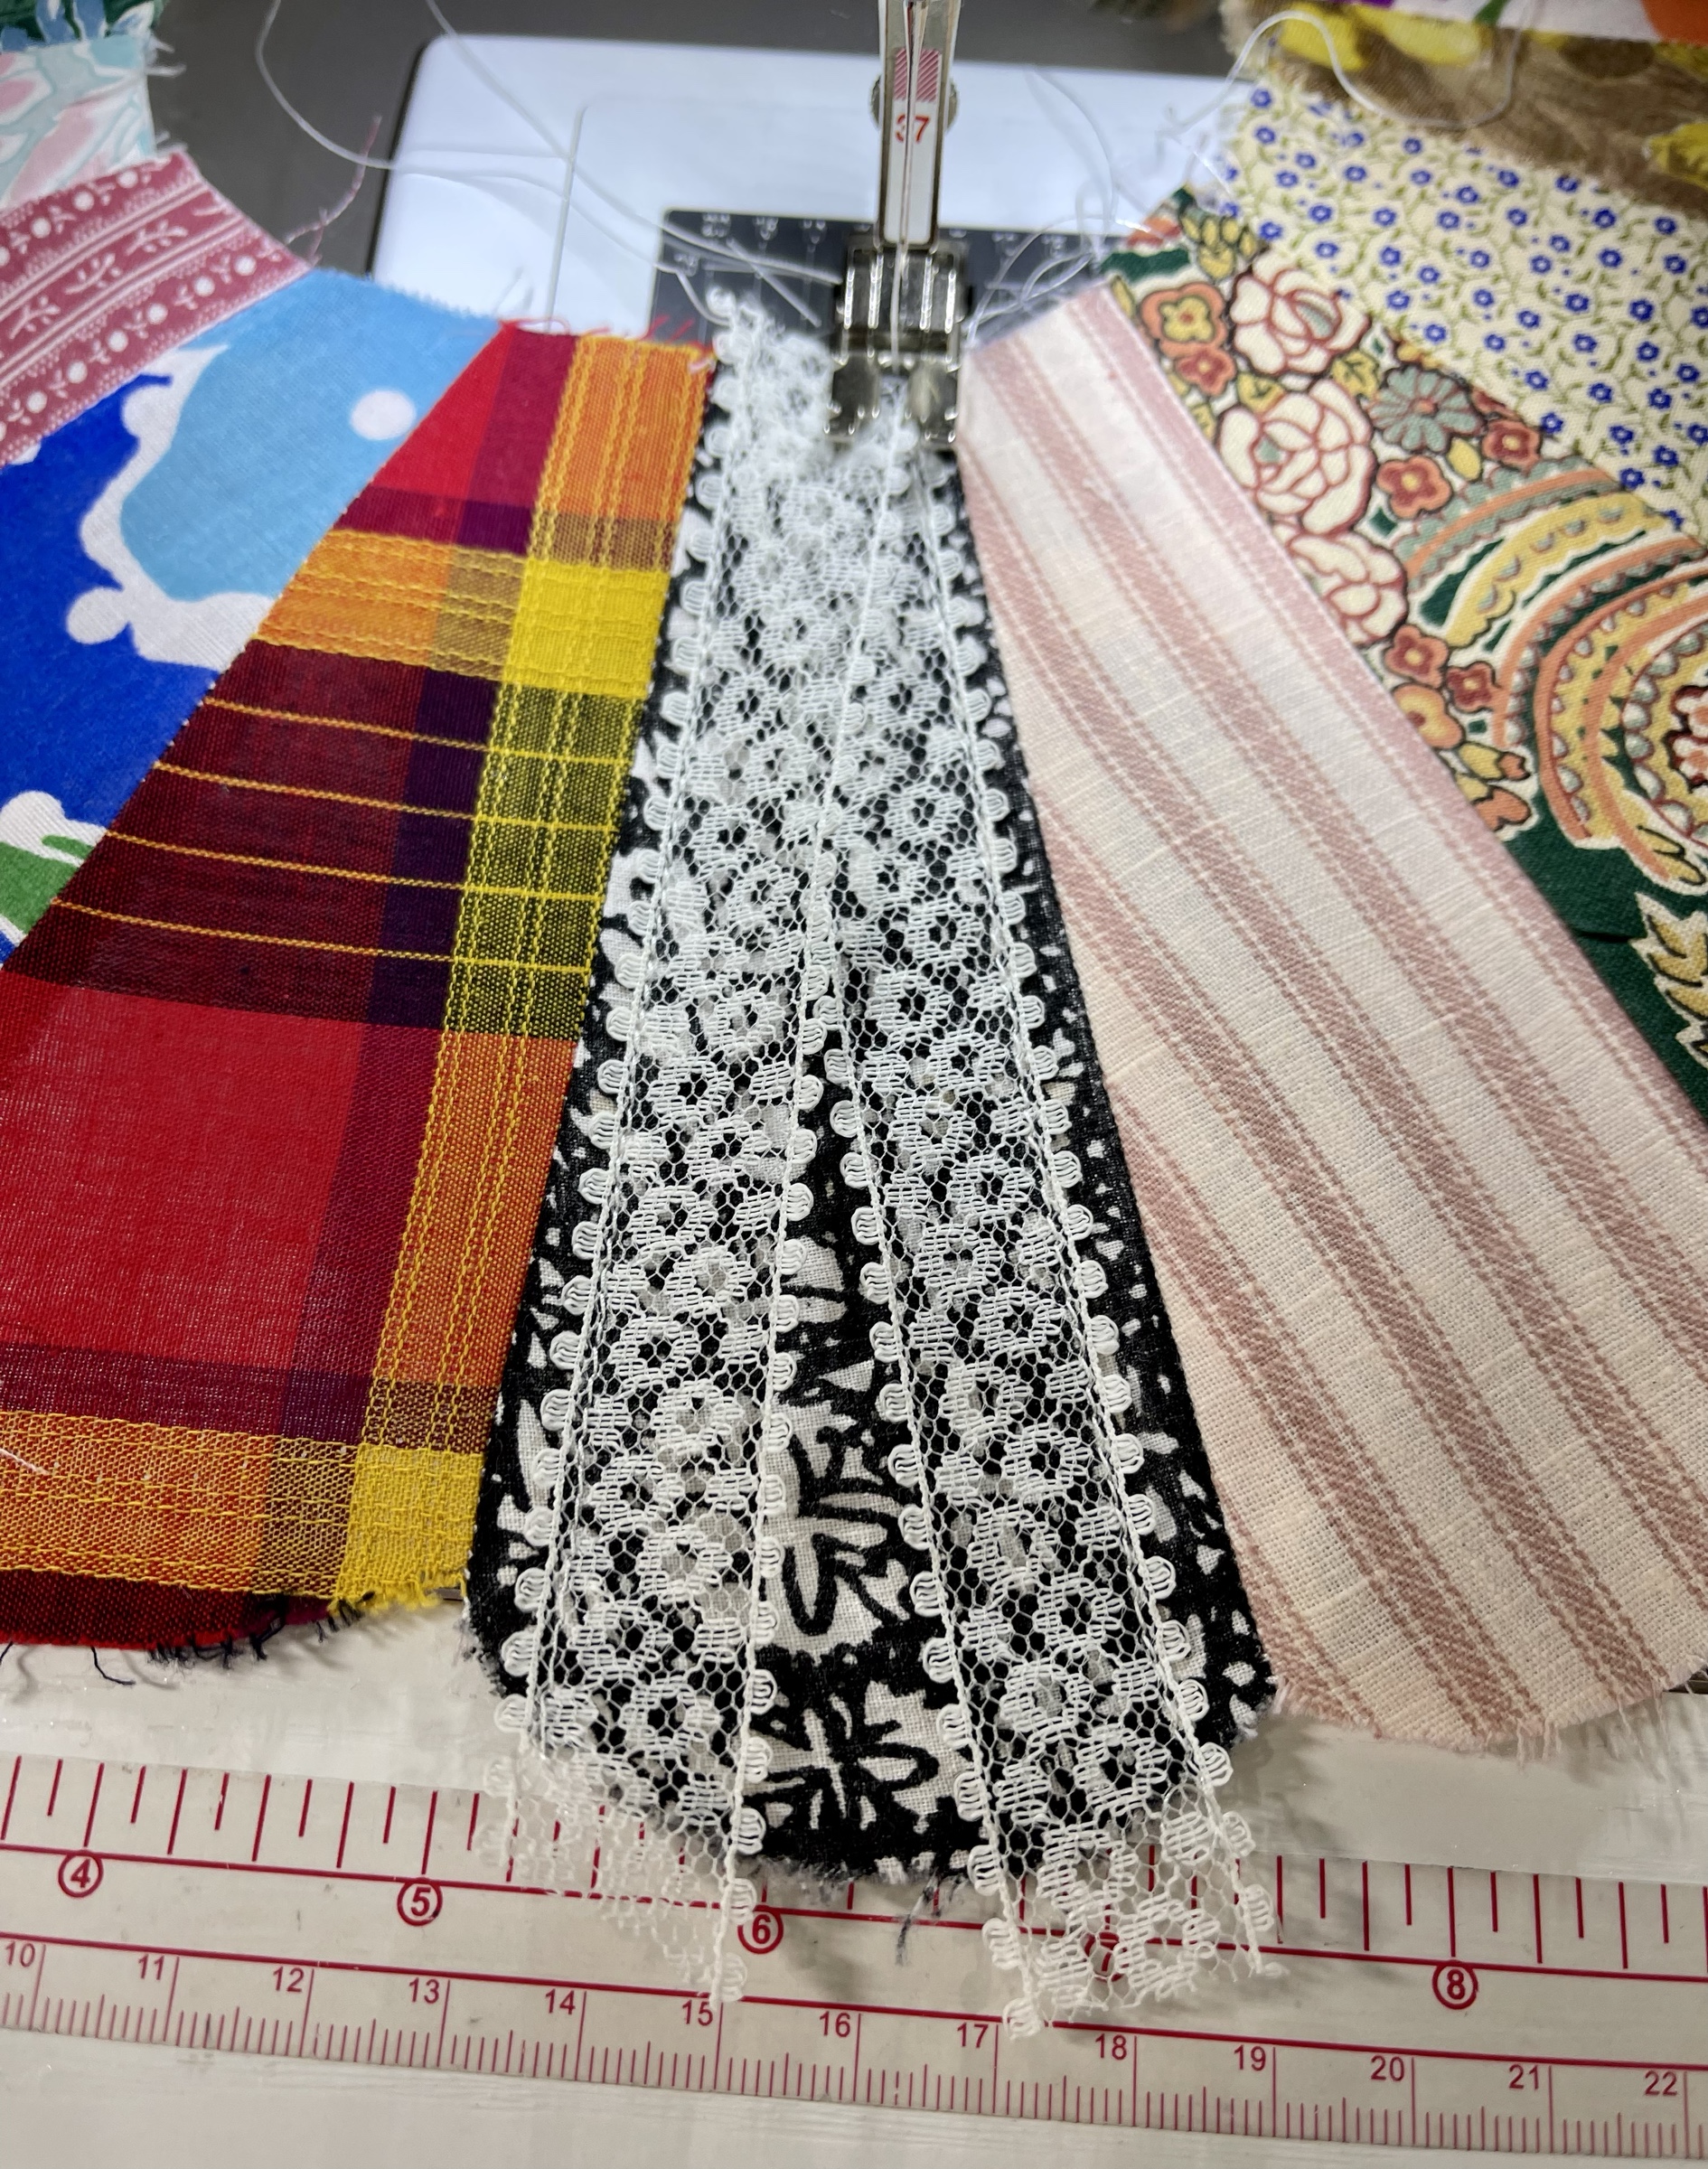
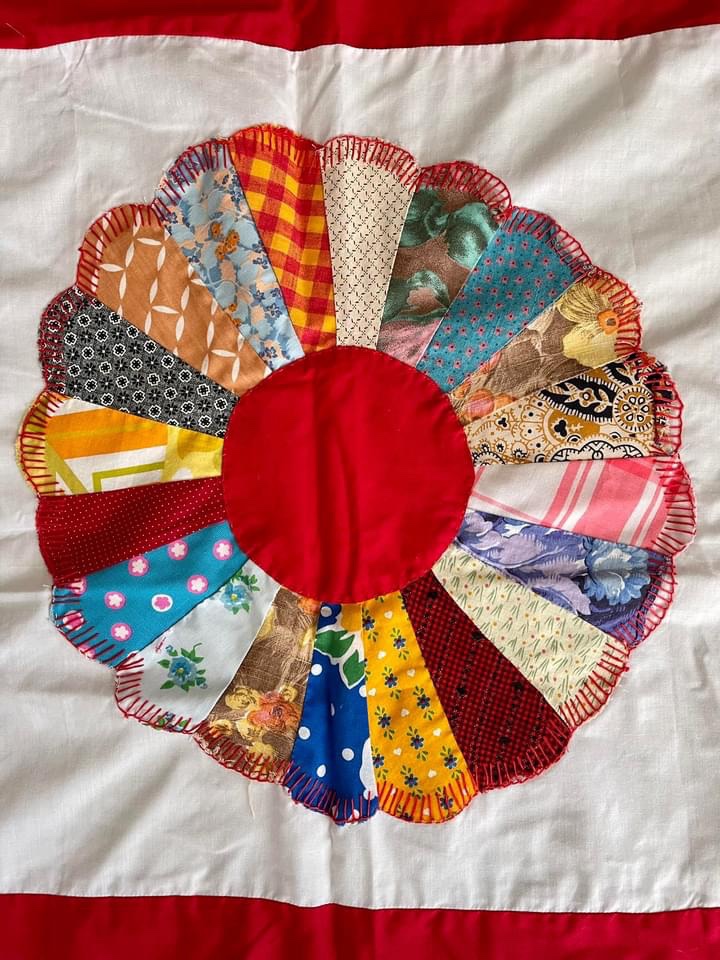
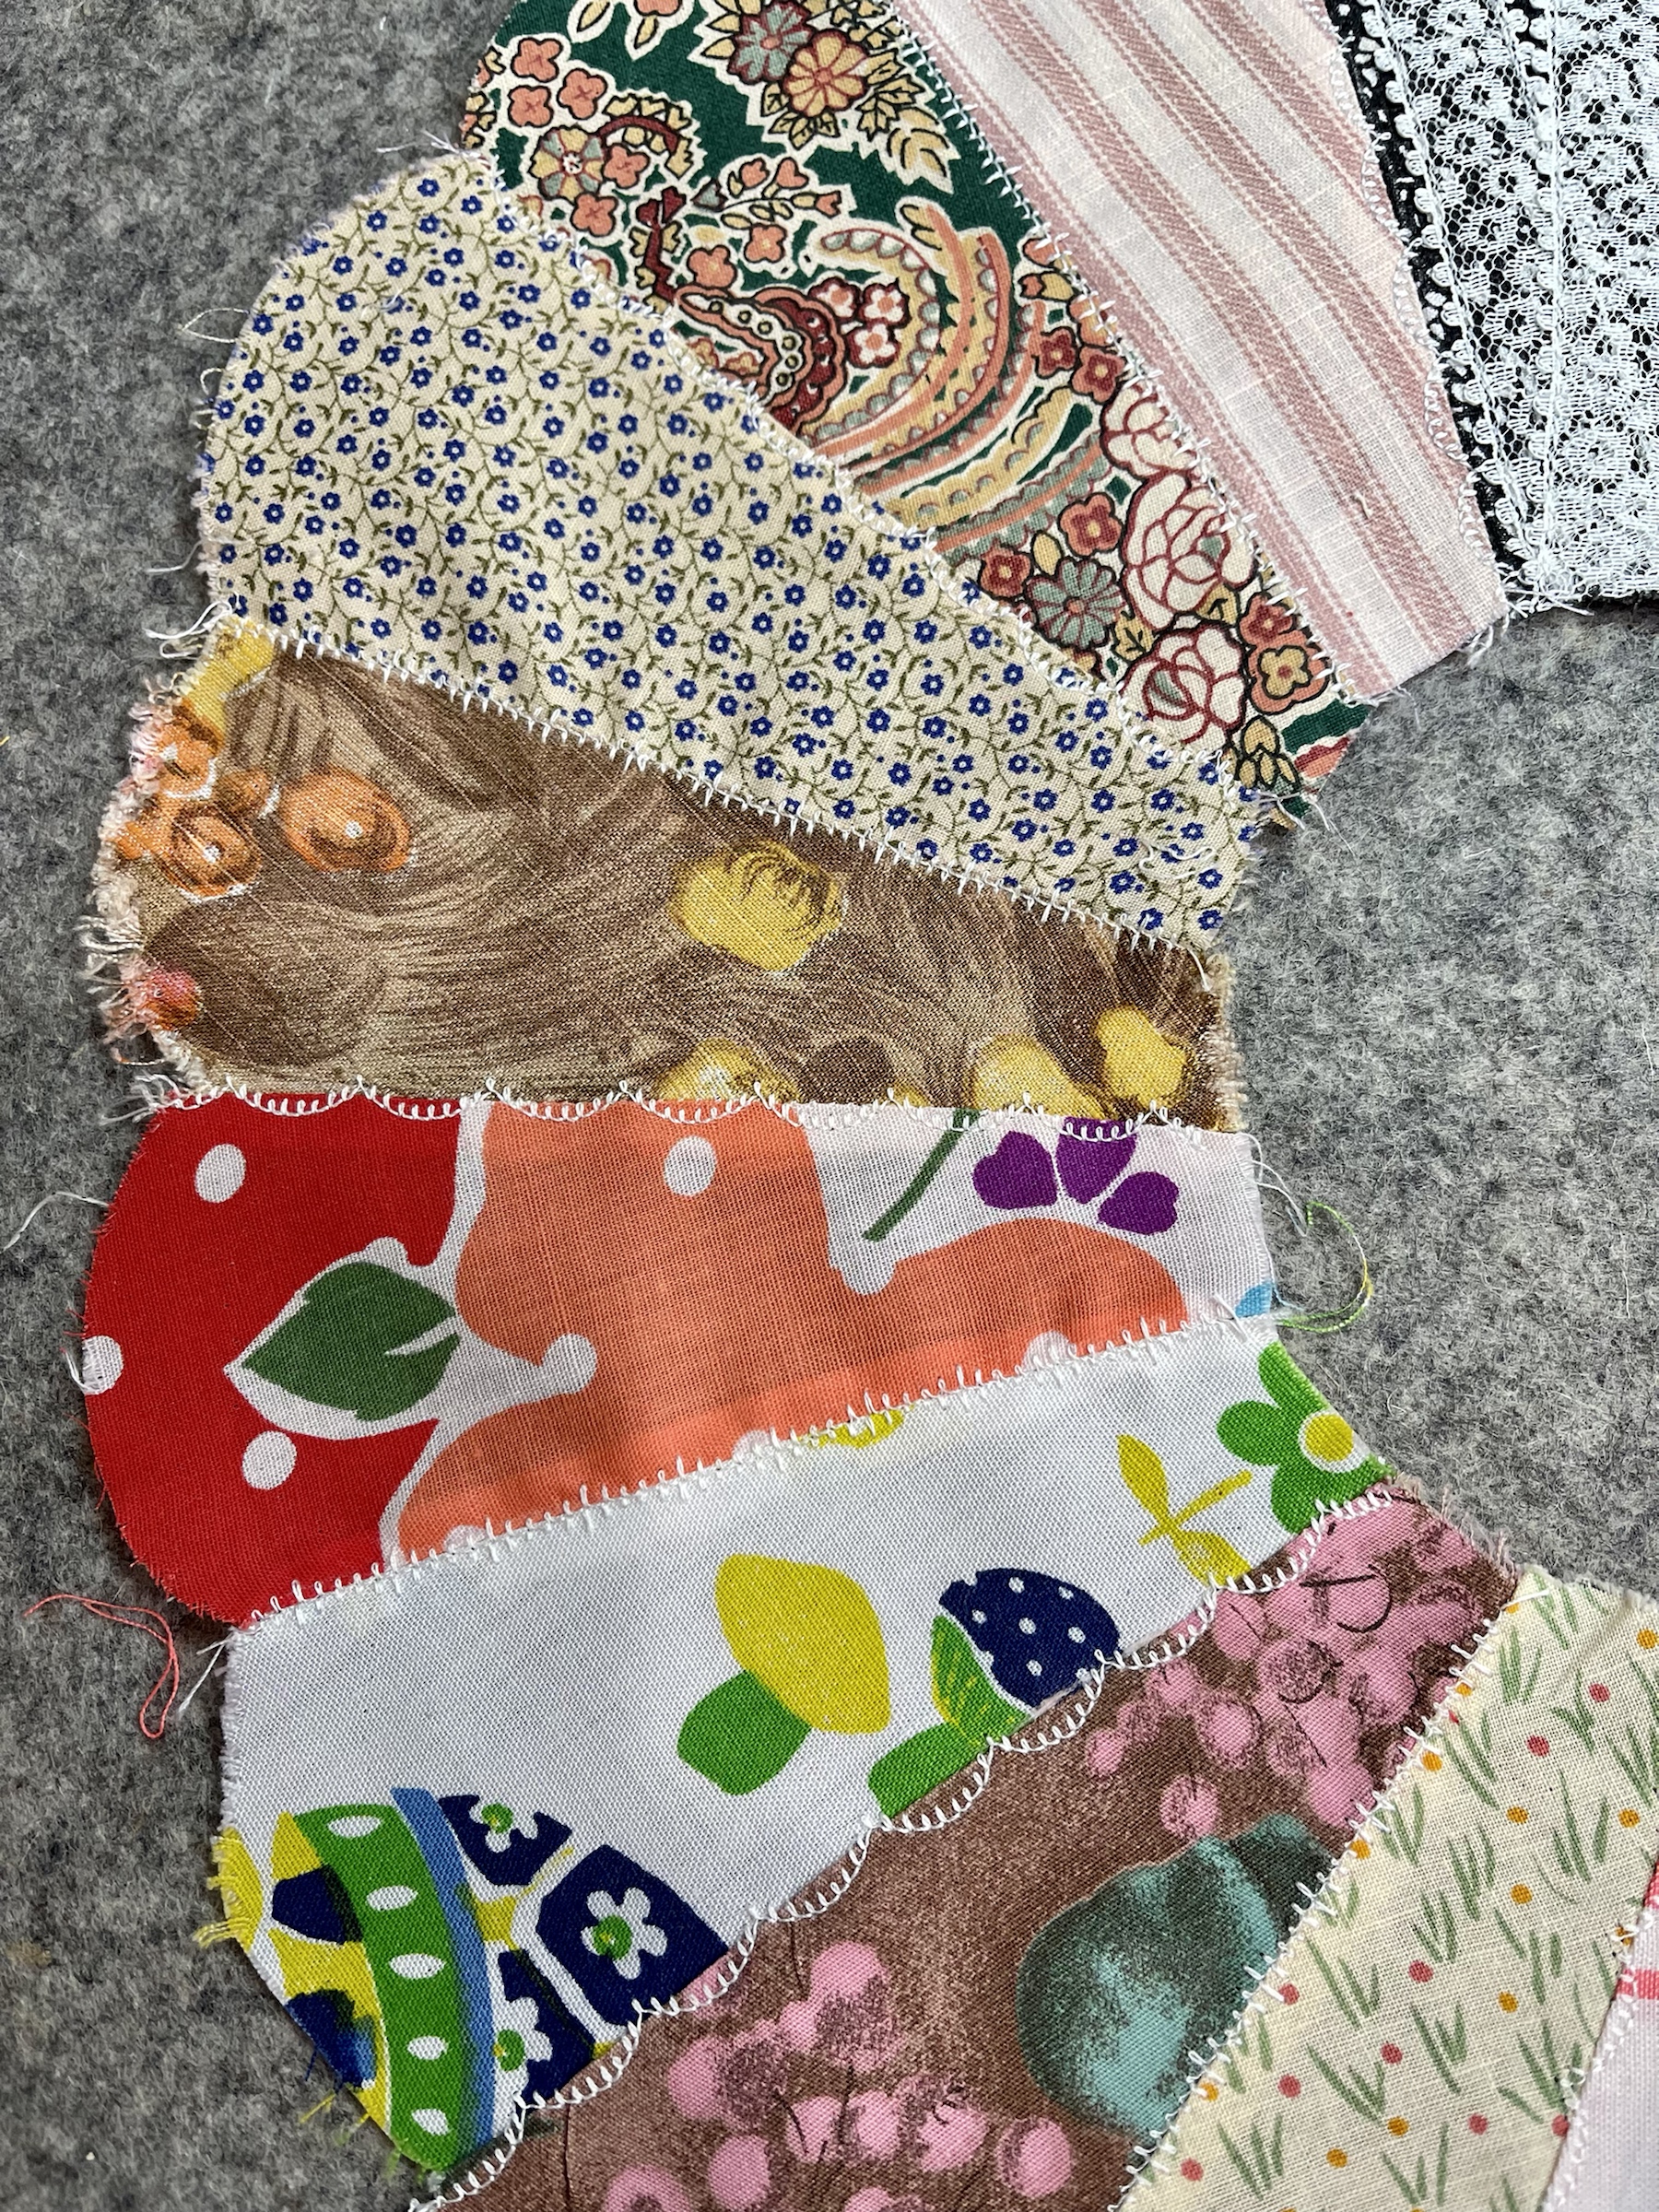
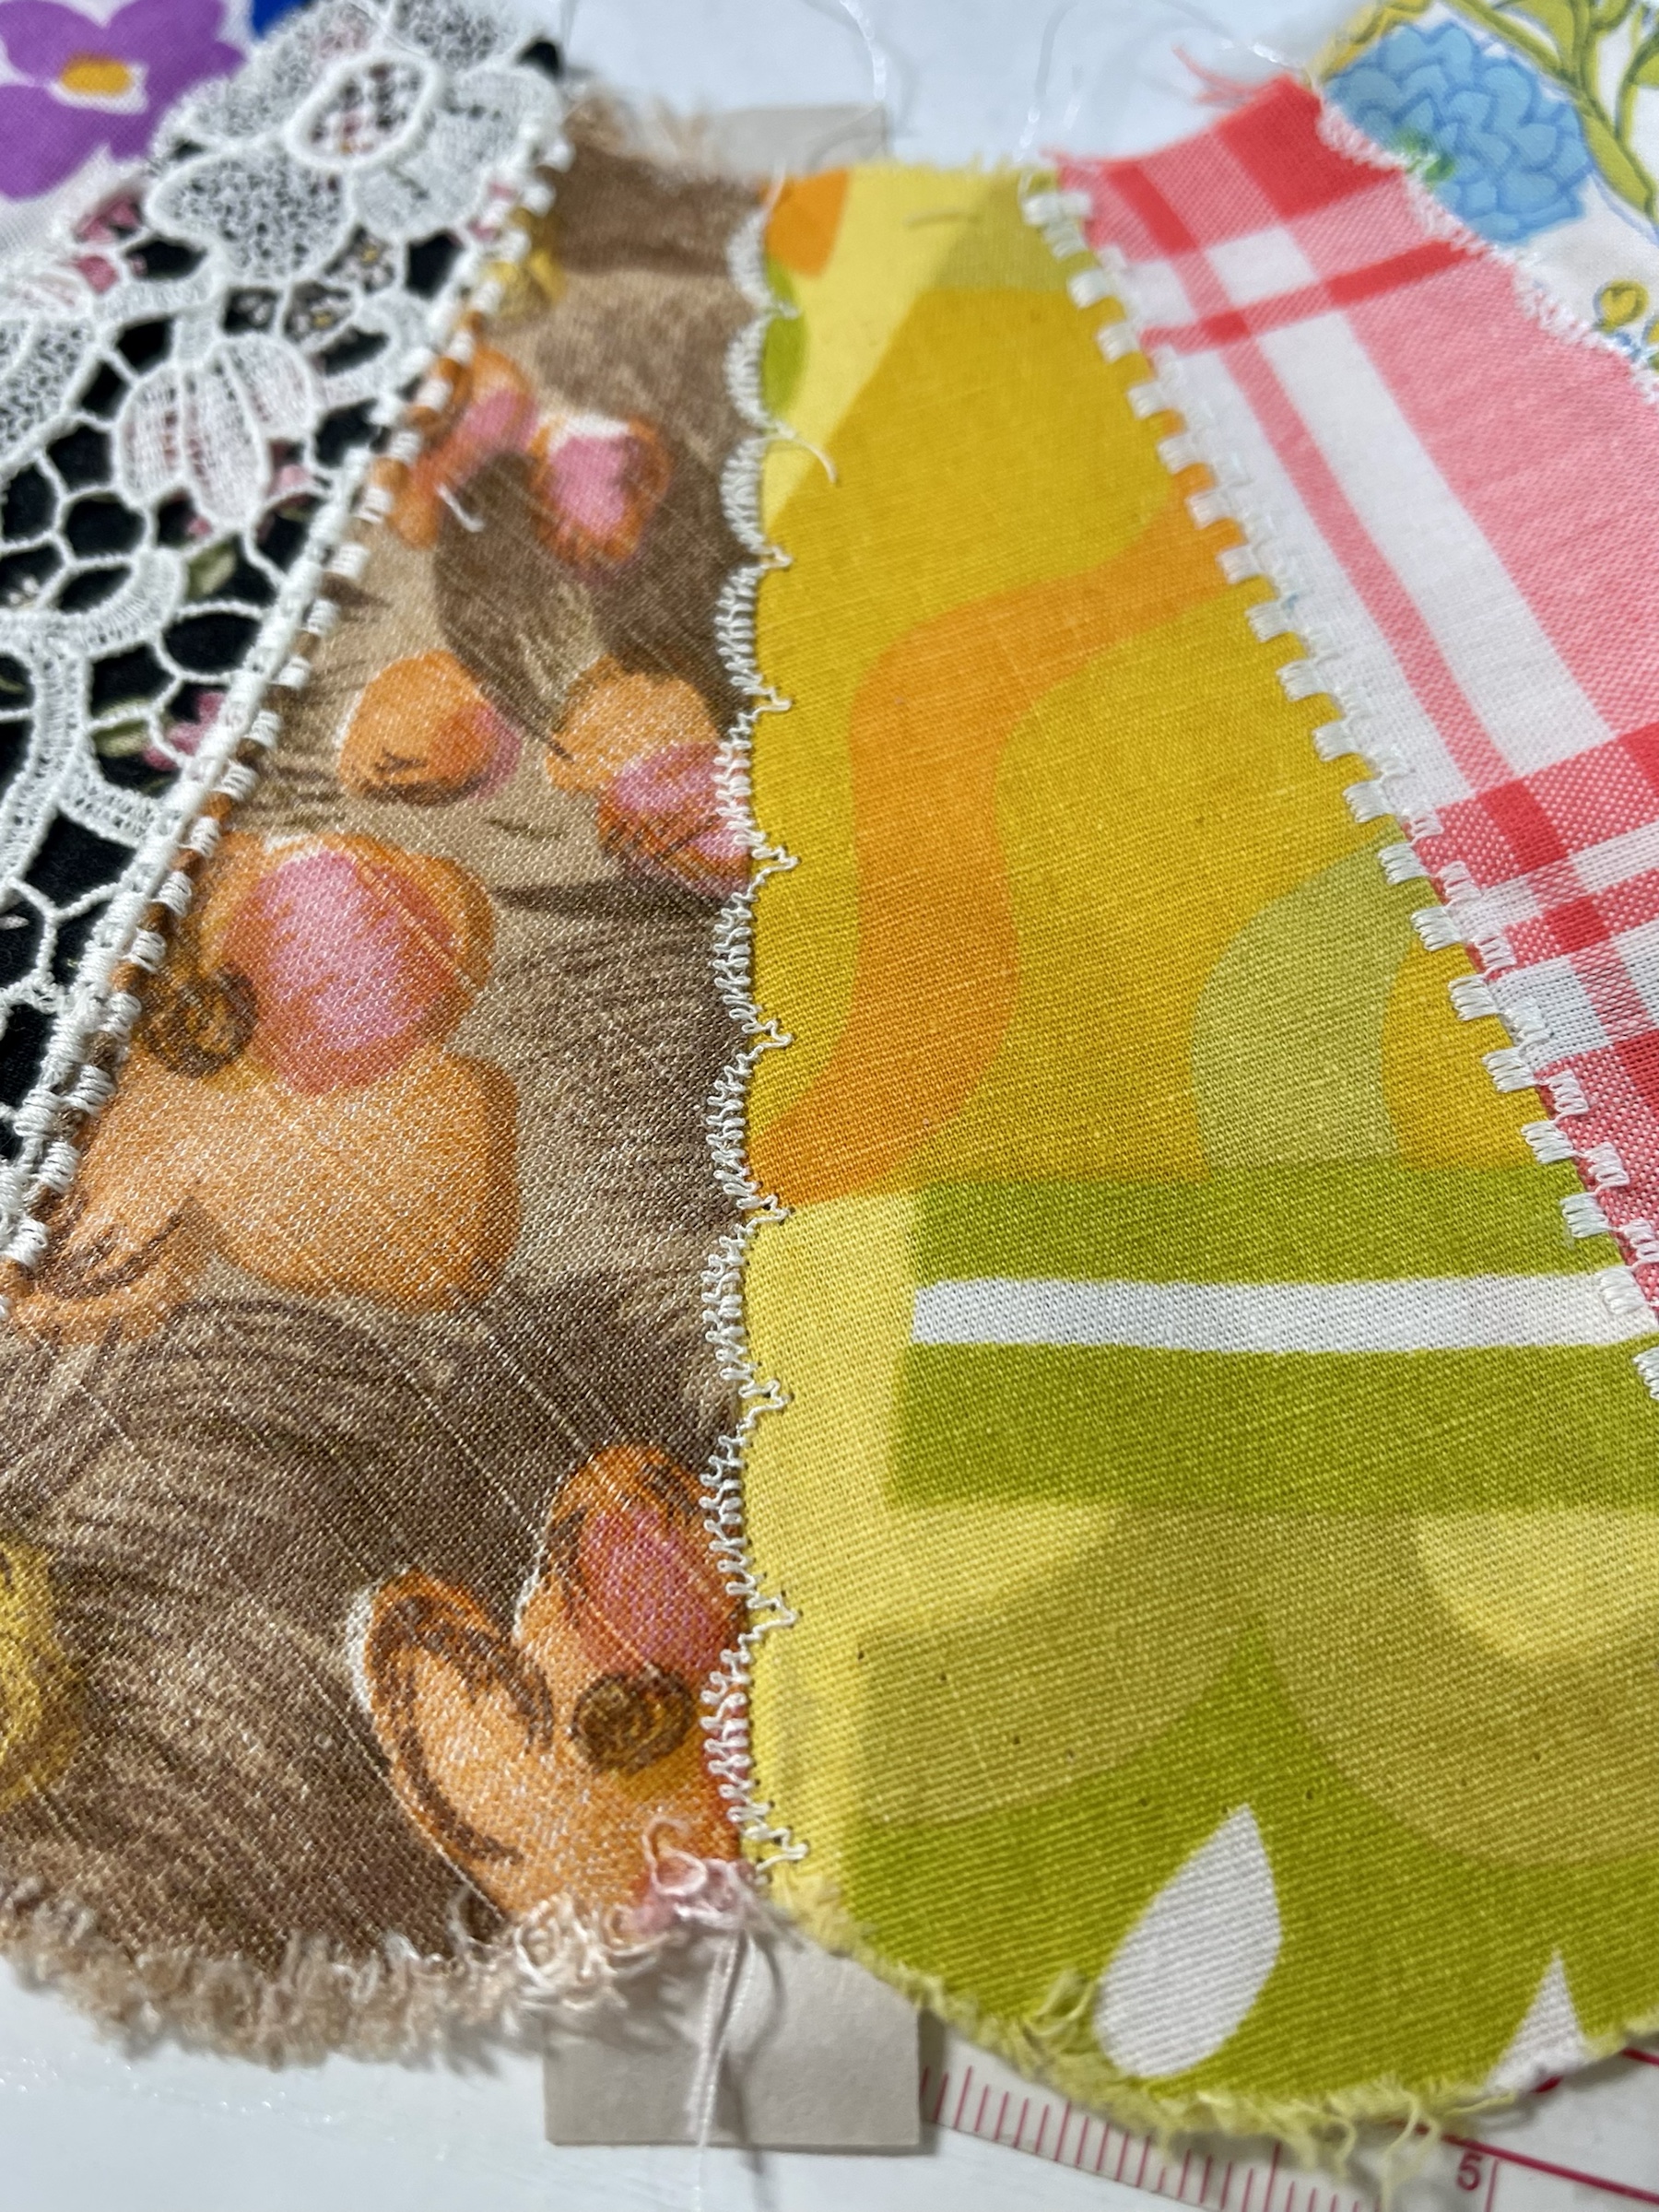
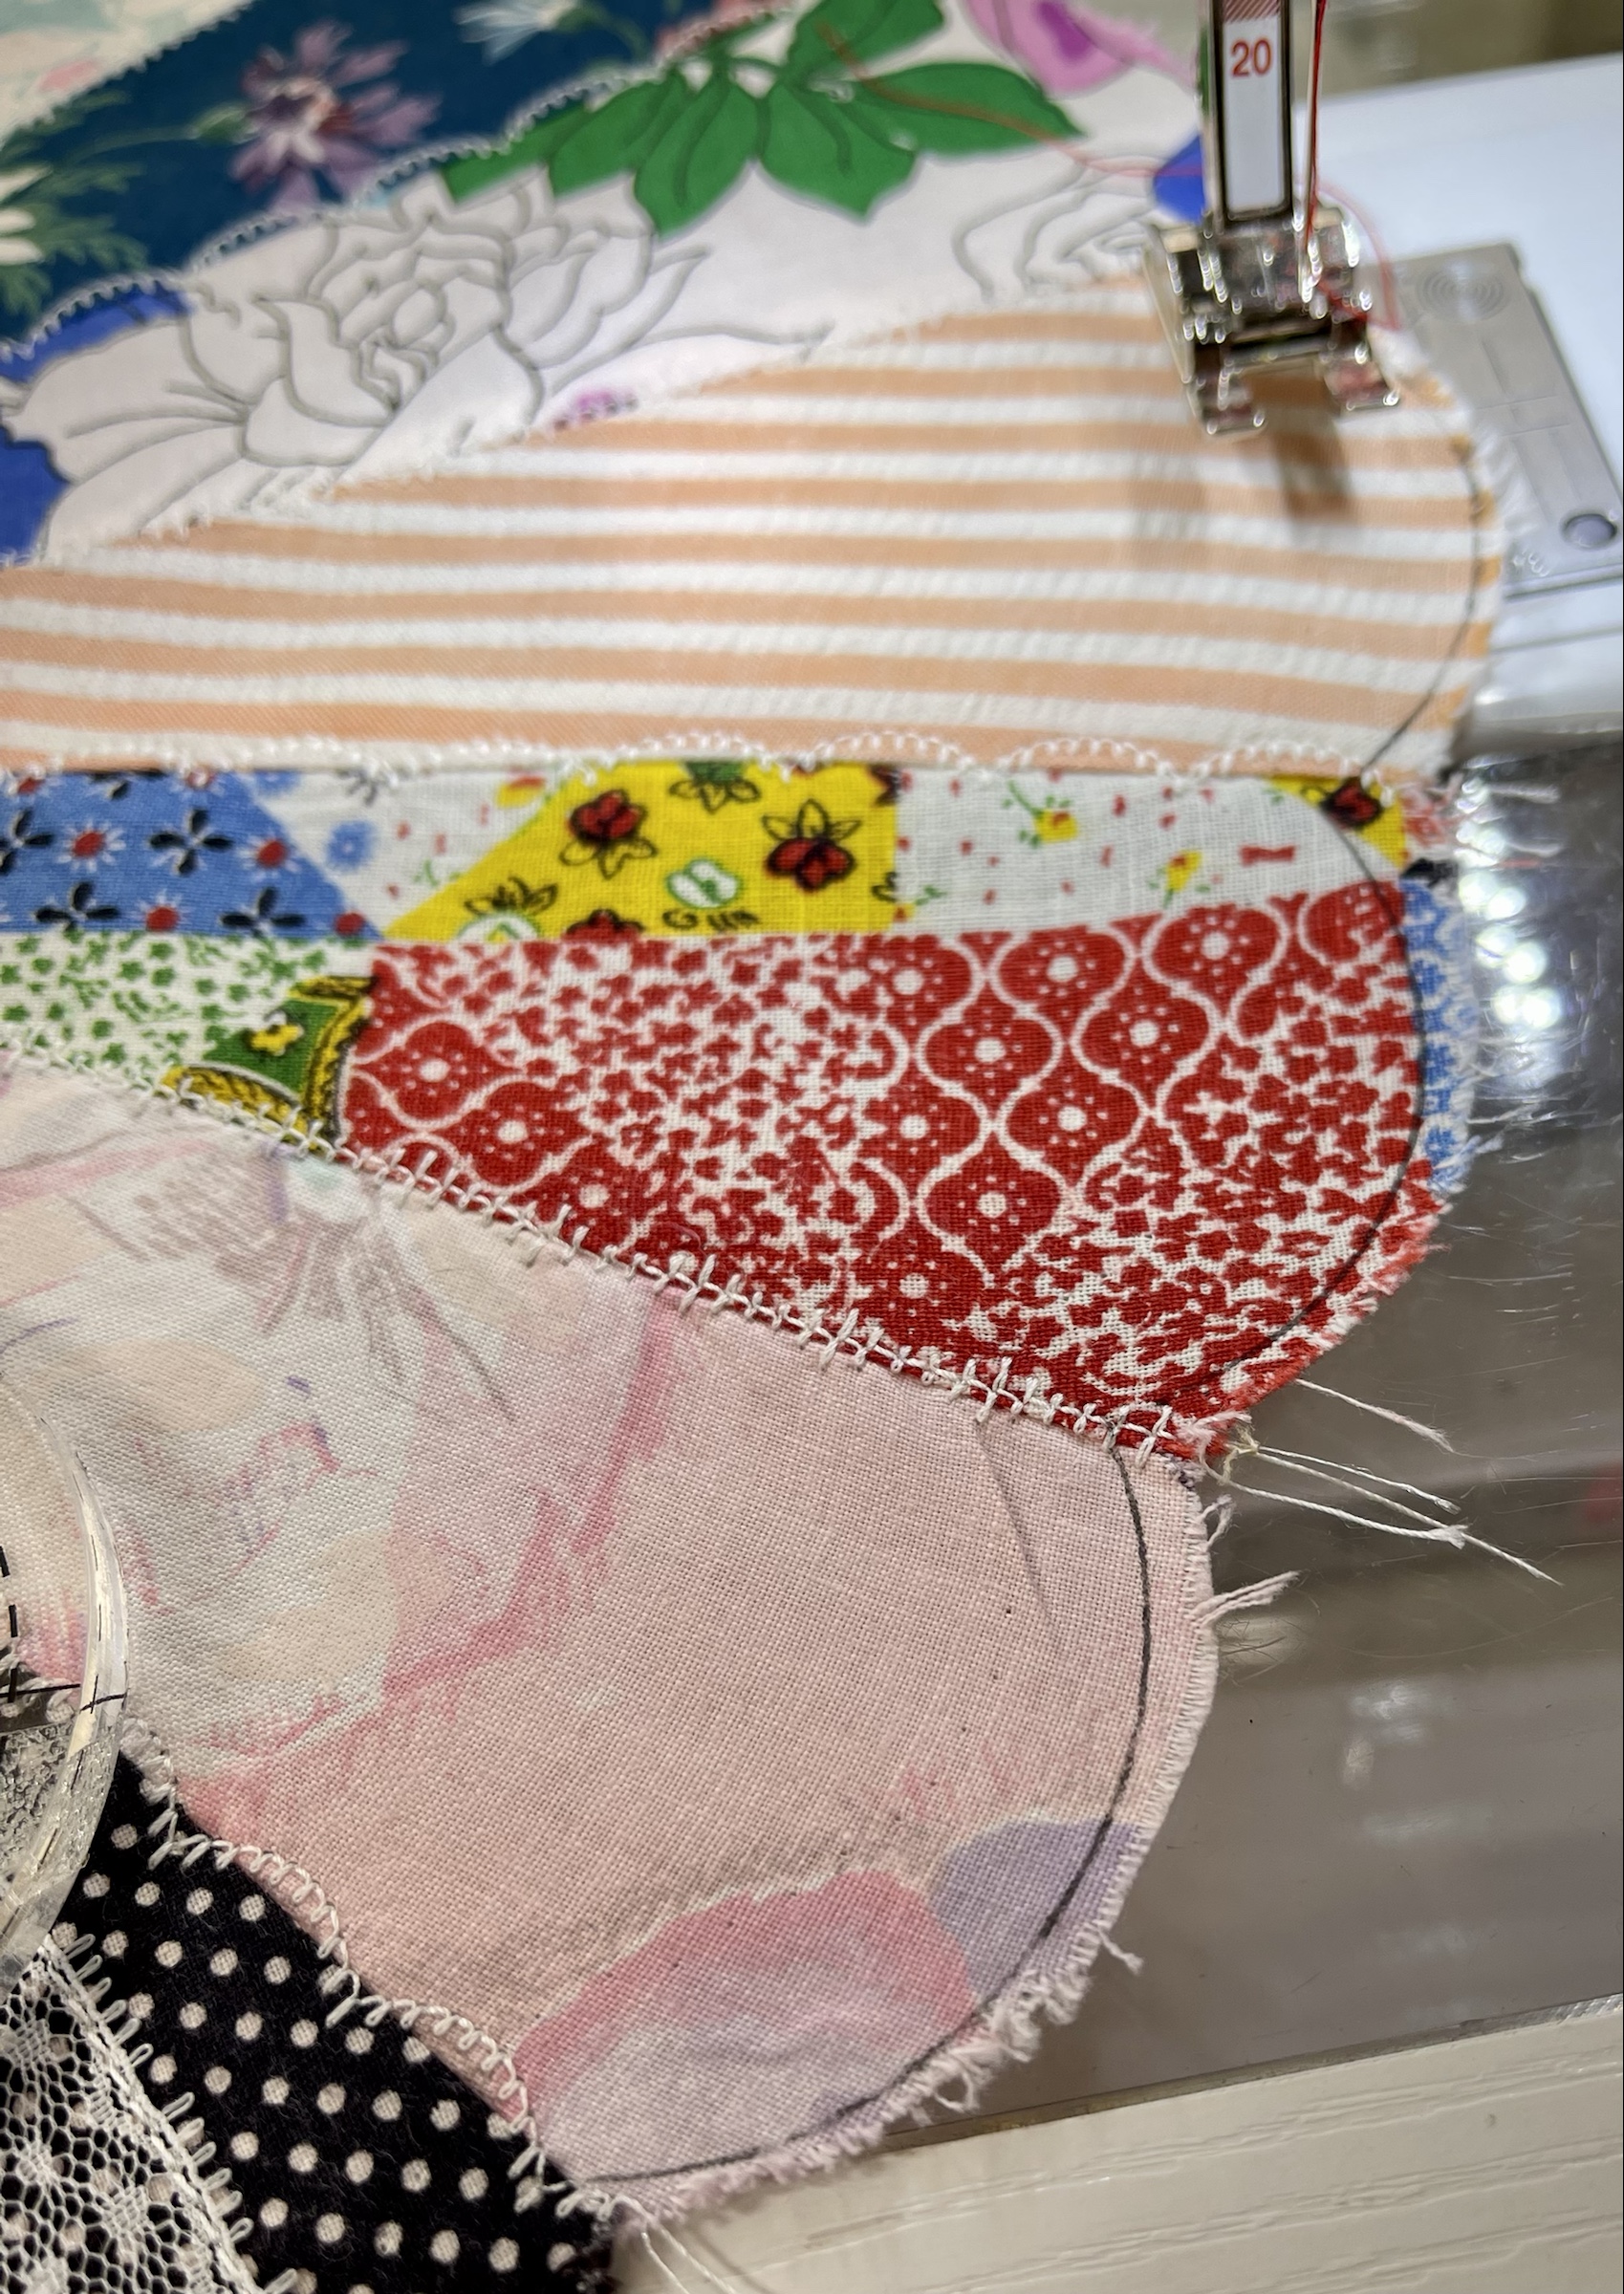
But before I addressed the centers and the petal lengths I tackle the various drab fabrics by dressing them up with vintage laces, trims and sheer fabrics.
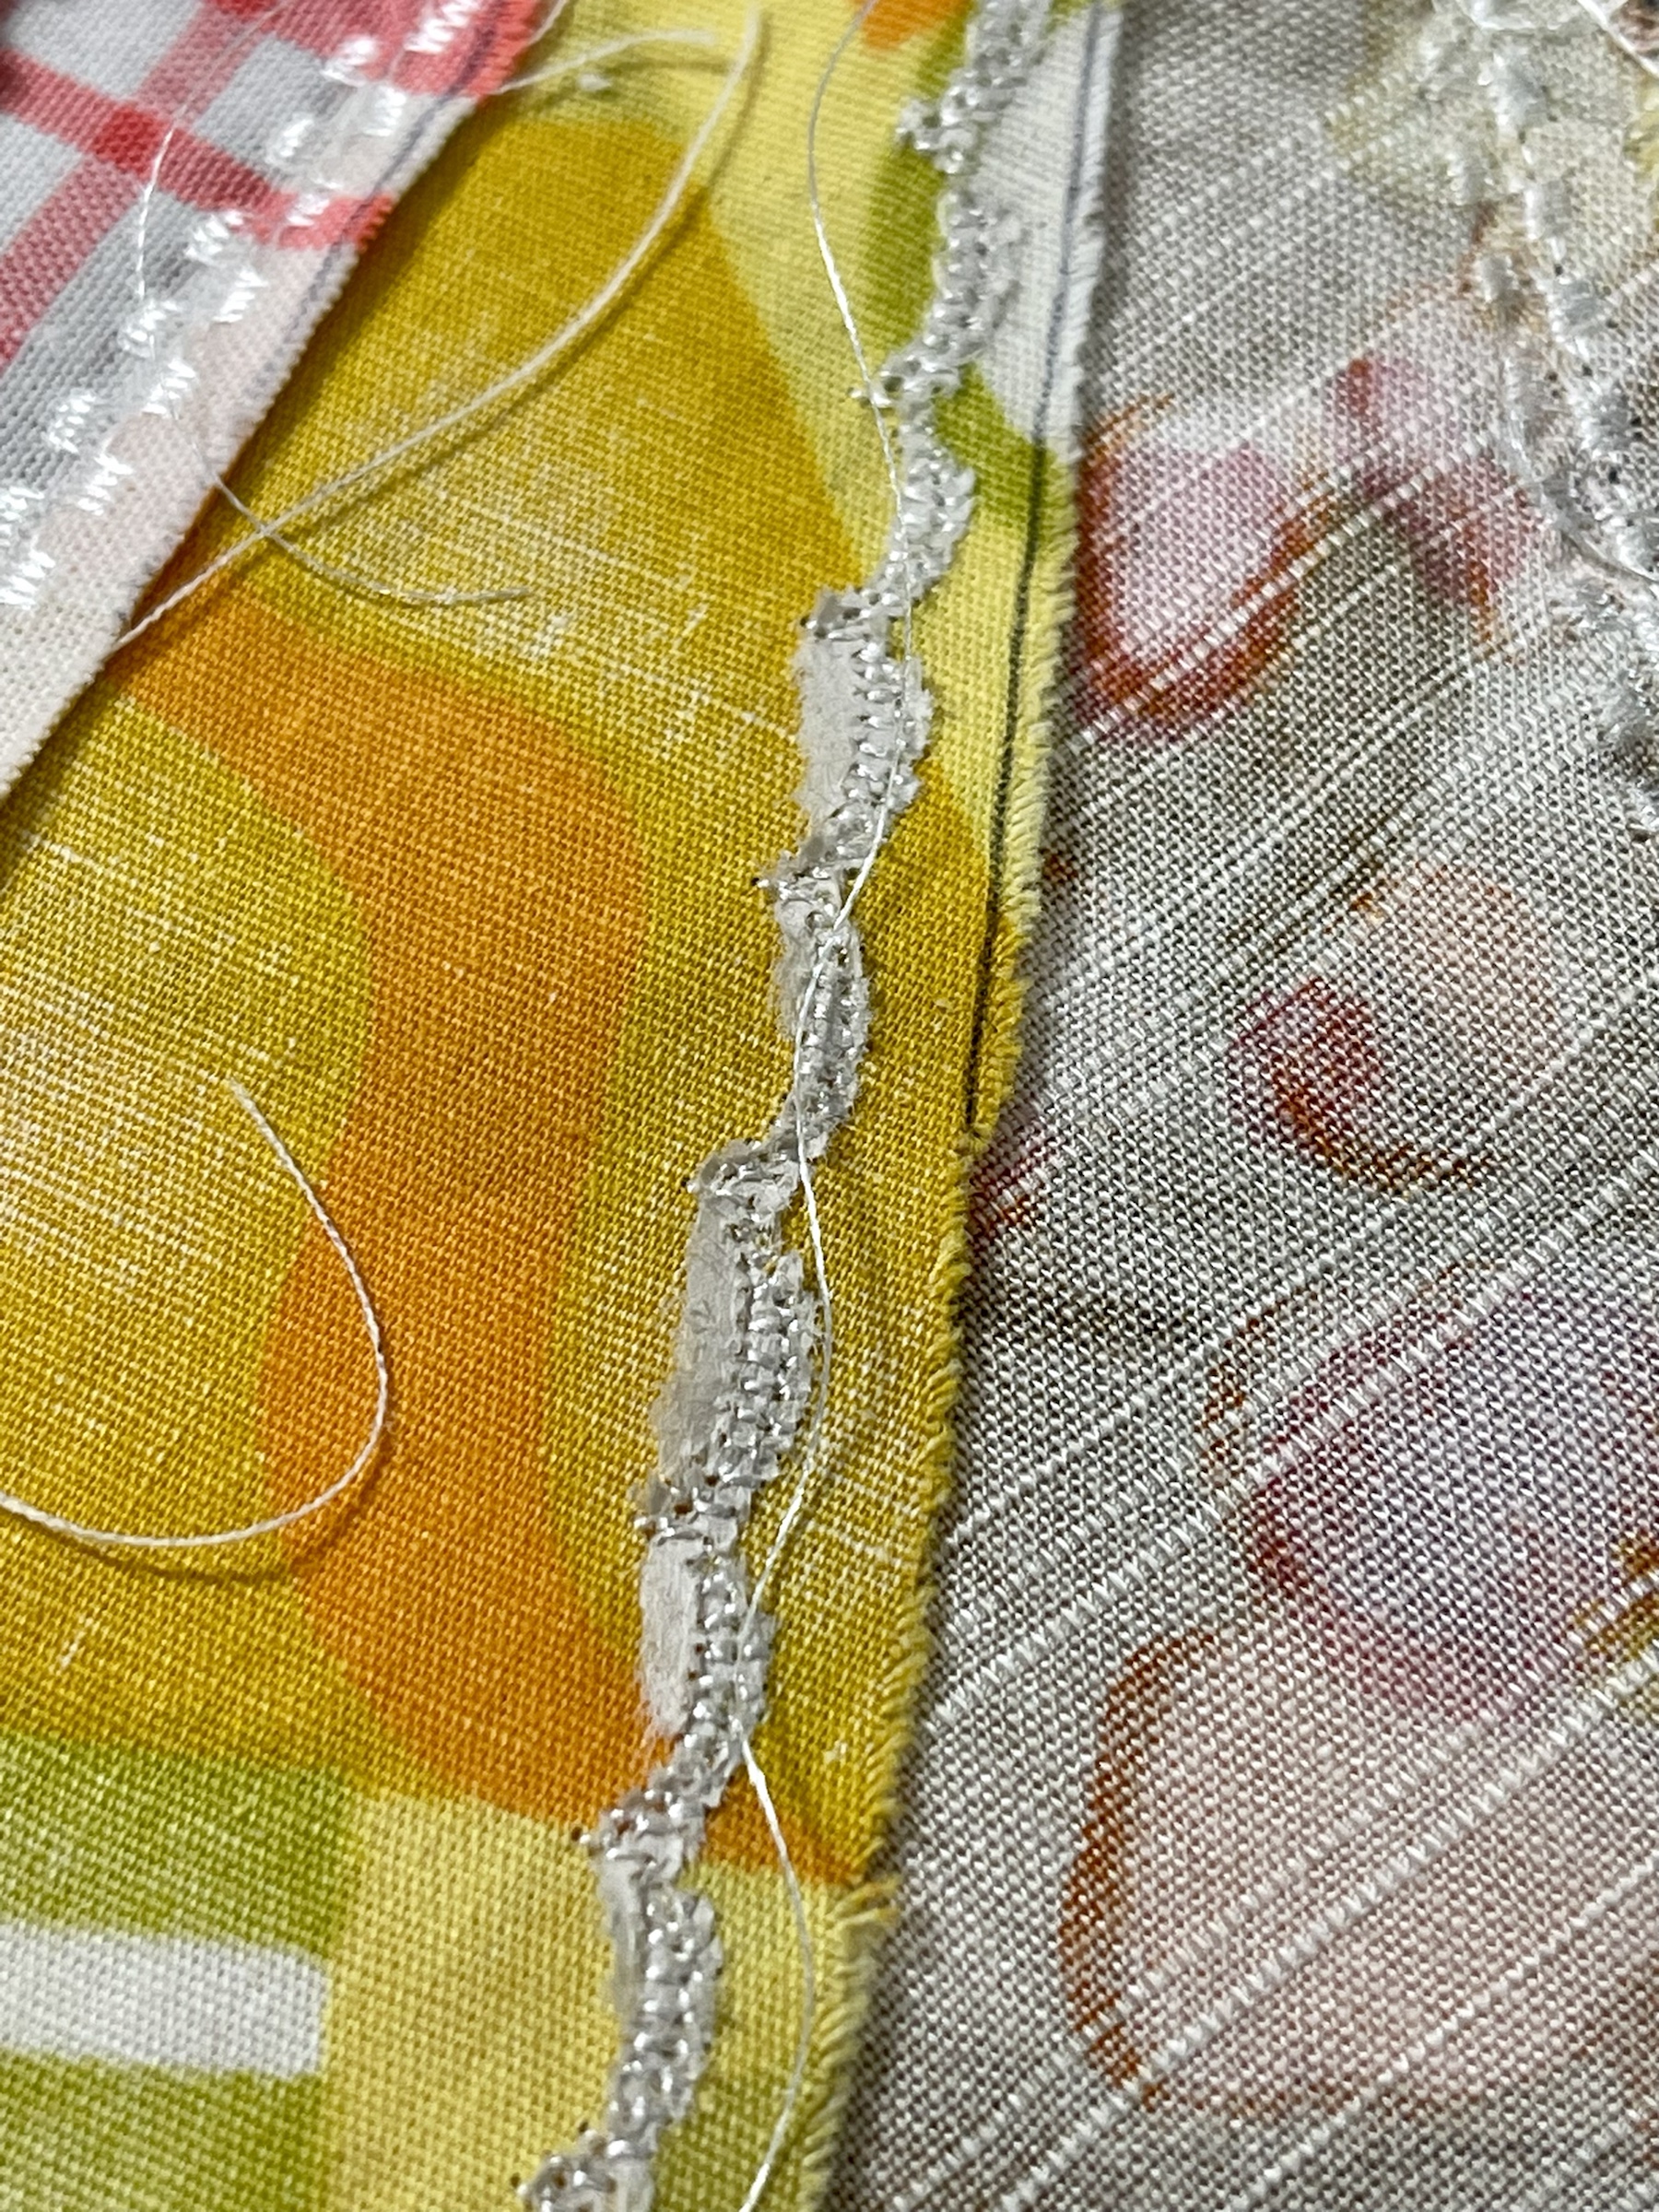
Once I added laces, etc., using the built in stitches on my Bernina I address the seams. First I press all seam allowances in the same direction and then using a matte finished 50 weight light ivory thread, I stitch directly over each seam allowance.
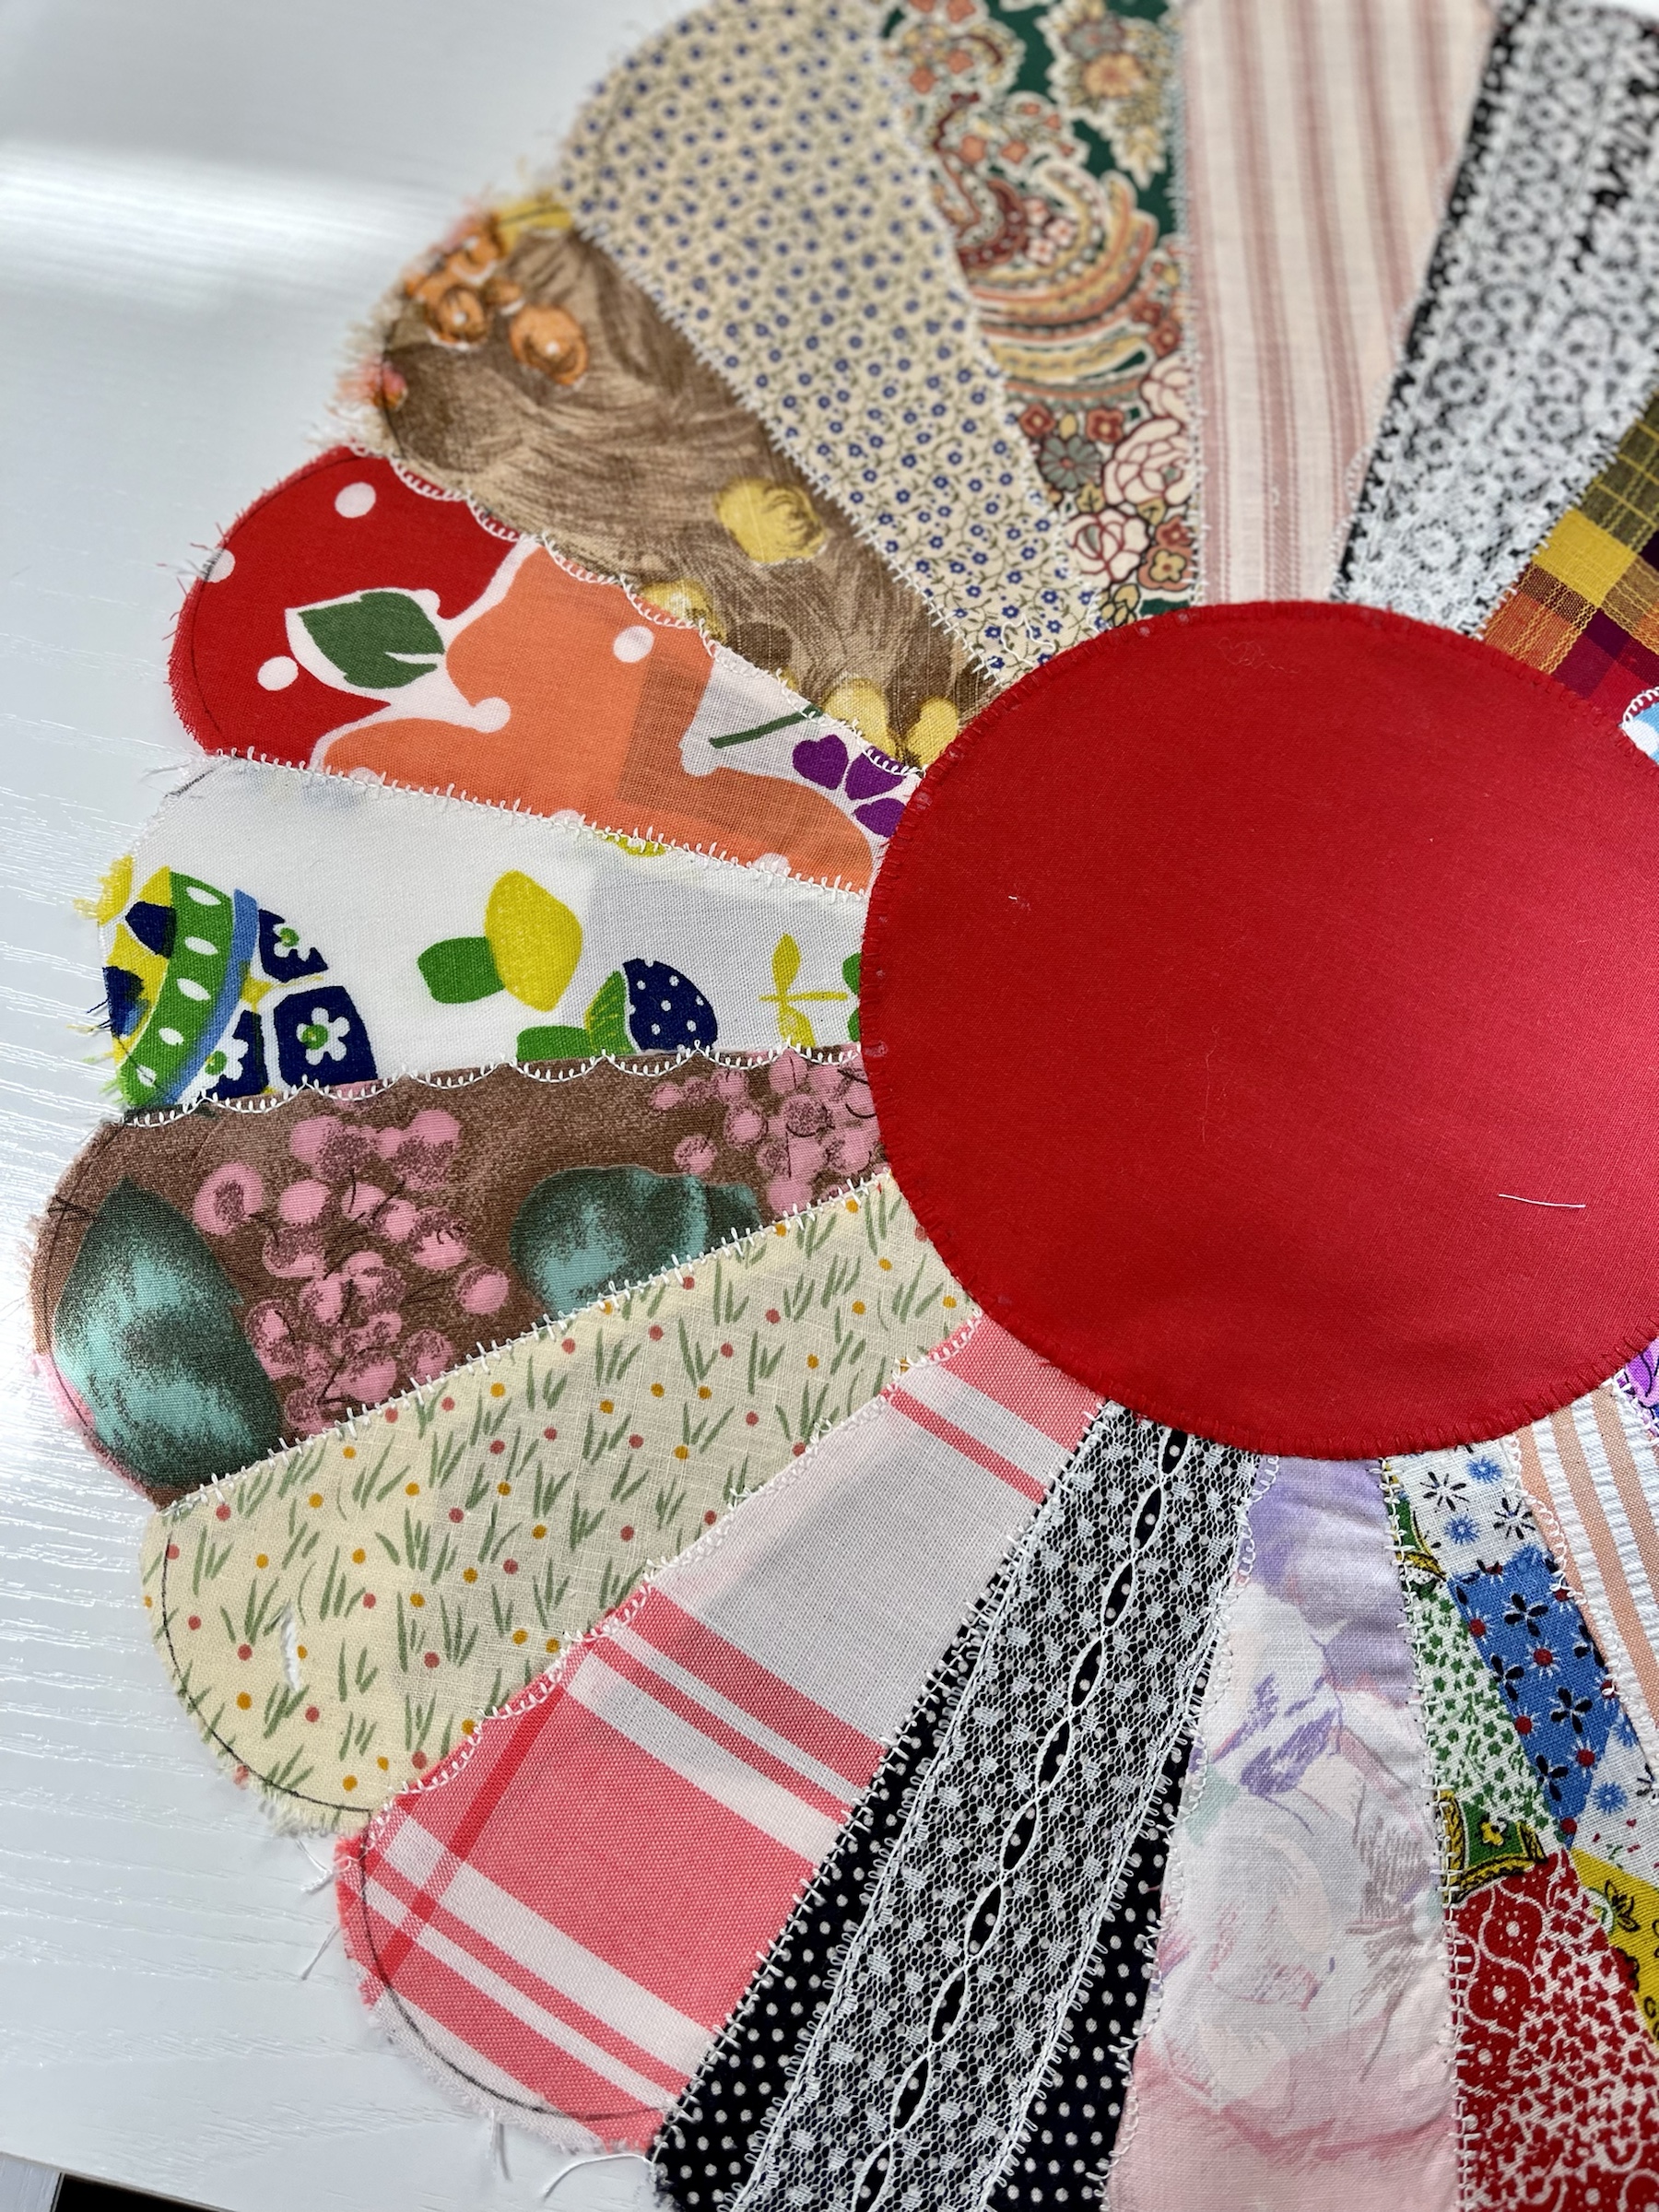
Compare the two pictures above to see the difference the laces and decorative stitches have made.
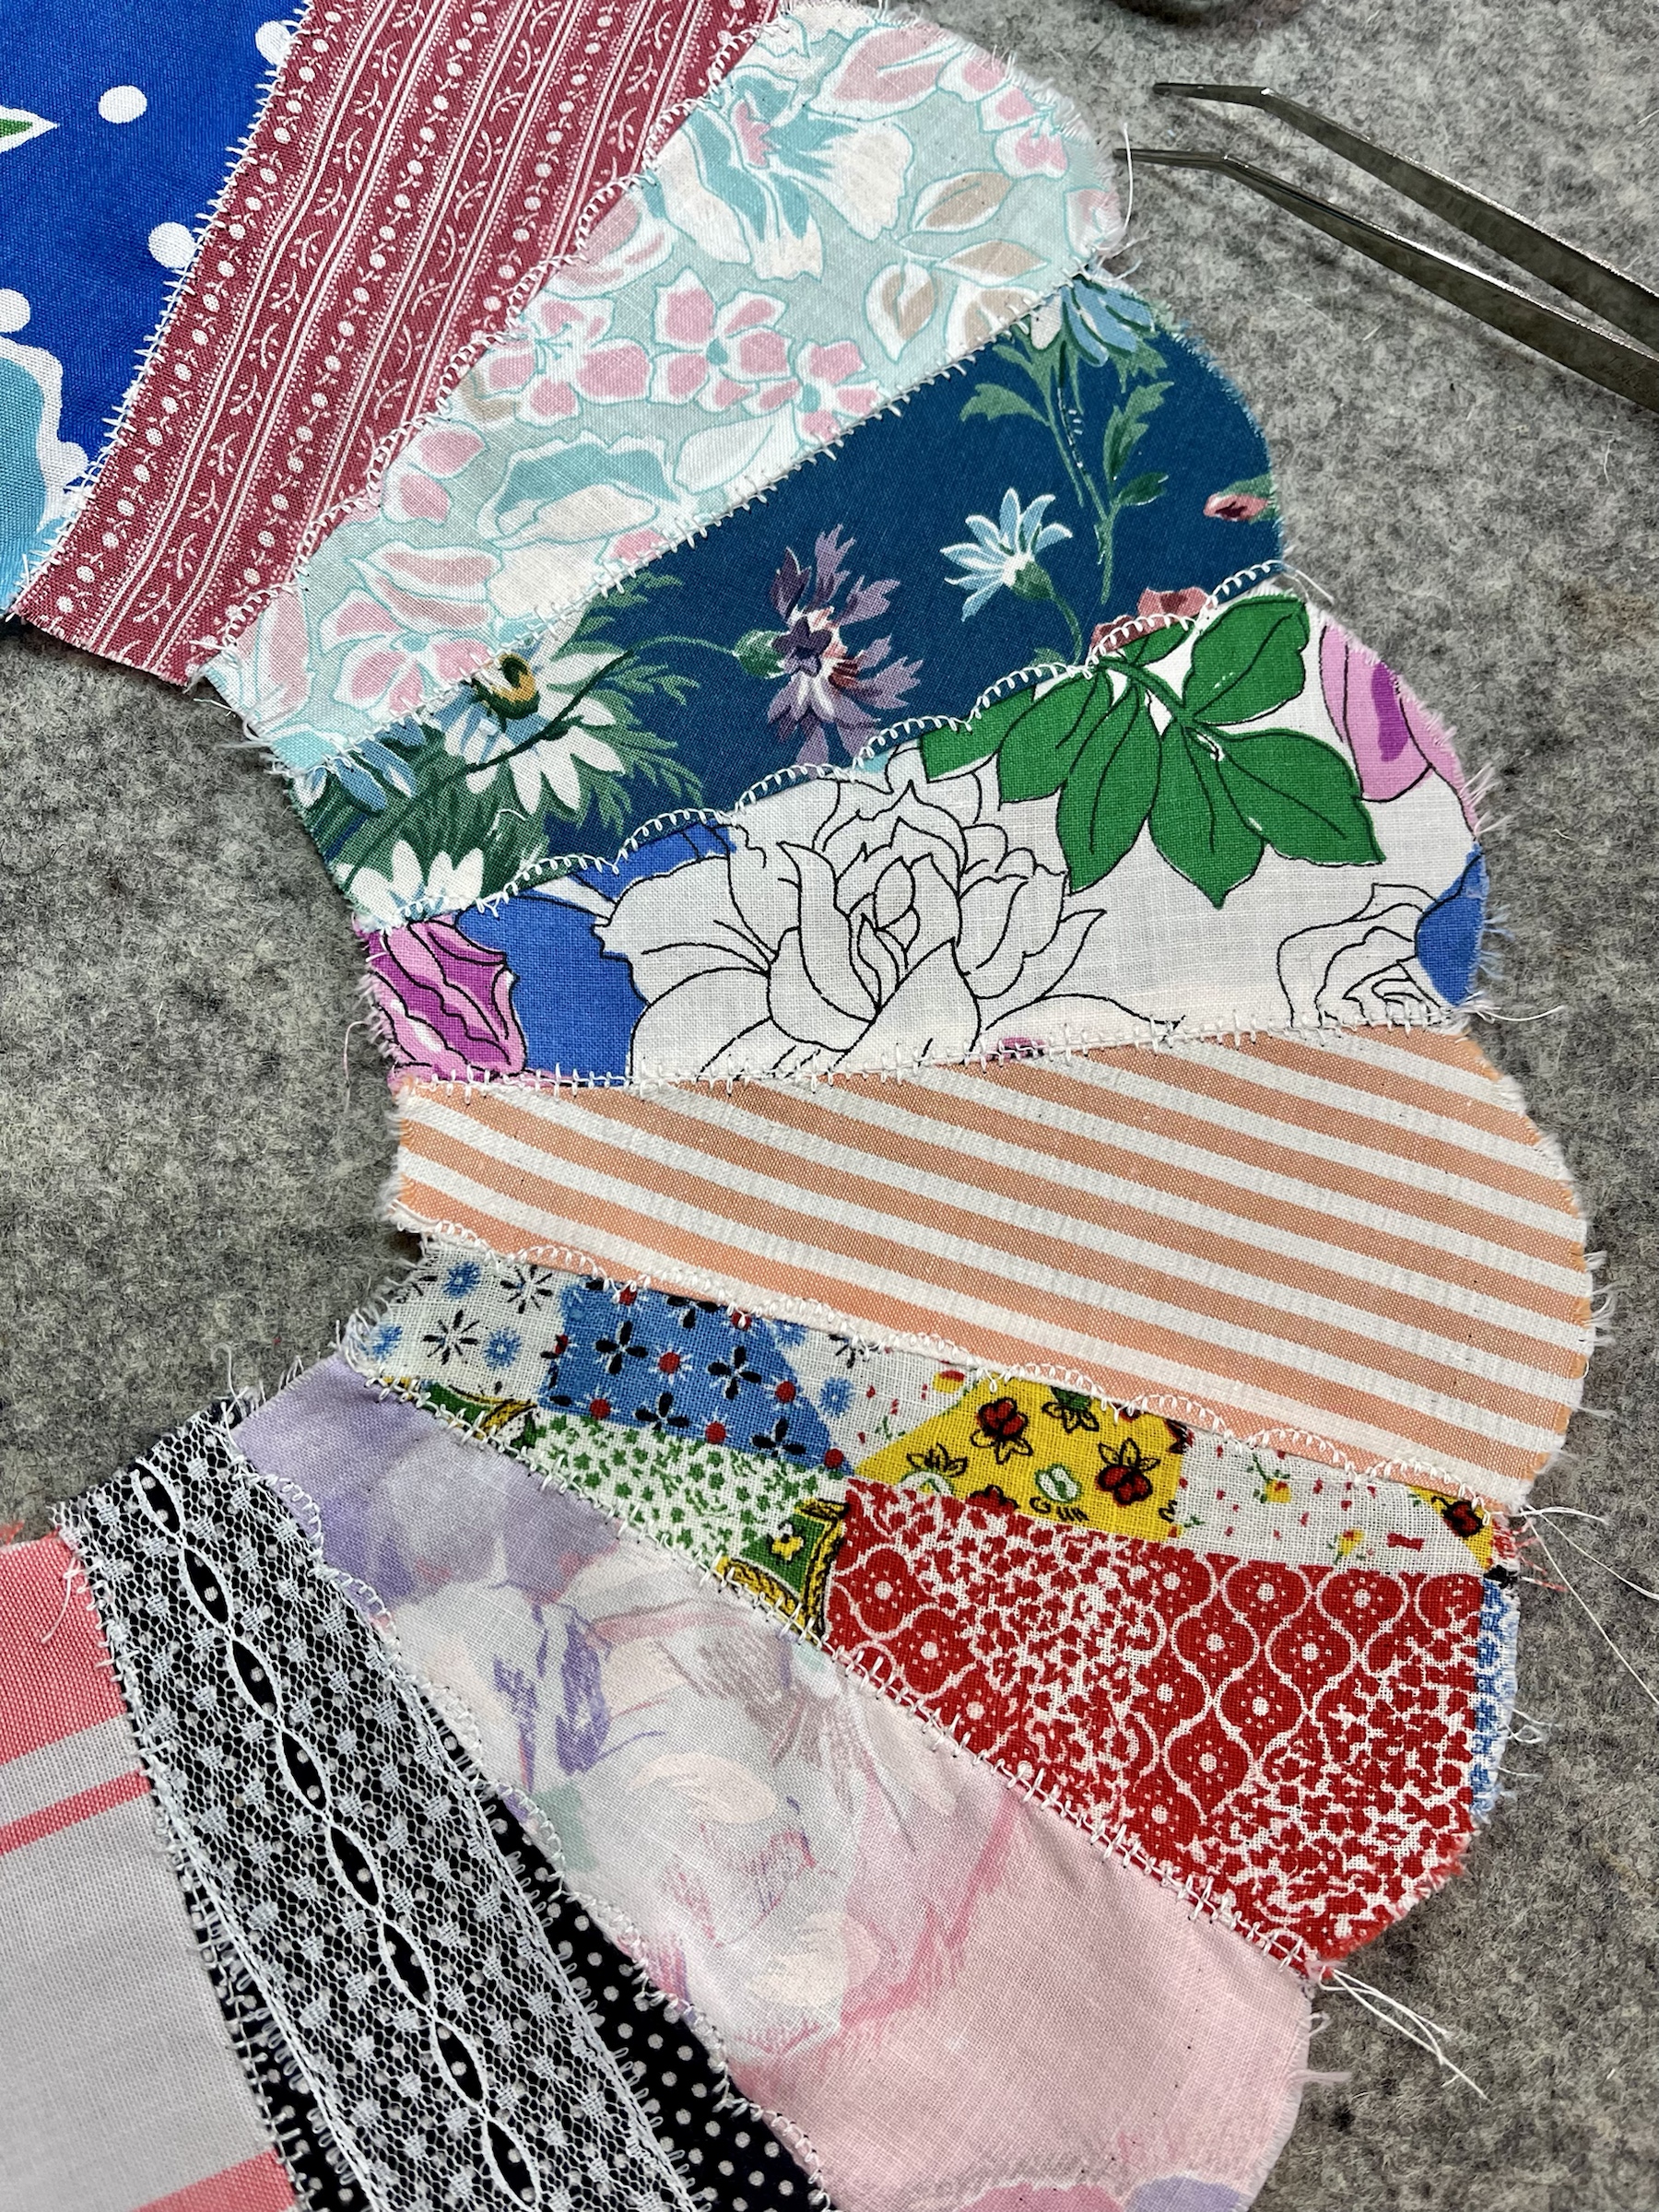
I used 2 different decorative stitches on each Dresden, alternating seams.
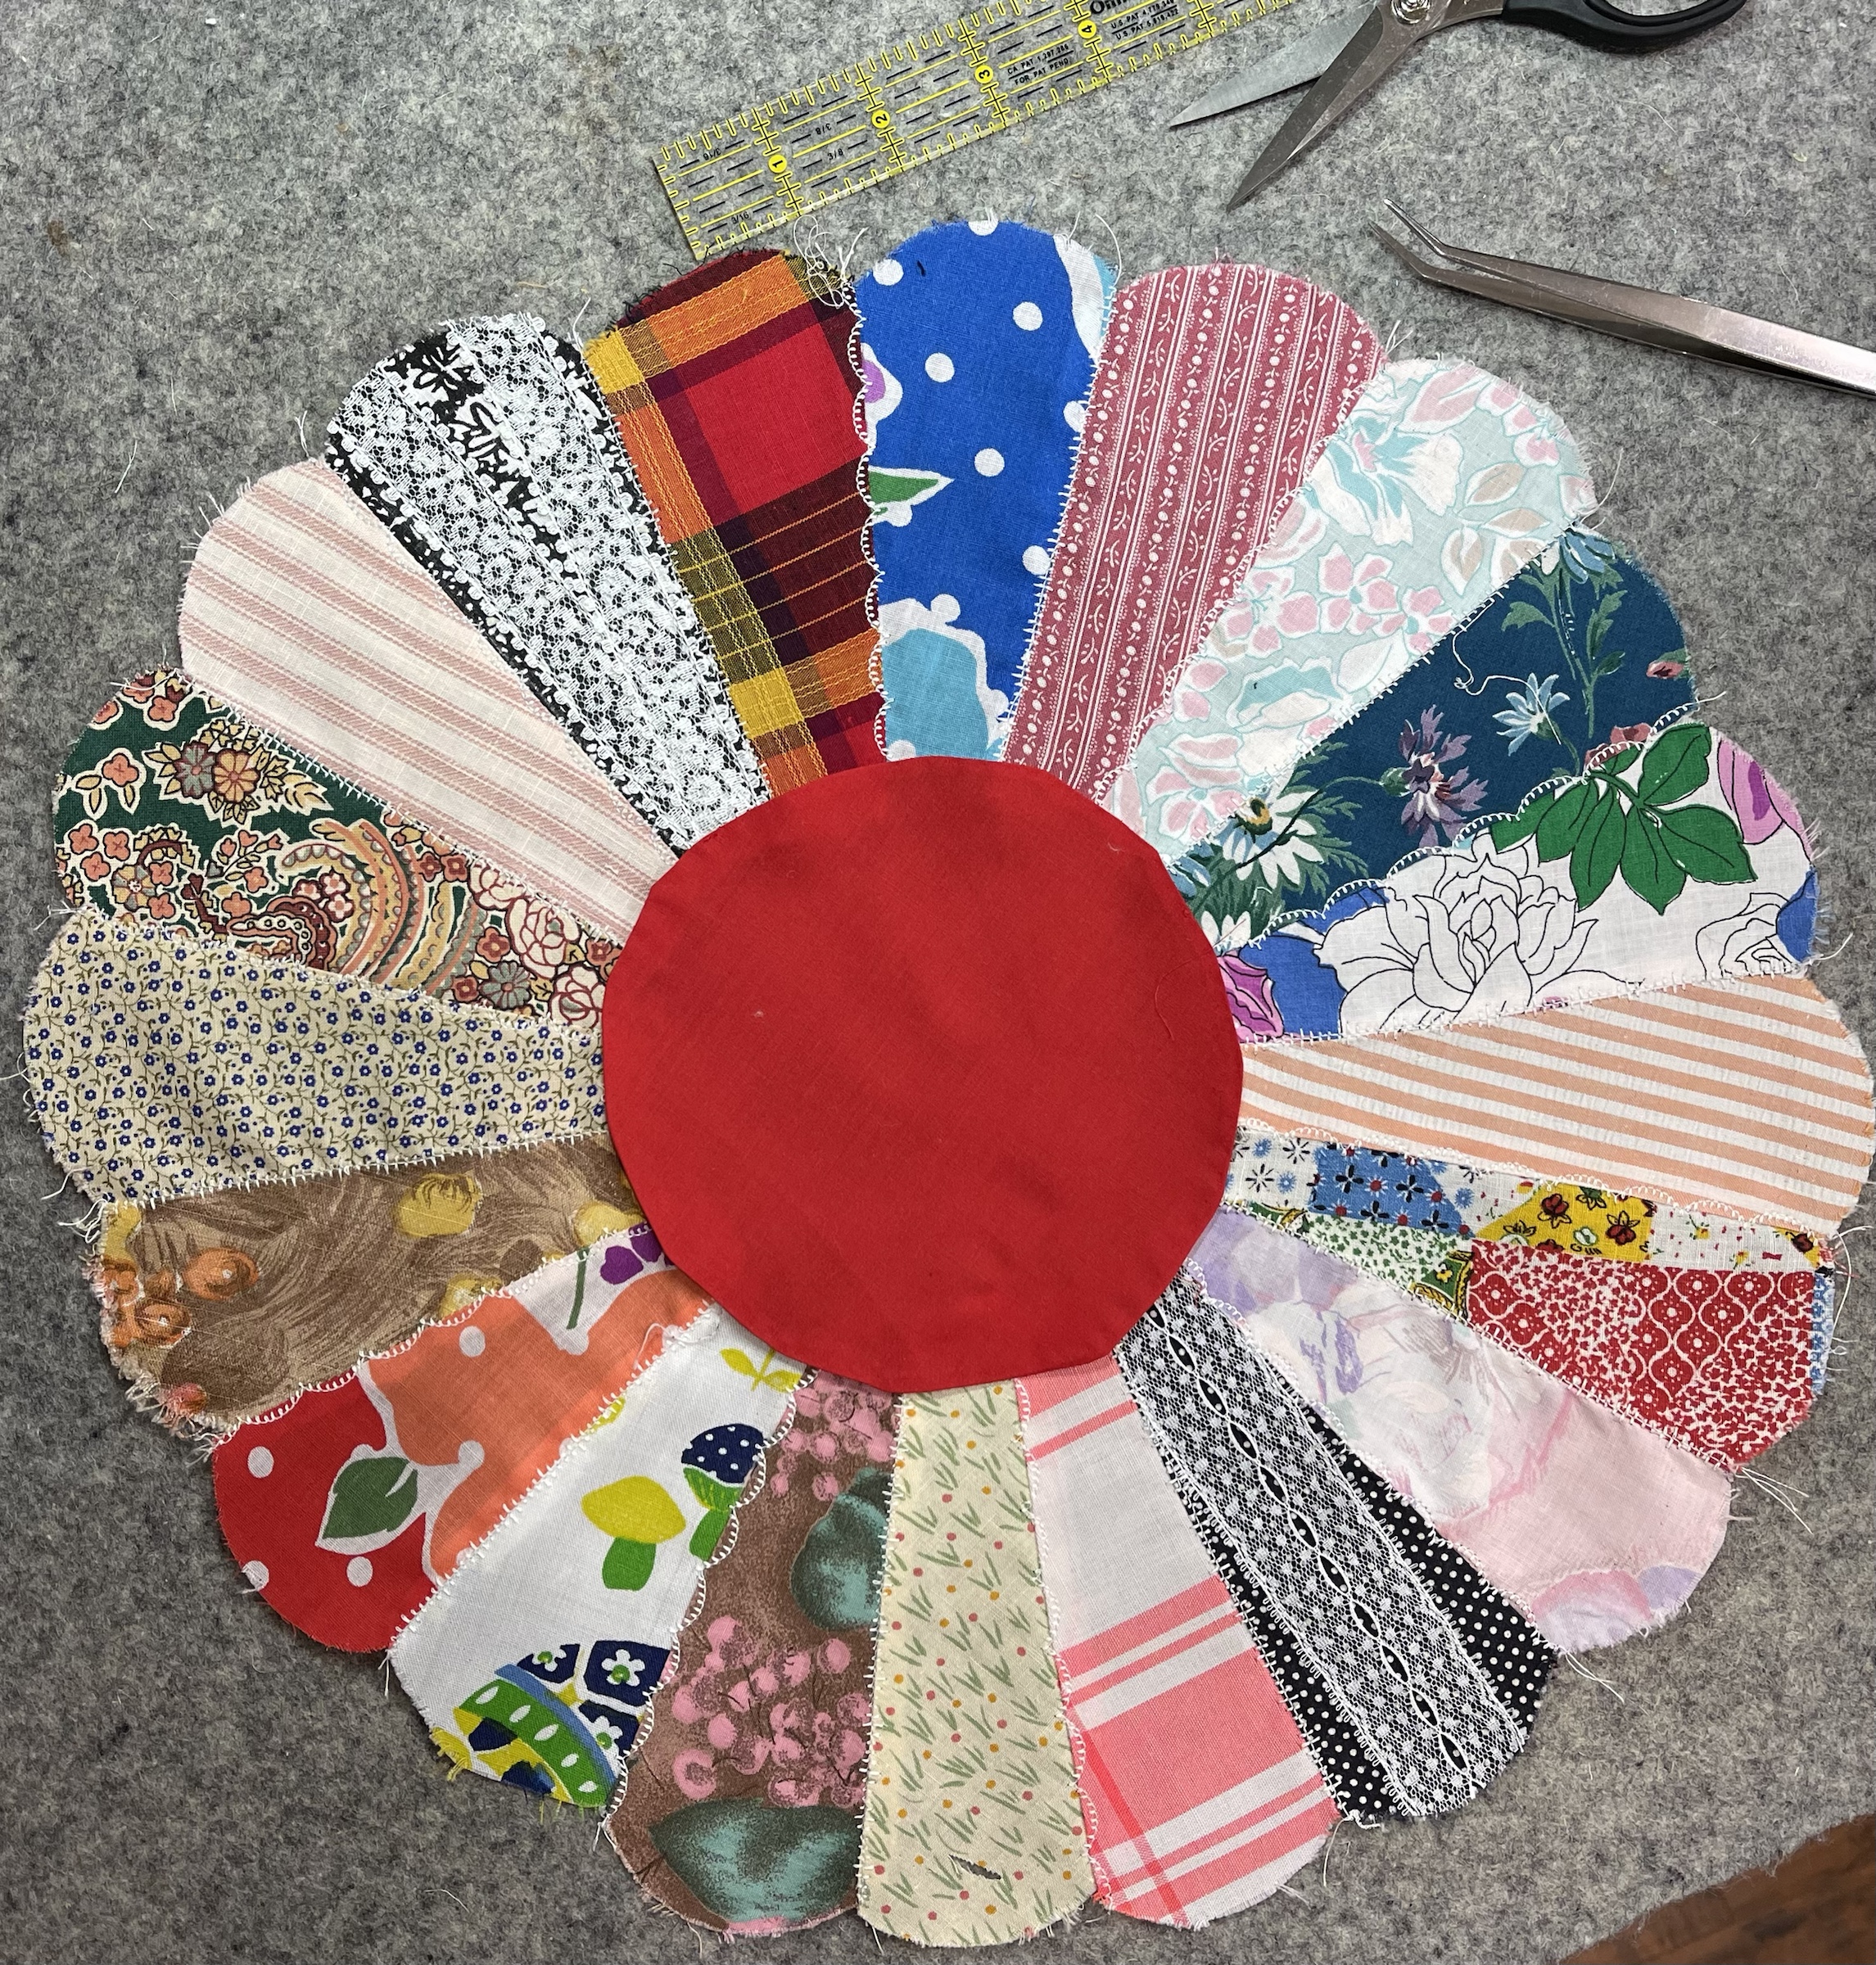
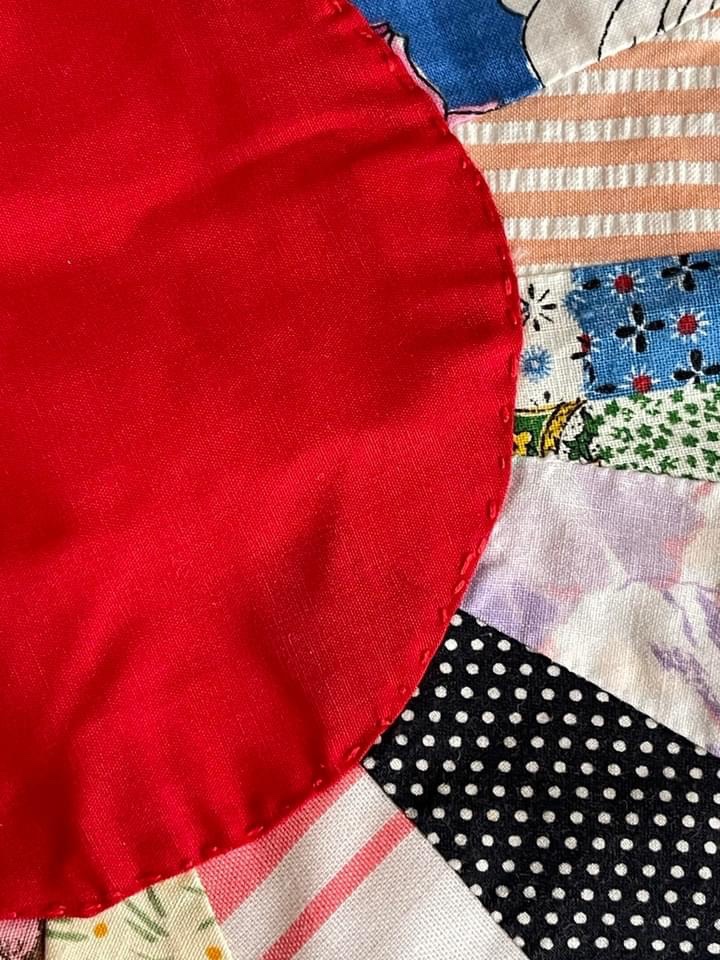
And here’s the same Dresden with the red center circle laying atop.
I like how the trims and the ivory stitches give the Dresden Plate a bit of interest. I did the same thing to the remaining 11 blocks.
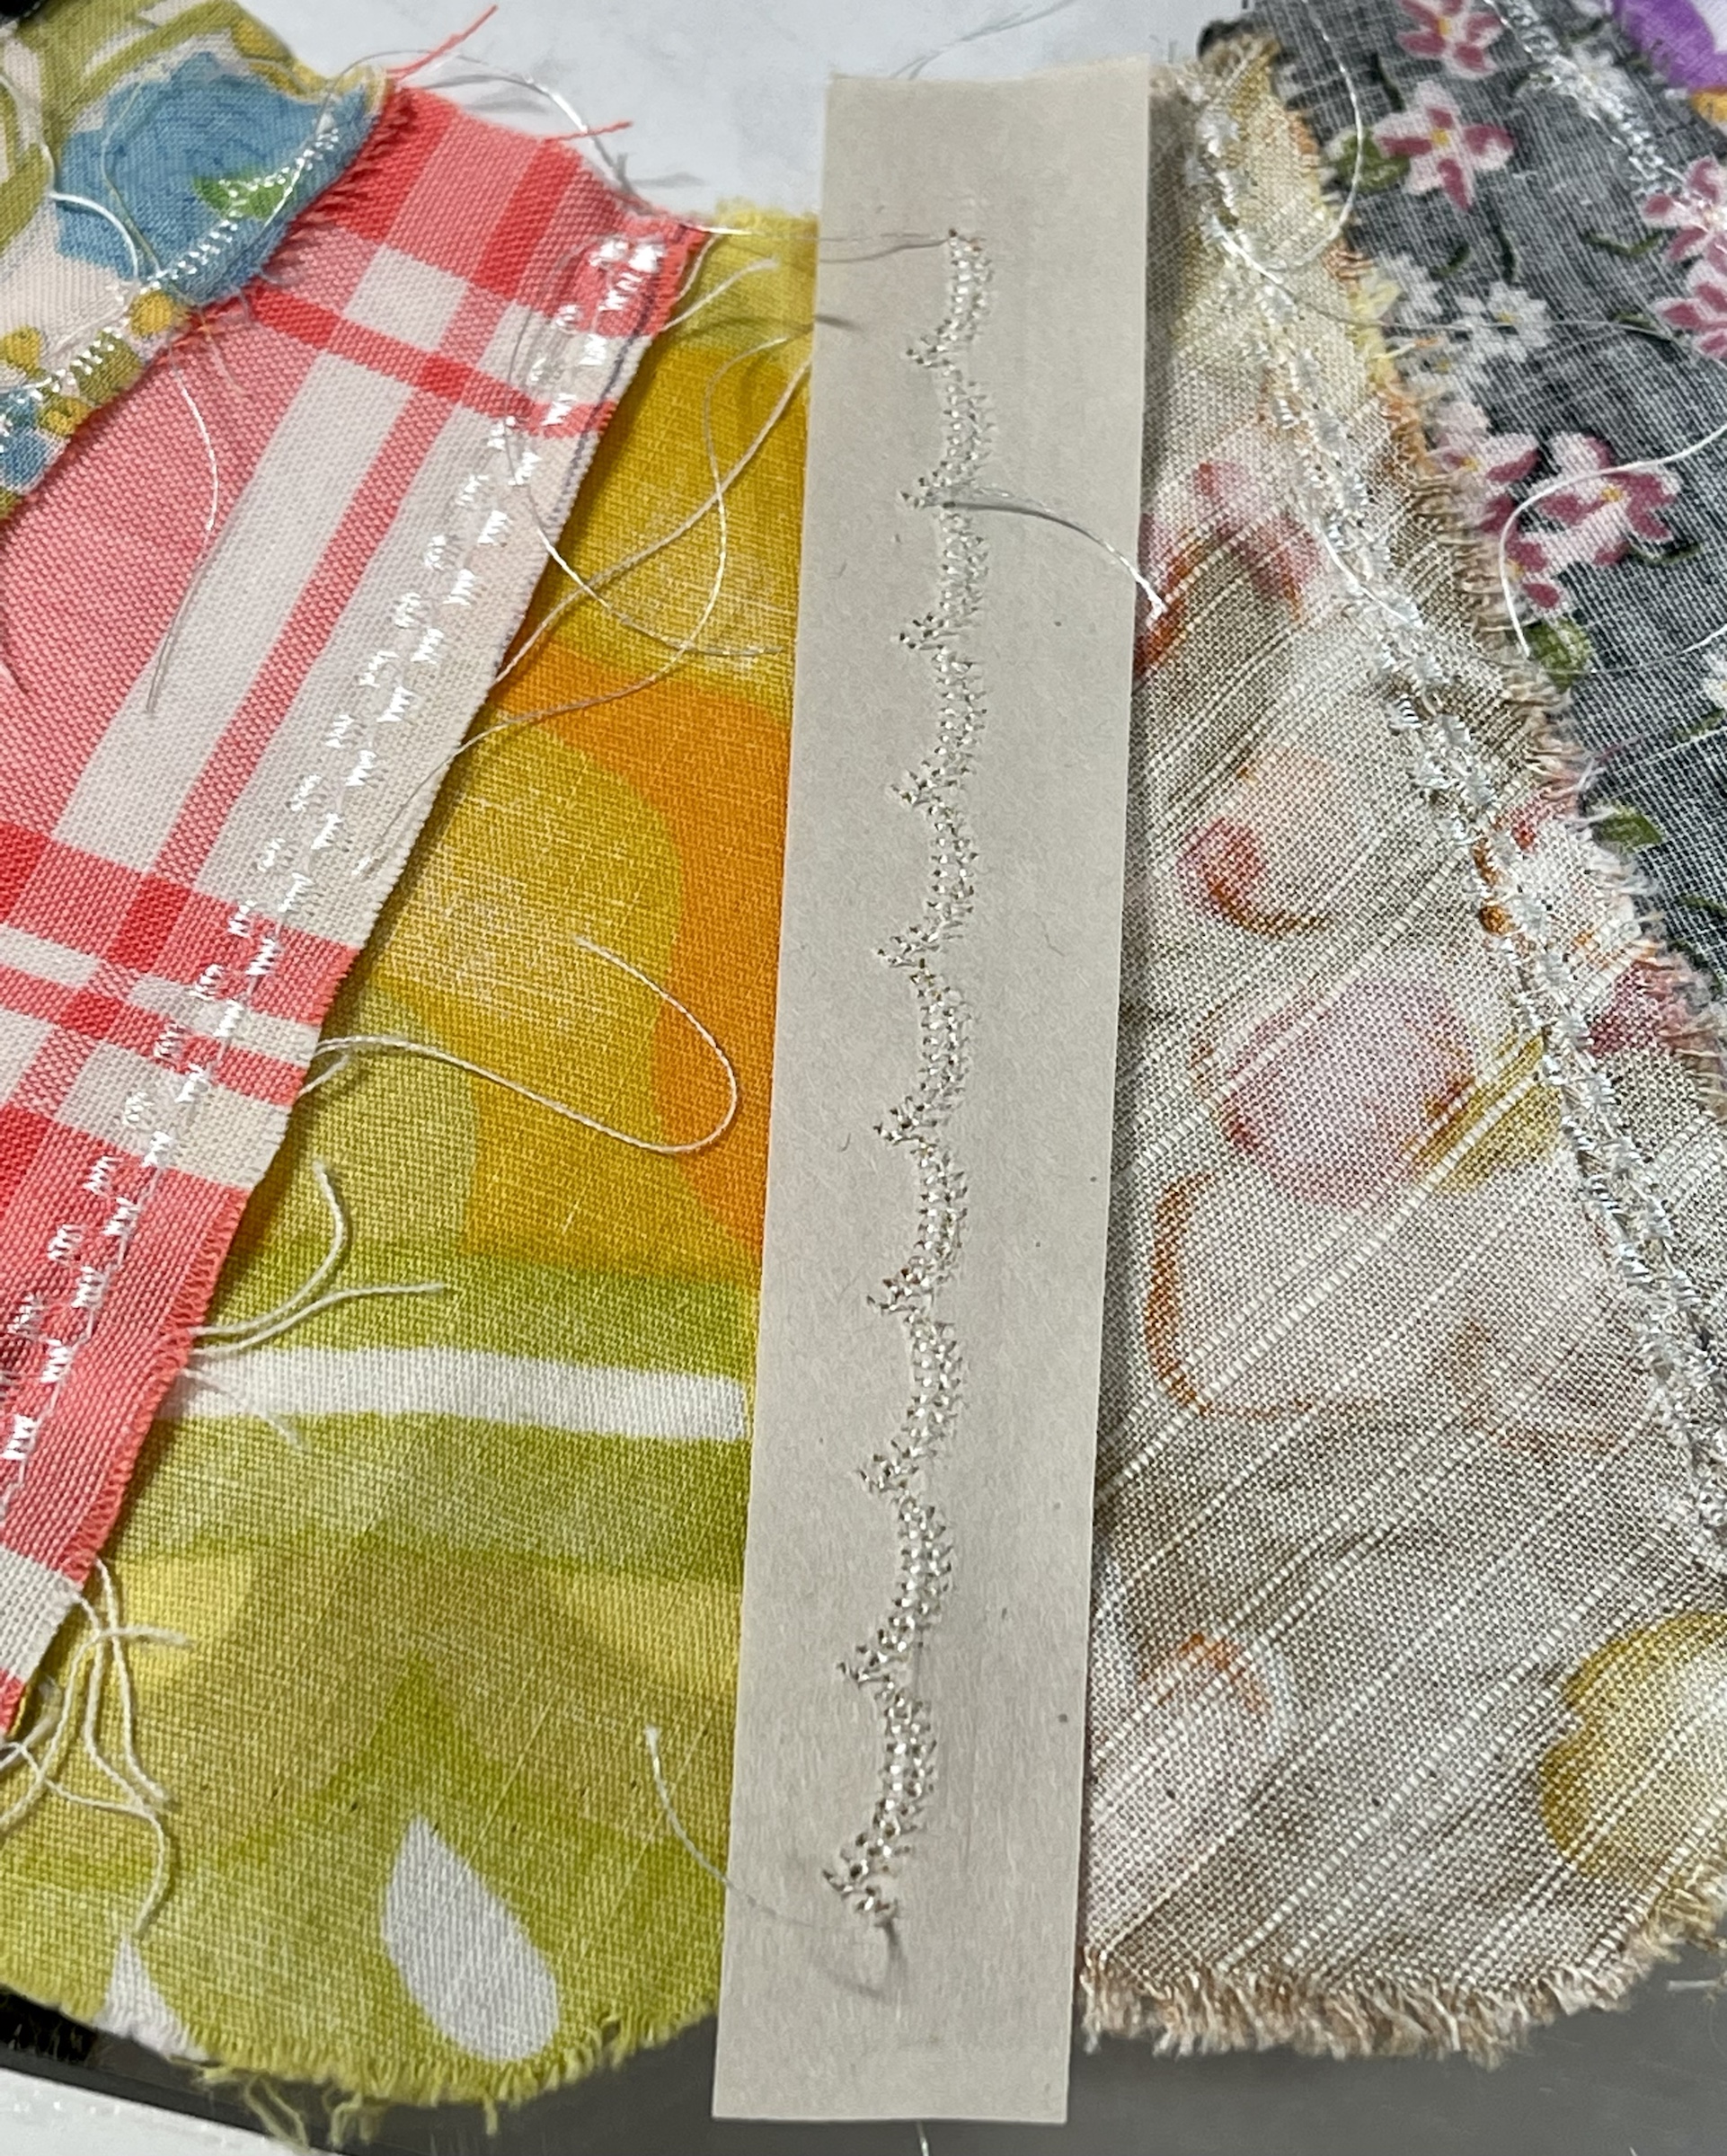
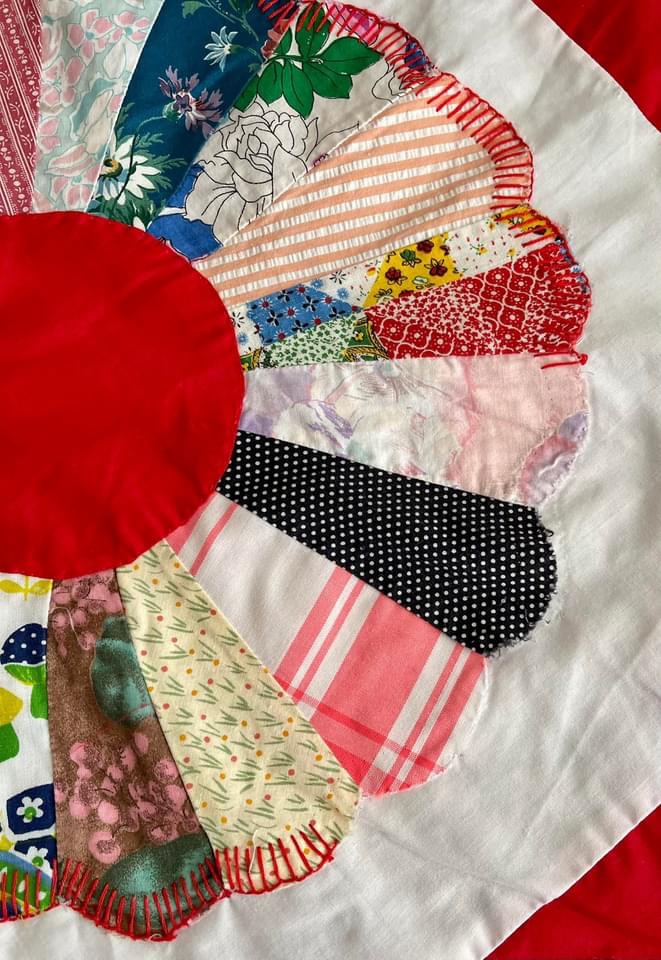
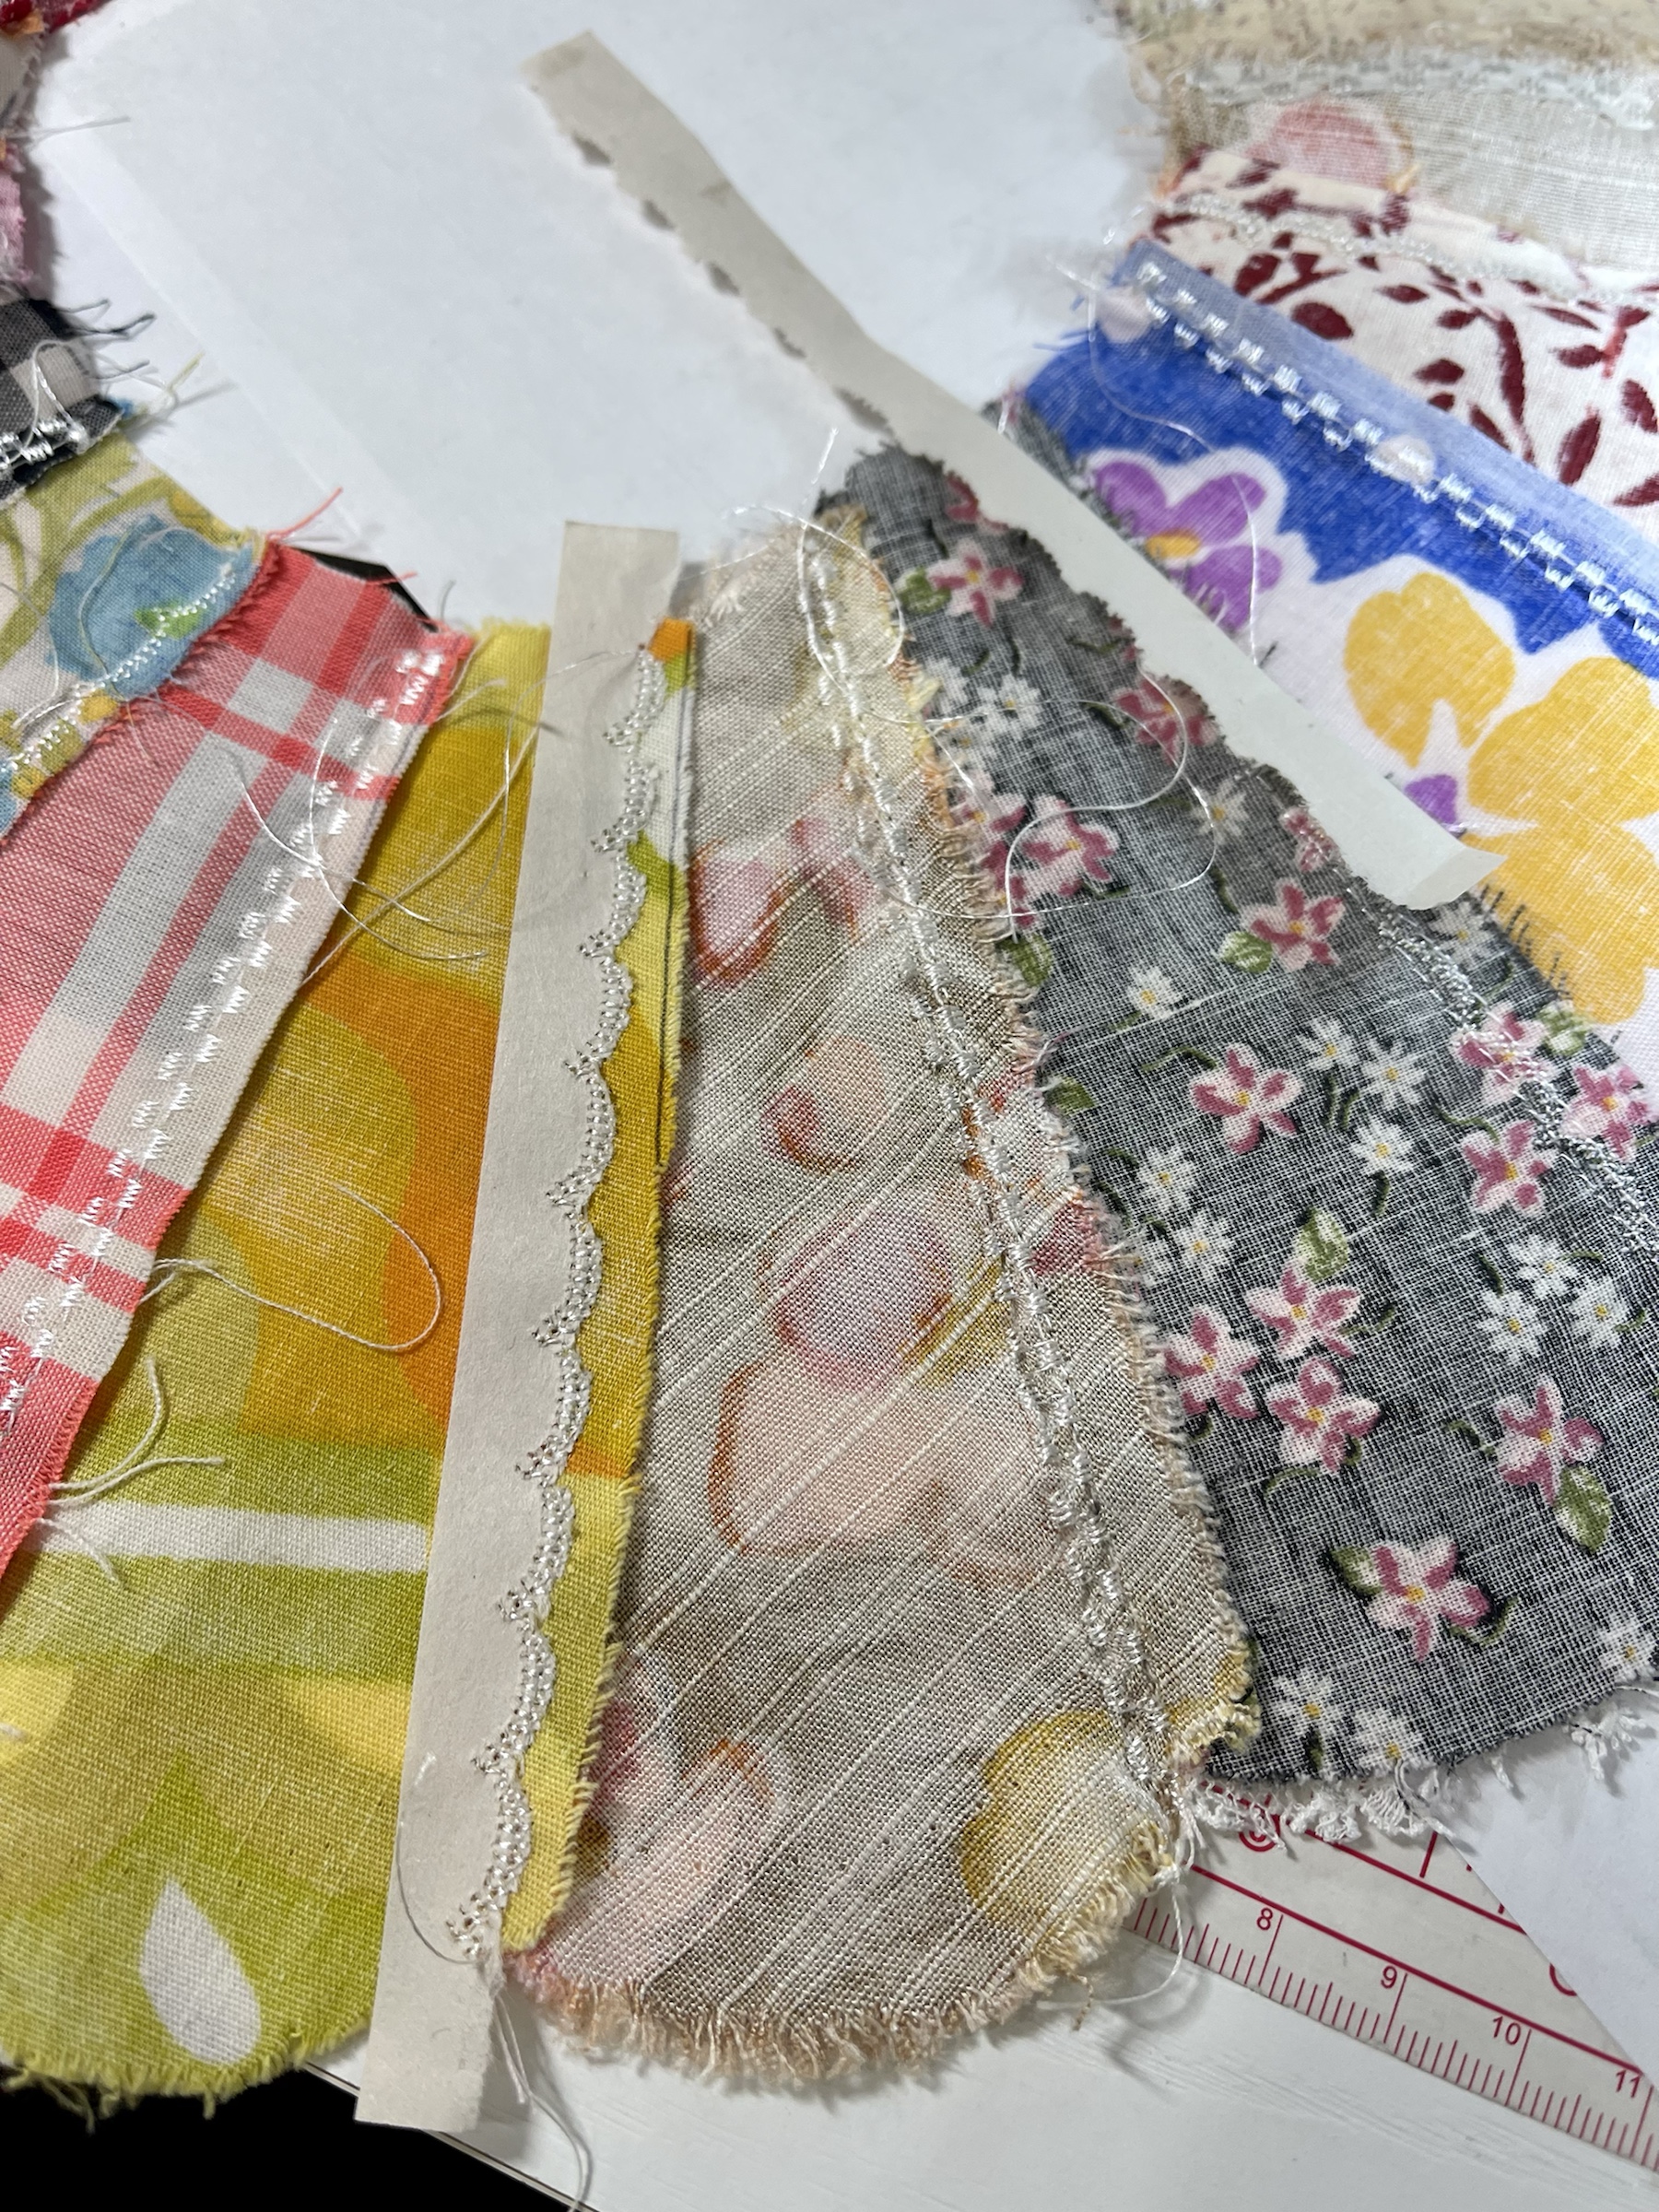
In this picture above, the fabric to the right on the newsprint strip is very light weight, maybe rayon fabric. I knew it would not hold up well to the decorative stitching. By placing this paper strip directly beneath the seam I could easily stitch and then peel it away.
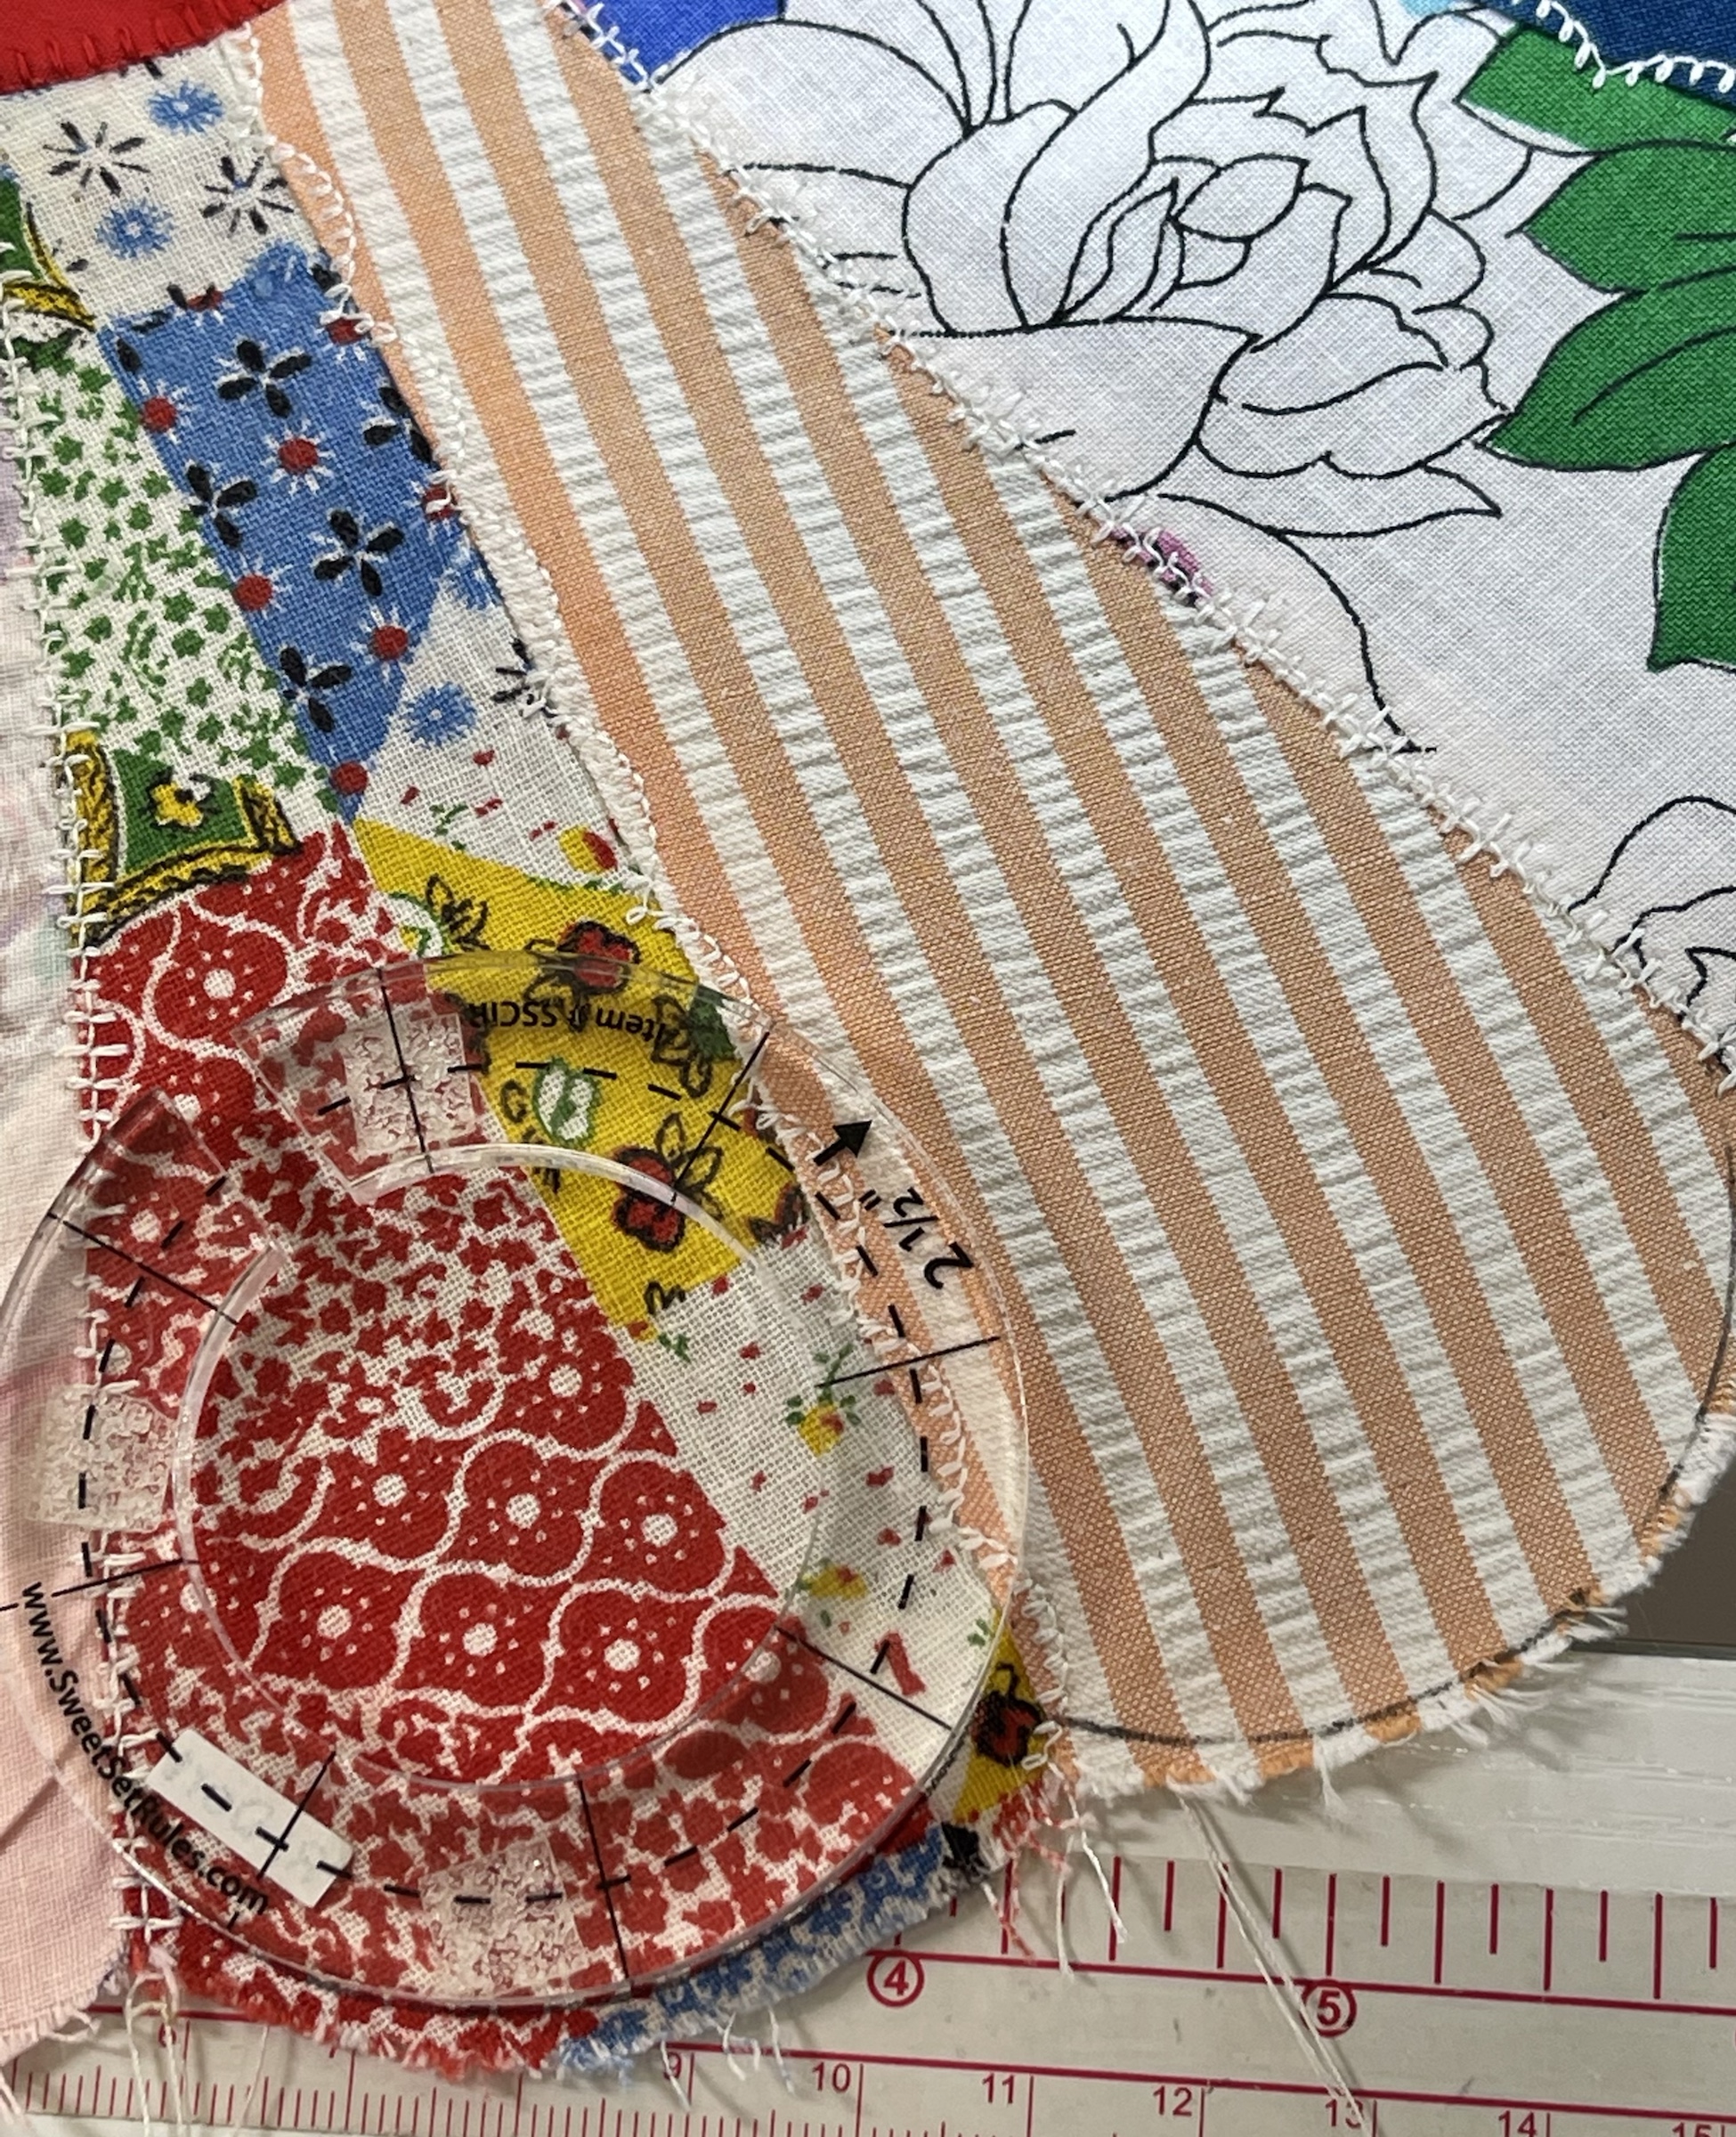
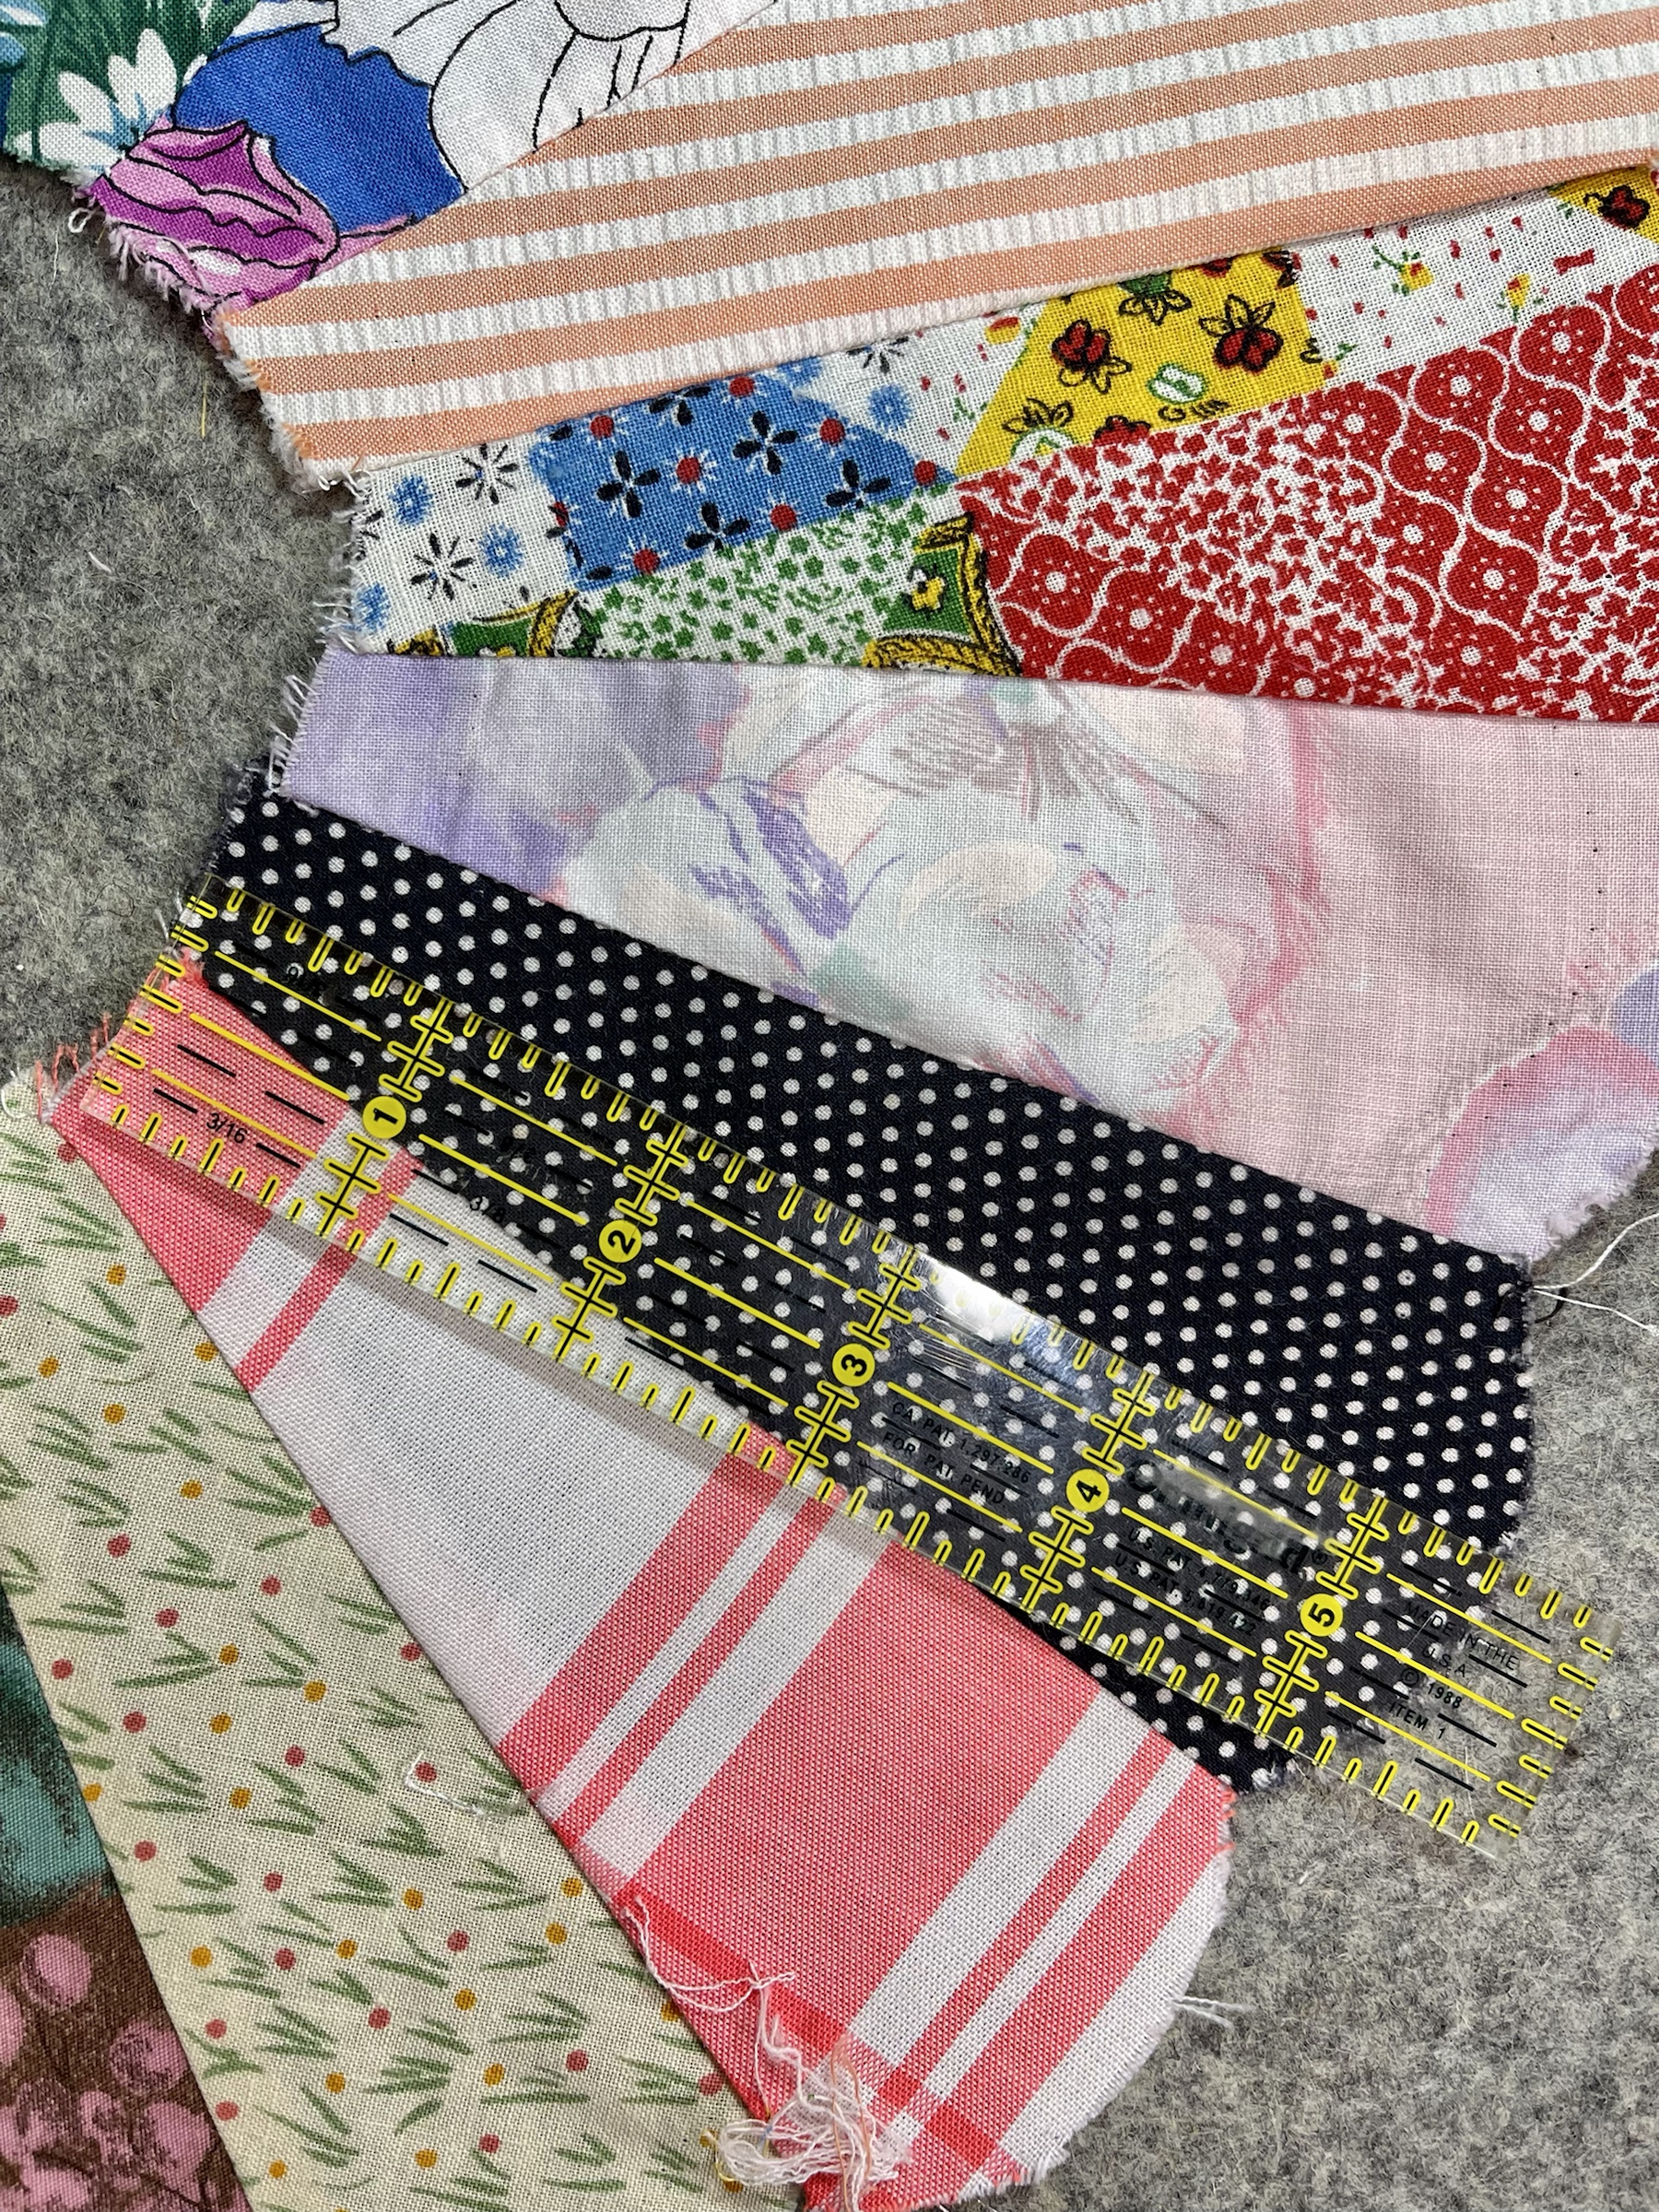
I used another acrylic circle template to tidy up the outer edge curves of the individual petals.
It took a long time to both mark and then scissor trim the curves but it was time well spent.
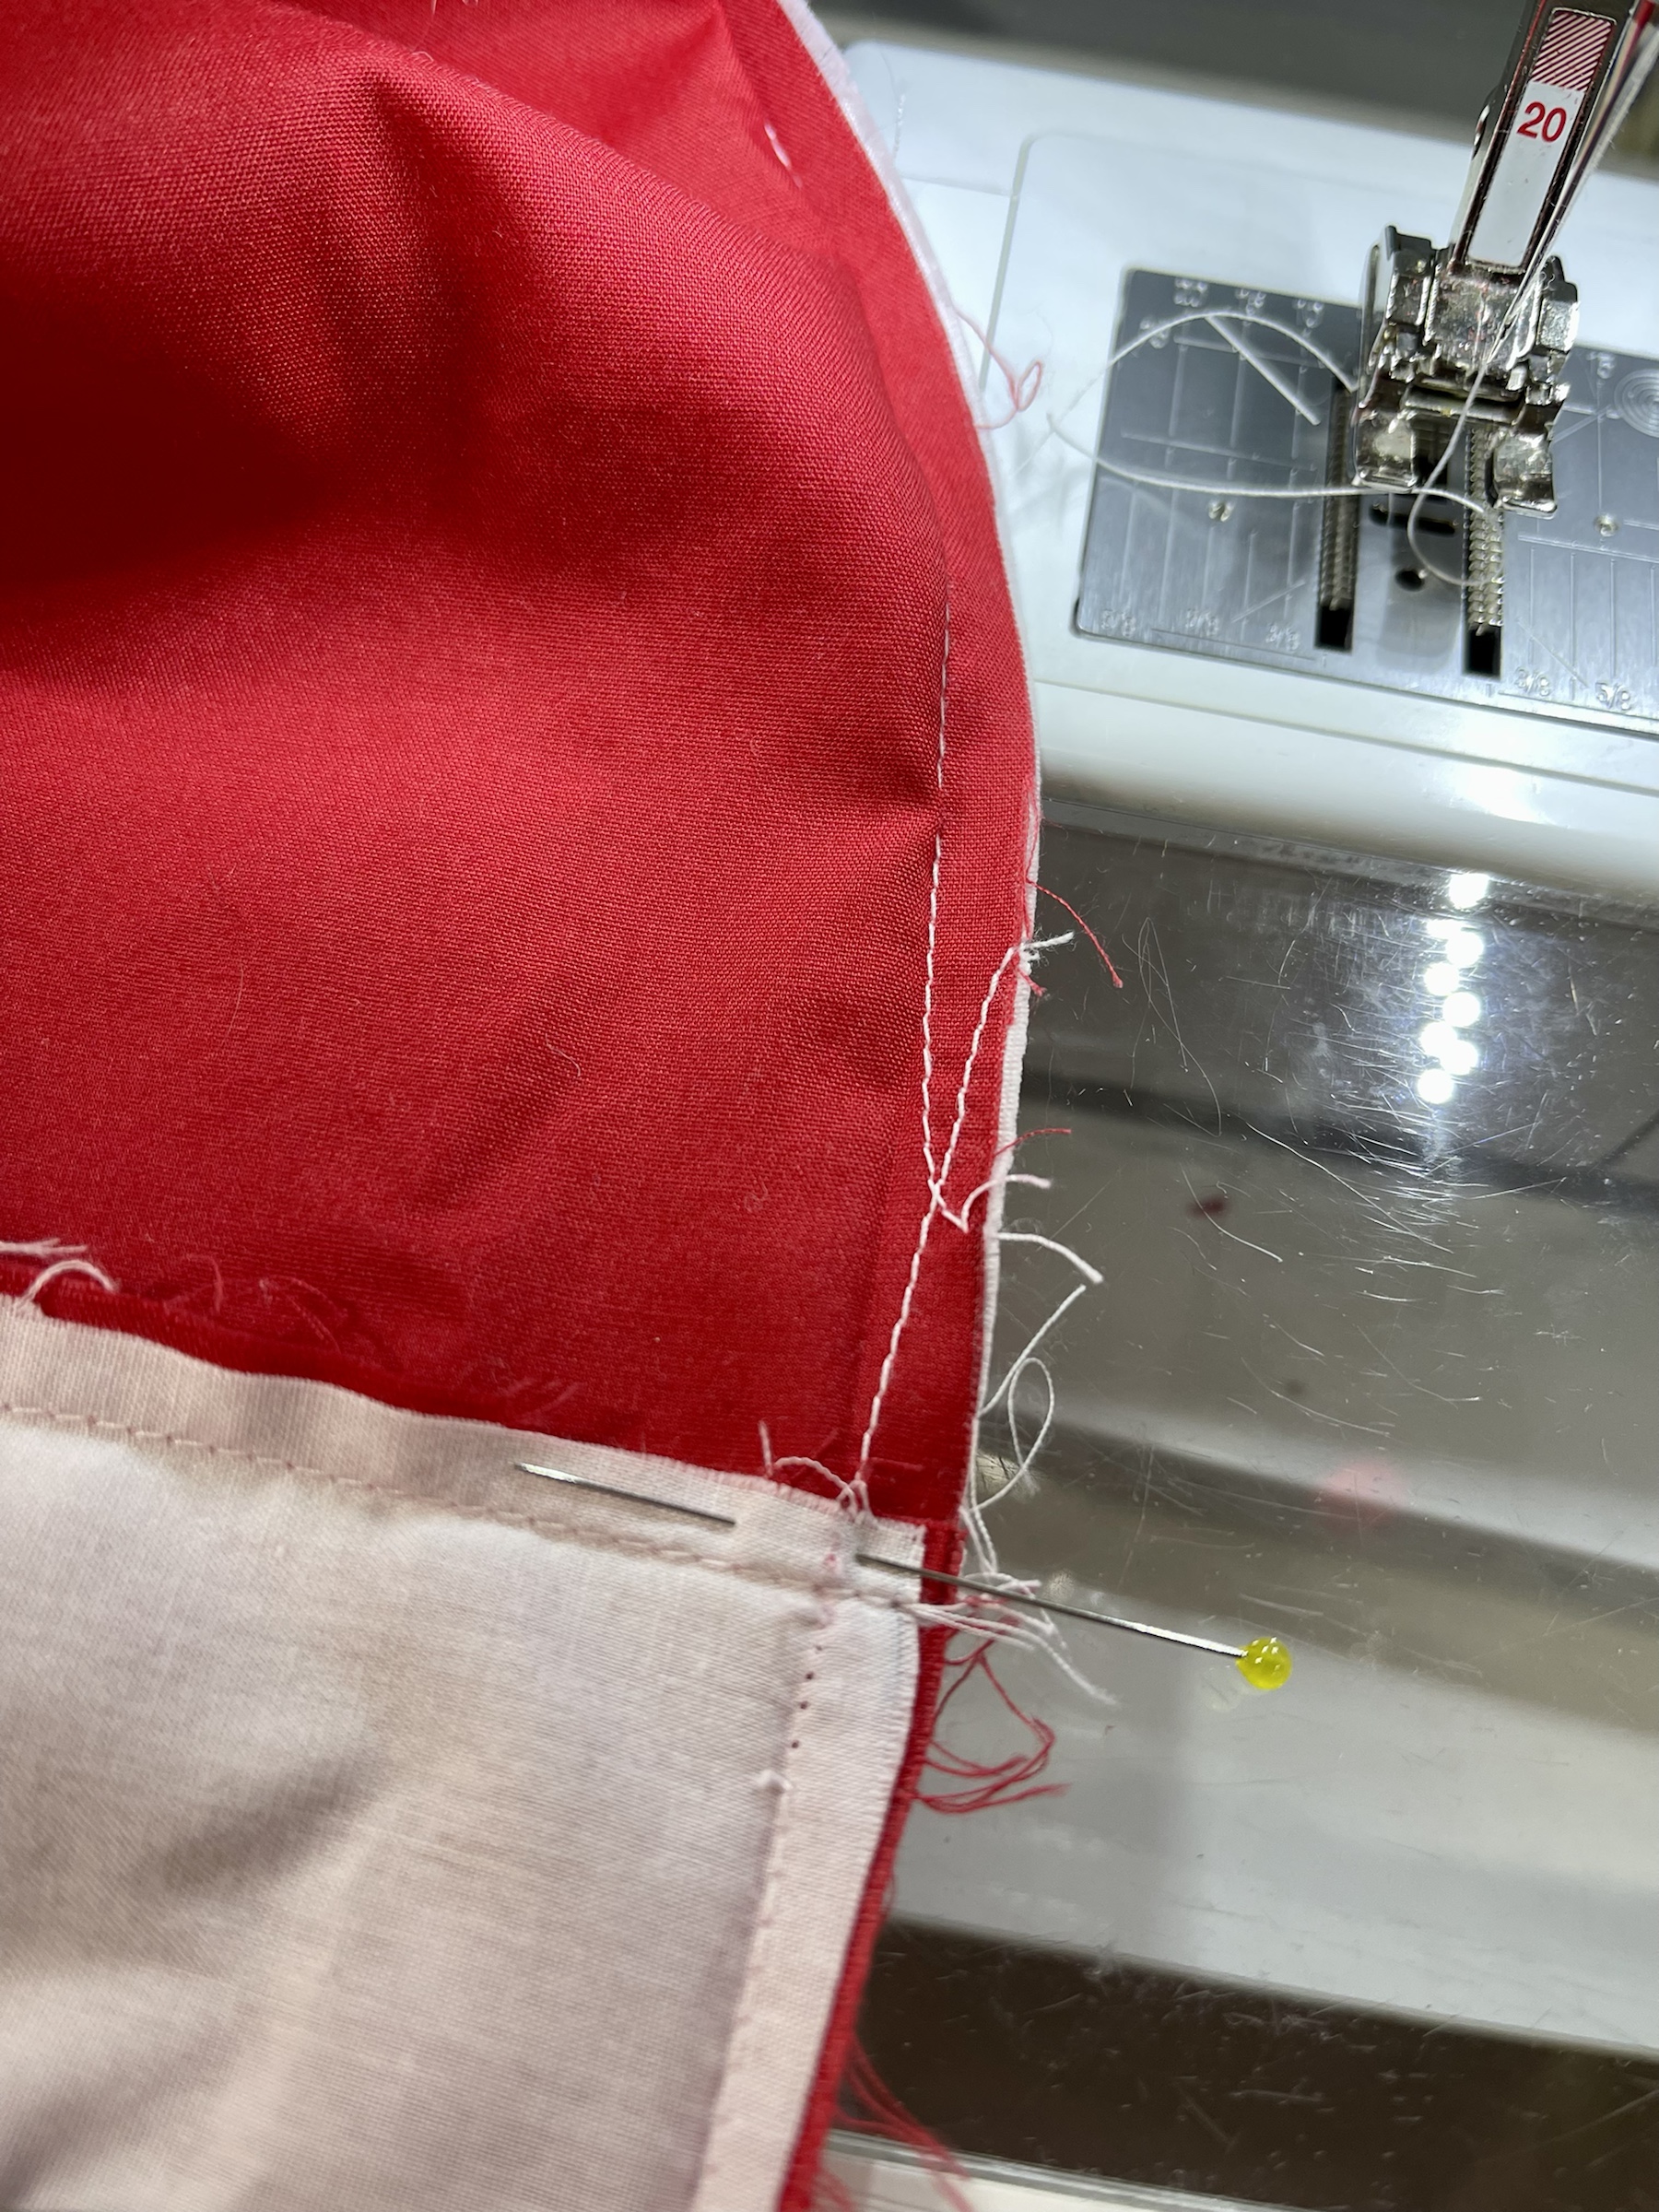
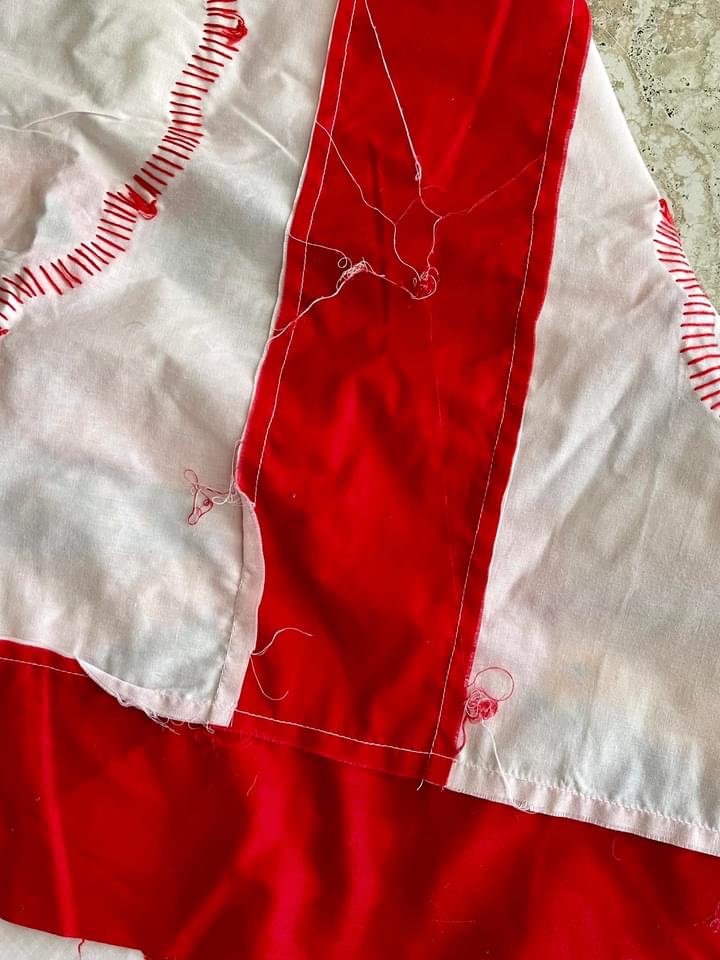
This is something I’ve never encountered before…this is how the quilter started and stopped her machine straight stitching. As you can imagine, this made for some interesting seams from the front of the quilt. I spent time correctly making the straight connection between these two stitch lines.
Stay tuned, there’s more to come in the next few days! The first blog post about this project is dated Jan. 22, scroll back a few days to find out how this all started. Blessings and happy quilting, Rhonda