Have you been following the free classes on Facebook at the: 1914 Boehm House Vintage Linens Retreat group? We started January 1st with our first class and we’re now working on hexagons in Class 3. This is the second tutorial to be published for Class 3.
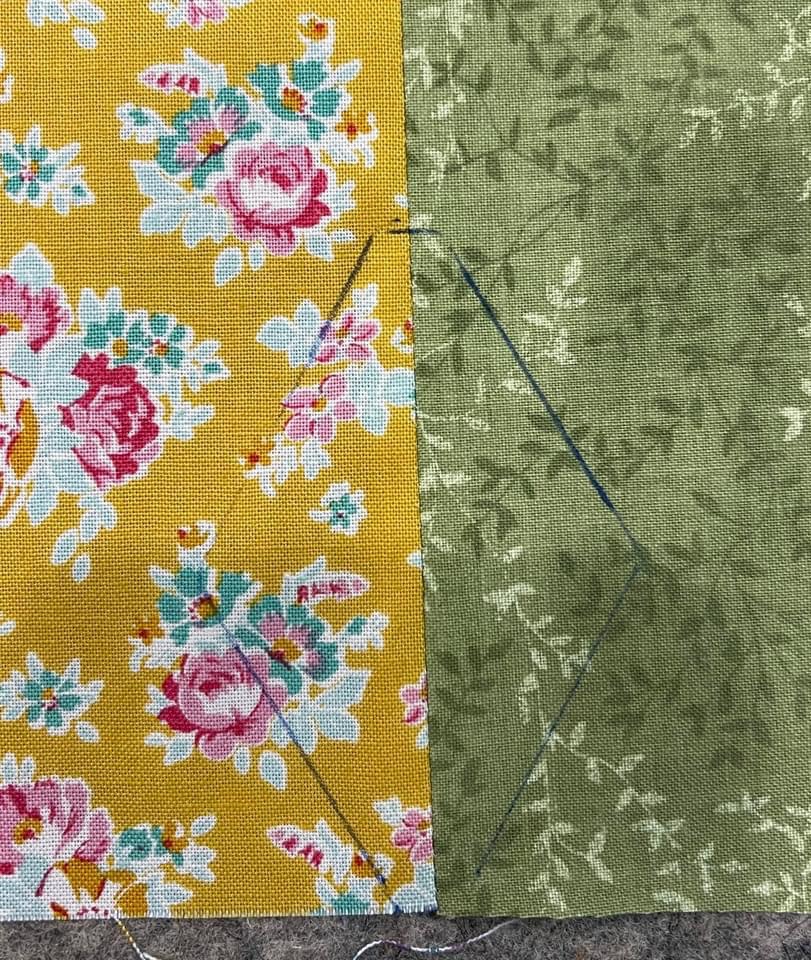
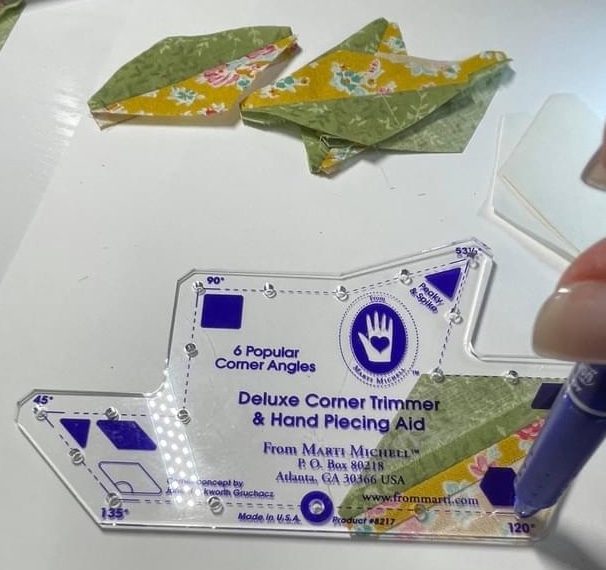
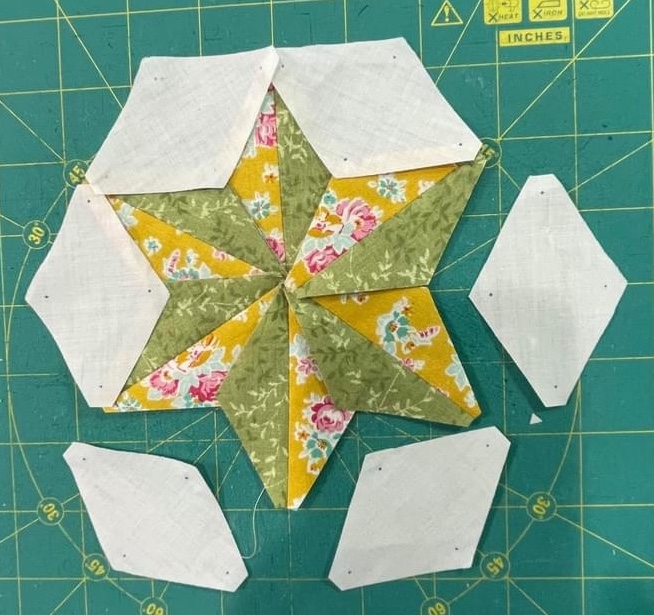
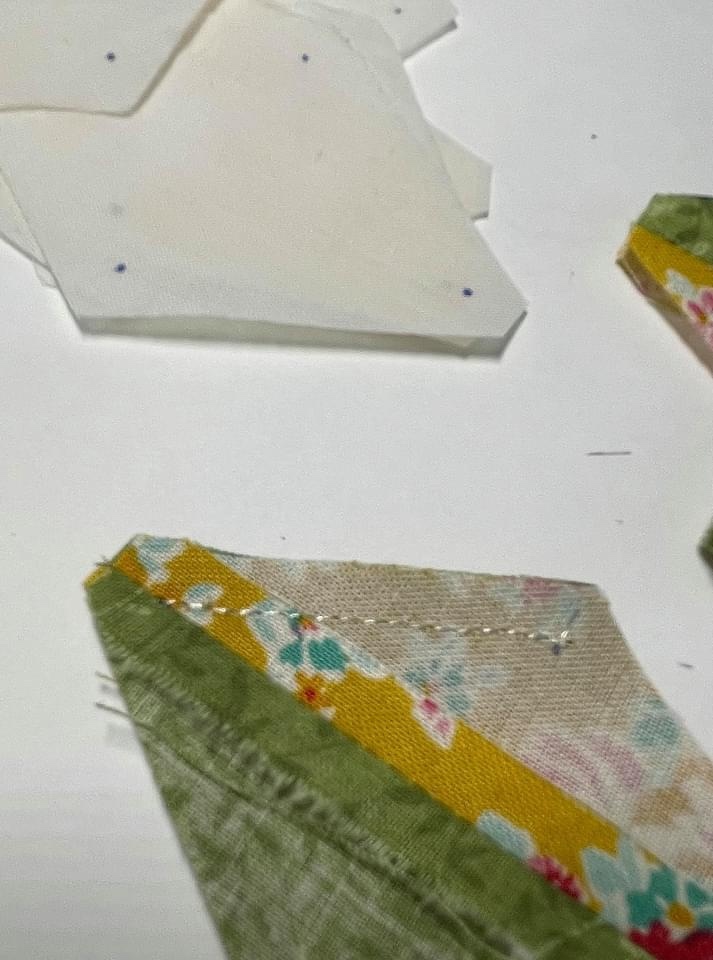
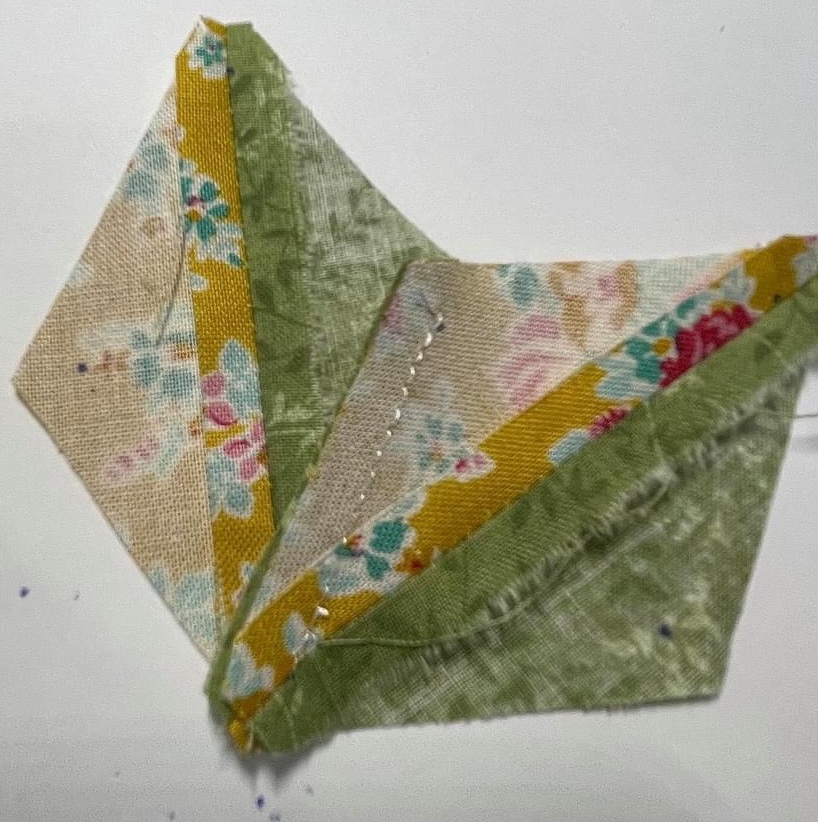
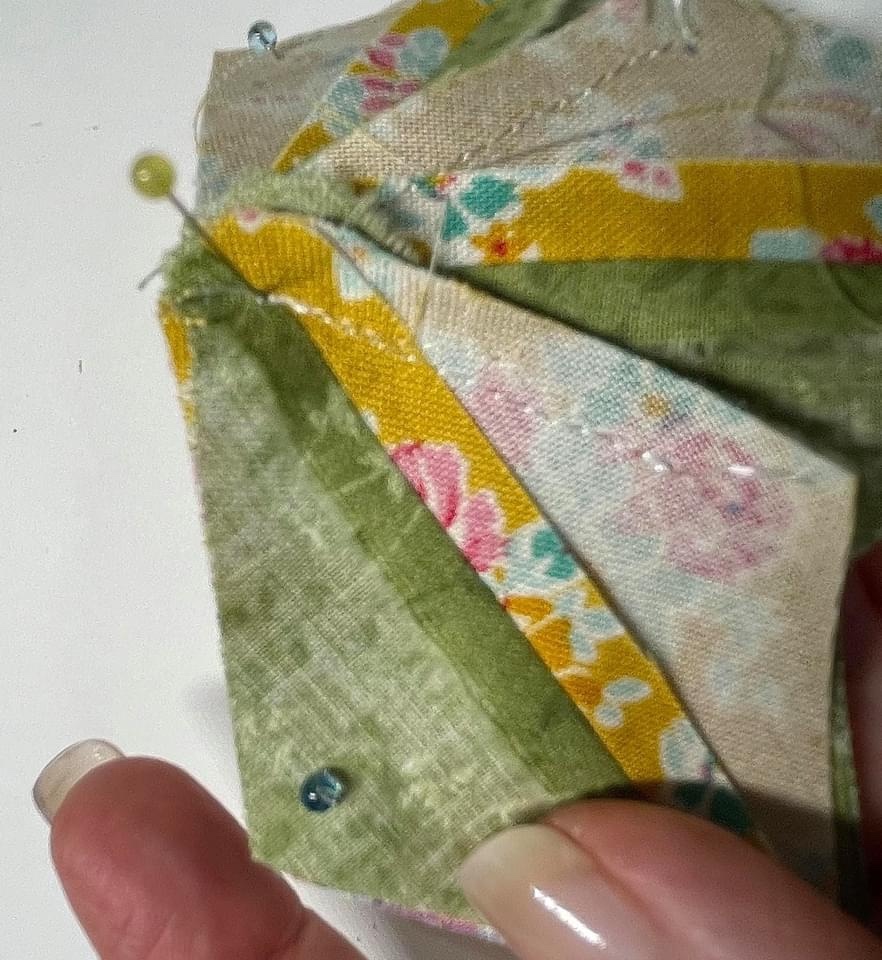
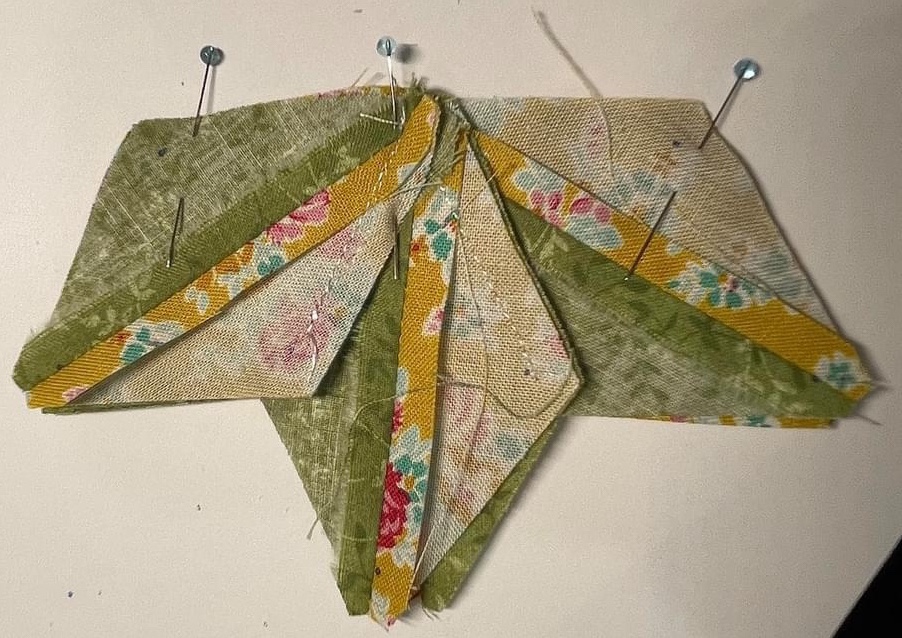
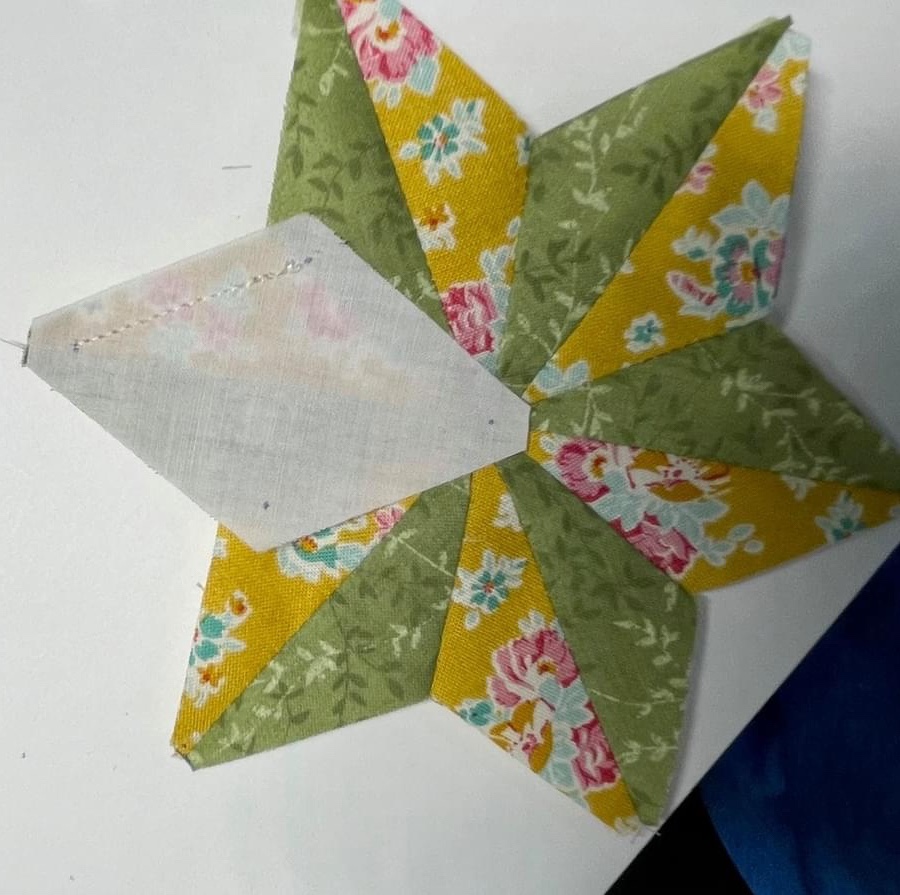
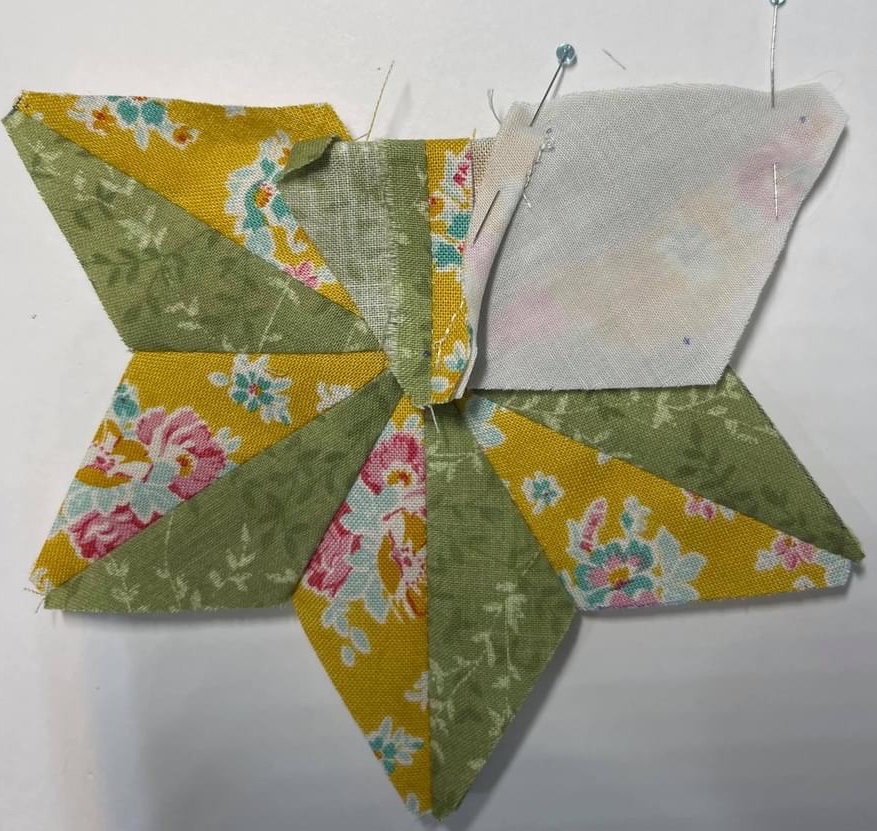
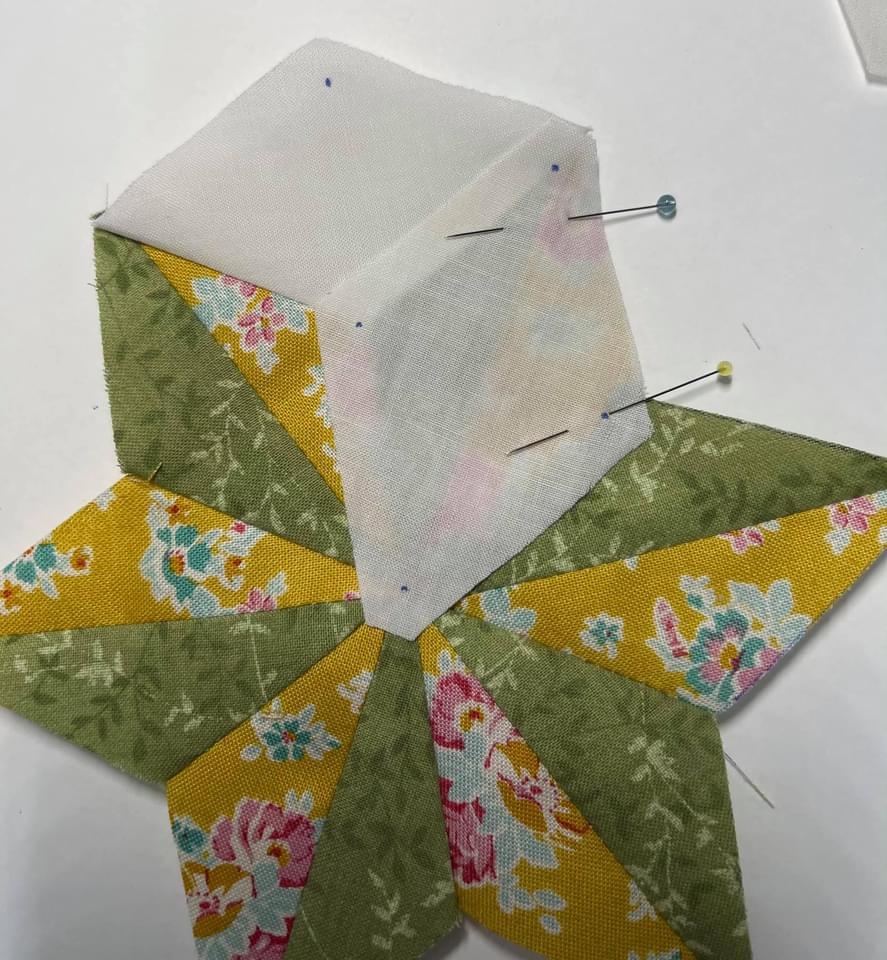
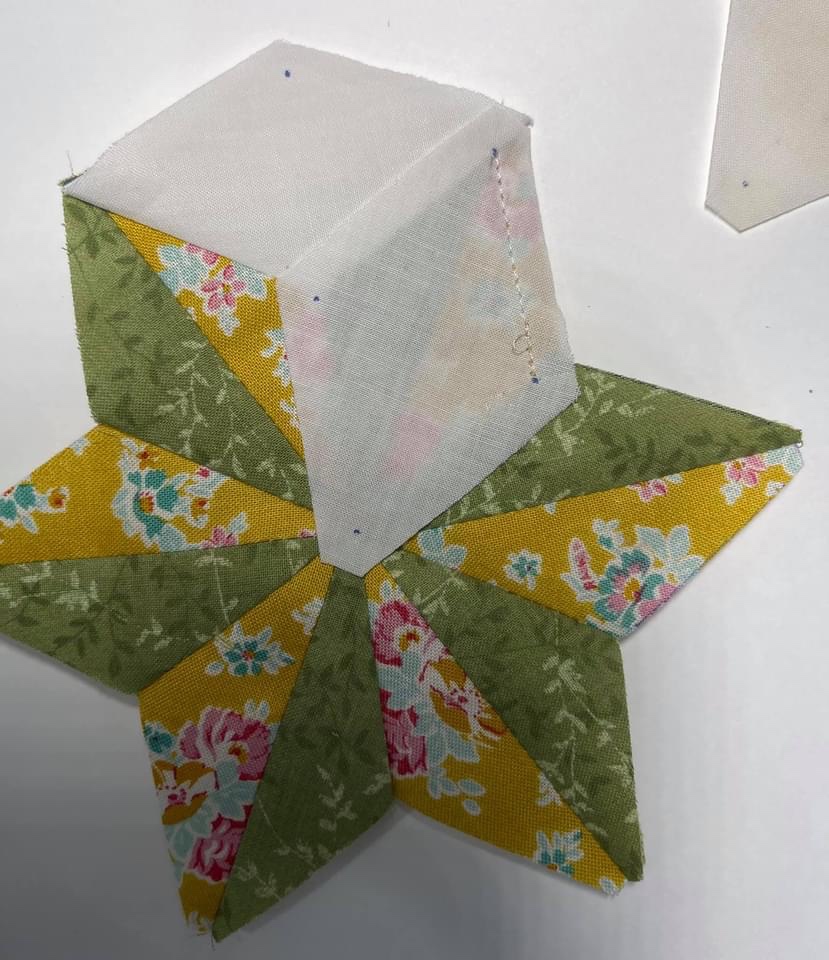
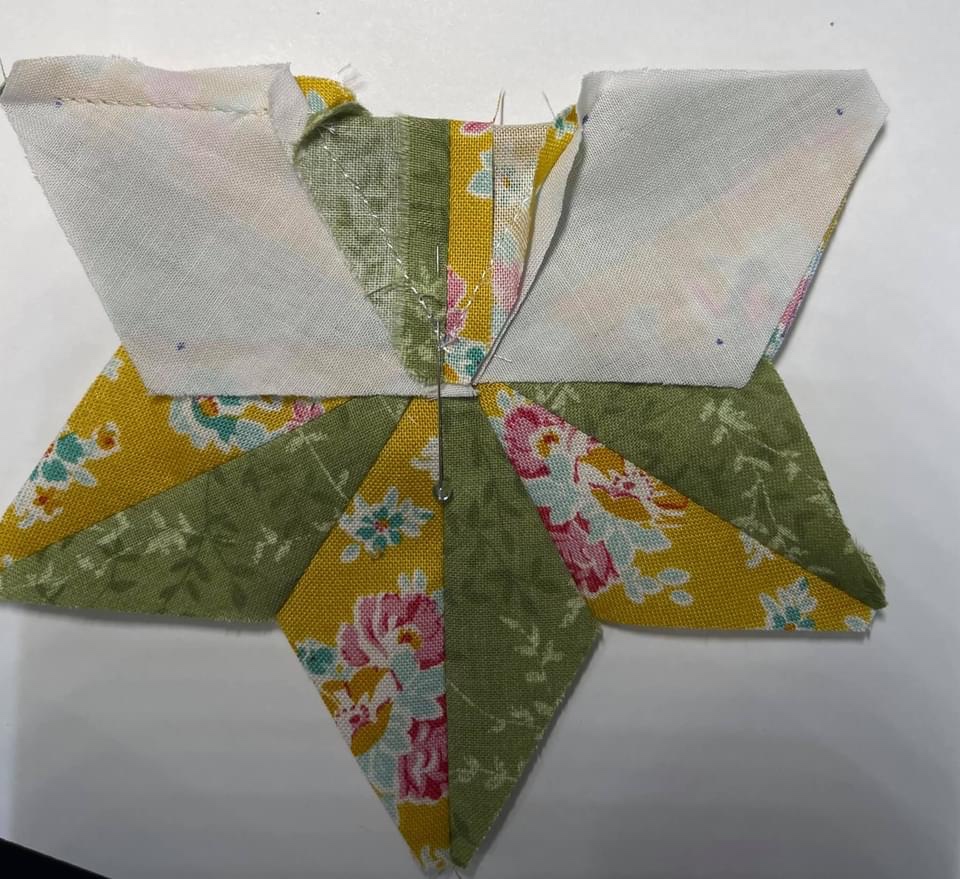
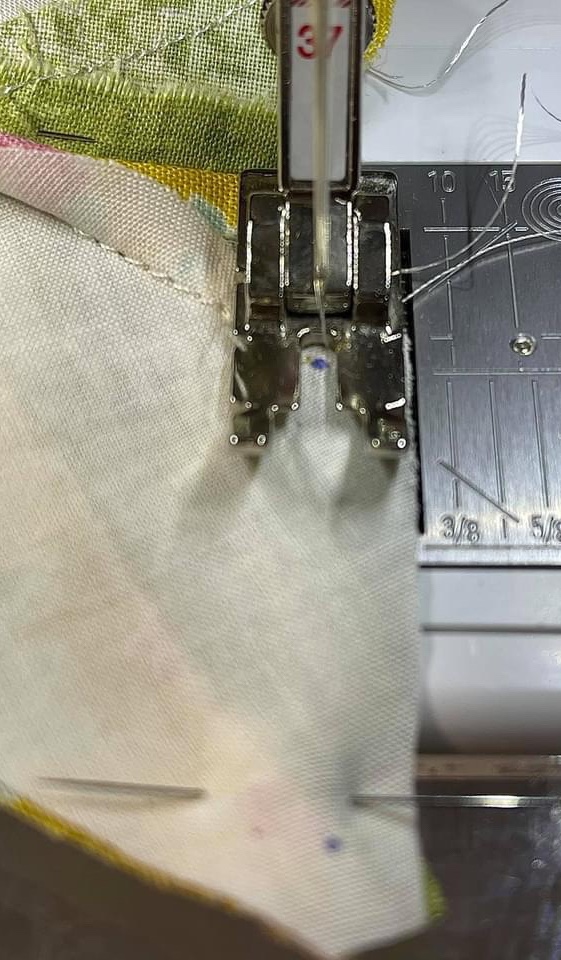
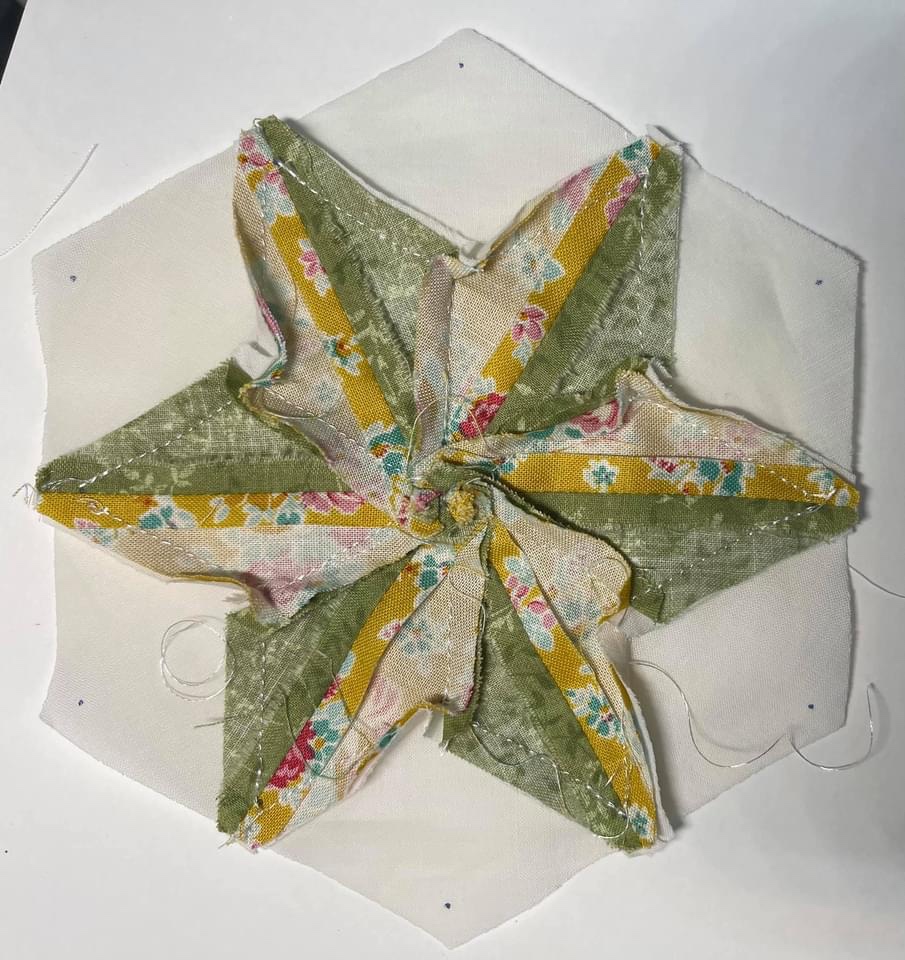
Once again, stitching ONLY between the dots is key! Because so much of the instruction is the same as the hexagon made with the three 60° large diamonds, I am not going to have quite as much to tell you about in the picture captions.
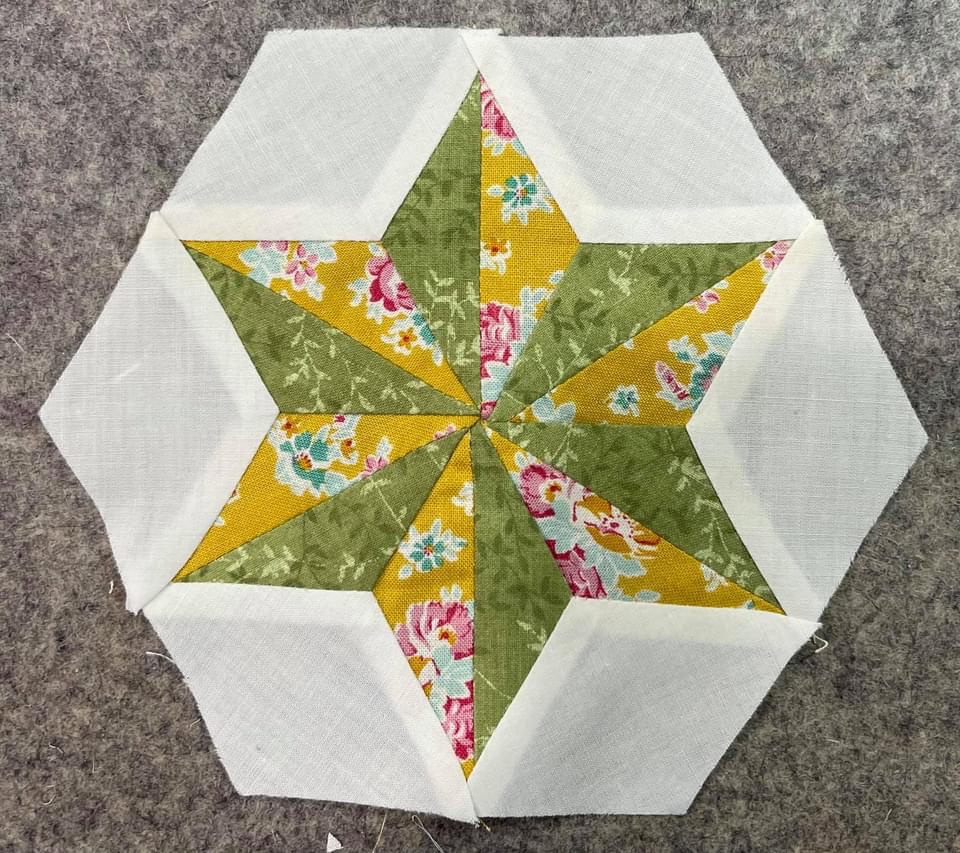
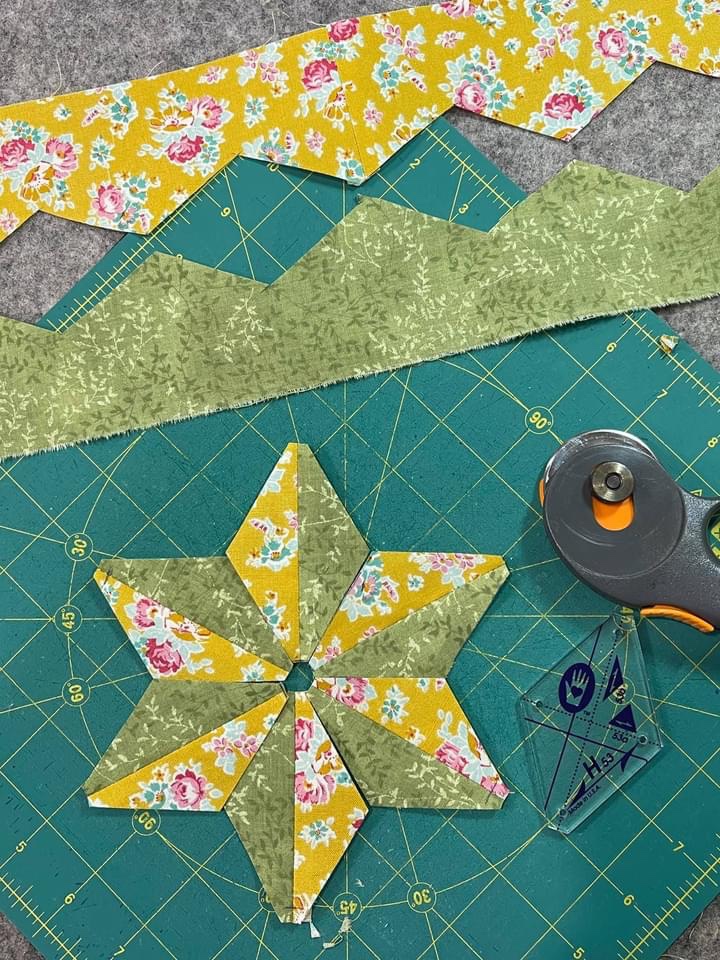
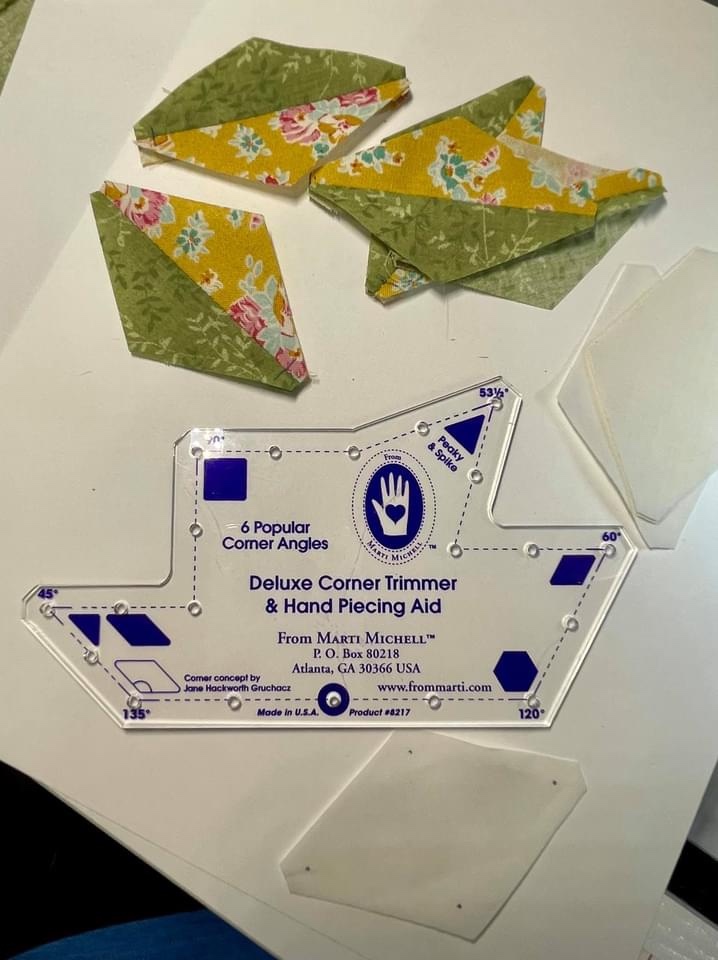
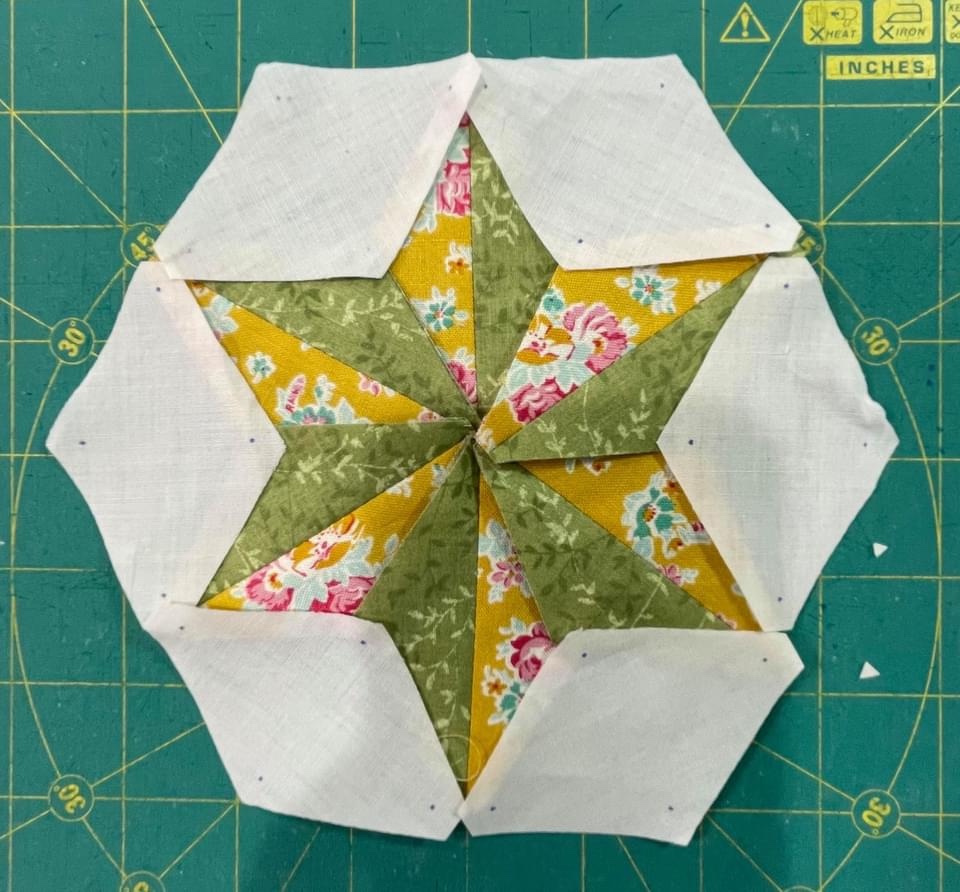
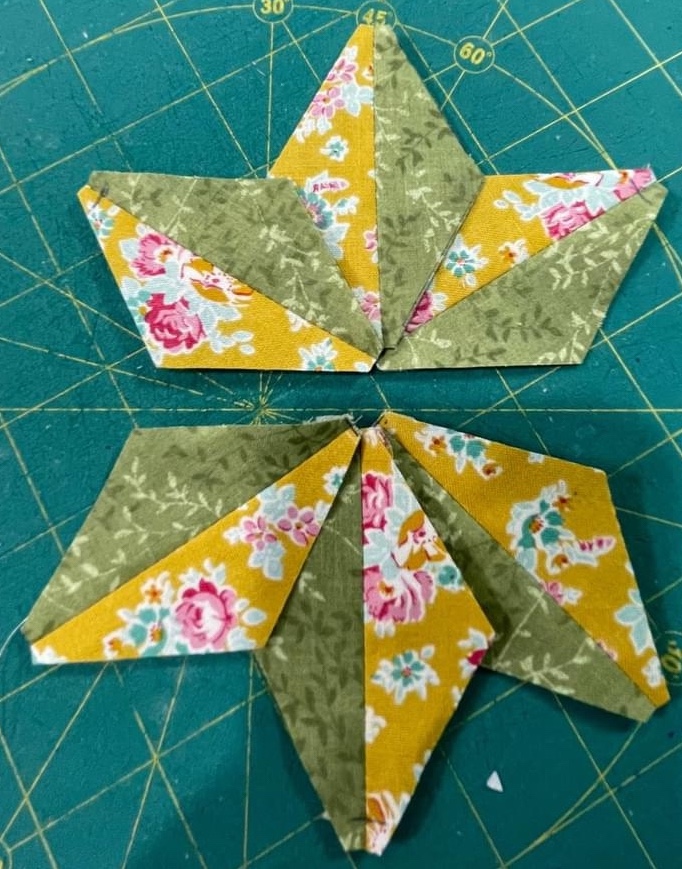
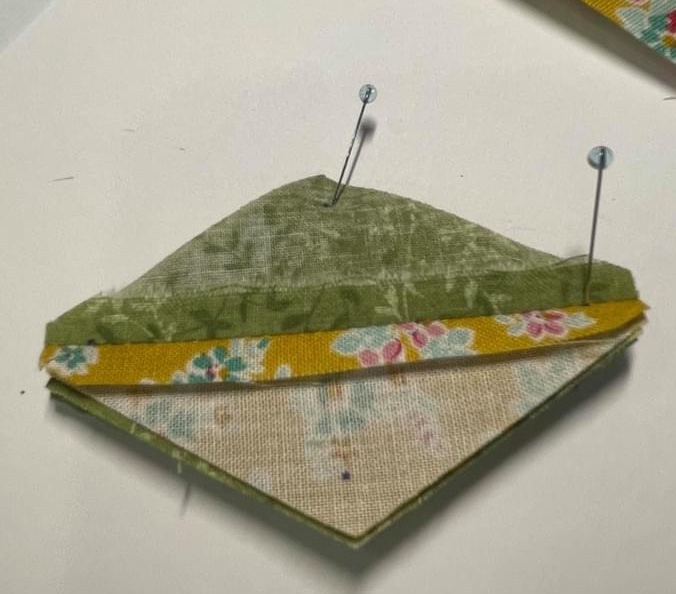
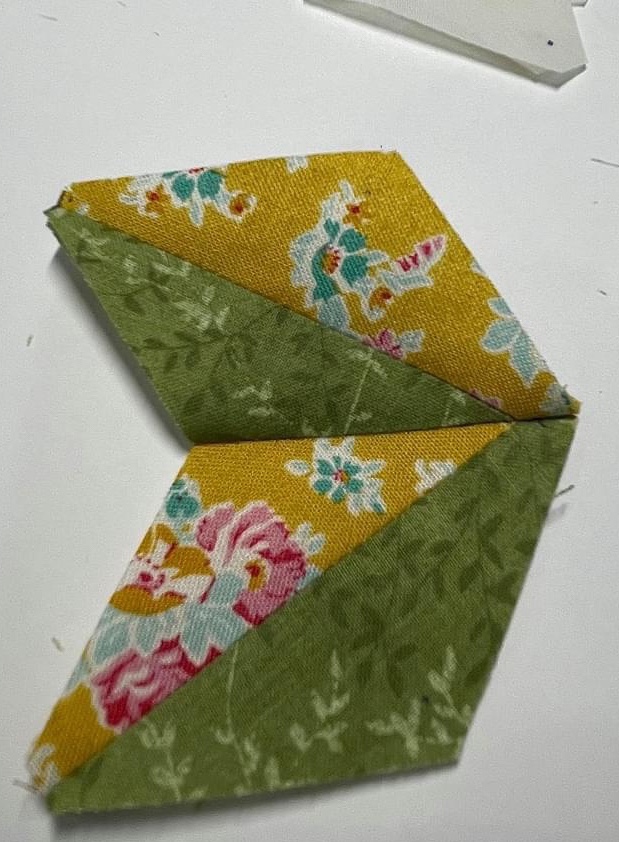
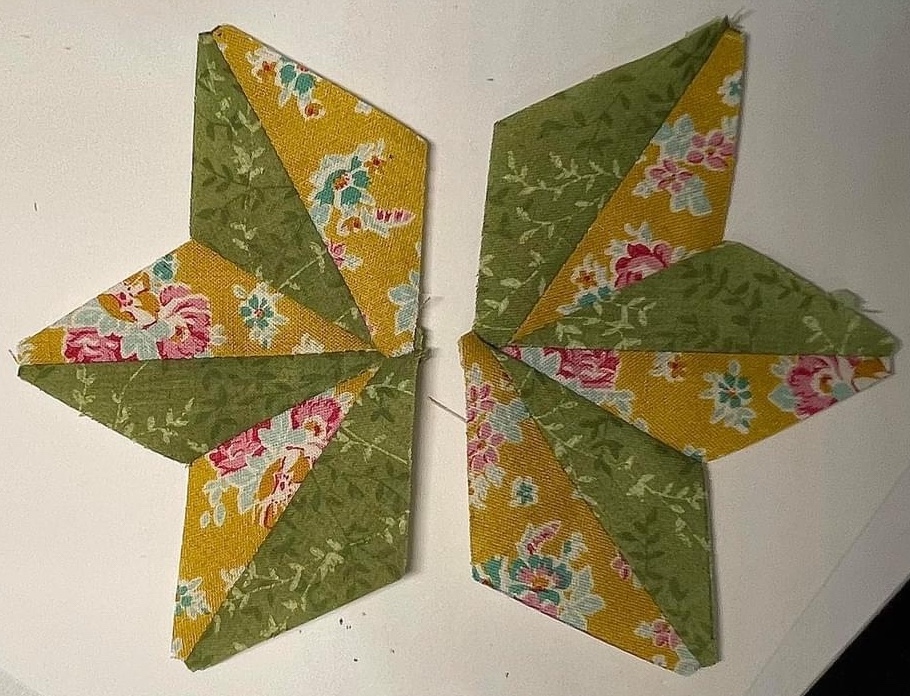
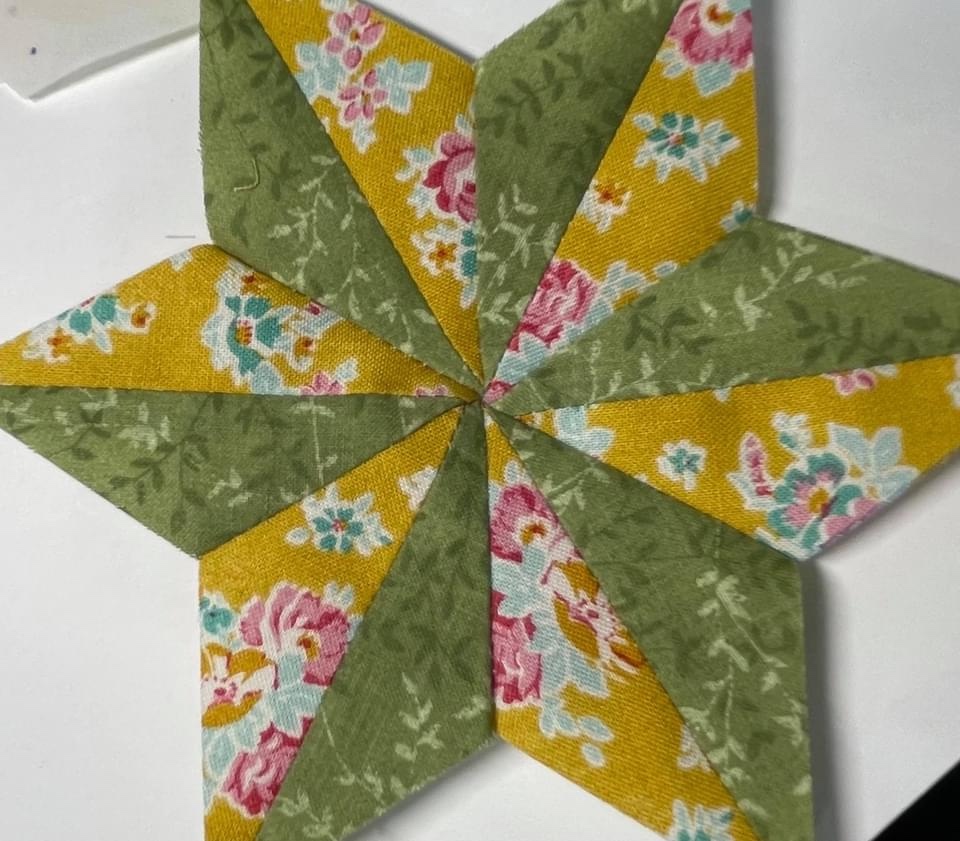
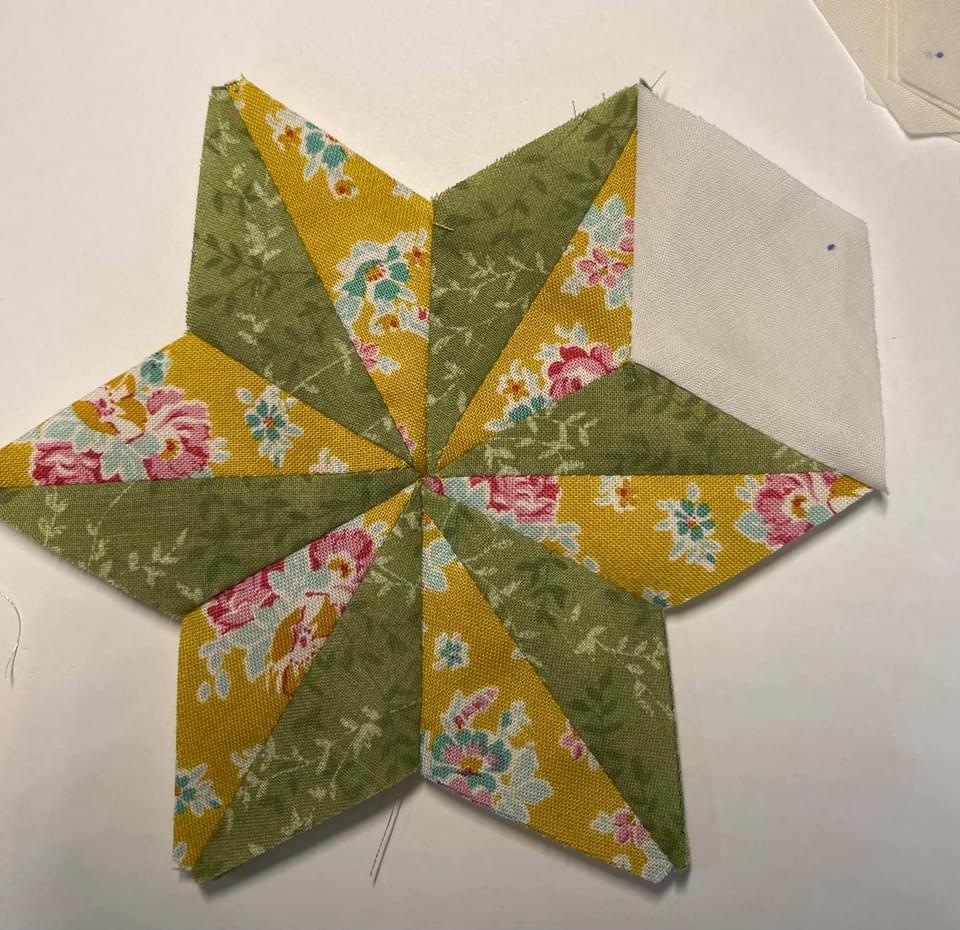
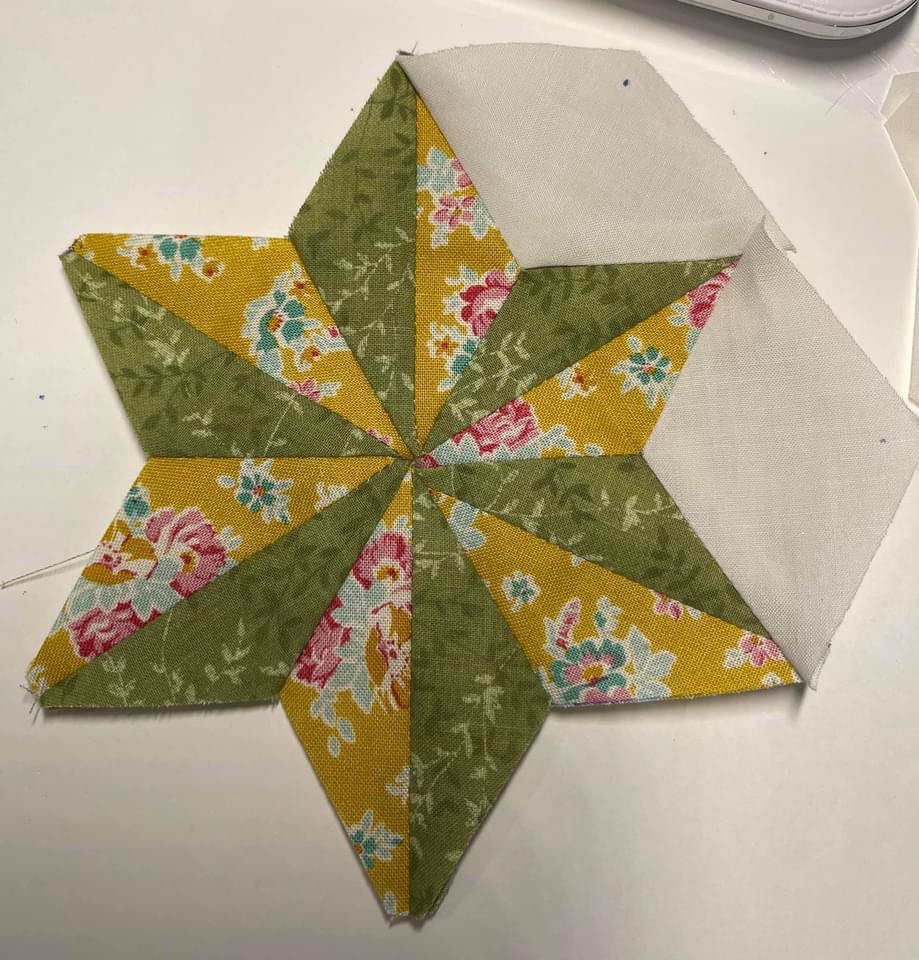
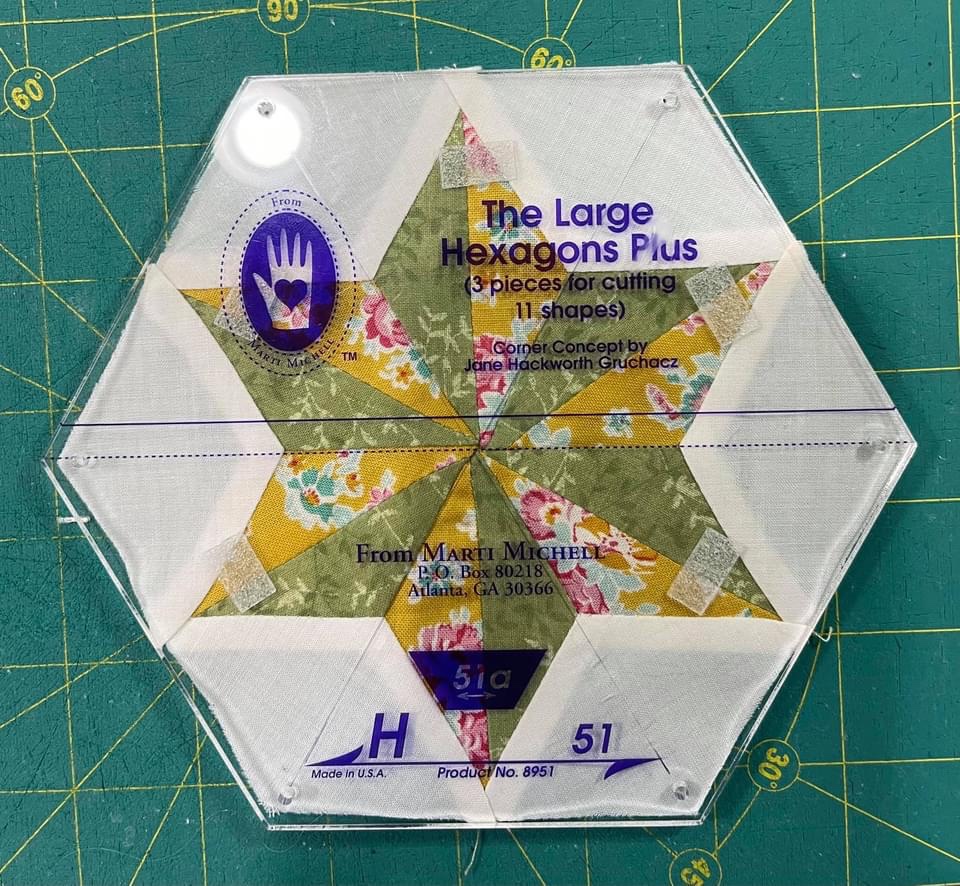
By sewing two strips of fabric together and then strategically placing the template, you will have made things soooooo much easier as you construct your 6 point star hexagon.
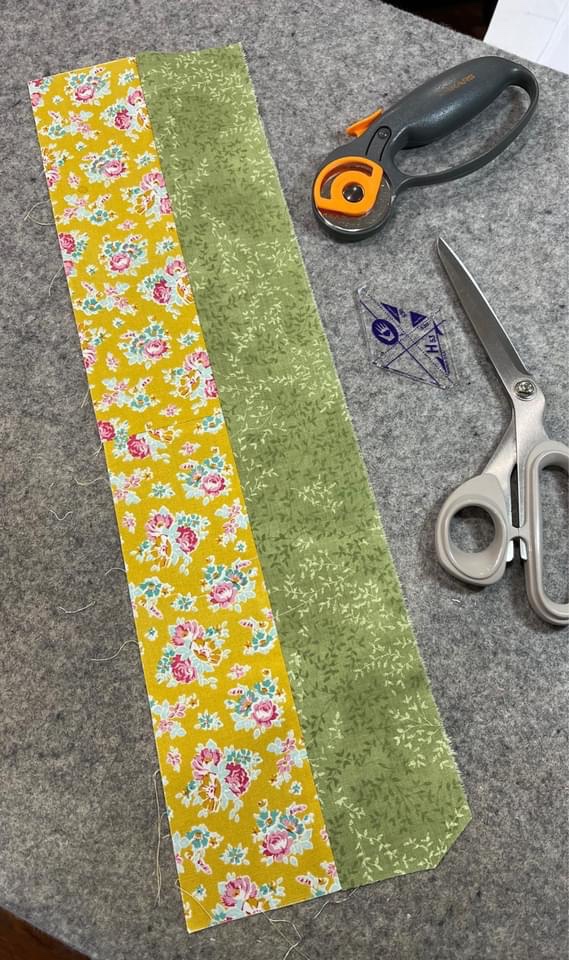
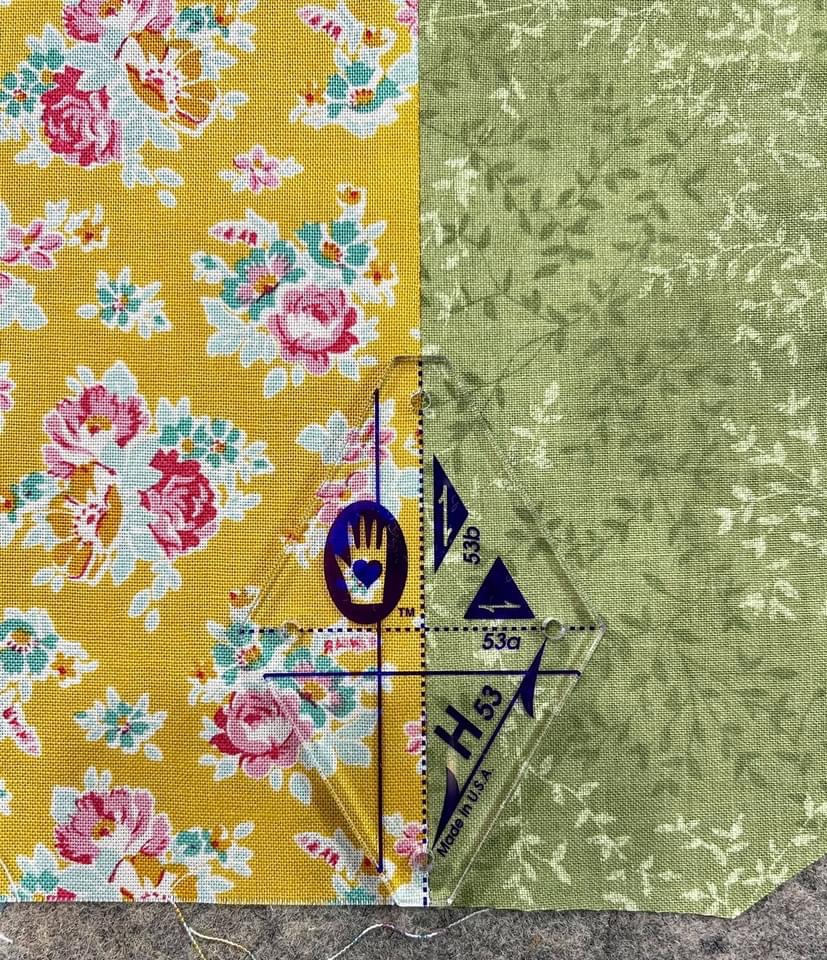
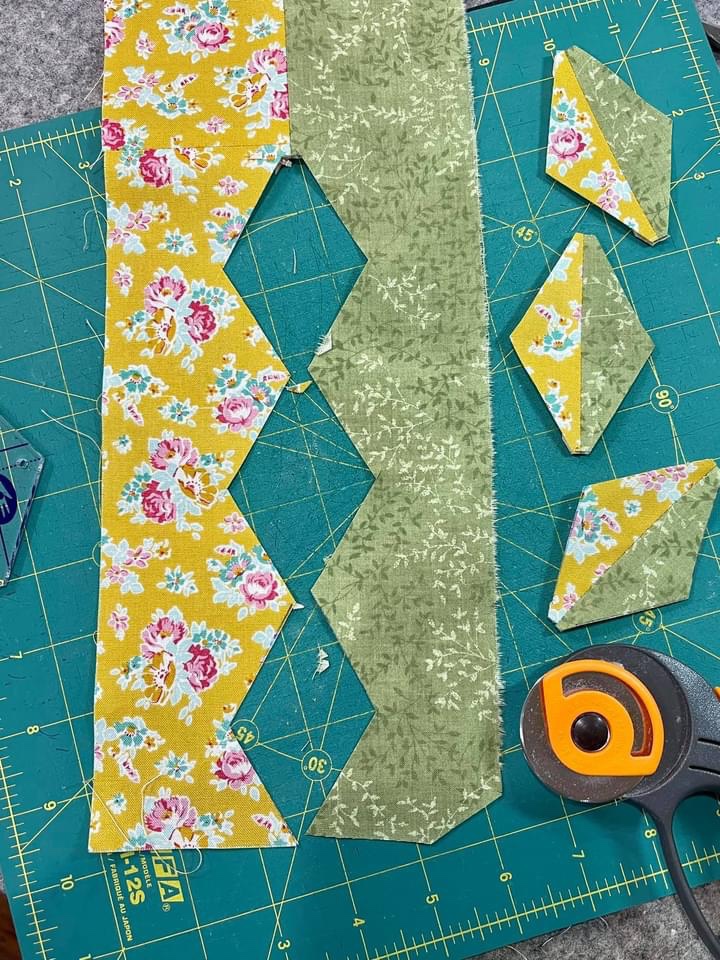
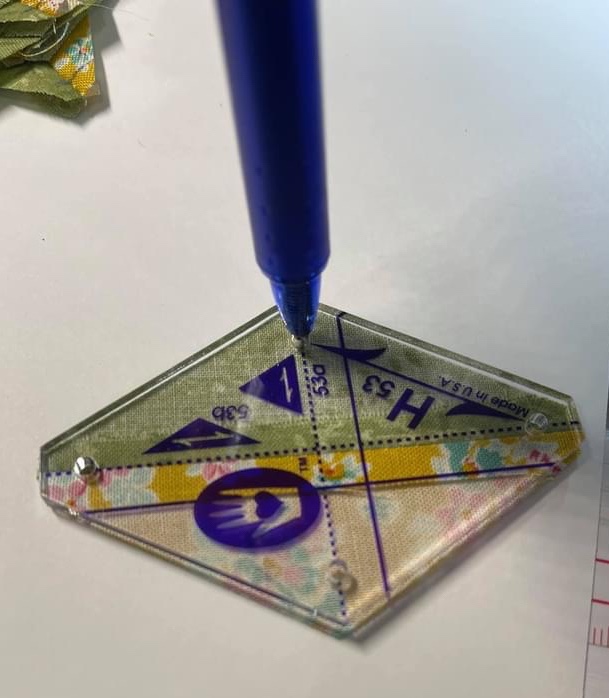
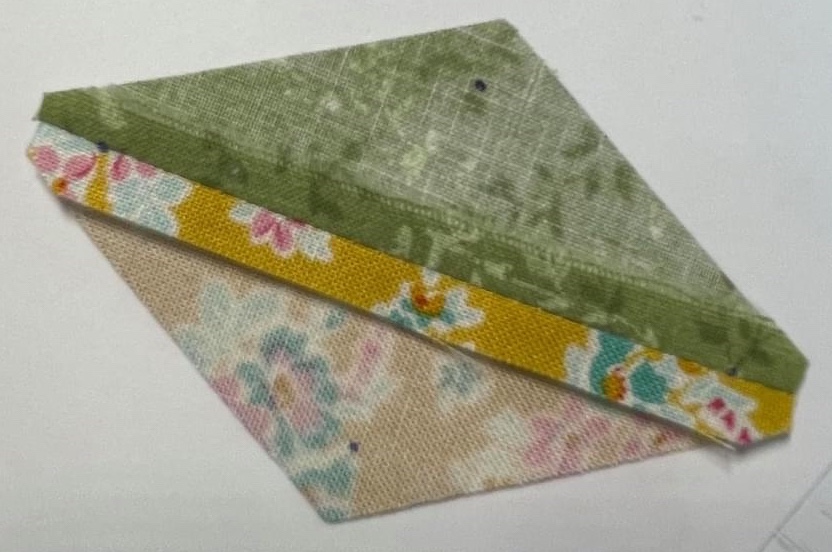
60° angles.
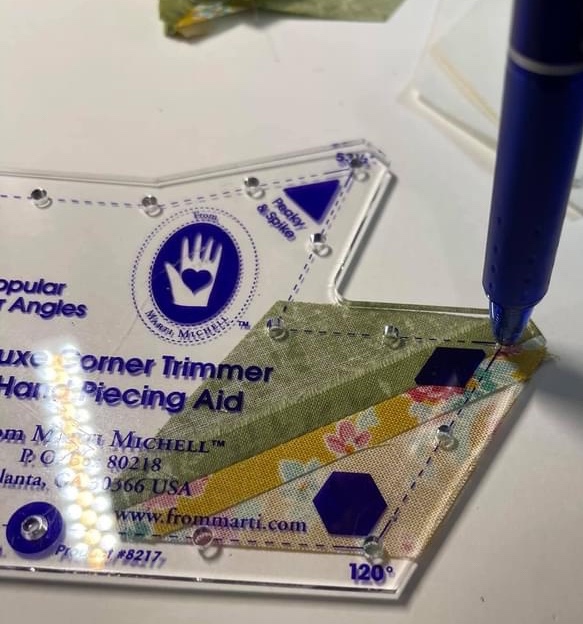
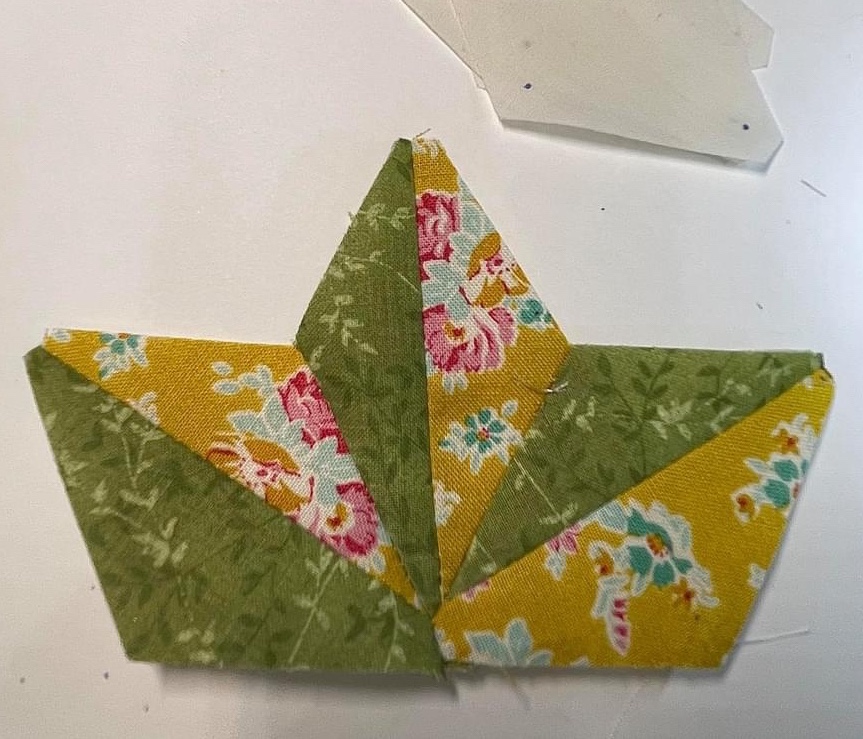

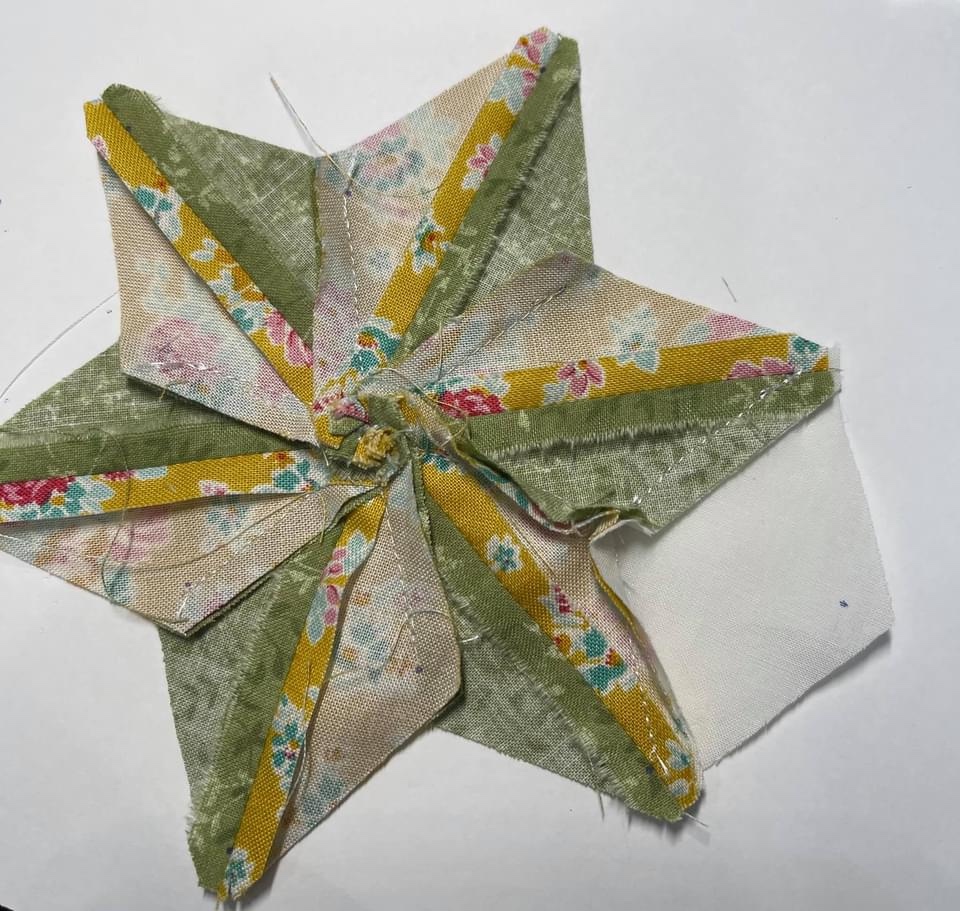

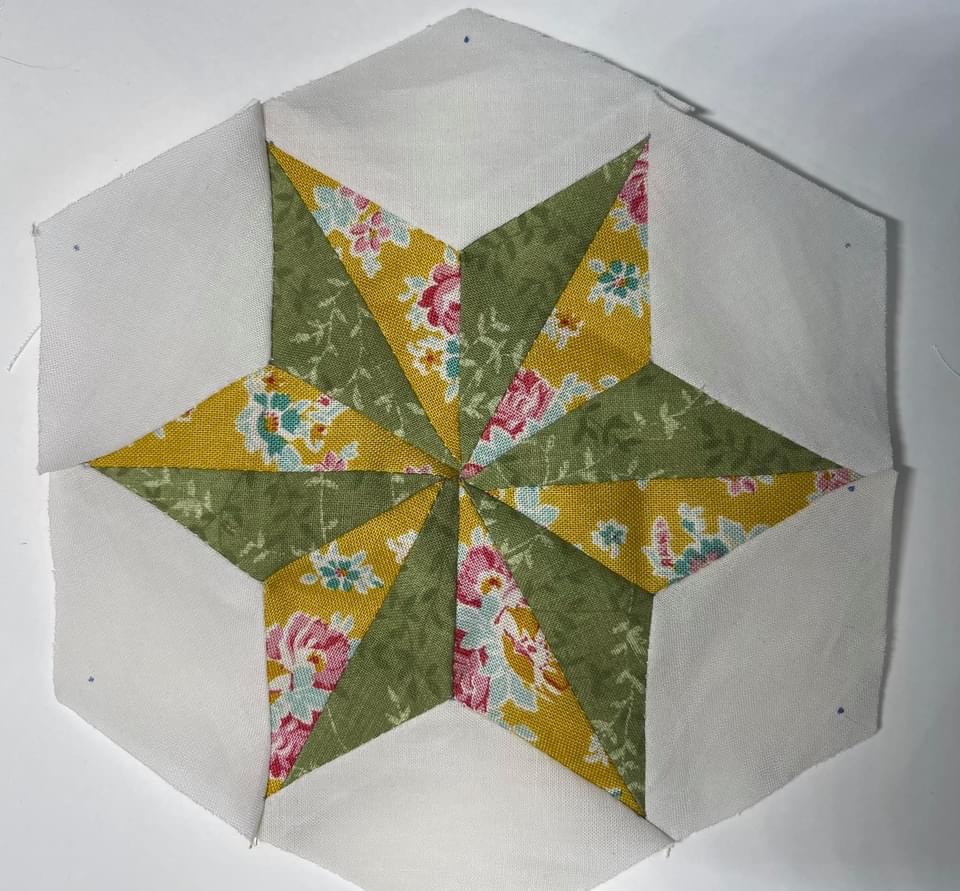
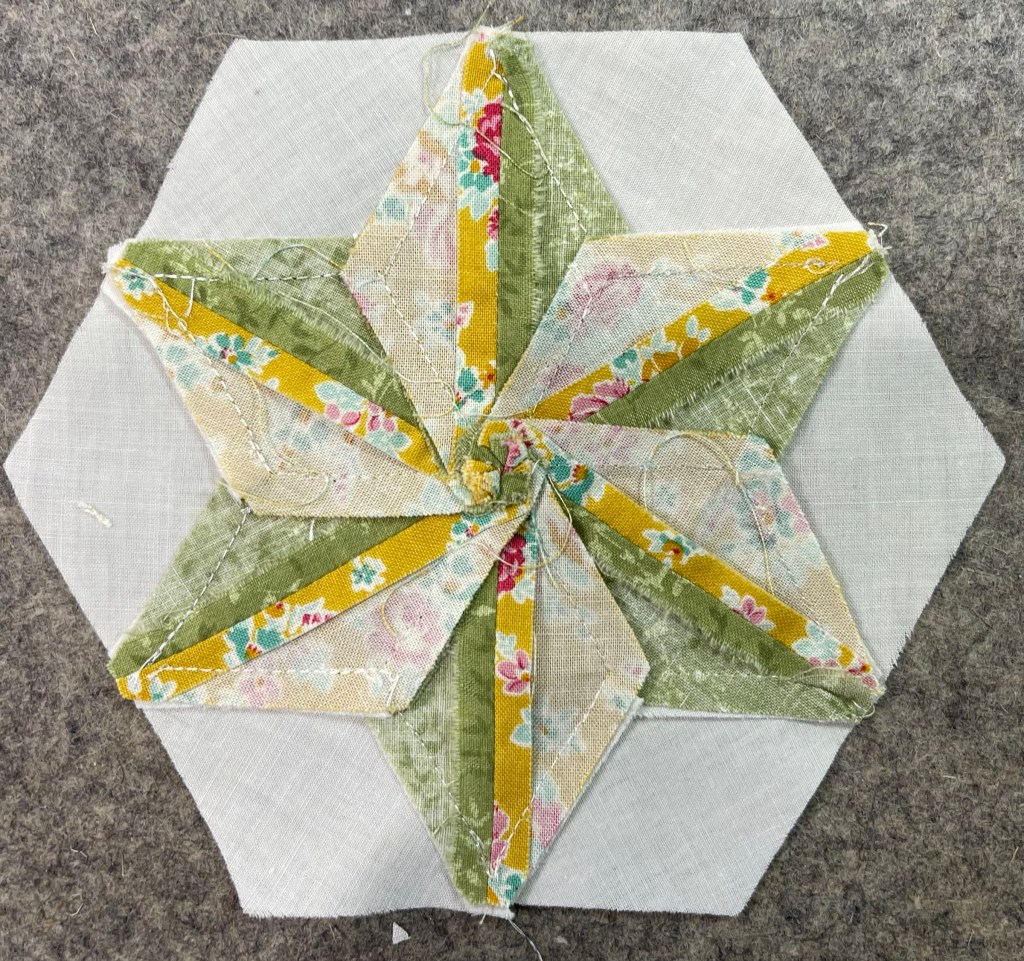

to size.
Are you ready to give it a try?
Happy quilting!
Rhonda