The Strawberry, Sunflower, Queen of the May, Chinese Star and/or Brimfield Awakening Quilt, #2

It took a long time to find the name(s) of this interesting quilt block. I remembered it was similar to the Brimfield Awakening block but I also knew this was a relatively new block for them as they redesigned the construction to be an EPP project.

https://brimfieldawakening.com/2017/09/24/how-this-all-began/

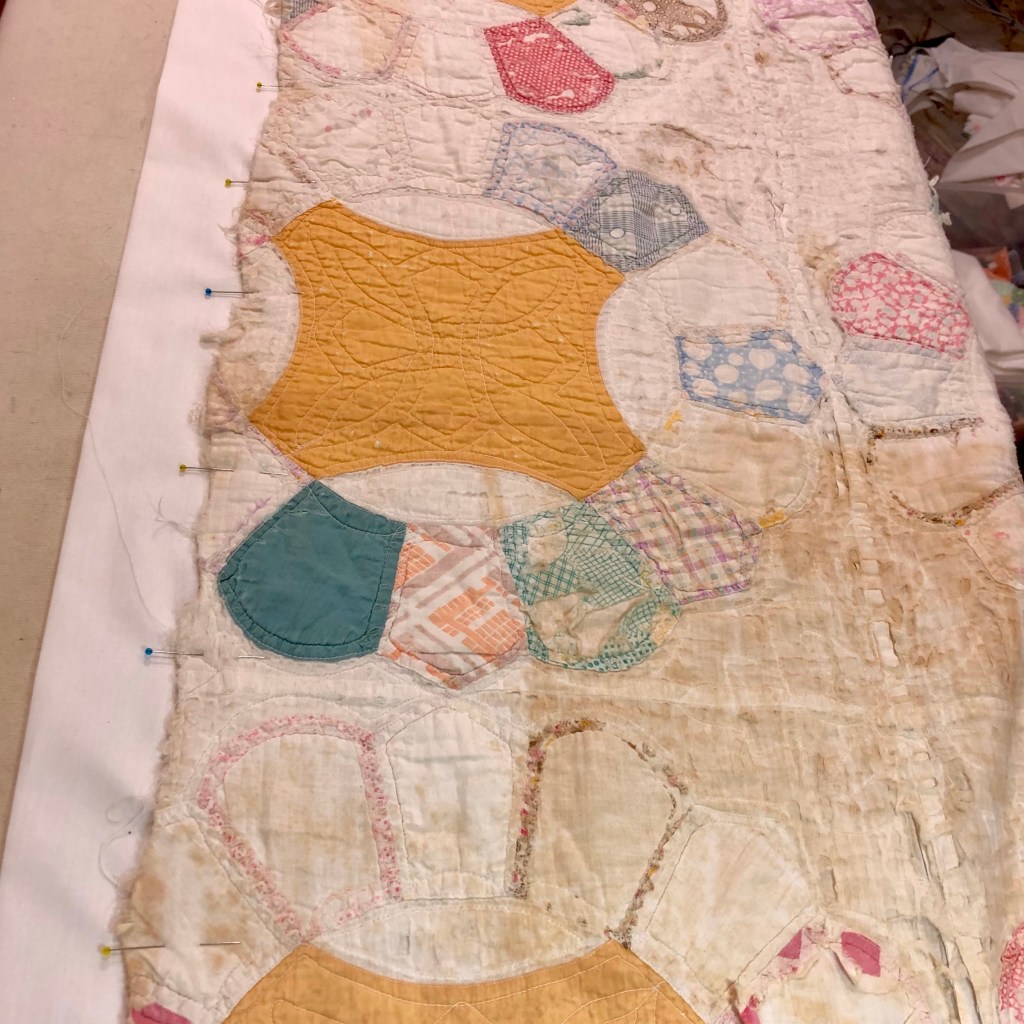
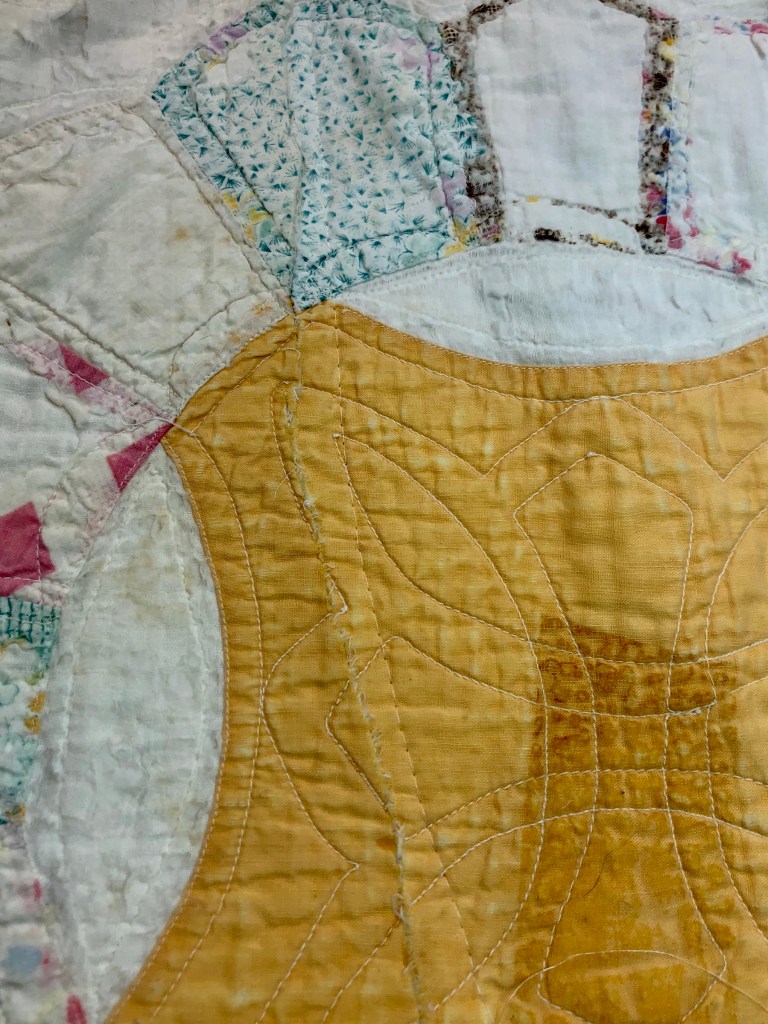
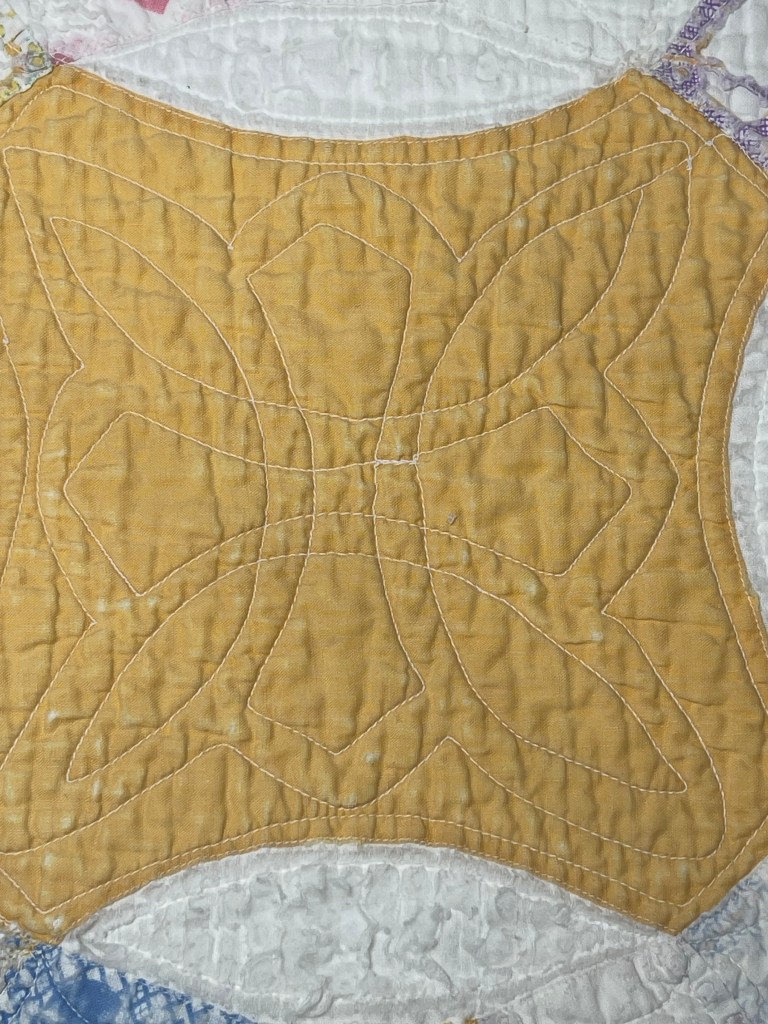
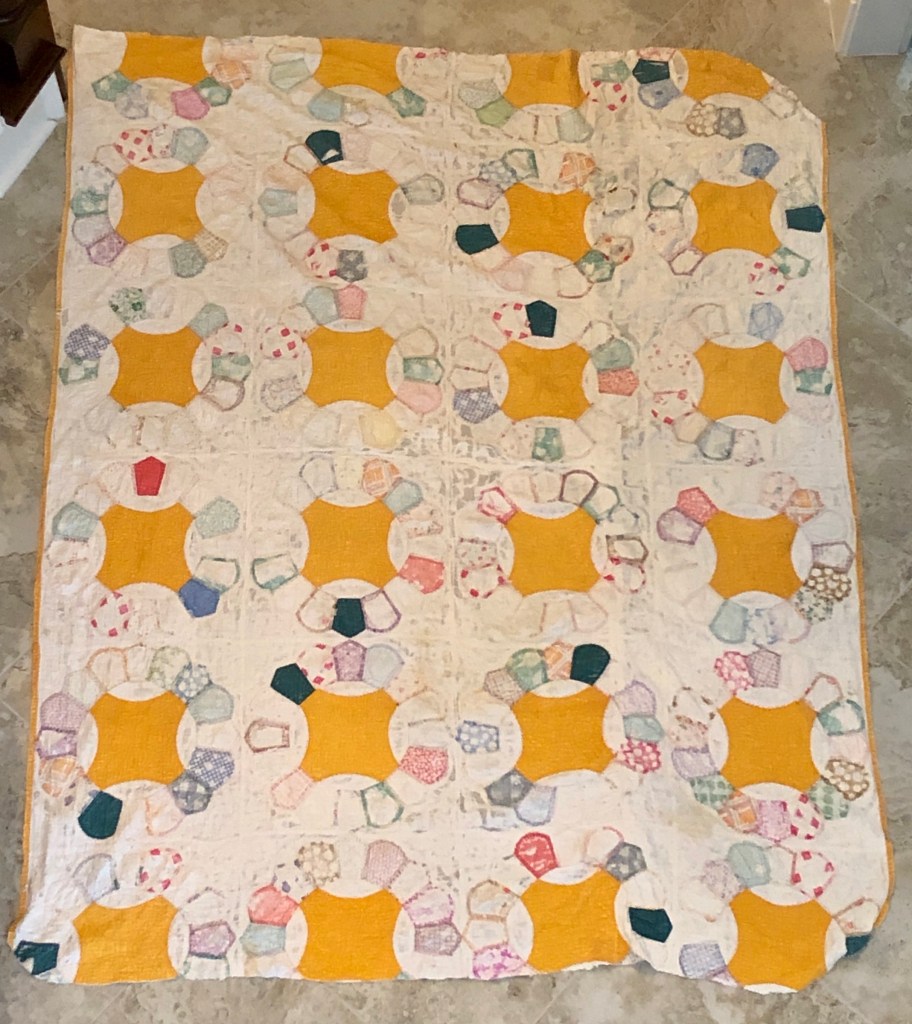
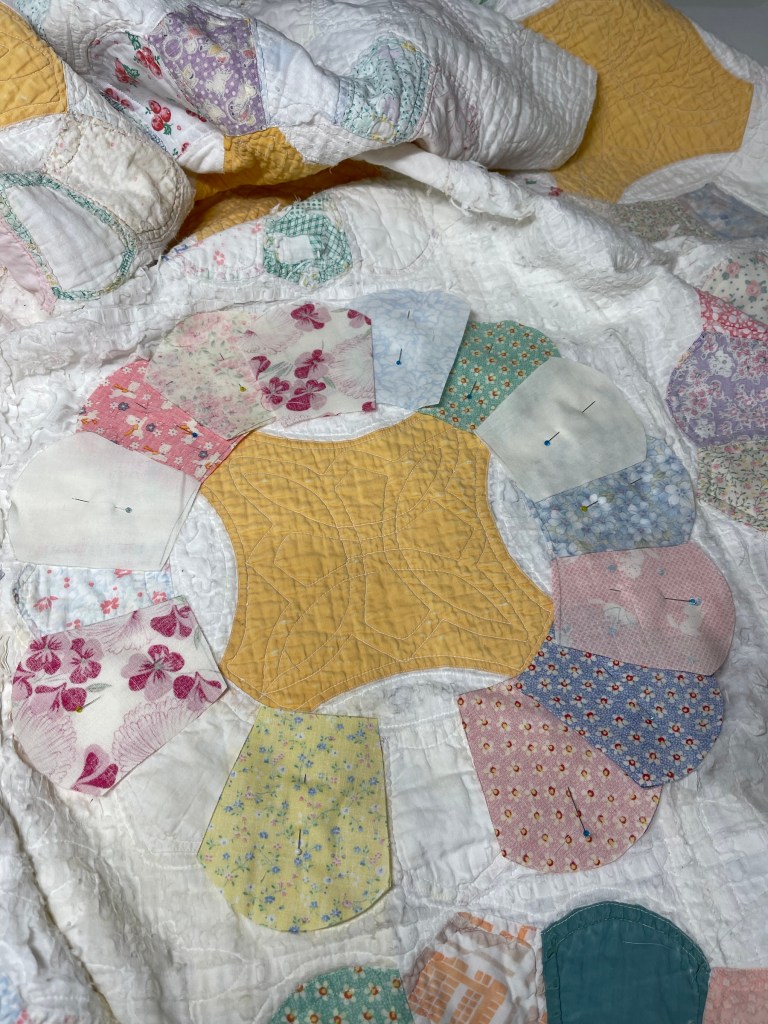
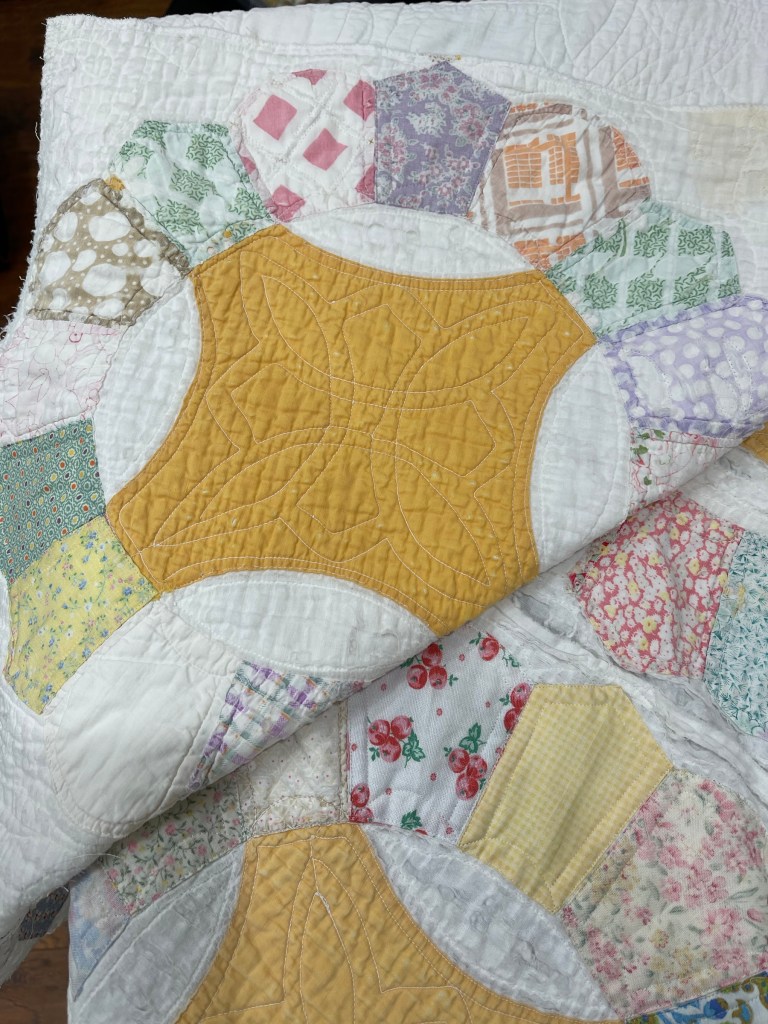
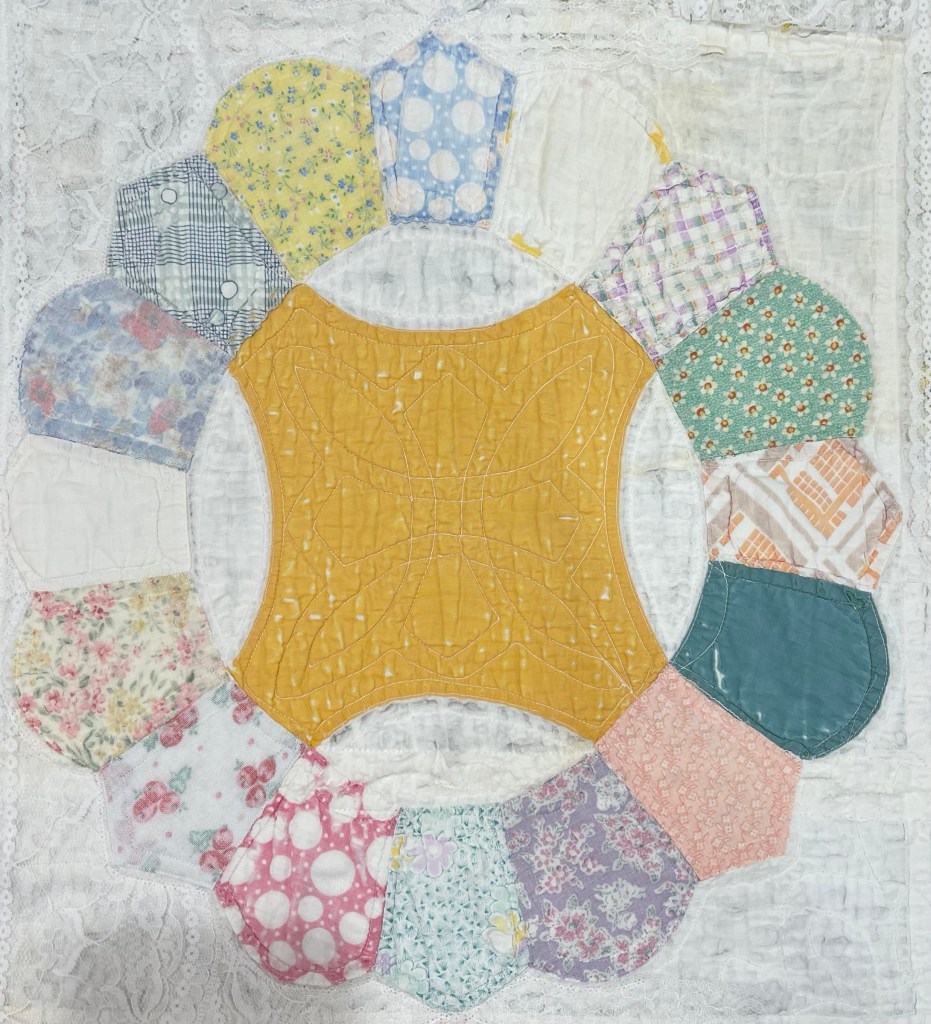
I pulled out my trusty big quilt block books and began my hunt. For reference, the block below is a picture of one of the blocks in the quilt I have been working on:

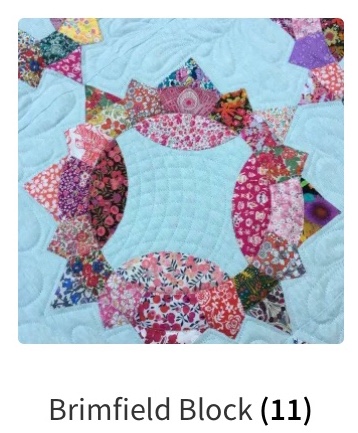
The block below is the EPP created by the Brimfield Awakening Co. Similar but not exactly the same.

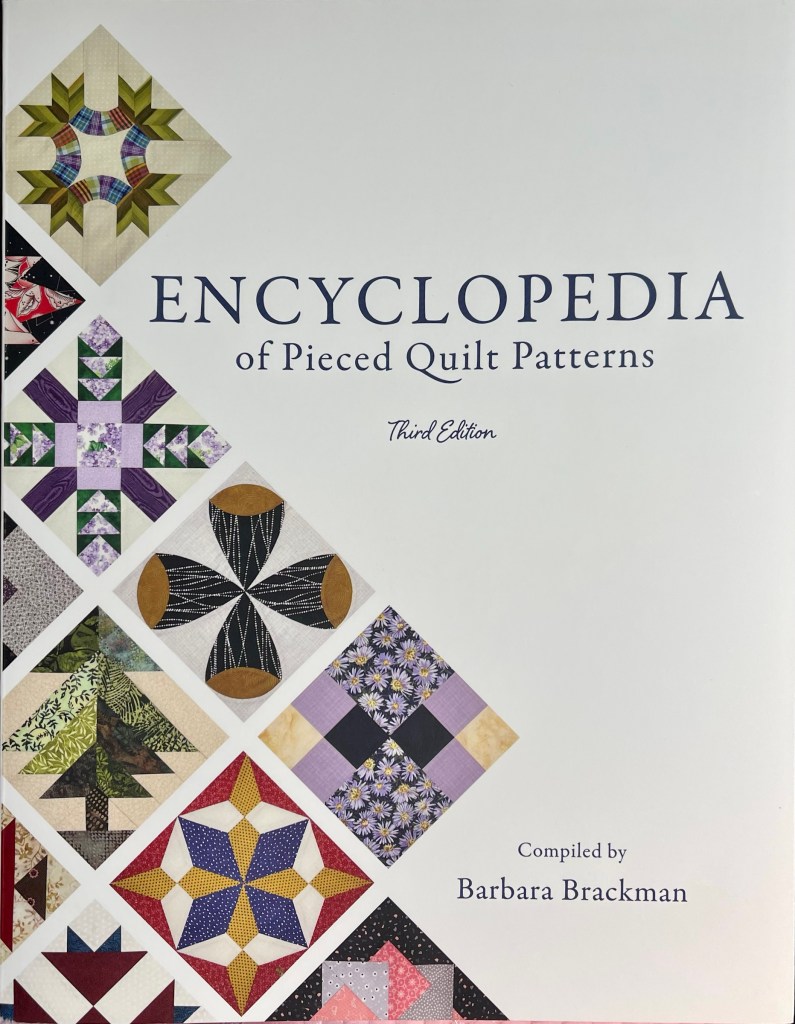
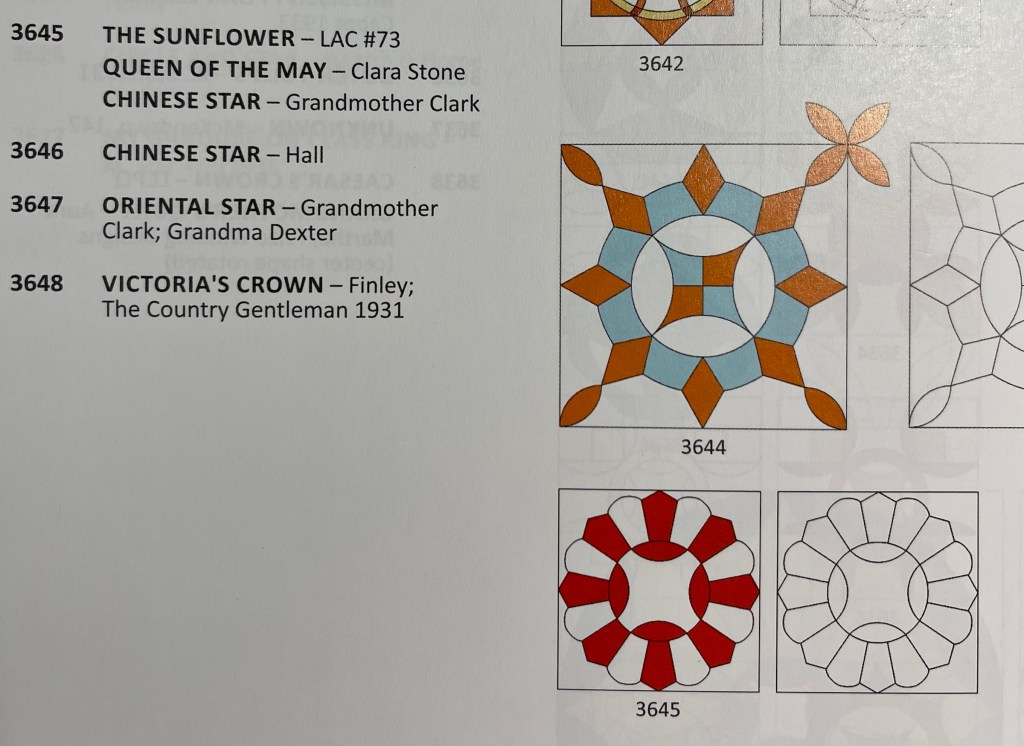
My next search was in this book by Barbara Brackman:

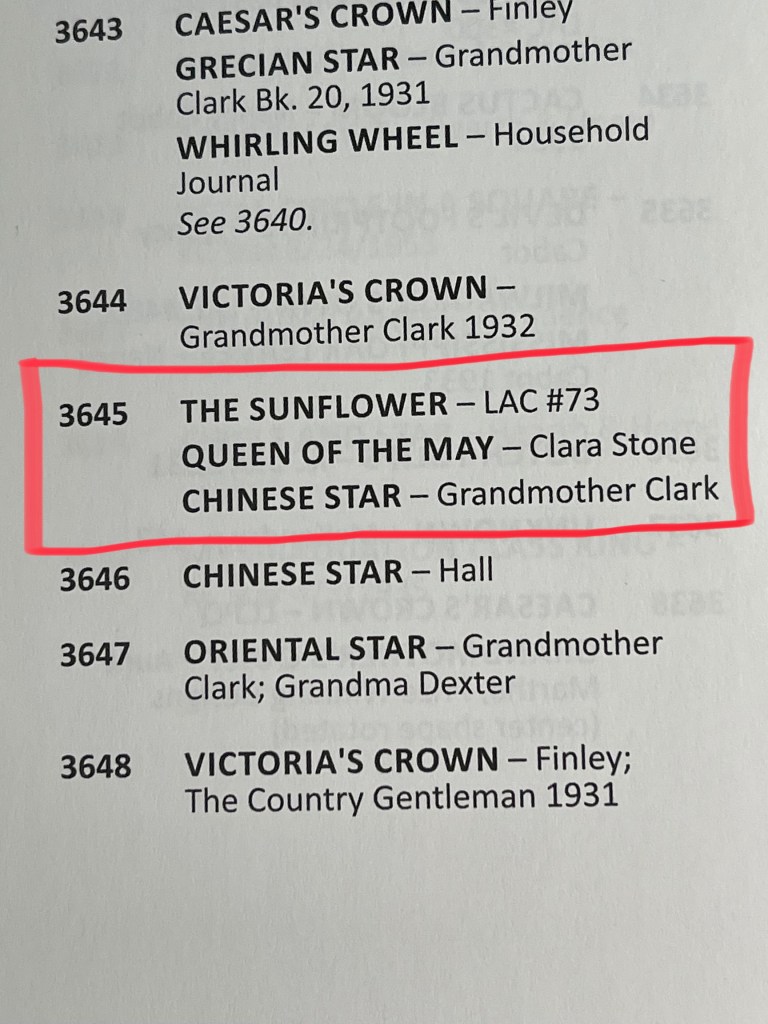
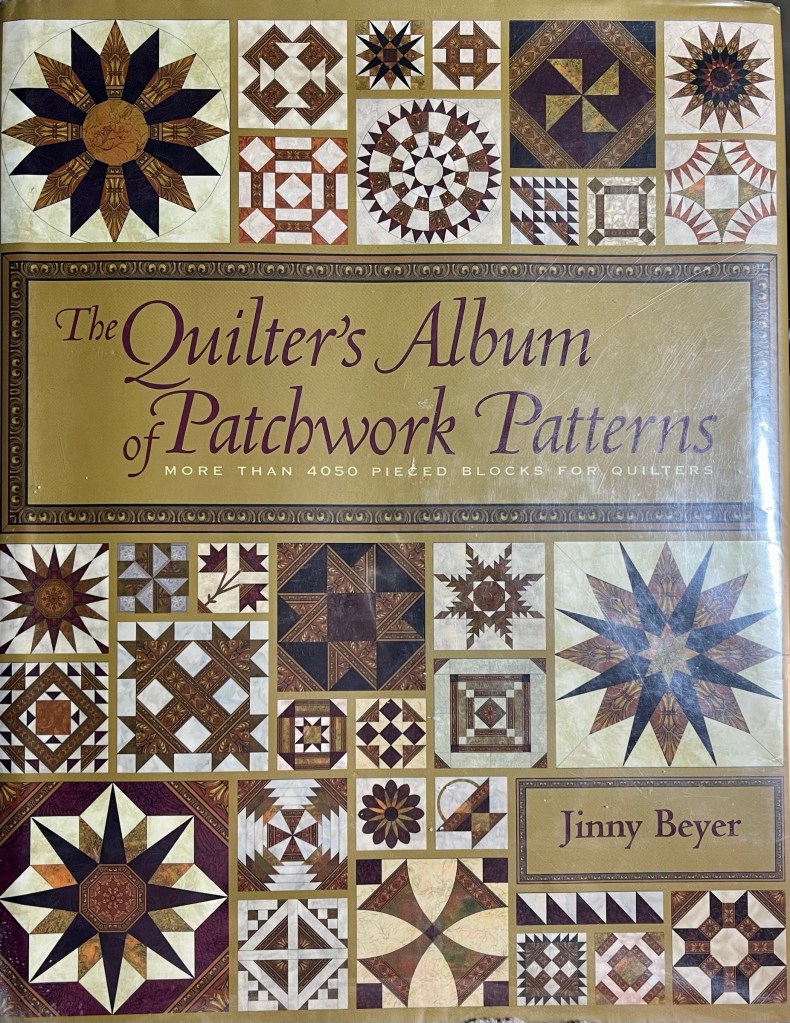
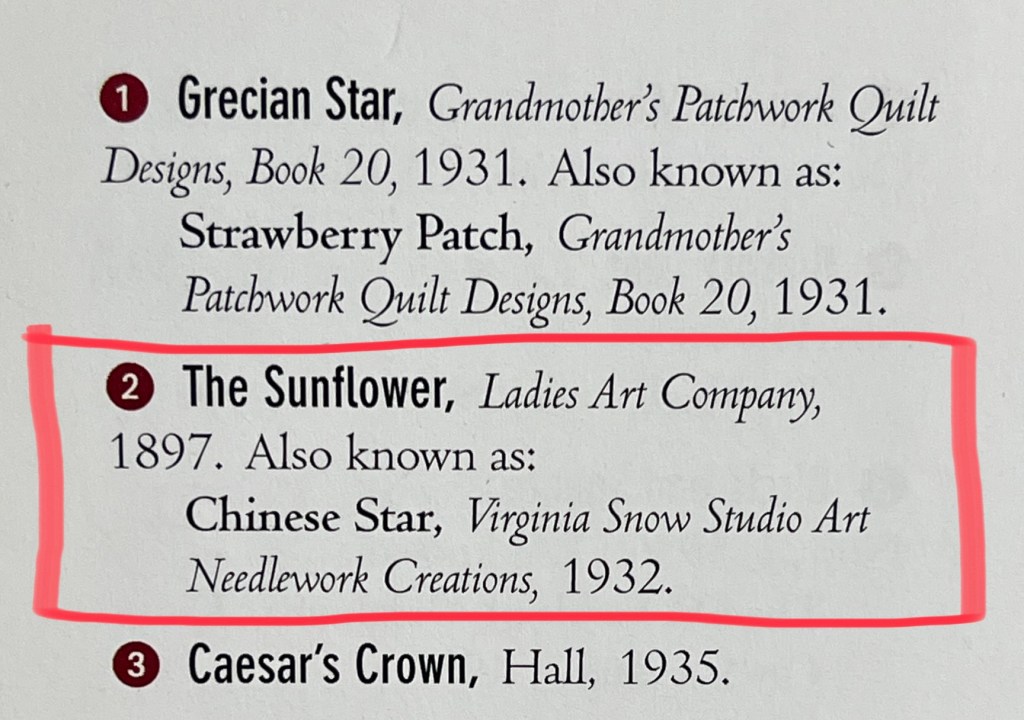
And finally, another wonderful resource by Jinny Beyer:

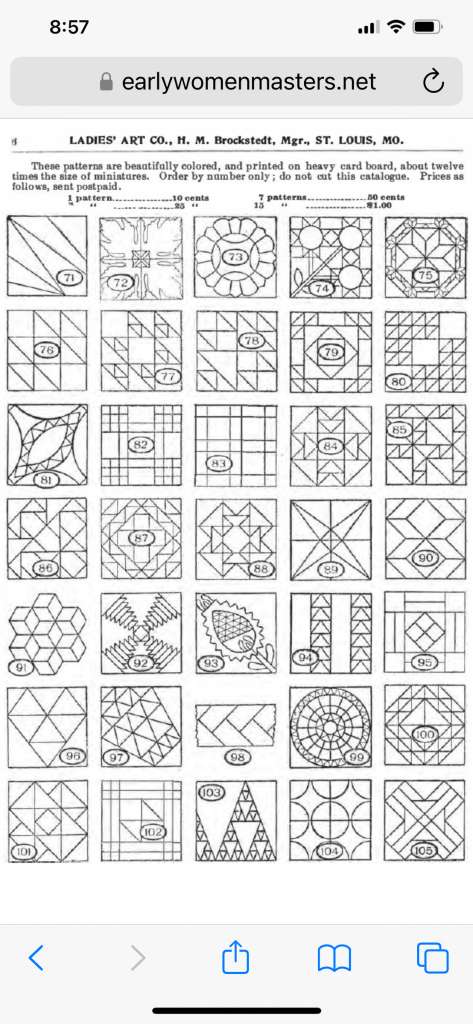
But…I also found by googling The Strawberry quilt block these 2 blurry pictures from the LAC (Ladies Art Company) pattern number 73:

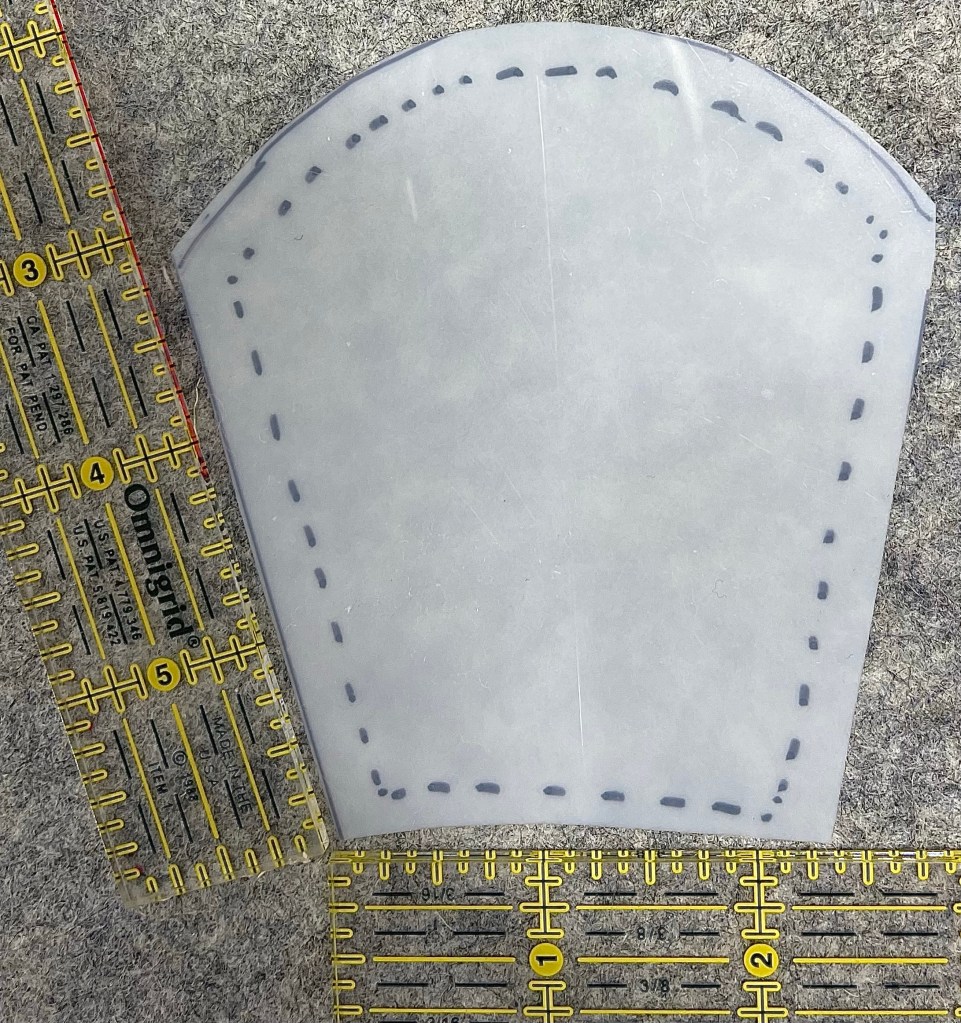
And by the way (in my quilt) this is a very large block measuring 16 1/2” square.

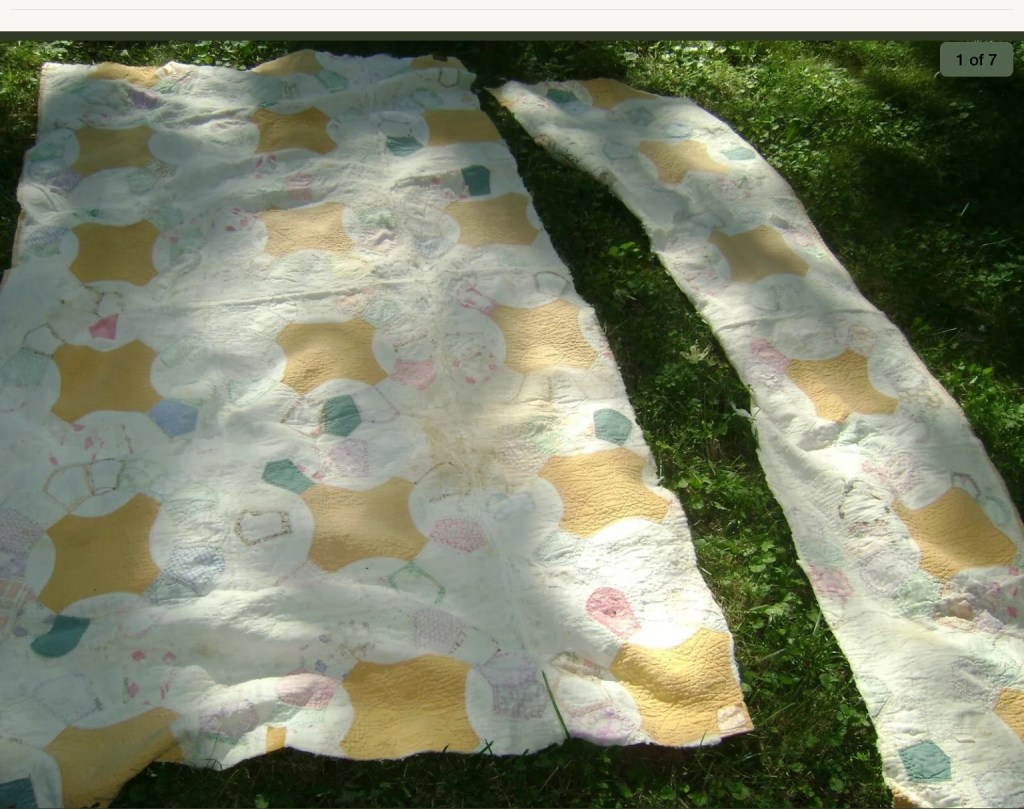
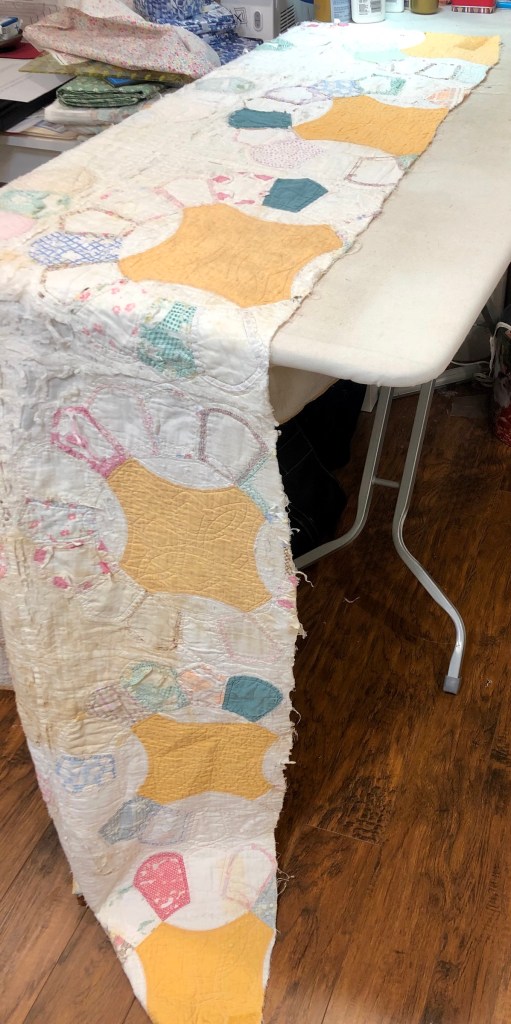
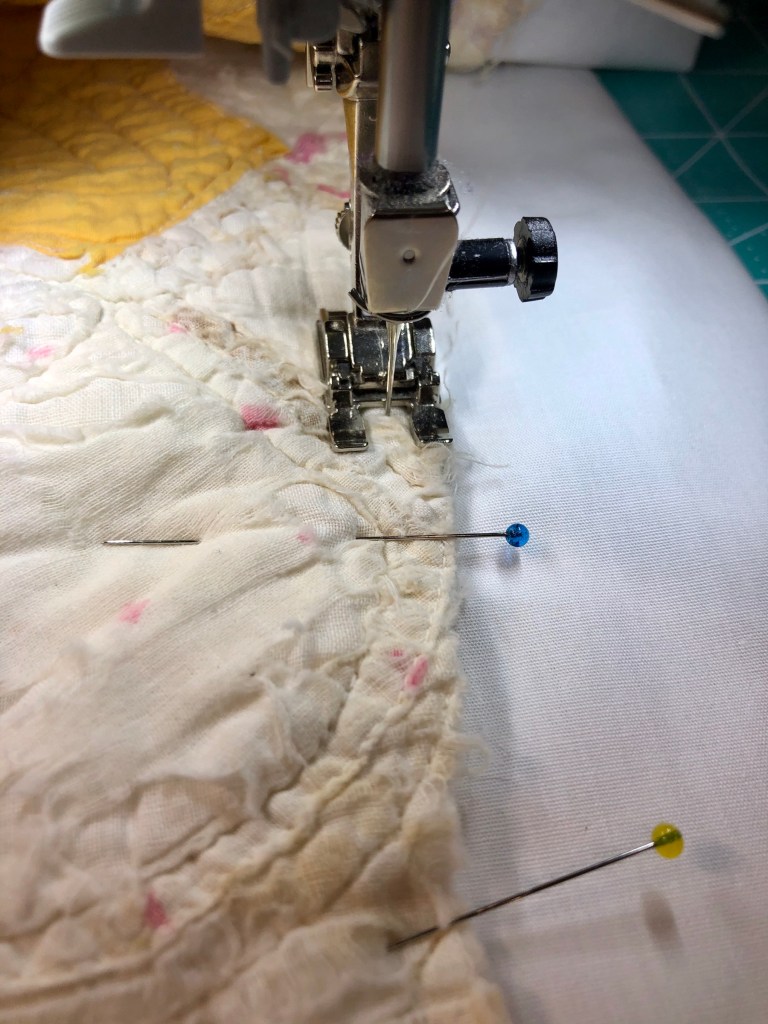
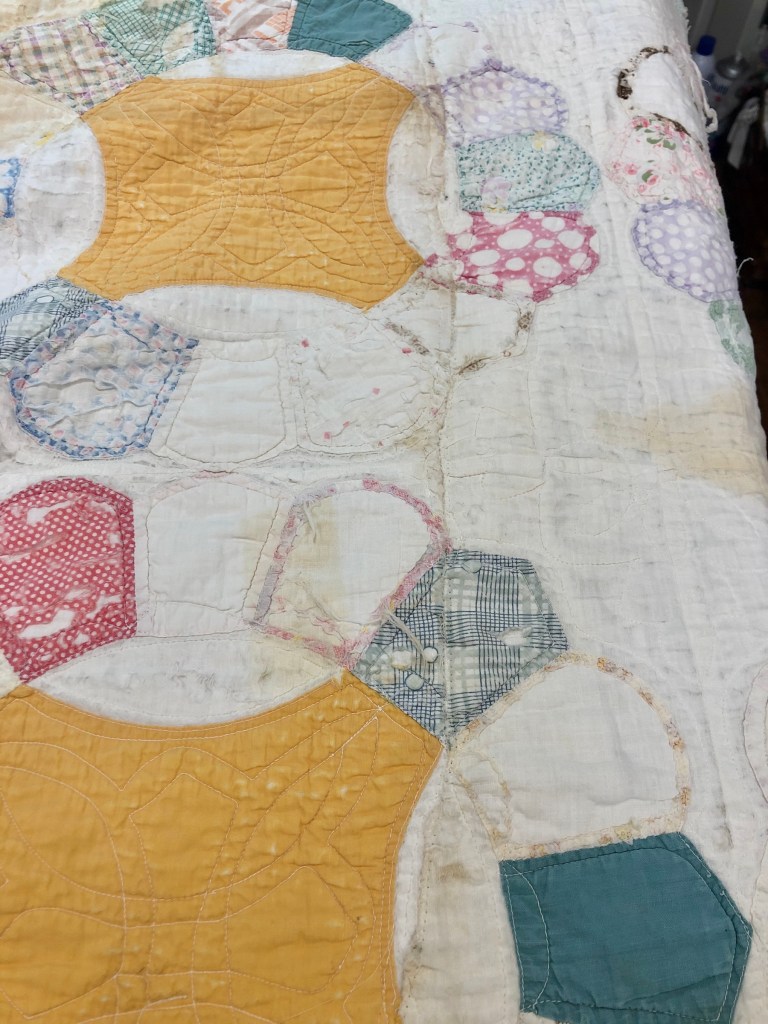
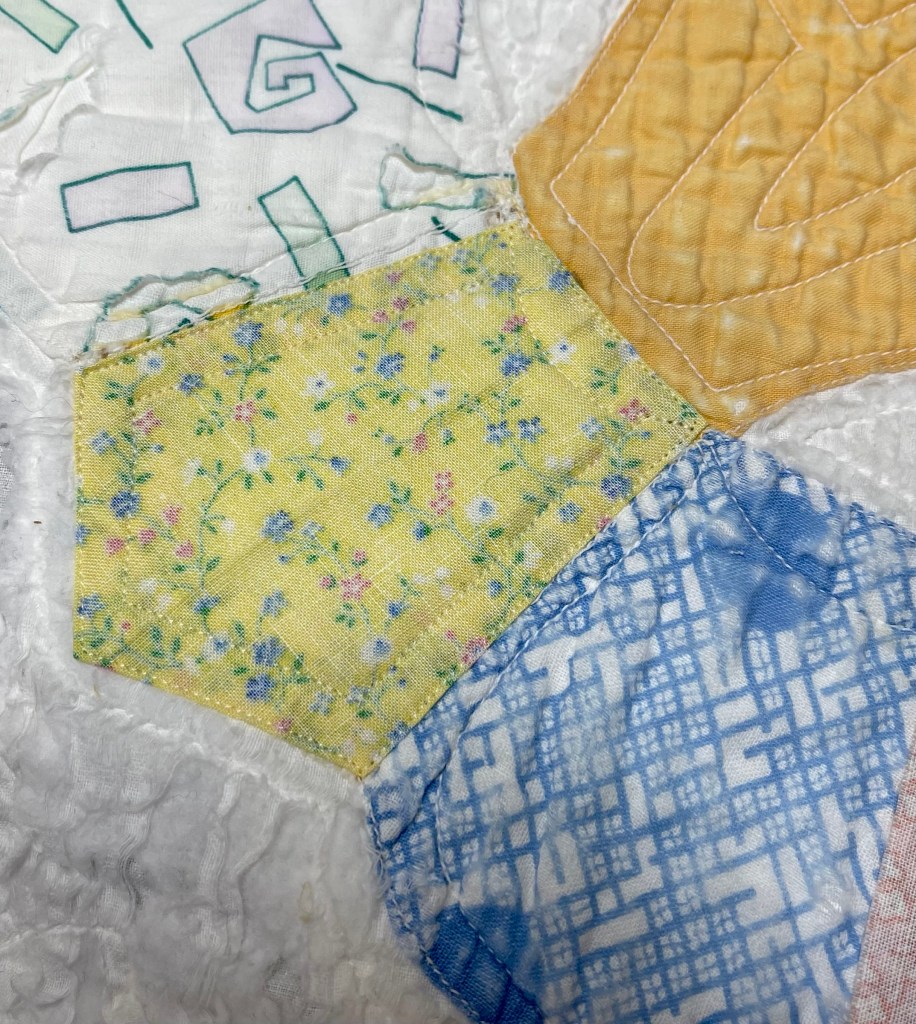
Let’s revisit yesterdays post and talk about what the front and the back of the quilt looks like after my method of rejoining the two pieces.

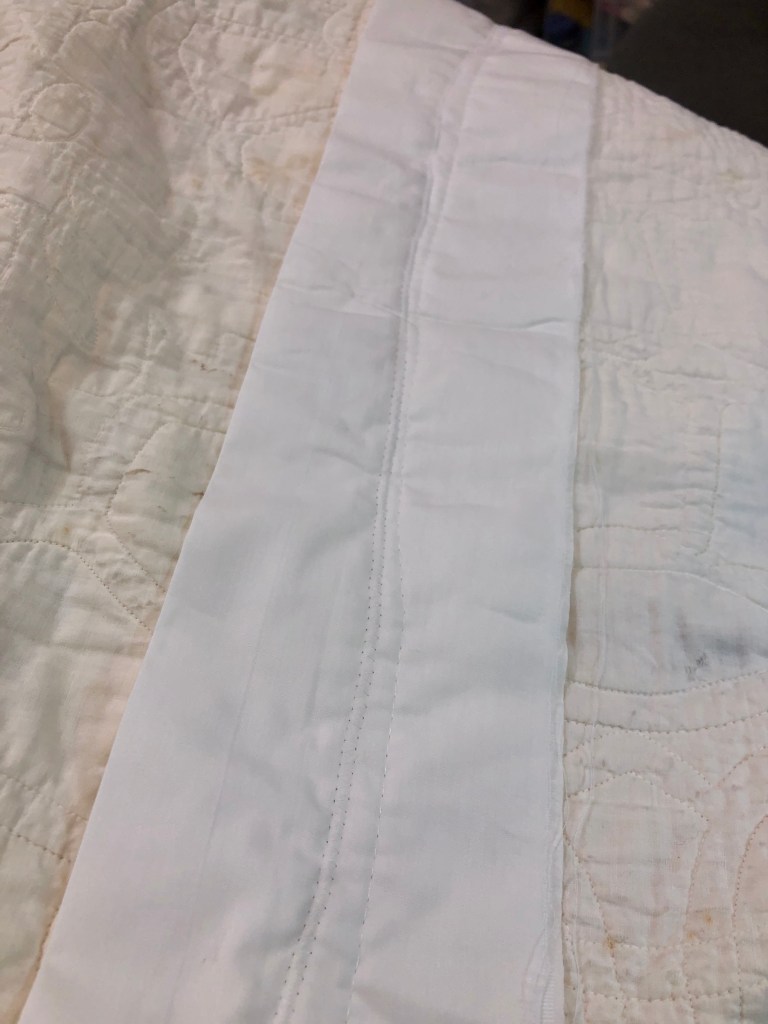
Above you can see what my long straight machine stitch as well as the zig-zag that joined the two quilt pieces.

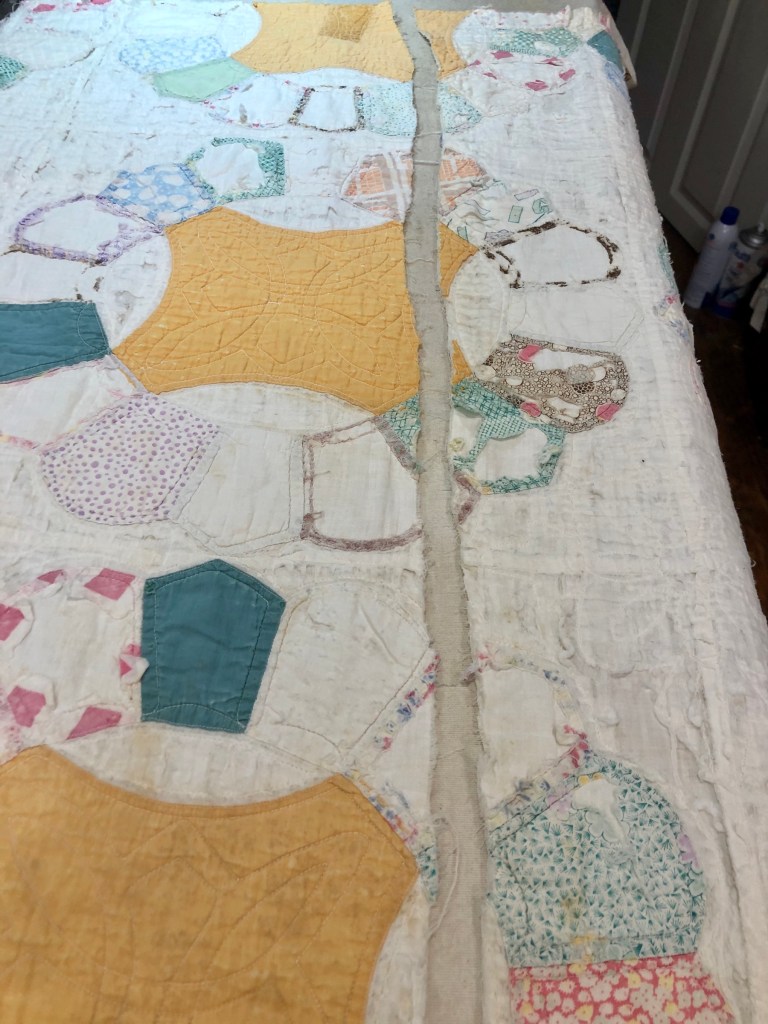
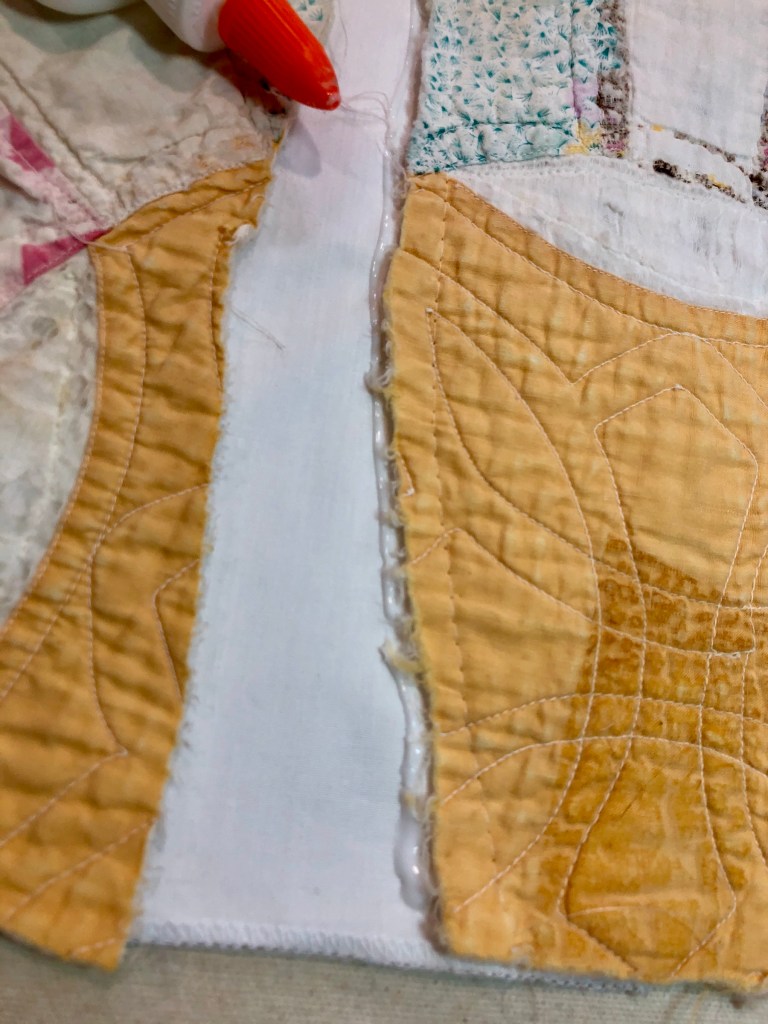
I removed the long machine basting stitch, trimmed the white support strip to 1 1/2”. I tucked under 1/4” each side and straight stitched each side. Do I care that the quilt back now has a 1” “new fabric” strip running down the length of the quilt? Absolutely not! It’s there to secure the repair not to look beautiful. 👍

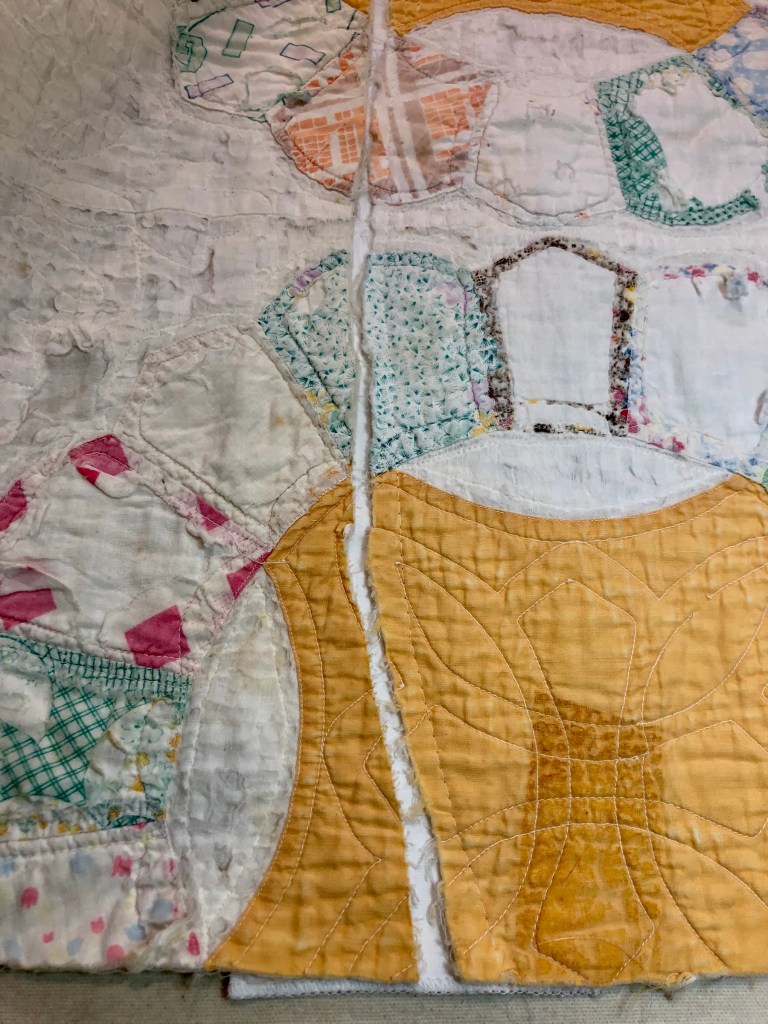
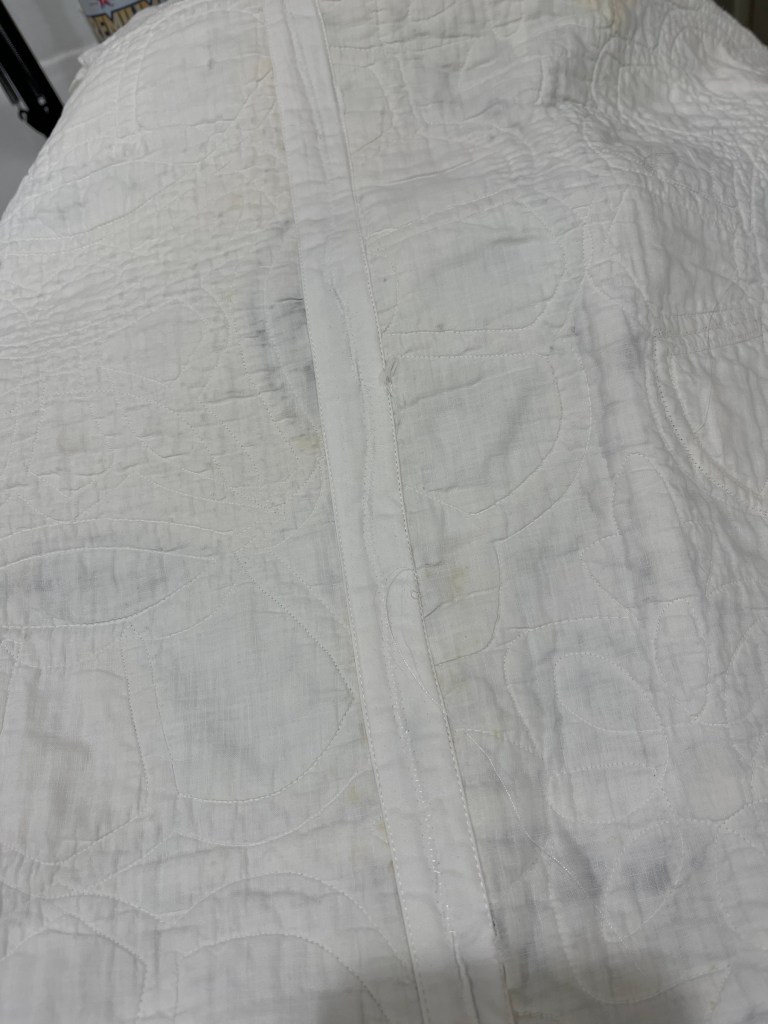
What does this technique look like from the front?

Remember, I’m “saving” not restoring a vintage quilt. As I see it, there are almost zero rules to break! 🙂

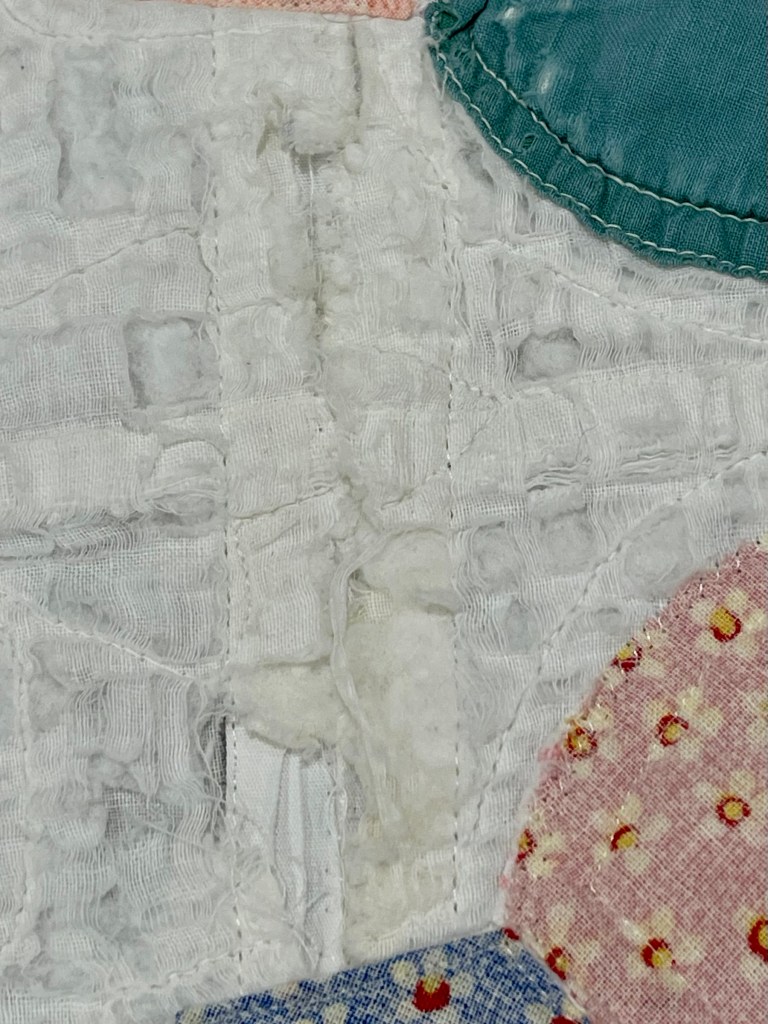
More to come soon, I’ve got one more block to repair and then it’s on to deciding what to do about all the Fractured and missing front white fabric.

Blessings to all and happy quilting, Rhonda

The Strawberry, Sunflower, Queen of the May, Chinese Star and/or Brimfield Awakening Quilt…

Whichever name the block goes by, I think I’ve covered them all. Almost four years go to the day I began working on this disaster of a quilt, Dec. 4, 2019. I’m guessing it was an eBay purchase and more than likely I paid just a pittance for this “cut into two pieces” vintage old stained ripped worn out quilt? I stitched it back together and set it aside and it was promptly forgotten.

Today I’m thinking…what on earth was I thinking when I bought this disaster? And yes, you read that right, the quilt was cut into two pieces with no regard for much of anything. Nov. 11th of this year, while looking for some sit down work I came across this project and decided to give it a go once again.

Because of the sad condition of the quilt, I decided I needed a backing strip. I laid out one piece of the quilt, pinned the cut edge in place and after pinning, I machine stitched (using a longer stitch) about a half inch away from the cut edge.

Ready to address the second piece.

Using Elmer’s Washable School Glue I run a thick bead along the cut edge of the piece I’ve already stitched to the white added back support strip.

I’ve positioned my two quilt strips to match their cut edges, I’ve glued both pieces to the white back support strip, heat set the glue with a dry iron and now I’m ready to zig-zag over the raw edges, joining the pieces back together again.

Seriously, is this just about the saddest looking quilt!

But have you noticed? This very old quilt is machine quilted! And machine quilted very well I might add. And another thing, it is machine quilted to about 14 stitches to the inch.

So after I get the two pieces back together this is what I’m dealing with…partial blocks both top and bottom and at least a million missing fabrics. I cut away both the top and the bottom rows and am left with a “throw sized” very dirty, worn out quilt. But I like it.

After making a clear plastic template of one of the remaining original block pieces, I begin a fabric stash search for anything that looks old, and if it only kind of looks old I flip over the fabric and use the wrong side.

Because this quilt is machine quilted it’s easy for me to fold under the edges of each replacement piece and straight stitch into place. The picture above shows my progress as I work block by block, piece by piece to replace the worn and/or missing fabric.

Look at the yellow patch below. First know the wrong side of the fabric is facing up and can you see how I machine stitched the piece in place?

Lots more to come as I tackle the disastrous white fabric condition. I’m still thinking “oh what was I thinking” when I bought this quilt and decided to try and “save/rescue” this wreck! 🤣

Stay tuned…

Blessings and happy quilting, Rhonda