Saving Another Double Wedding Ring Quilt, Part 2

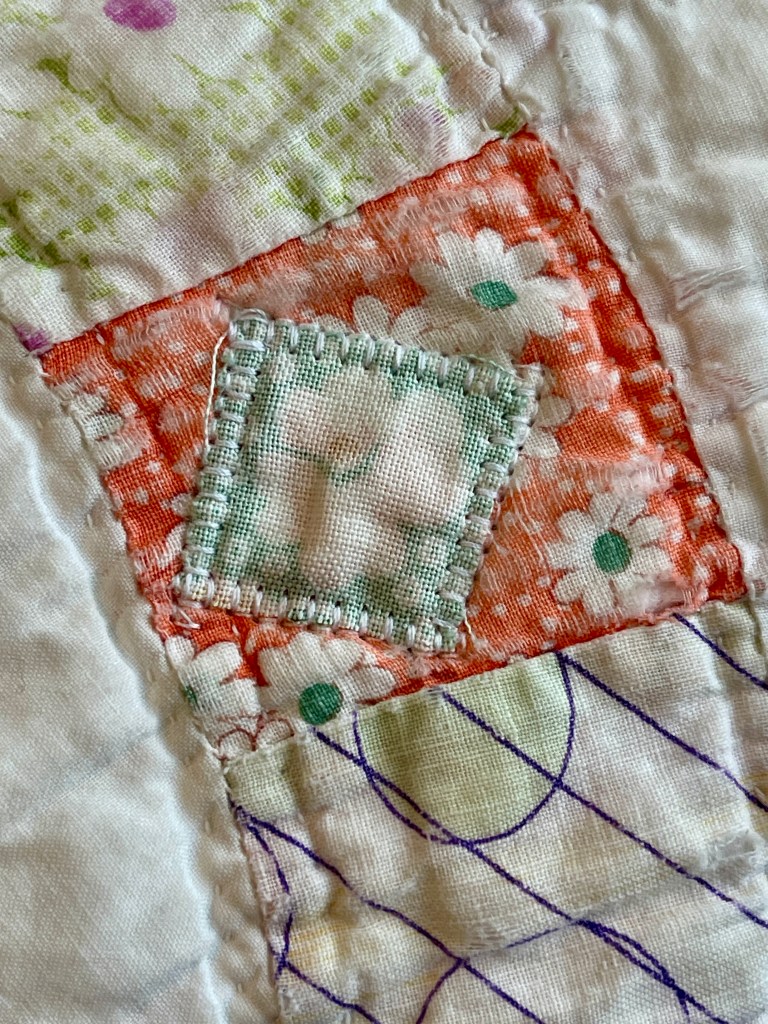
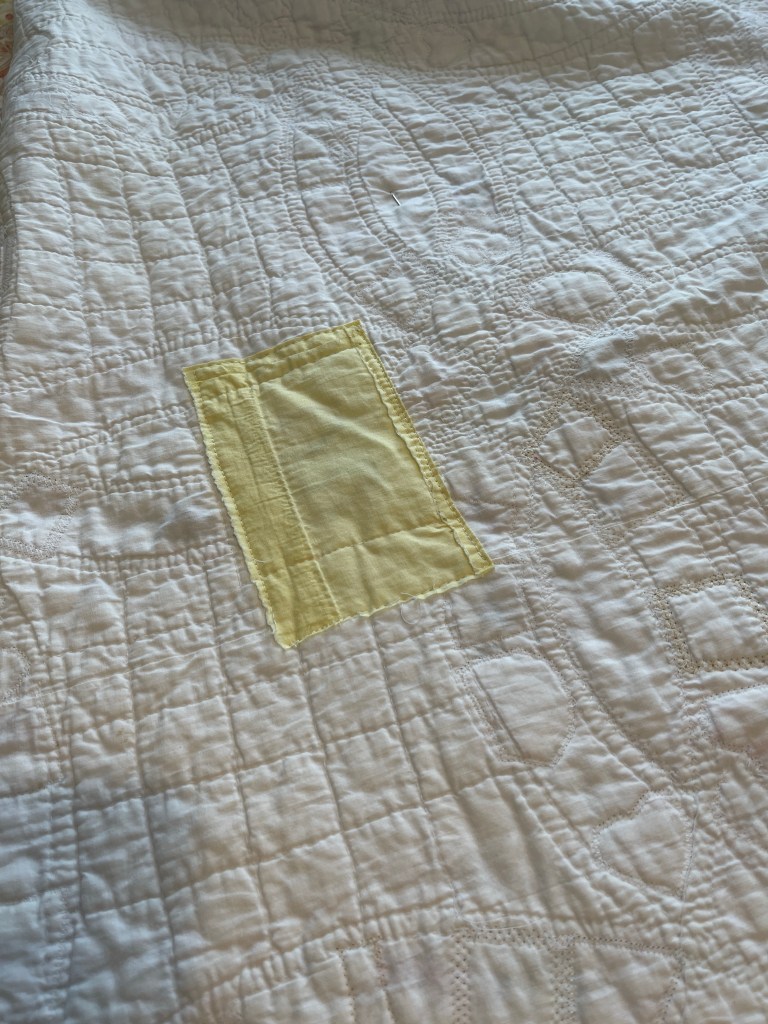
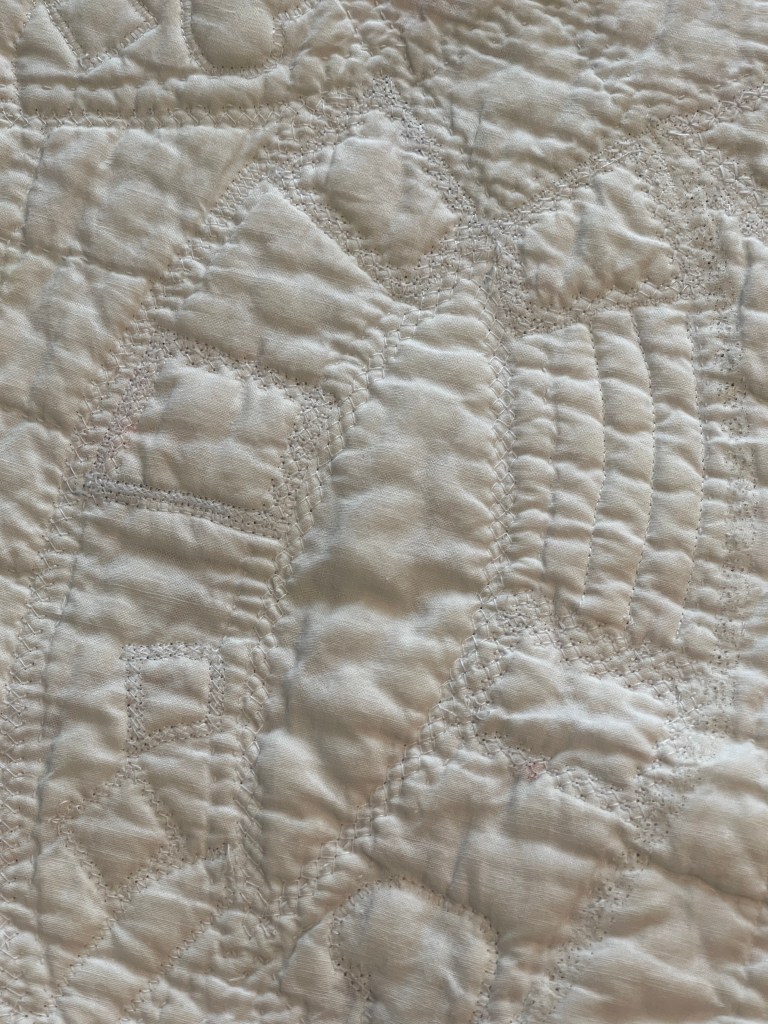
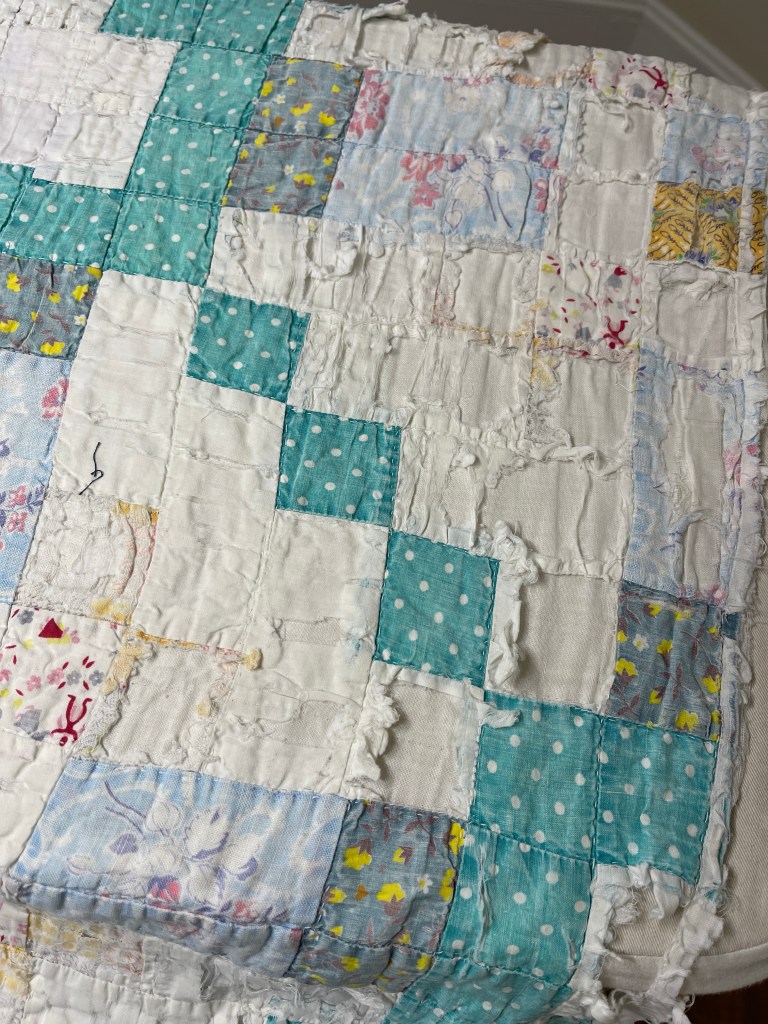
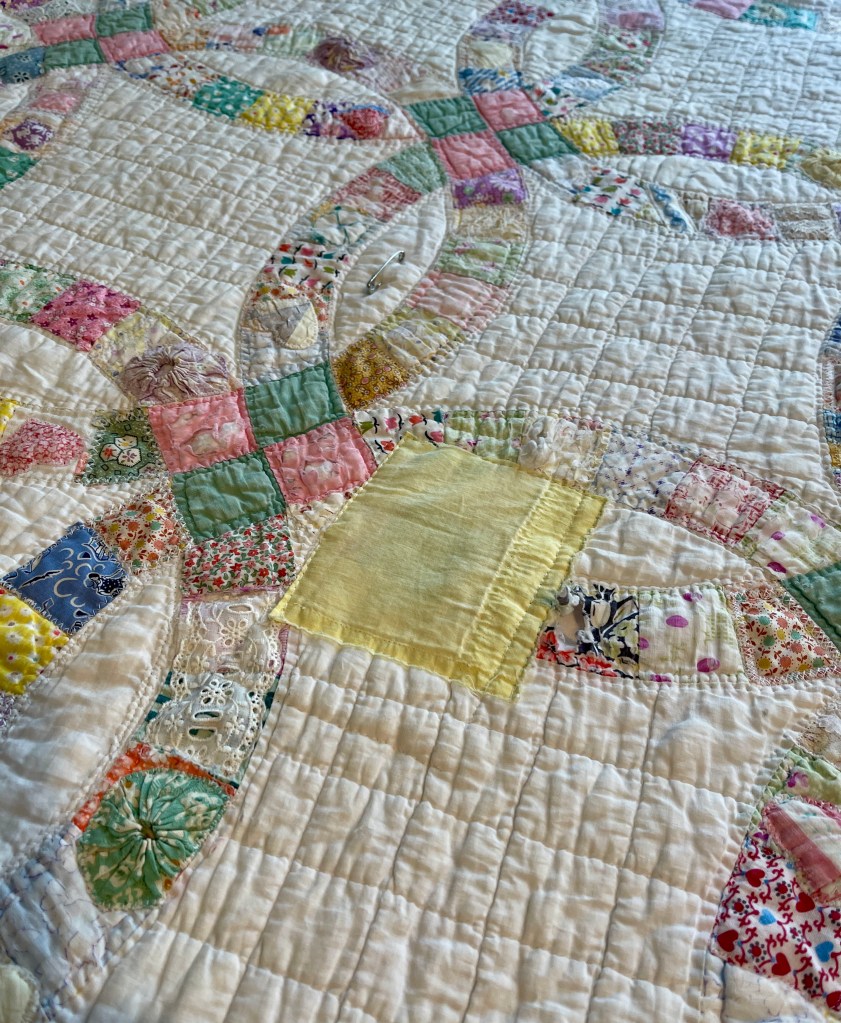
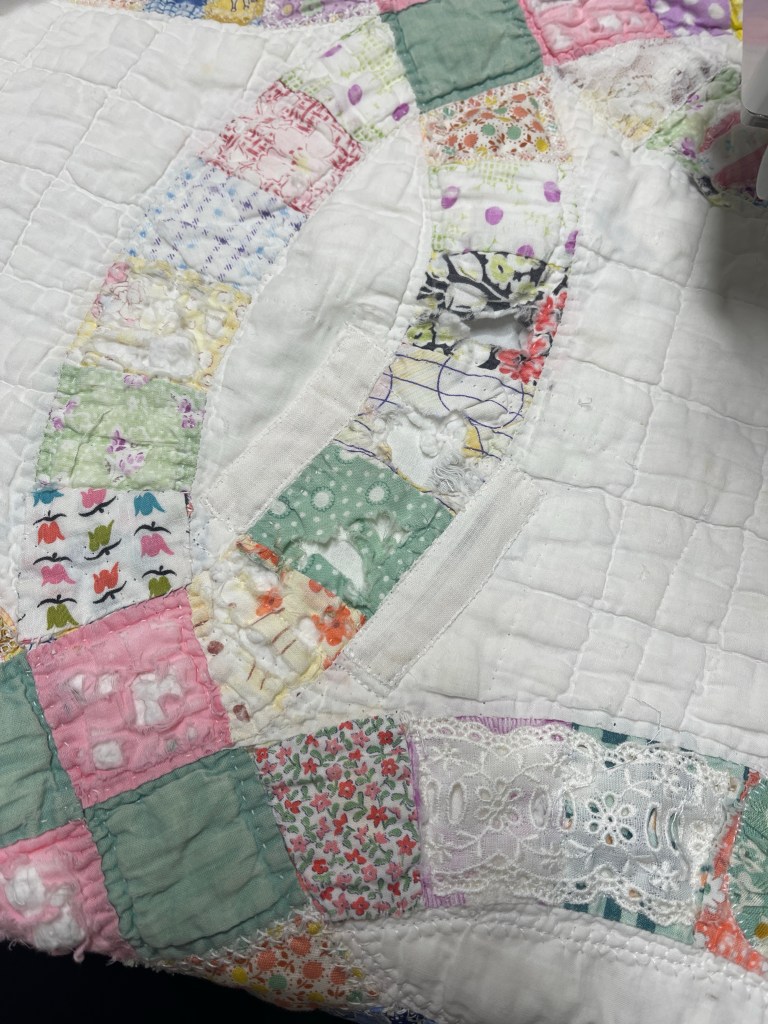
Working my way through all of the fabric patching and machine decorative stitching, it was time to address the hole in the quilt temporarily covered by the large yellow square.

I saved the vintage muslin back of a small baby quilt and found it matches the muslin in this quilt almost perfectly. A 3” square covered the quilt back hole.

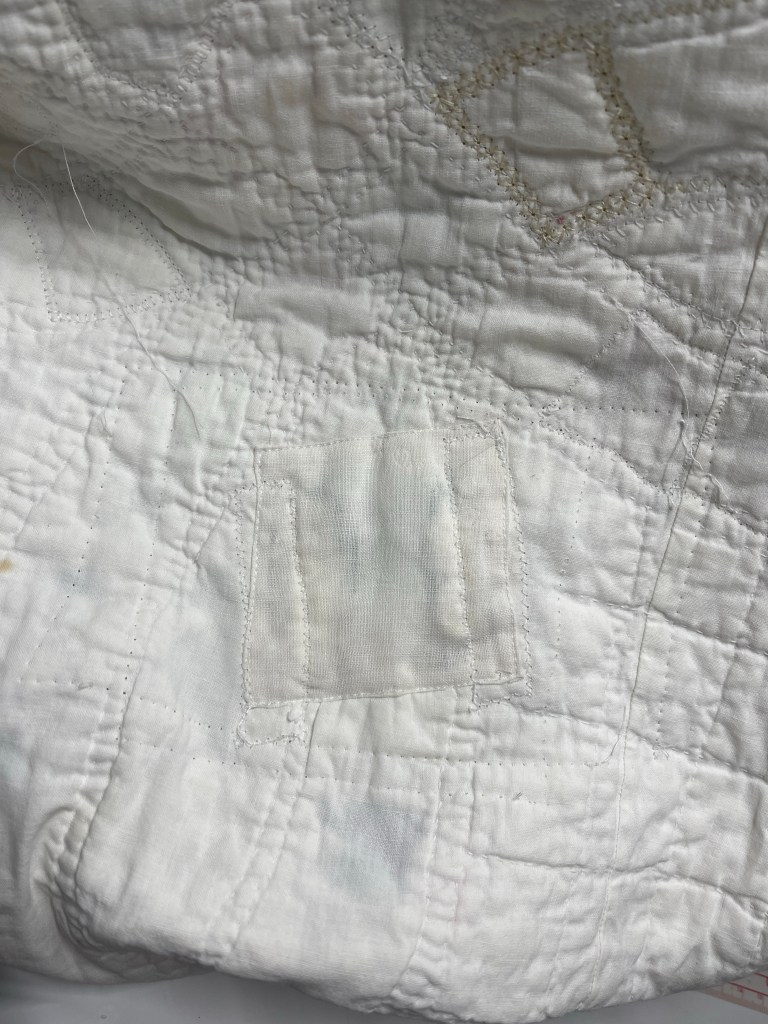
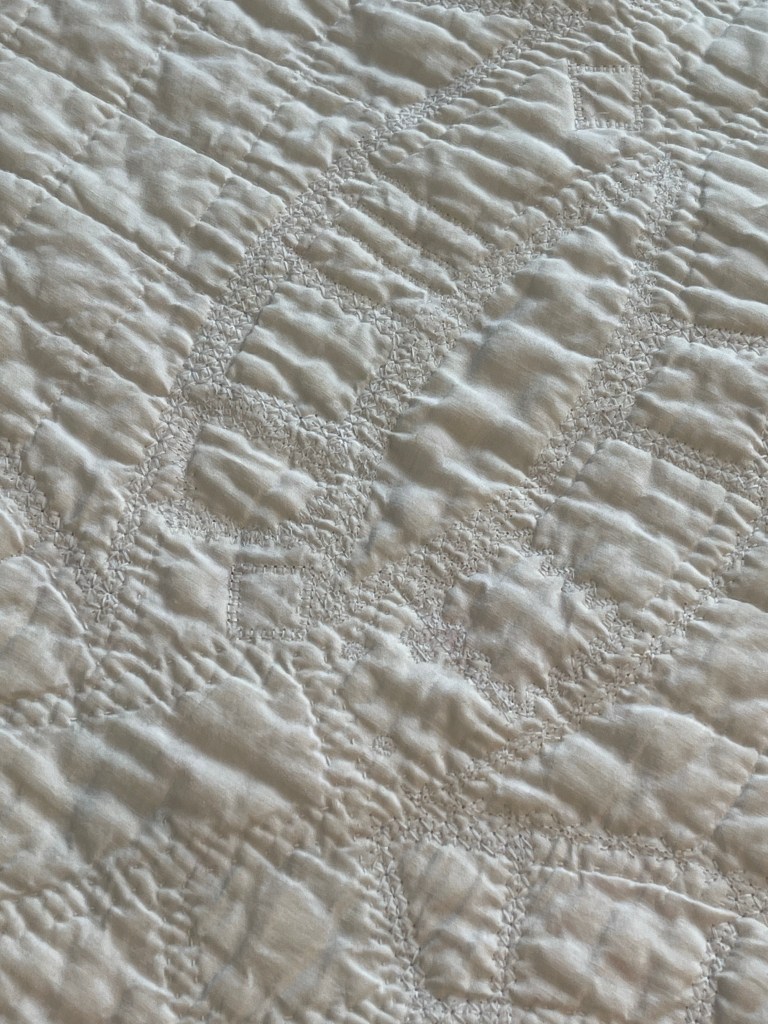
After the machine decorative stitching, the patch on the back will blend in. The quilt top hole repair needed two 3” x 1/2” rectangles.

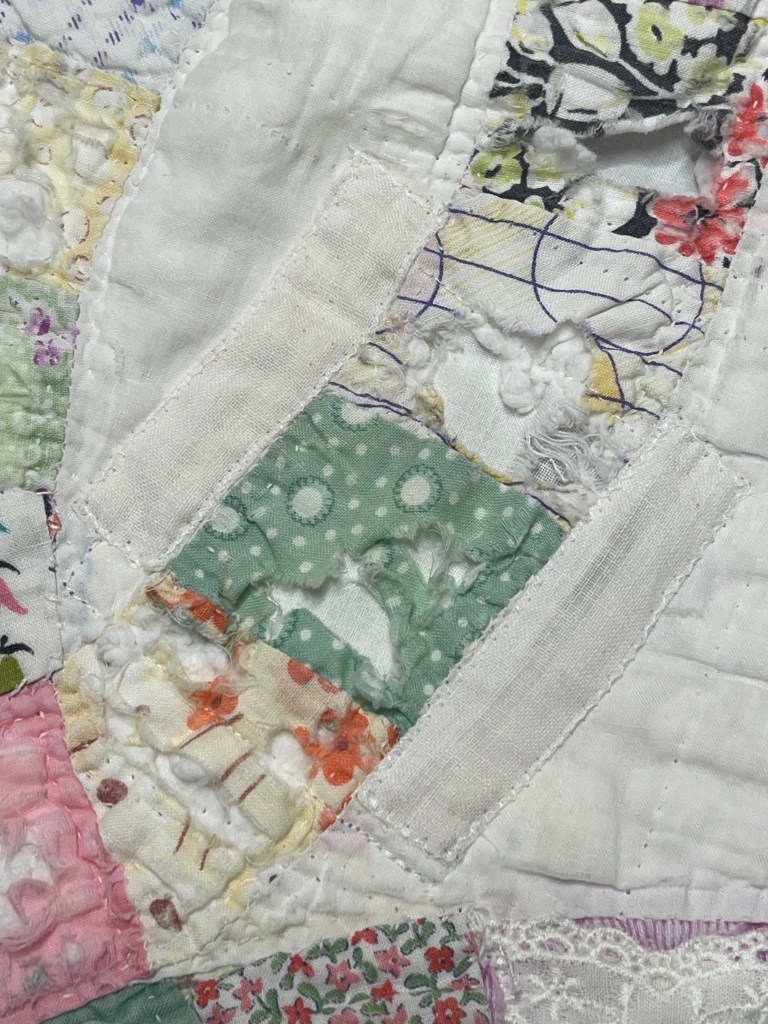
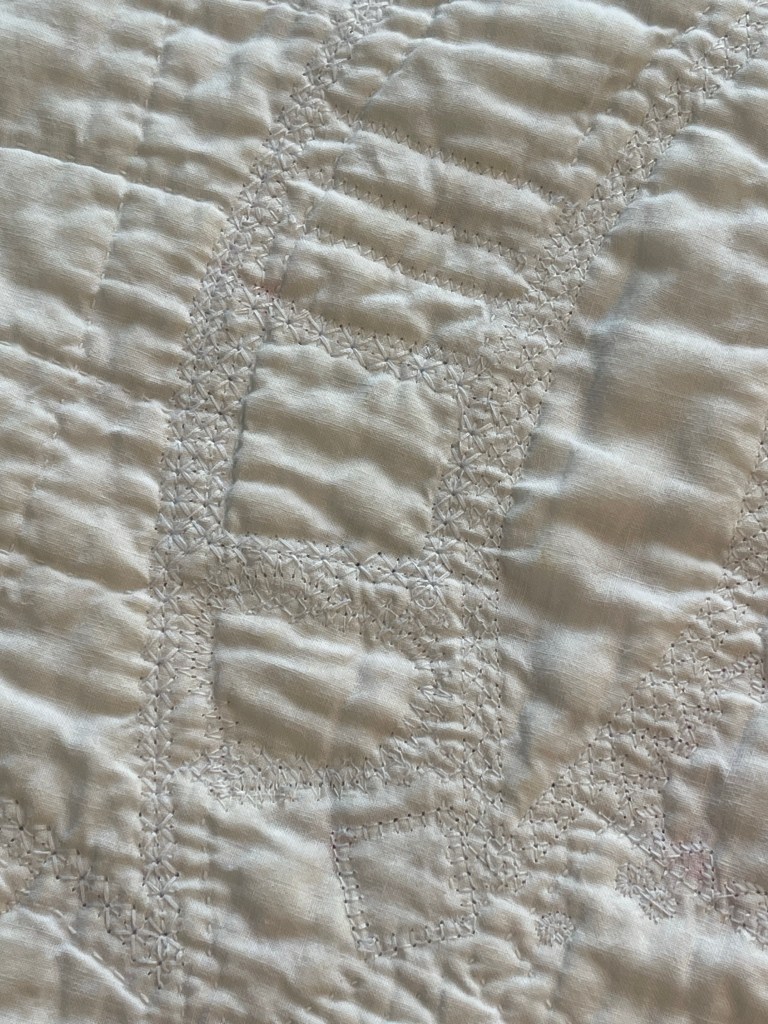
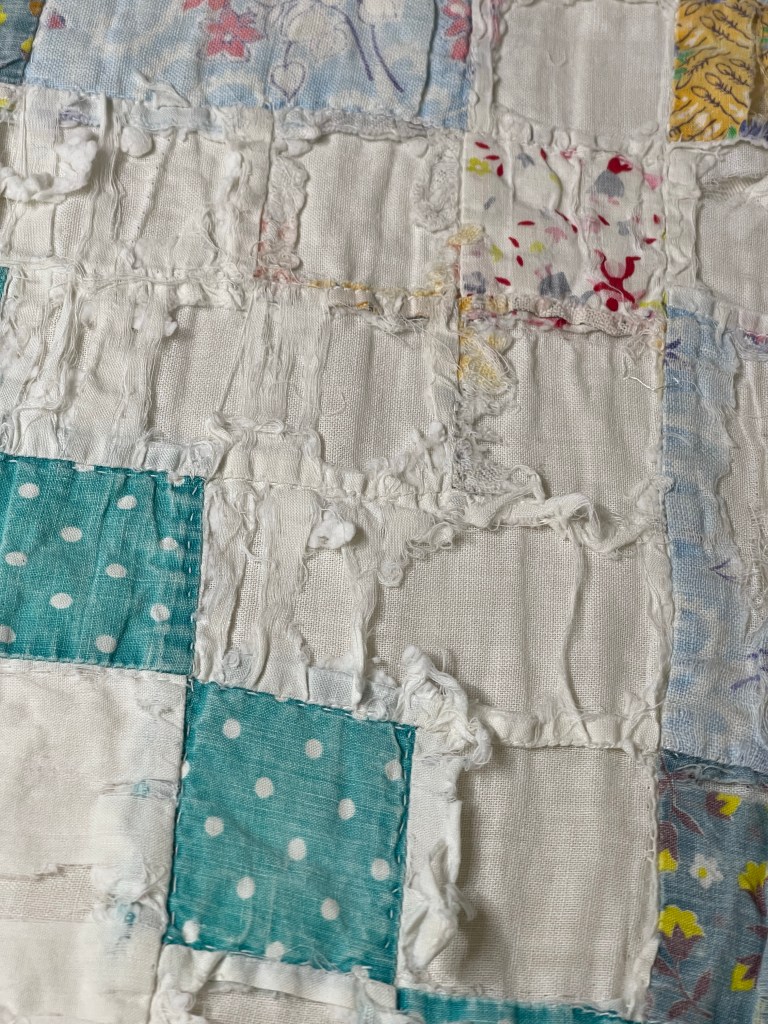
The same with these two long rectangles, after the decorative stitching, they will blend in nicely on the quilt top. You can see close-up that the fabrics in this quilt have almost deteriorated overtime and use.

The repair to the muslin (front and back) completed, it is time to take care of the printed fabric blocks.

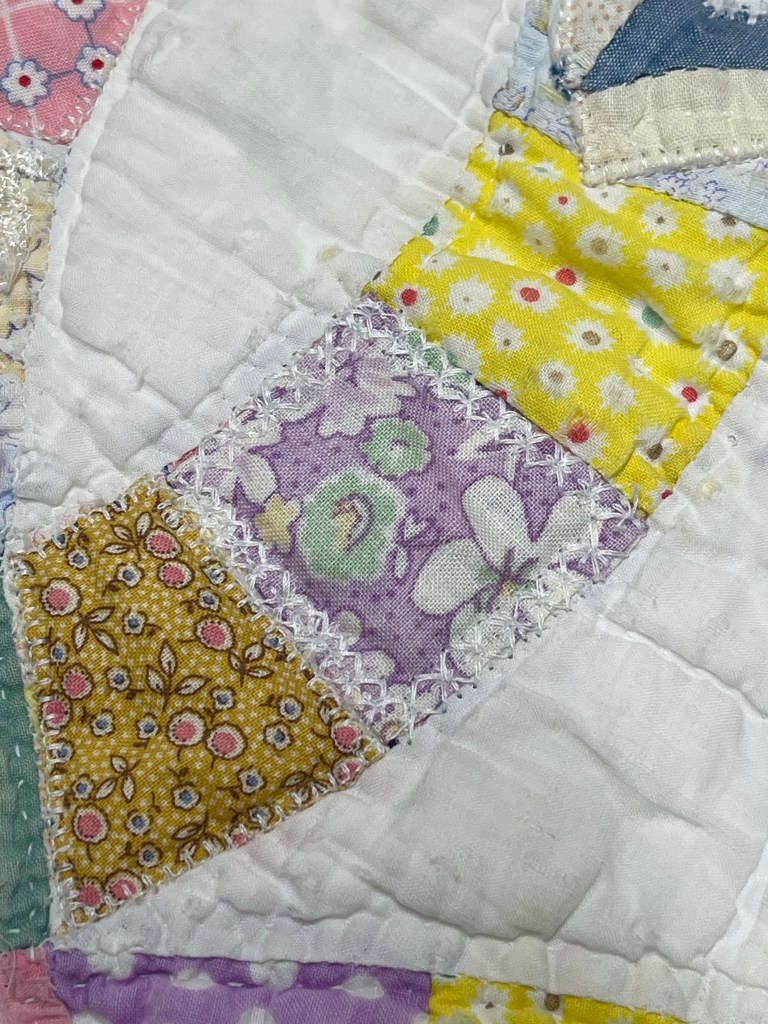
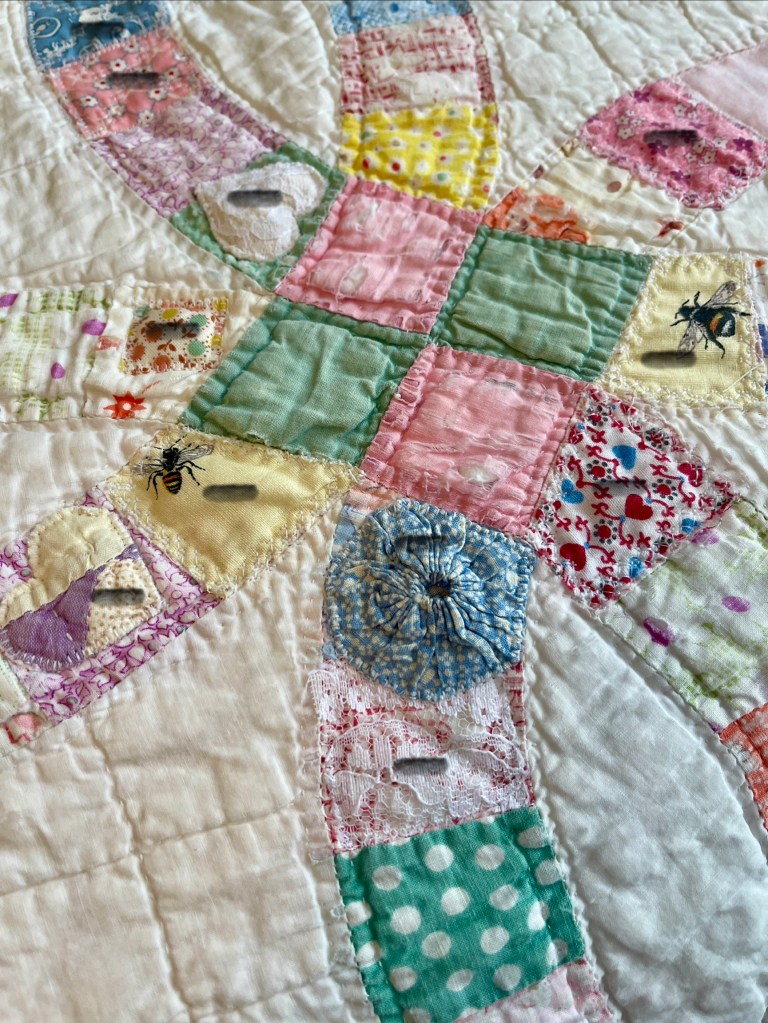
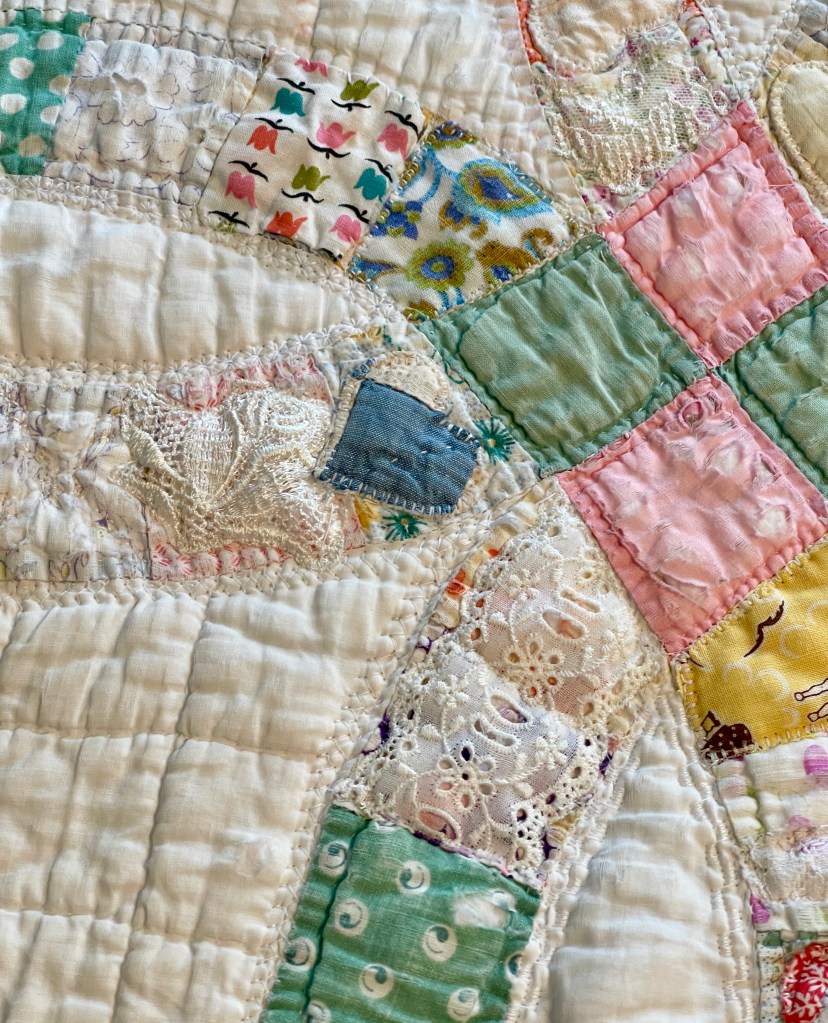
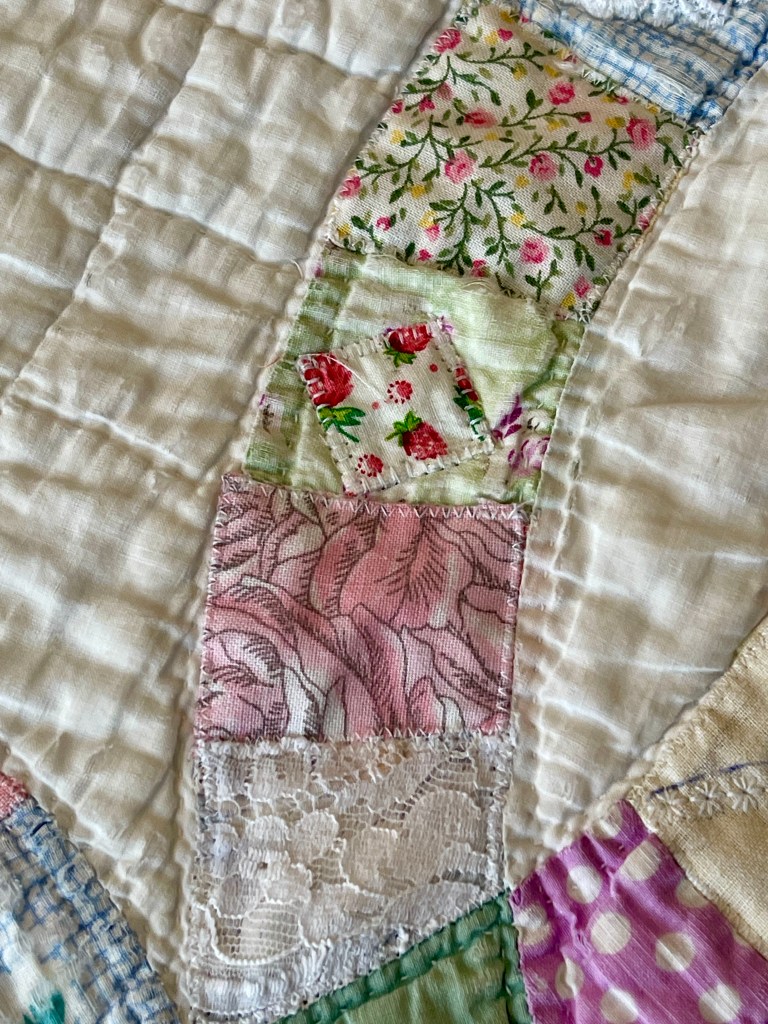
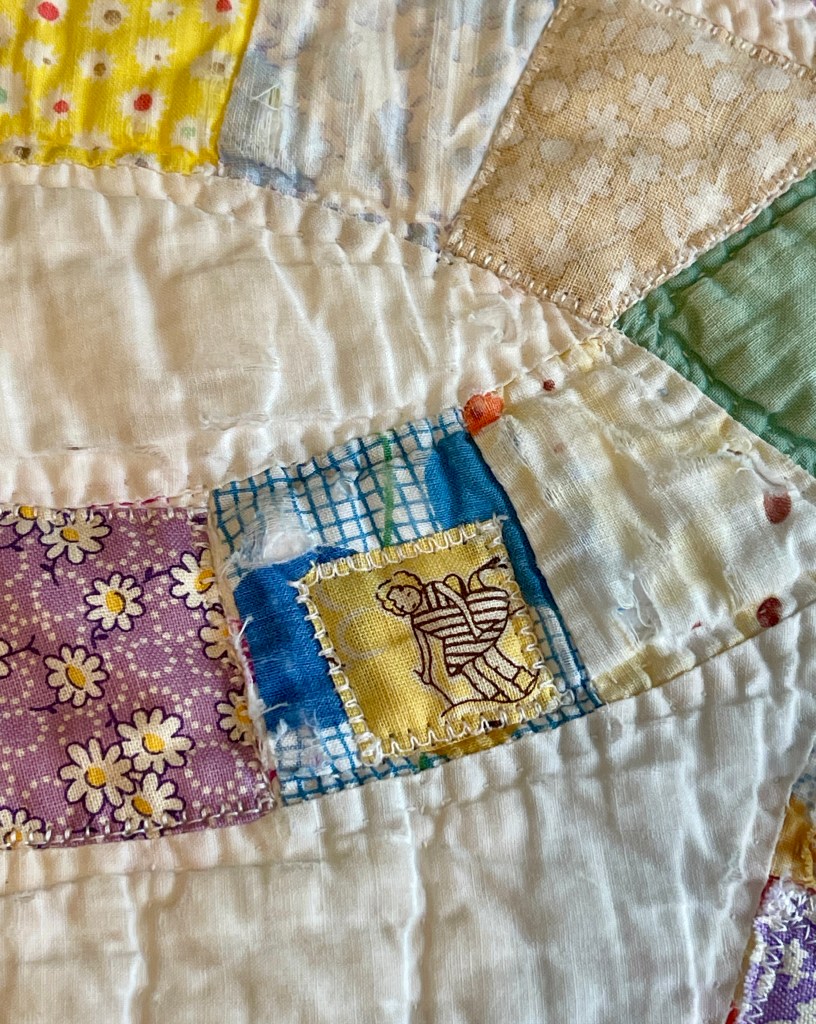
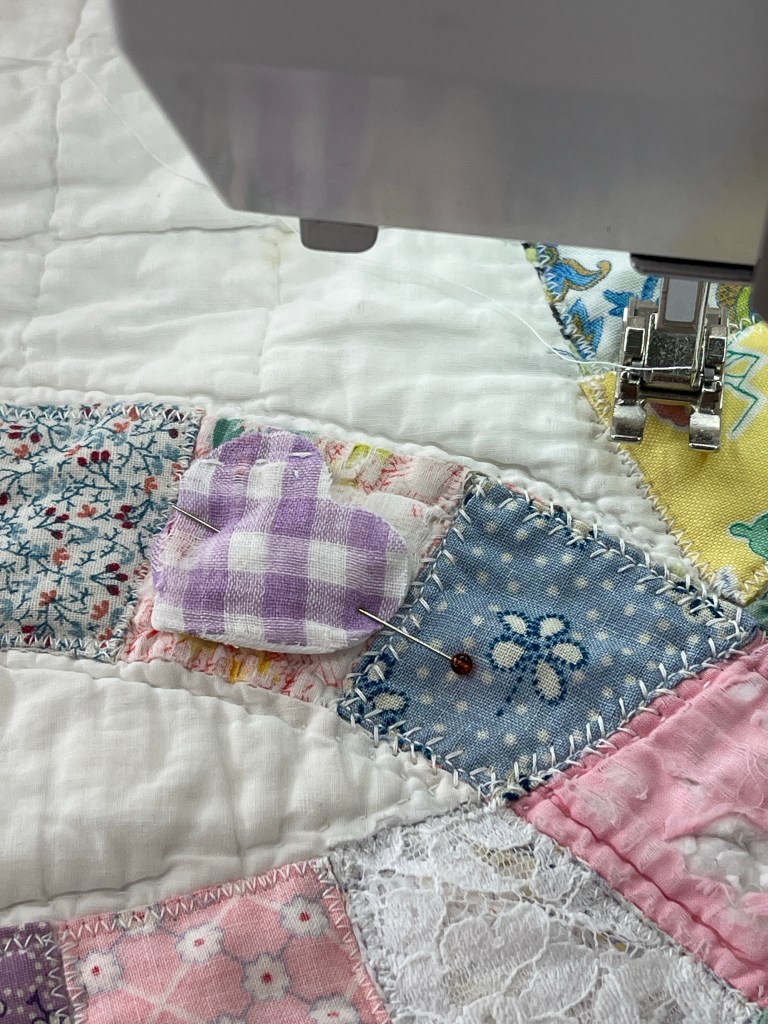
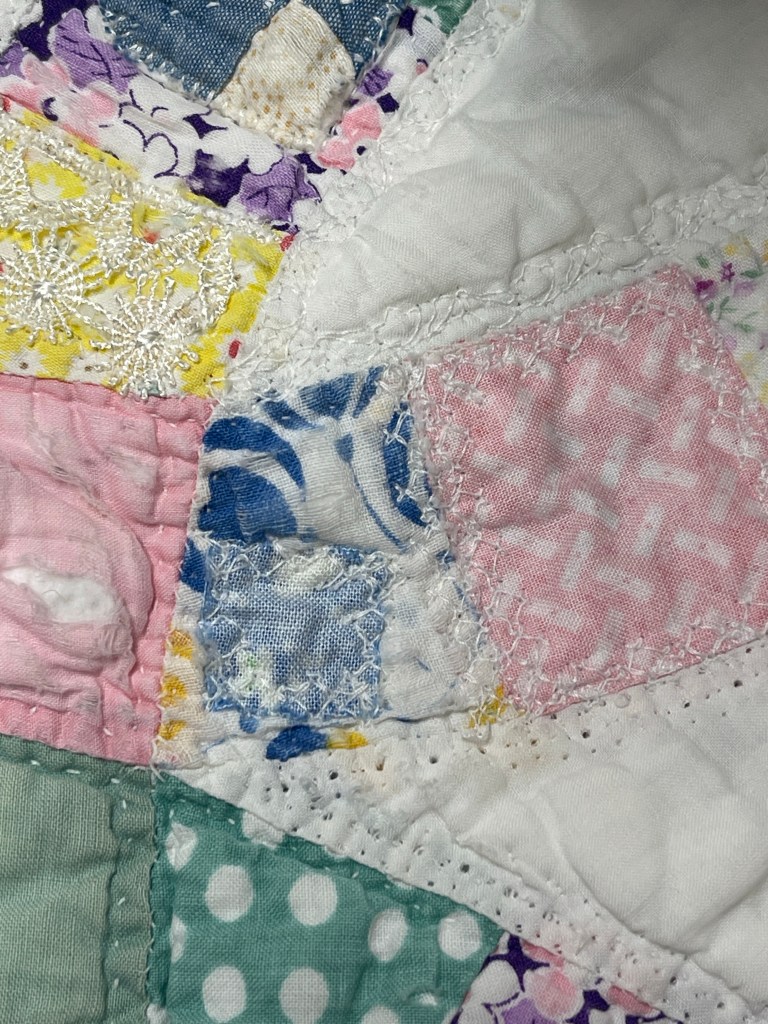
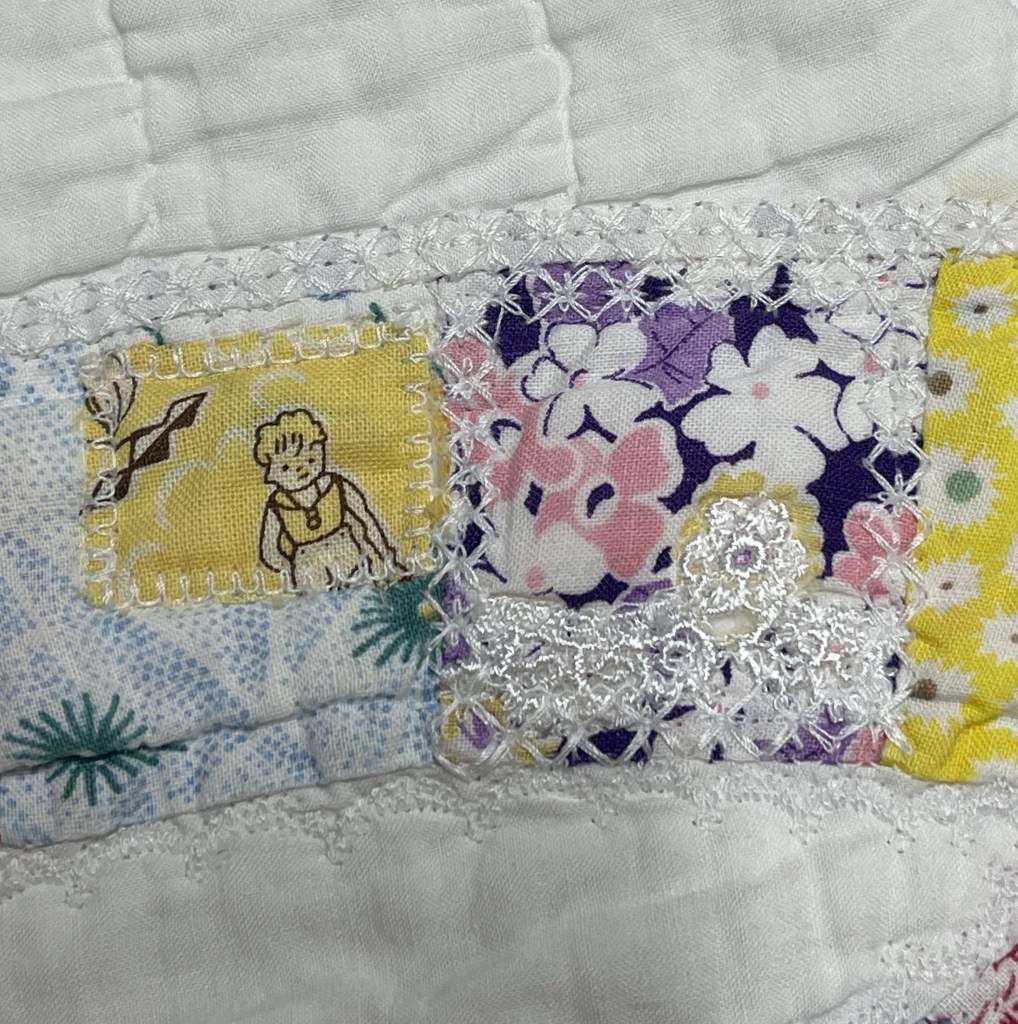
This is an example of what I did with blocks that needed repair. Sometimes I turned the fabric edges under, sometimes I machine stitched over the raw edges.

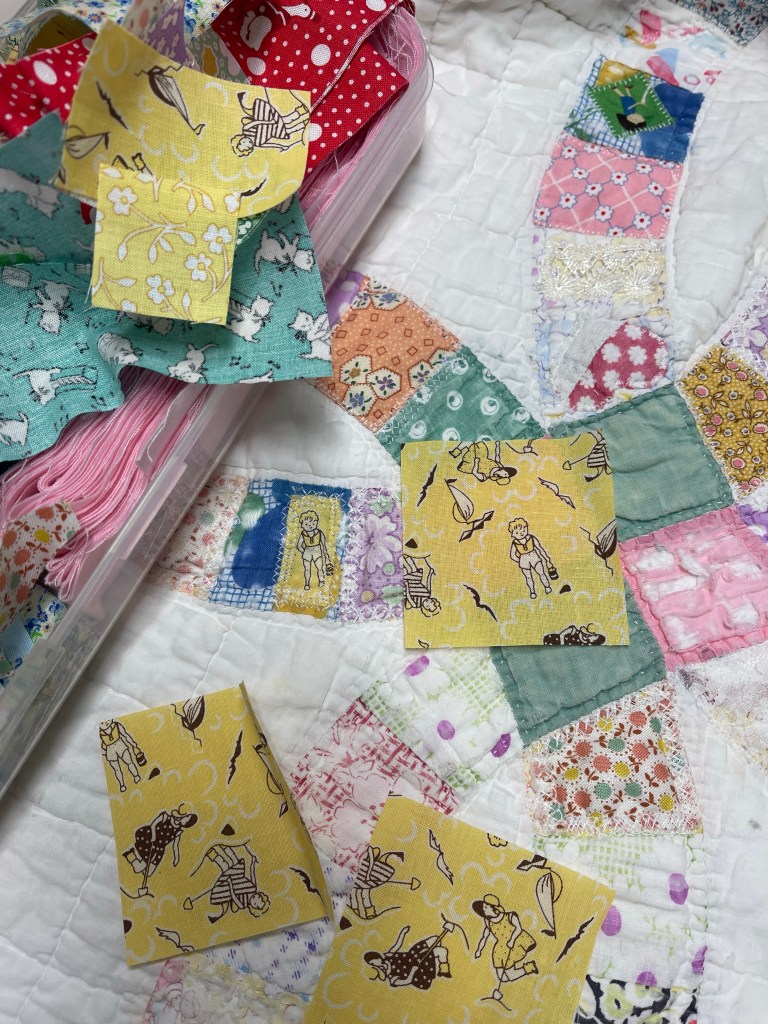
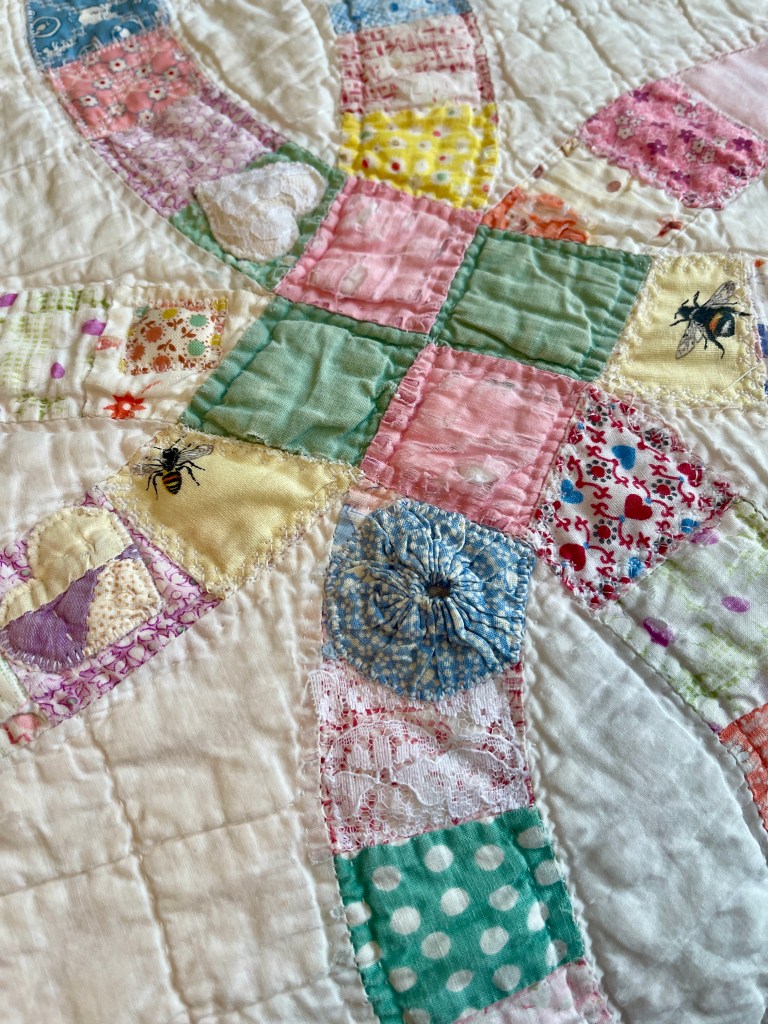
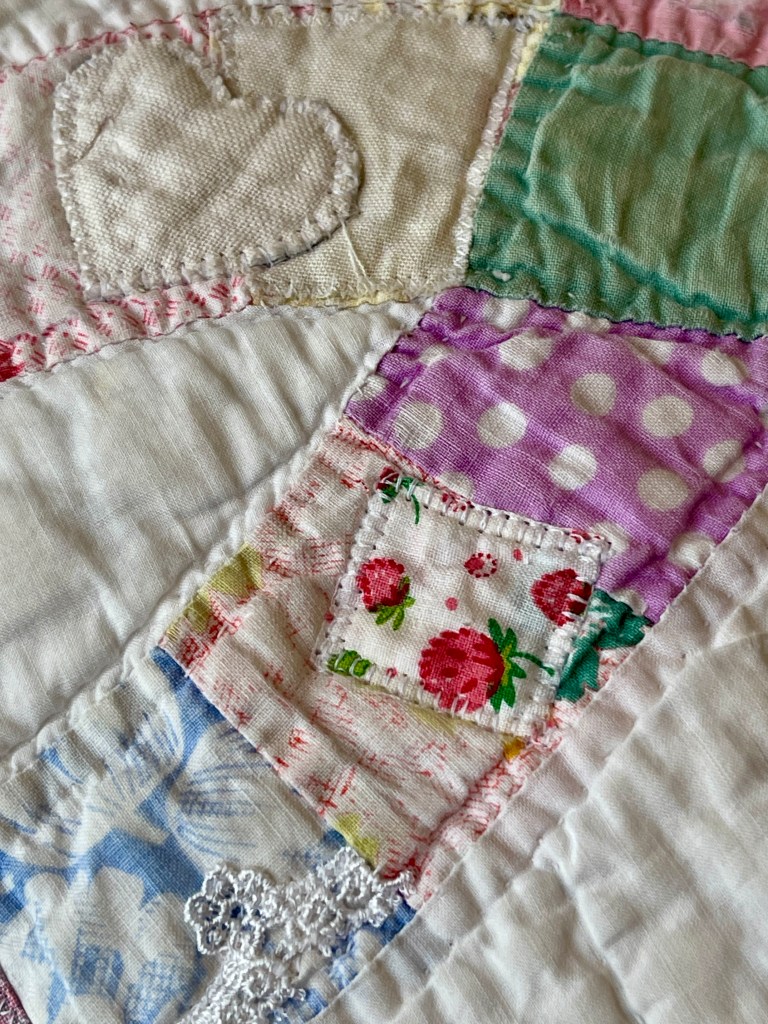
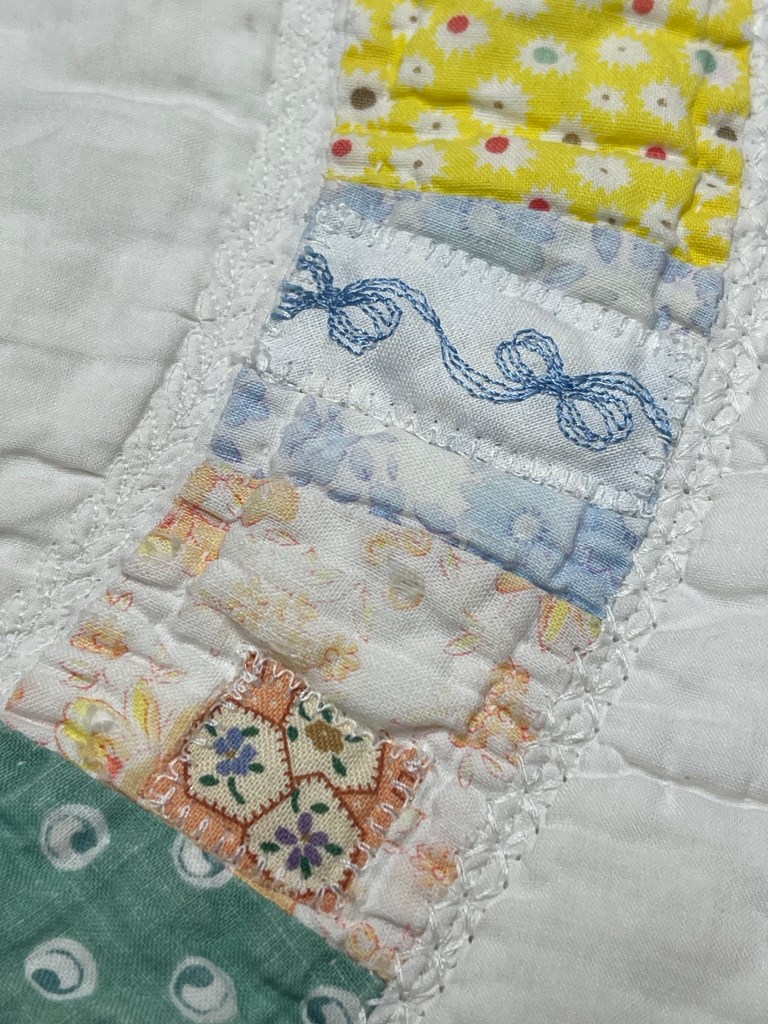
I’ve had a great time fussy cutting images from reproduction fabrics and using the tiny squares and/or rectangles to cover holes.

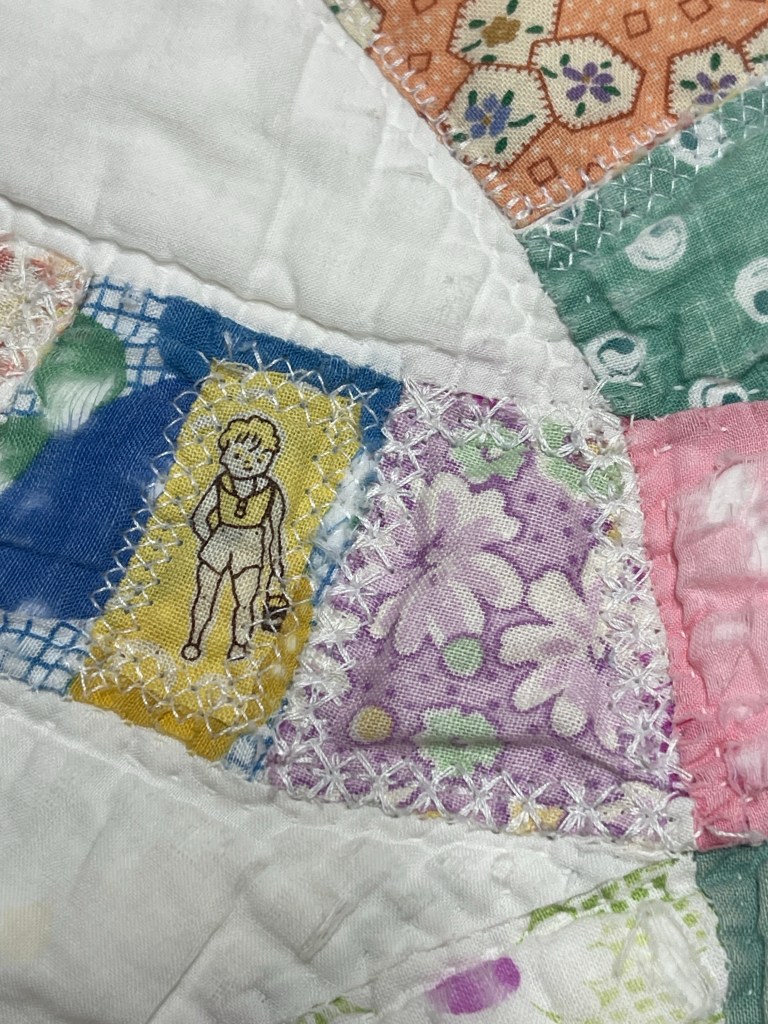
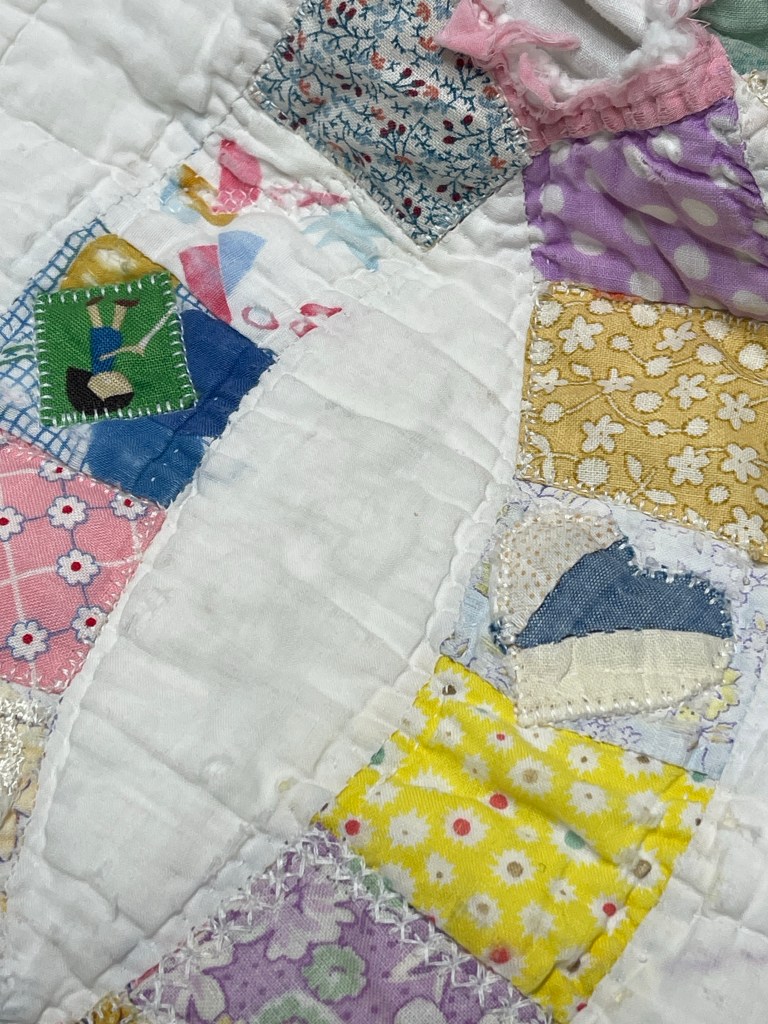
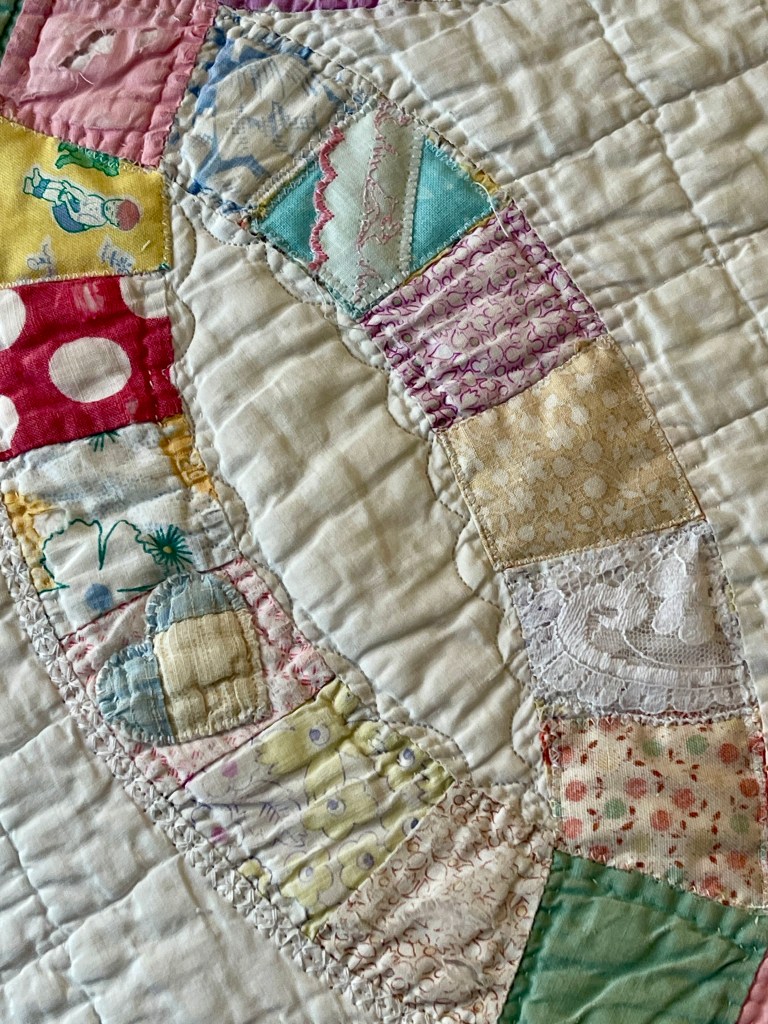
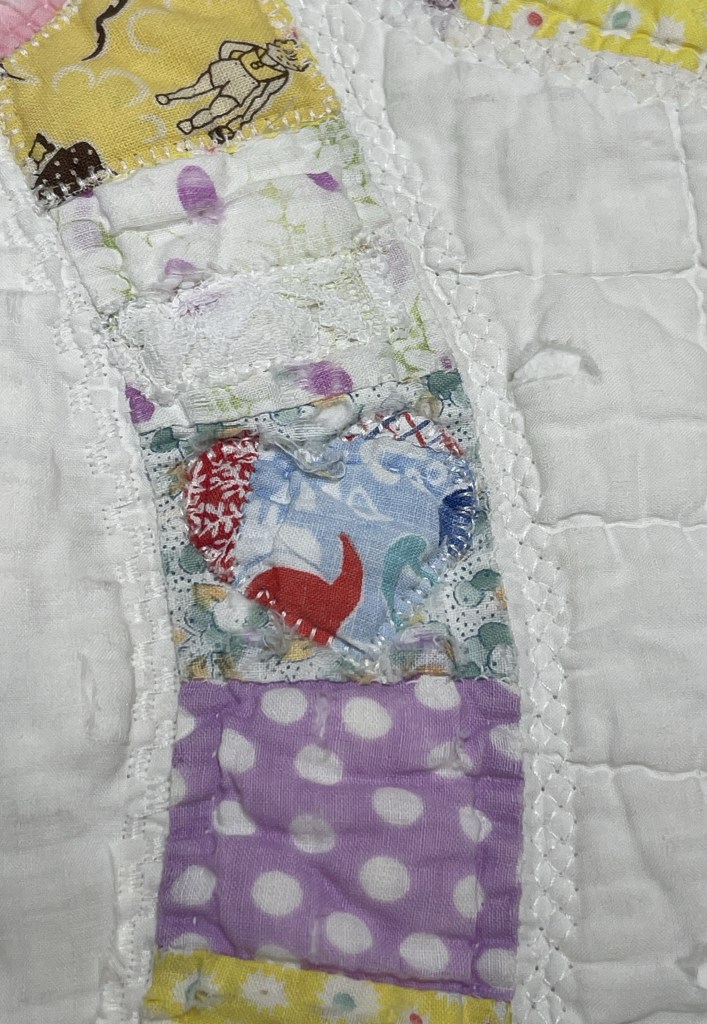
While upside down on the pic, the block of the child is darling!

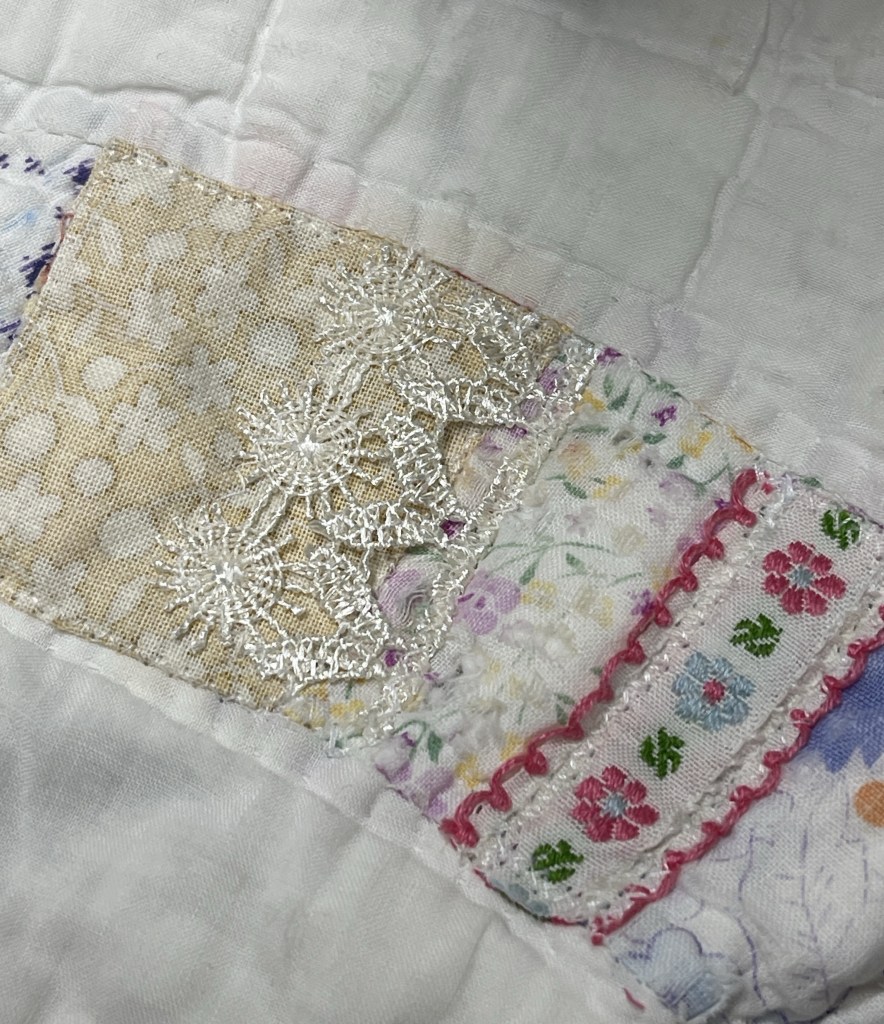
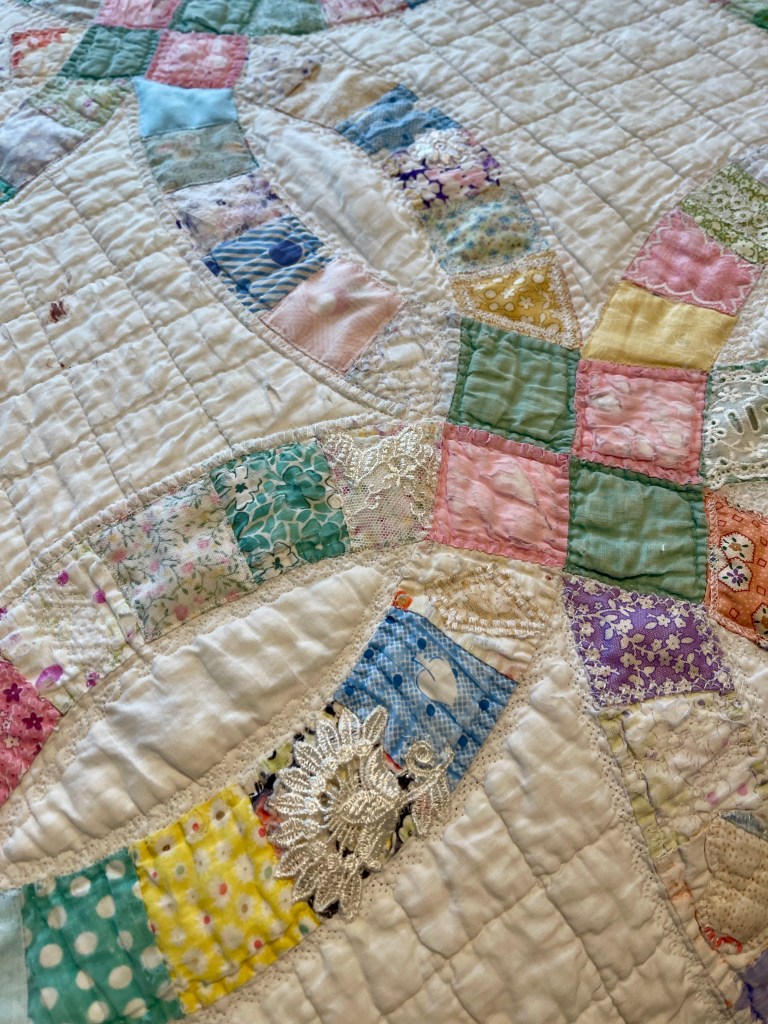
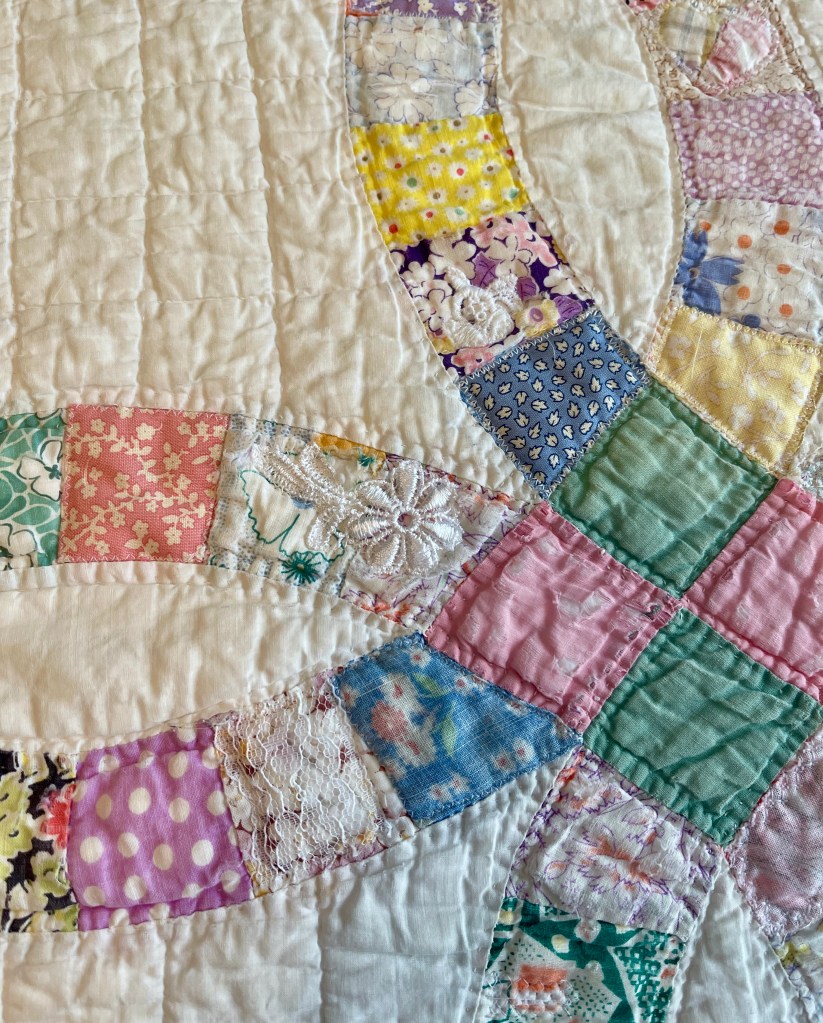
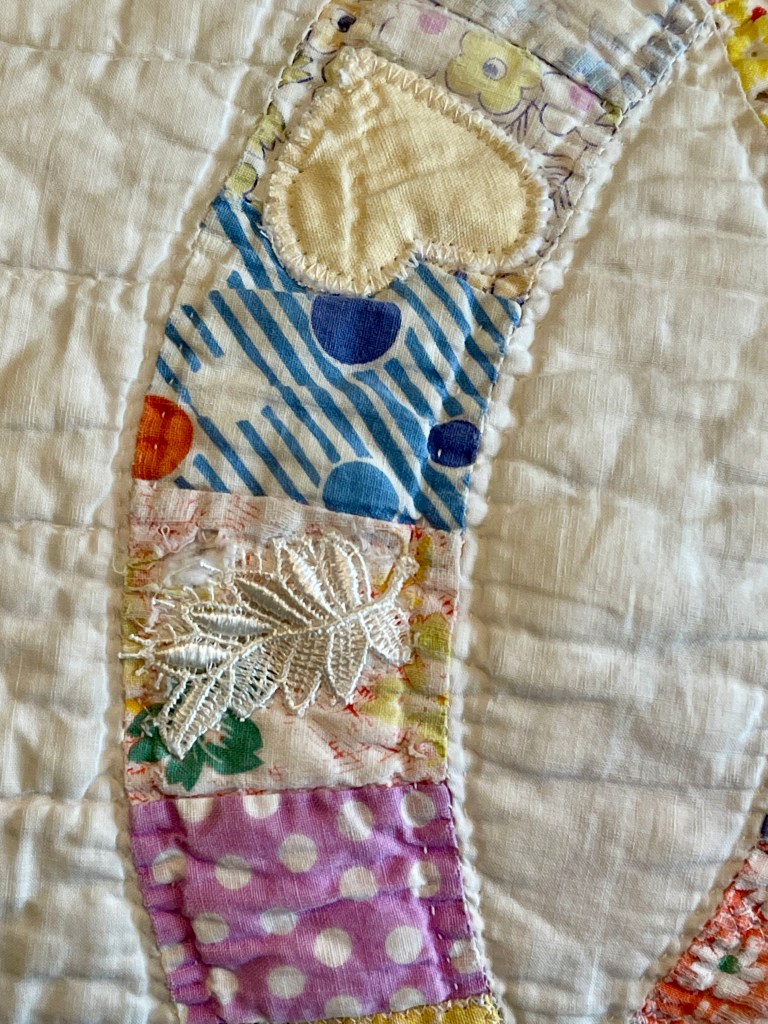
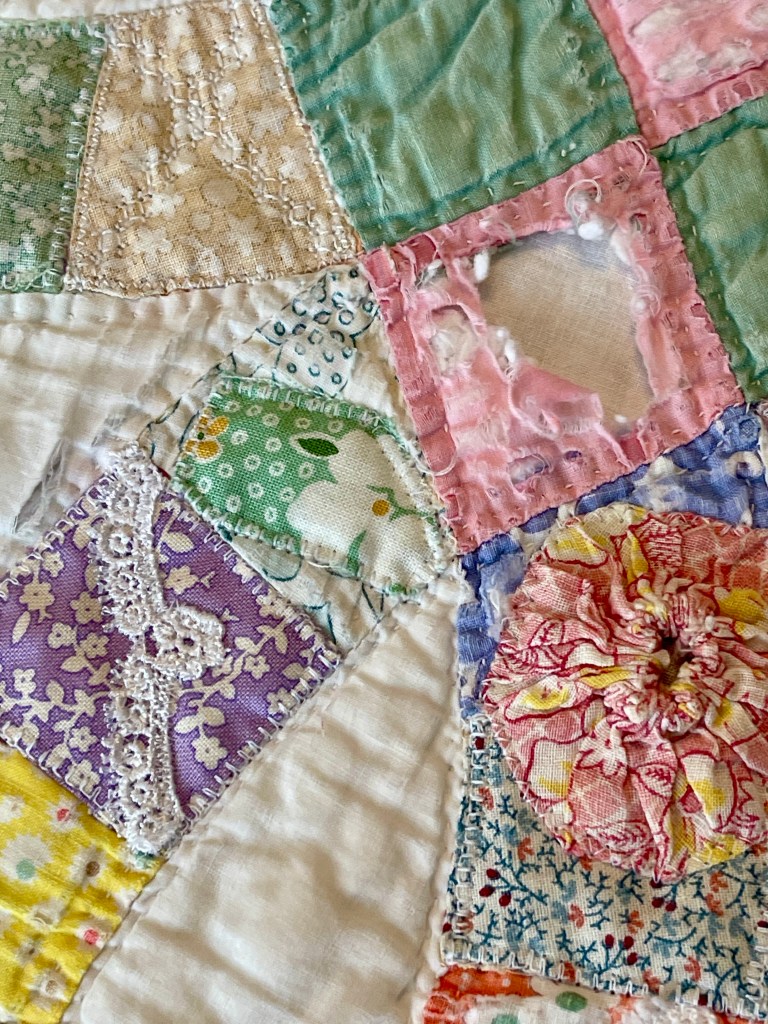
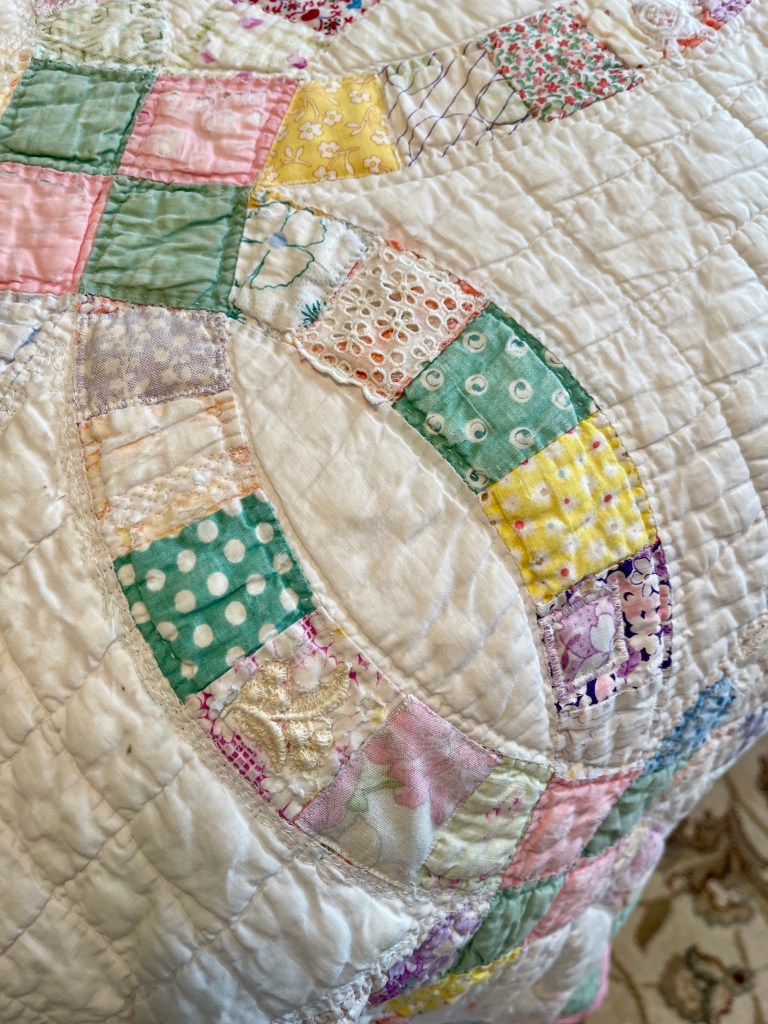
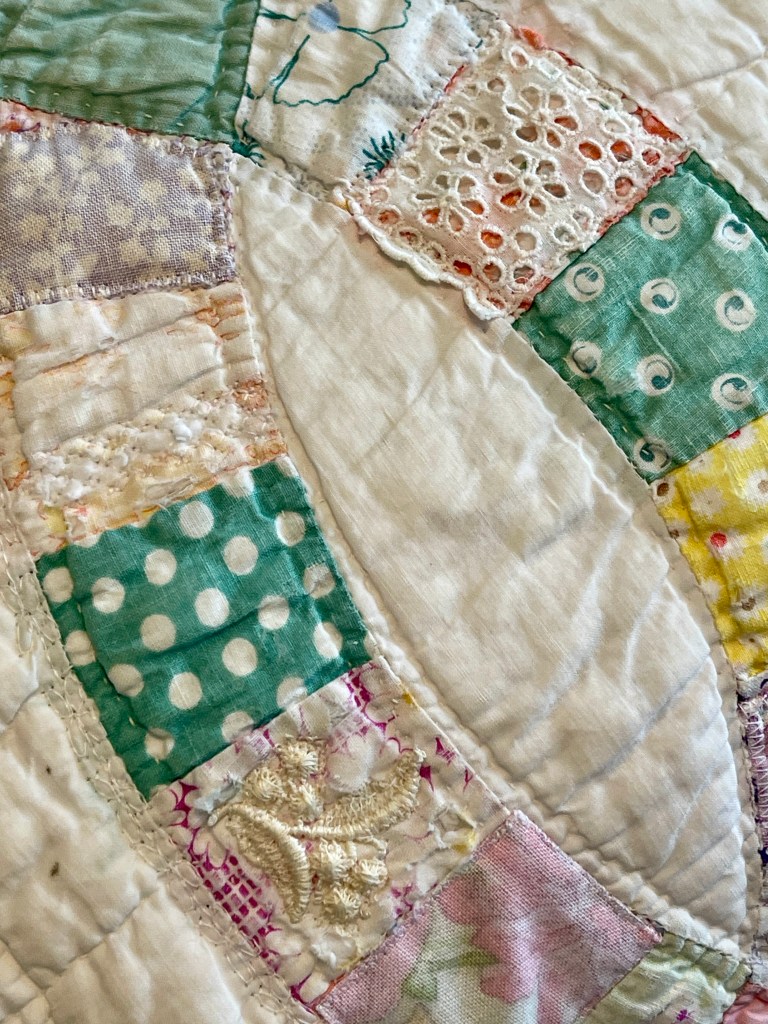
Laces and trims are perfect to either decorate or cover blemishes.

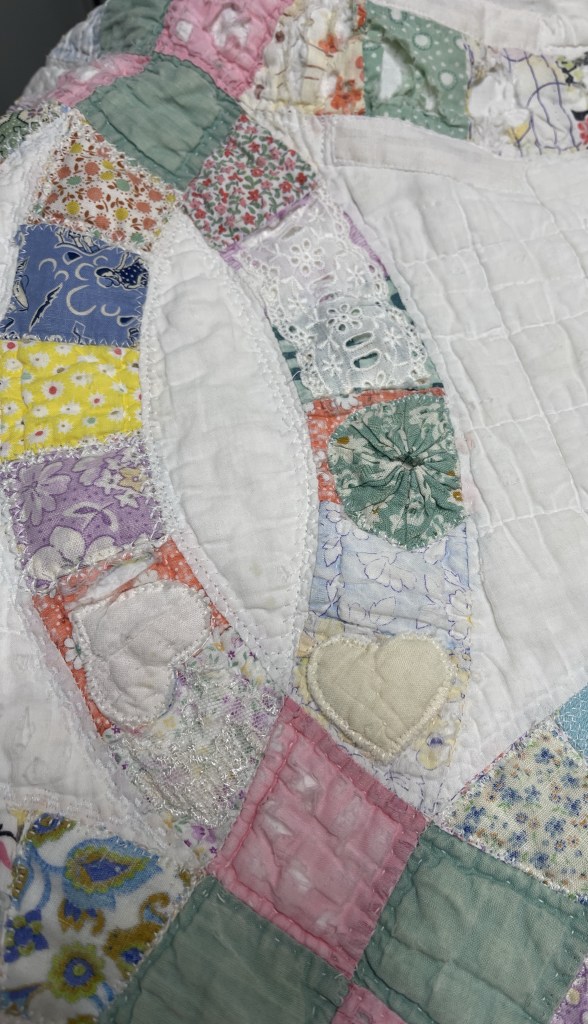
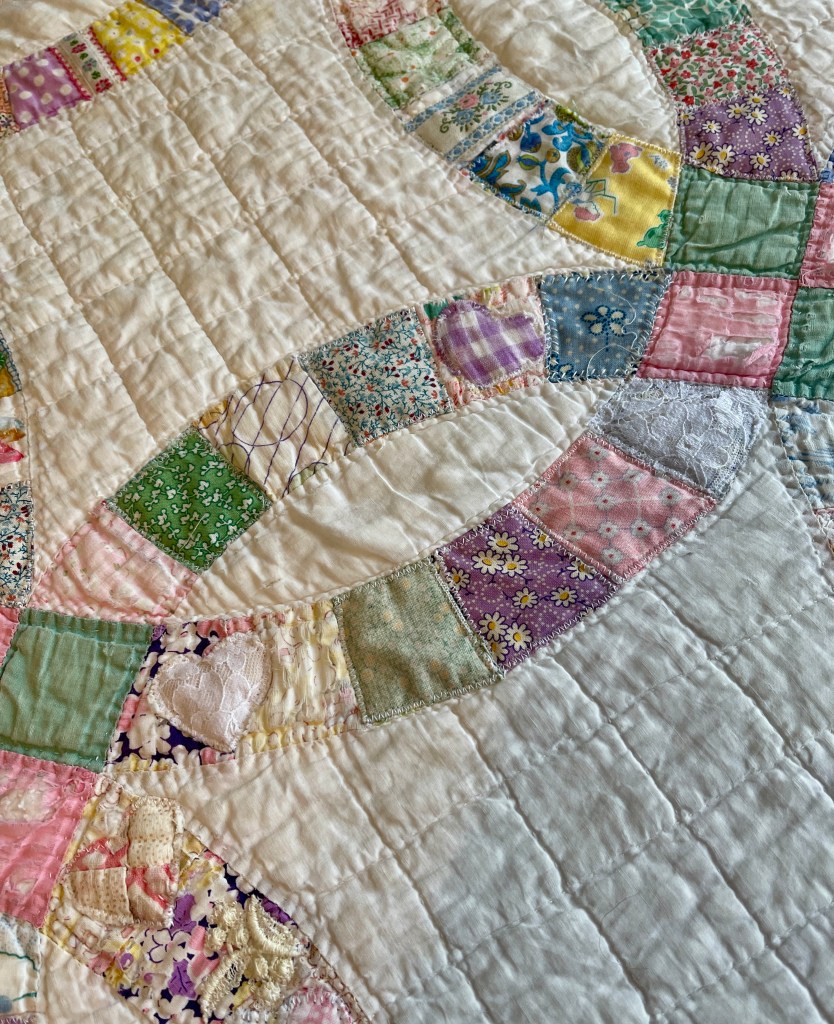
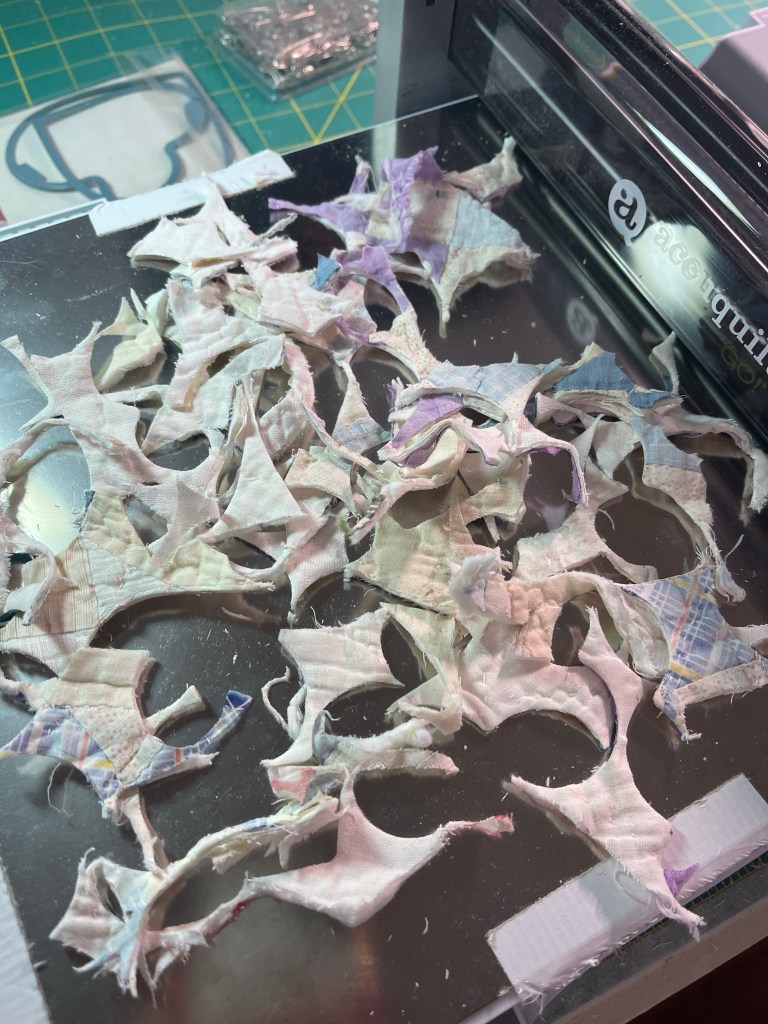
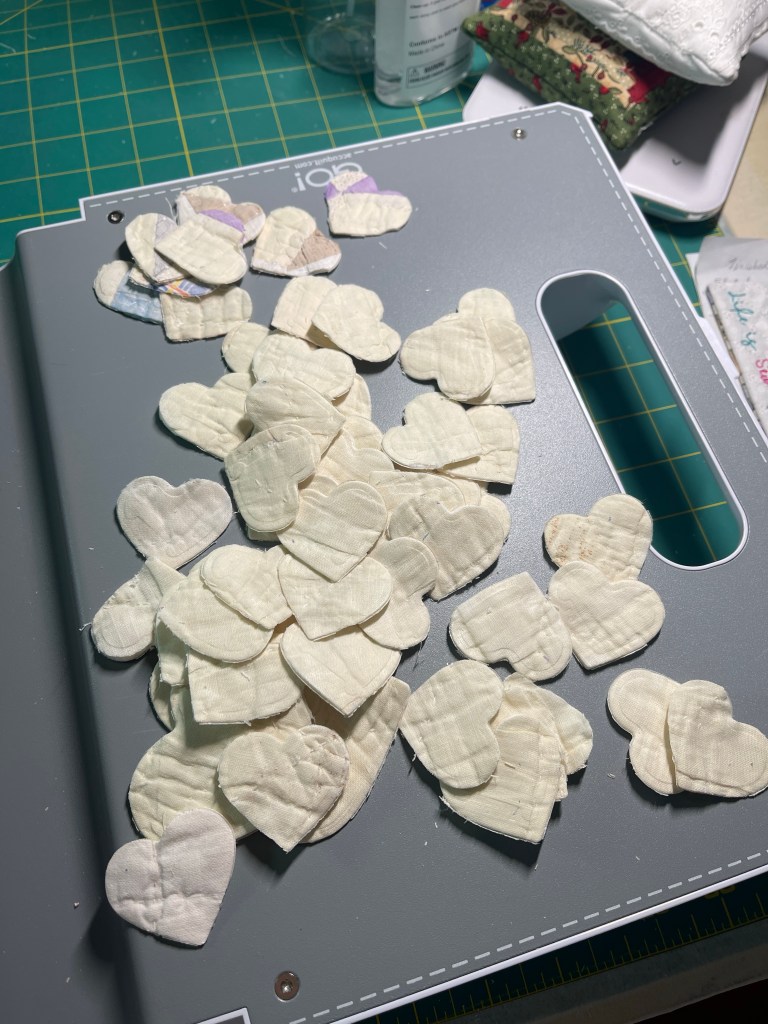
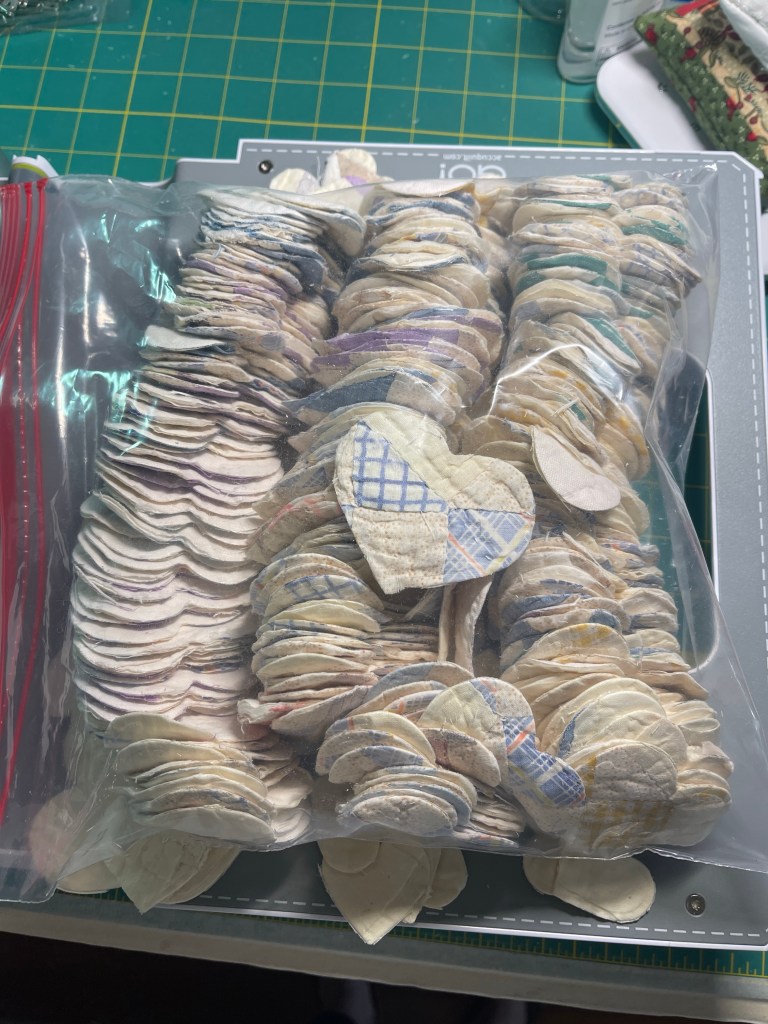
The tiny hearts cut from an old tattered quilt are perfect to cover holes in the quilt top fabrics.

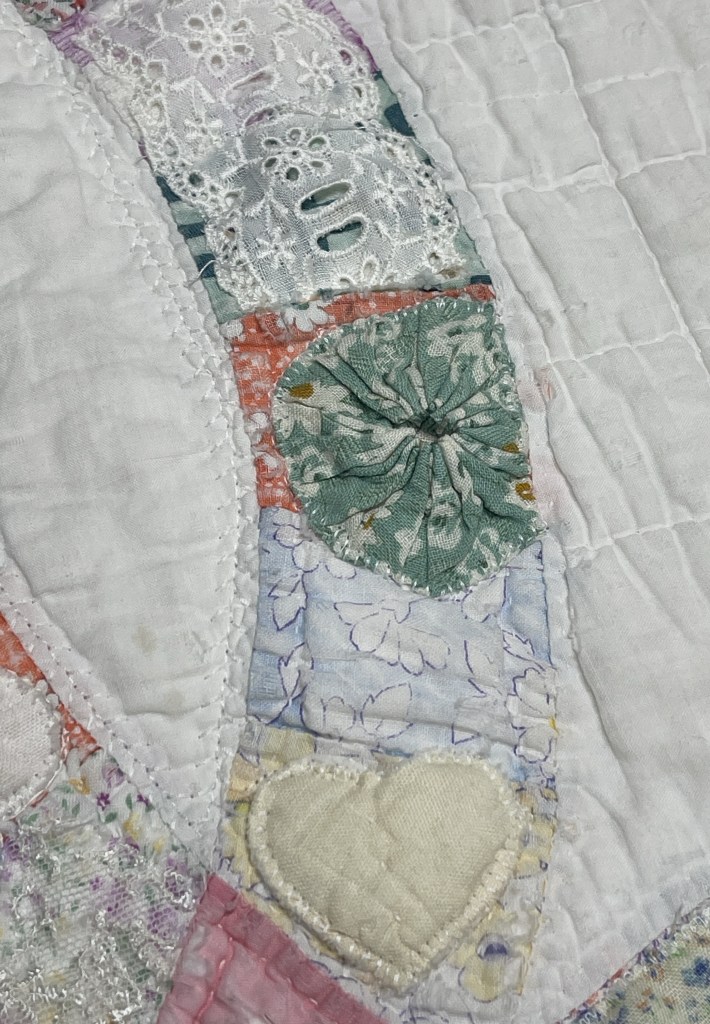
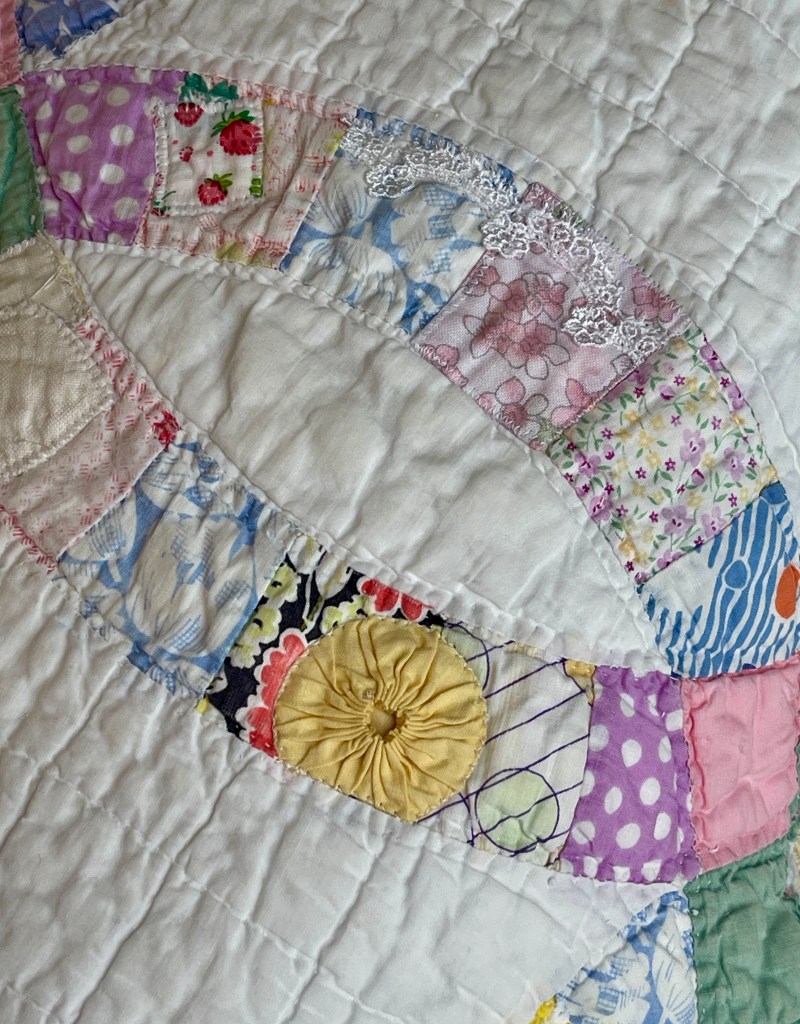
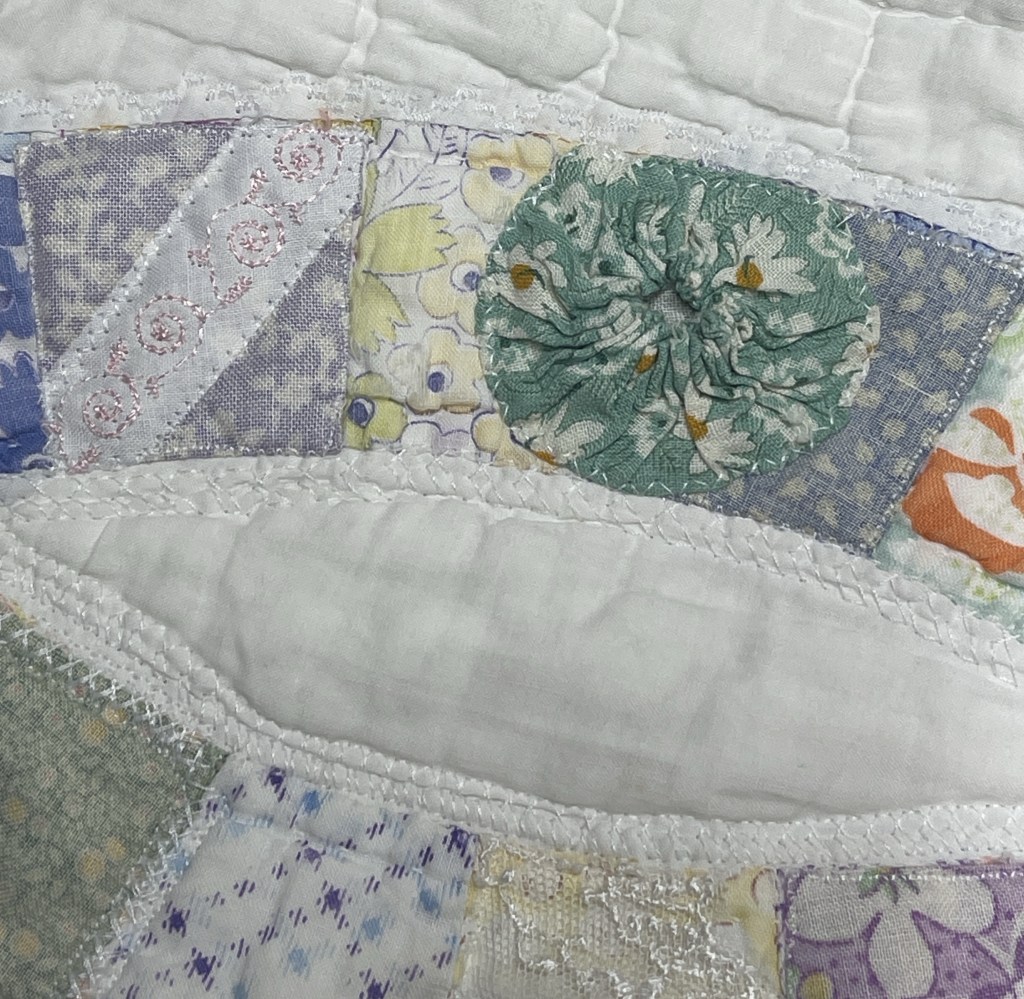
Vintage yo-yo’s have also worked well to cover larger damage.

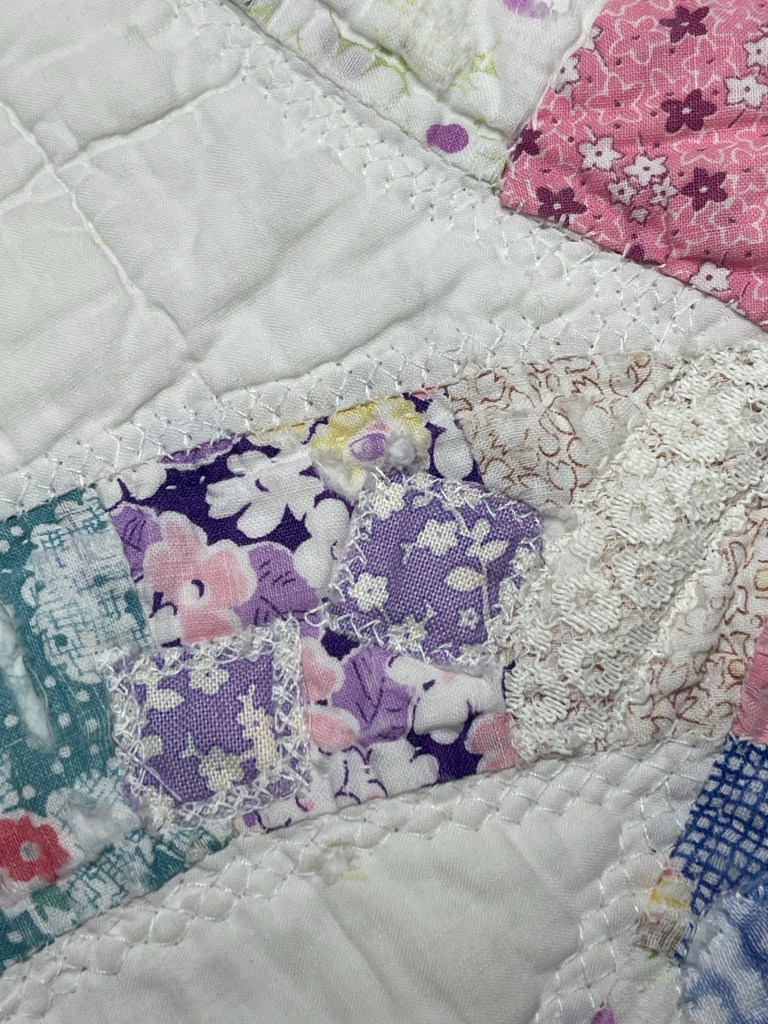
These 2 tiny patches are half inch squares.

Below are lots of pictures showing lots of bits and pieces used to make repairs:

Thanks for looking!

Happy quilting and blessings to all,

Rhonda

Saving Another Vintage Double Wedding Ring Quilt

Another project that’s easy to work on, a vintage well loved Double Wedding Ring quilt. What do I mean by “well loved”? I mean worn out, torn, tattered, stained and full of damaged and/or missing fabric…everywhere.

So many of you wonder why I choose projects like this…in a nutshell I love the opportunity to save a quilt that was well made and well used. Maybe someday one of my quilt creations will be saved by someone with a bent towards vintage, what an honor that would be.

Sadly I forgot to take detailed pictures of the quilt before I began working with it. The pictures above show the quilt on a Queen size bed.

So let me tell you a bit about what I’m doing before I show lots of closeup pictures. If I had to guess I would estimate at least 75% of the original fabrics were either missing, torn, faded and/or frayed. I set out to use mostly Reproduction fabrics. In many instances I turned the fabric to the wrong side allowing the new fabrics a chance to blend in by appearing to be faded.

I also knew I would be using mostly vintage laces and trims to give the vintage quilt little pops of interest and surprise.

And finally, I planned use 10 to 15 of the wonderful built-it decorative stitches on my Bernina 550. Lots and lots of machine decorative stitching on this quilt!

Here’s the same picture from above marked with black dashes showing the 11 “fixes”:

More fixes as well as decorative machine stitching:

I have yet to decide how I will address the damage to the pink and green blocks.

What’s up with the big yellow patch? There is a large hole that will be repaired in a few days.

Wondering what the back of the quilt looks like with the machine decorative stitching? I love the look the stitching creates.

Using my Accuquilt and dies from Crafters Edge I cut the small hearts from a piece of a damaged vintage quilt, let me show you a few pictures:

Stay tuned, lots more pictures to come!

Blessings and happy quilting!