

Oh eBay! You can find the most interesting things on eBay… This twin Summer Weight Bed Coverlet was listed at $6.00 and I was the only bidder. When it arrived I was pleased to find it was relatively in good condition, a few stains here and there and only 2 fabric areas that were worn/torn.
The hand applique stitch around each of the girls and the pink flowers is dark grey embroidery floss and as such, I was careful not to soak the coverlet too long for fear of the floss fading.
The light pink outer border was terribly faded on one of the long sides but this was an easy fix by just replacing the entire border.
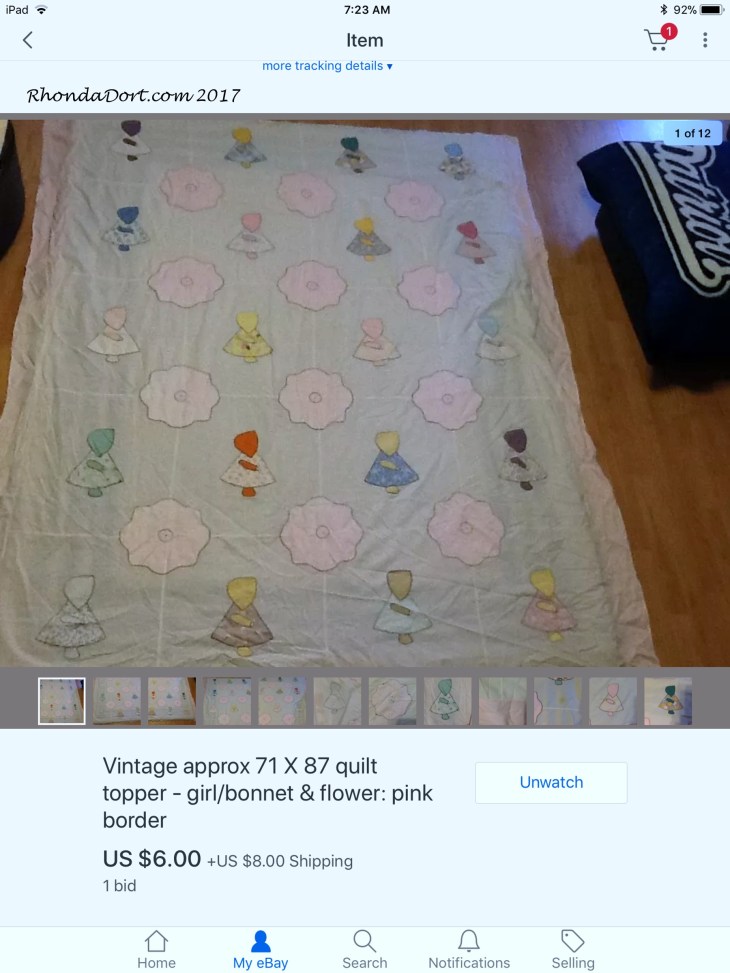

If you’re not familiar with Summer Weight Bed Coverlets, they essentially are quilt tops with all the seams “finished” as to not unravel. They are only one layer, no batting and backing and no quilting. They are intended to be the top most covering of a bed during the warm summer months. This coverlet maker used French Seams and I had a dilemma… do I hand-pick out all the stitching so I can iron everything out flat or do I chance quilting over what is essentially 5 layers of fabric? Let me also mention the sewing machine stitches were around 12-14 to the inch. I left the French Seams intact.

My backing fabric is natural medium weight double wide muslin that had been laundered. The batting is white Hobbs Heirloom 80/20. Now…do not quilt when you’re sleep deprived: 1. I cut the first batting too narrow and had to cut a second and… 2. as I worked my way down the quilt doing all the Stitch in the Ditch work I discovered that I’d loaded the backing fabric sideways. I was 8″ shy of having enough fabric. There’s a pretty easy method of adding backing fabric so after that task was completed I finished the ditch work and was ready to do the quilting. I used WonderFil Invisafil color #105 in the needle and their Deco Bob color #112 in the bobbin. I used, for the first time ever, WonderFil Deco Bob pre-wound bobbins, loved them!

I loaded the quilt on the longarm with the intentions of not doing feathers. I looked at the quilt for a few hours and changed my mind.
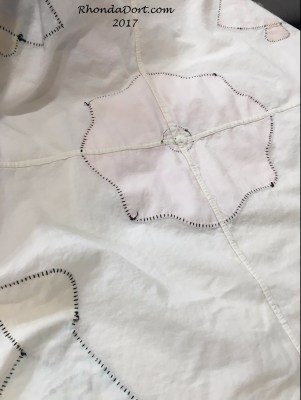
The 3 circles drawn below dictated the parameters of the feather wreath to come, the 2nd of the 3 is the guide for the vein of the wreath.

But how did I get the large circles consistent throughout the quilt top? Below you’ll see the 4 tools necessary: an 18″ ruler, a modified draftsman’s compass, a blue fine line marking pen and a modified Dasco Pro 1405 Beam Compass. The Dasco Pro used to be available at Home Depot, but friends tell me now they go online and order them on Amazon. They are remarkably affordable at under $20.00.
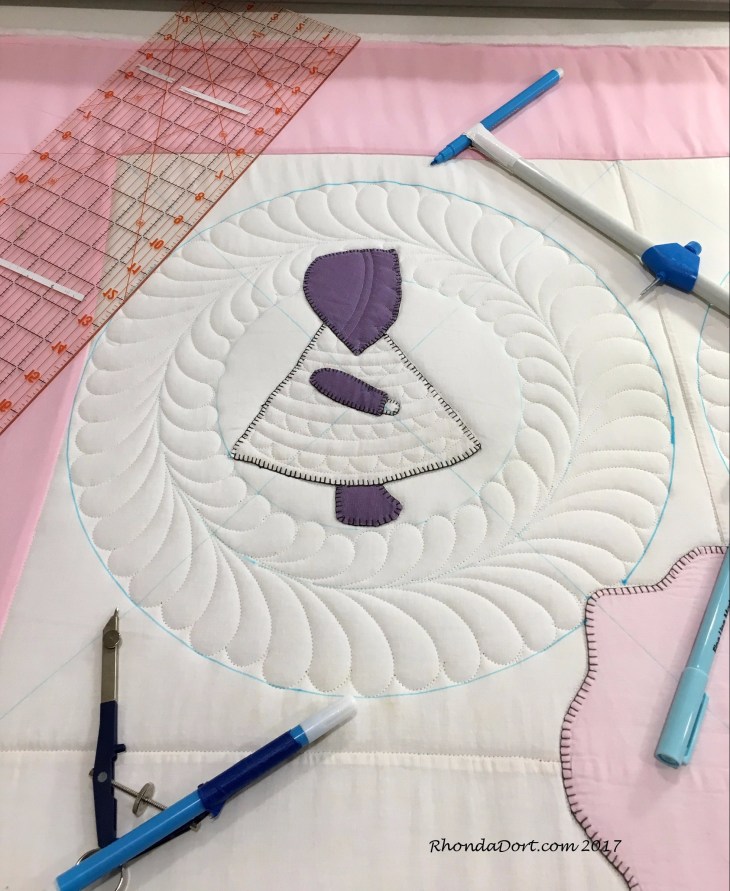
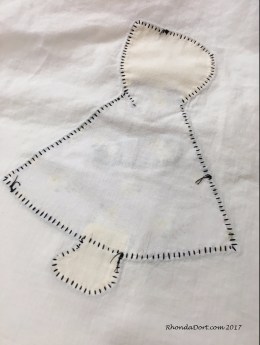
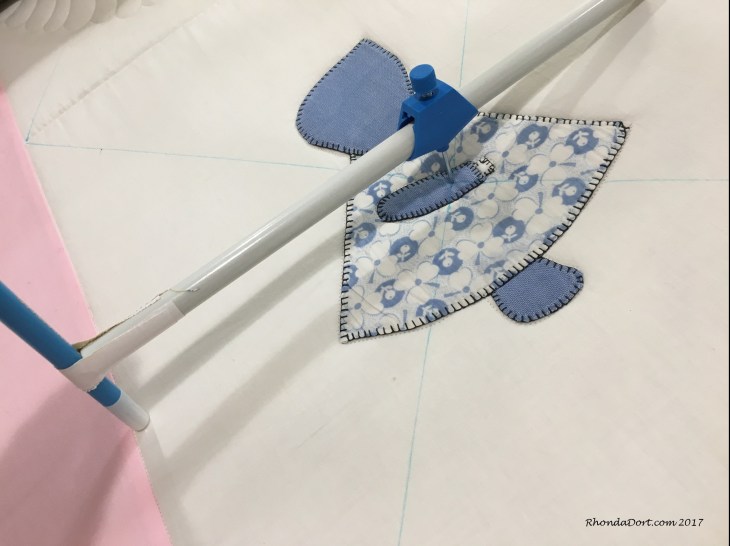
The first step in circle placement is to find the center of the block and I did so by drawing a line connecting opposing corners.

I then established the size of the largest/outside circle by using the Dasco tool. Once this outside circle size was determined, I made no more adjustments to the Dasco. This set things up to have each feather wreath throughout the quilt the same size.
The additional 2 circles were small enough I could use the modified draftsman compass.
In order to keep everything consistent, once I drew the 3 circles on a block I made a gauge or template from a sheet of typing paper as an easy reference. This way I did not have to stop and measure each time I had to re-adjust the smaller draftsman’s compass.

Circles drawn, quilting underway. You can see that the large outside circle set my parameters for how big to quilt the feathers, the middle circle is the guideline for the feathering “vein” and the inner circle sets the edge for quilting the inside feathers.


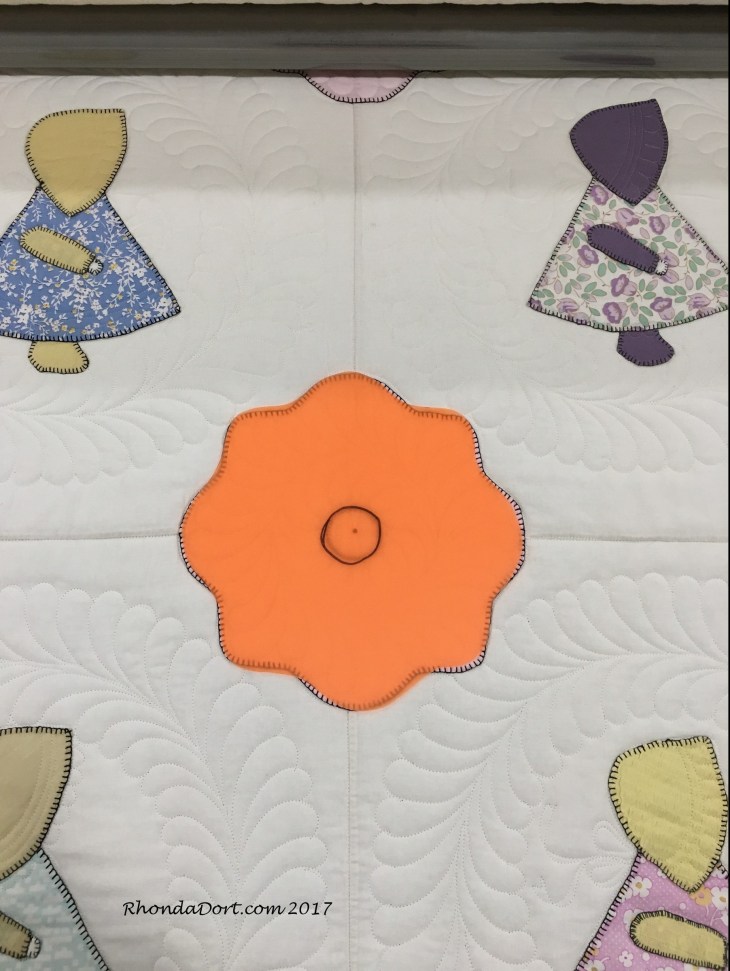
Once each Sue had its Feather Wreath, I went back and marked a single circle to represent the feather wreath vein-on each of the large pink appliqué flowers.

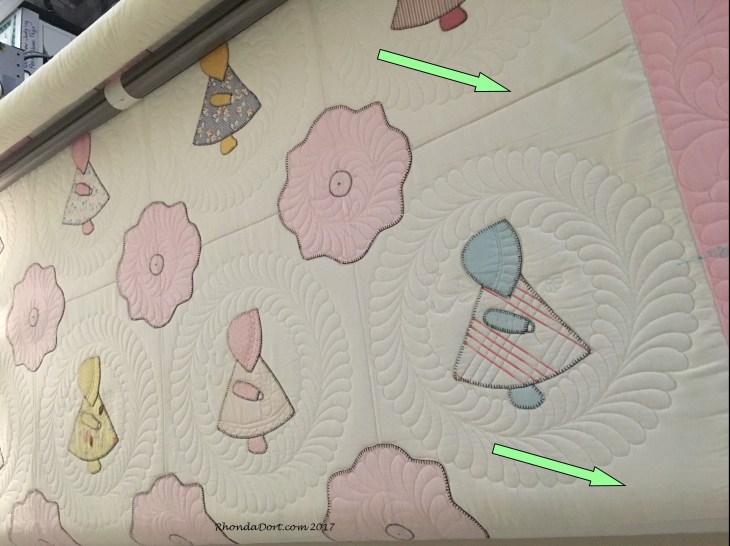
With the Sues and the pink flowers quilted I had another issue… The green arrows below show large open spaces I was uncomfortable leaving un-quilted. There was quilting in the block ditch but I didn’t feel this was enough.
Using a plastic 3 ring binder found at one of the “Dollar” stores, I cut off the front and back to use the plastic as templates. I’ve shown the blue plastic binder below so if you go shopping you’ll know what to look for, they come in many colors.

I laid the orange plastic over the pink flower, traced around it with a medium point Sharpie. What I’m not showing you is that when I actually used the Sharpie I laid a large piece of clear vinyl down first to protect against an accidental hick-up with the Sharpie marking pen!
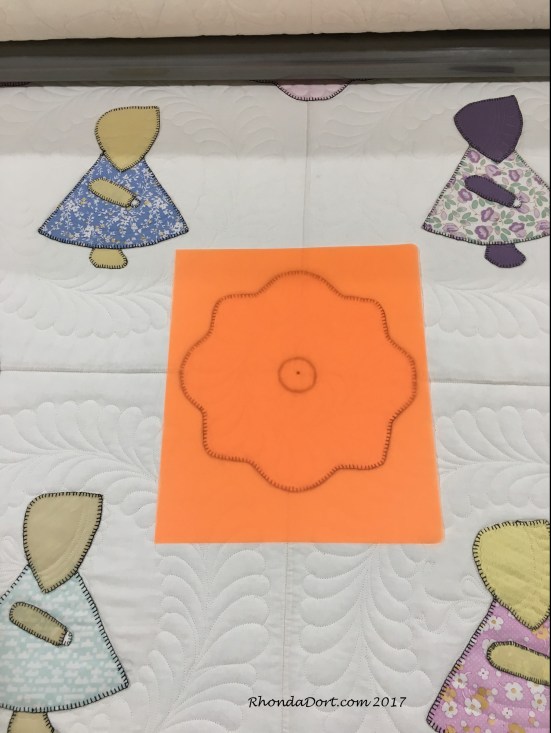
I cut out the orange plastic and now had a correct sized template.
At each open area, I strategically placed the orange template where needed and traced around it with a fine line blue marking pen.
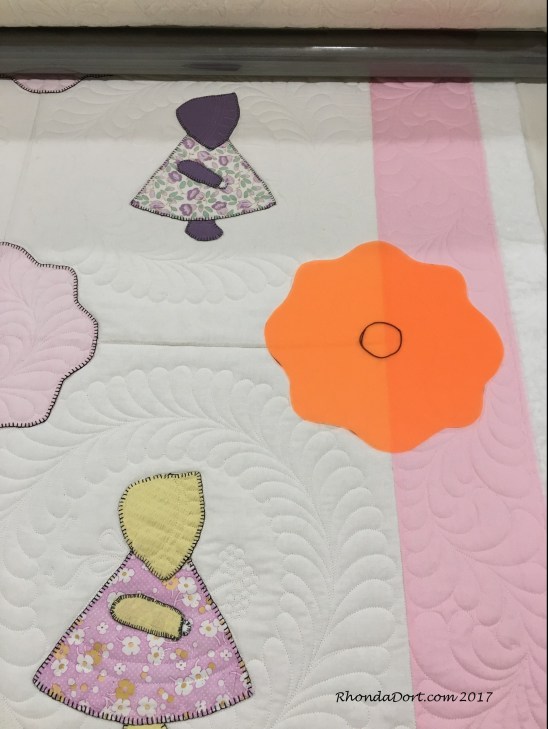
And then I quilted the area as though it were a pink applique flower:

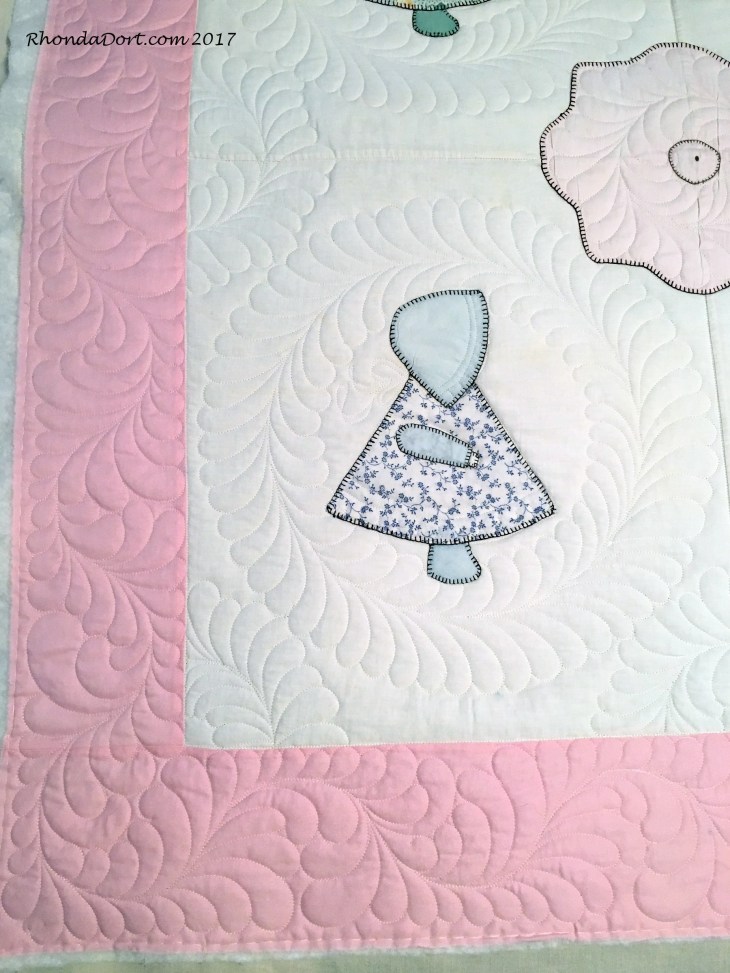
In the picture below, all the quilting is finished, wish I had a spot in the house where the lighting was better. How did it go quilting over the French Seams? Piece of Cake! I have an Innova

Here’s a nice close-up showing the undulating feather borders:
And of course no quilting blog is complete without a couple of pictures of the back:
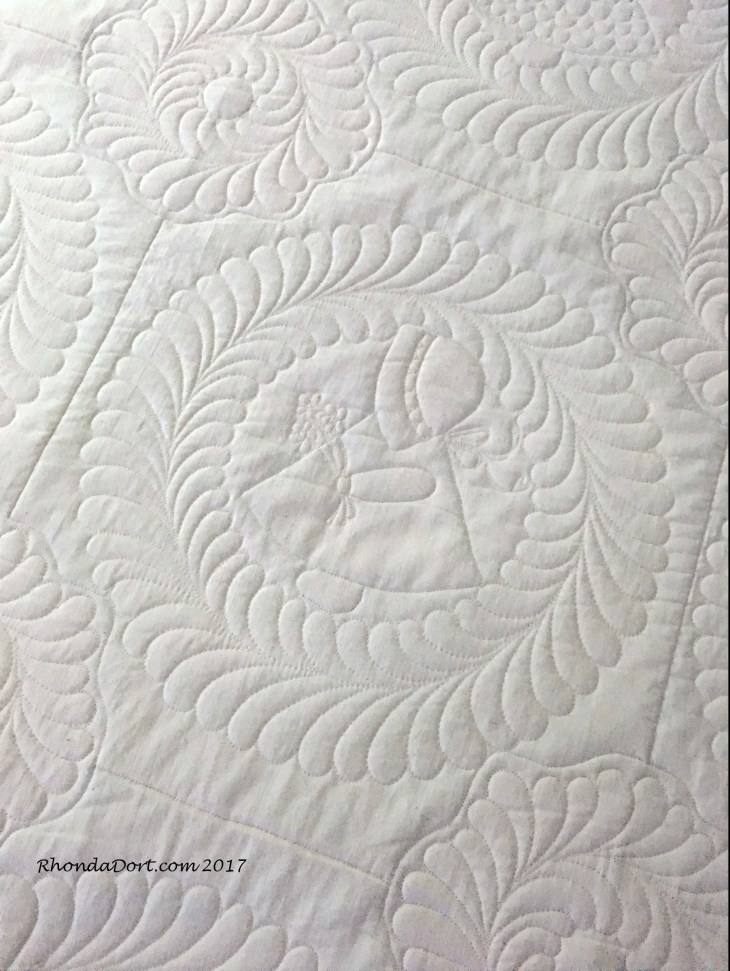

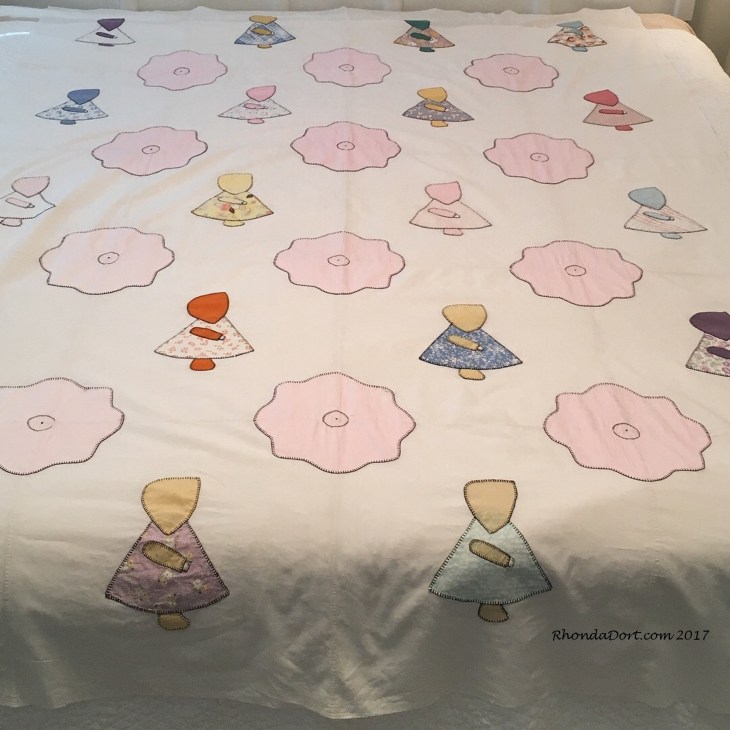
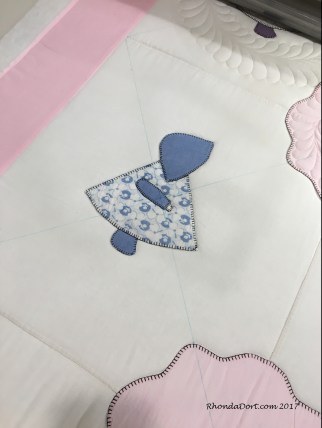
This was such a fun project! Every other Sue holds a small bouquet of flowers, each one has bonnet streamers and a bow and most have their dresses quilted with a bit of decorative stitching.
Sunbonnet Sue is ready to be trimmed and bound! The total quilting time on this project was 27 hours, 25 minutes.

So what happened to my Vintage Pink and Green Lawn embroidered project shown below? (It was the subject of my blog post in November.) During the final soak a portion of the old black satin embroidery floss literally disintegrated! I repaired the piece and may very well get it loaded onto the longarm by weeks end.
***House update: Floor tile tomorrow! This is a major step and we are thrilled! We’re looking at mid February to have all the work finished.
Until my next post, happy quilting!
Rhonda

I Love it! I also like how you posted the tools you use. I usually just use chalk to mark my freehand feathers, but yours looks very controled and even! Might need to swith to some different tools.
LikeLiked by 1 person
You take something so simple and turn it into a work of art. I really like how you explain in detail and show pictures. Like someone above said your pictures are great.
LikeLiked by 1 person
Thank you!!!!
LikeLike
I have been wondering how your home is doing? I can’t believe this damage done on such a massive scale.
LikeLiked by 1 person
There is progress, even if it’s happening slowly. There’s a good chance the work might be finished by the end of next month. Then it’s on to refurnishing the first floor, something I’m kind of dreading…
LikeLike
Wow. So much work and waiting to live totally in your own home. Of course it would have been faster if so many others didn’t need work done too. Knowing you the little I do you will learn something from this too. You are a positive person but maybe next month. AHHHHHH. Take care.
LikeLiked by 1 person
Your quilting never disappoints – totally gorgeous. TQS shared your crocheted flower basket quilt; another winner in my book. BTW, your photos of the quilting is outstanding.
LikeLiked by 1 person
Thank you! Yes, I saw the TQS feature! Was thrilled!
LikeLike
I was just thinking today that I’d love to see a post and wa laa, here it is! Your quilting is magnificent. The top before and now after with the quilting is truly AMAZING. Like you. 🙂
LikeLiked by 1 person
aaaaawwwwww!
LikeLike