

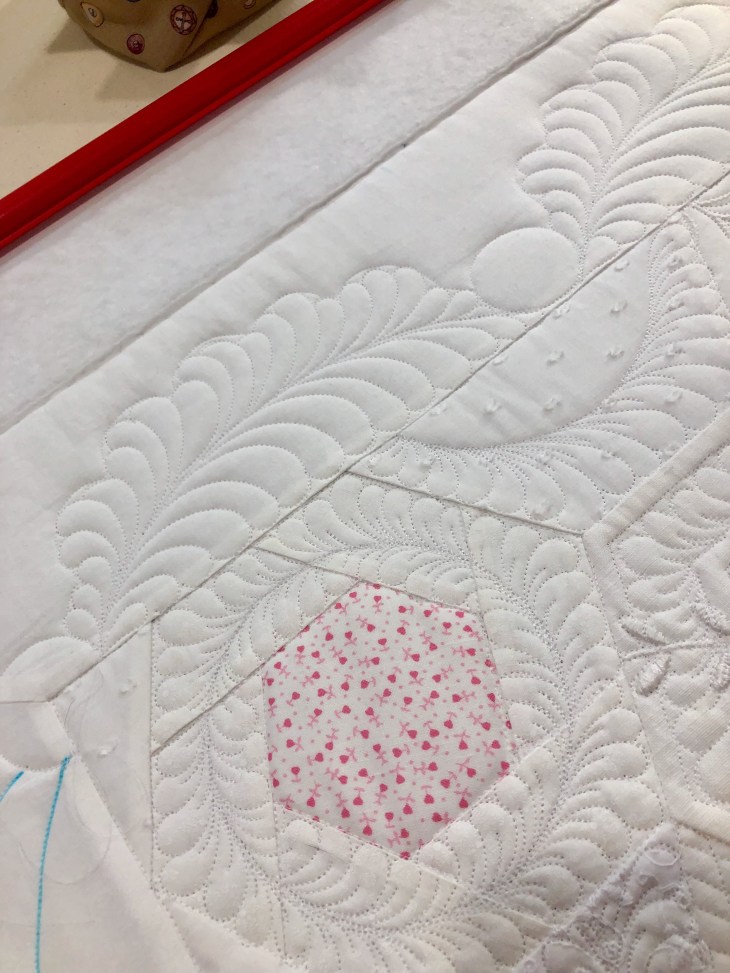
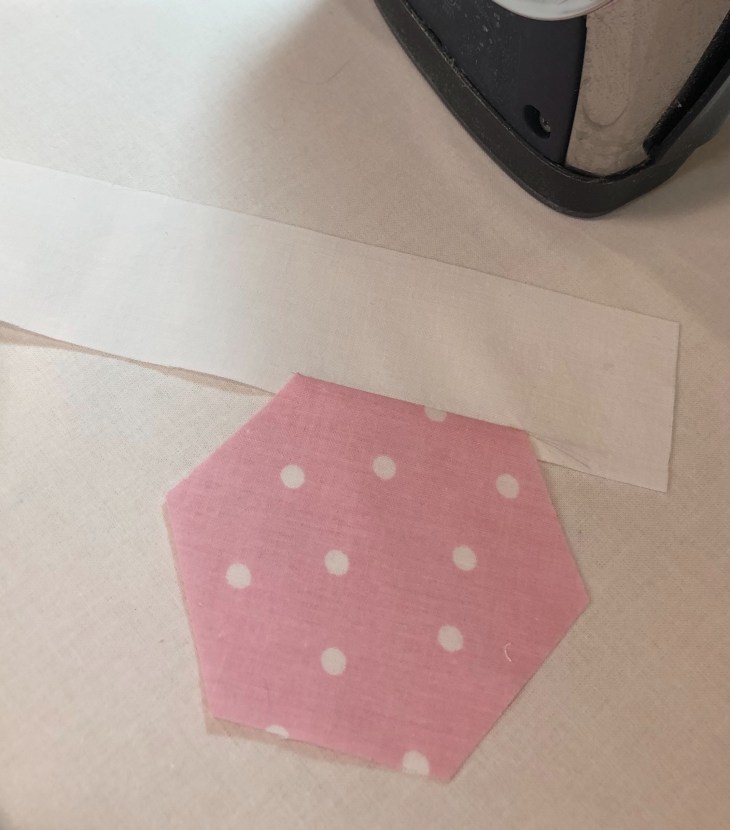
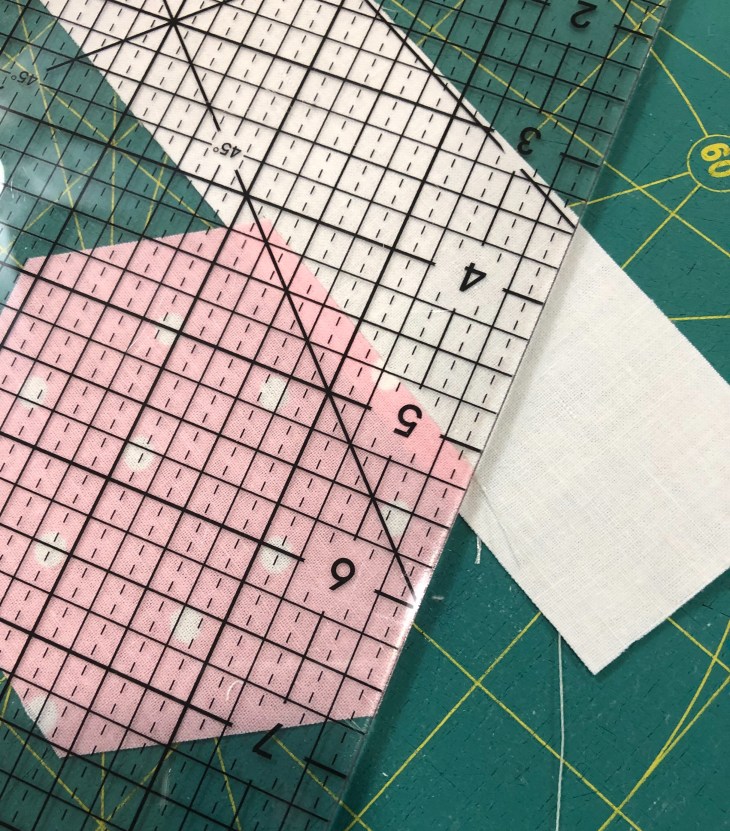
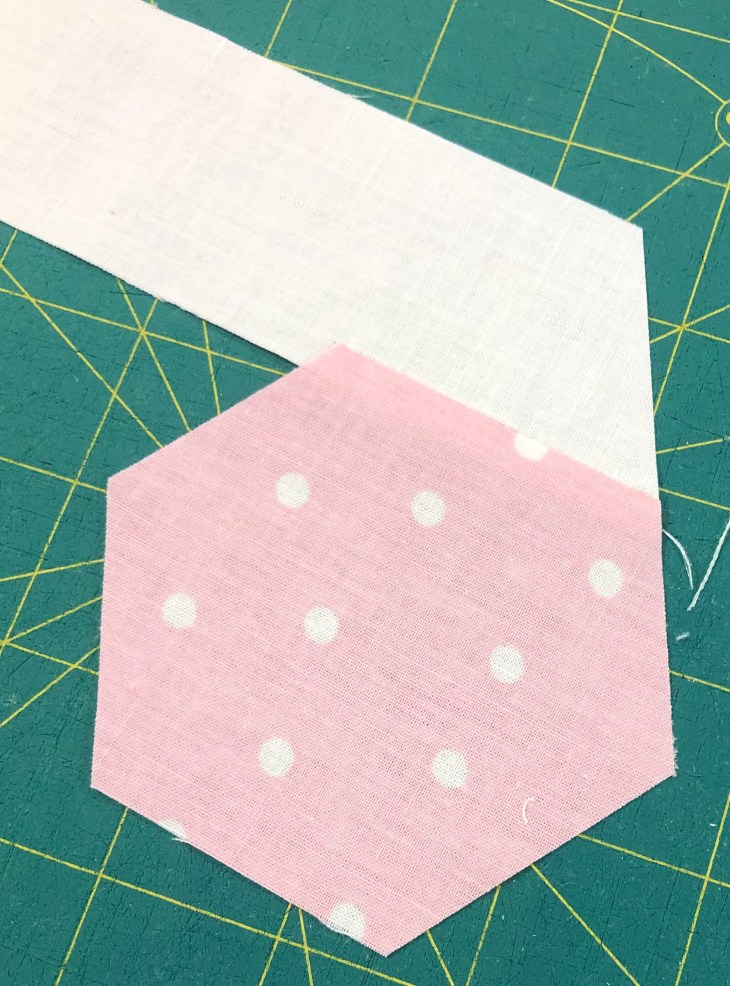
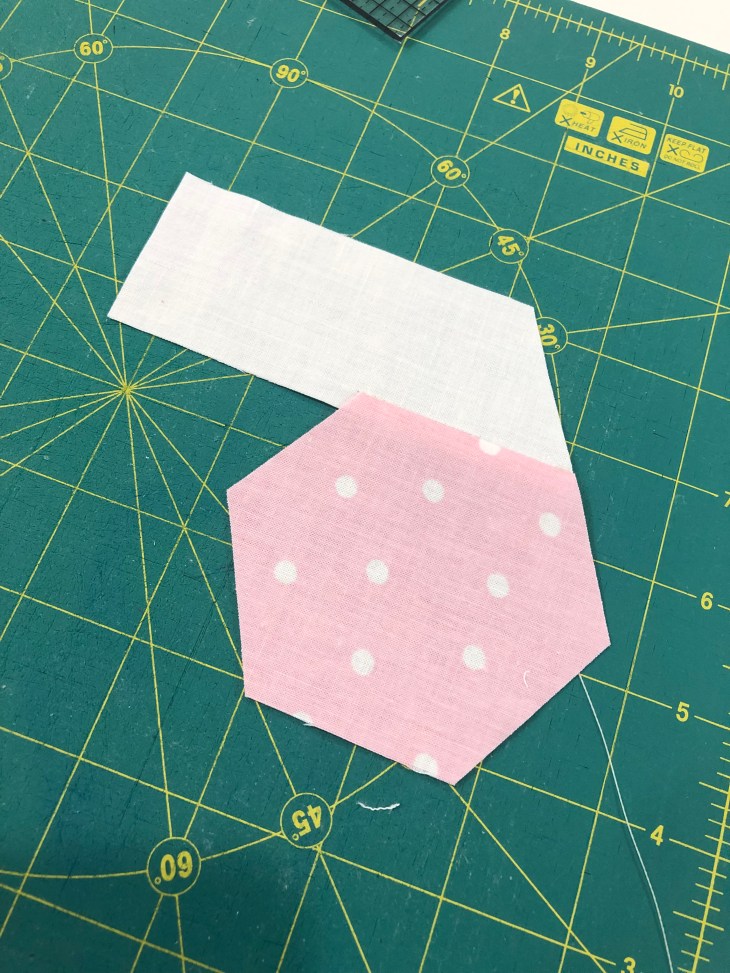
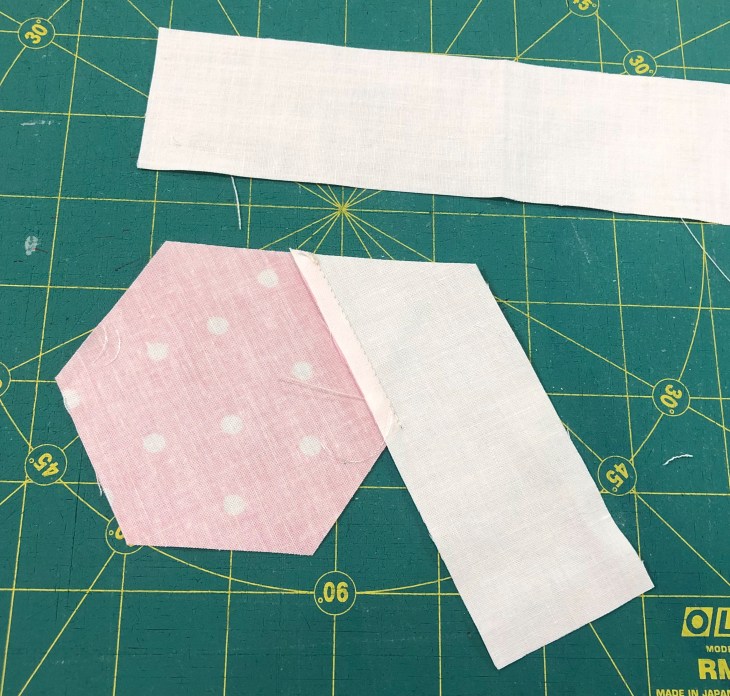
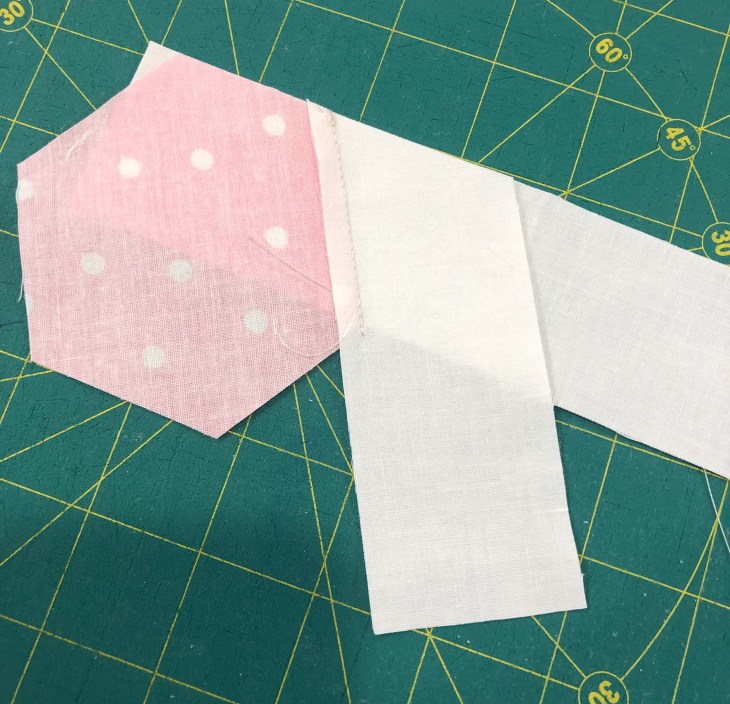
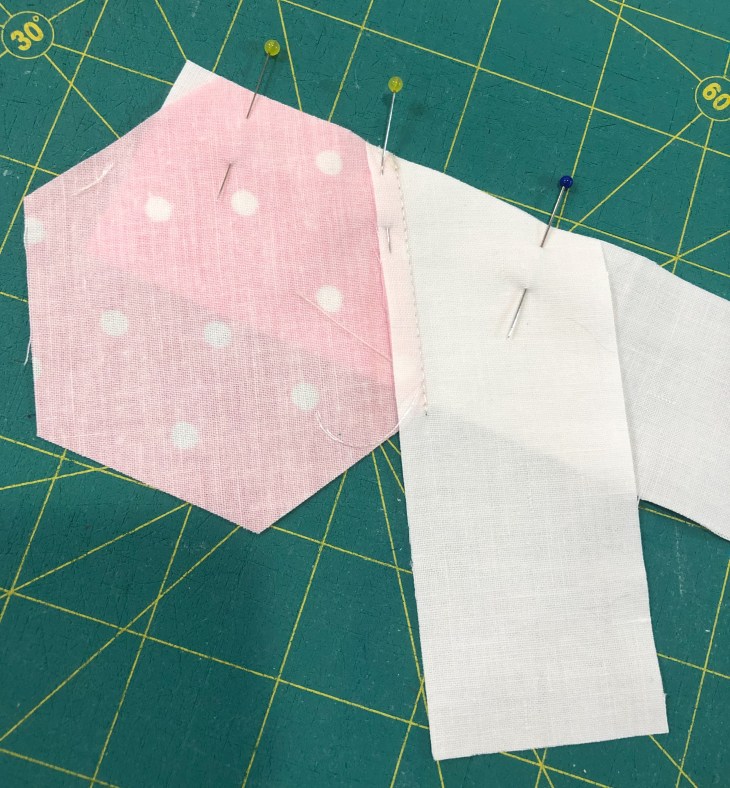
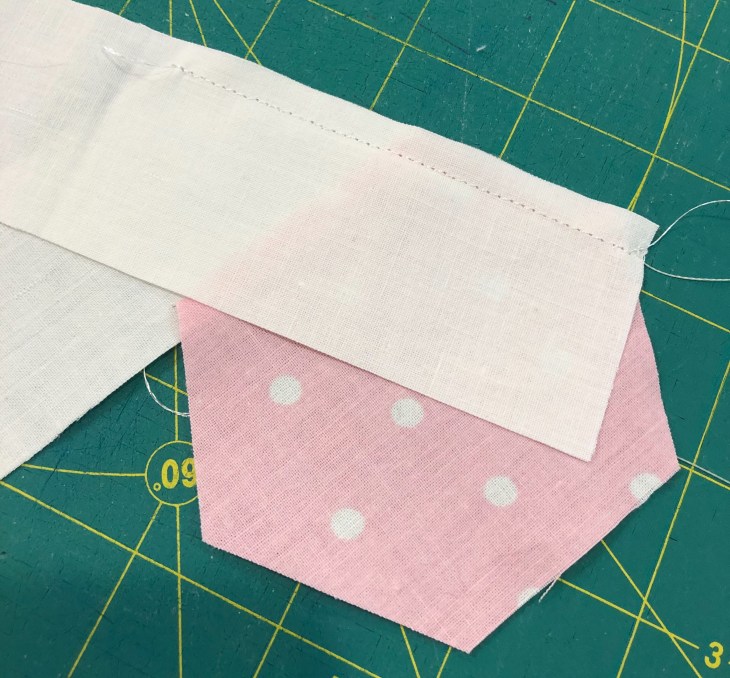
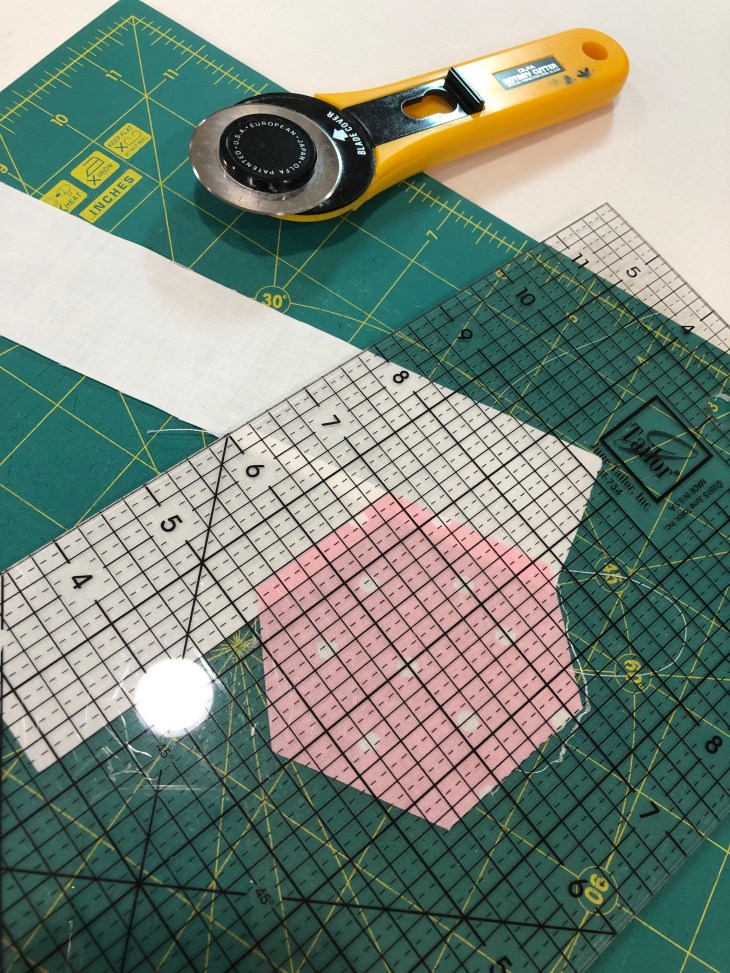
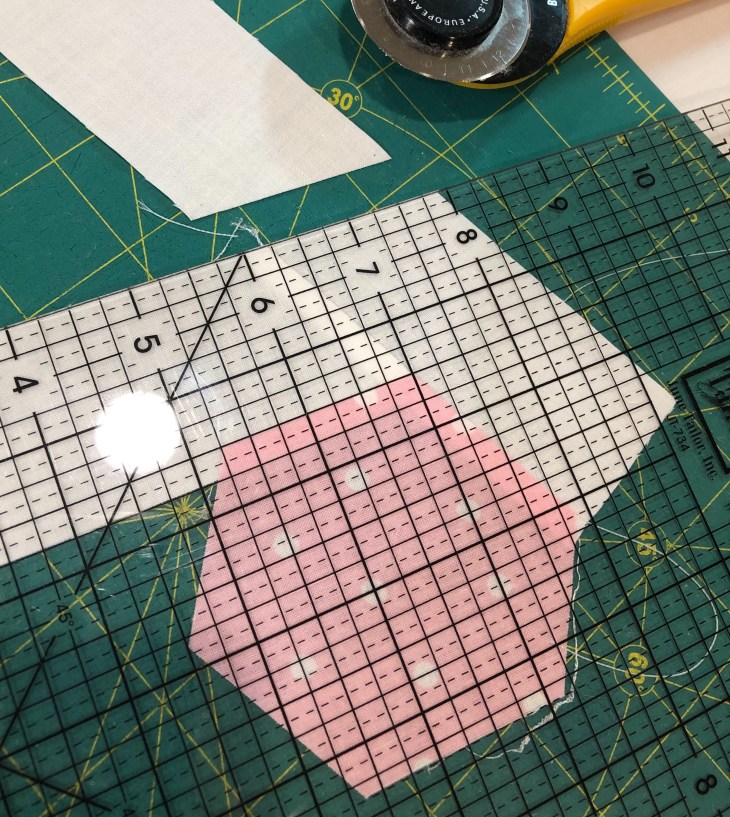
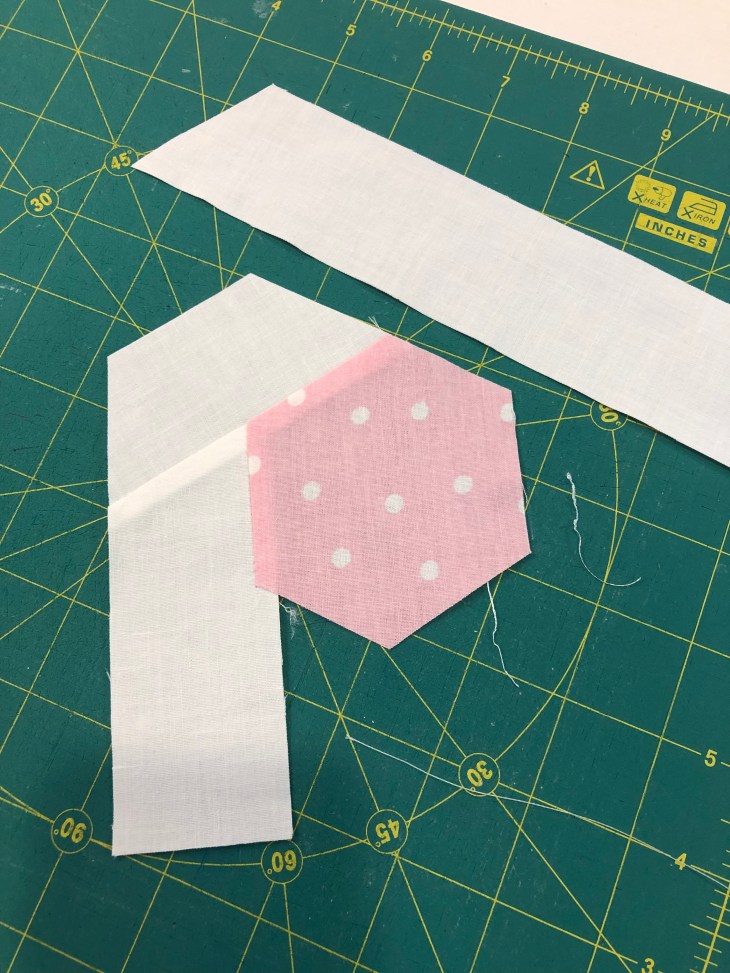
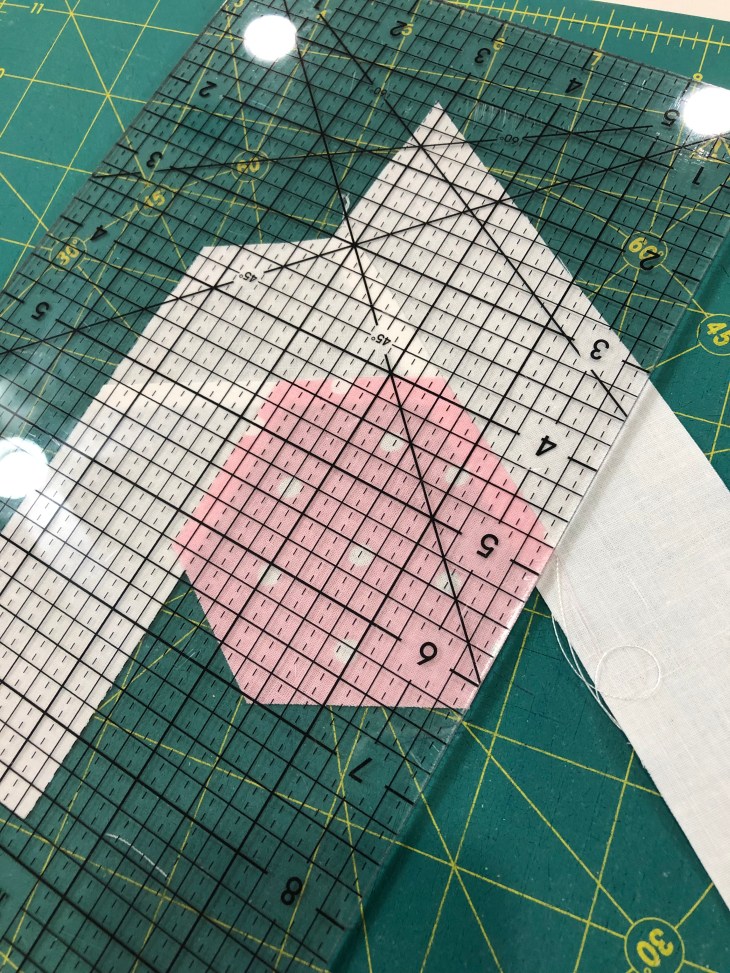
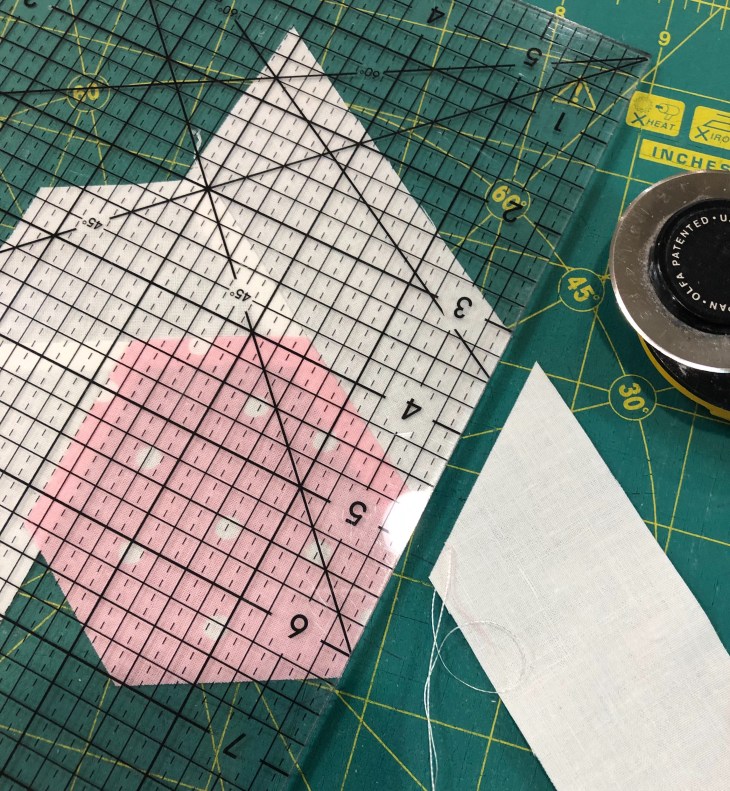
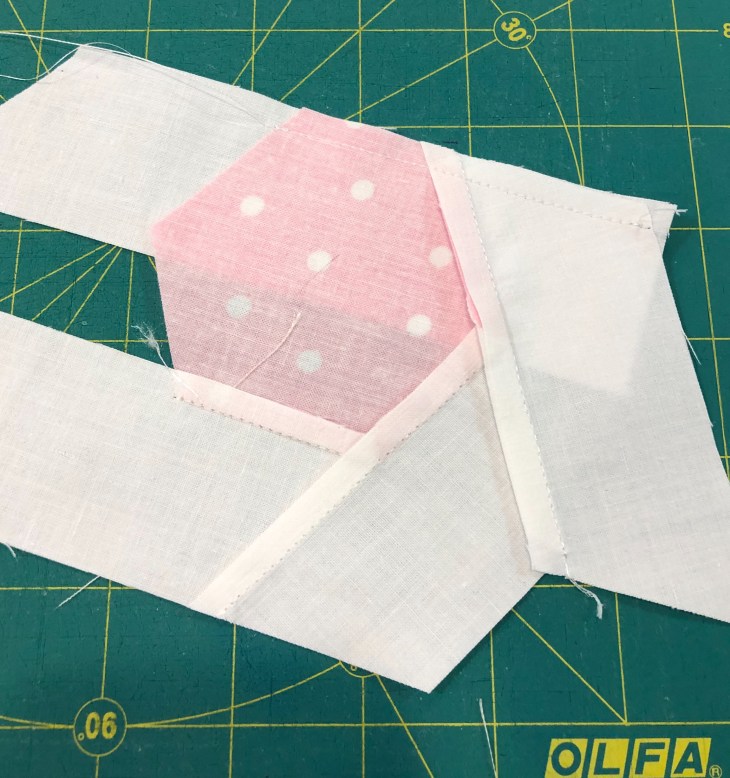
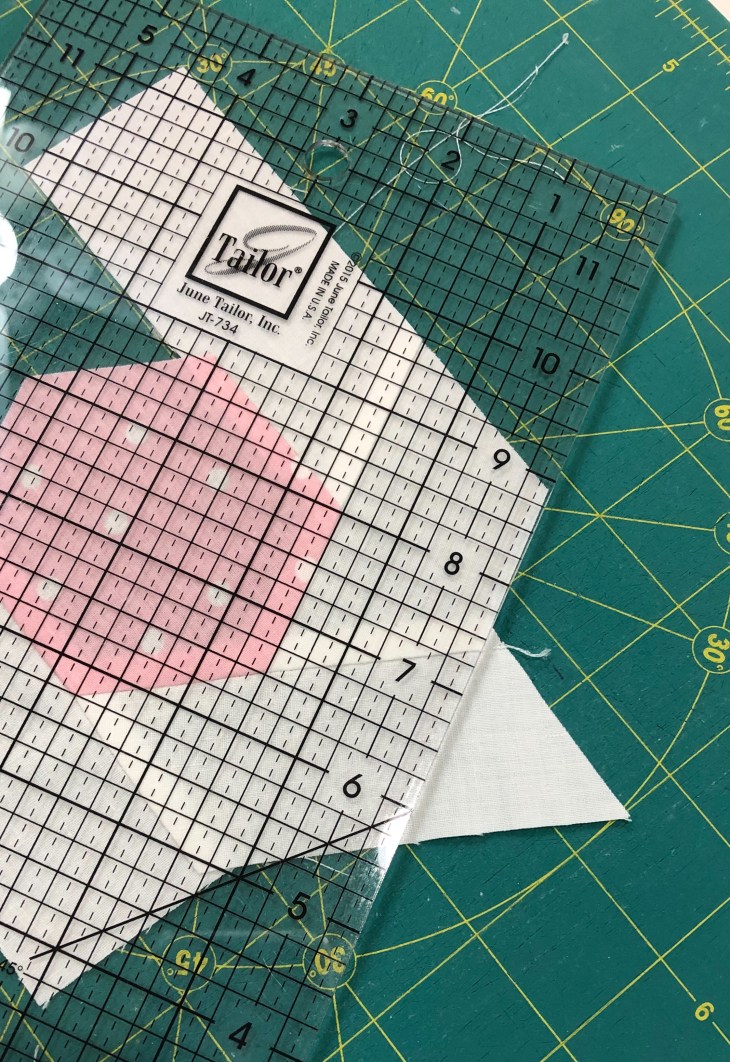
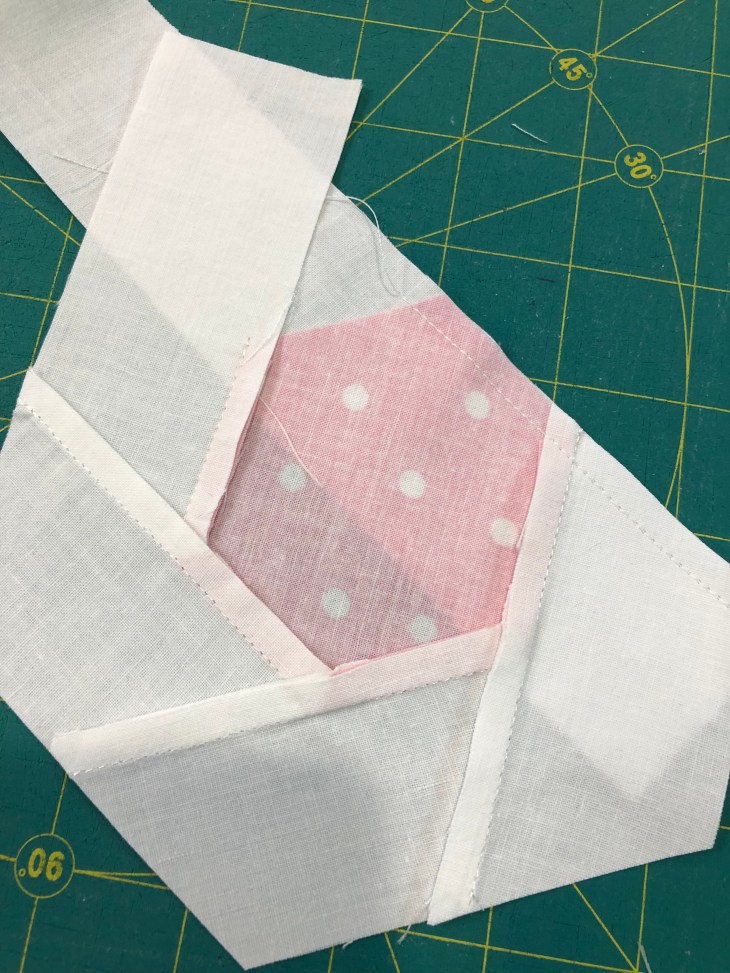
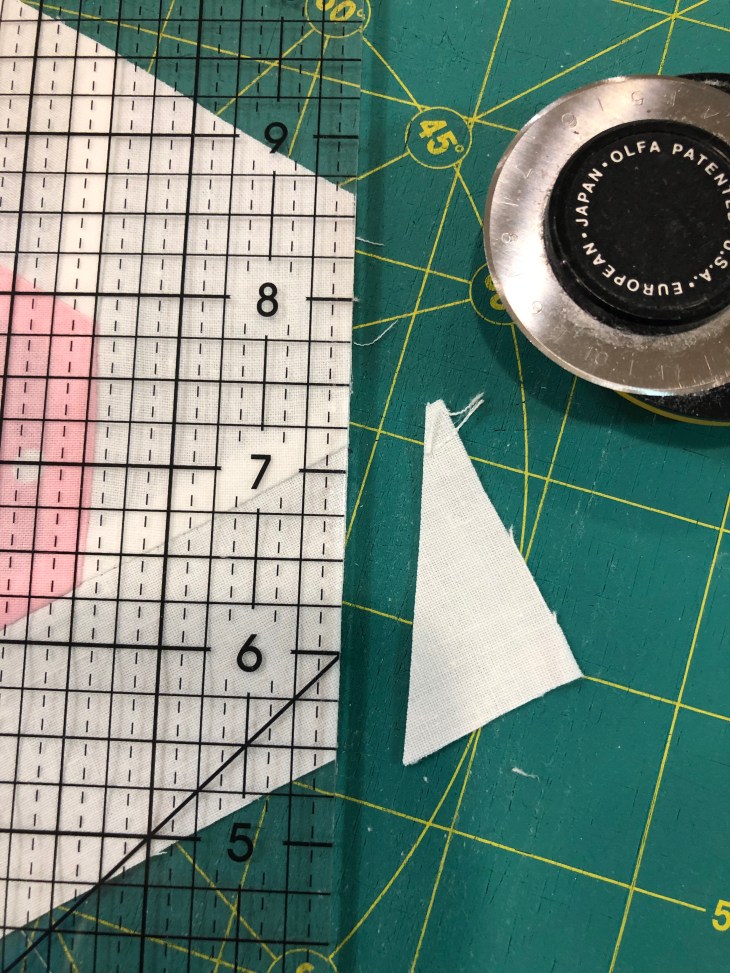
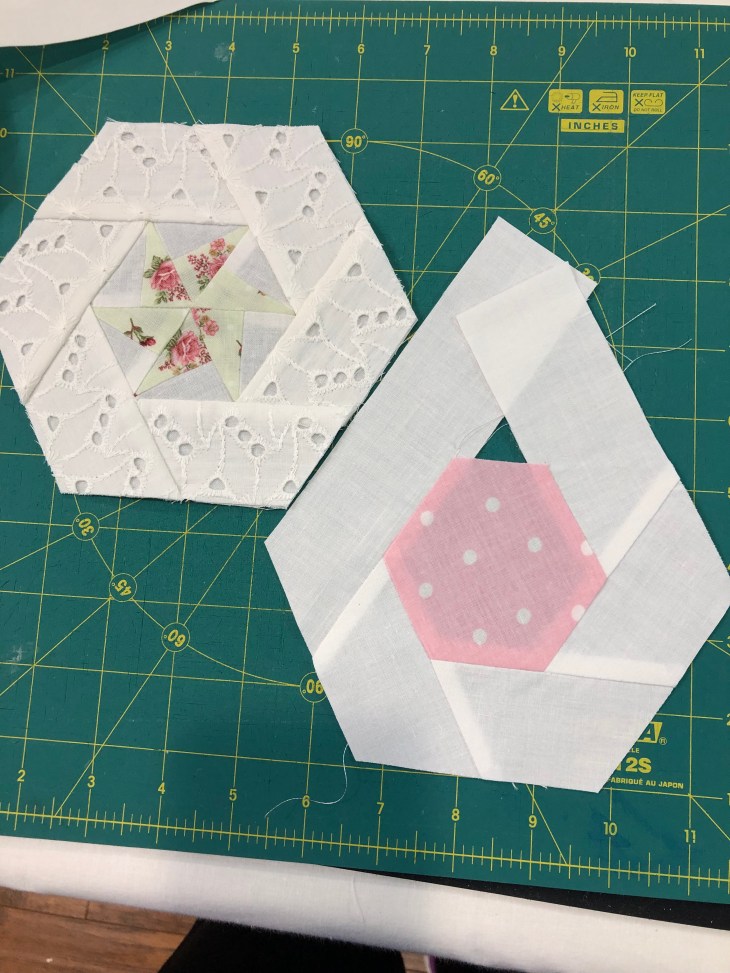
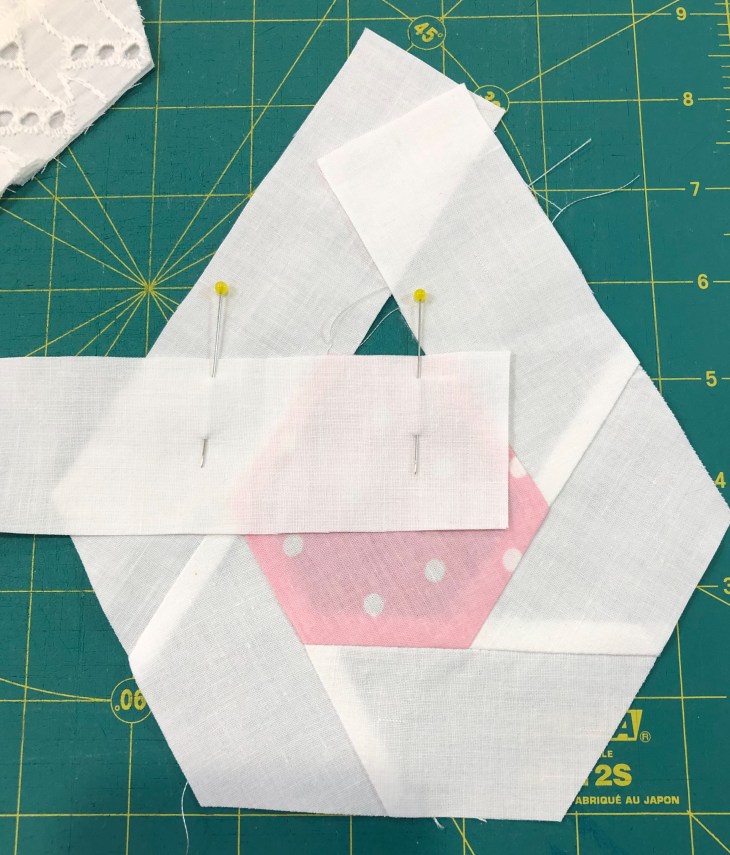
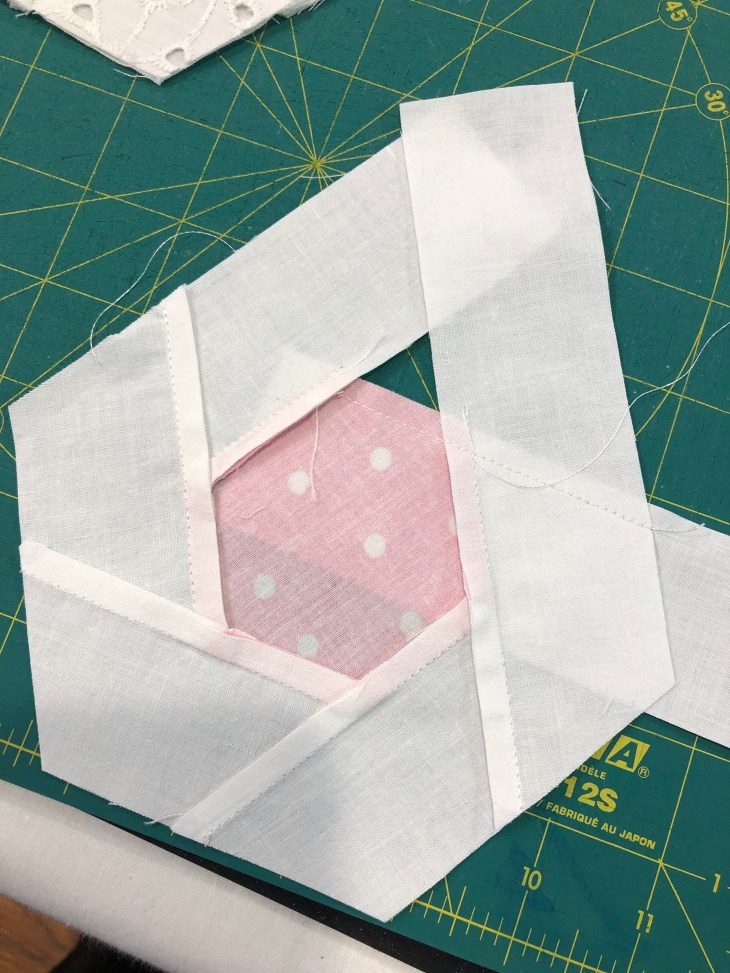
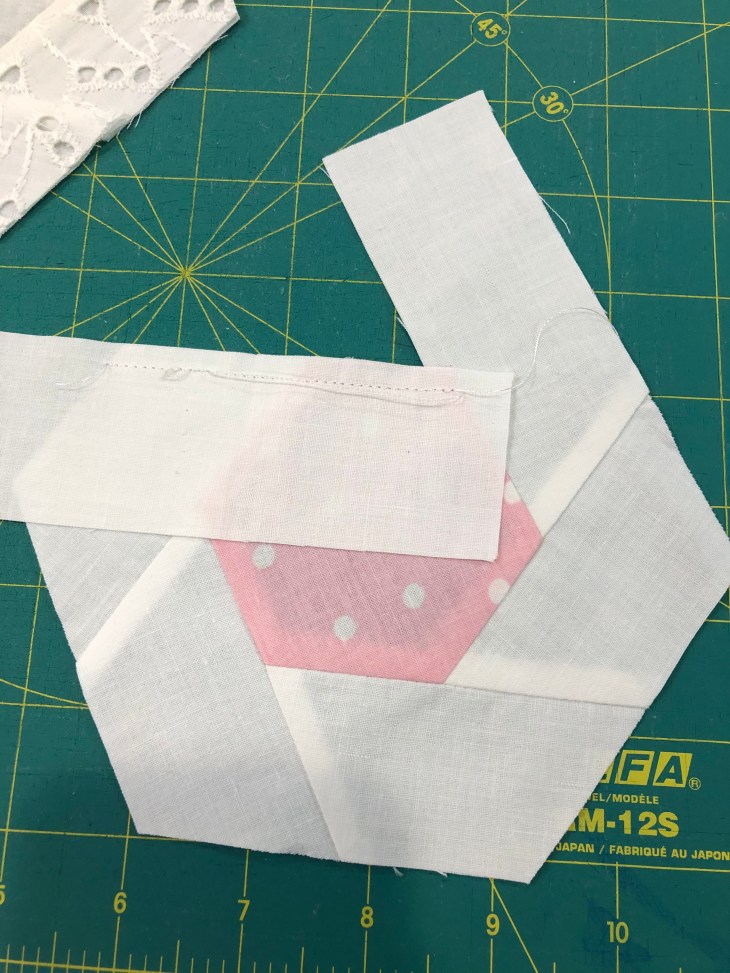
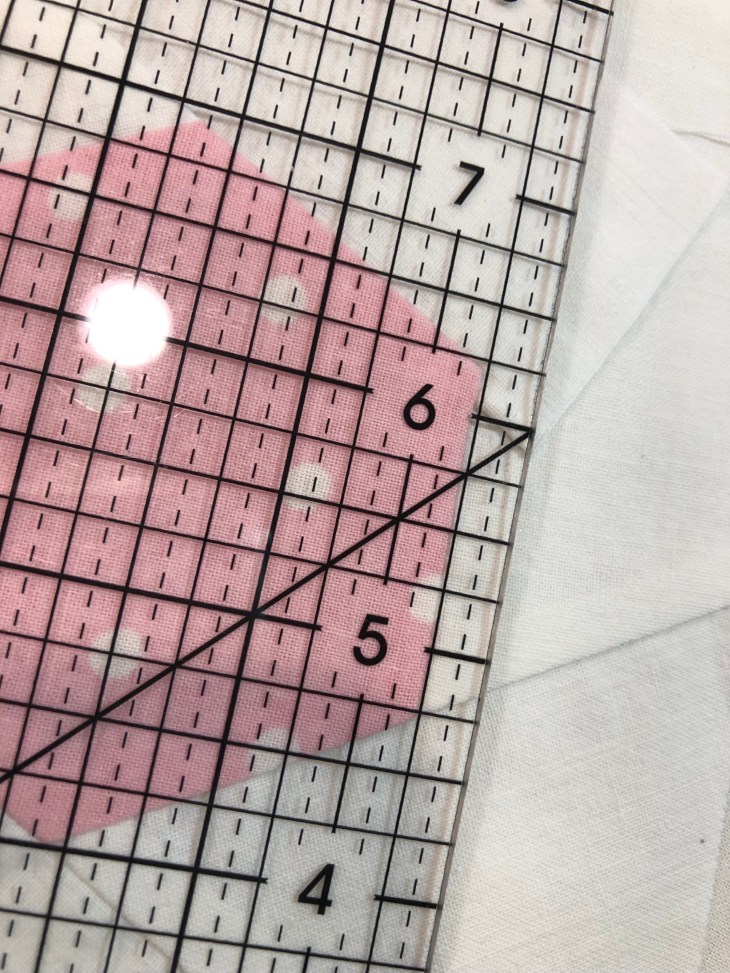
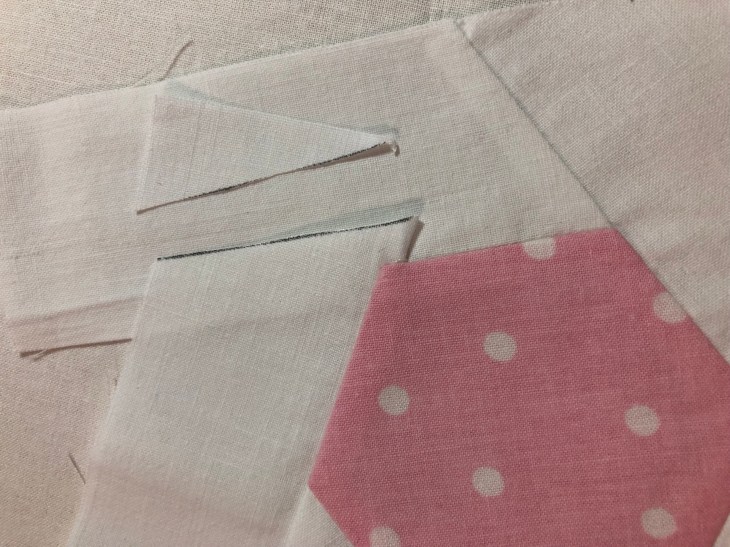
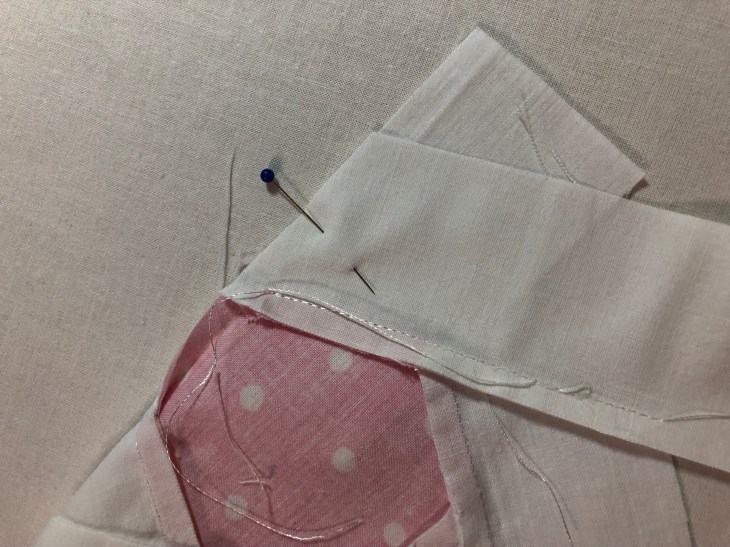
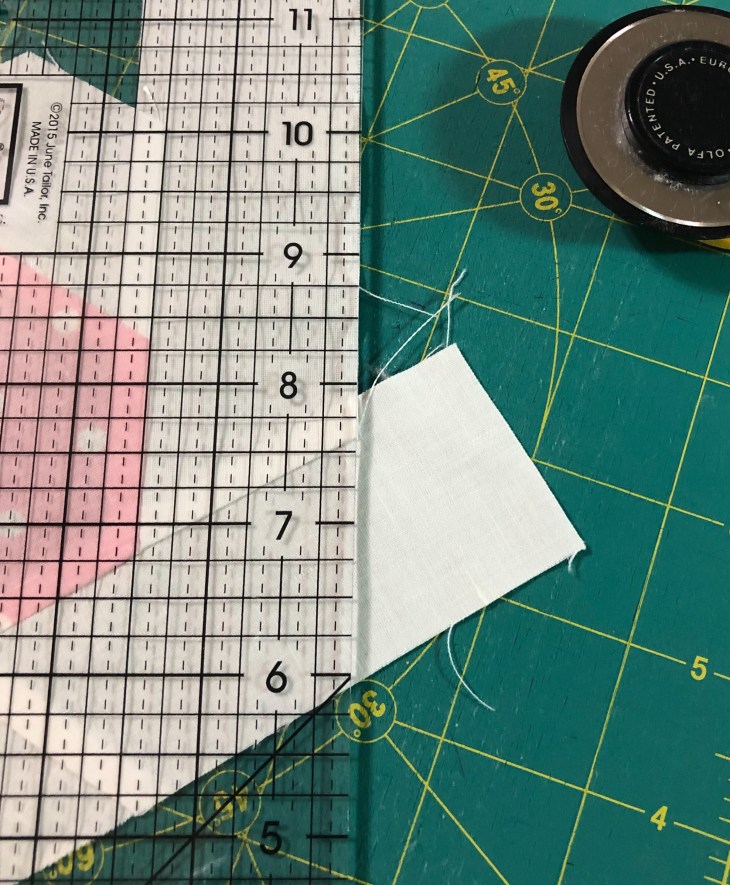
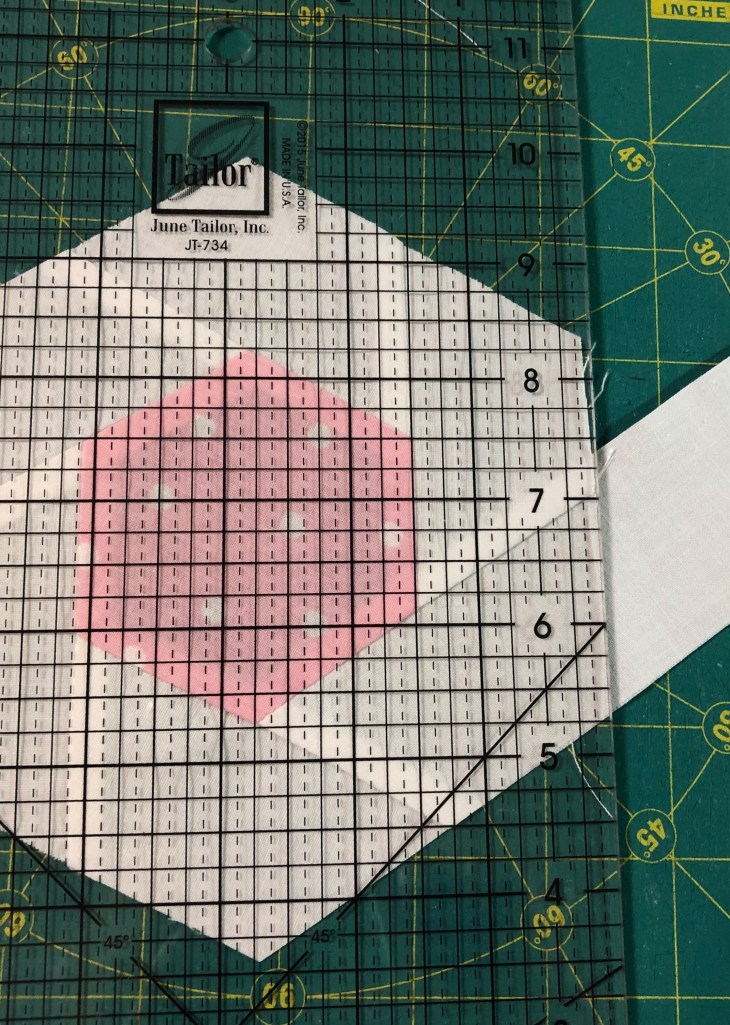
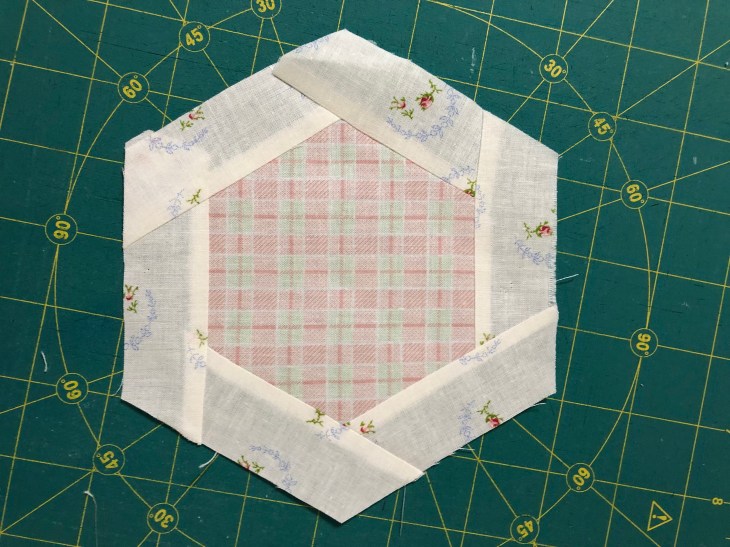
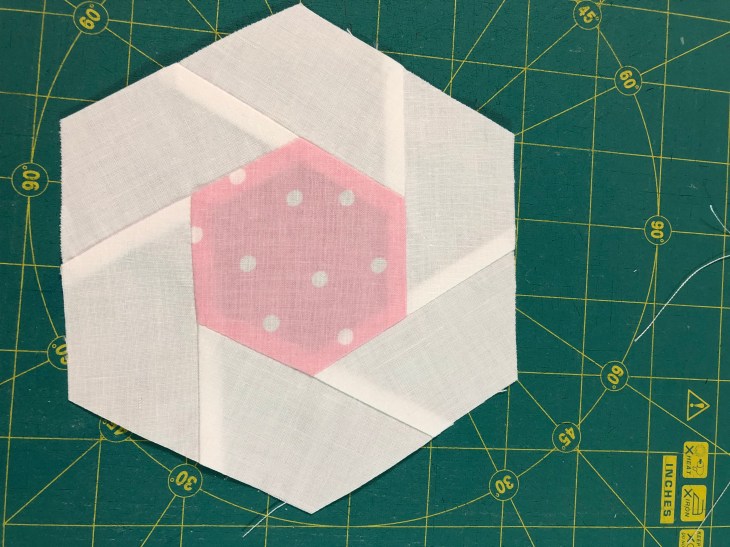
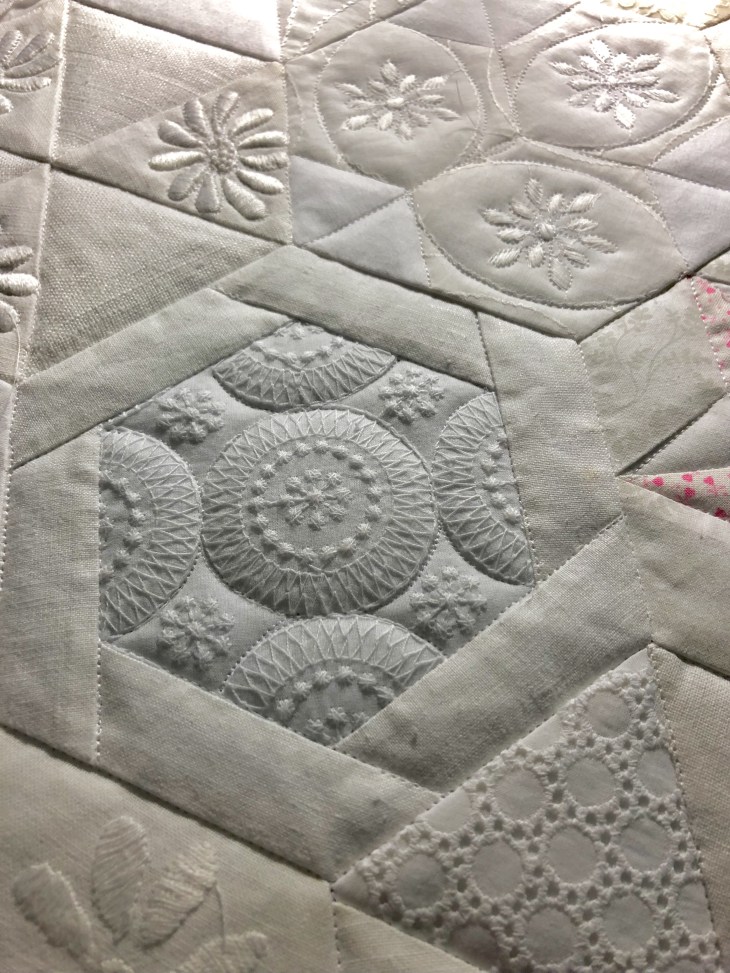
I’ve never published a tutorial blog with no words but here goes! I’ve been getting questions about how I add a frame around my vintage hexagons as shown in the picture below so I decided to do a Visual Tutorial by uploading 43 pics. Of course, if you have questions, please email me or leave a comment and I’ll get back to you ASAP.


Ok, did this work for you? Please let me know!
Blessings and Happy Quilting to all,
Rhonda

Rhonda, you are so smart a talented! Beautiful work!
LikeLiked by 1 person
precioso el tutorial y muy bien explicado felicidades
LikeLiked by 1 person
Gracias
LikeLike
Very good pictorial instructions. Easy to understand. Thank you for your post!
LikeLiked by 1 person
Did I miss the measurements some place.
I would love to do this and I think I could .
LikeLiked by 1 person
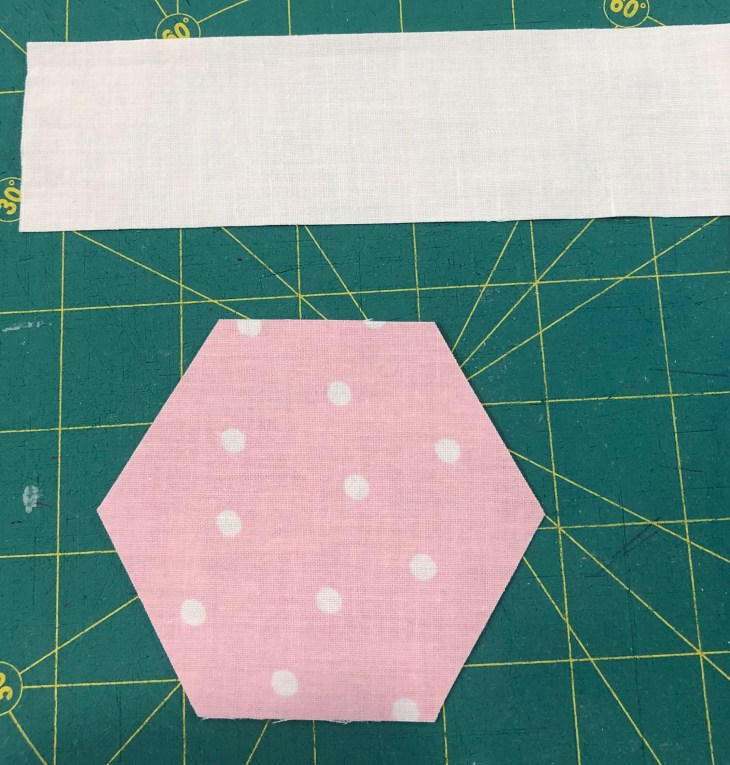
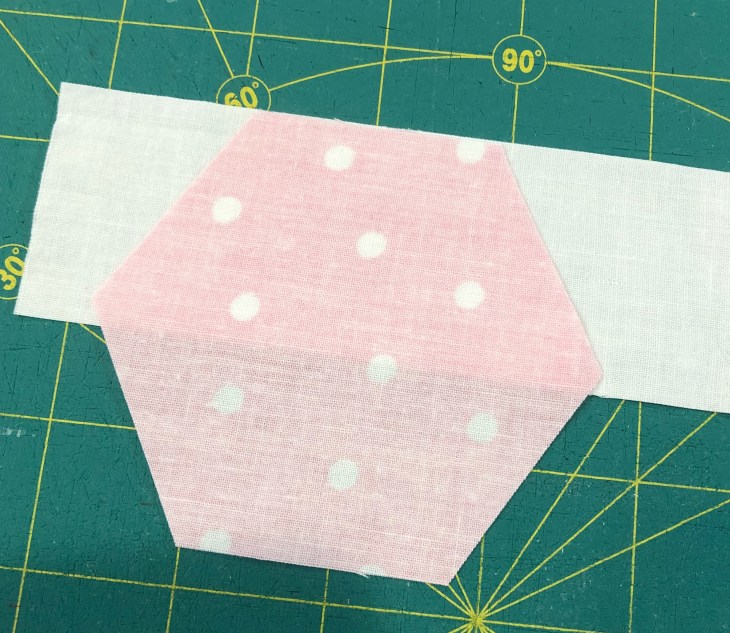
Hi Millie, the measurements are arbitrary. Depending on the size of hexagon you cut, the length of the strips will be determined by the length of each of the hexagon sides. The width of the pieces is up to you, you may want a thick sashing or a thin sashing. I have found that peoples preferences differ greatly.
LikeLike
Nunca fiz quilting! Amei suas fotos explicativas e vou tentar! Obrigada!
LikeLiked by 1 person
Thank very much. I am definitely going to try this. I love your lace fabrics so elegant.
LikeLiked by 1 person
Thank you!
LikeLike
Beautiful!
LikeLiked by 1 person
Thank you Rhonda. I want to try this. You did a wonderful job of explaining how to do this technique
LikeLiked by 1 person
Thank you!
LikeLike
Perfect , no words neede you did a awesome job, thank you!
LikeLiked by 1 person
Thank you!!
LikeLike
I do believe words would have gotten in the way – and I my preferred way of learning is through reading. 🙂
LikeLiked by 1 person
Thank you!!
LikeLike
That’s wonderful! You are so generous with your talent.
LikeLiked by 1 person
Thank you!!
LikeLike
I absolutely love this tutorial. Every time I read your blog I feel like I should print every blog that you have written so that I have it right there in a folder to refer back to. Well, I’ve resisted the temptation so far.
You are so talented and it is such a blessythat you enjoy sharing your knowledge.
g
LikeLiked by 1 person
Thank you sweet friend!
LikeLike
Fabulous post, Rhonda. Fabulous tutorial….perfect really….who needs words anyway. As you know, it is always a joy for me to see a pretty hexagon or two.
LikeLiked by 1 person
Oh thank you!! Such sweet words from The Queen of Hexagons!!
LikeLike
Yes! I thought it was completely clear. Thank you!
Sent from Yahoo Mail for iPad
LikeLiked by 1 person
Thank you!
LikeLike