

Class #2…the Rules!
🗓 Class #2 begins on March 1, 2021 and oh my, I just looked and we have over 1600 members in our Facebook group! Wow!
It is a bit difficult to maintain a sense of order and organization while holding a class in a Facebook/Blog group. In any given month there can be a thousand posts and comments from the members. If you will adhere to the following rules, things will flow smoothly and your admin’s (Rhonda and Anita) will be so happy! 😃 Thank you in advance! ❤️
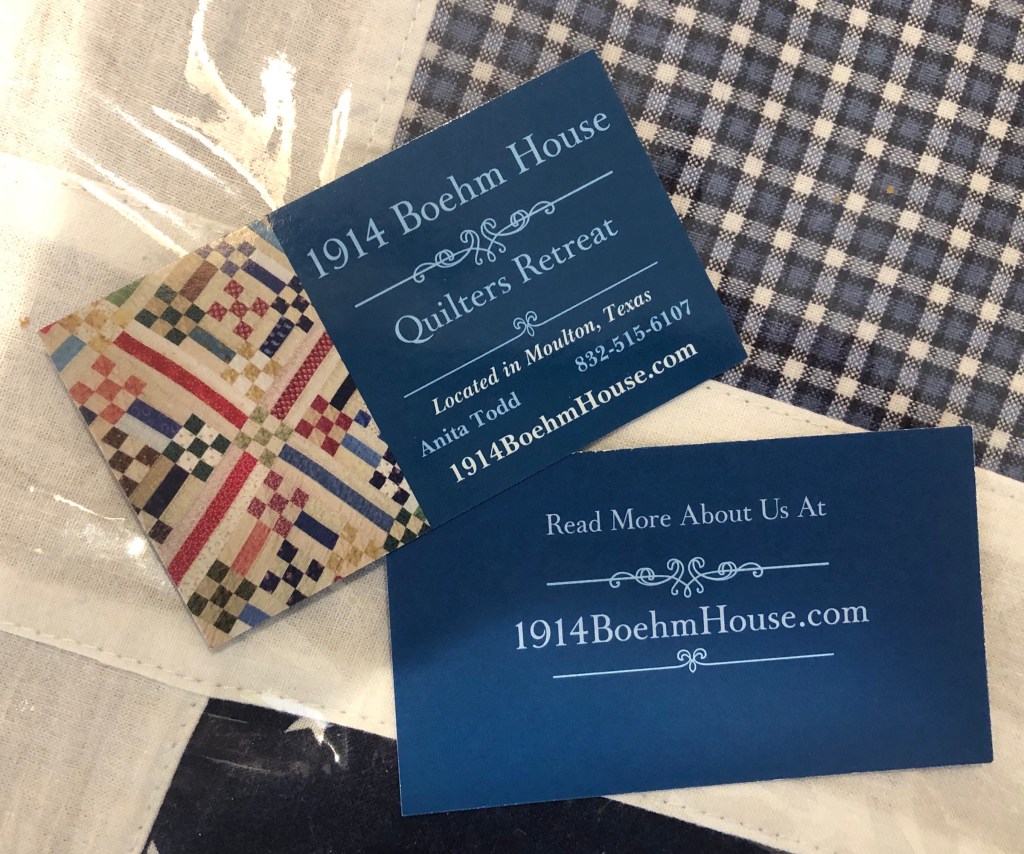
📌📌📌Reminder: The Facebook group directly associated with this Class is: 1914 Boehm House Vintage Linens Classes. Please remember to join this group.
- Read everything your Admins (Rhonda and Anita) post/blog related to this new Class.
- If you do not know how to use the Facebook tools/functions, learn before you post.
- All specific patterns/charts/diagrams that are not copyrighted will be found in the Files section of this FB Group. You do not have permission to upload anything to Files. If you upload anything to Files you will be sad because you will find yourself blocked. ☹️
- Do not ask questions until you have read all admin posts back to Jan. 31, 2021. Wondering how to find all admin. posts? Refer back to rule 2.
- Negative posts and/or comments will be deleted.
- Your posts must be related to one of 4 topics: The Boehm House, my retreat at the Boehm House of March 2020, Class #1 or Class #2. Anything else will be deleted and again, you will be sad. ☹️
- If you go shopping and post pictures of all your found vintage treasures, please know I will most likely remove your post after 24 hours.
PS: how do you pronounce Boehm? Think Baim with a long “a”. Rhymes with Same. Does that help?
I was looking at the statistics for our Group, on a normal day we can have posts that generate several hundred comments. It is my goal to keep the group on topic and on target with the current class but to meet this goal I will need your help! 🙂
www.laughyourselfintostitches.com
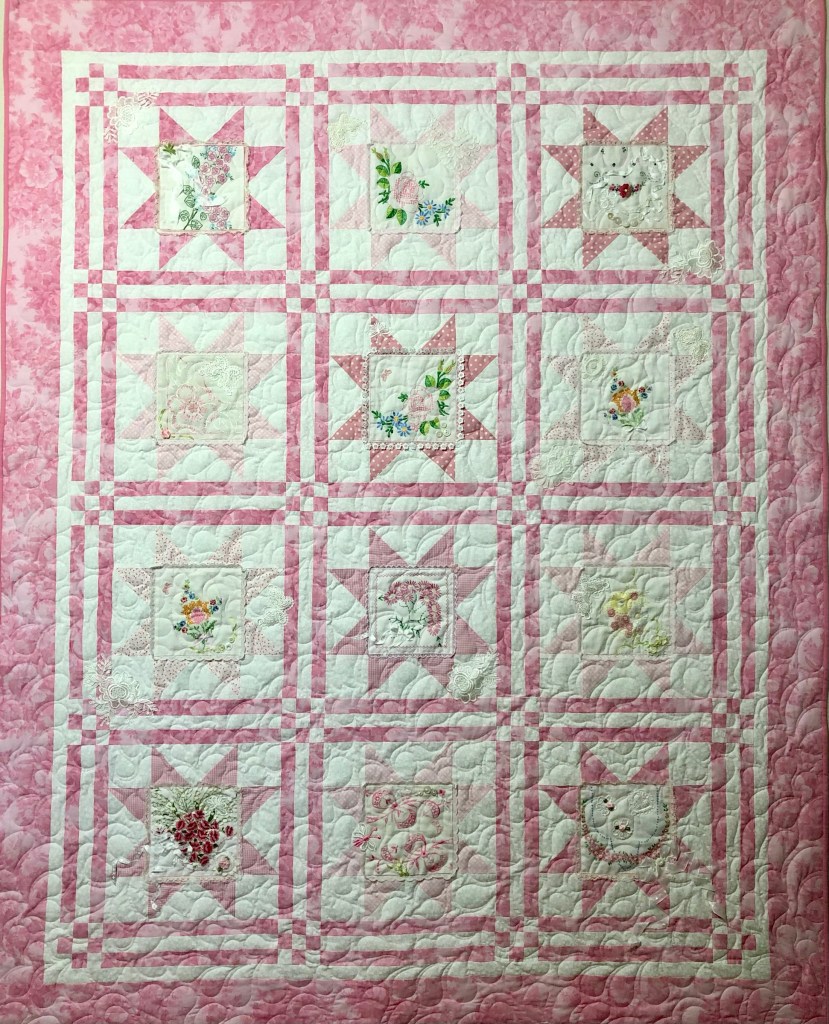
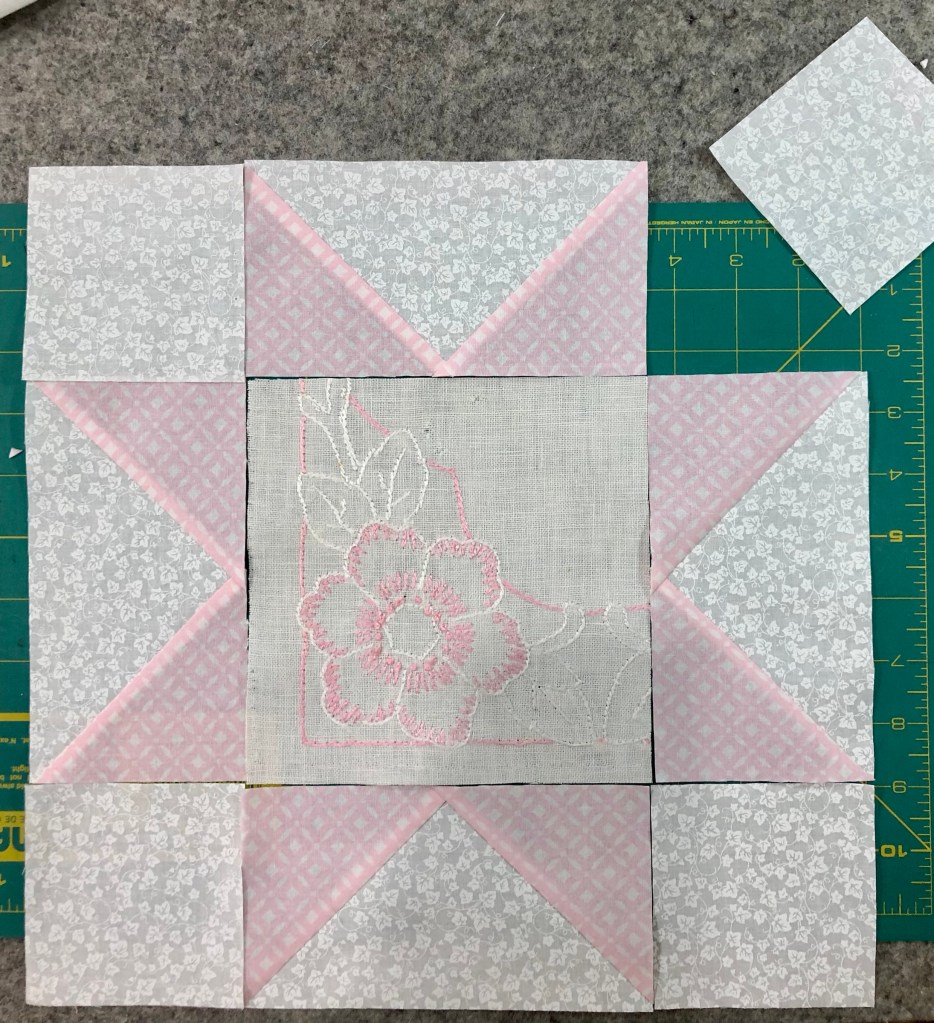
Karen Walker’s pattern Lattice Stars is so very straightforward that most if not all of you will not need much direction from me until you reach the stage of embellishing, that is if you decide to embellish.
Karen gives direction on how to create the different parts of the Star Block, but if you have your own “tried and true” method do what works for you.
Once you have decided how large you want your quilt top to be and how many Star blocks you will need, begin your block construction.
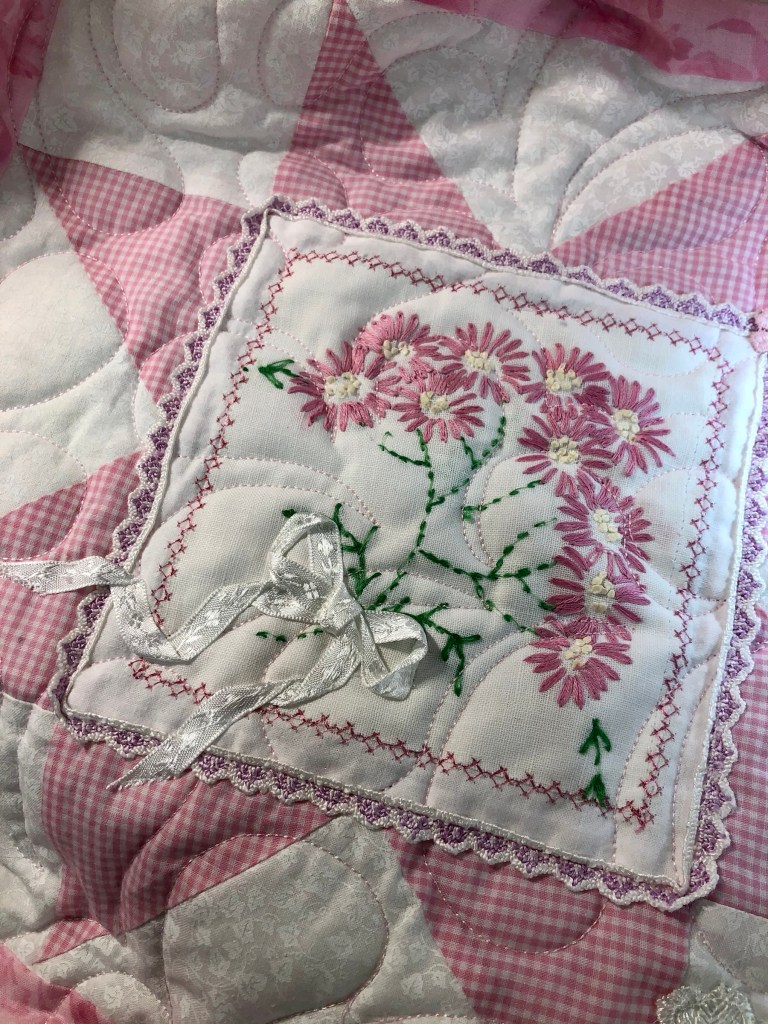
The Star block center…make it whatever you want it to be! The pattern calls for a 9-Patch, the sky is the limit on what the Star block center might be in your quilt! Make your Star blocks wherever your quilting heart leads you! It’s your quilt, there are no Quilting Police! I promise!
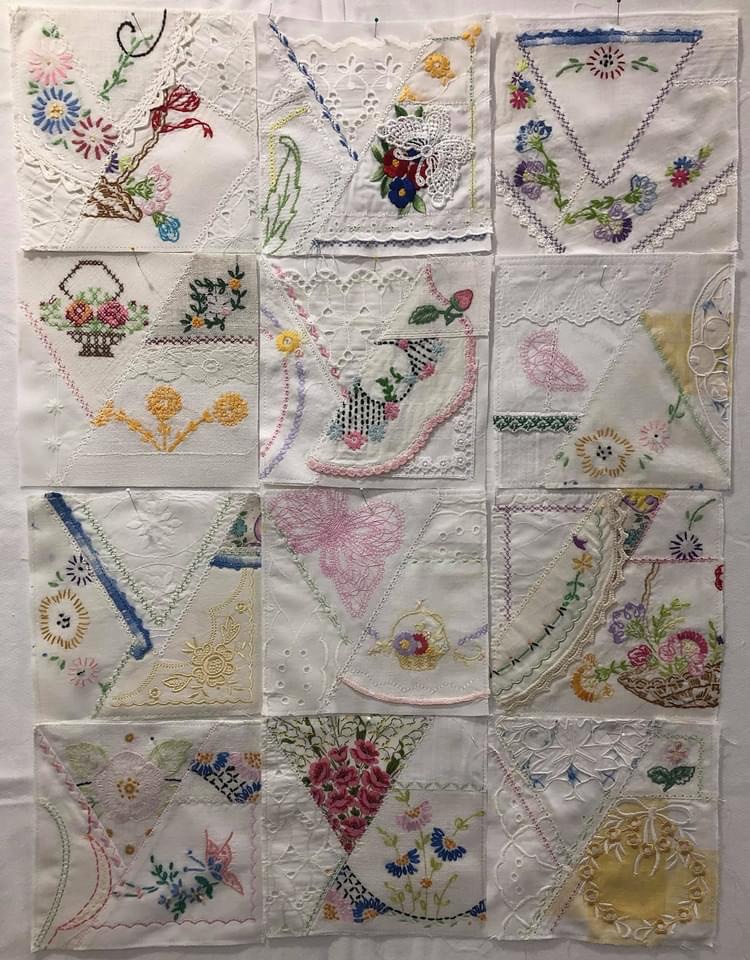
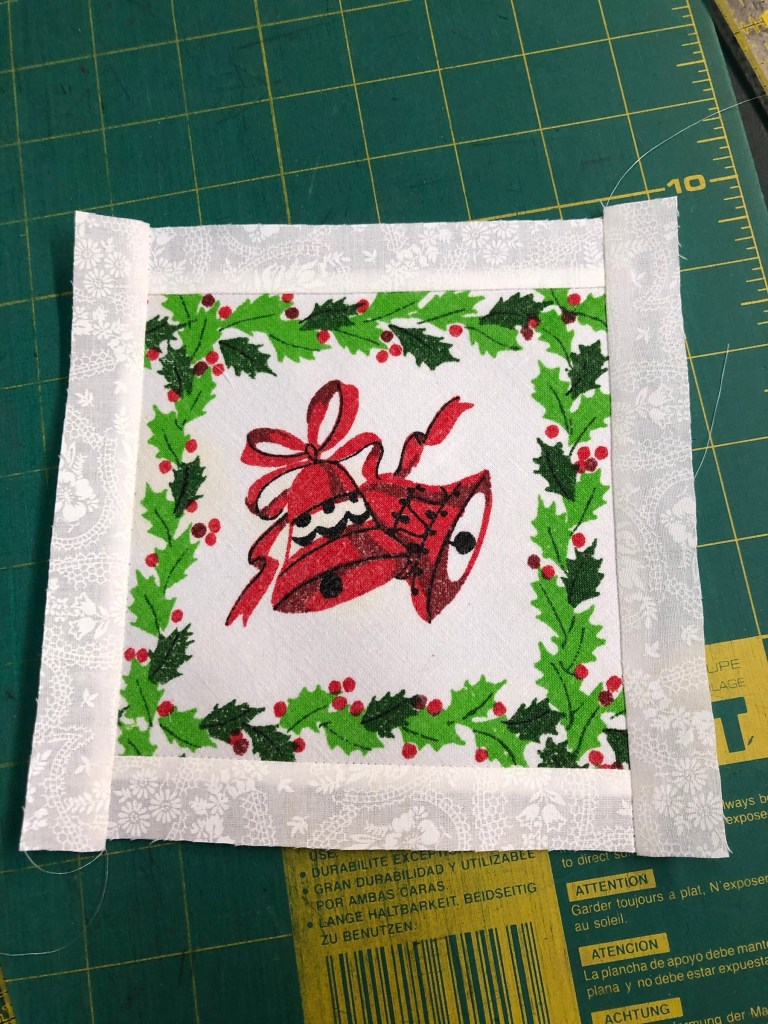
This picture below is from another project a few years ago but it gives you a visual for a Crazy Quilt star block center square.
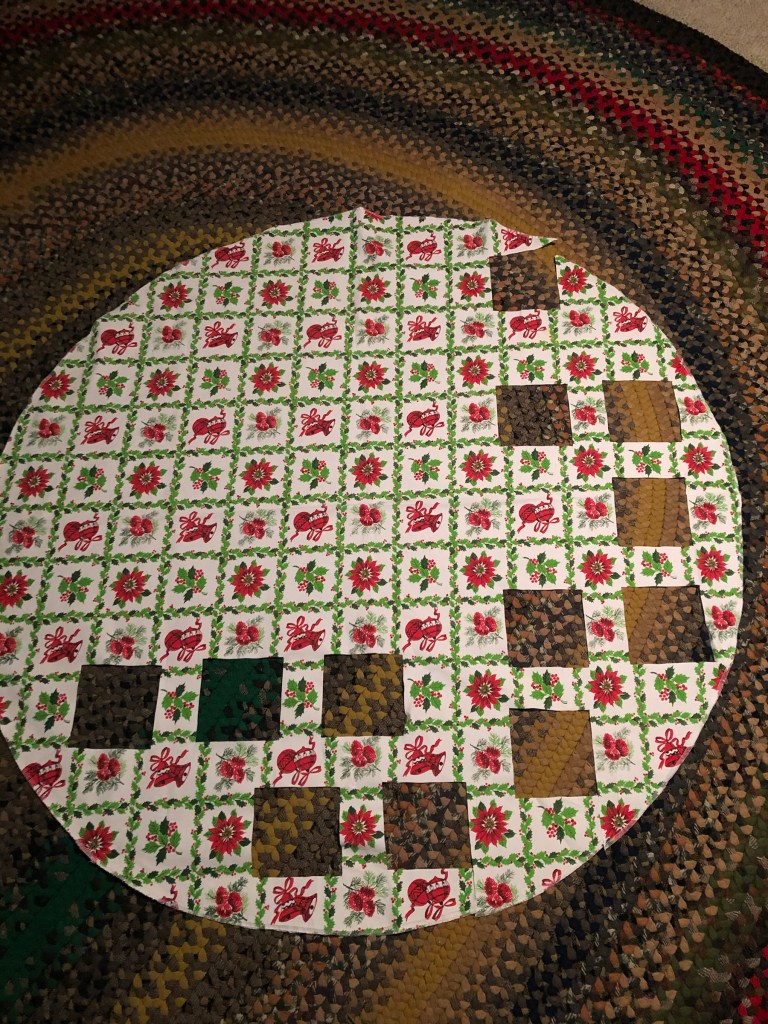
Another idea I’m developing: I went eBay shopping a few weeks ago looking for a vintage Christmas tablecloth. I purchased one, soaked and laundered it when it arrived. Because I discovered it had been printed on the fabric bias, spray starch came to my rescue as I pressed out the laundry wrinkles.
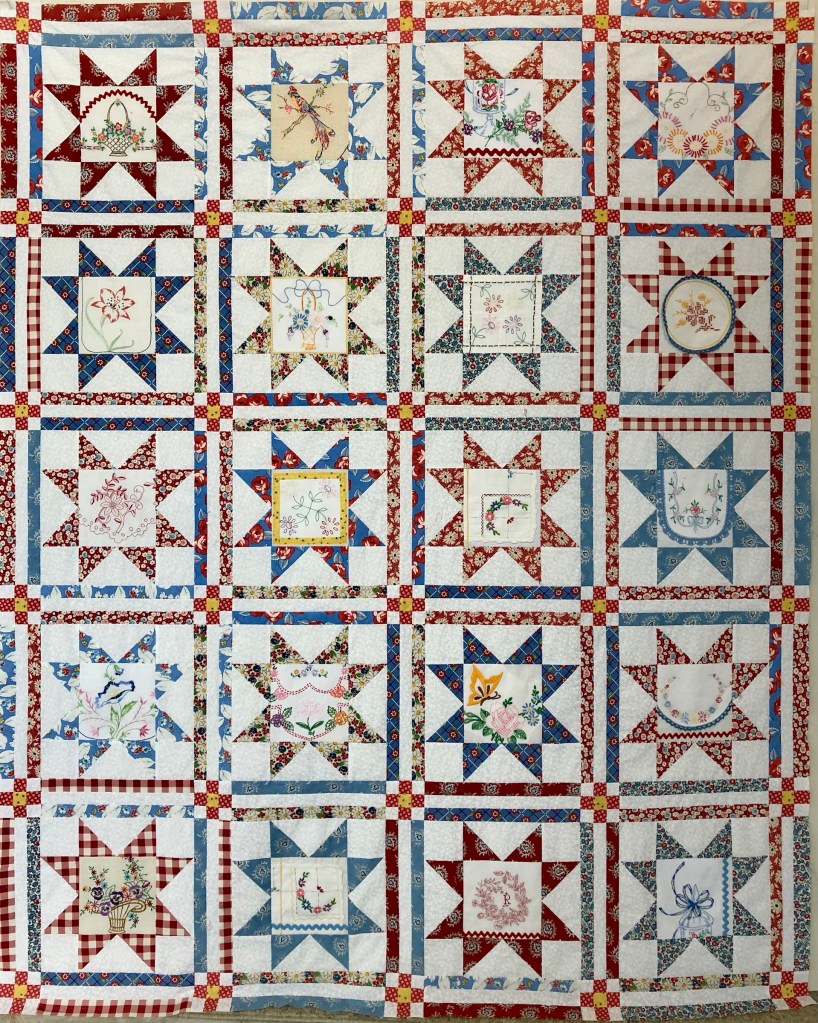
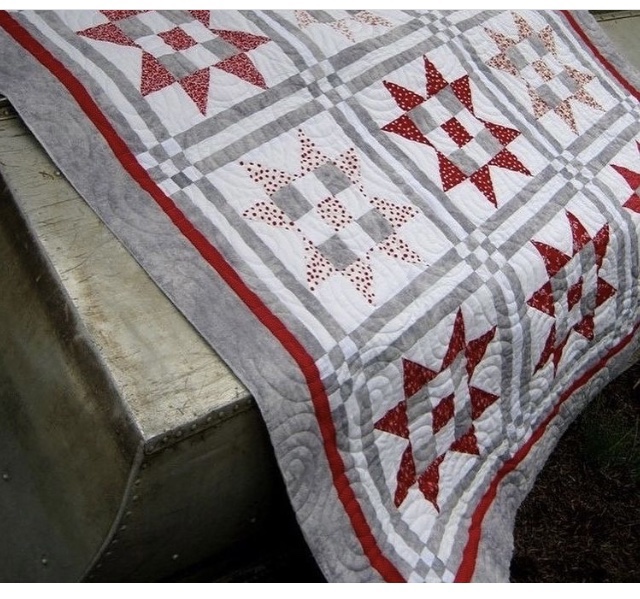
This red/blue/yellow/white Star quilt top makes me smile every time I see it! No, it is not finished, I am still deciding on borders. I’m in no hurry so it may stay unfinished for a month or two.
Have I told you today how much I love Star Block quilts? In a perfect world I would make one every other week!
Are you already working on your blocks for Class 2? Post pictures on our Facebook group page! Can’t wait to see them!
Blessings and happy quilting,
Rhonda

Your work is beautiful.
LikeLiked by 1 person
Thank you! ❤️
LikeLike
Thanks, Rhonda. Never thought about the pronunciation of Boehm. Wow, did I have that wrong!!
LikeLiked by 1 person
I’m still working on one. Assembly is really hard.
LikeLiked by 1 person
Are you not following the very detailed assembly instructions/diagram found in my blog post of Jan. 14, 2021?
LikeLike
Yes. I’m just getting the order of it messed up in the sashings. They’re so narrow it’s difficult for me to handle. I’m down to the center section now.
LikeLiked by 1 person
I precut the sashings, but when I sew them. The ends don’t match smoothly… Then I look at the pic and it looks right, but the pieces still don’t match up so I rip out. I ended with a extra sashing in section two and just gave up and left it. I’ve already messed it up such that there’ll be an extra sashing between row one and center row. It’s not gonna look like the original…thats for sure.
LikeLike