We are at the point where many of you are finishing either your Class 2 quilt top or you have your project already quilted! Bravo to all you speedy and talented quilters!!!
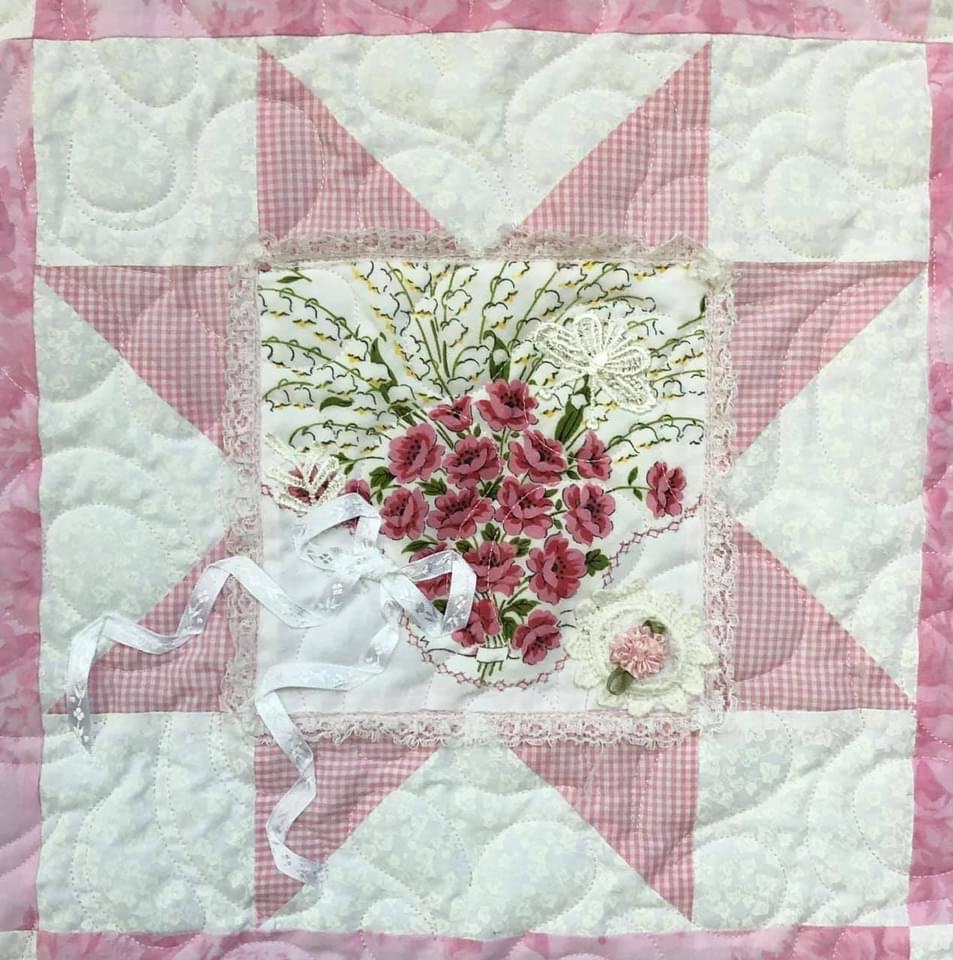
A few weeks ago a member asked about how I create and apply ribbon bows and streamers on my pink and white Vintage Lattice Stars quilt. This post is loaded with pictures and will take you through the step by step procedure that I use. I am positive there are numerous methods, find one that works well for you and your project.
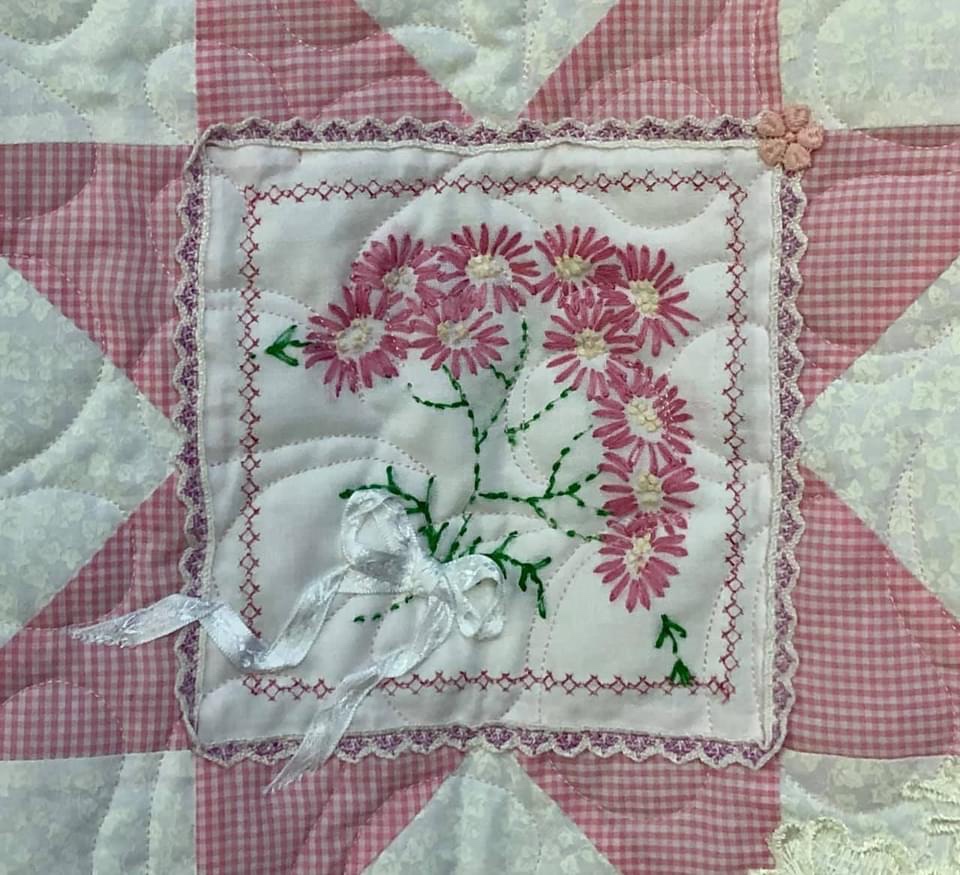
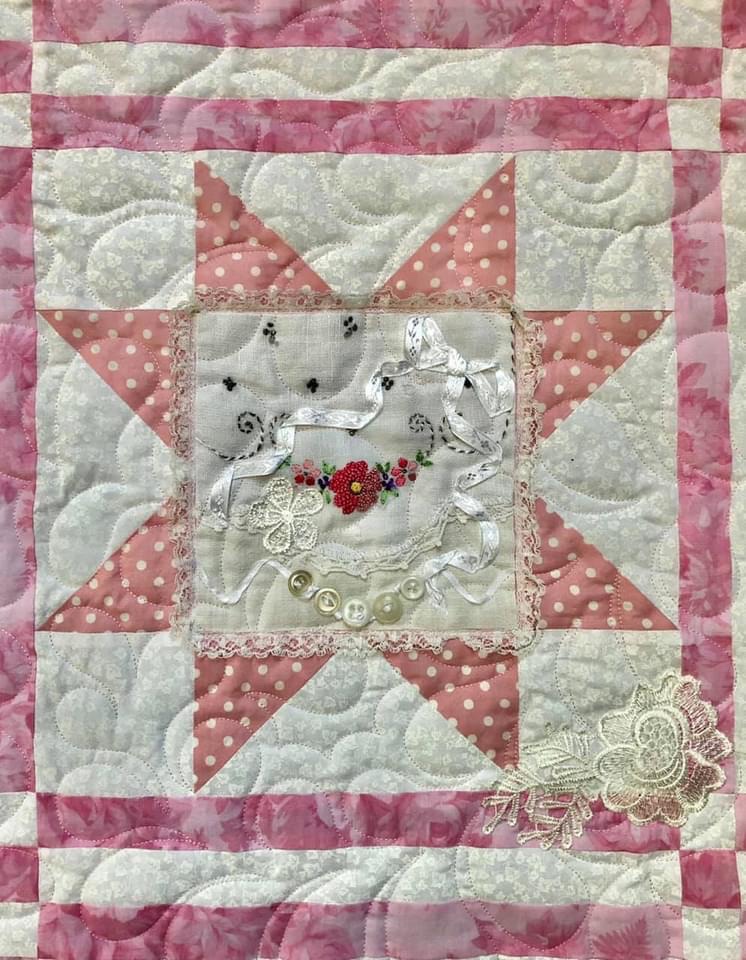
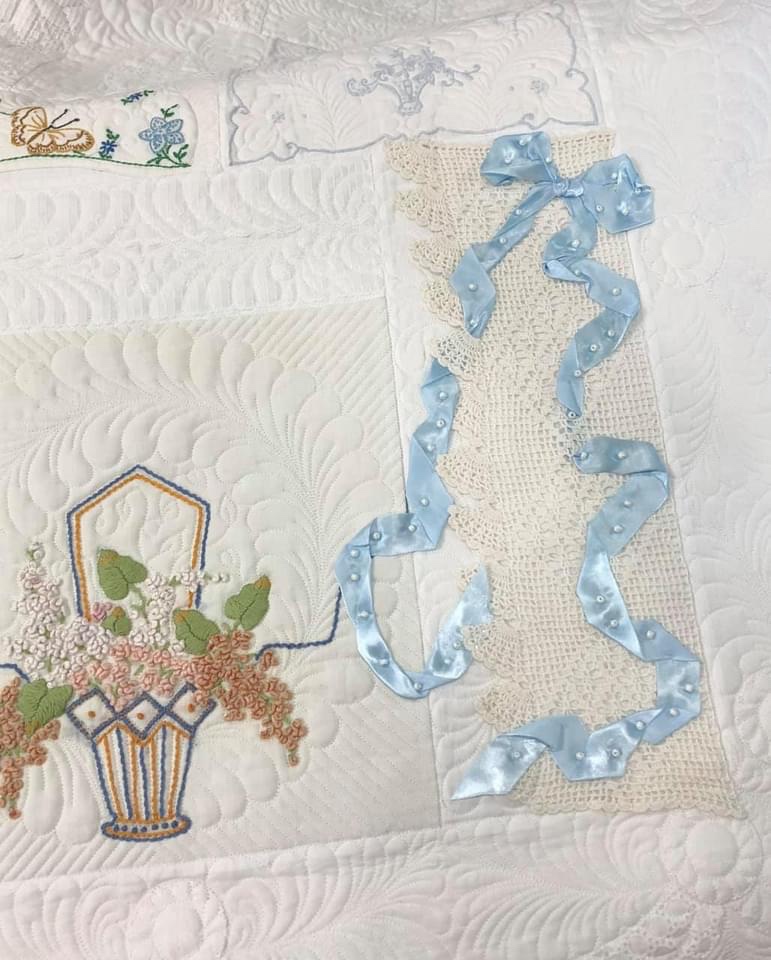
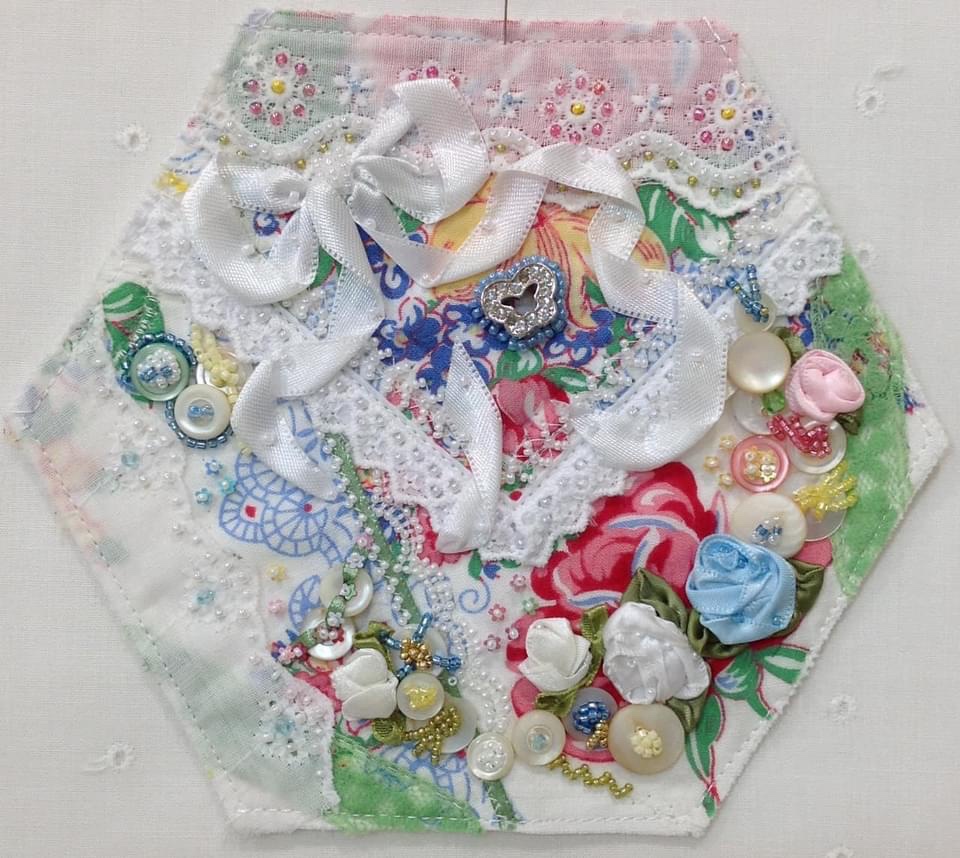
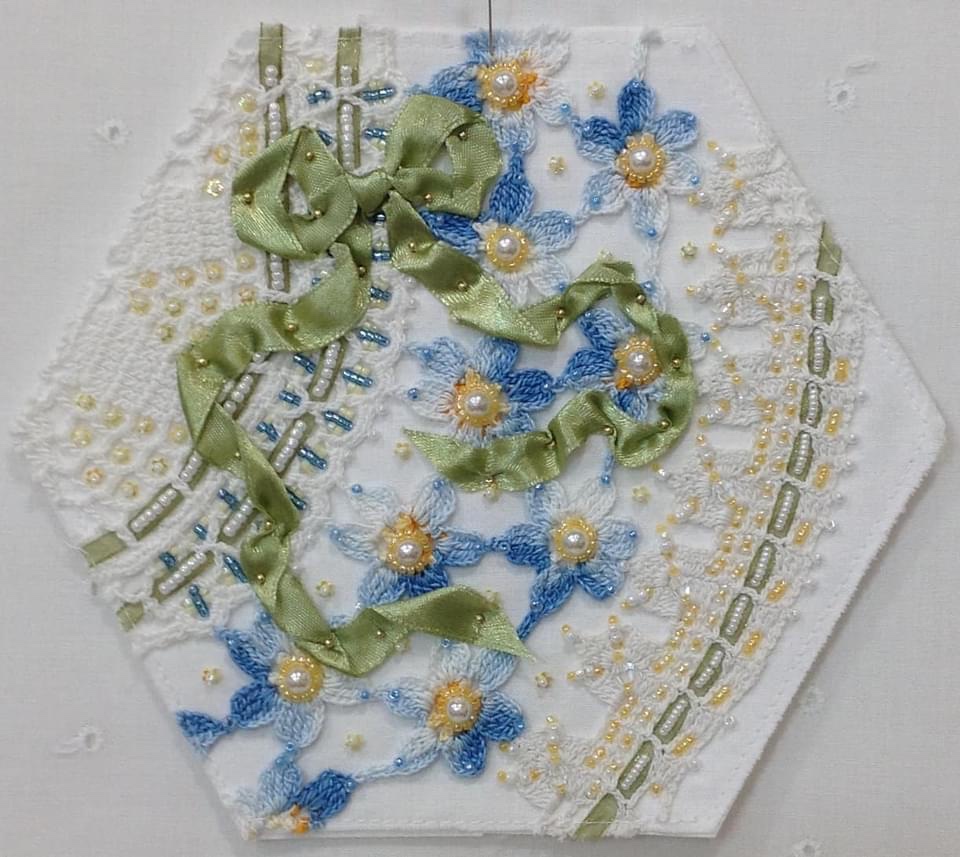
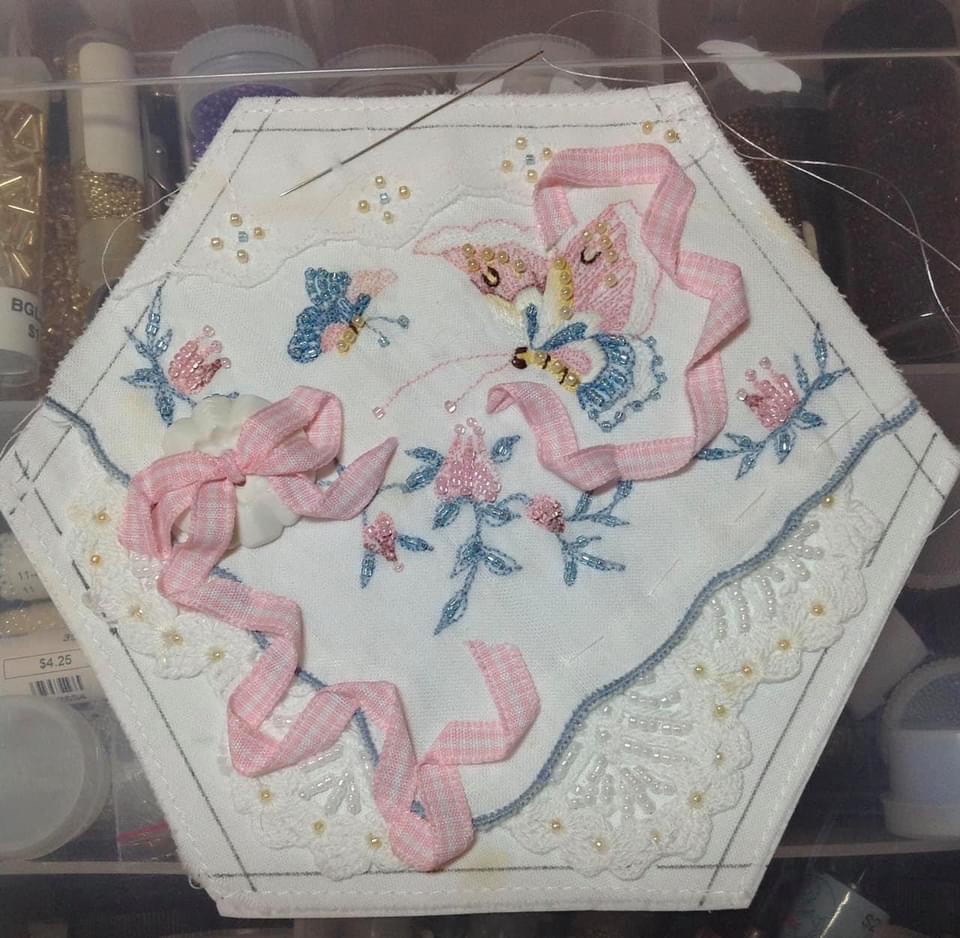
Look for details in the yellow ribbon picture captions and then I have included pictures of my past work showing you finished ribbon work.
When should your ribbon(s) be attached to your quilt? This depends on your quilter, it depends on whether or not you want quilting to pass over on top of your ribbon work and it depends on what kind of ribbon you use. Remember: Anything that has the potential to break a needle MUST be added when your quilt is 100% finished.
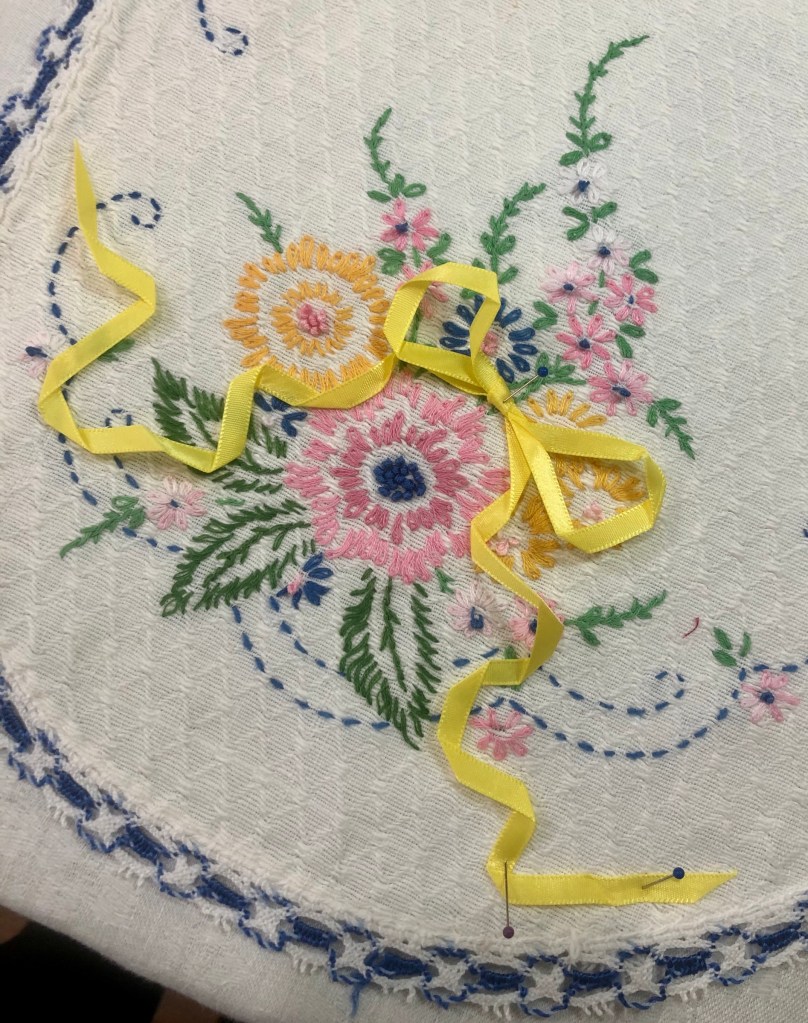
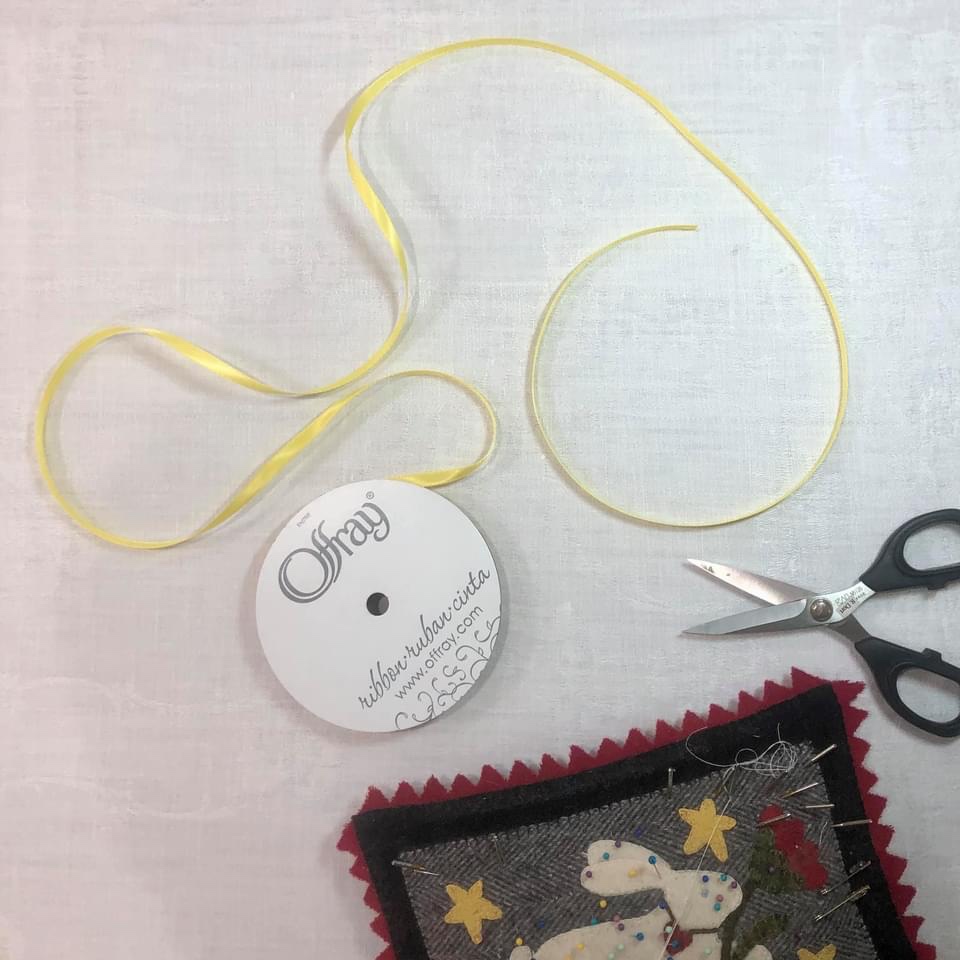
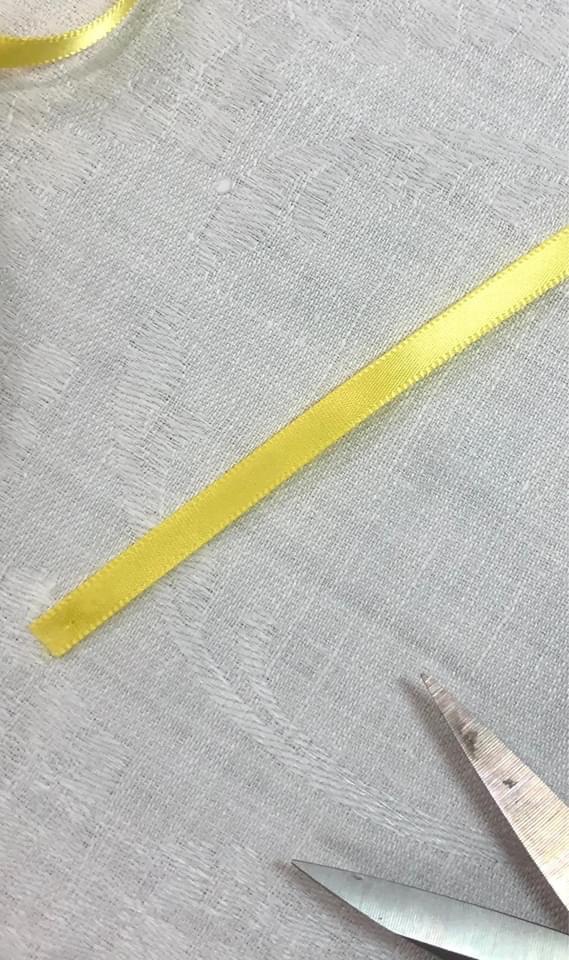
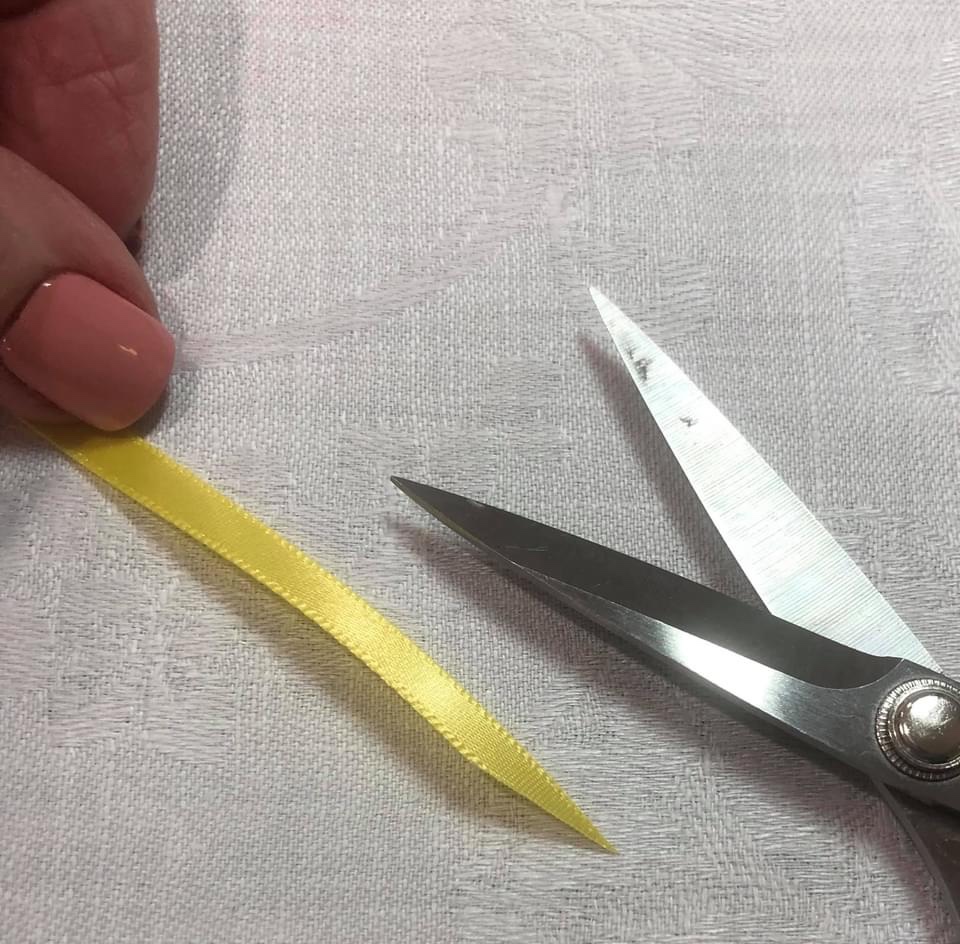
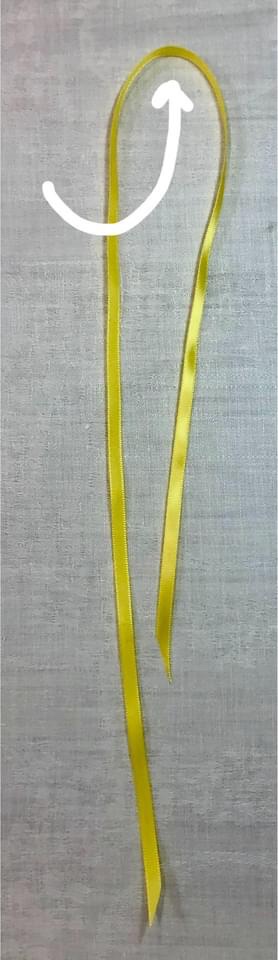
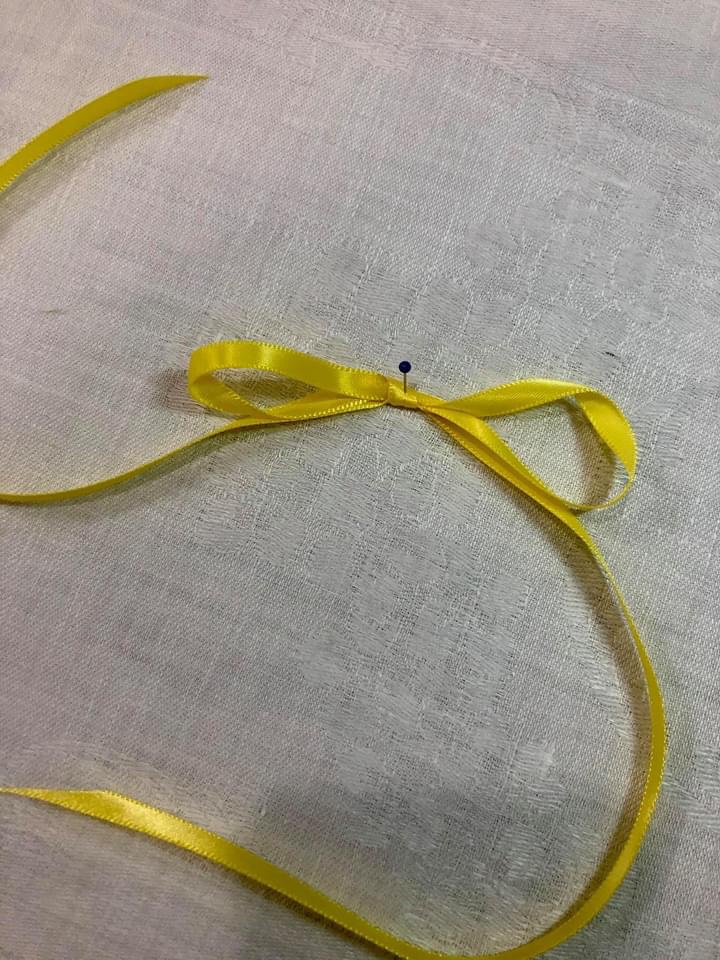
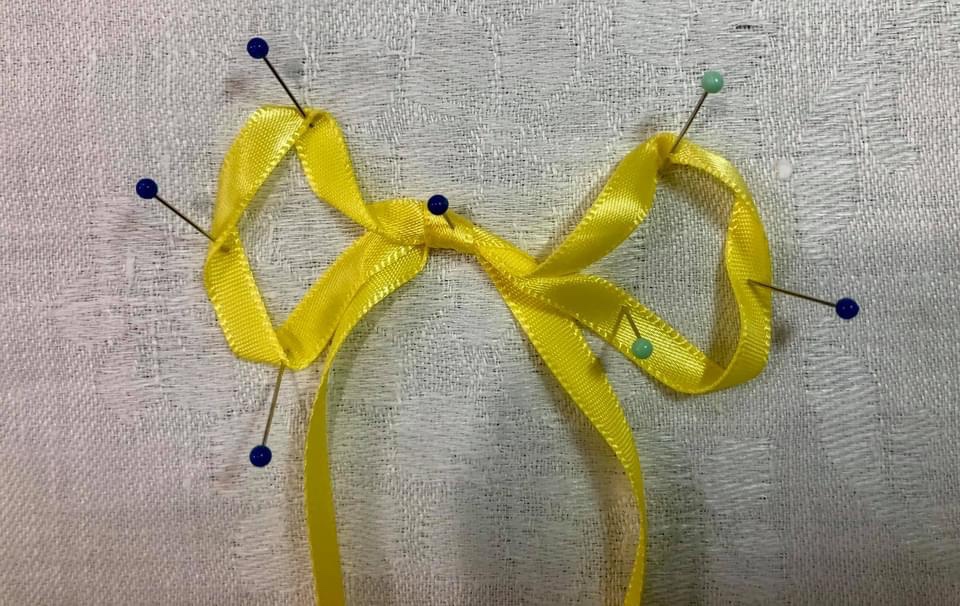
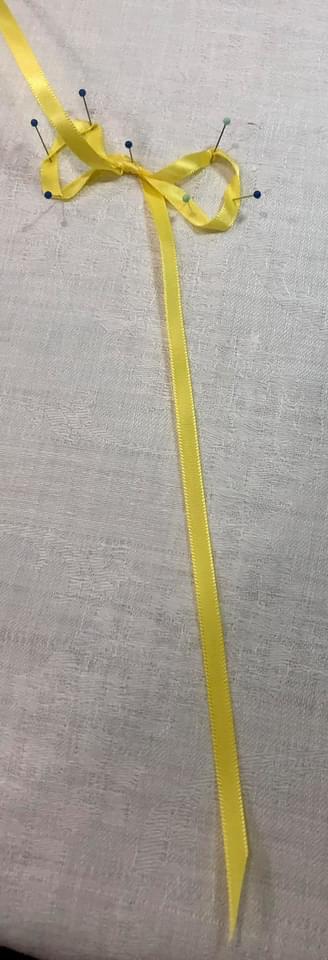
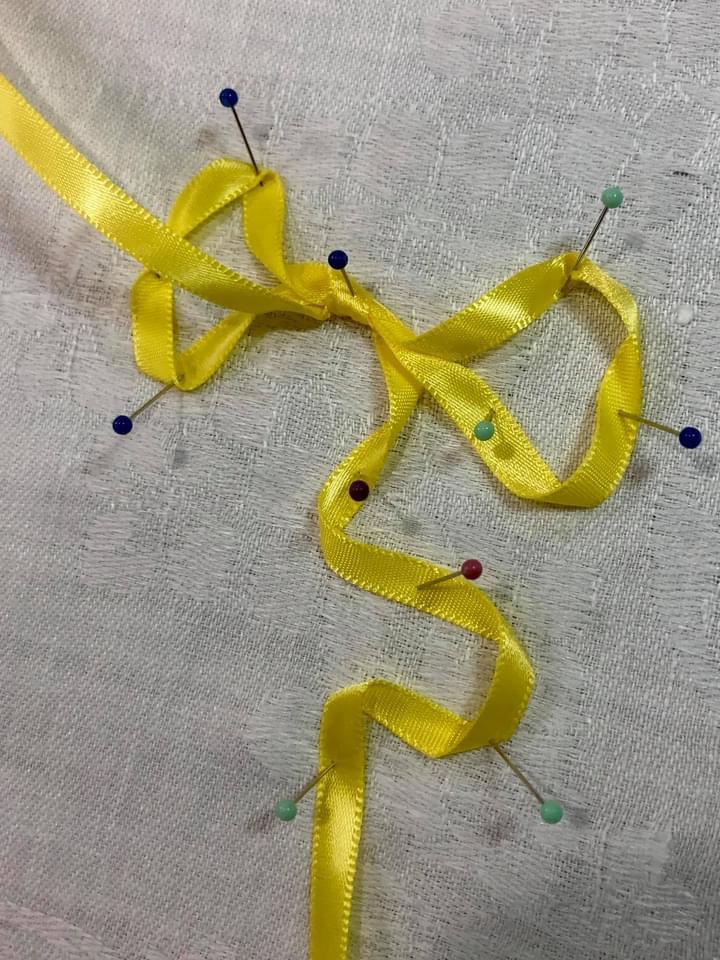
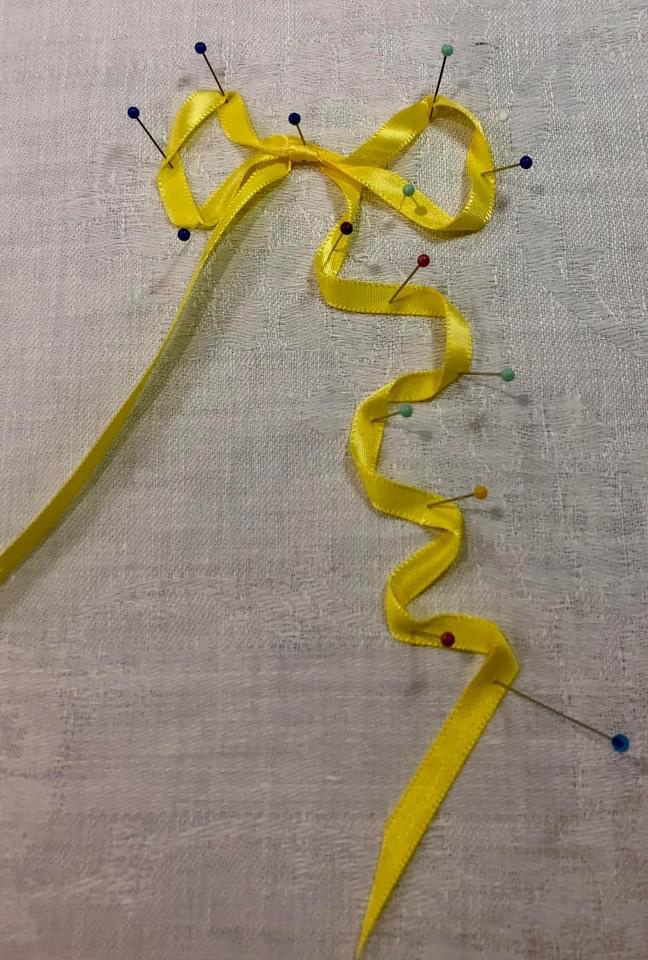
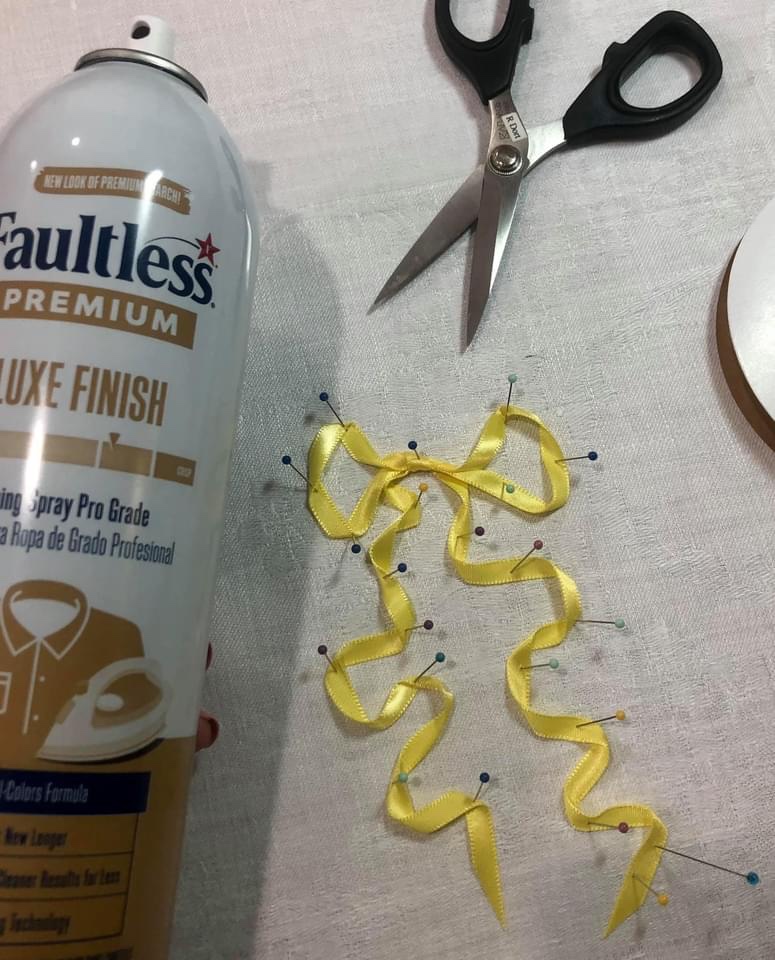
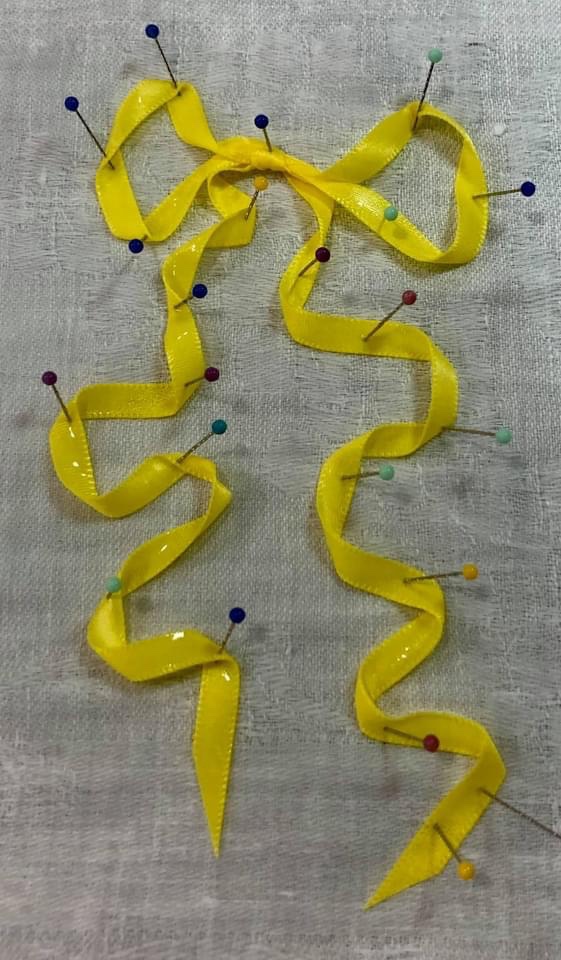
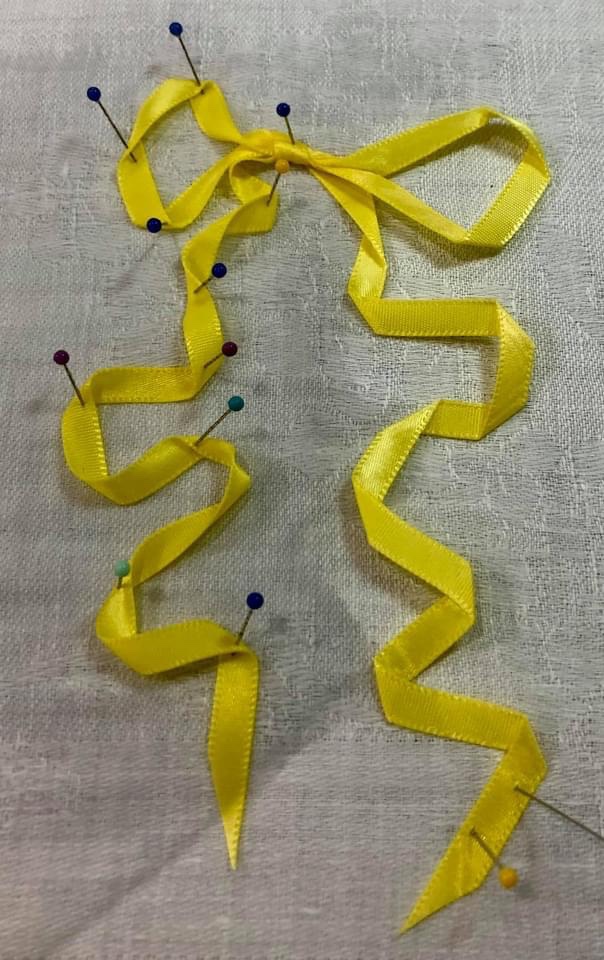
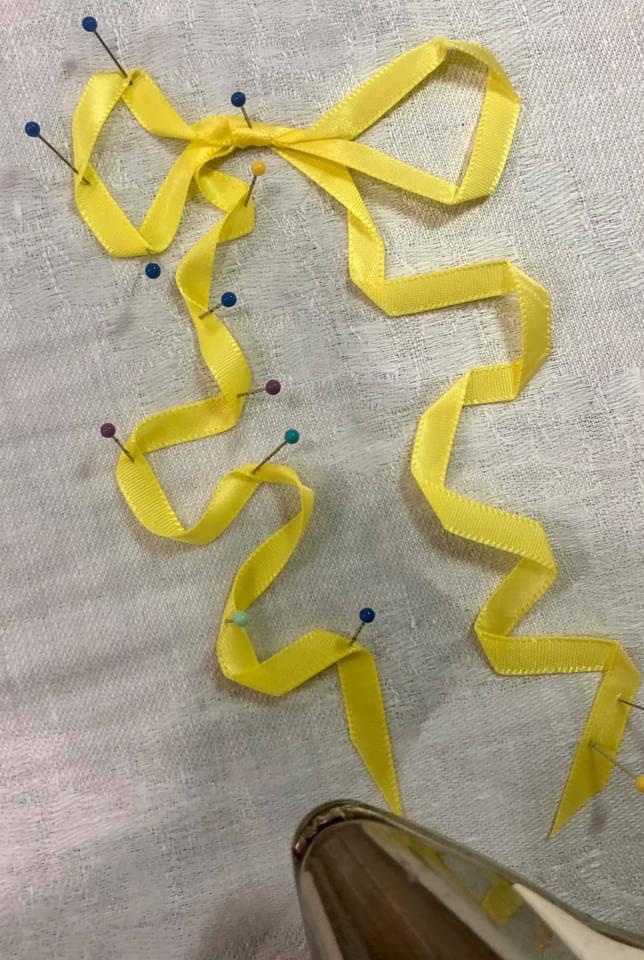
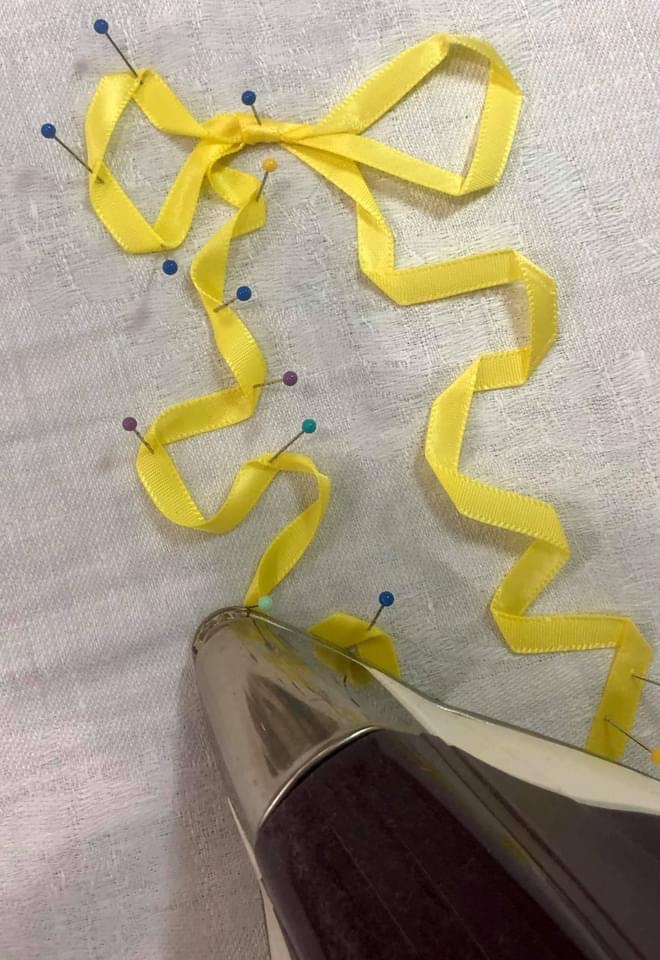
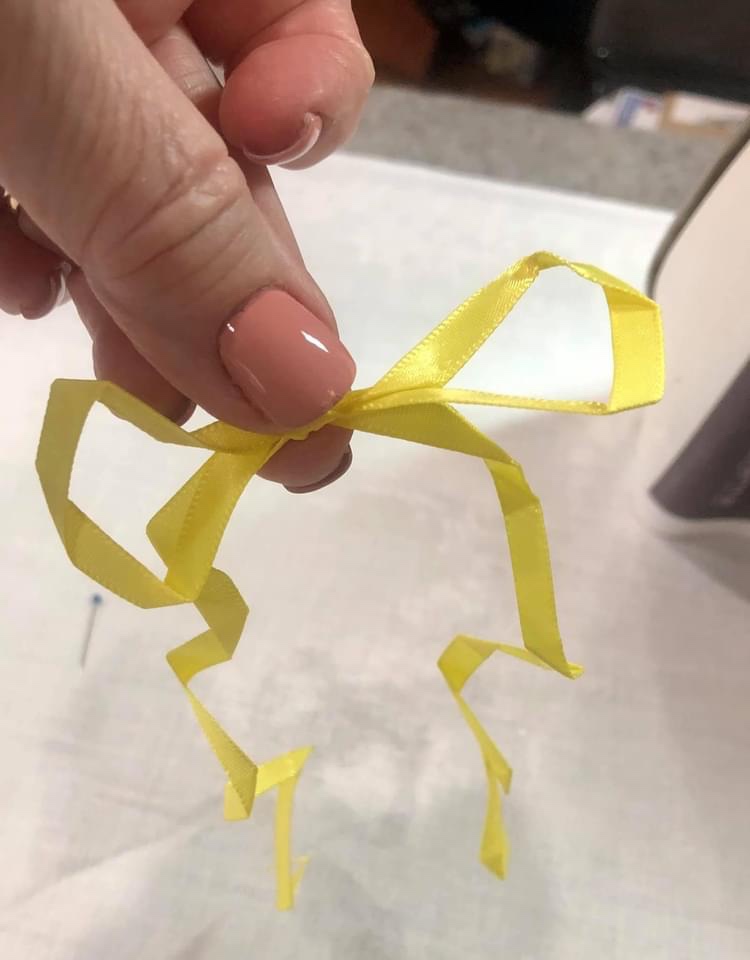
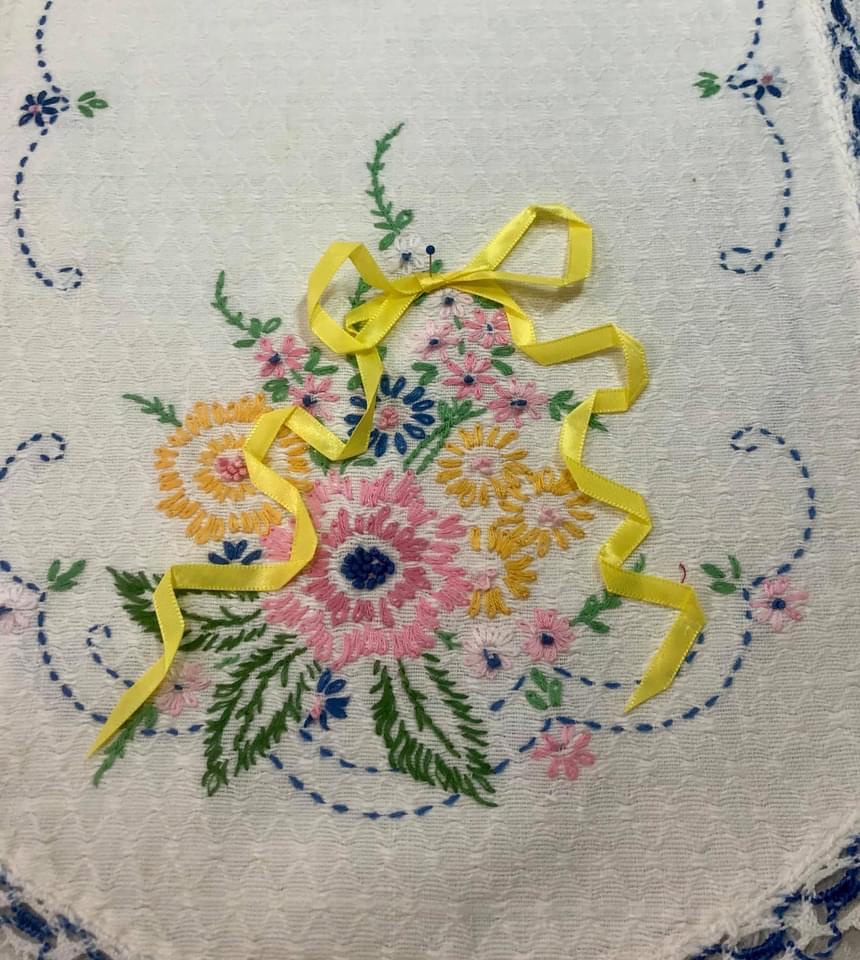
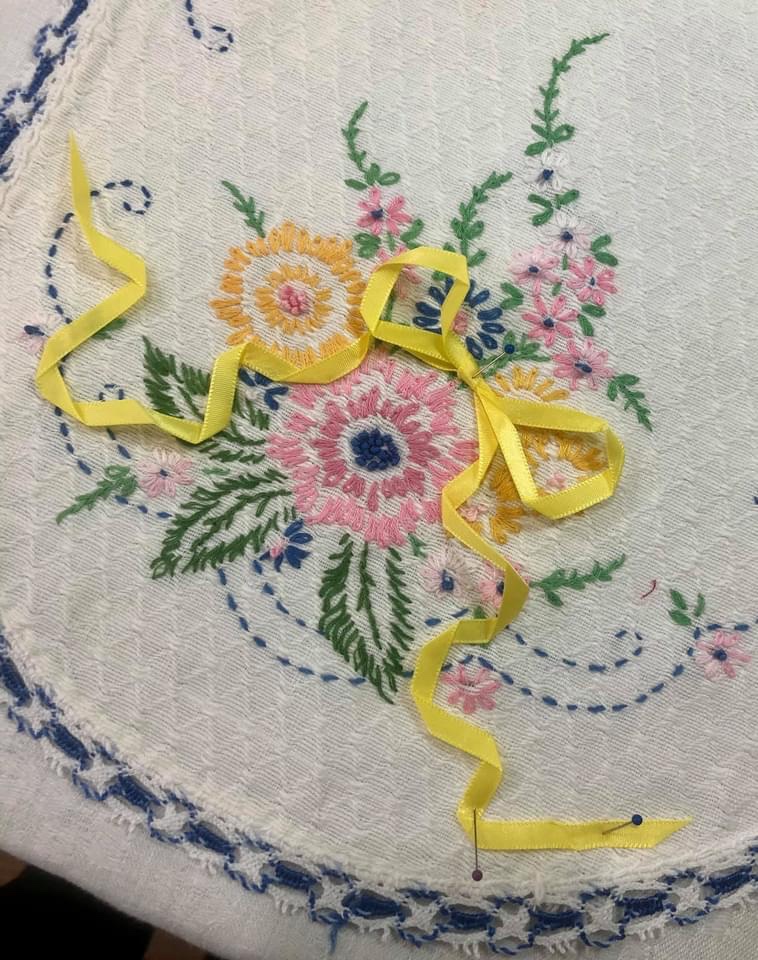
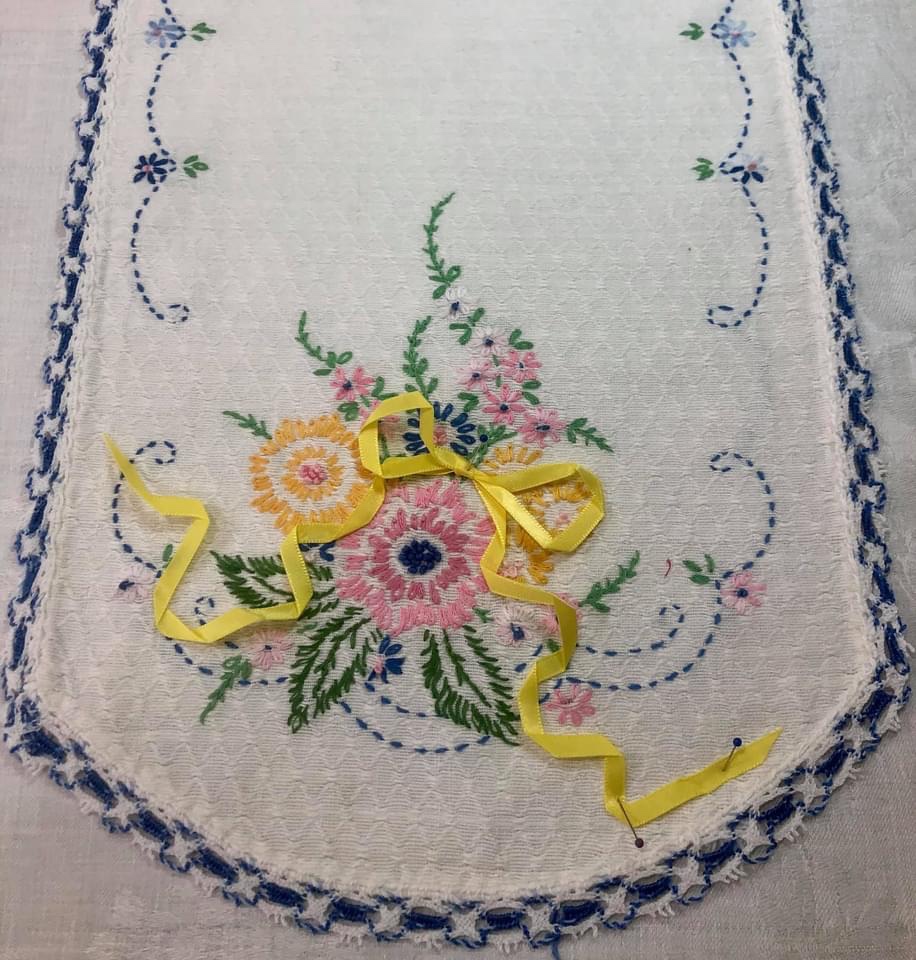
I am using new 1/4” Offray brand satin finished ribbon.Cut the ribbon ends to a sharp angle to prevent unraveling.For this example I am using a length of ribbon about 18” long. Lay it out on a flat surface with the left side about 4” longer than the right side. Squeeze a bit at the top, this will mark the center for creating the loops to make your bow.I am working on a padded surface, my wool pressing mat covered with a white damask napkin. Why? The napkin looks better for the photography, the pressing mat lets me pin with ease.Place a straight pin down through the center of the bow. Do a bit of ribbon manipulating to create some “character” for your bow loops. Pin as you go in order to retain the bends and folds.Once one side has been pined, start on the remaining loop and process in the same fashion as above.Ready to start on the right side streamer? Gently pull the left streamer up out of the way.Begin arranging the streamer by bending, twisting etc. to achieve a pleasing appearance. Work your way down the streamer, pinning as you go.Once you have finished the right streamer, move to the left streamer and repeat.Remember my good friend Spray Starch? Once you have your ribbon bow arranged and pinned to your liking, give it a healthy spray!Let it sit for a few minutes. This will allow for the spray to soak into the bends and folds of the ribbon fibers.Using my dry iron, I started at the bottom of the right side streamer and slowly pressed my way up to the bow.Working up the left streamer, I remove the straight pins as needed.Once I have pressed creases into my ribbon, I carefully left it from the pressing cloth.And gently place it onto the vintage linen. It will generally hold its new shape but it is easily further manipulated if necessary.Another example of where it could be places on the embroidered piece.If this were my final placement, I would very carefully use either Elmer’s Washable White School Glue and a dry iron to affix the ribbon to my vintage linen or I could pin the ribbon in place. Whatever method I used, my personal next step would be to machine stitch the ribbon permanently to the embroidery using a matching needle thread. Your choice might be to hand stitch the ribbon in place.
And finally:
Hope this little pictorial tutorial will help if you should decide ribbon bow and streamers are just the perfect thing to embellish your quilting.


Thanks, Rhonda. I think I could look at your work from now till forever and I’d continually find something new. Just lovely.
LikeLiked by 1 person
🙂❤️🙂
LikeLike
This is another wonderful tutorial!
Thank you very much
LikeLiked by 1 person
🙂❤️🙂
LikeLike
So wonderful! You are, like, truly awesome!!!
Susan V
Sent from my iPhone
LikeLiked by 1 person
🙂❤️🙂
LikeLike