

Did you read Part 1 posted on August 11th? Are you ready for the next step of making templates and replacing fabrics?
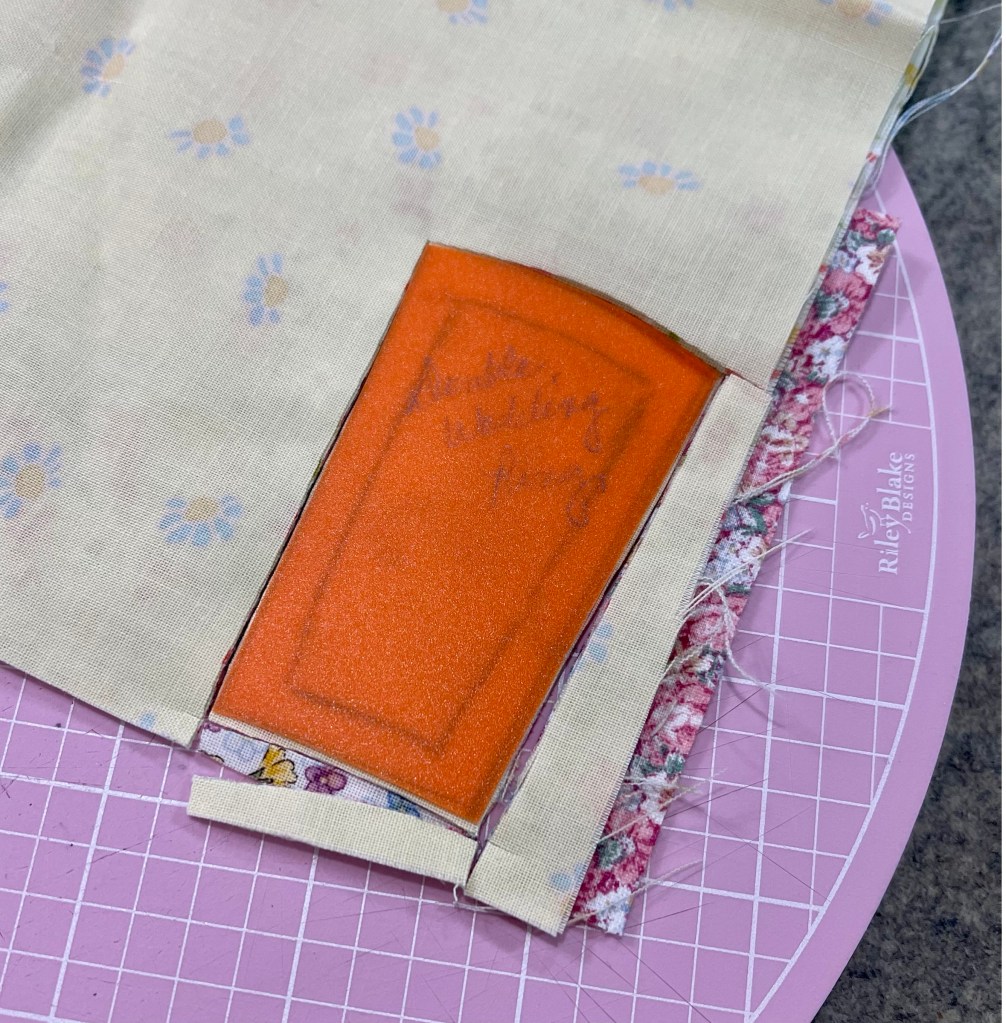
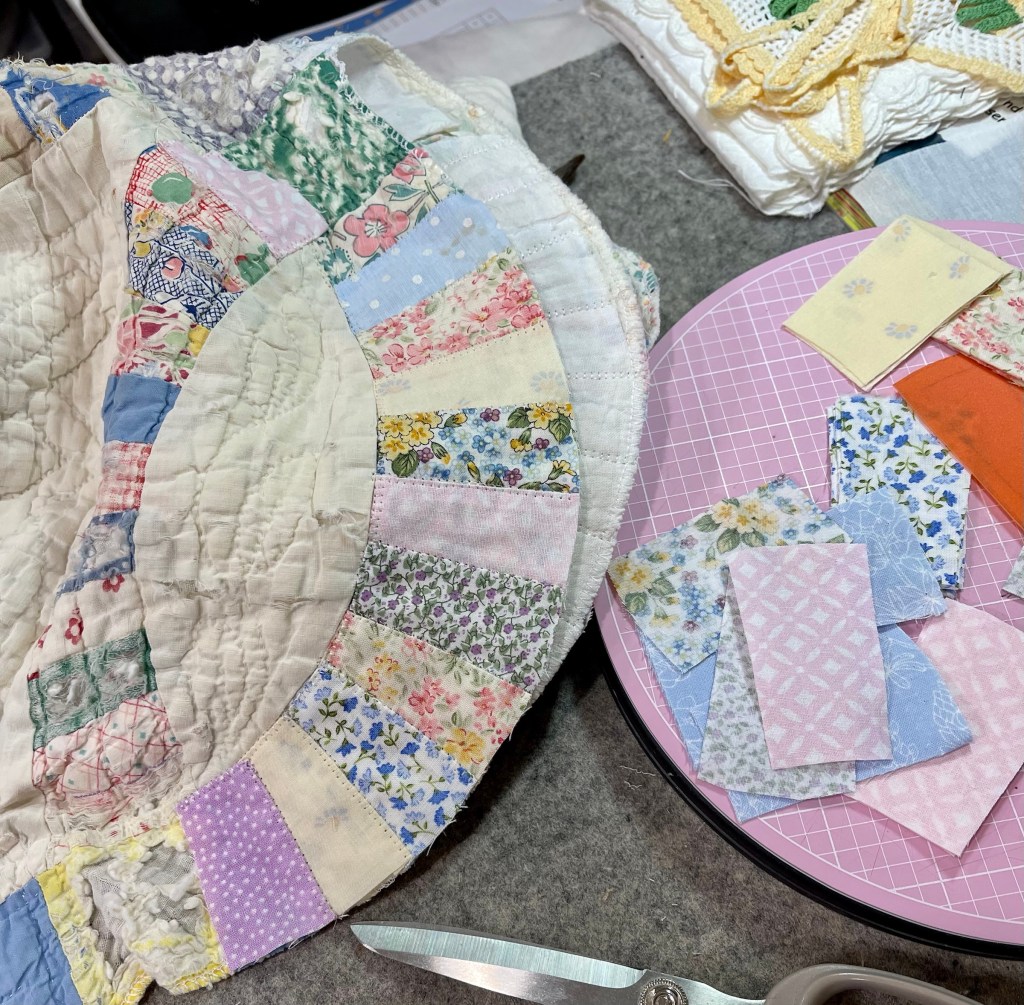
Now that I’m confident that all the necessary pieces of the quilt are present it’s time to begin replacing some of the quilt top fabrics. Above you can see I’ve used the cover of a dollar store orange plastic three binder to make a template of the arc pieces.
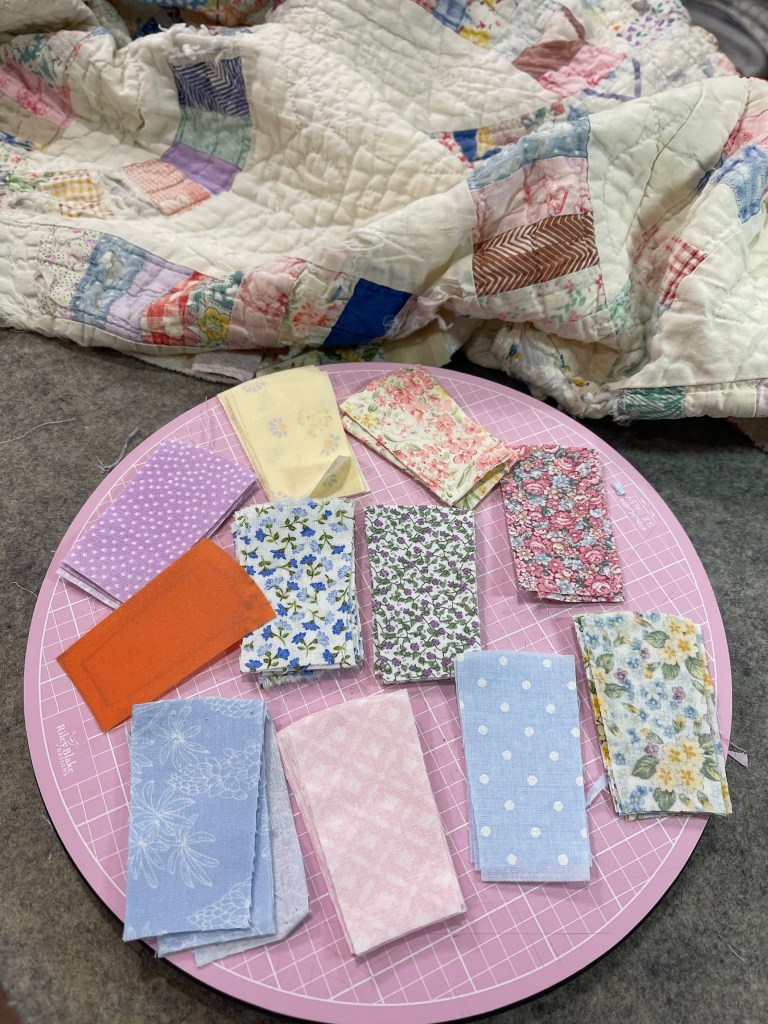
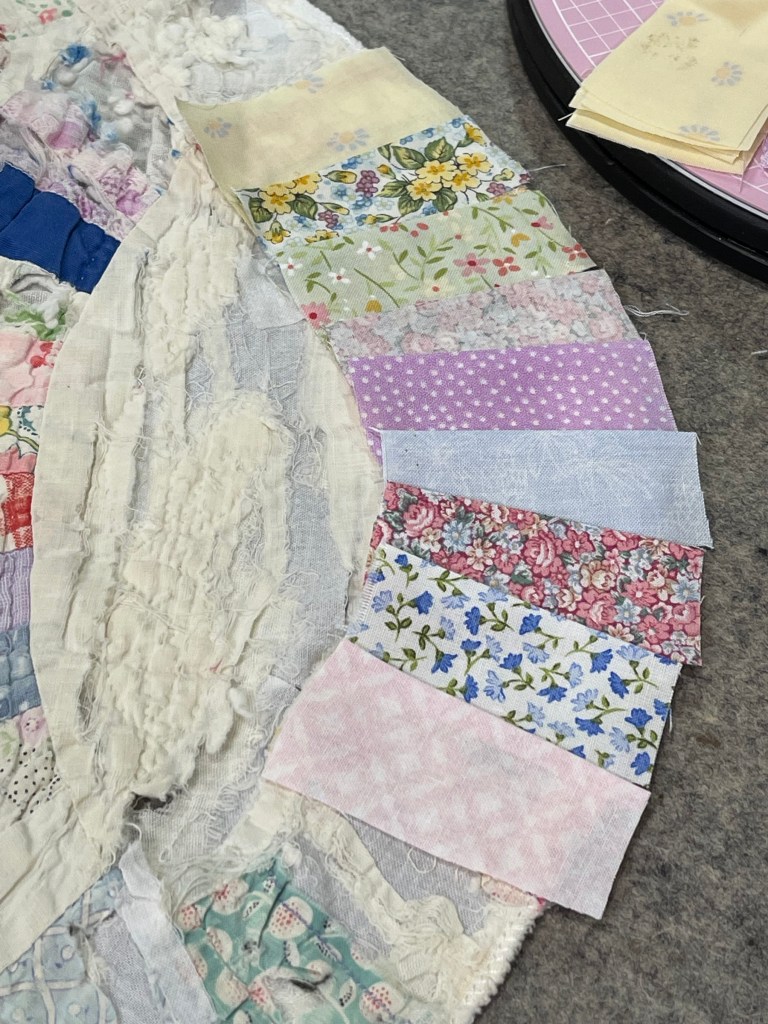
Going through my scrap bin, I’ve chosen 9 or 10 different fabrics. Some of the fabrics will be used “right side up” and some will be used “wrong side up”.
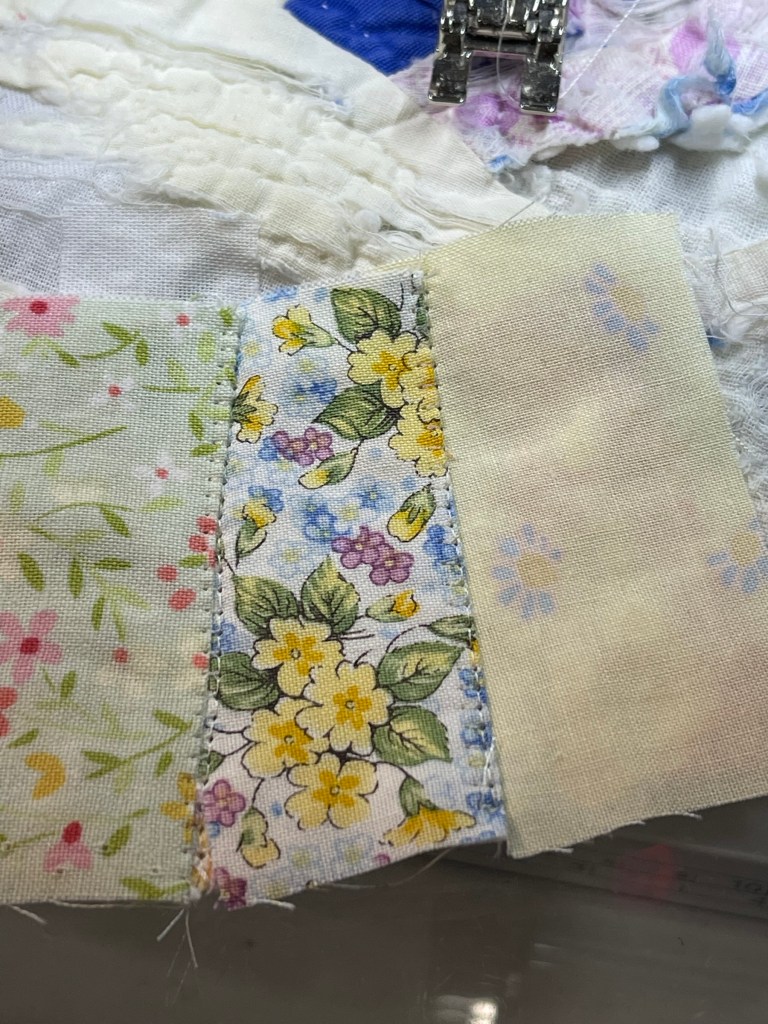
I’ve pressed the 1\4th” seam allowance on one of the long edges.
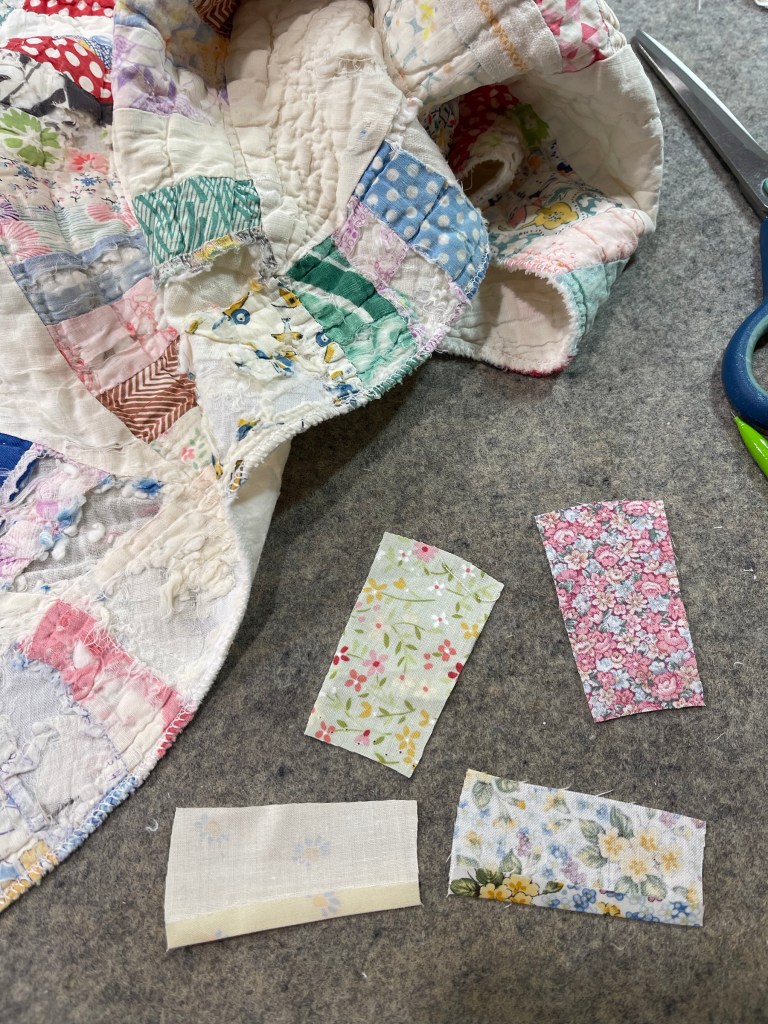
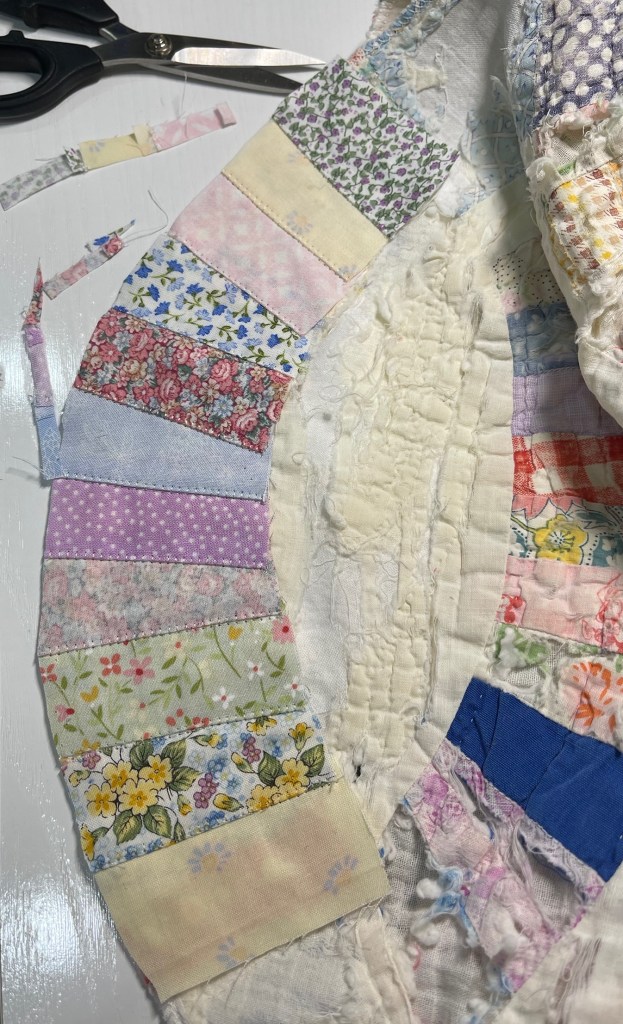
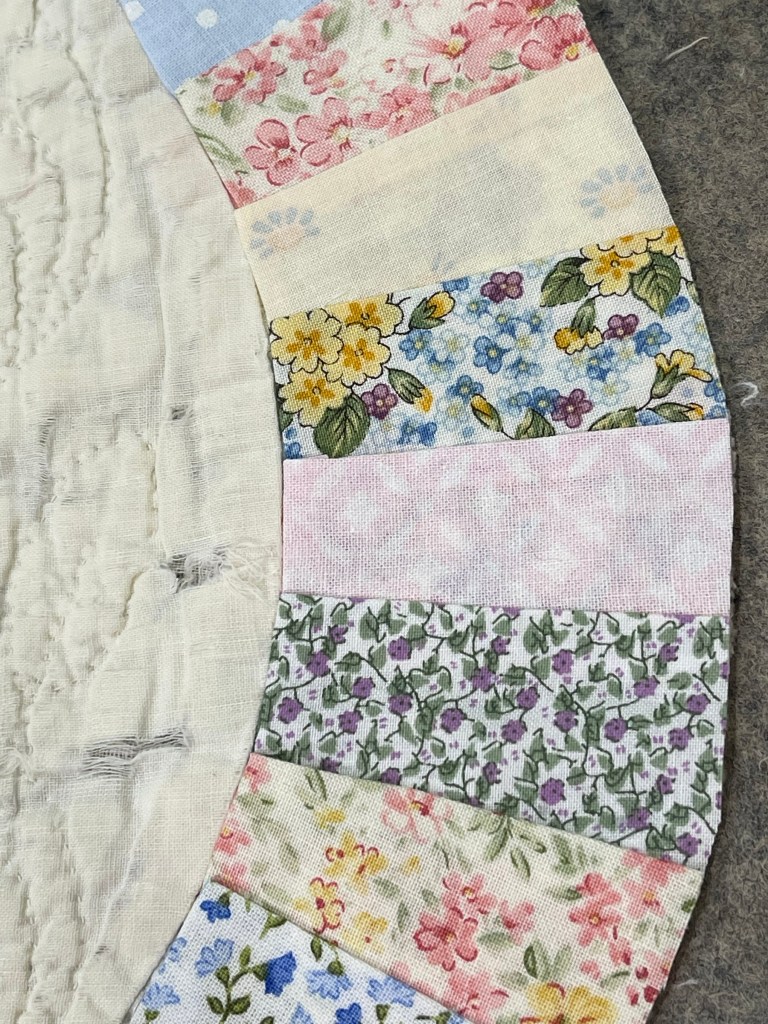
With the replacement pieces laid out, I am beginning to replace the outside of this arc.
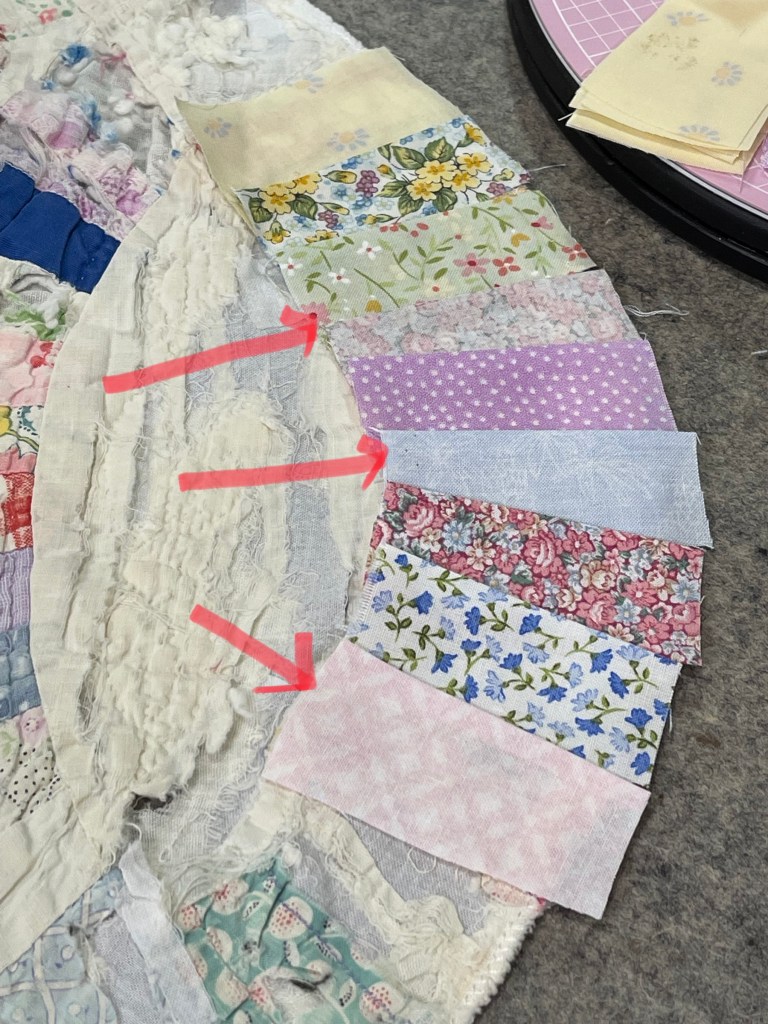
The red arrows above show you which fabrics are wrong side up.
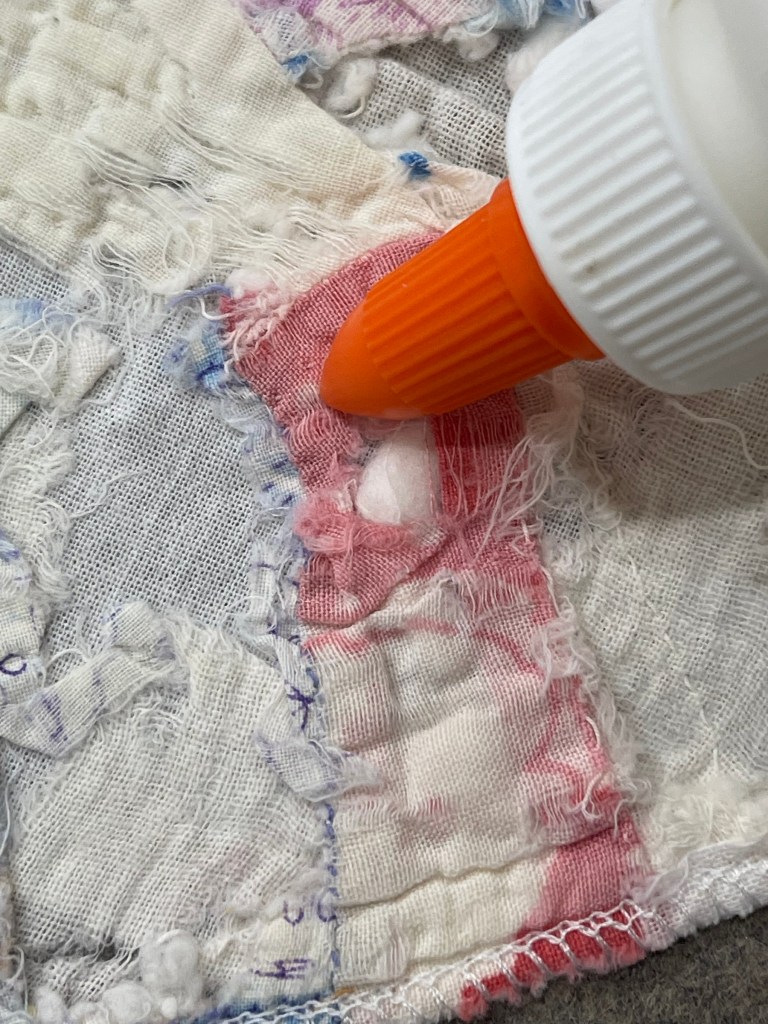
Elmer’s Washable School Glue to the rescue! I glue the arc pieces in place before I machine stitch them to the quilt.
I’m using my sewing machine built-in stitch, the buttonhole or the blanket stitch.
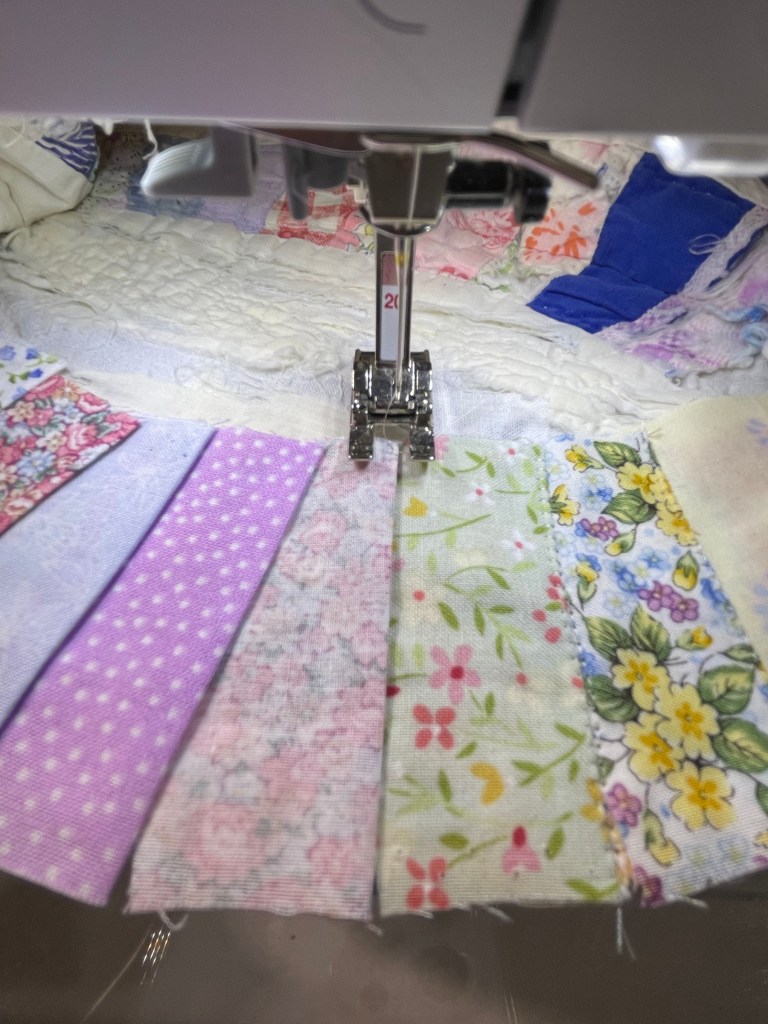
And seriously, doesn’t that dark blue vintage fabric look just like Painter’s Tape!
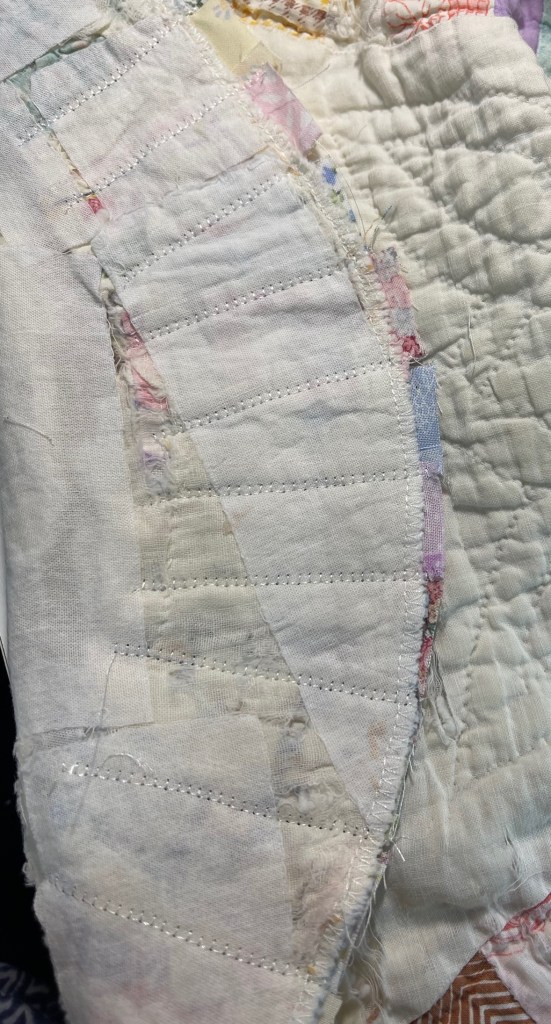
This is the back of the quilt. It’s obvious I have not added the False Back at this point because this entire project is a “hands on experiment”. I will talk more about a False Back when I post again.
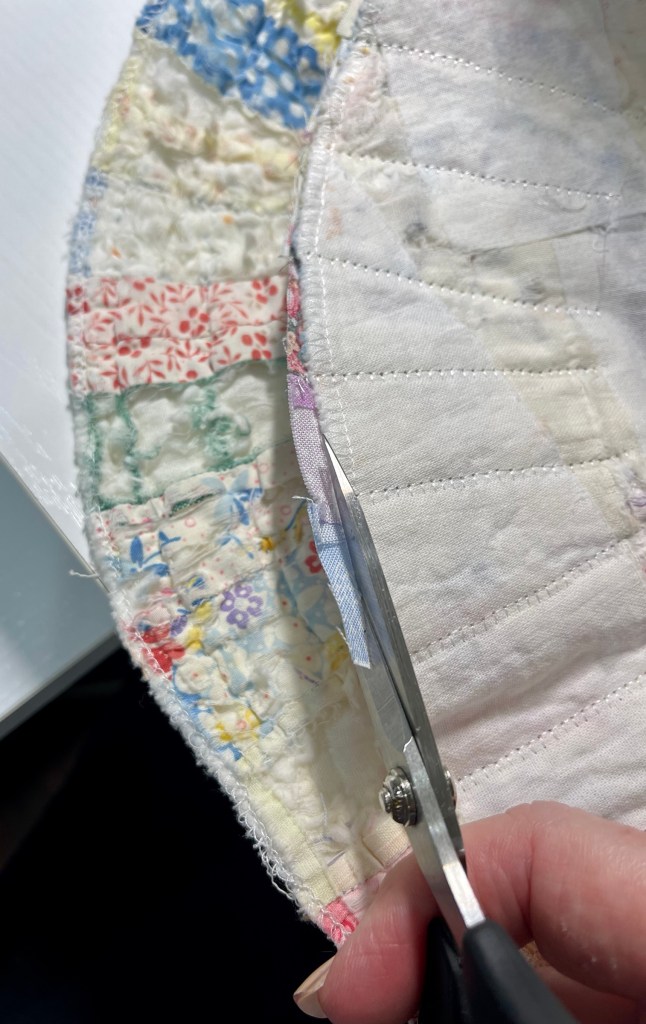
I’m trimming away the edge excess fabric and this picture reminded me that I forgot to mention that after I had all the ripped parts of the quilt in position using the SF101, I serged around the entire quilt edge.
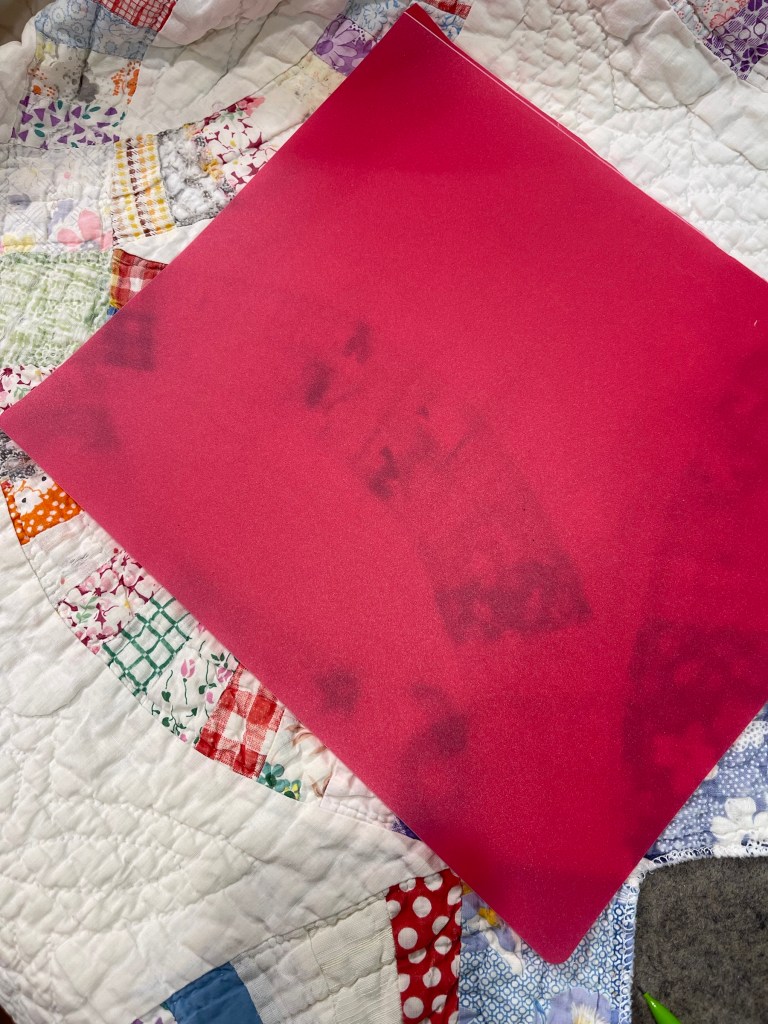
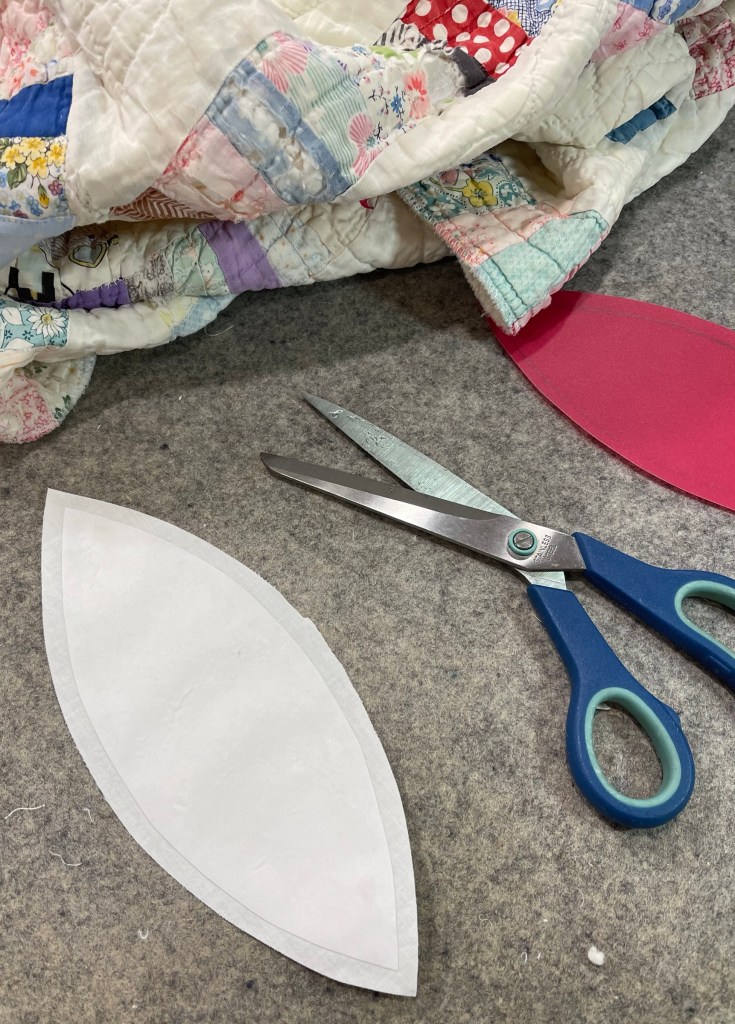
Now to work on that deteriorating muslin melon shaped piece. Again, a plastic dollar store binder comes in very handy when needing to make a custom template.

My red template is complete, I make another template using three layers of freezer paper and cut a muslin melon shape large enough to address the needed seam allowance.
I press the freezer paper template into the muslin, trim the edges for a quarter inch seam allowance.

Using the cap from my can of spray starch, I spray directly into the cap, enough so there is liquid to be brushed on the fabric.
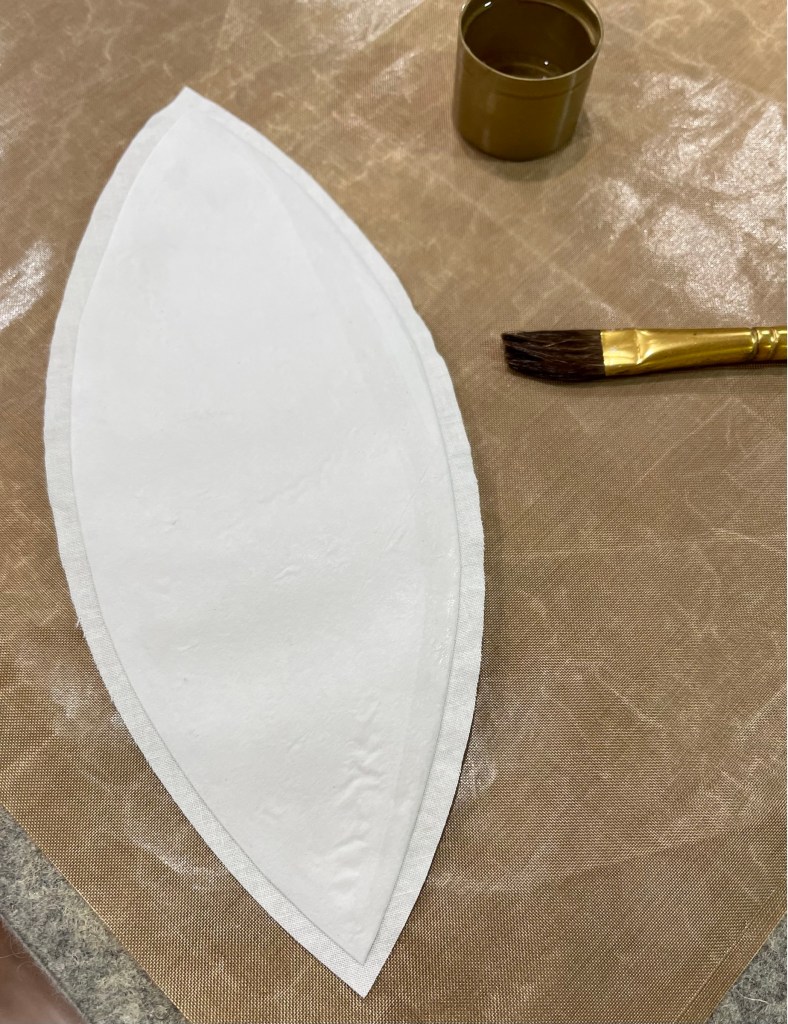
Using an artist paintbrush (or a Q-tip or your finger…) I paint on the liquid spray starch all around the seam allowance .
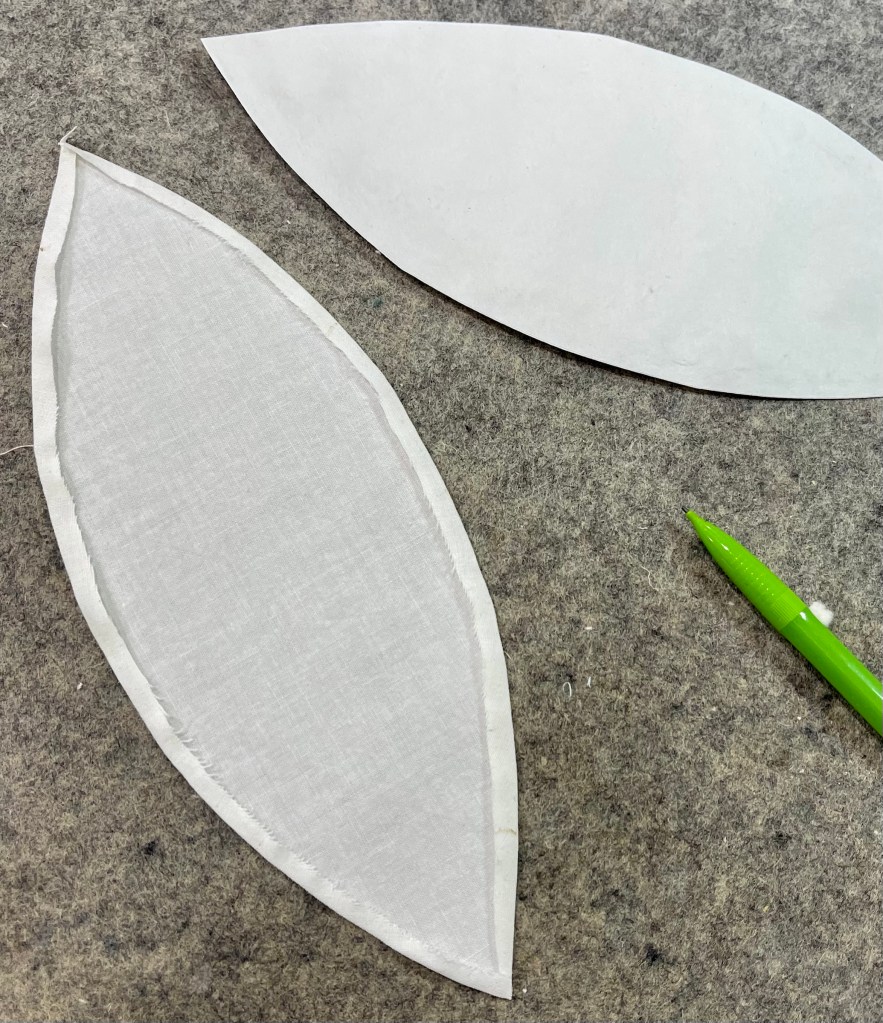
I carefully press the seam allowance over the freezer paper edge. Once cooled I carefully remove the freezer paper template and set it aside. Note: you can reuse your freezer paper template over and over again.
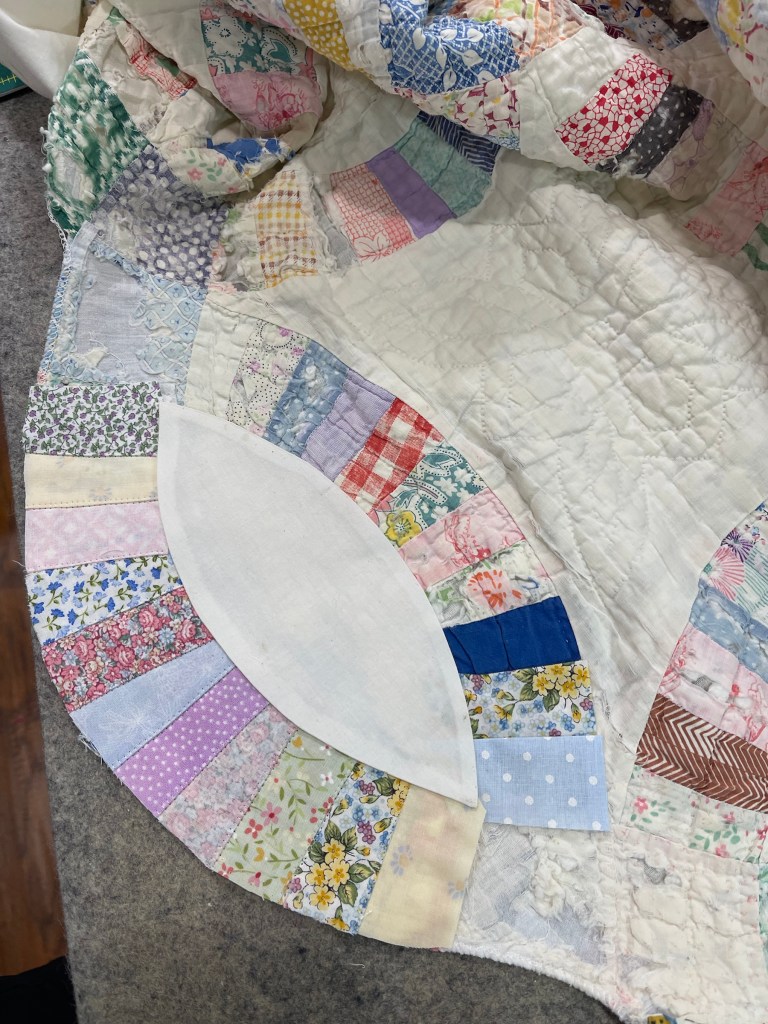
When both the right and the left arcs are repaired I carefully lay the muslin melon into position. When happy with the placement I lightly glue or pin the muslin piece in place. But what about the glue? Because I will put this quilt through the washer/dryer when I am 100% finished, I am not worried about how much glue I use. Remember, it will all wash out.

And the using the blanket stitch, I stitch the piece to the quilt top. I will replace the missing end piece later.
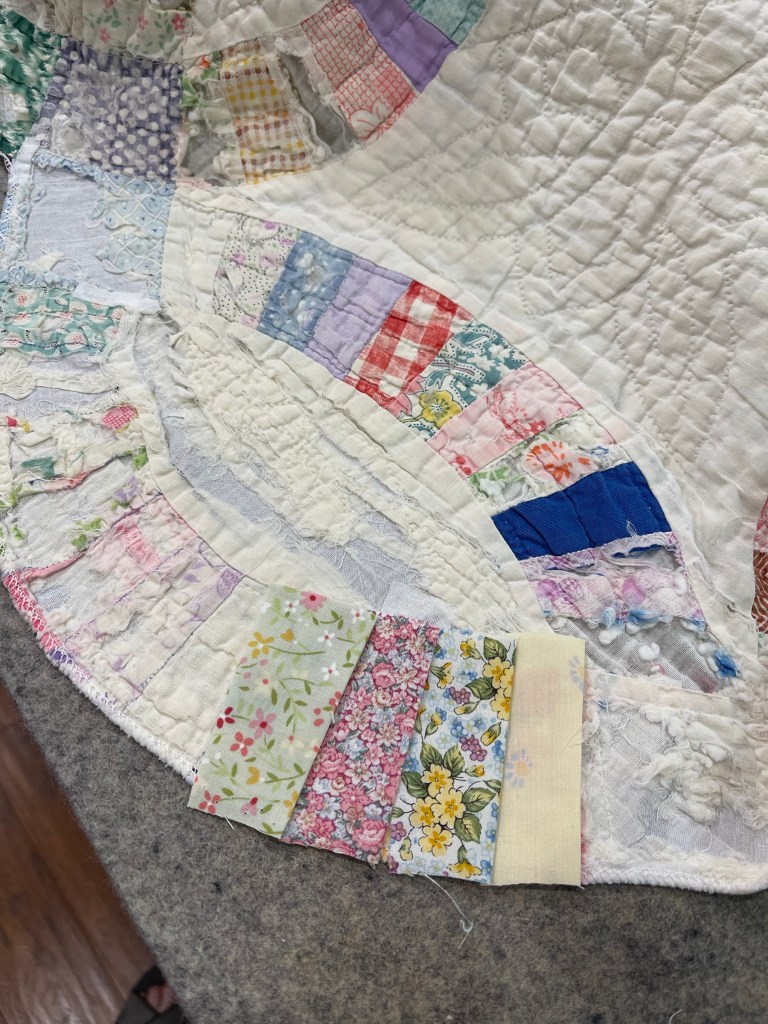
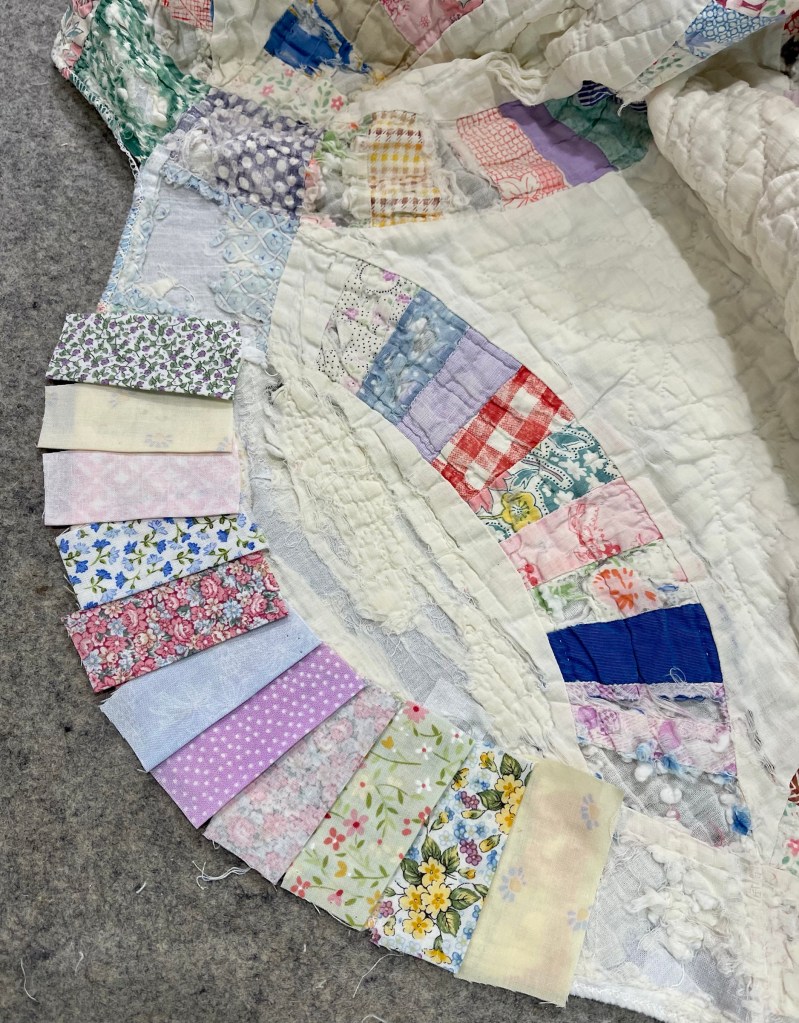
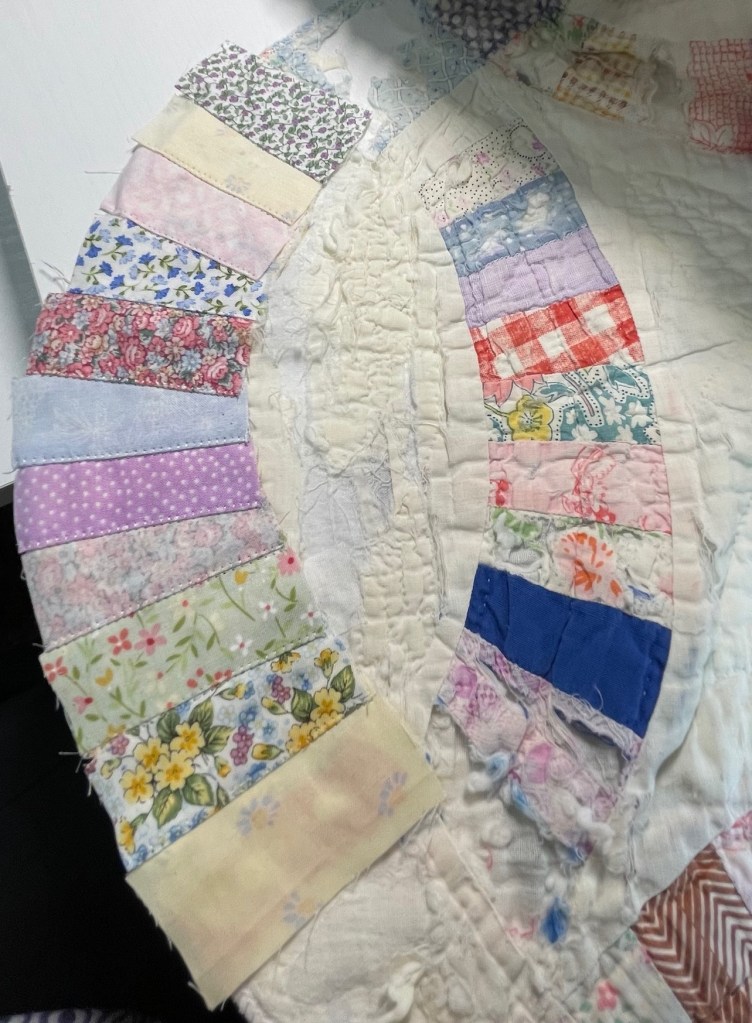
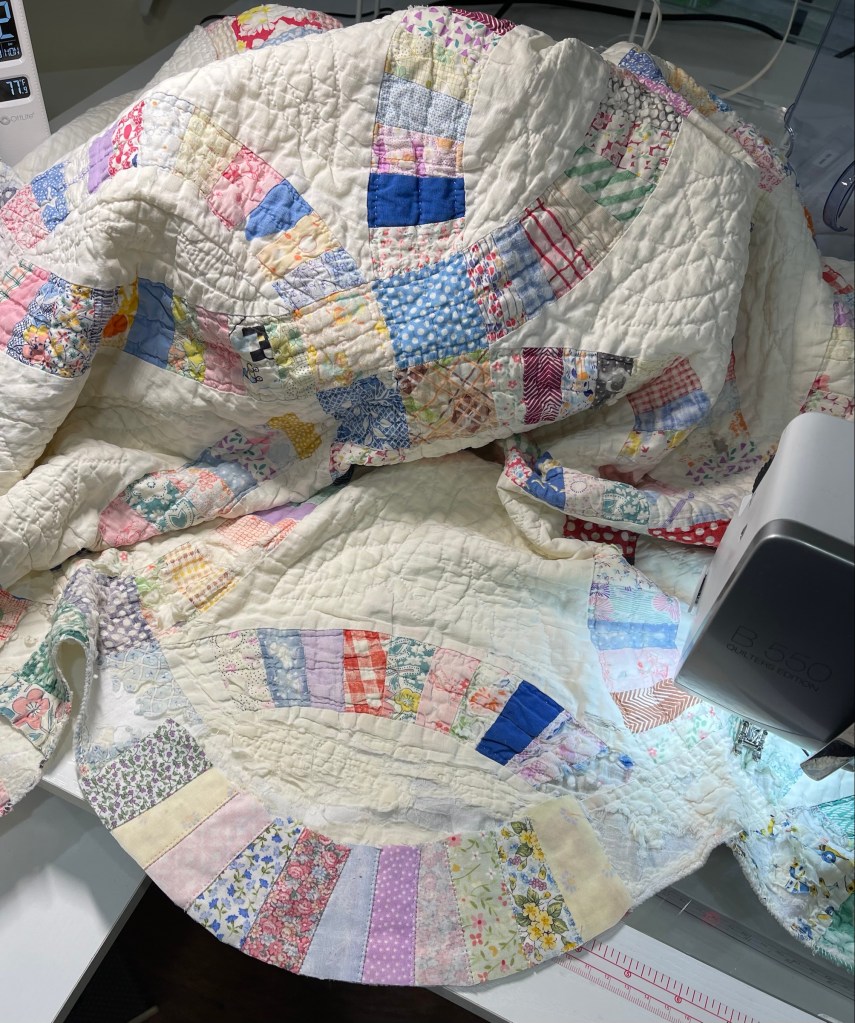
Here I’ve worked on another of the arcs but this time the muslin melon piece does not need to be replaced.

I’ve replaced two pieces above with new fabrics, can you find them?
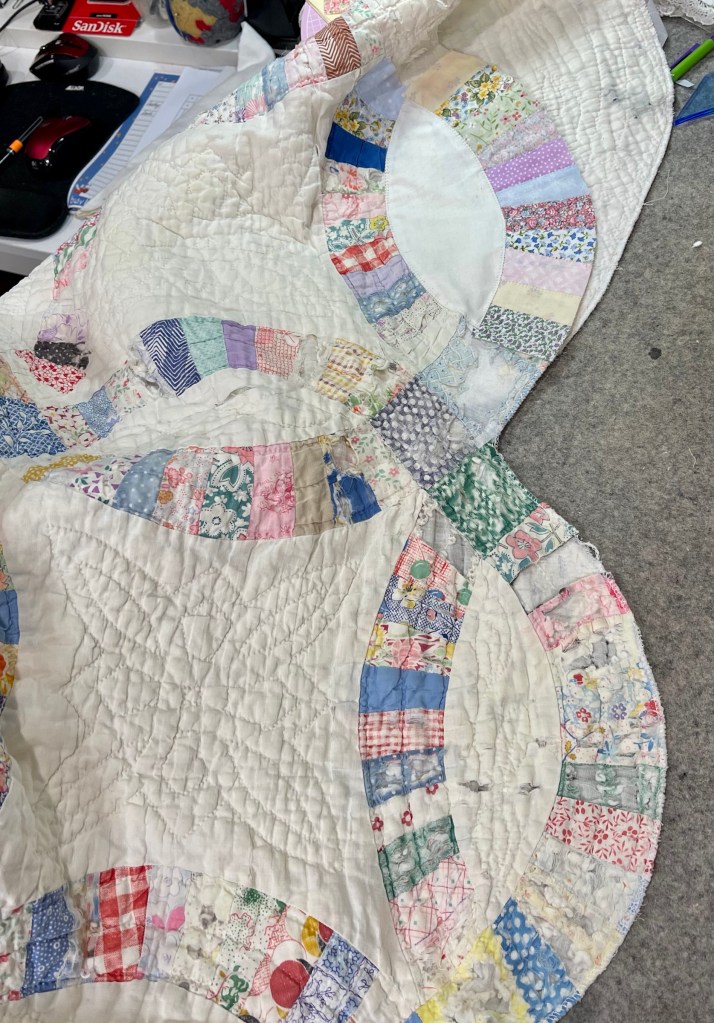
It’s only the quilt top and bottom edges that are really bad. Once I’ve repaired them I begin to address individual pieces in the quilt body that need help. Look for lots more information and pictures in my next blog post, Part 3! 🙂
Happy quilting and blessings,
Rhonda


Wonderful to watch! Thank you.
LikeLiked by 1 person
Thank you! ❤️
LikeLike
I have a really ragged well worn uilt from my dads farm house where he was born. I kept it all these years. Just couldn’t bear to part with it. Now I’m thinking how I can redo it. Thanks for your wonderful tips❤️,
LikeLiked by 1 person
❤️
LikeLike
This is a fantastic save! I would not have guessed that it could be saved. I love it and appreciate your tutorial.
LikeLiked by 1 person
Thank you! ❤️🙂
LikeLike
You have such a gift of restoring these old lovely quilts back to there original beauty is such a treasure! It must give you so much happiness to bring them back from such a state of almost disrepair. I enjoy reading your step by step instructions and helpful tips. Thank you so very much for sharing your talent with us!🙂
LikeLiked by 1 person
thank you! 🙂❤️
LikeLike
Thank you so much for all your expertise. I rescue quilts also and have learned a lot from you.
LikeLiked by 1 person
Thank you! 🙂❤️
LikeLike
Very informative. Thanks 👍
LikeLiked by 1 person
Thank you 🙂❤️
LikeLike