

Class 4 Information, FB Post #6
So how are you progressing through your Double Wedding Ring quilt project? Are you ready for some instruction/pictures of how I recommend the Arcs and the Small Melon be joined to form what I refer to as the Footballs.
📌 But first, let’s talk about the 4 Patches. Your decision about the color(s) comes before making the Footballs. For my Christmas themed quilt I chose both Red and Green, two fabrics that I had not used in piecing my Arcs and I was consistent in the placement of the colors: Red was always horizontal and green was always vertical. Your 4 Patches might be all the same color, two colors such as mine or random scrappy. The shape of the 4 Patch piece is symmetrical so you do not need to cut the template from both the “right side up” and the “wrong side up” like we had to do for the Arc End Pieces.
📌 Once your Football shape is finished, be very careful to place it back in the proper place, in the proper orientation.
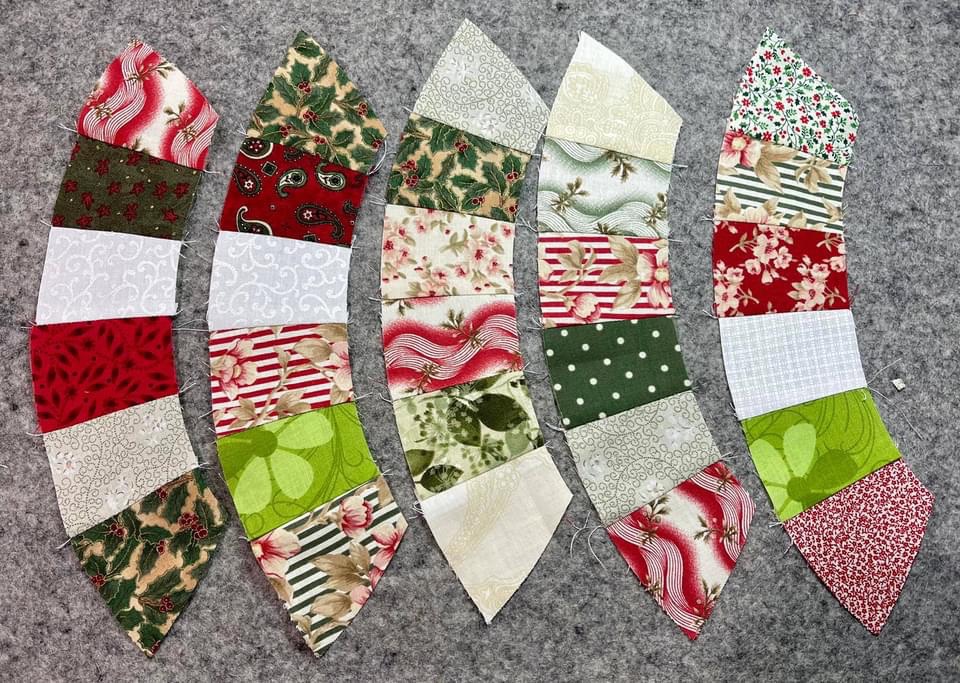
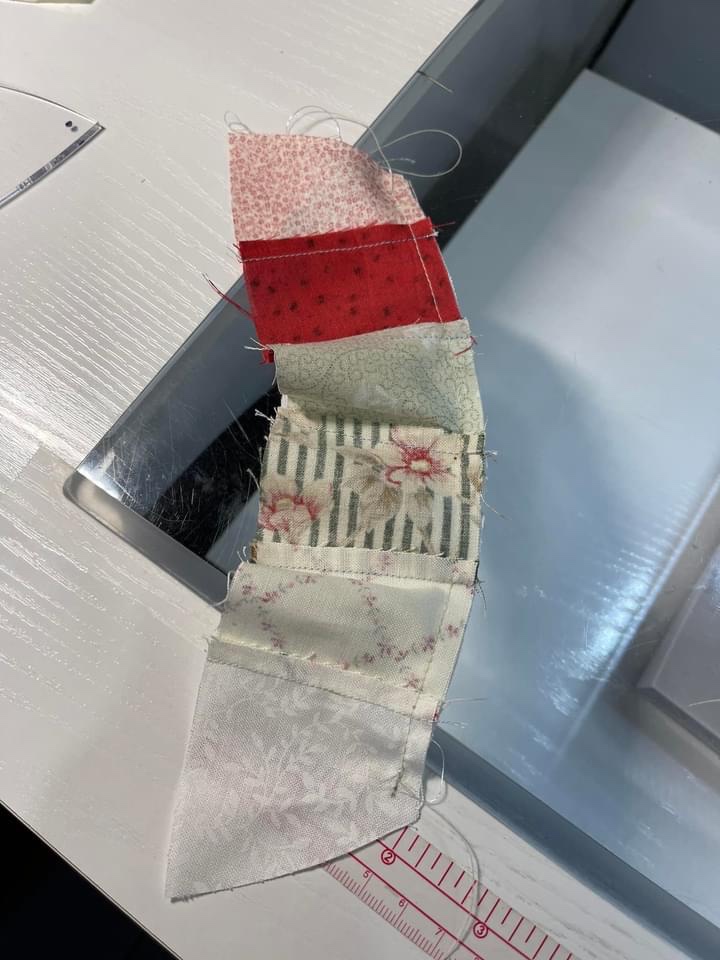
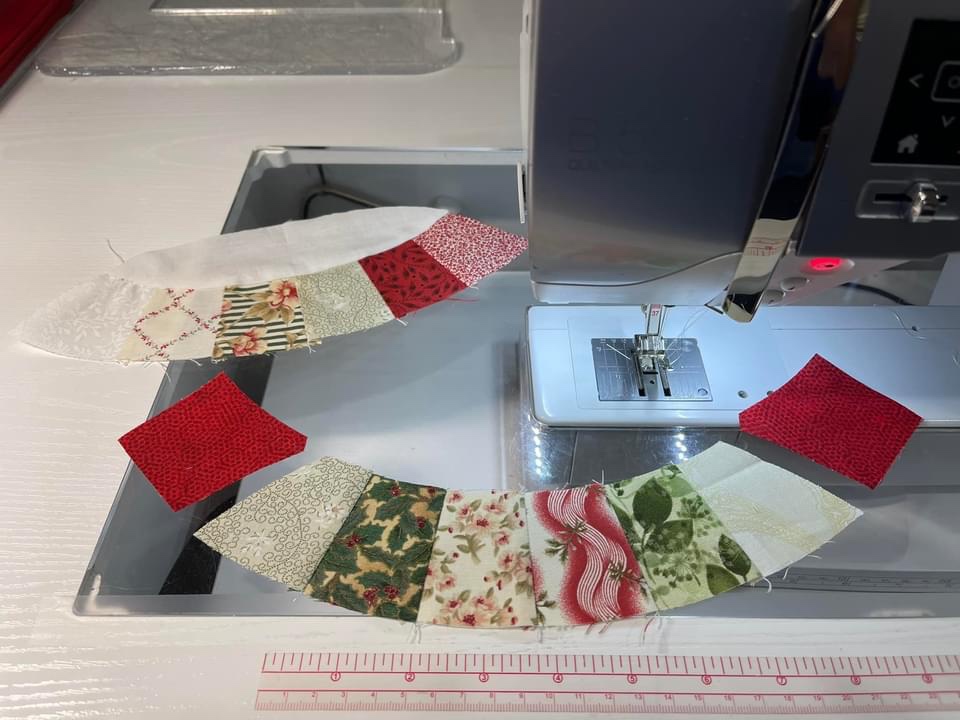
By this lesson I am assuming you’ve cut your Arc pieces and have sewn them together.
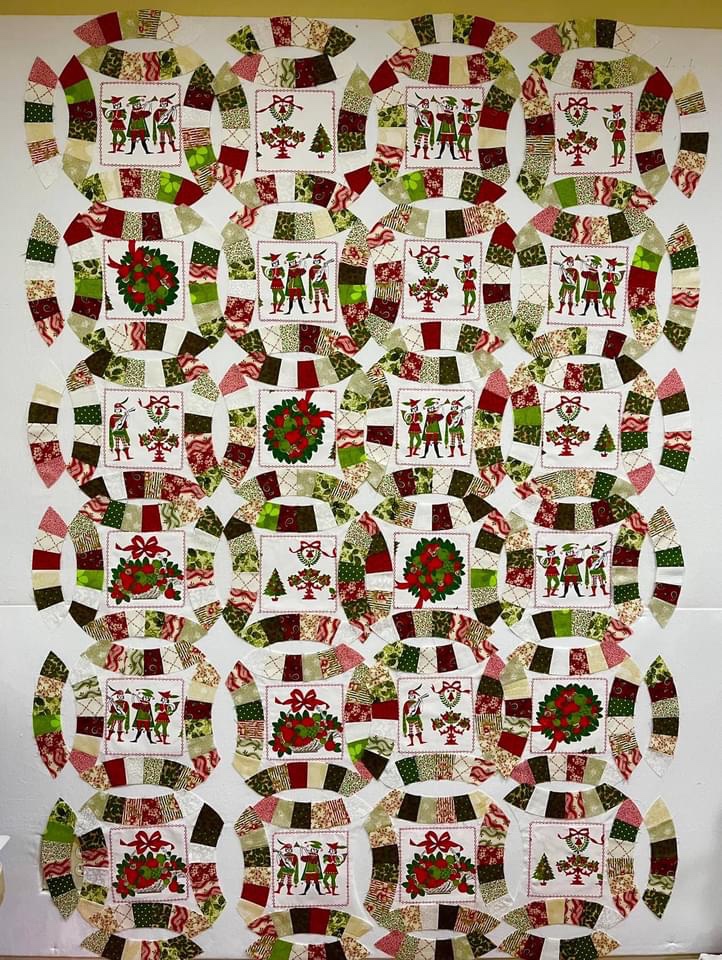
You should have auditioned your Arcs with your center blocks with the goal of achieving a nice visual balance and have taken a picture of your layout.
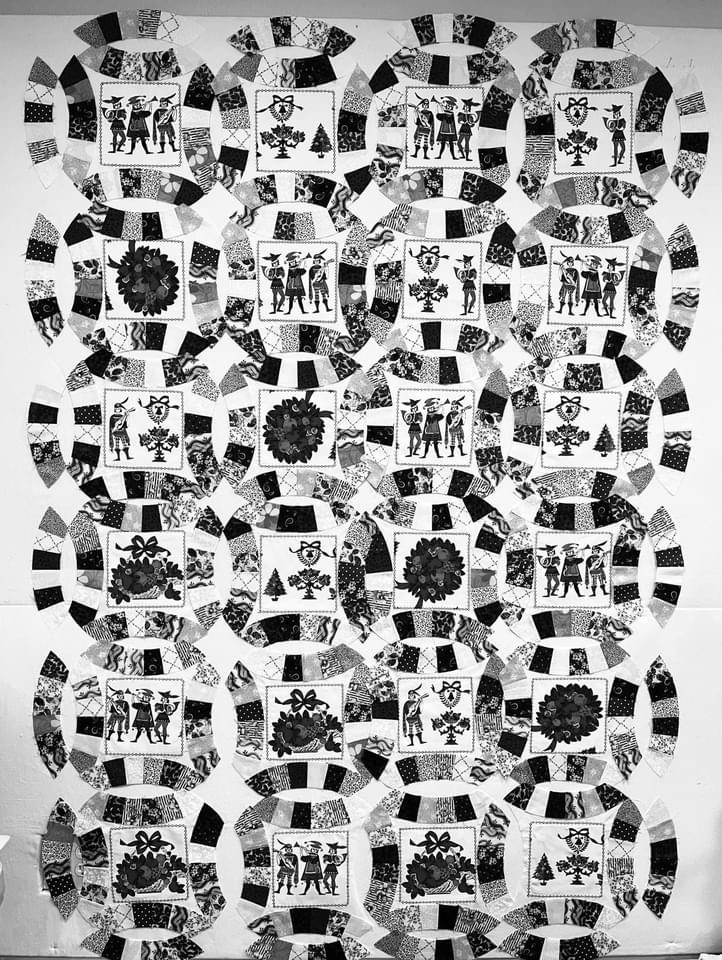
By changing your picture to black and white you can see the “light” and “heavy” areas. Make the necessary Arc changes until you are pleased with your project.
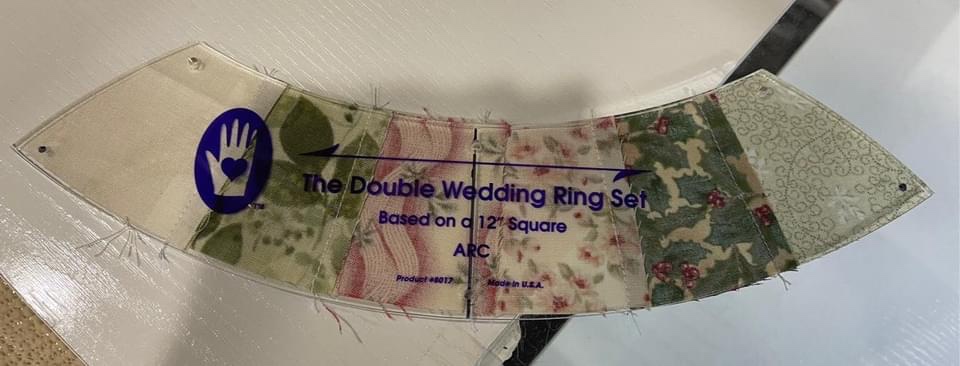
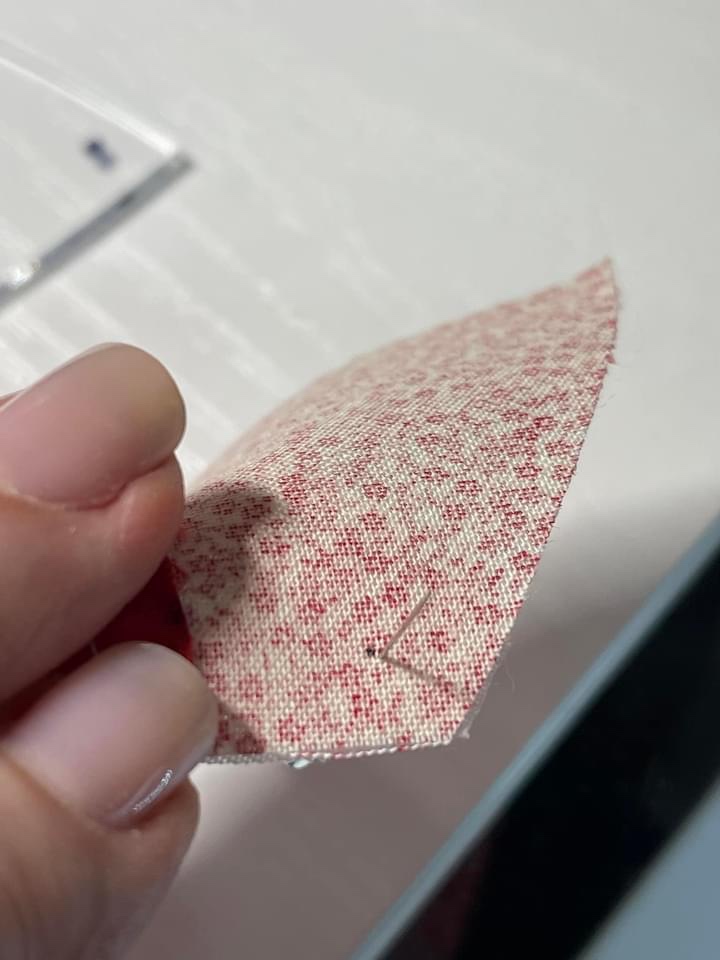
Take the time to verify that your Arcs and your template match. With a mechanical pencil, mark the two dots at the top edge.
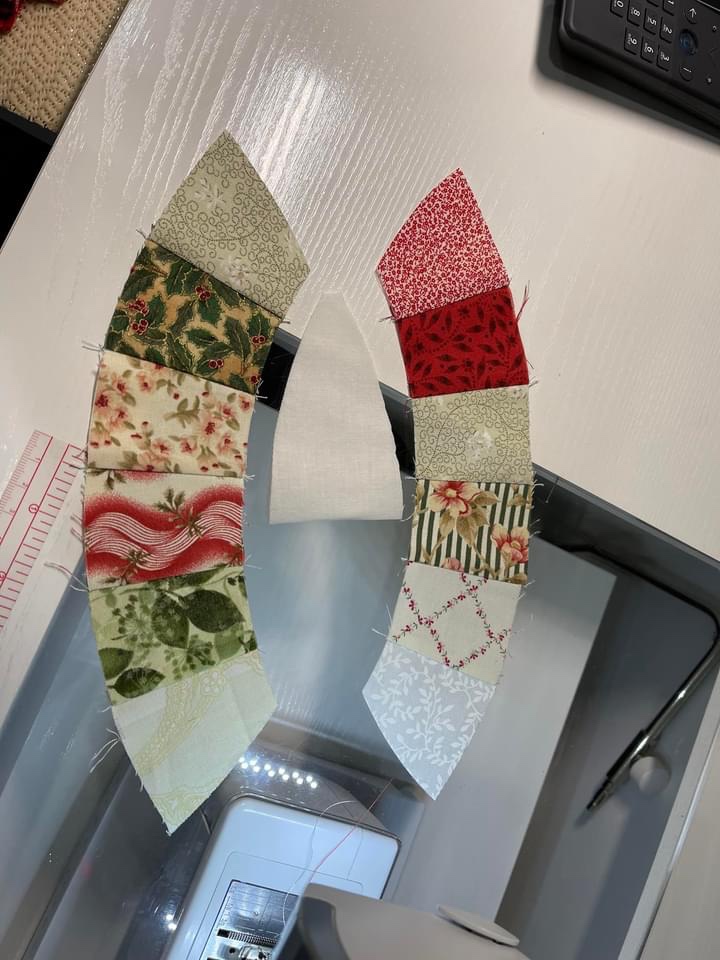
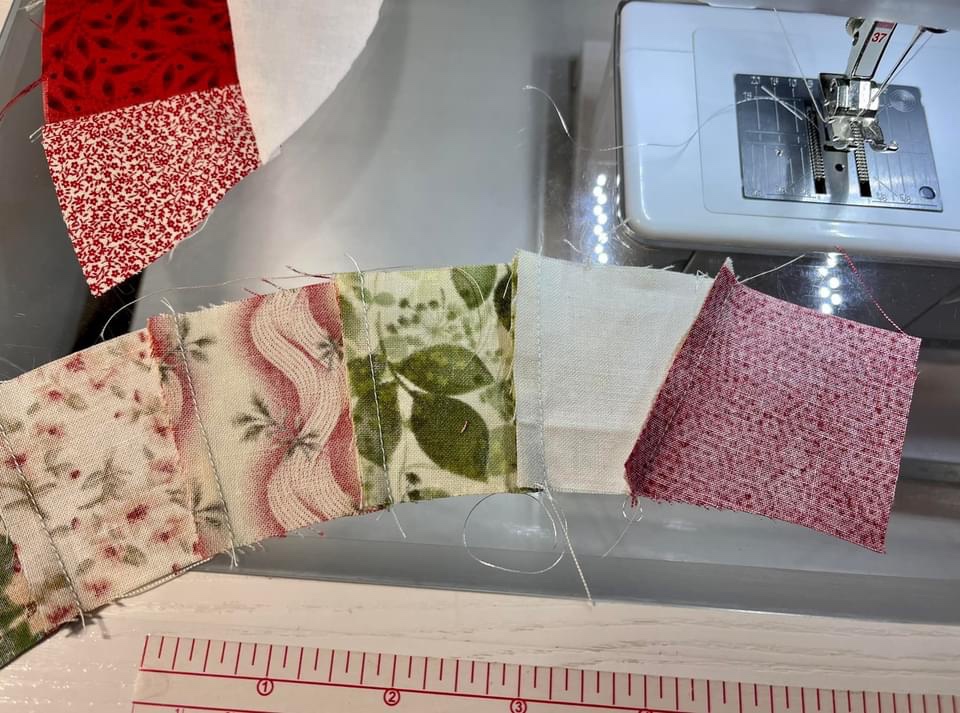
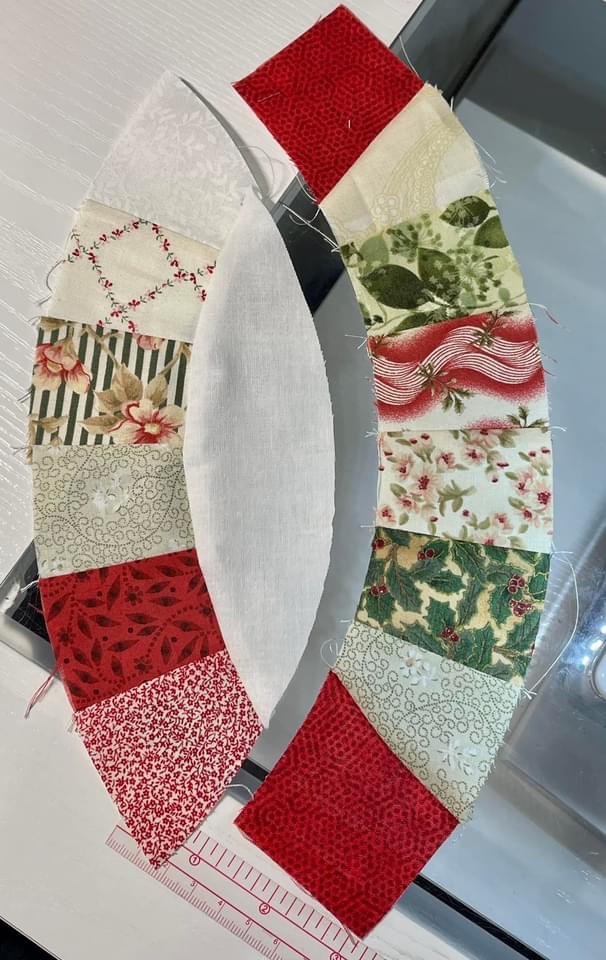
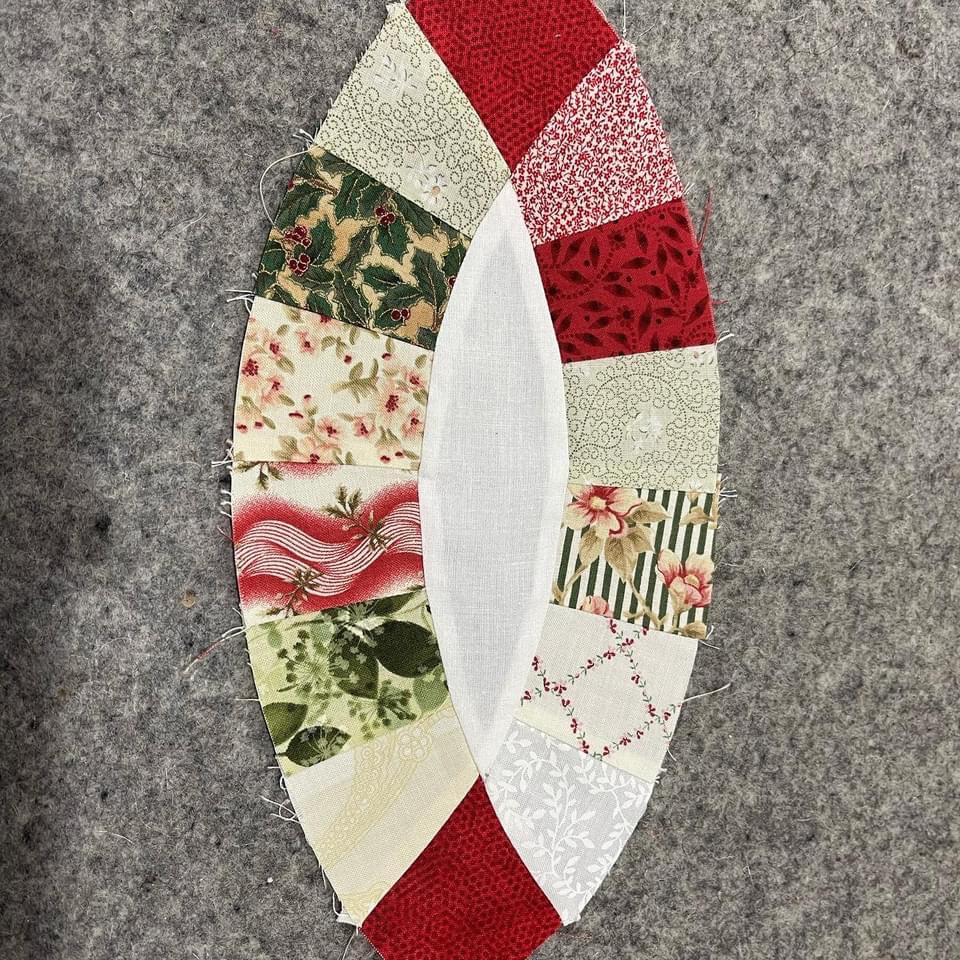
🧨 Super important! Keeping track of the layout, specifically the Arc orientation (which Arc is right, left, and the top, bottom). Fold a Small Melon piece in half and lightly finger press the fold line.
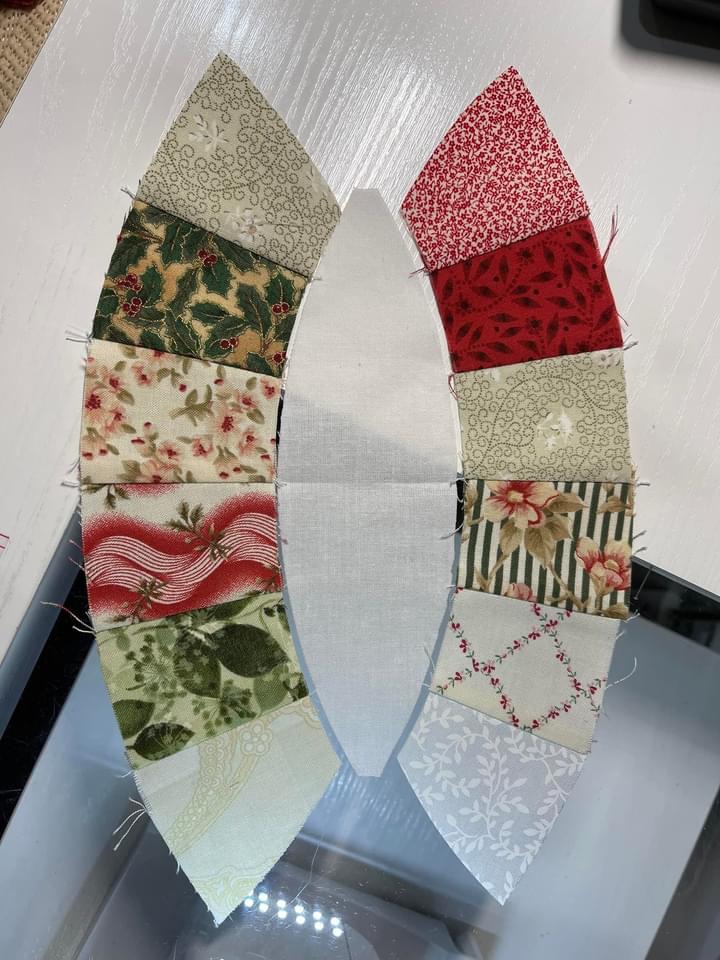
Do you see how this fold line matches perfectly with my center seam of each Arc?
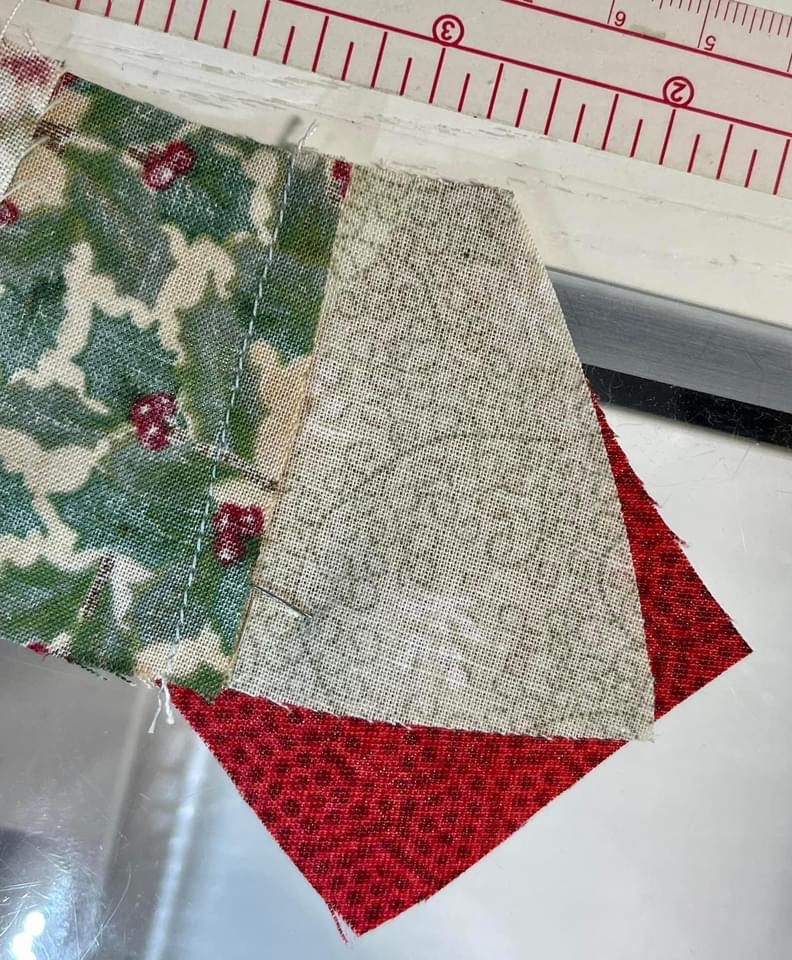
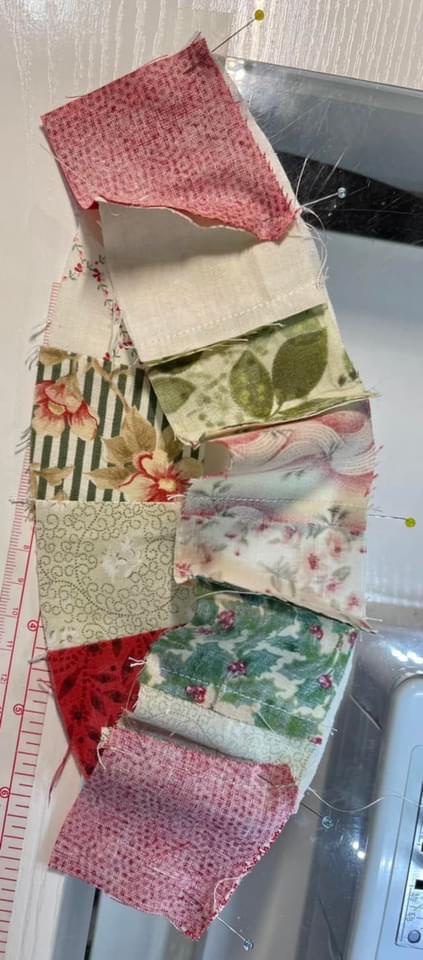
Using the Small Melon template and a mechanical pencil, mark a dot at the top and bottom of the Melon. Lay the melon on the Arc, right sides together.
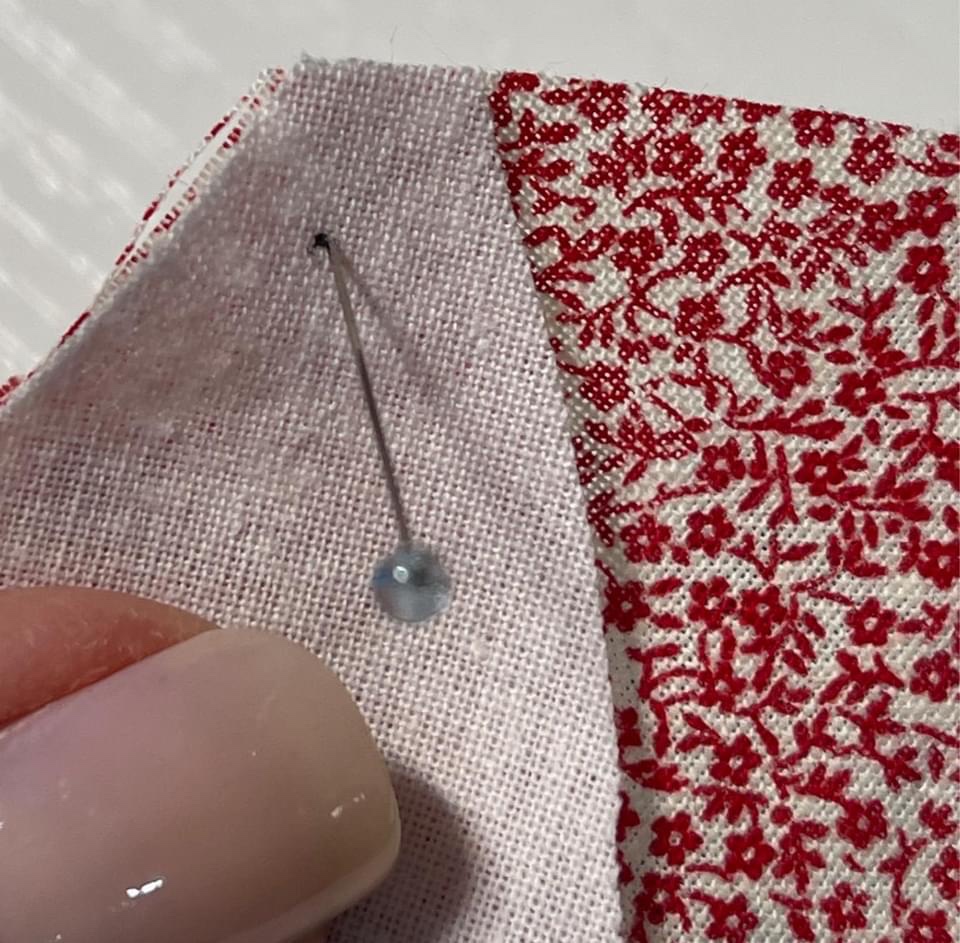
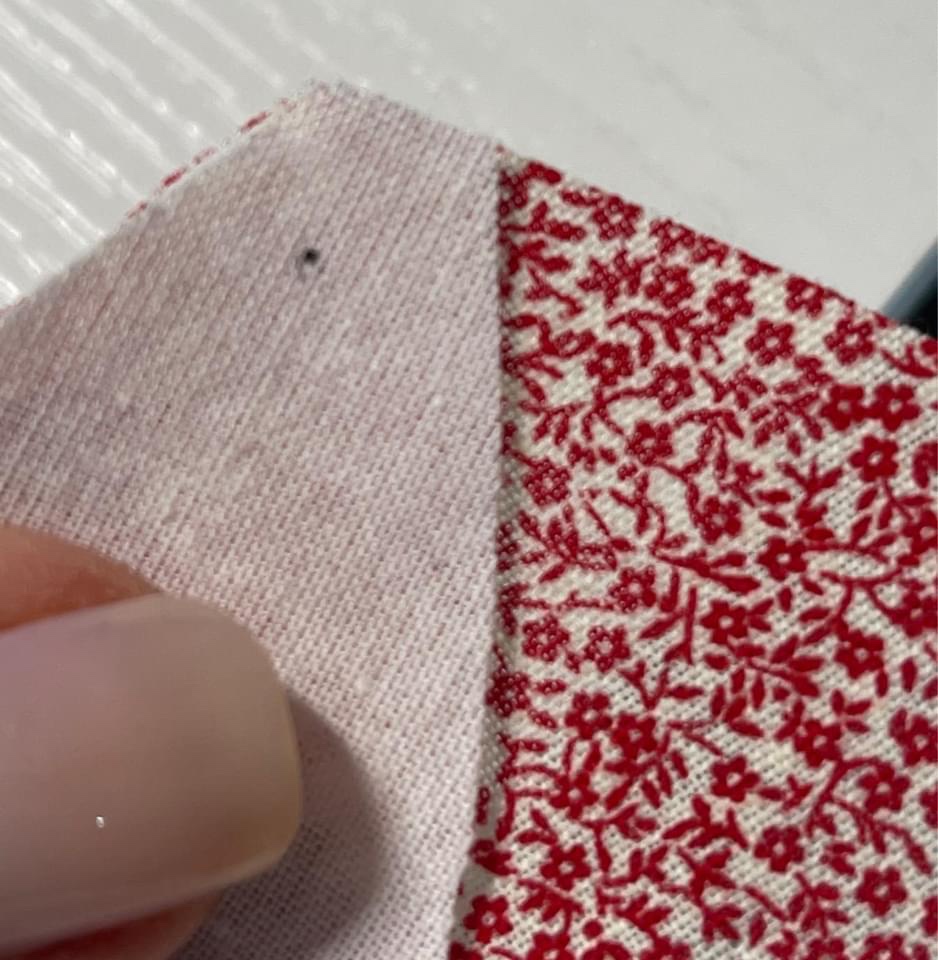
Send a straight pin through the two layers of fabric at the dot.
Verify on the back side that the pin pierces the dot. Do you see that I had to slightly reposition my fabric? Once you get your dots lined up perfectly, pin to stitch. Do this on both ends and finally place a pin at the fold line of the Melon that you have matched perfectly with the center seam of the Arc.
I used just 3 pins. If you are more comfortable using more then please do so! Next step…take a deep breath and sew an exact 1/4th” seam.
I like to sew with the pieced Arc on top so I can keep track of all the seam alllwances. If you prefer to sew with the Melon on top, then do so.
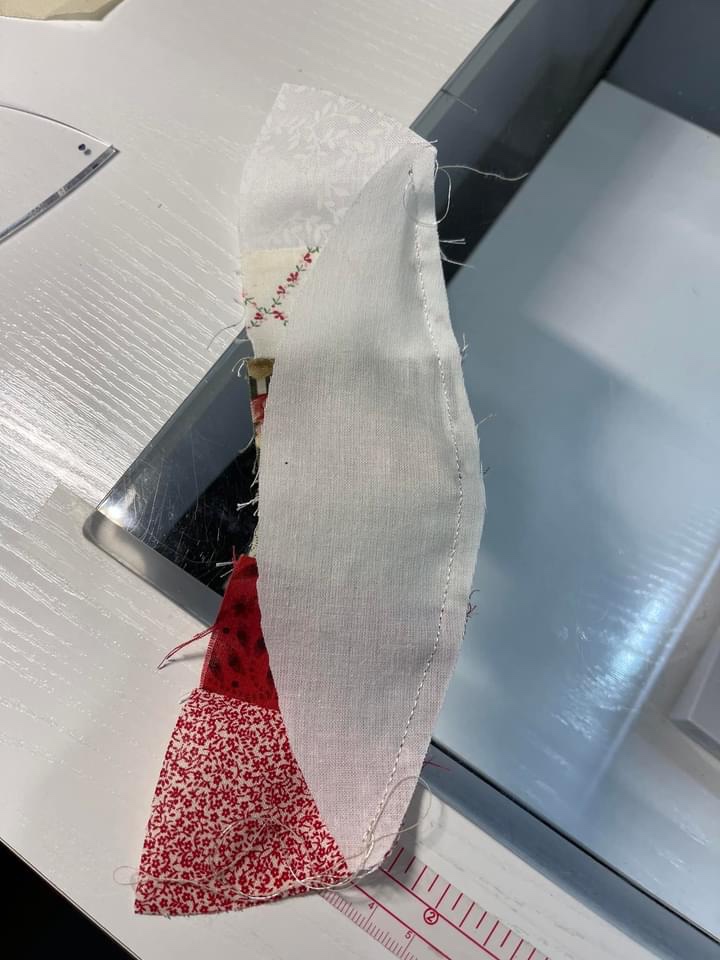
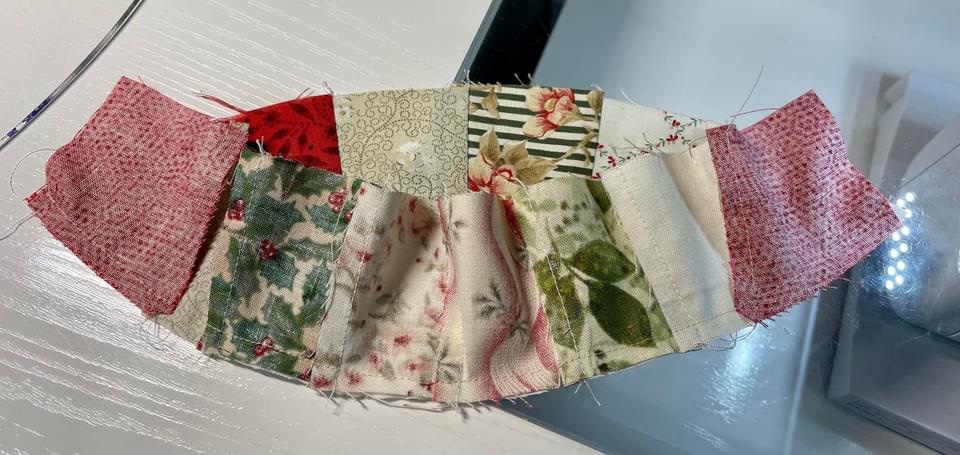
Whew! My first Arc is sewn to a Melon! So let’s talk about pressing…so many of the DWR tutorials I found online say to not press anything until the entire quilt top is complete. I just couldn’t do it…I pressed my way through the entire process. You do what you are comfortable with.
Because I am constructing a horizontal football shape I choose two of my red 4 Patch pieces.
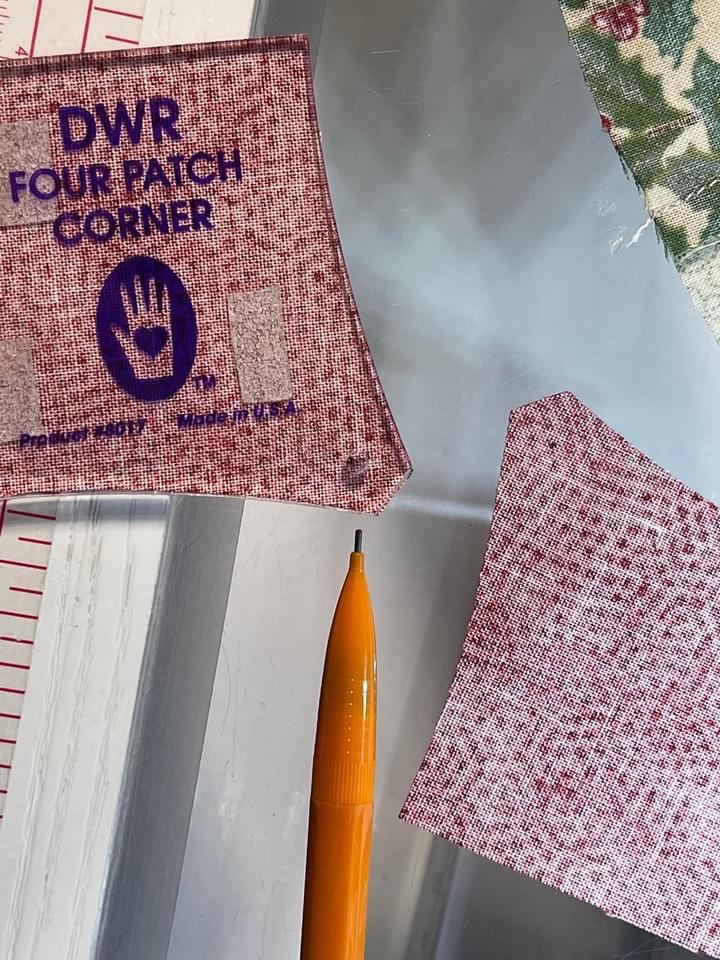
Again, with my template I mark the dots.
This picture of the wrong side shows our goal once the 4 patch piece is sewn in place.
And the right side of the 4 Patch sewn in place.
But this is a funny piece, it has a slight concave curve and the end piece of our Arc has a slight convex curve. Concave is an inward curve, convex is an outward curve.
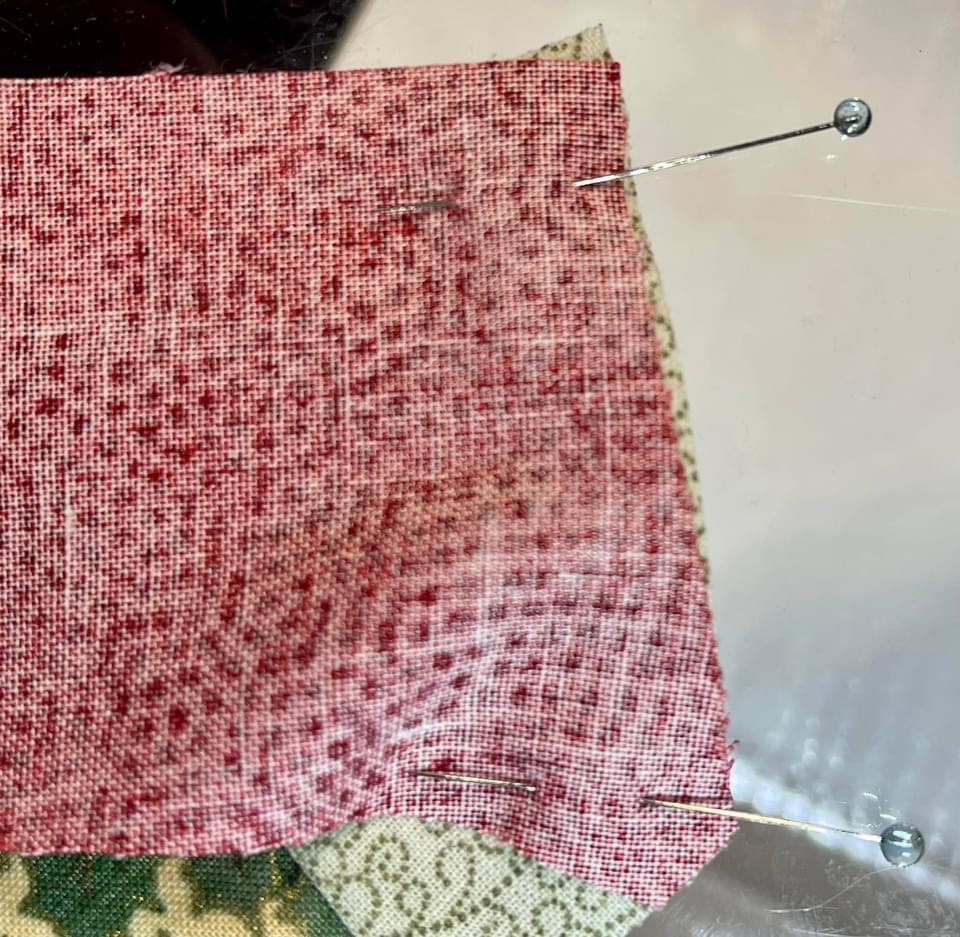
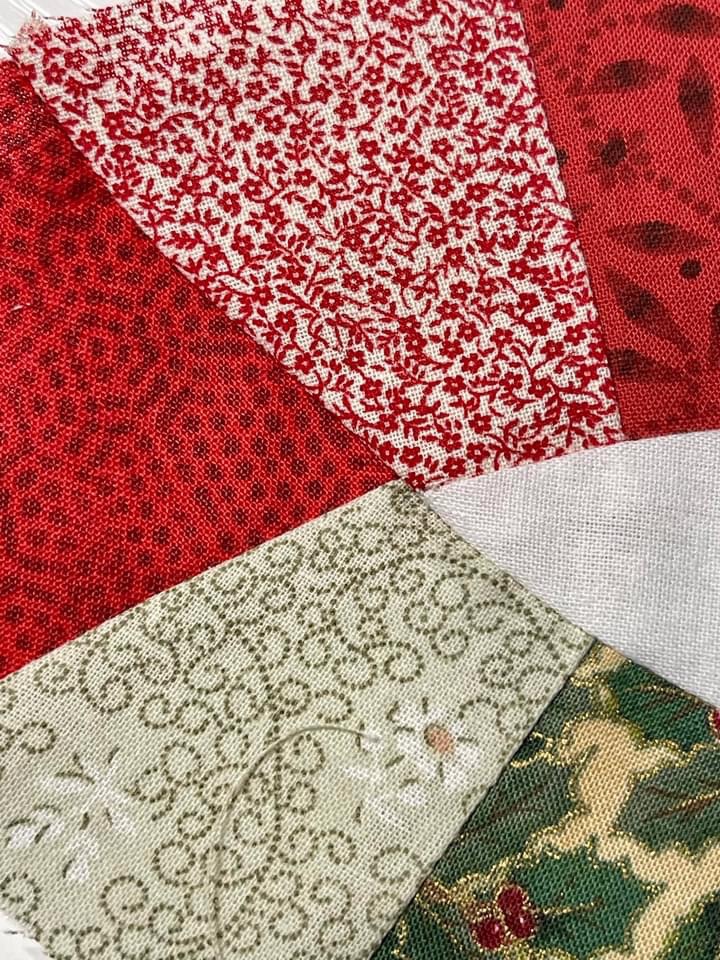
On my red fabric it is very difficult to see in this pic where I have marked my dots but they are there. It is these dots that will keep you on track to sew a perfectly lined up block. As you begin to sew you will easily be able to ease or gently nudge the top fabric to the right so that the fabric edges will meet up. Remember…1/4th” seams!
At this point I was giddy!
Remember the melon fold line? Place this fold line at the Arc center and pin to sew.
Continue to line up your dots and as you do, pin to sew. Take note of my second from the top and second from the bottom pins. It is very important to line these up with the seam line on the underneath side. This may take a bit of practice, it did for me.
Use as many pins as makes you comfortable and again, I’m stressing the 1/4th” seam.
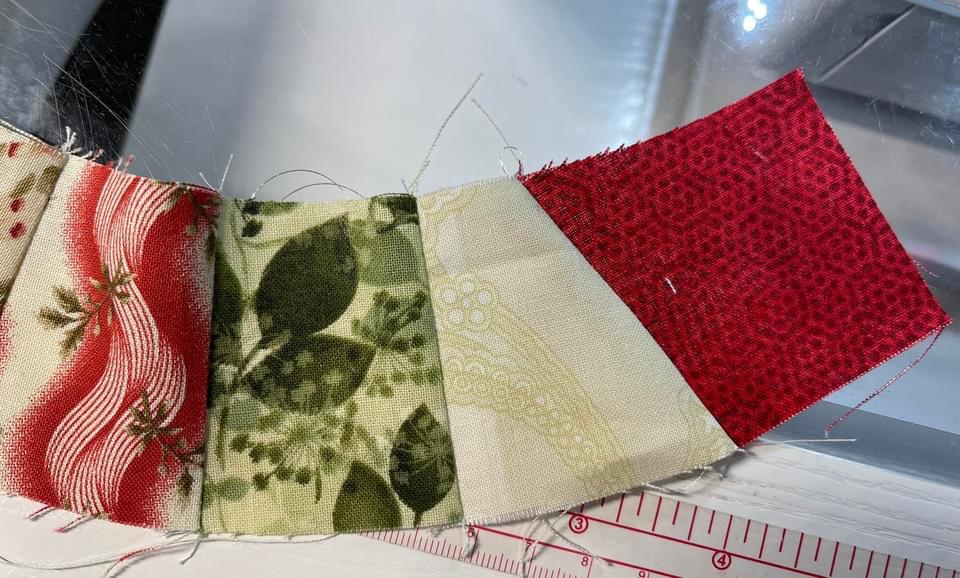
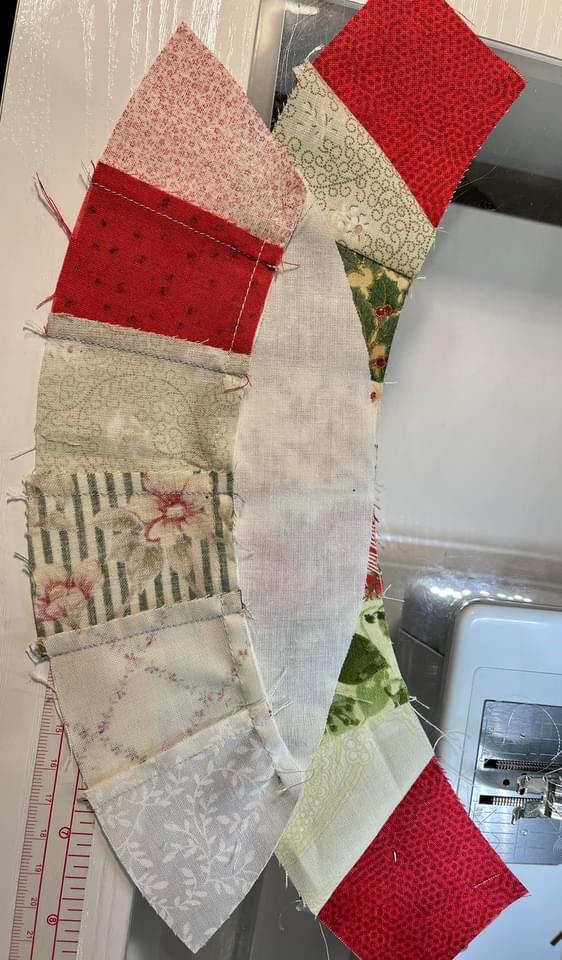
I’m showing you this picture so you can see my Arcs didn’t quite meet up as planned. ☹️ Using my seam ripper I picked out about an inch of stitches, re-pinned and was happy with the results.
Again, just a closeup of my seams that needed work.
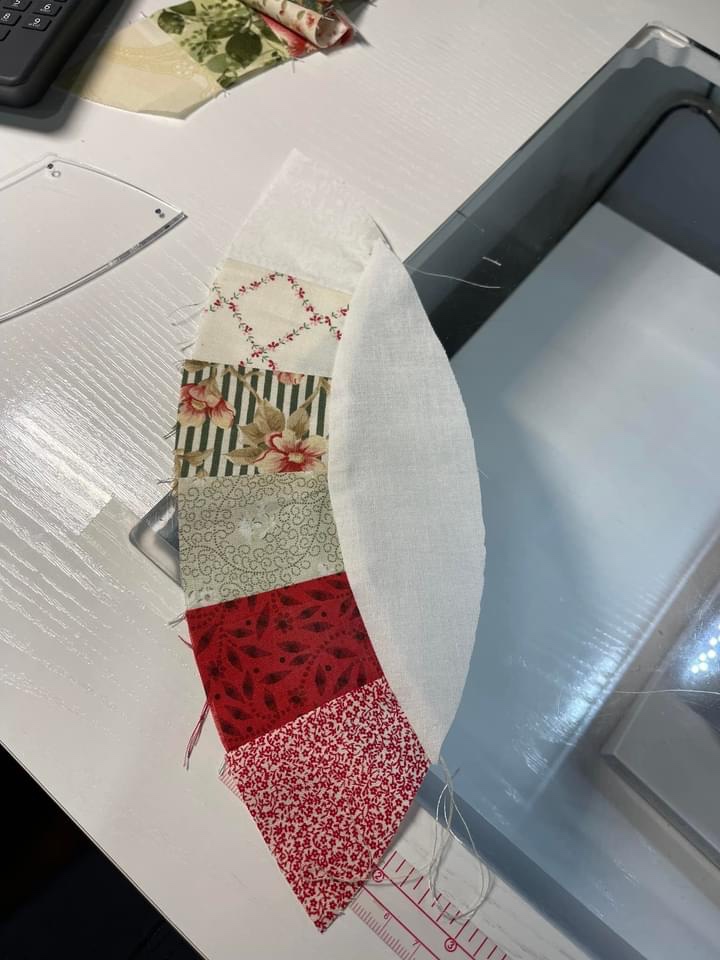
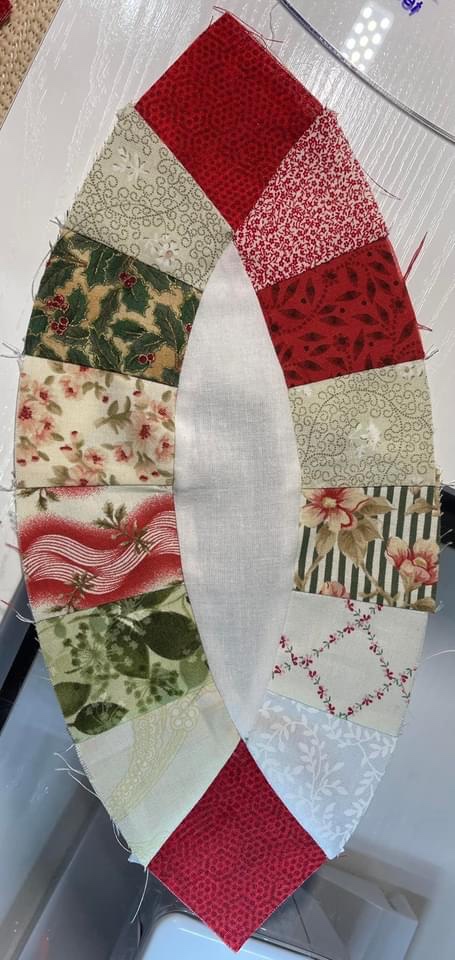
After 2 tries, I decided I could live with this foolball. I will try for perfection on my next one! 🙂
Once you get familiar with sewing these curve pieces, you will fly through the rest of your Football shapes!
Happy stitching! Rhonda


Your tutorials are always so thorough. I very much appreciate the time that you take in creating these excellent classes. Thank you so much.
LikeLiked by 1 person
Aaawwww!! Thank you sweet friend! ❤️
LikeLike