Bits and Pieces #3

One of the nice things about this pattern is the freedom to experiment, change your mind, take things apart and head off in a slightly revised direction. For this quilt top I’ve already done all four.

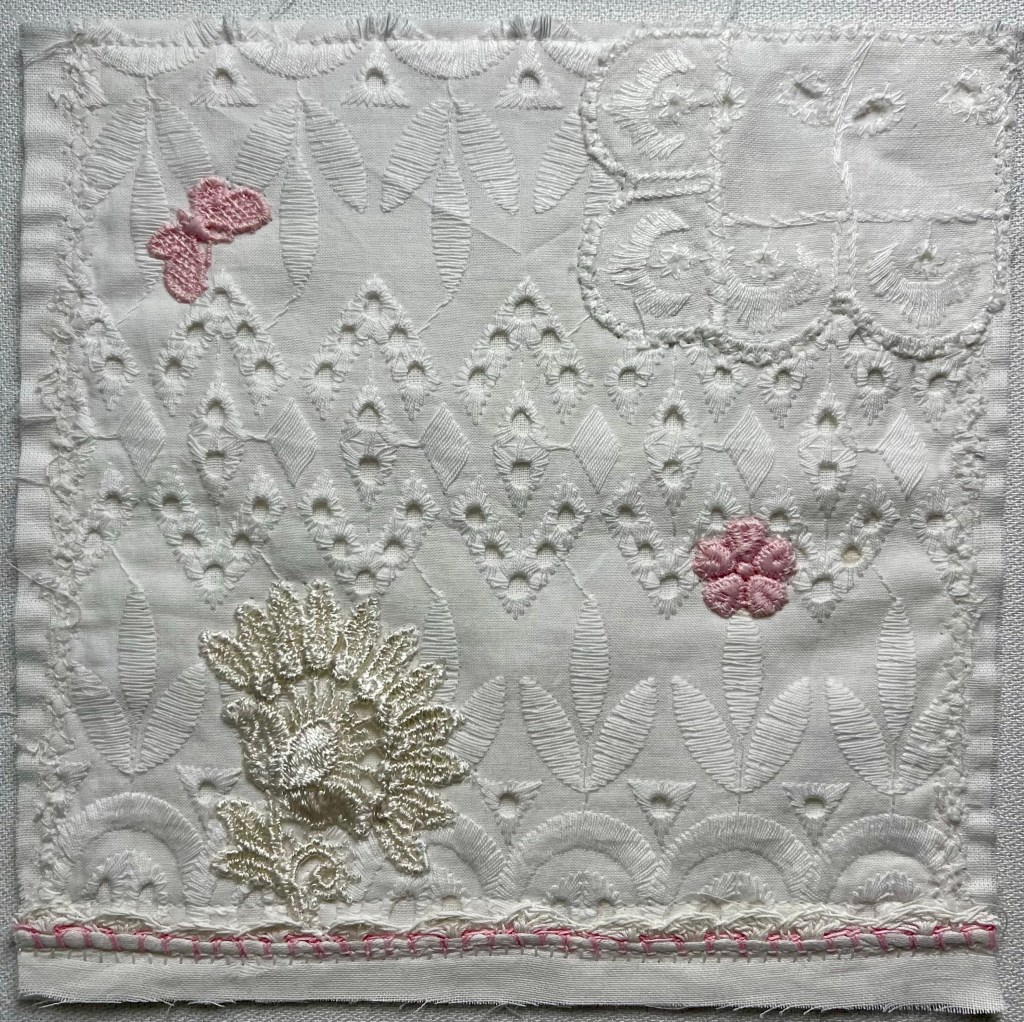
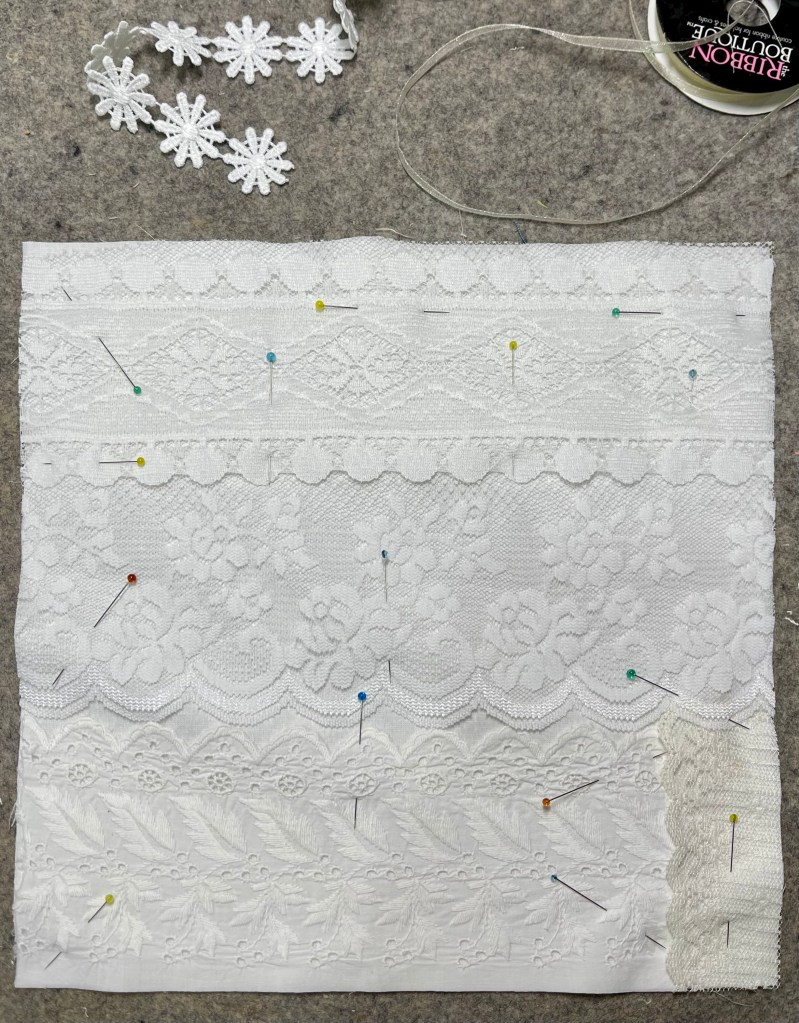
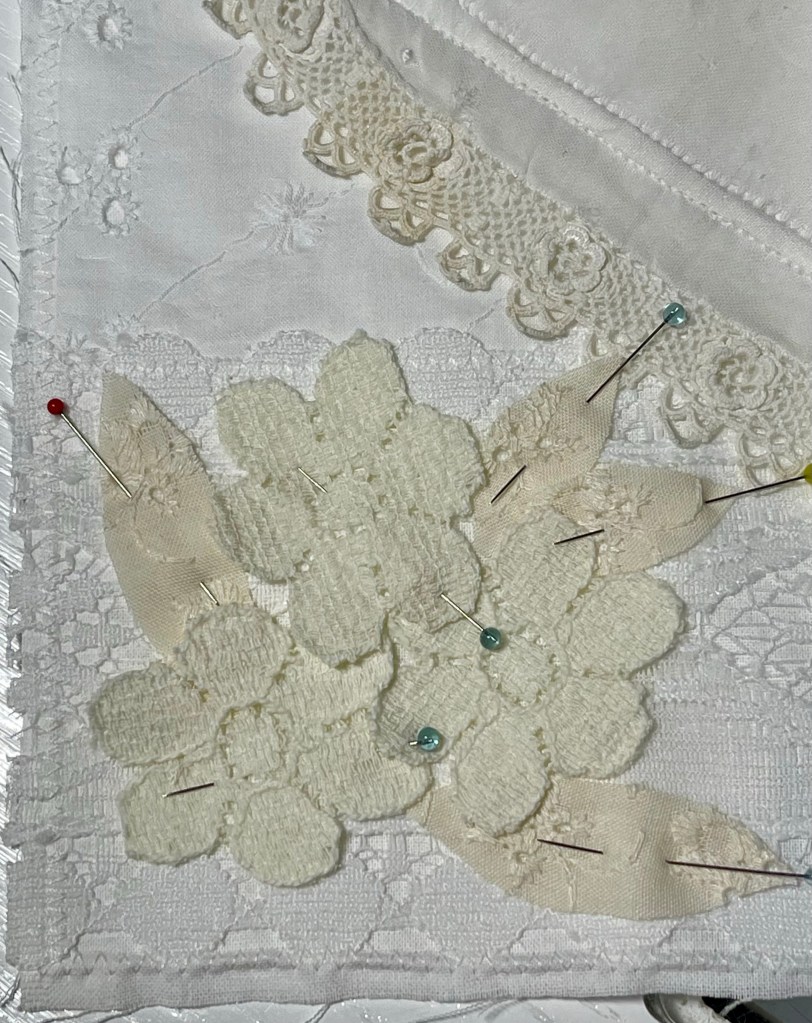
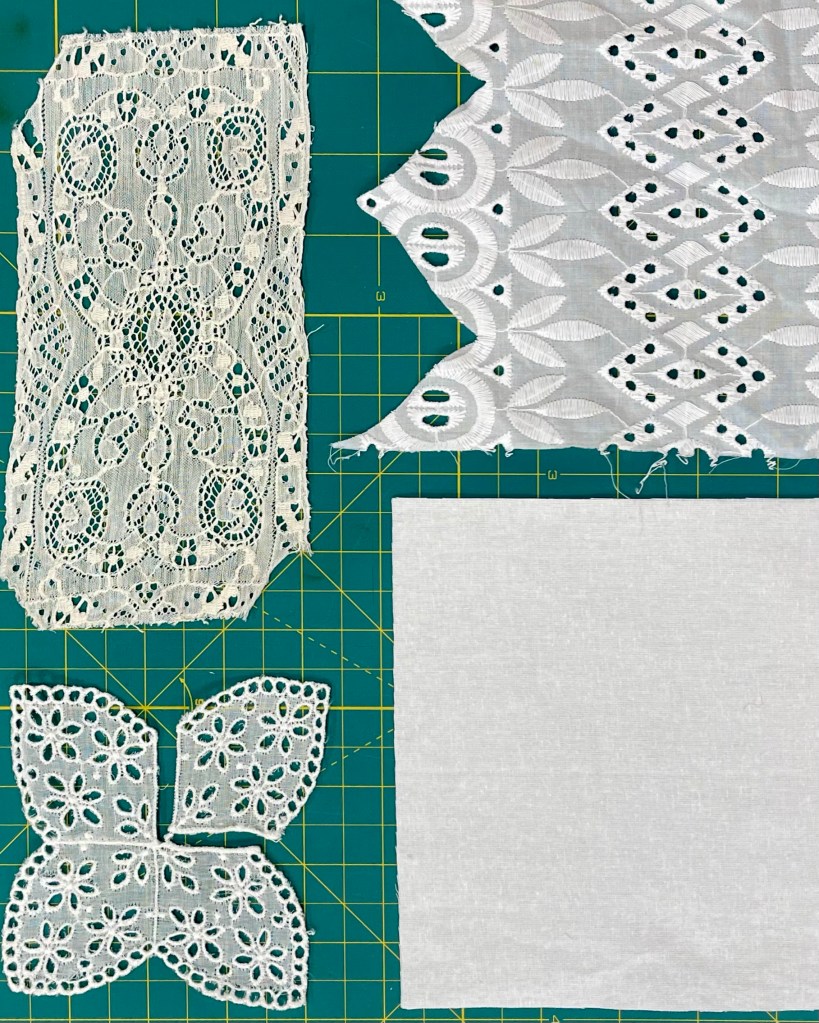
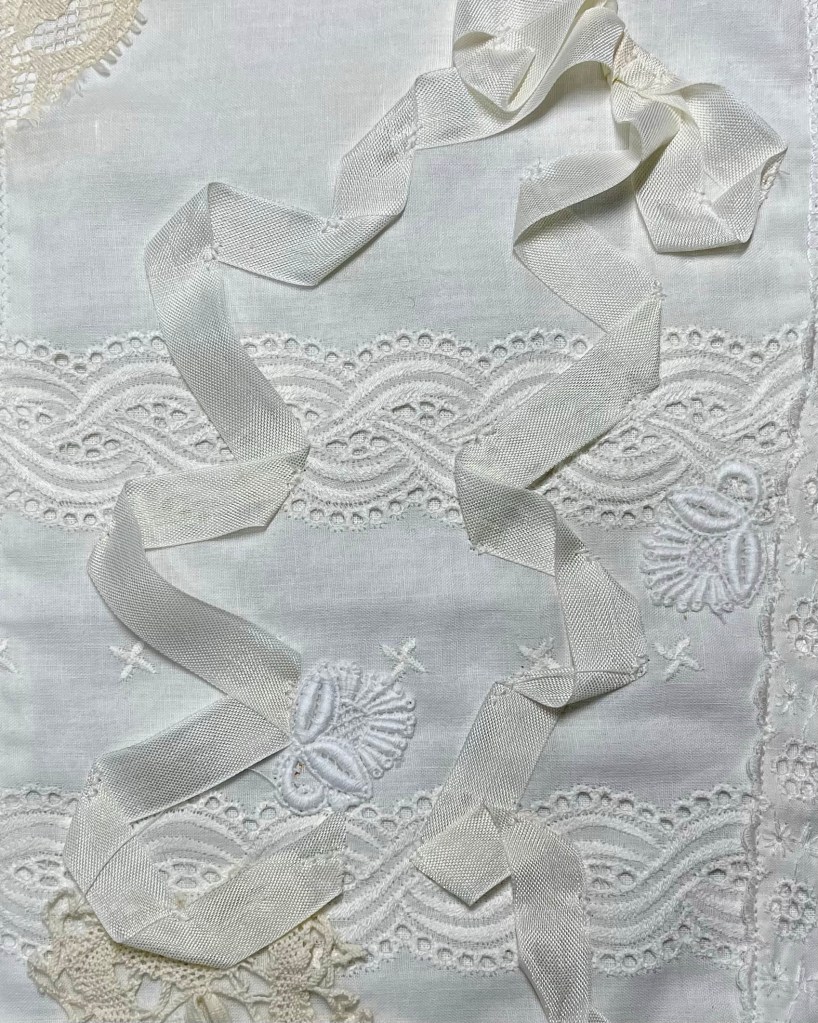
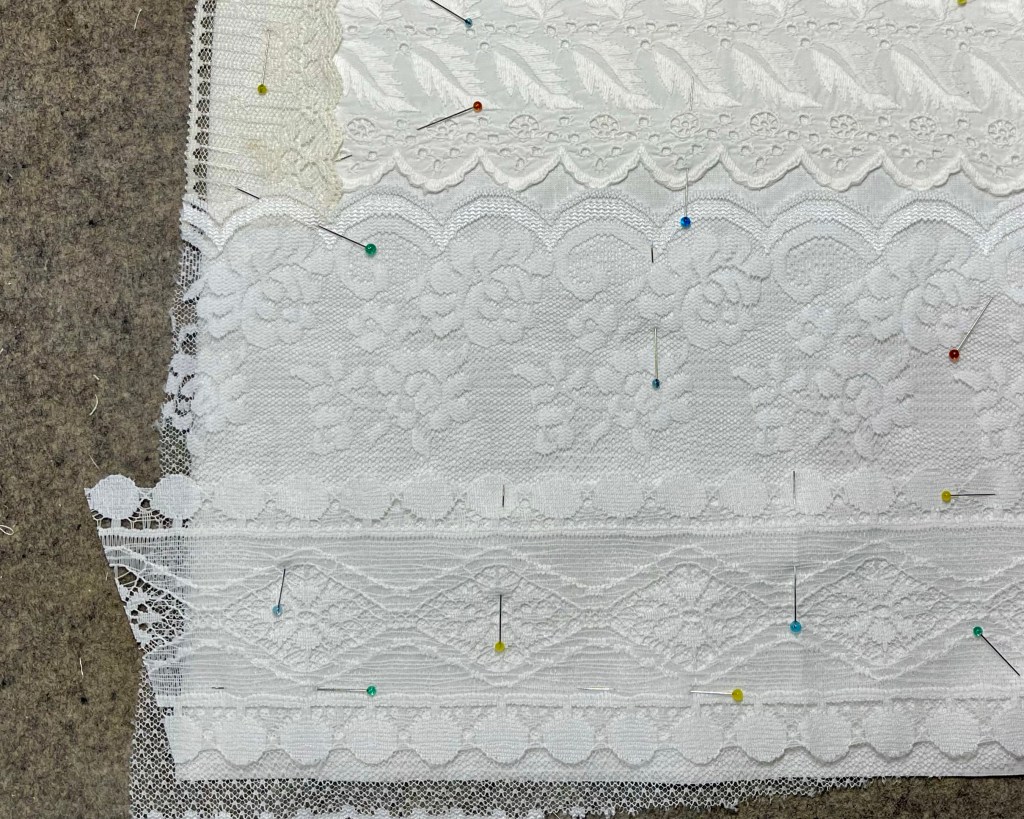
I began by making simple blocks randomly embellished with trims and laces and eyelets with a very small pop of color here and there.

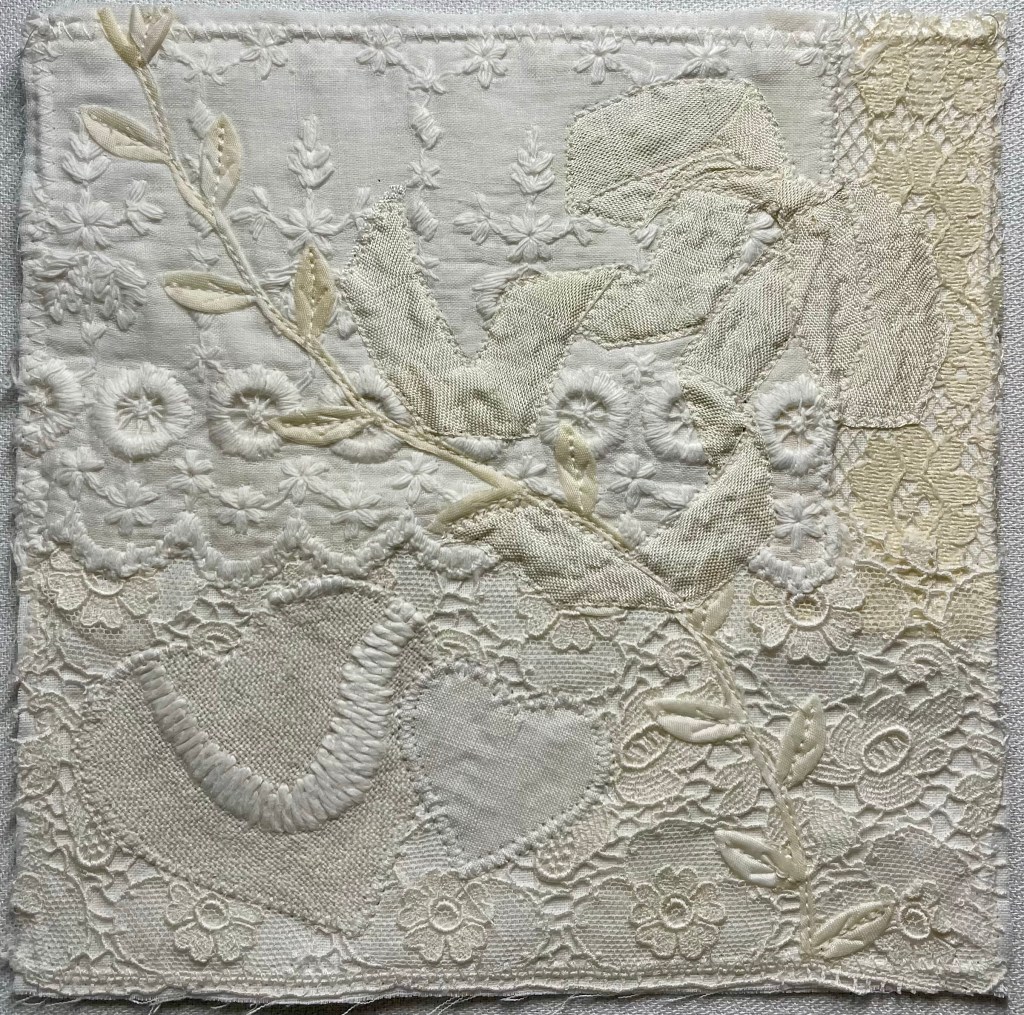
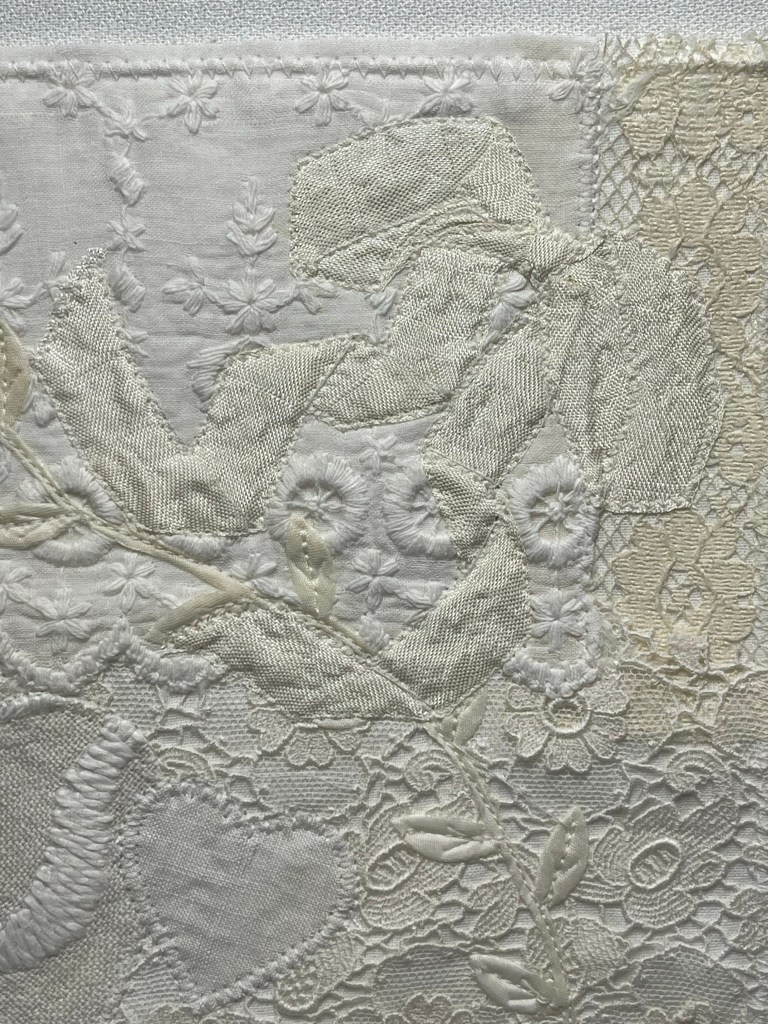
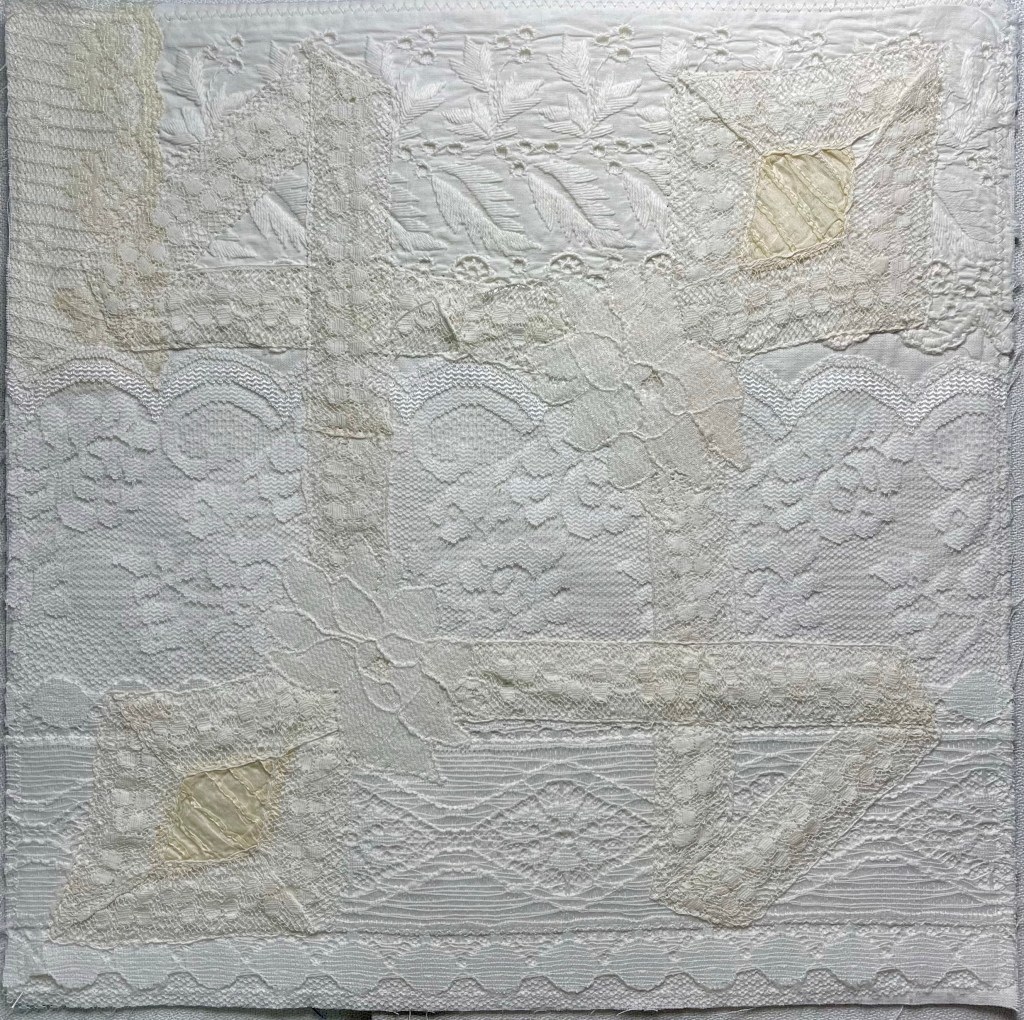
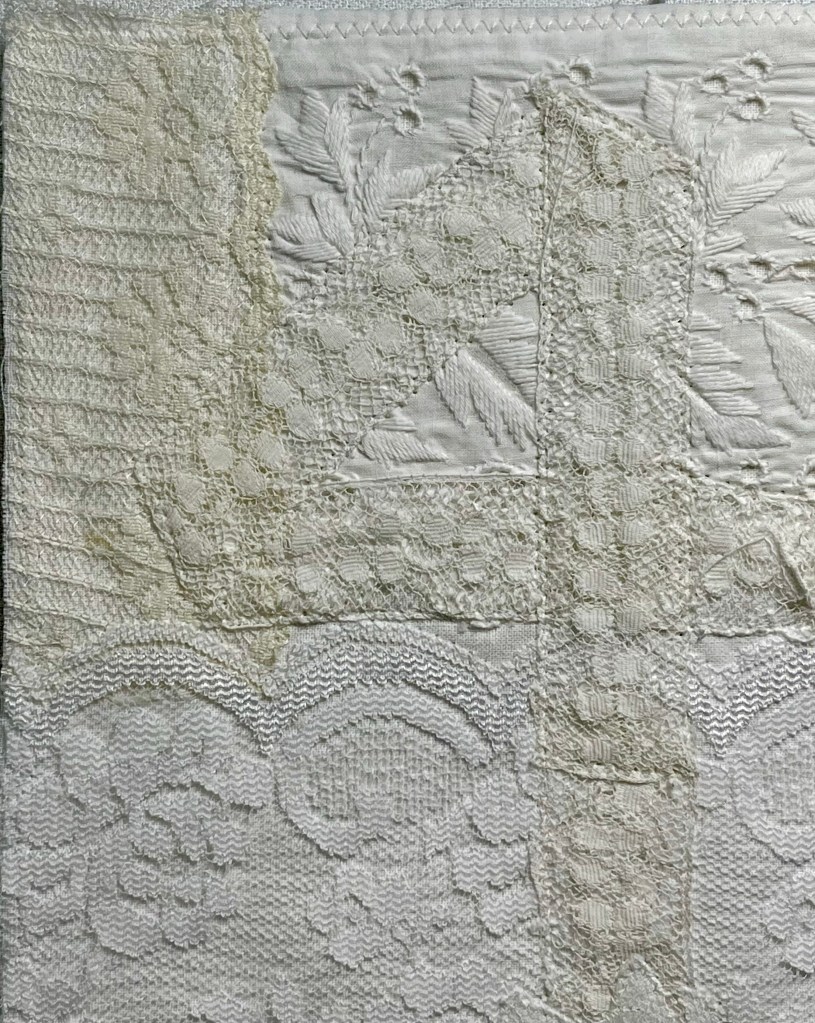
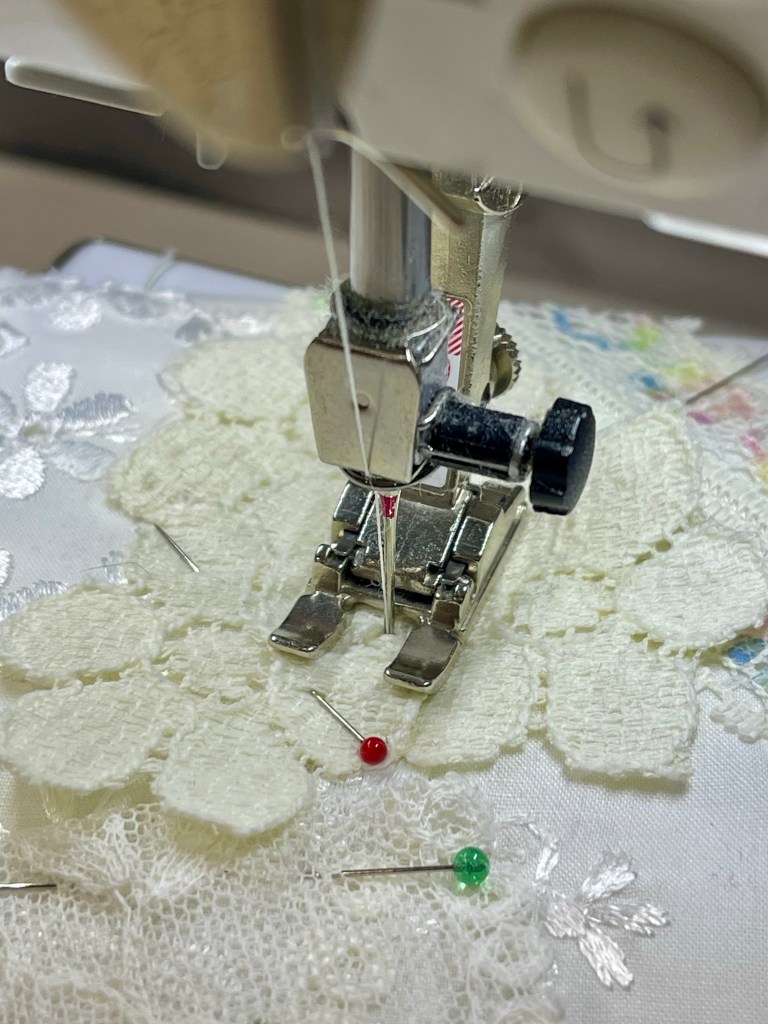
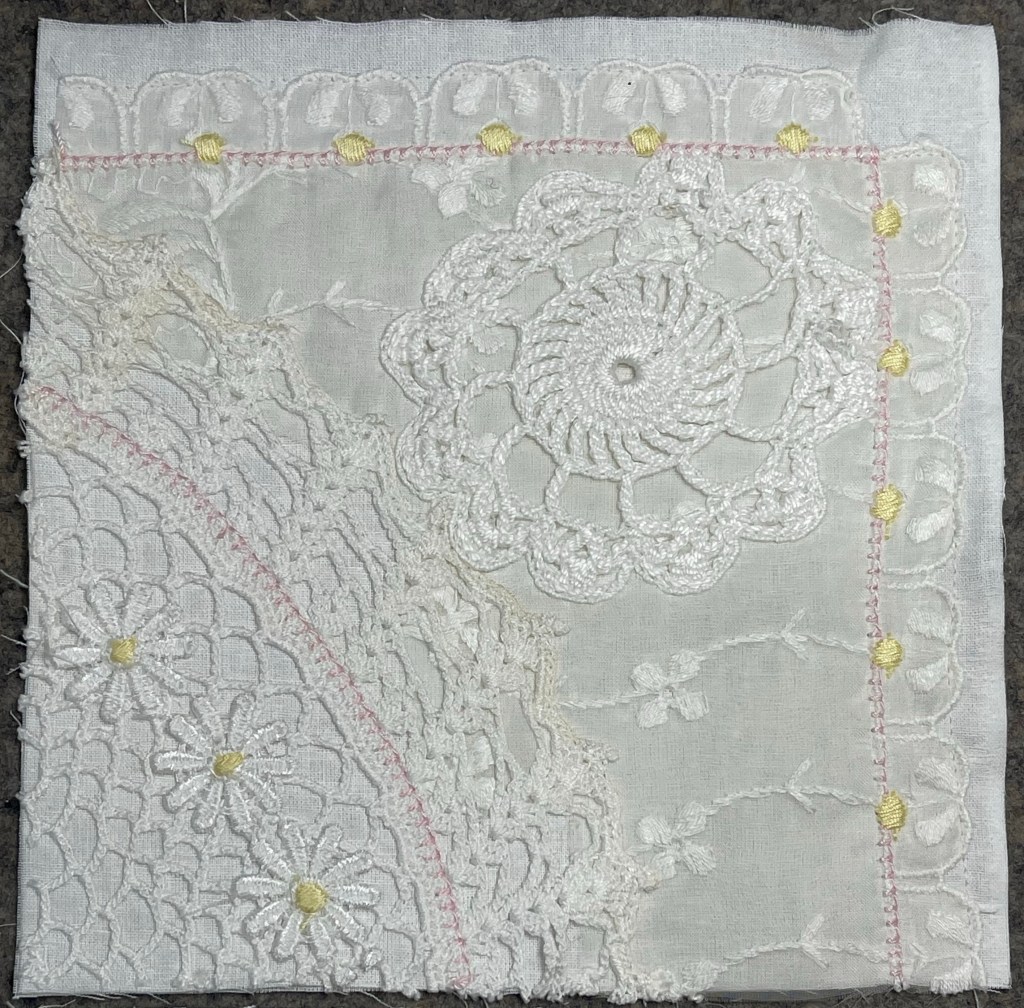
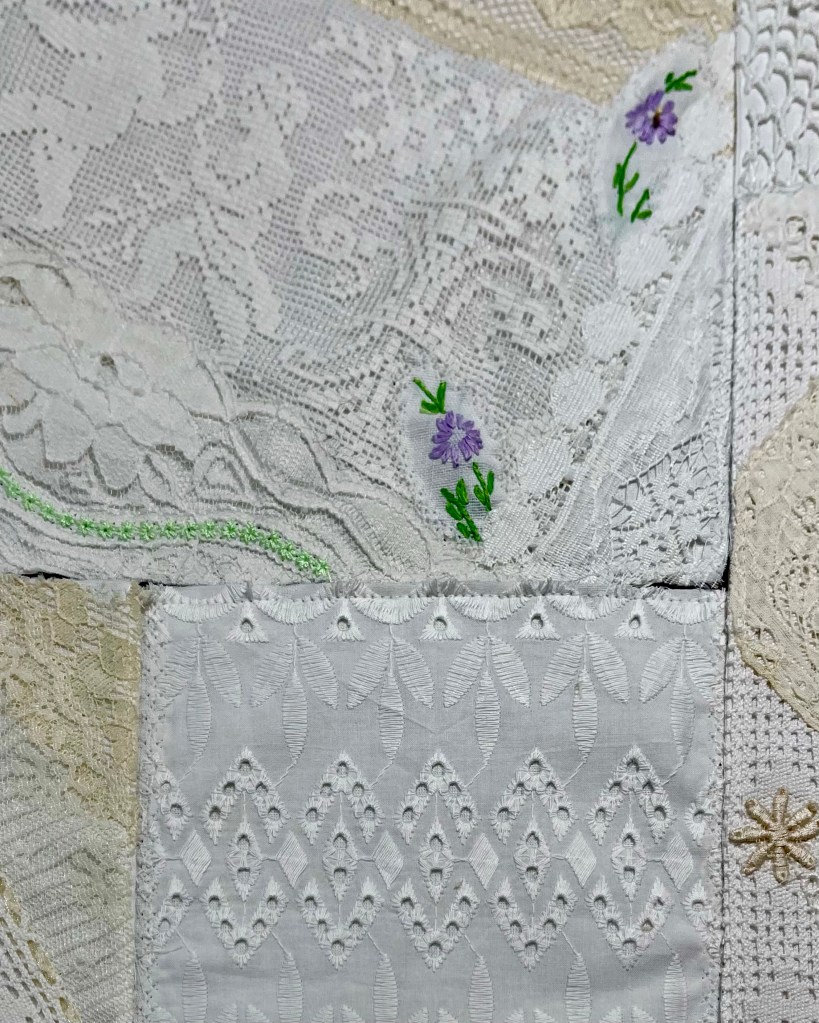
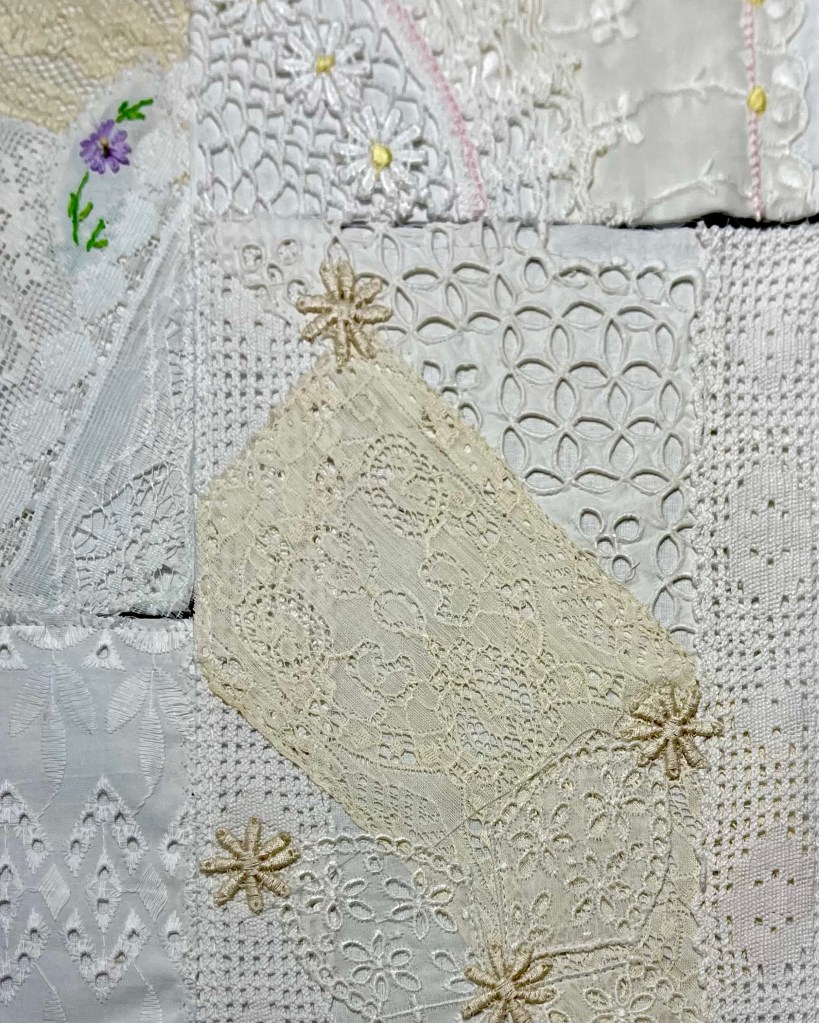
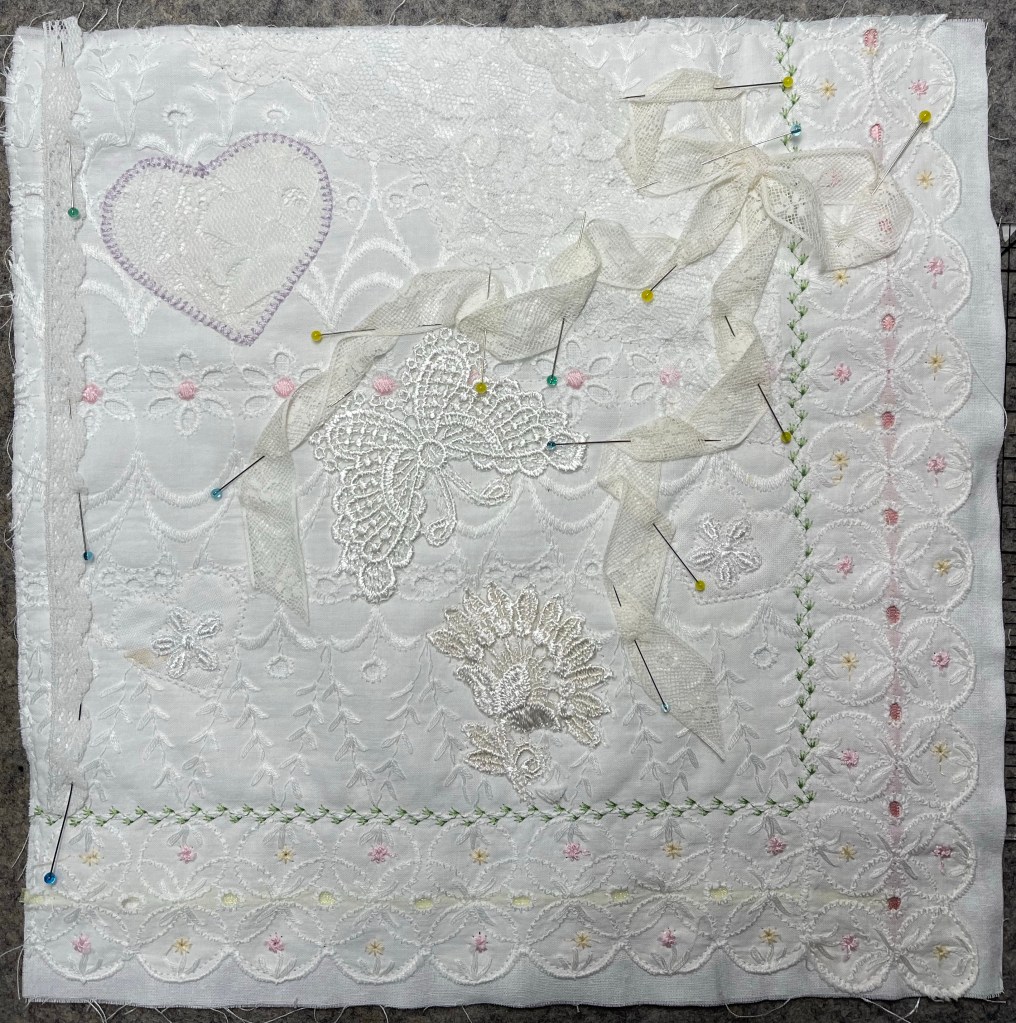
After creating maybe 20 blocks, I changed my mind and removed the color (yes it took me forever to remove some of the colorful machine decorative stitching), and decided that each block should be transformed to a detailed collage…collages where each time you look at the block you find new things. Am I happy I removed the color? Absolutely! Why? 🤷‍♀️ I found it distracting.

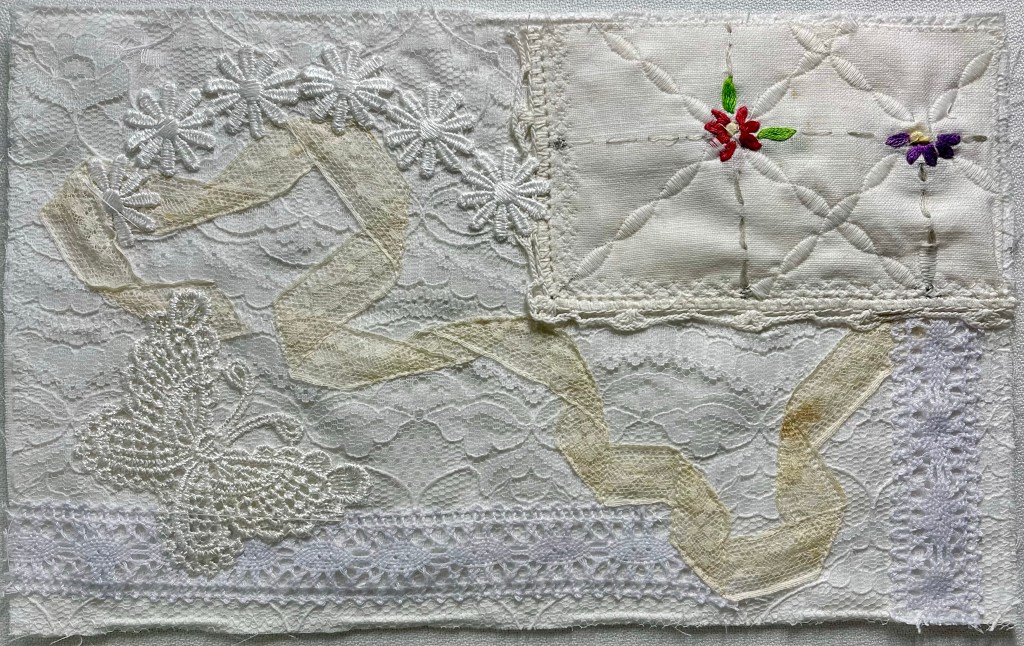
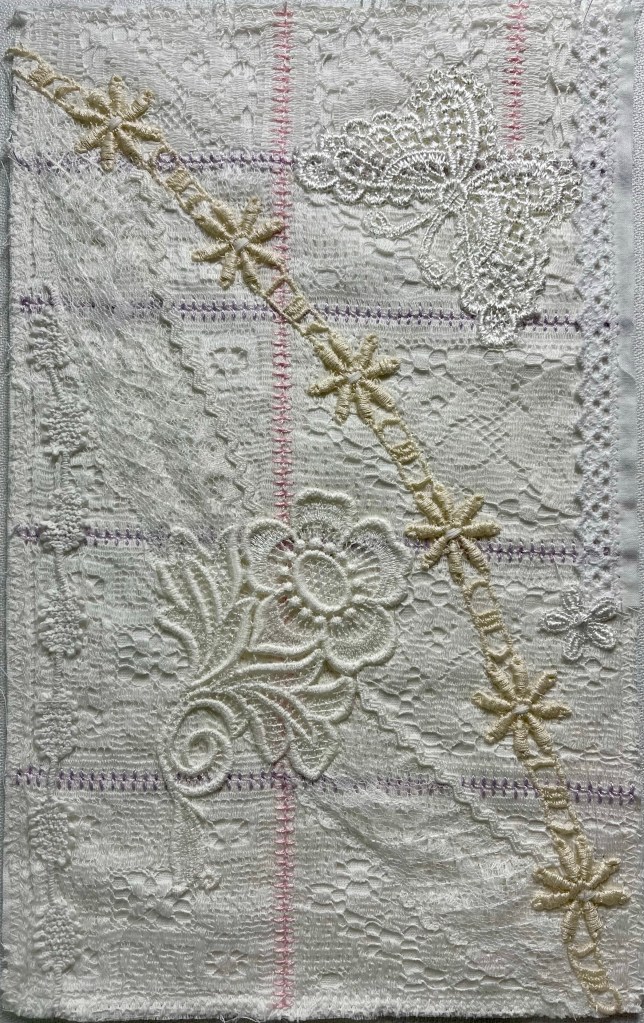
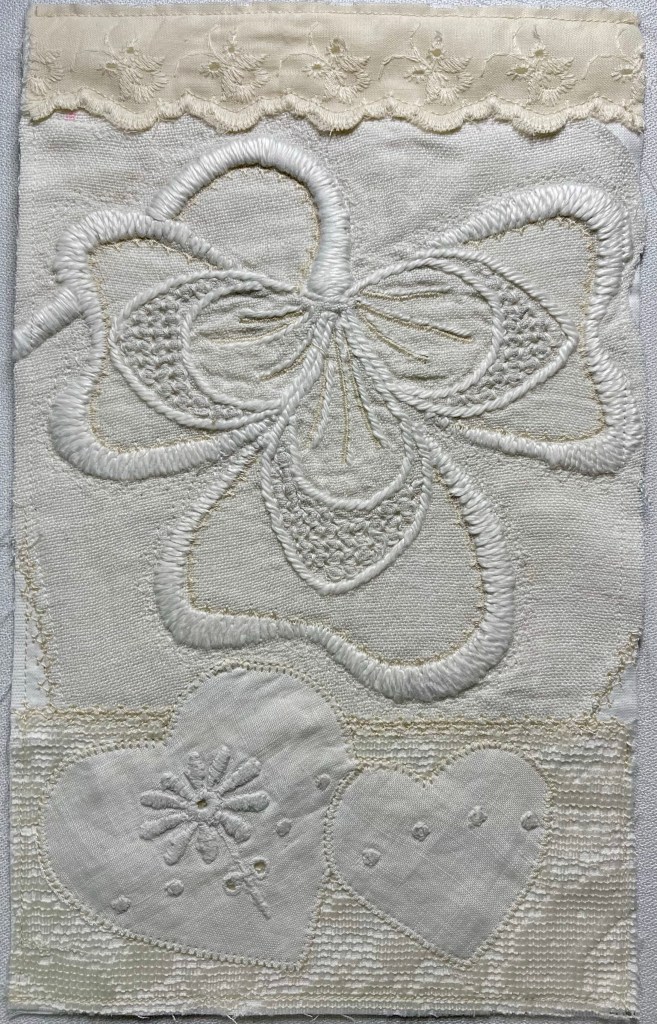
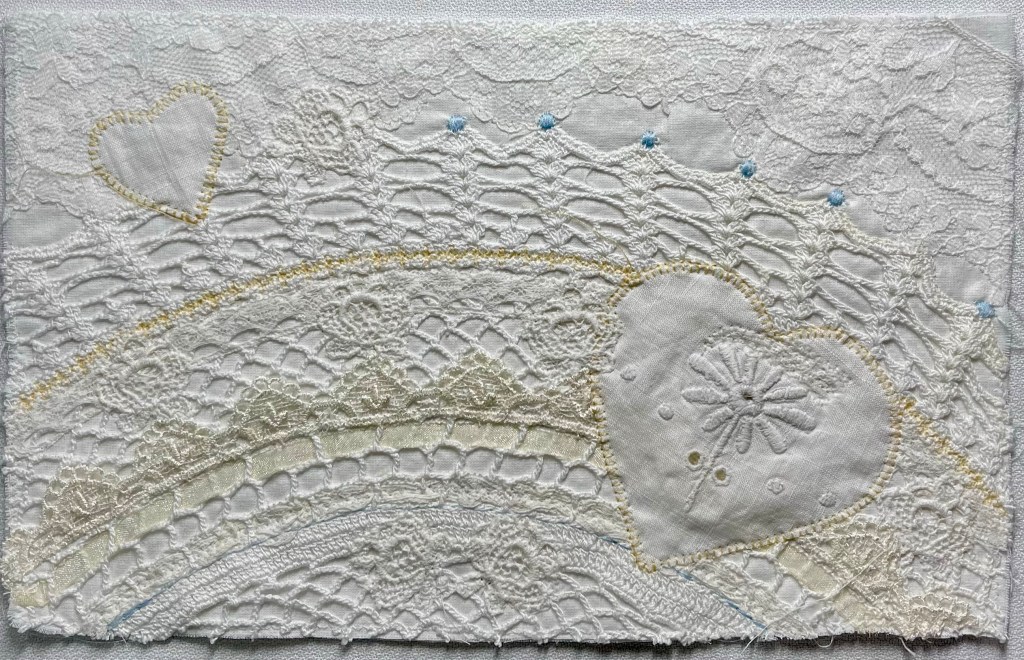
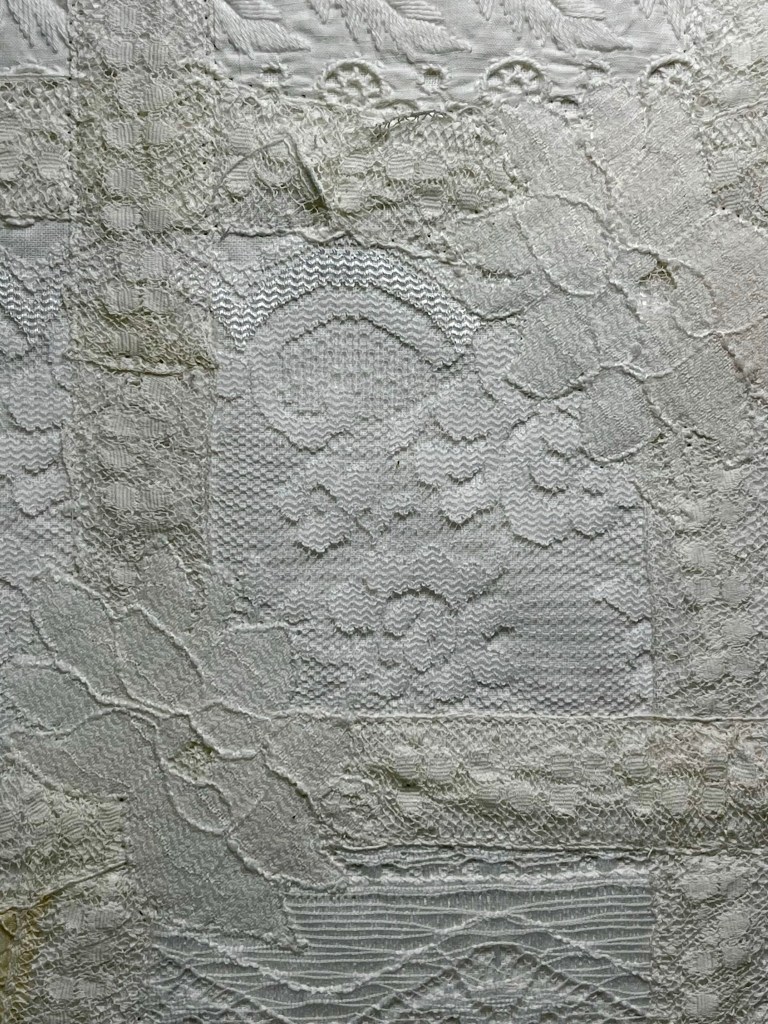
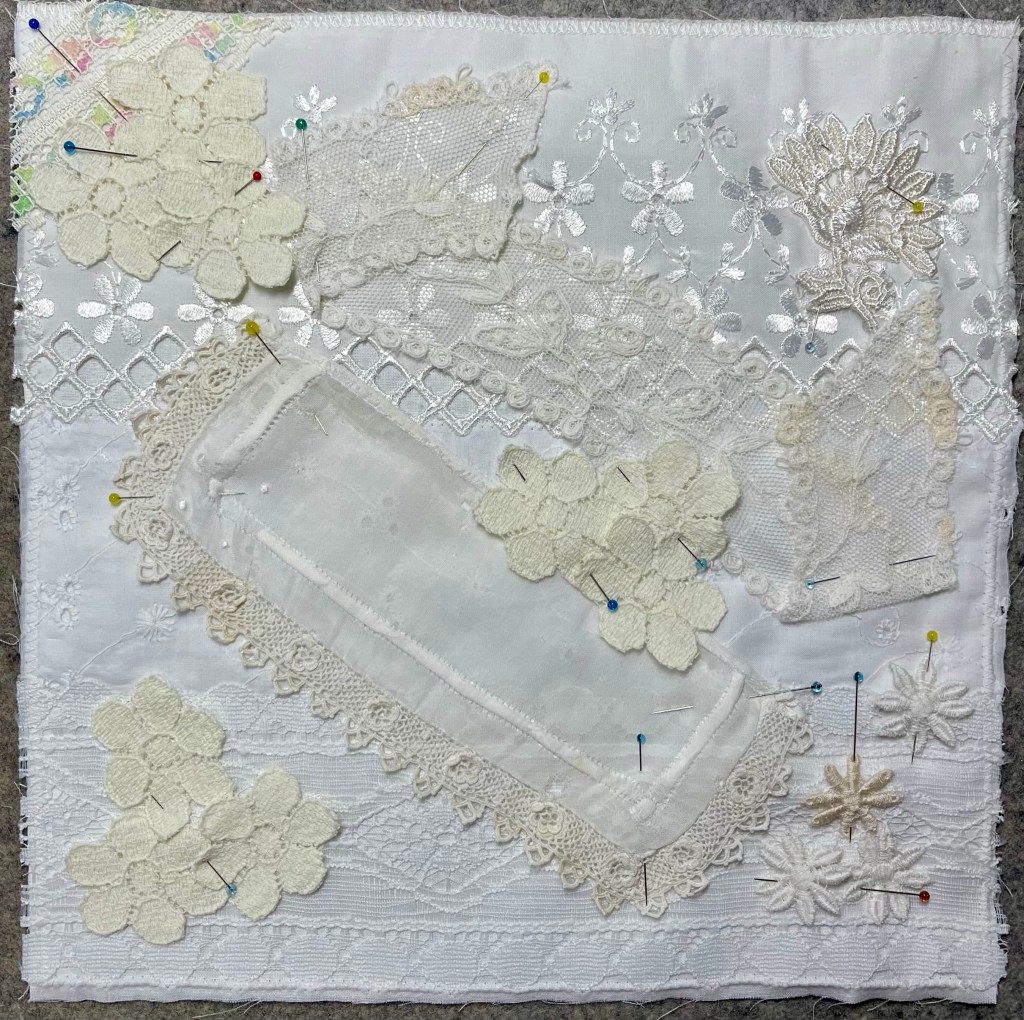
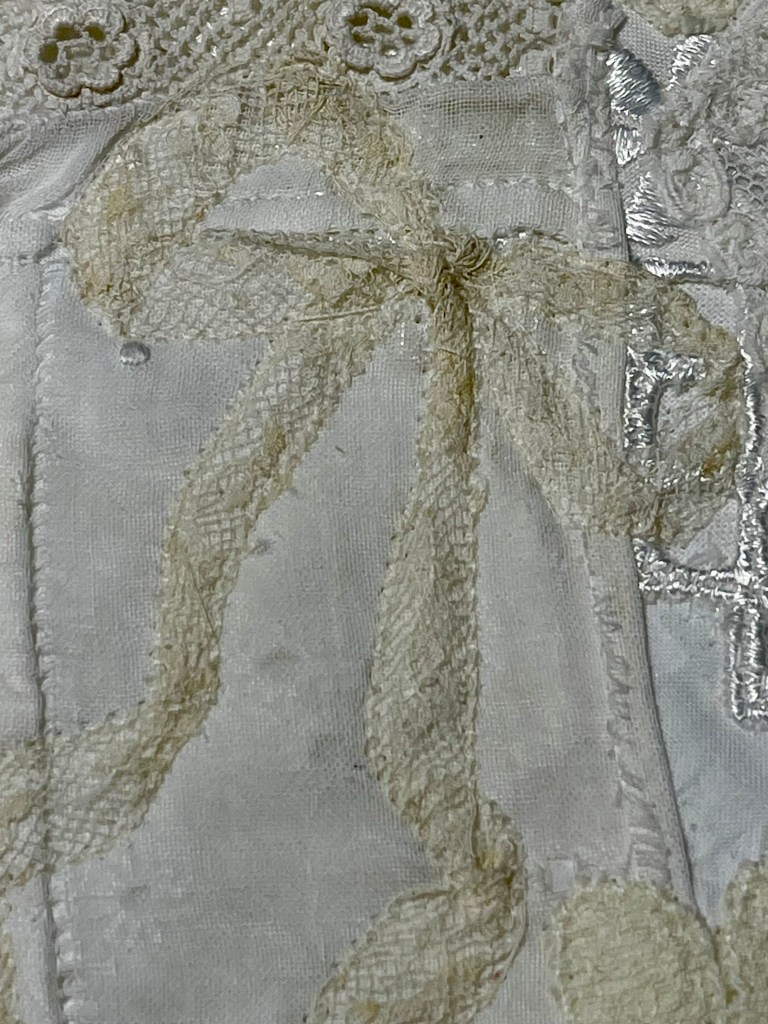
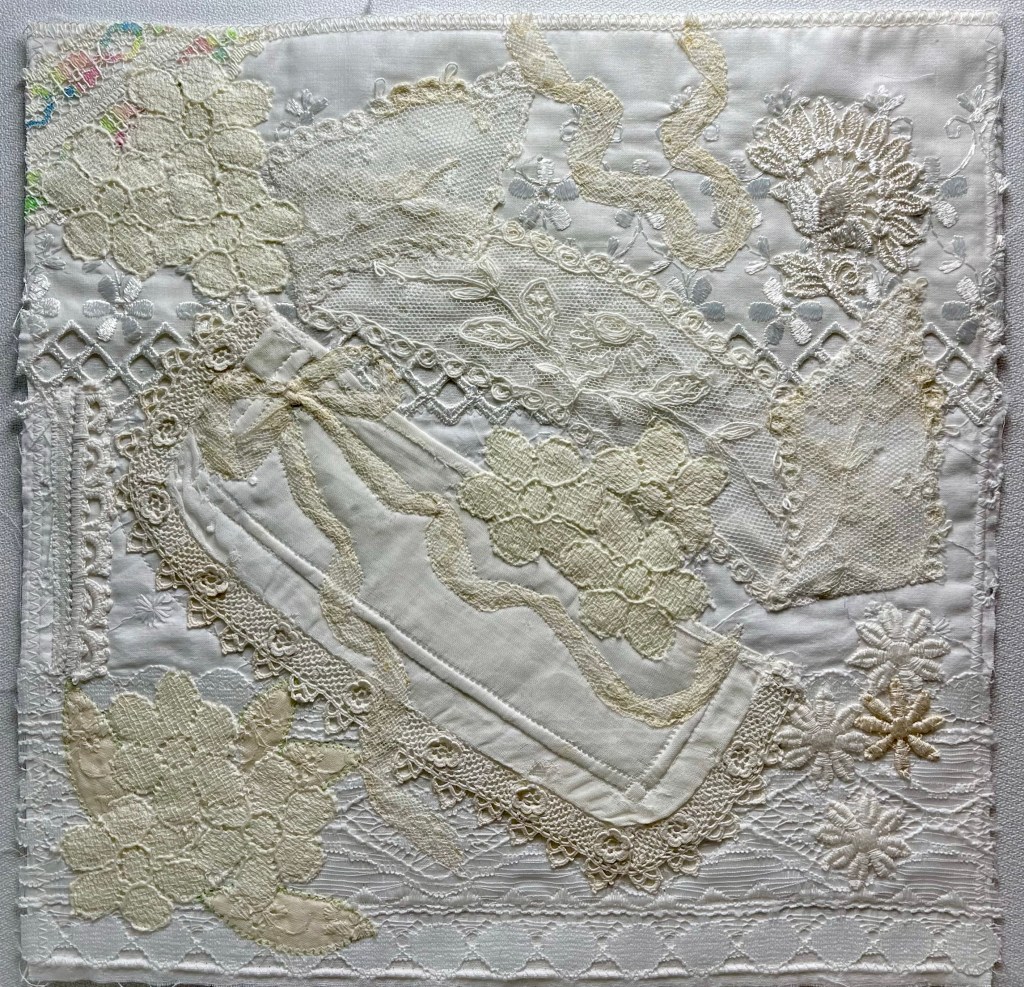
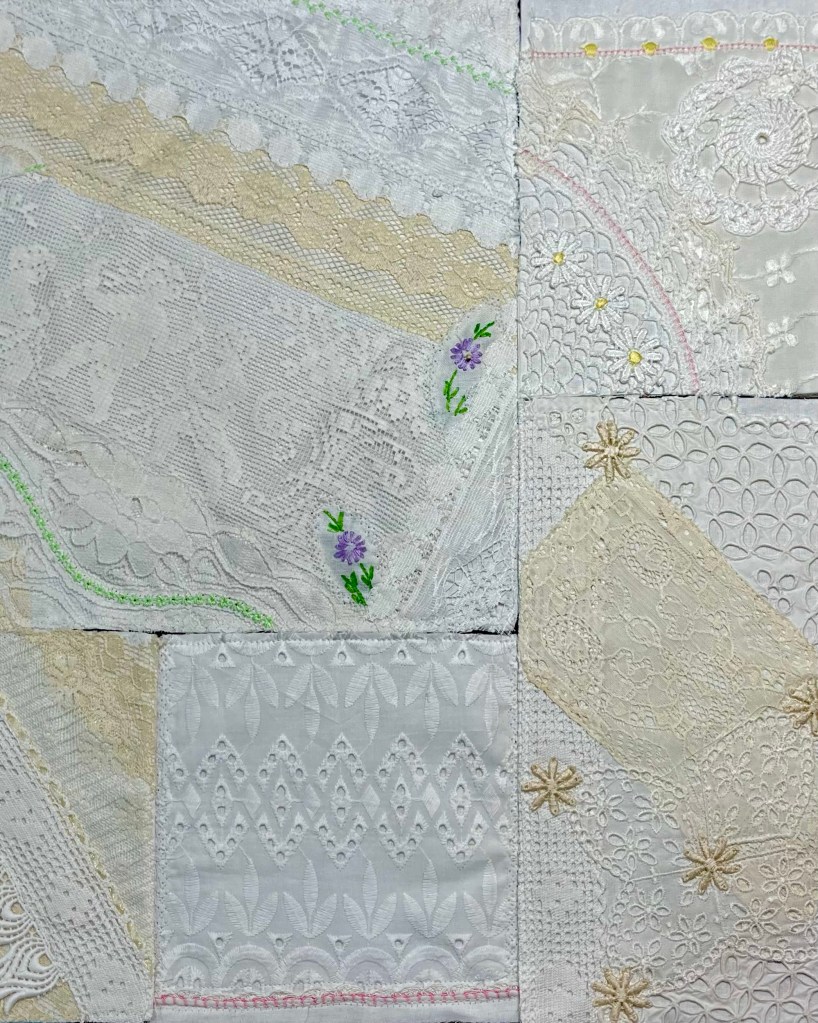
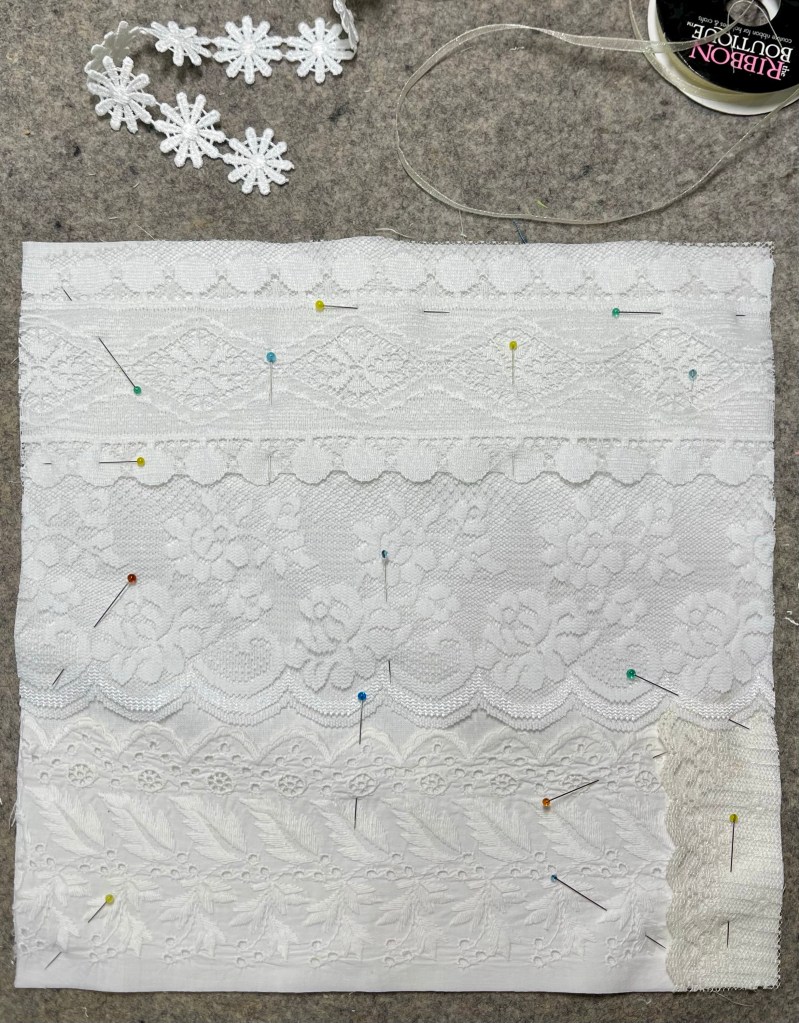
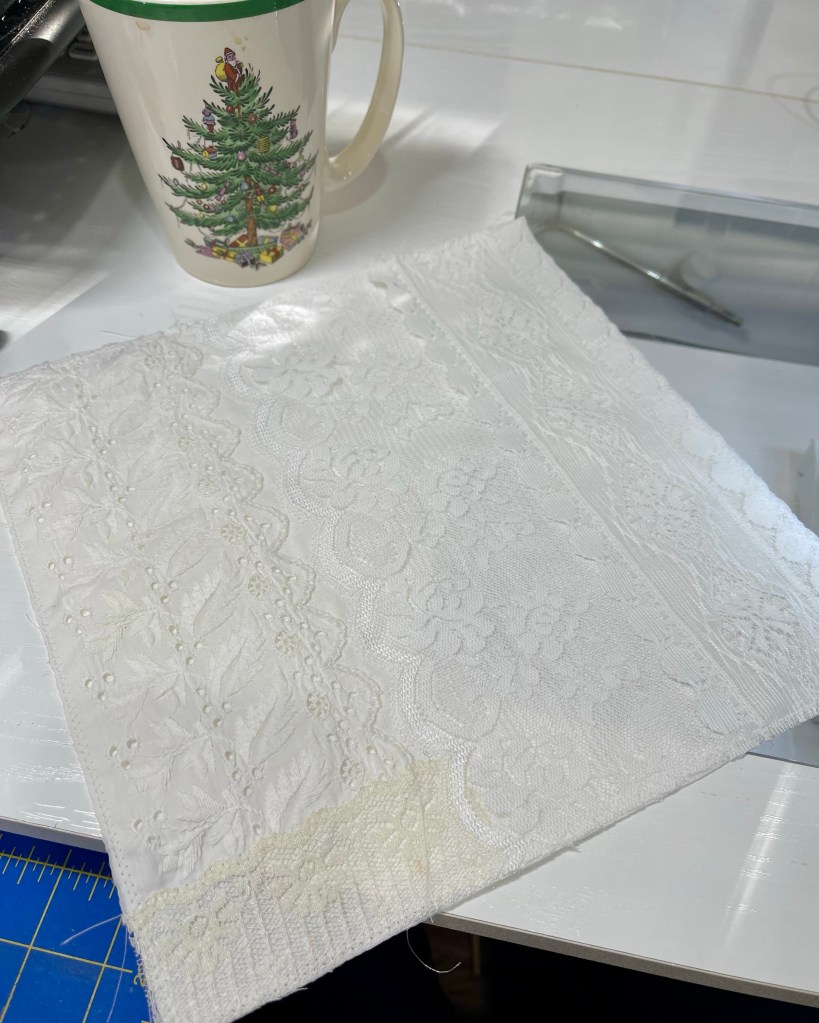
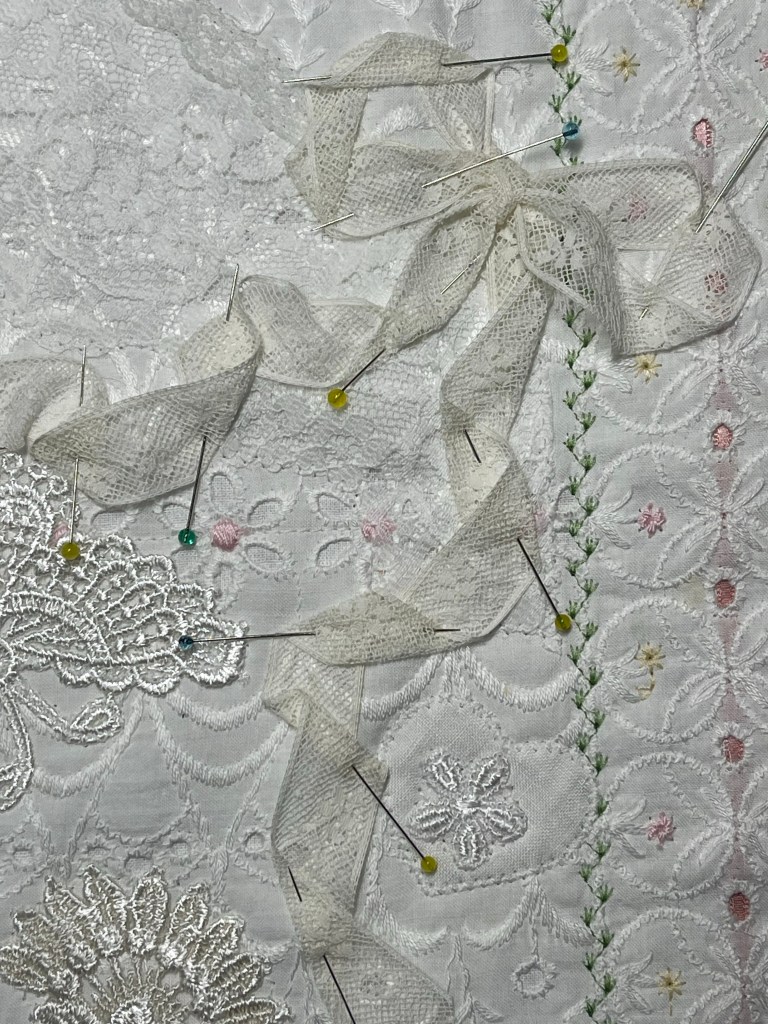
This block is a good example of filling it up with bits of so many things! The bit of color in the upper left corner will either be removed or hidden with something placed atop.

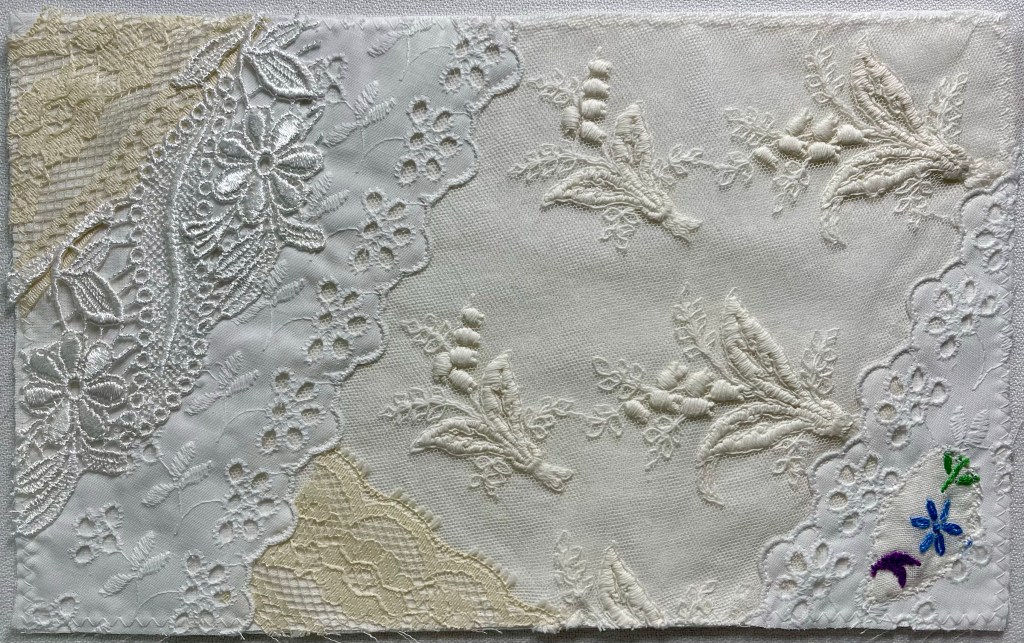
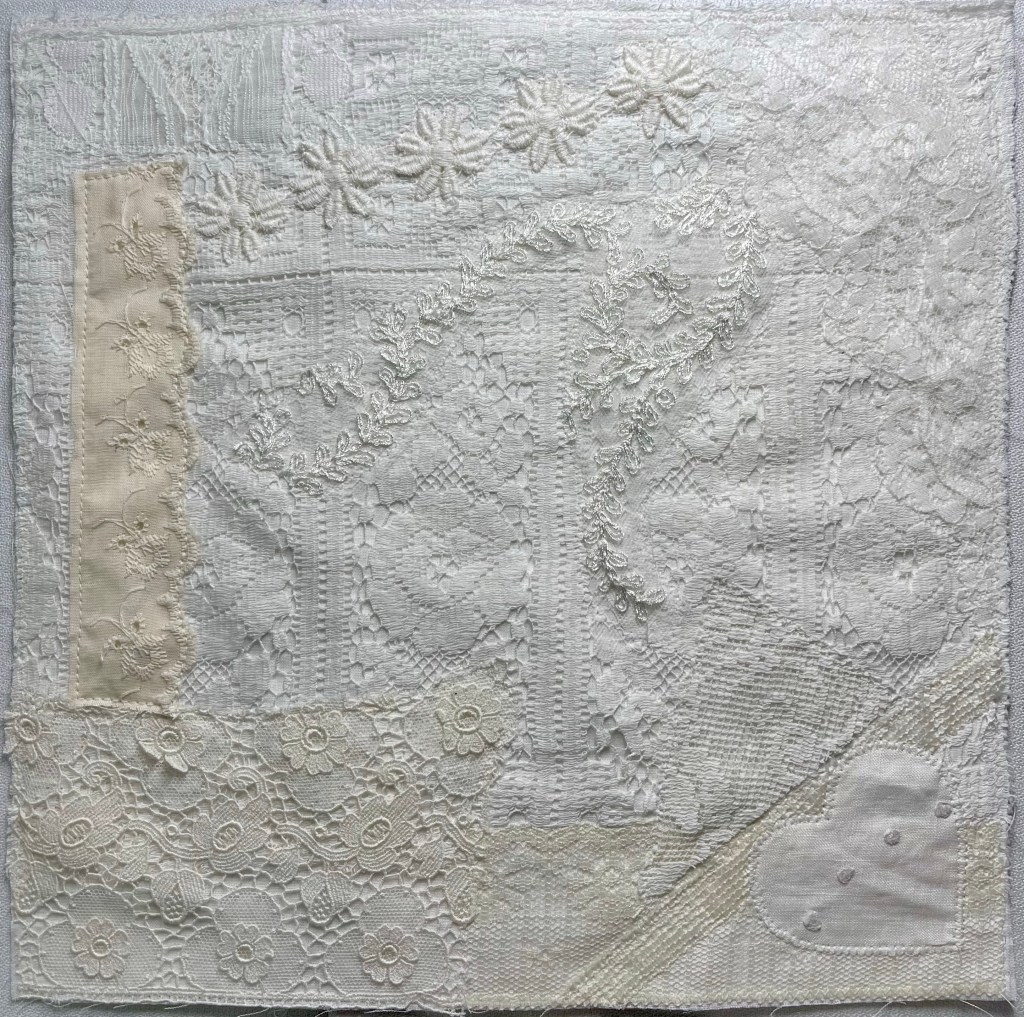
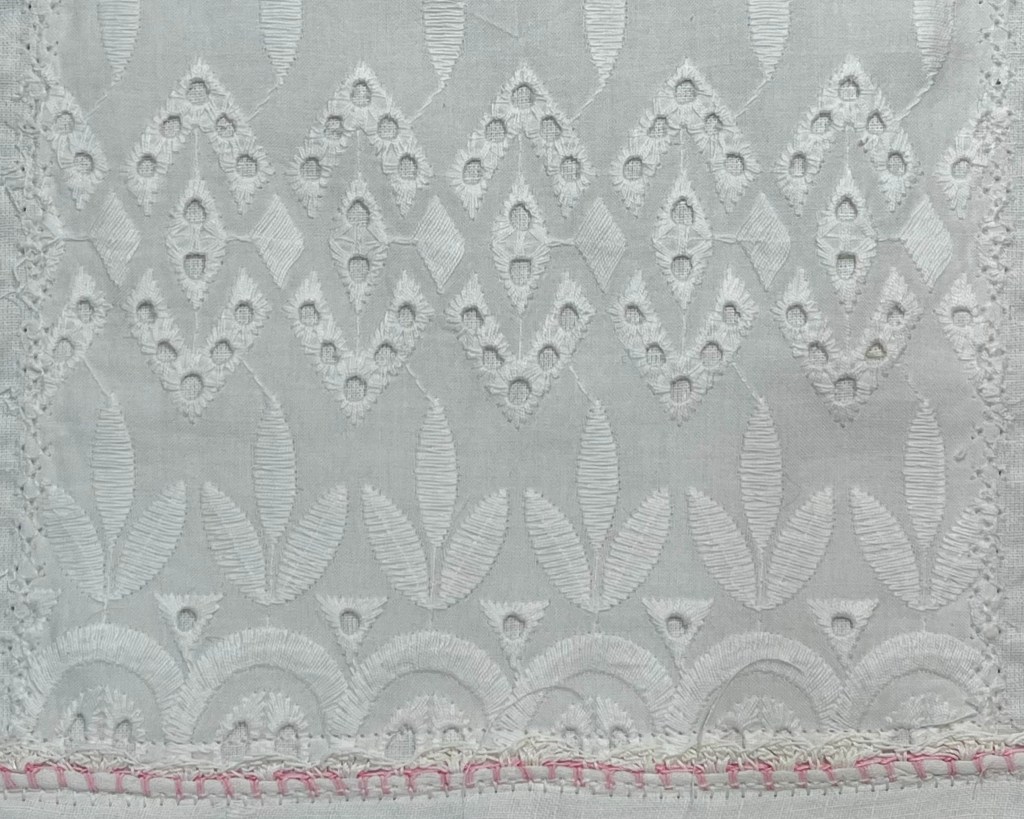
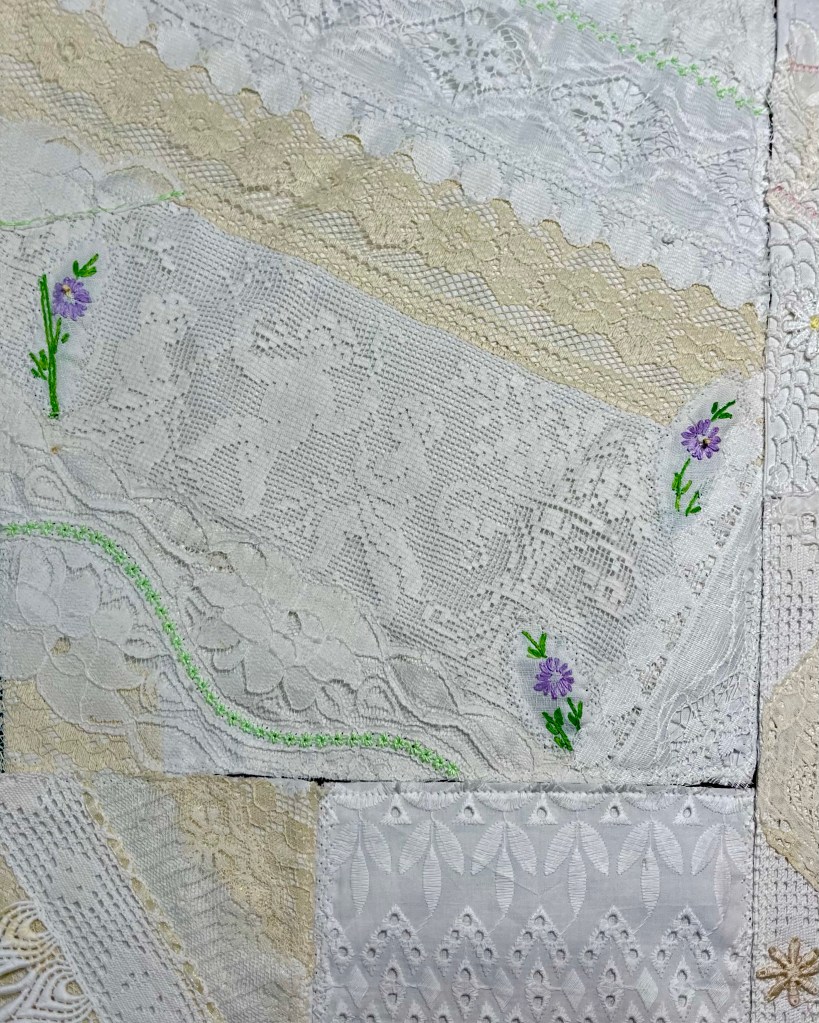
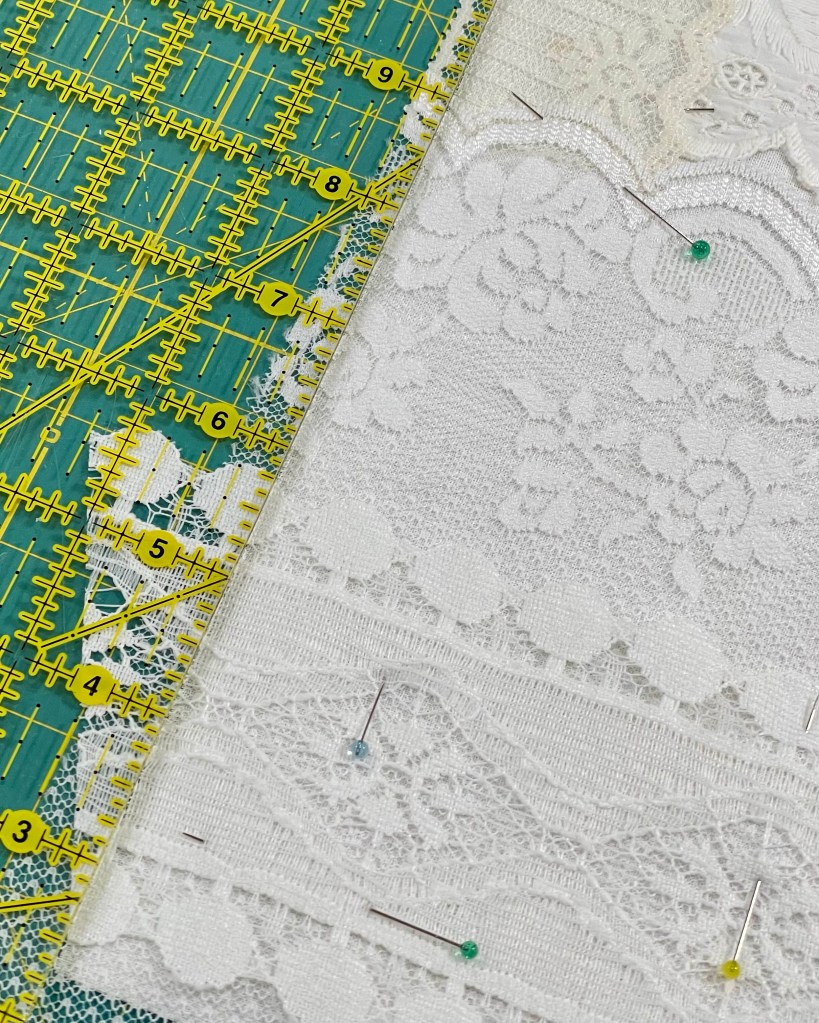
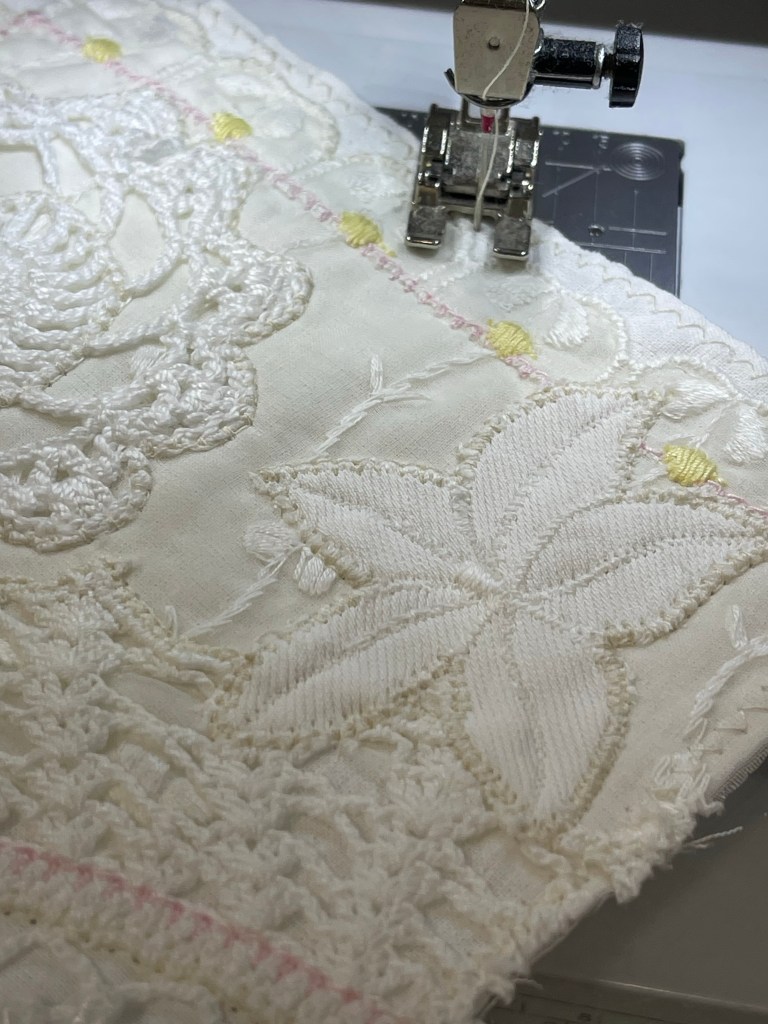
This is another example of a block where all the color will be removed.

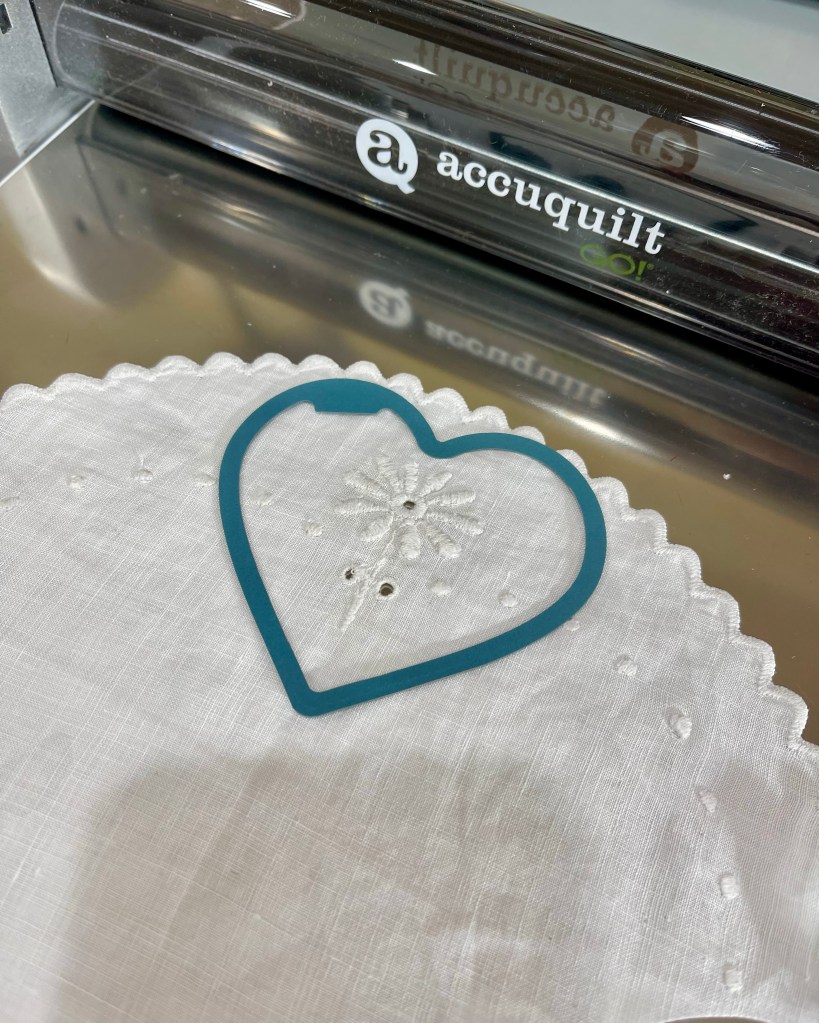
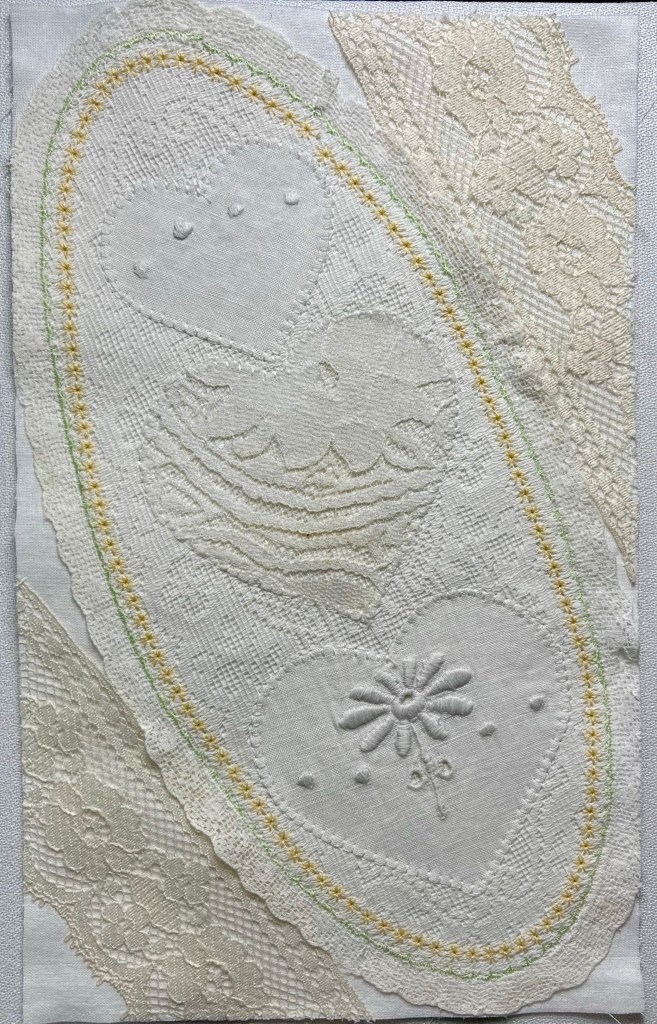
I’m very fond of hearts and you’ll find them in most of the blocks. I’m using my Accuquilt with the Crafter’s Edge (the company is no longer in business ☹️ ) adapter as well as Crafter’s Edge metal cutting templates.

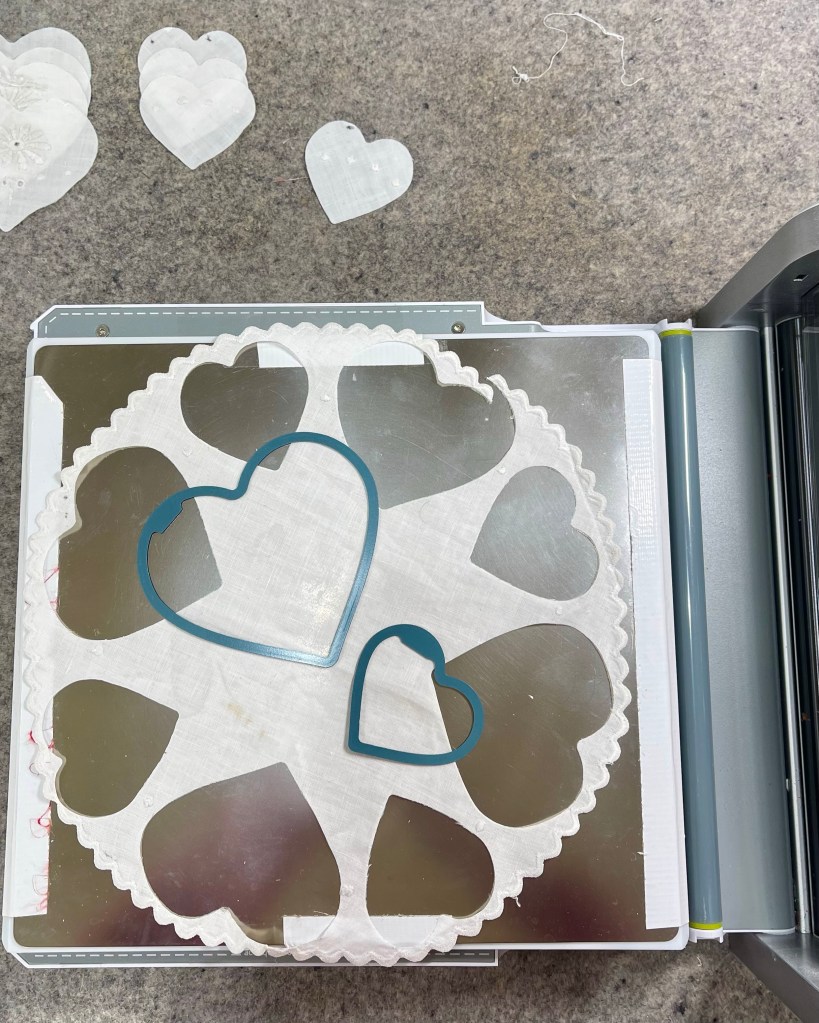
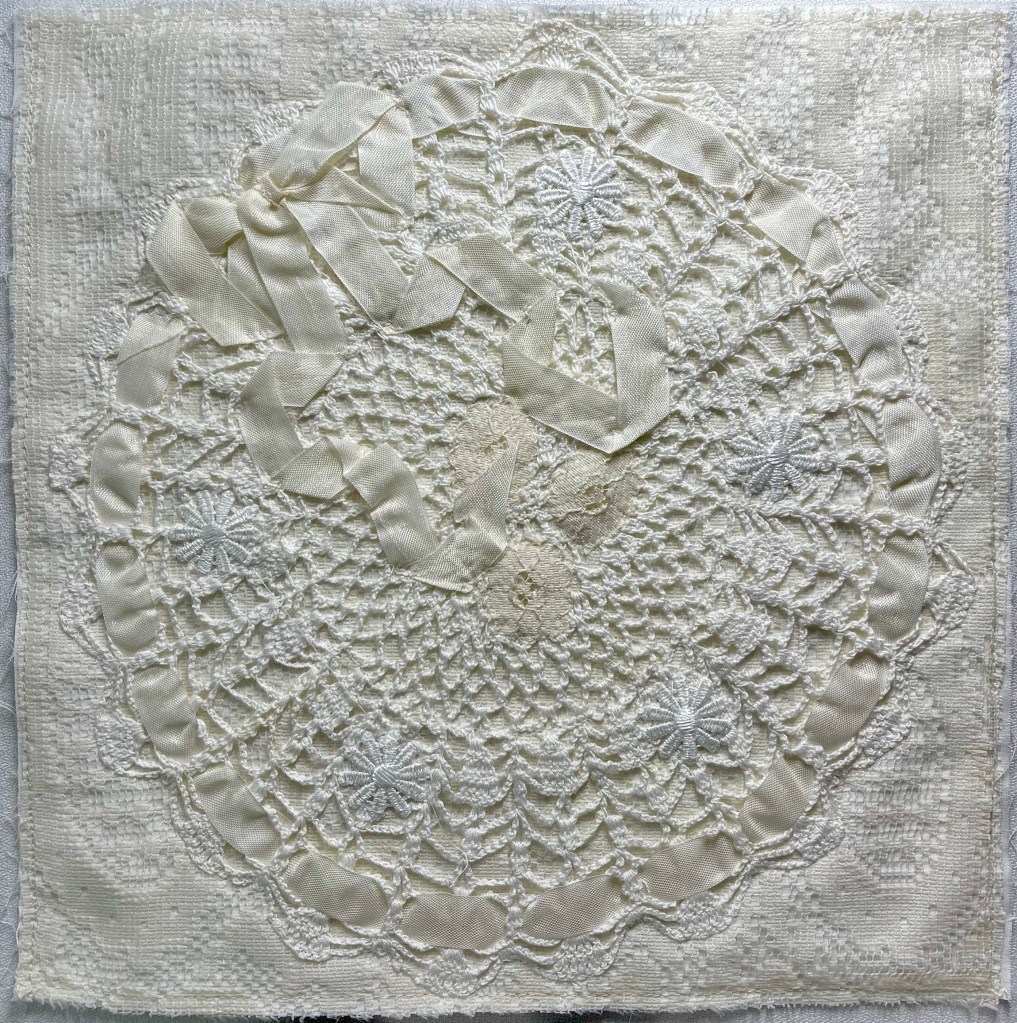
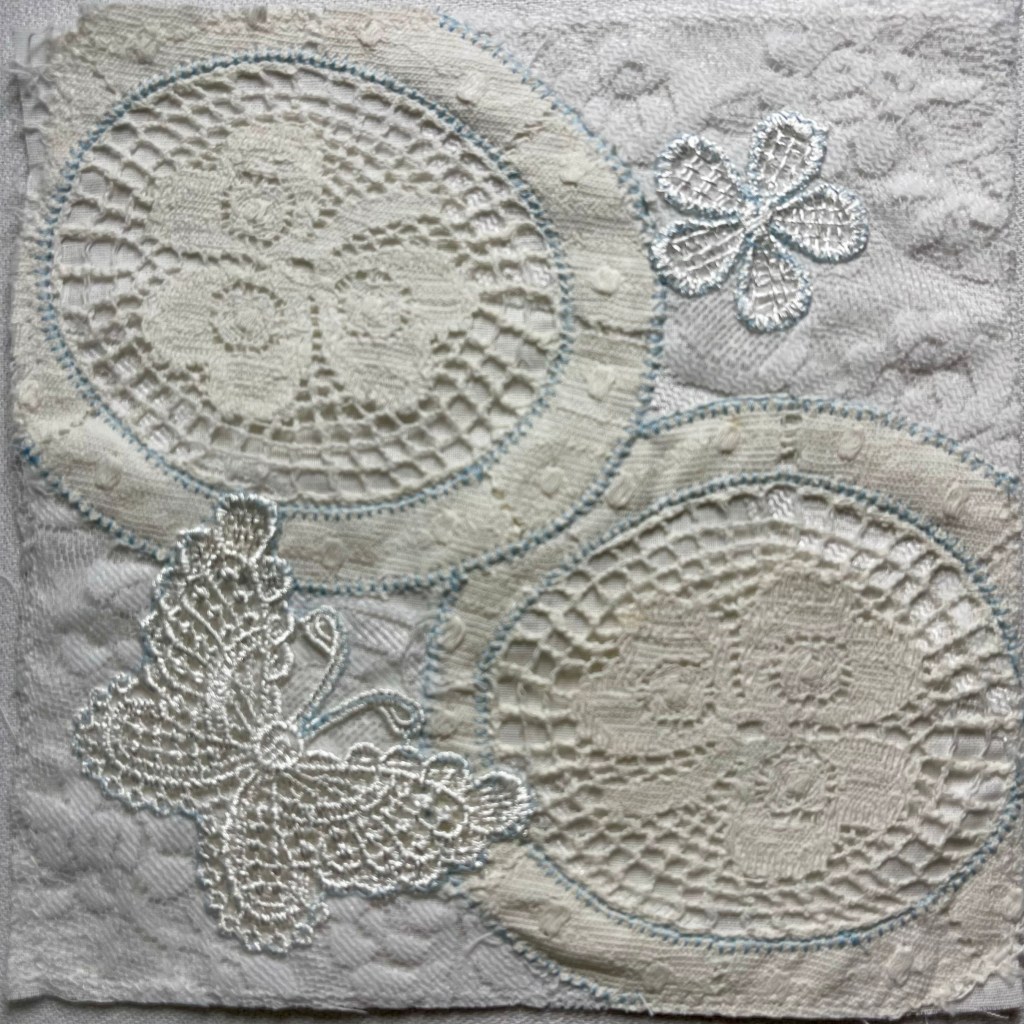
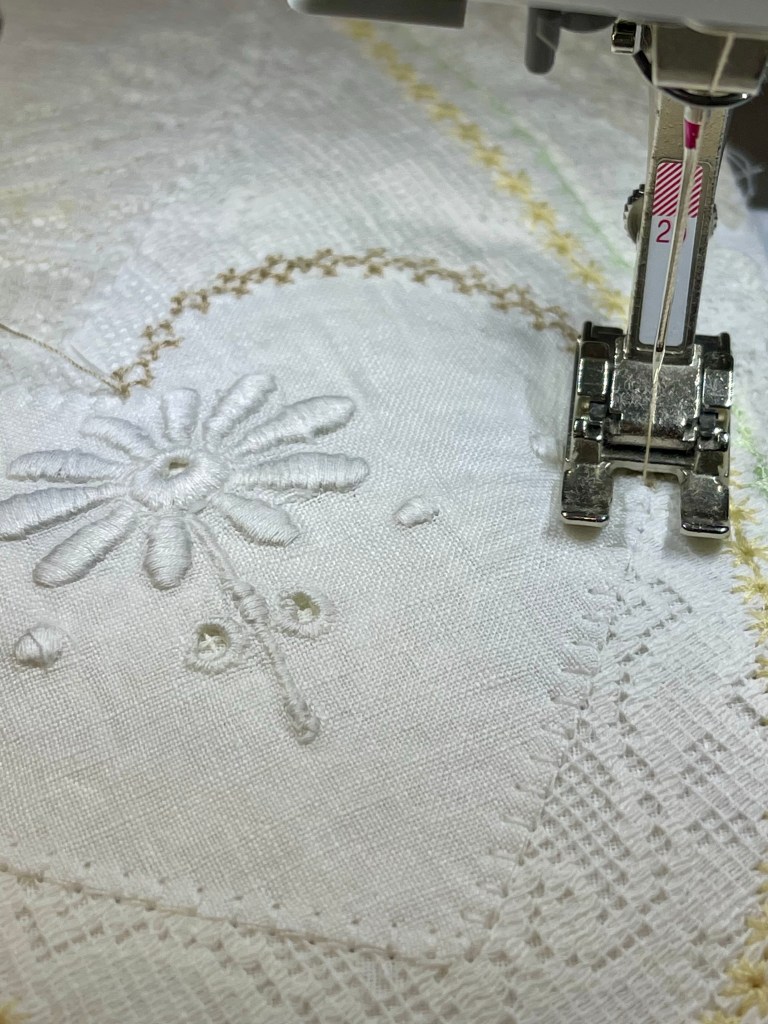
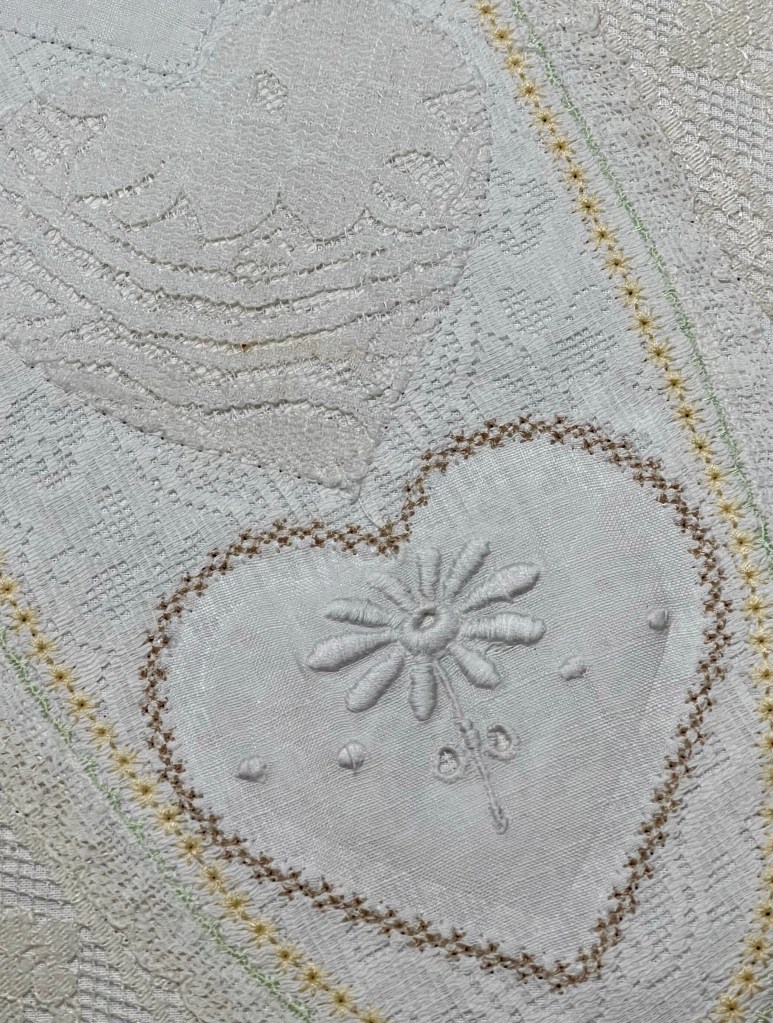
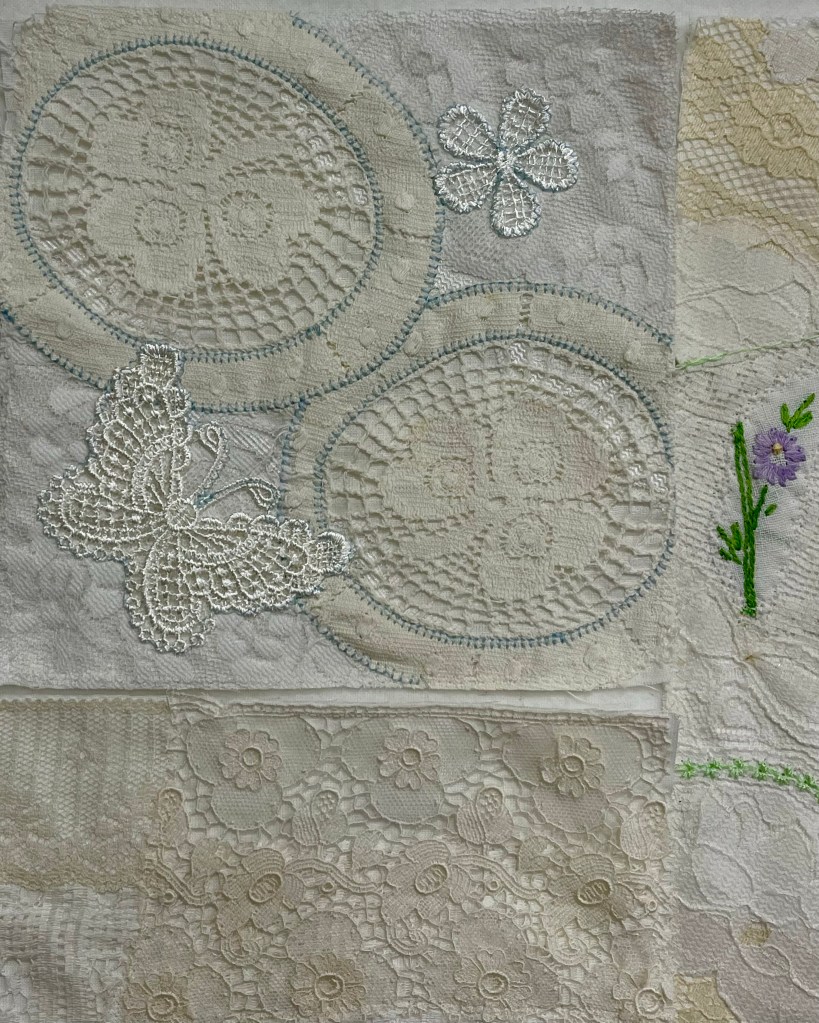
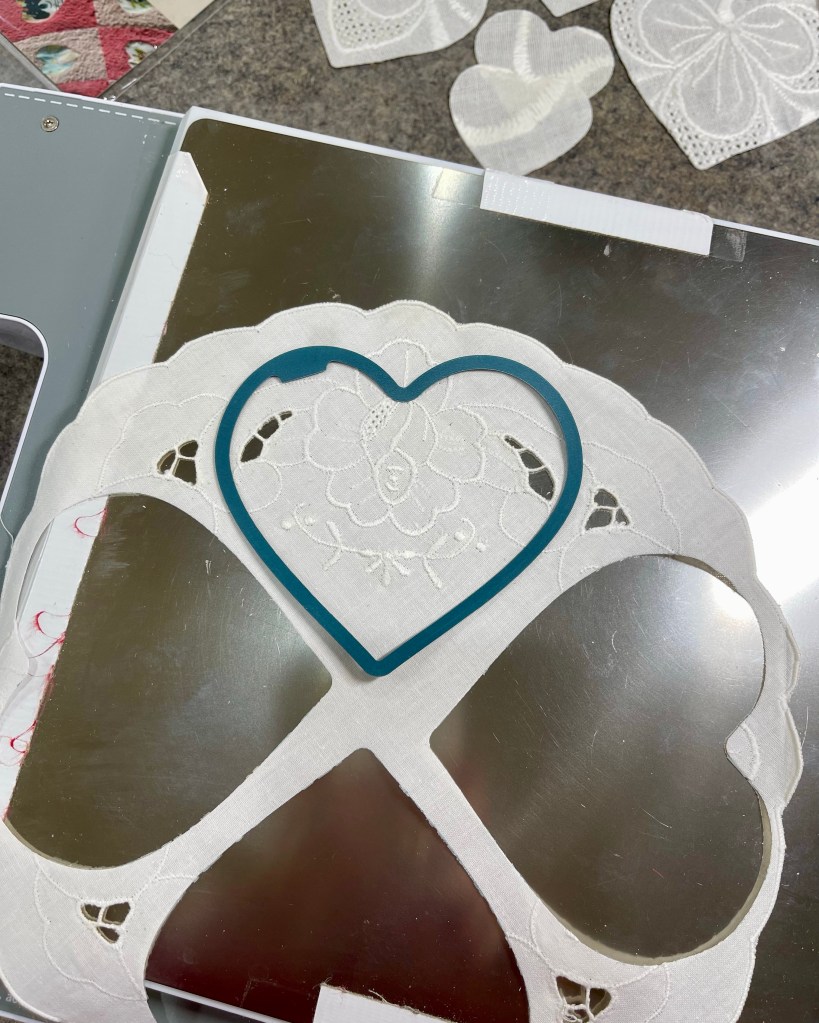
This vintage white circle doily gave me so many hearts, each one so far fussy cut to take advantage of the white embroidery in the doily.

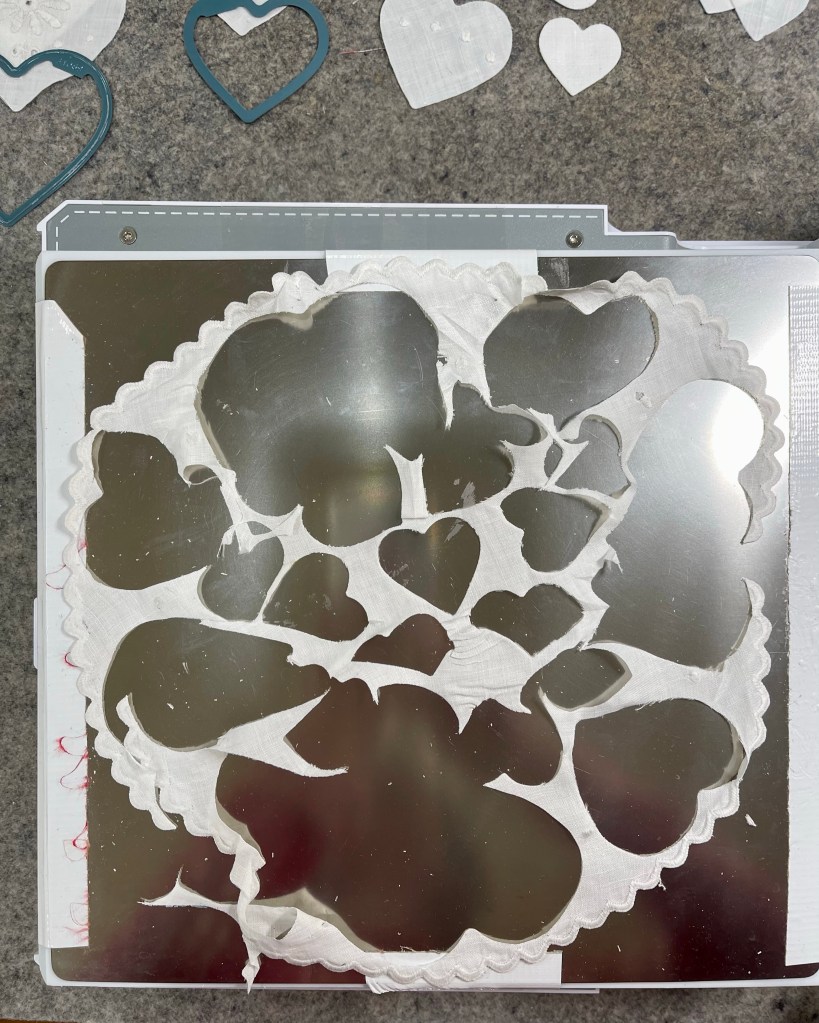
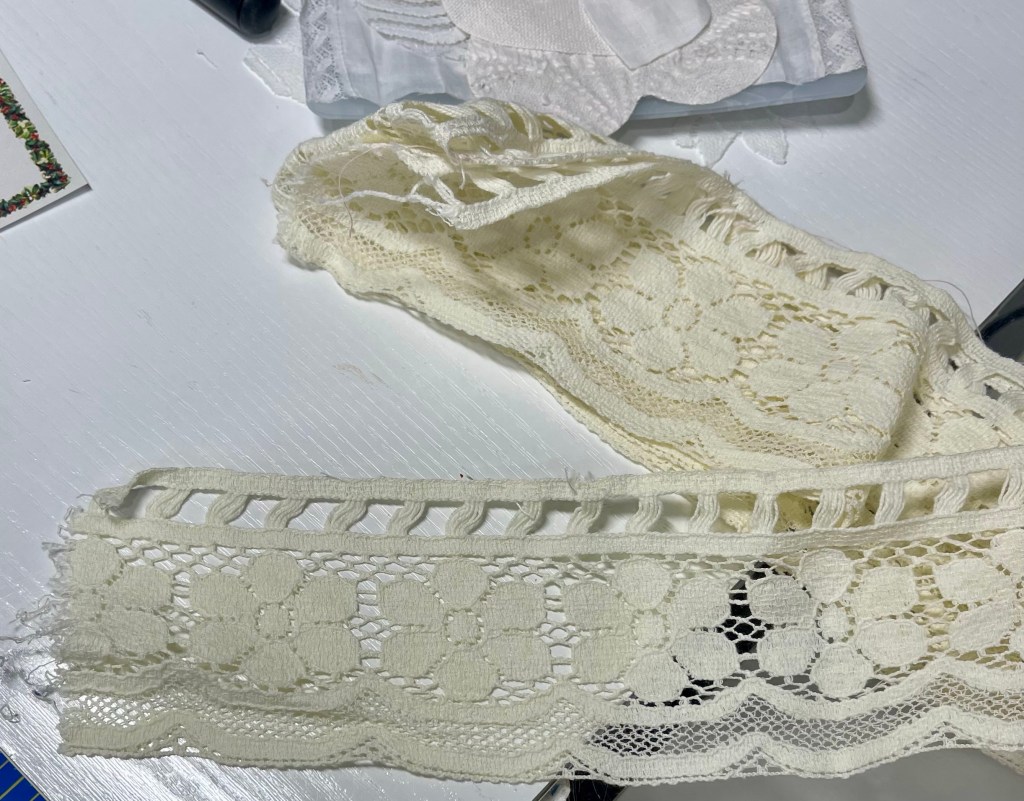
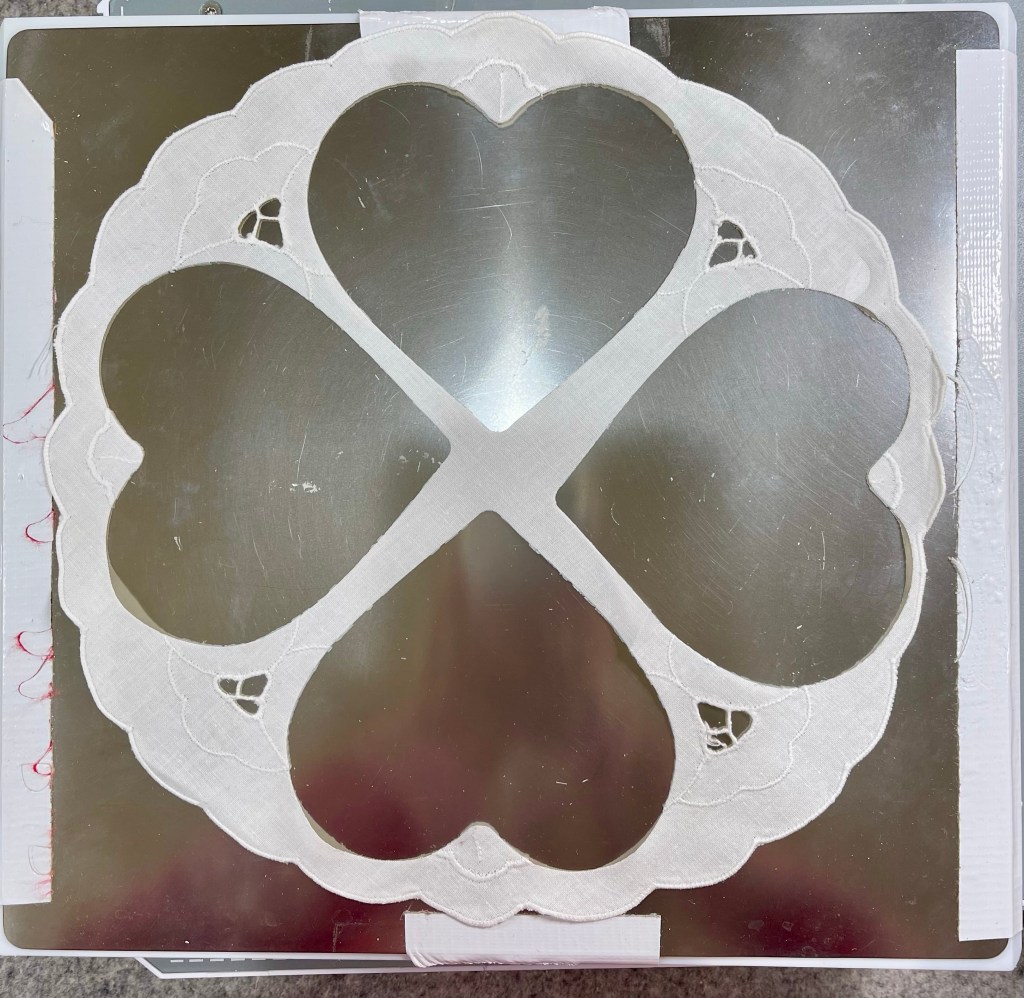
Almost zero waste as I am hopeful to use the leftover scalloped outer edge.

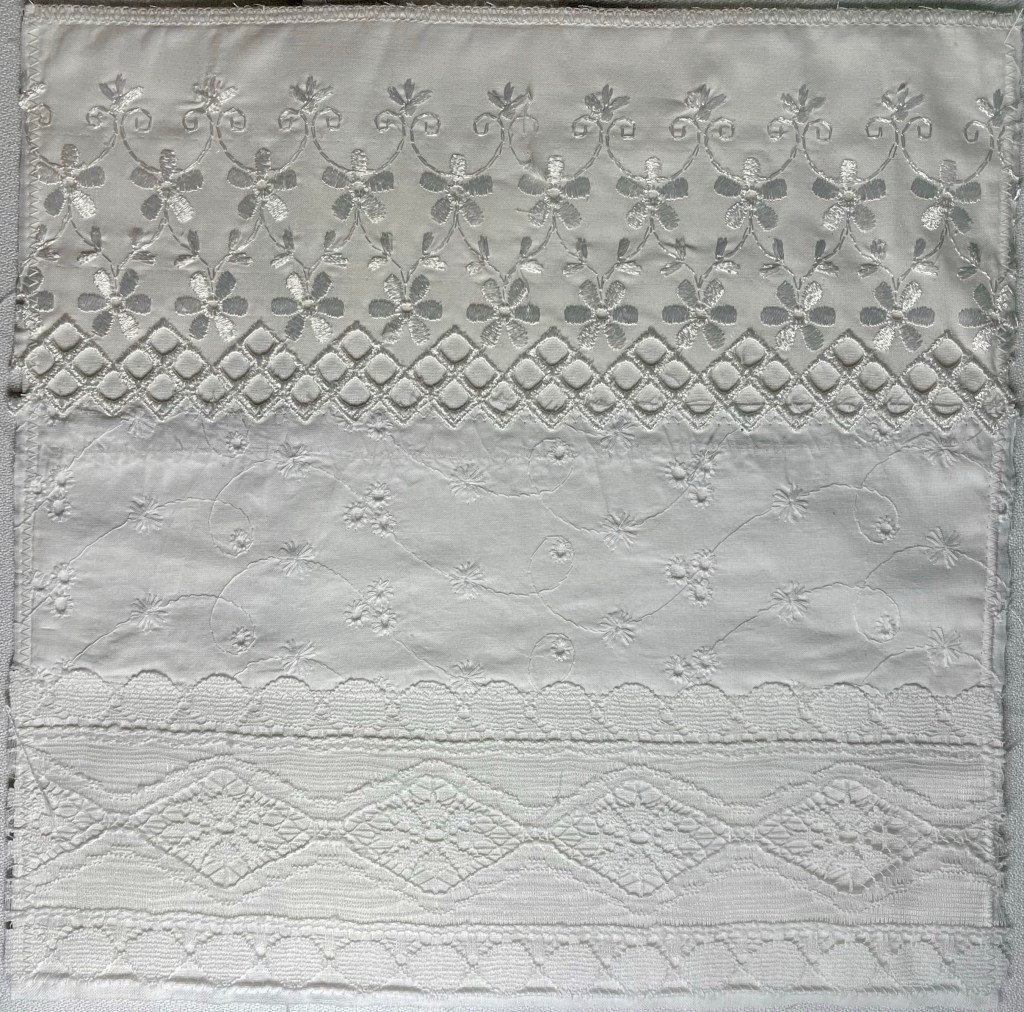
Another vintage doily with some lovely white embroidery.

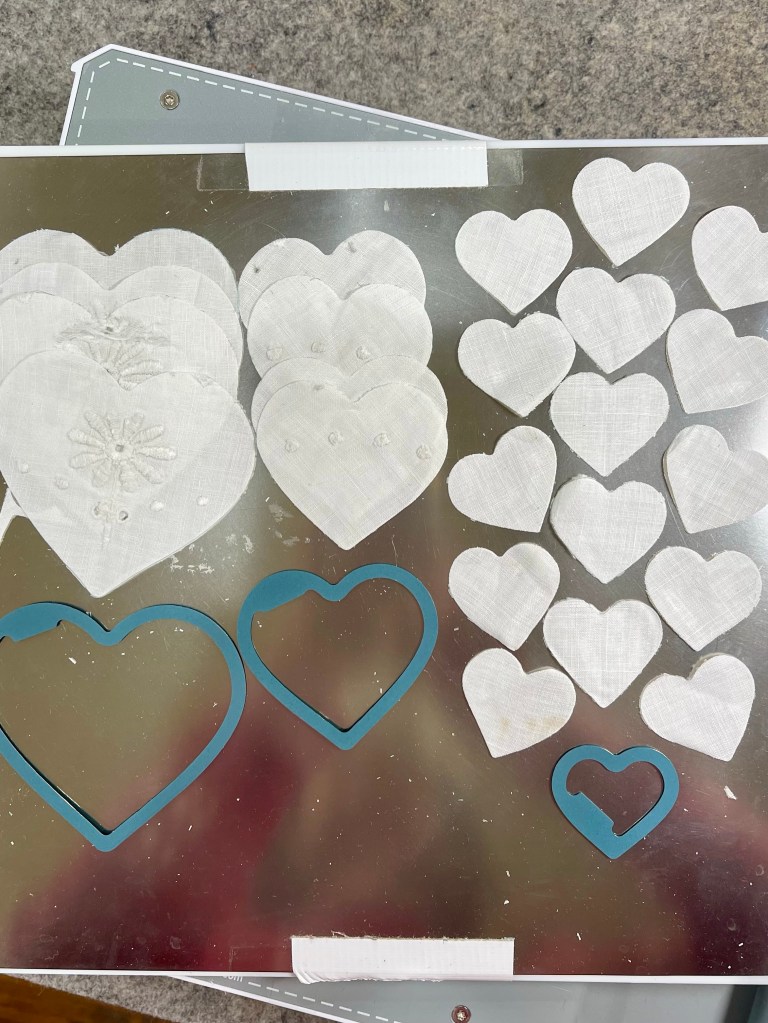
23 hearts from two small white doilies.

Don’t have the Accuquilt or the adapter? Check out this older blog post talking about creating your own templates from dollar store plastic binders:

https://rhondadort.com/2023/06/16/saving-another-butterfly-quilt/

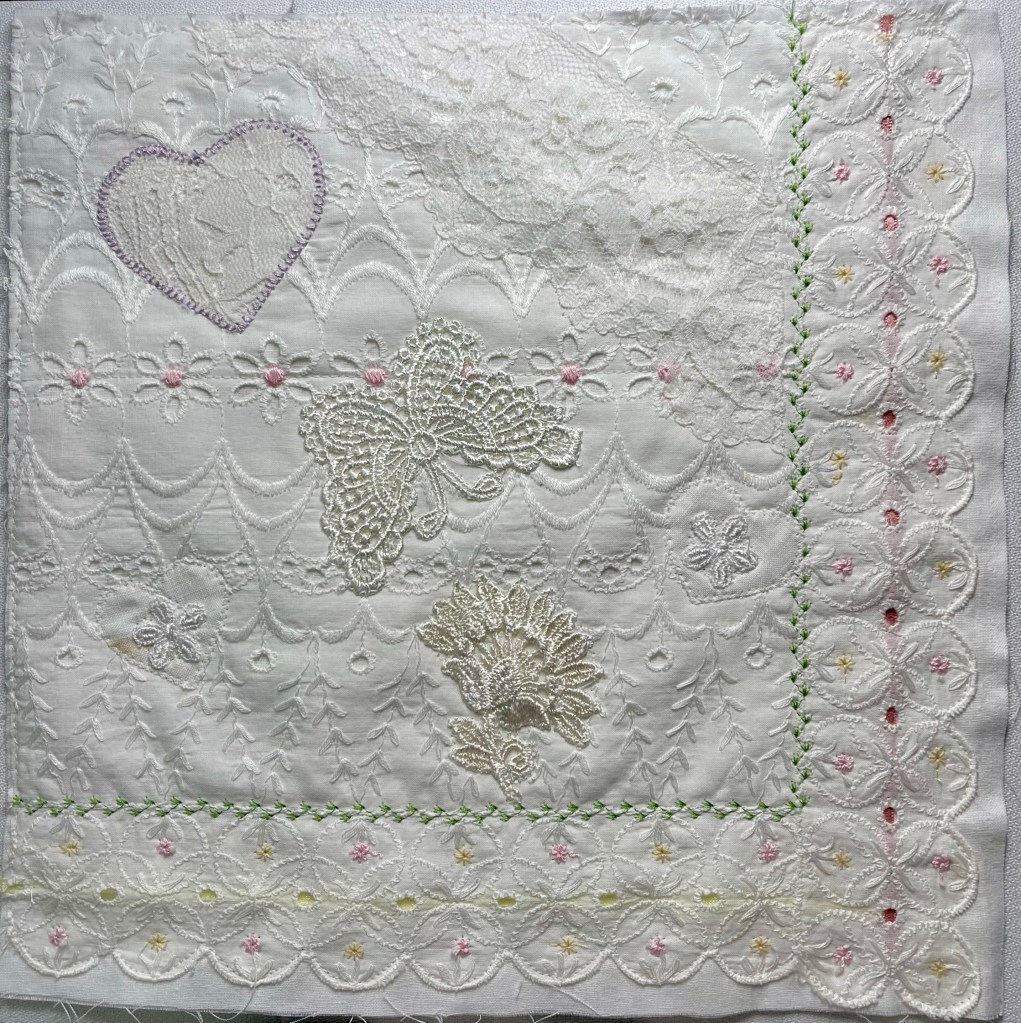
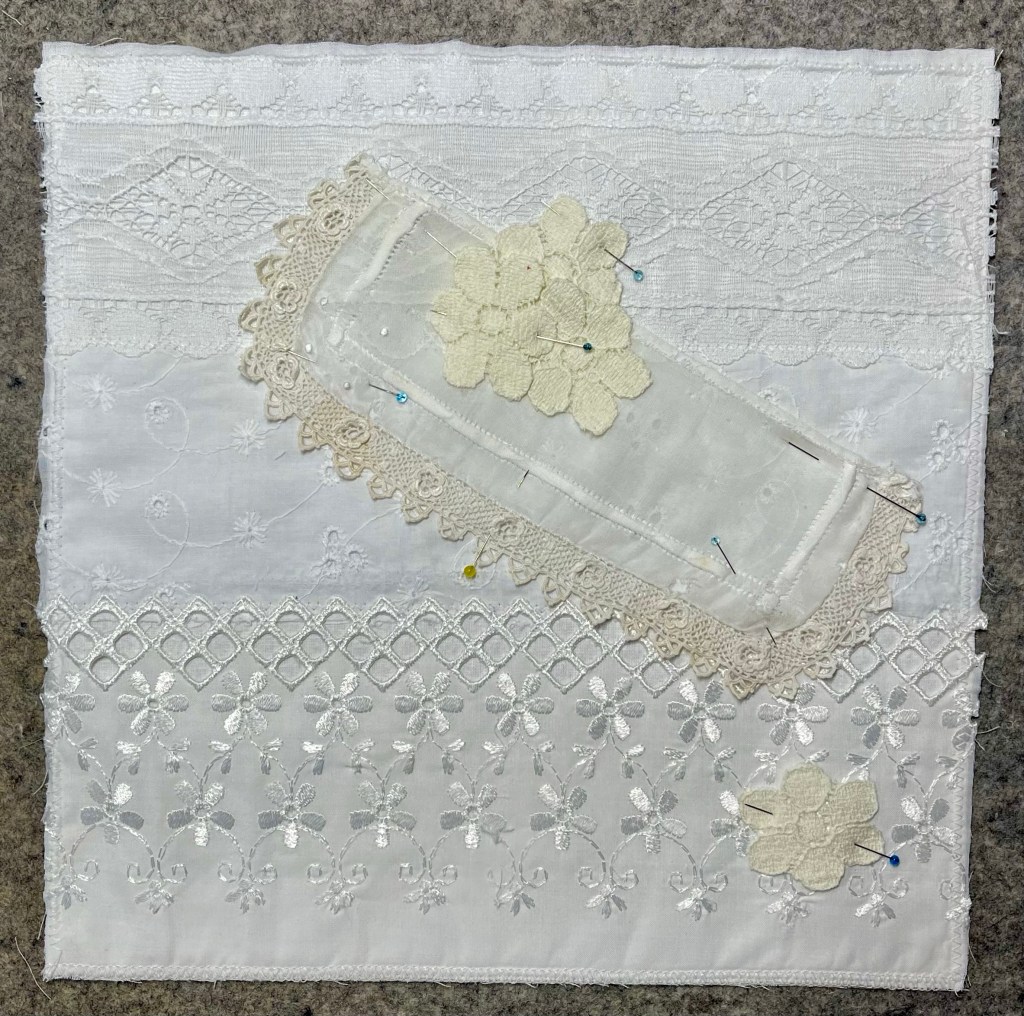
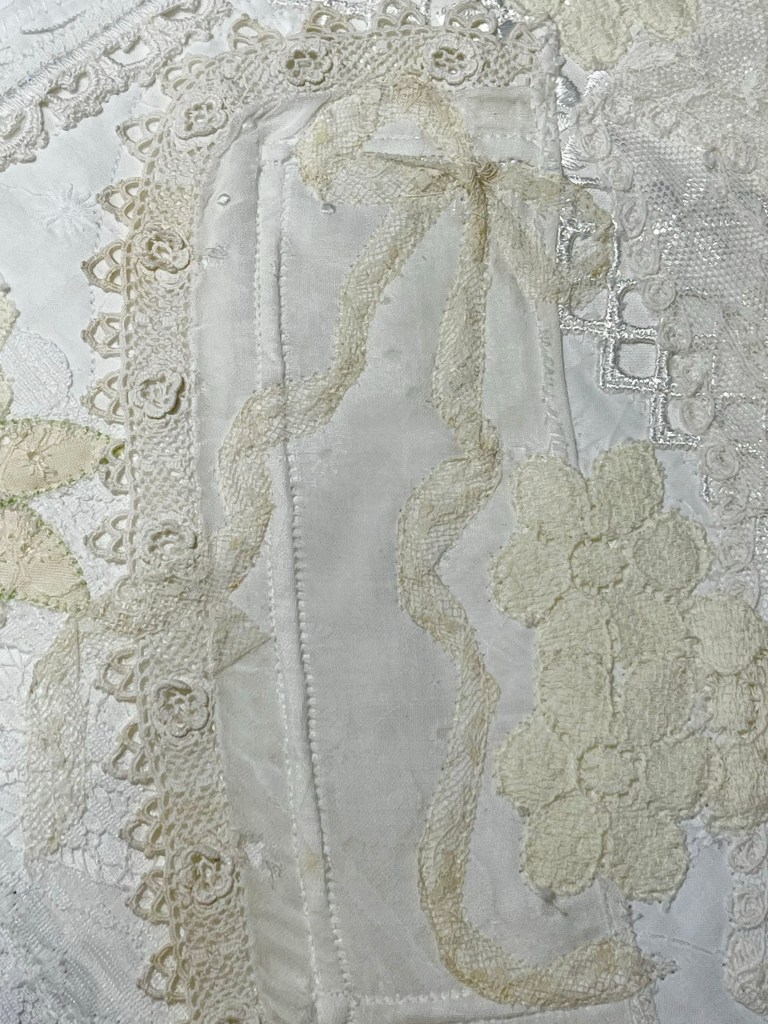
Here’s just one example of the hearts used to embellish a small block.

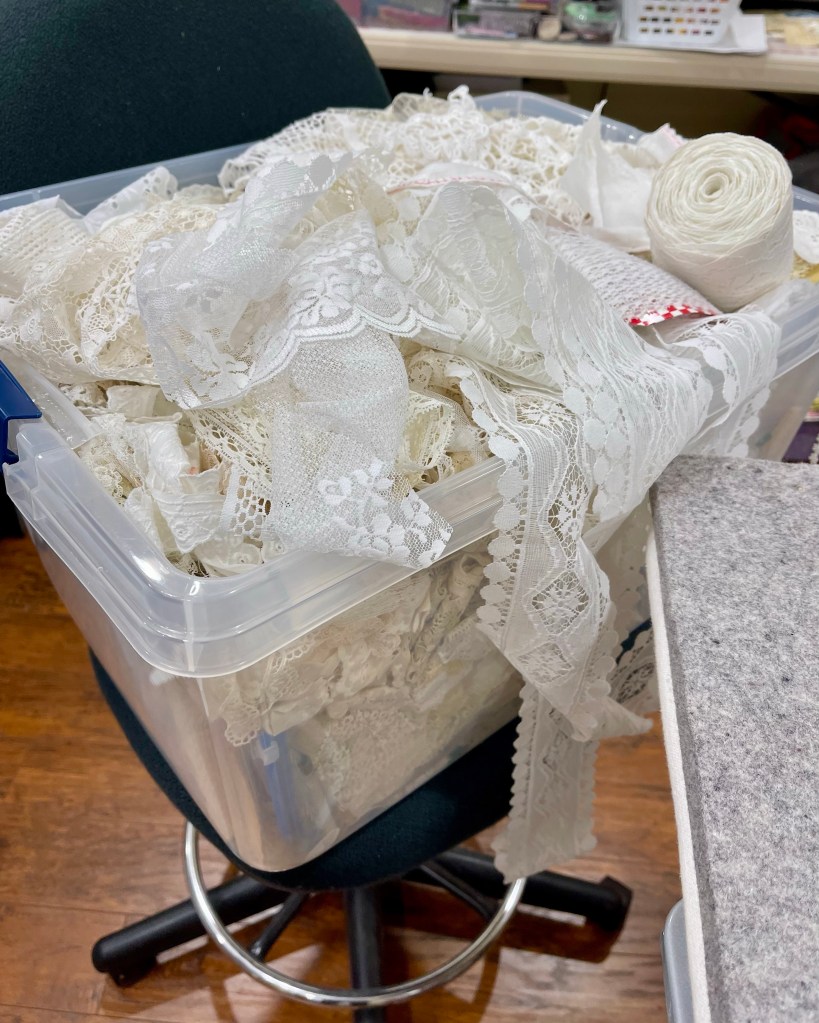
You remember this picture from an earlier blog post? I’ve not even made a dent in the laces and trims! Wonder how many quilts I could make from this container of treasures! ❤️

This post is all about telling you it’s absolutely ok to change your mind mid-project, it’s absolutely ok to become distracted as you create and it’s ok to be flexible as to what works and what doesn’t! It’s your project, do what makes you happy! ❤️🙂

Blessings and happy quilting,

Rhonda

Bits and Pieces #2

Are you thinking of making a Bits and Pieces quilt of your own? Today I’m going to load up the blog with pictures of some of the blocks and talk about several of them.

Incorporating both old and new this block began by covering the muslin base (the stabilizer for the laces and trims) with both white and off while laces. The top right piece is from a dresser scarf, I added the diagonal machines decorative oval stitches AFTER the piece was stitched to the block. The butterfly, the string of 6 white flowers and the white bottom and right side trim is new.

This block base is a piece of an off white vintage commercially produced tablecloth. The old hand crocheted doily (white) needed some “pizzazz” so I added the outer edge ribbon woven, the off white hem tape ribbon with streamers. I fussy cut the 3 center flowers from vintage lace and added the 5 white commercially produced daisy flowers.

This block, while I kind of like it, it may not make the cut as it will be a challenge to longarm.

Oh Lily of the Valley! This brings back childhood memories!

This block did not grow on me. I dismantled it yesterday with the thought: I can do better. I’ll keep you posted.

Talk about a mish-mash of vintage, this block fits the bill!

Hum…at his point in my project this one, in my mind, is boring. Expect changes next time I blog…

Have you noticed I am partial to hearts, butterflies and the white daisy-like flowers?

The visually heavy top motif, using a matching color thread I decoratively machine stitched around the outer edge of the large flower. It is hardly noticeable. Using a darker color thread I did a different machine decorative stitch on the inside of the outer flower. It serves to give the motif just a tiny bit of visual depth.

Goodness, where do I start describing this one, it’s jam packed with so much! Can you easily see the off white hem tape ribbon?

I should have mentioned earlier, I’m also smitten with ribbon bows with long streamers.

Vintage shamrocks appliqué stitched with pale blue 40 weight thread. This stitching gives them definition.

A portion of a white vintage doily with loads of white decorations stitched to the front.

How the block began…

And how it finished. Below you’ll find a few close-up pictures:

The block above is the first of 10 pictures showing step by step start to finish.

Using this wonderful vintage lace I fussy cut lots of flowers.

The diagonal piece? Maybe a child’s garment cuff?

The ivory leaves were cut from vintage eyelet trim.

A tiny zig-zag with matching thread firmly attaches the fussy cut flowers.

In order to give the petals interest I appliqué stitched them in place using a pale green 40 weight thread.

The piece above the cuff, a child’s lace collar?

Another lace bow with streamers! Are you surprised! This bow is made from quarter inch wide very fragile ivory lace.

Did I intend for the stained part to fall at the center? No! But in my mind I couldn’t have planned it better!

Finished!

While I like everything in this block it remains rather boring. I initially appliqué stitched the off white hearts with matching 40 weight thread.

Rather than removing the appliqué stitching, I just put a darker thread in the sewing machine and stitched right over my original work.

I’m happy with the results and will apply the same procedure to the remaining 2 hearts.

Initially began as a project to use up whites/off whites/ivory vintage pieces to create a utility “throw” sized piece, I’m still thinking that will be my plan. What has changed since I began is the idea of doing a bit of hand embroidery stitching on the blocks as well as some beading.

I have no time frame in mind, that’s how I work best. 🙂

Blessings and happy quilting,

Rhonda

A quilt top from bits and pieces of laces and trims.

A new project is in the works!

I’ve been collecting vintage linens, doilies, trims and laces for years and often it’s the white, off white and/or ivory pieces that are passed over for the more colorful embroidered pieces.

This picture is a testimonial to how often these pieces are delegated to a storage bin.

Over the 2024 Christmas Holidays I began a project to use these pieces by creating collage blocks. Using graph paper I created a pattern to follow:

A finished 16” block created by one 10×10” square, one 6×10” rectangle and two 6×8” rectangle blocks.

Because laces and trims are light weight and often fragile I knew I would need a Base Fabric for stability and chose 44” wide light weight pale ivory 100% cotton muslin. From the bolt I cut a 5 yard length, zig-zag stitched each of the two raw edges and laundered in hot water before tossing into the dryer.

After the laundry process I needed to press the muslin and begin to cut blocks as per the measurements above. Having cut out one of the 10 1/2” muslin blocks I immediately knew I would need a double muslin base. Good thing I laundered 5 yards!

Was I tired? Paying more attention to the TV? Sleepy? Who knows but I promptly mis-cut both of the 6×8” blocks to measure 6×6” and began creating collage blocks. Imagine my surprise when on the design wall they didn’t all fit together! To make these “mistake” blocks work, I had to create a finished size 4×6” filler block.

➡️ 01/09/25 edit: Please know the muslin serves as the stabilizer. It is on this “stabilizer” that I will be building my block using just about anything I can find in my bin of laces/trims/dresser scarves/tray cloths/eyelets/doilies/vintage and/or new yardage/etc. etc.

This is my first block, one of the mistake 6×6 size. It is made up of: tray cloth, part of a crocheted doily, 3 commercially produced white flowers and a very small crocheted circle. The pink and the yellow machine decorative stitches use Spaghetti Threads (size 12 weight) from Wonderfil Specialty Threads. https://www.wonderfil.ca/?goal=0_2be335a0bb-a87de171ce-438423661&mc_cid=a87de171ce&mc_eid=04e4f0a978

This wonderful white fabric above was off the bolt several years ago at JoAnn Fabrics. The pink is from a vintage crocheted edging.

While the overall theme concentrates on white/off white/ivory I’ve added very small pops of color. These purple flowers are from leftover scraps of a long ago project.

Aren’t these cherubs just the best!

I most likely jumped the gun on this ivory hem tape ribbon, it will definitely be a problem when long arm quilting. I might stitch down every edge or I might remove it now and stitch it down again after the quilt is finished.

It’s easy to add commercially produced embellishments to many of the blocks, both the butterfly and the 5 petal flower are new.

With the 10 1/2” square on the work table, I randomly began to pin trims and laces to the double muslin base.

With the block base covered, I next trim to size.

I’m now ready to machine stitch the laces to the block base.

I’ve got various threads ready to use.

In order to see where I’m stitching, I have found that an Open Toe foot works best for me.

Either before or after the laces are machine stitched to the muslin base, I zig-zag stitched all around the outside edges. I used a thread that closely matched the laces, this way if during block construction the zig-zag stitch might fall outside the quarter inch seam it will not be readily visible on the front of the quilt.

Today I’ll leave you with this picture, a block ready for a decorative collage.

Blessings, Happy New Year and of course Happy stitching,

Rhonda