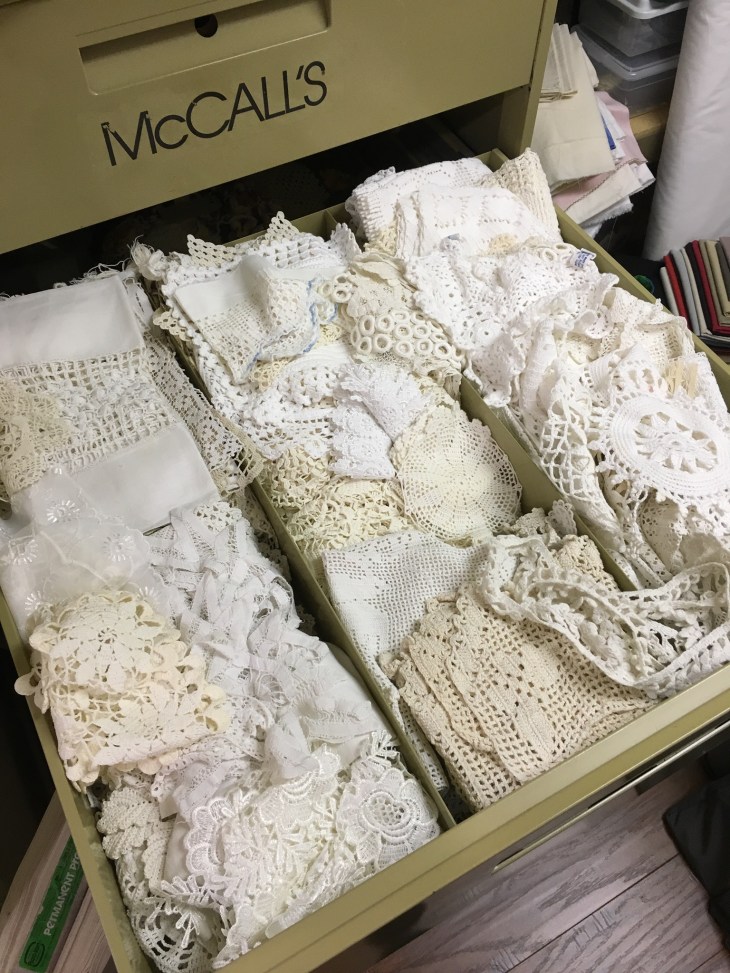
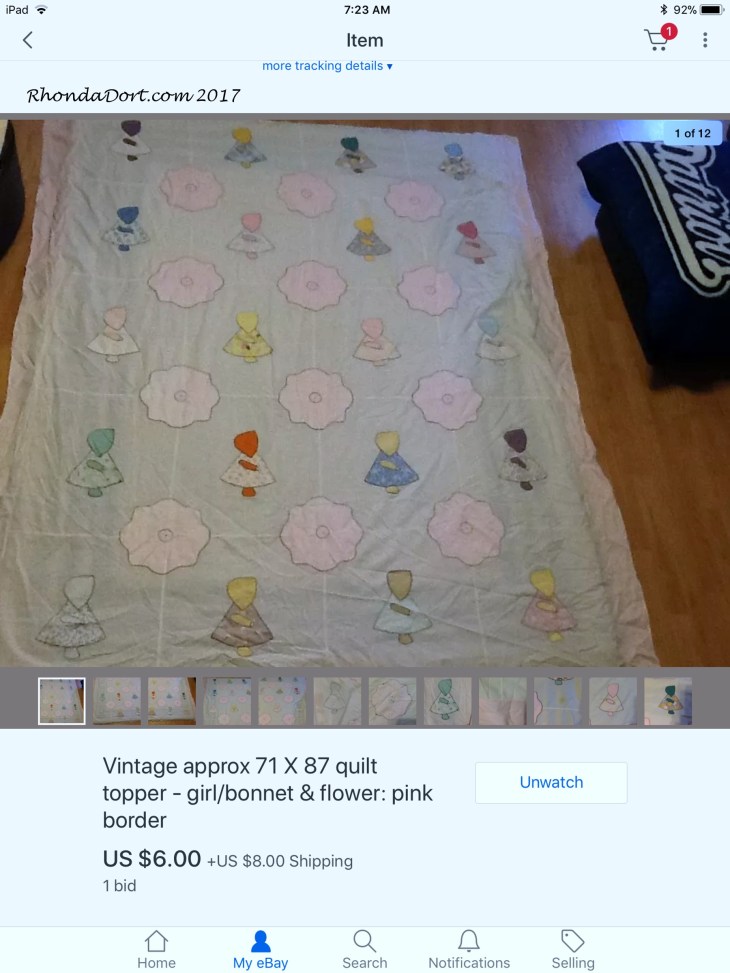
I know there are several quilters that are well into the process of creating their own Vintage Linens quilt! Thank you for sending pictures of your awesome progress! Recently Elaine Marie on Facebook asked where I get my vintage linens. Here’s my reply: “I’m rather addicted to: eBay, every junk store in Houston, every antique mall/store in Texas and sometimes my bffs give me awesome things! It seems that all of my friends know I love vintage linens so if they have the task of cleaning out a relatives home, I am so blessed that they often think of me!”
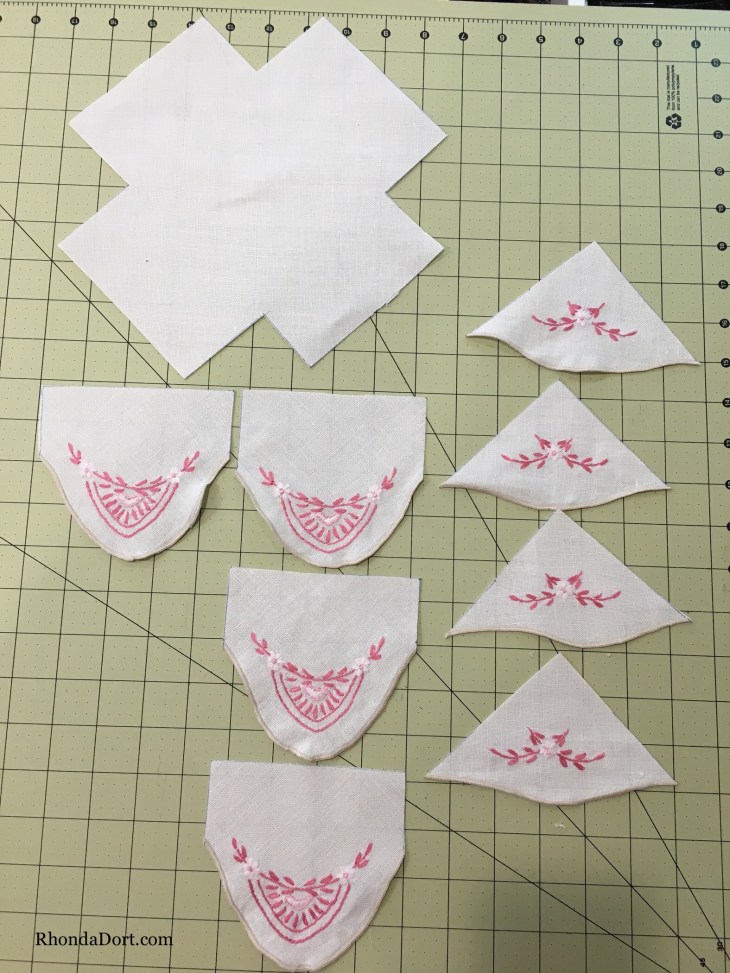
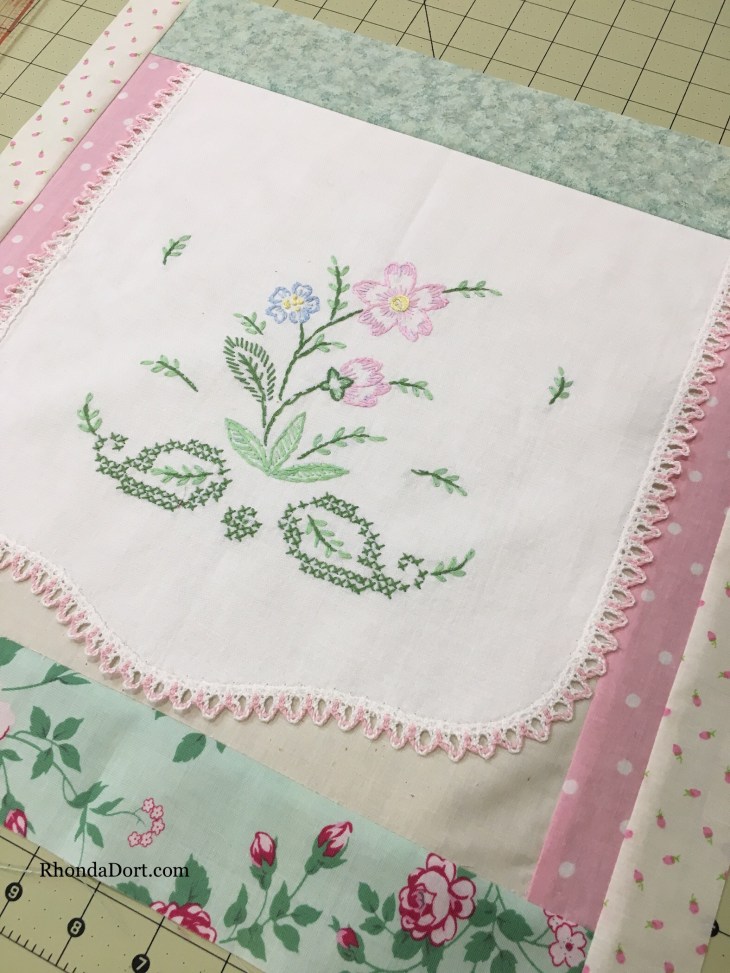
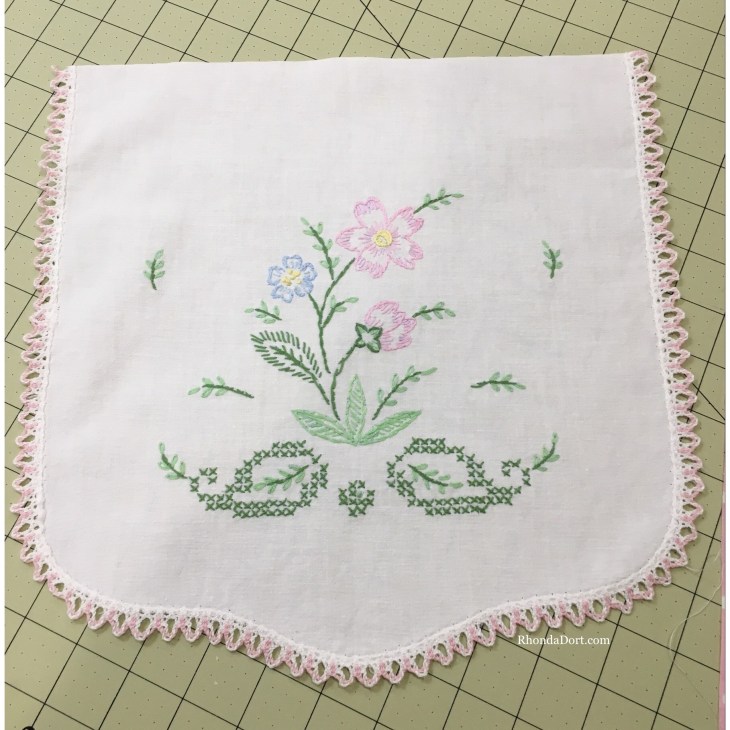
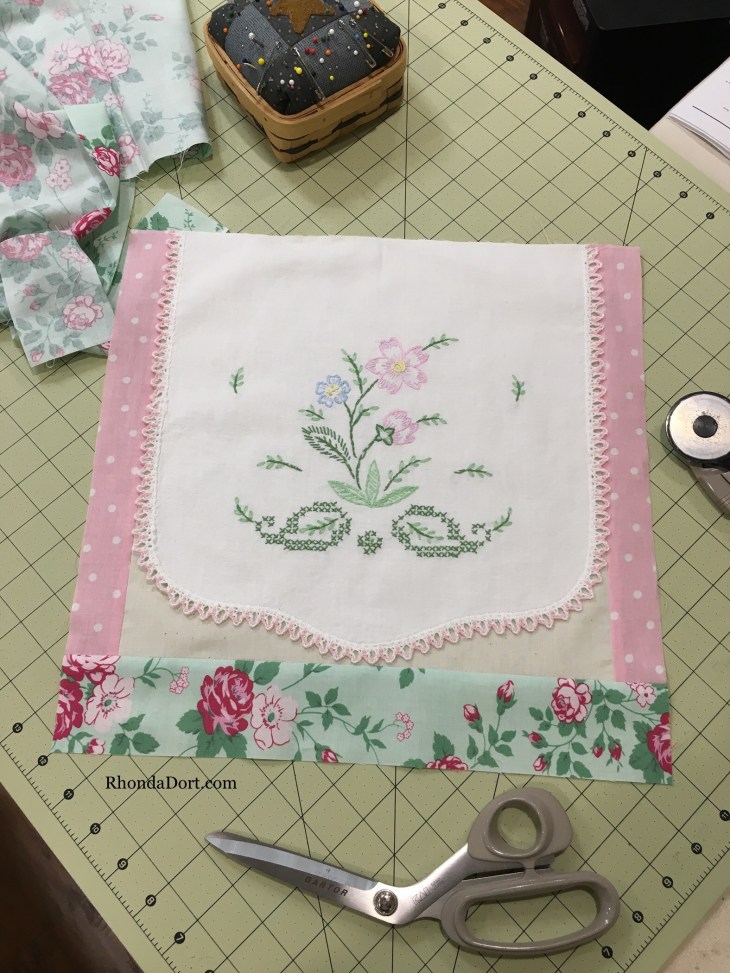
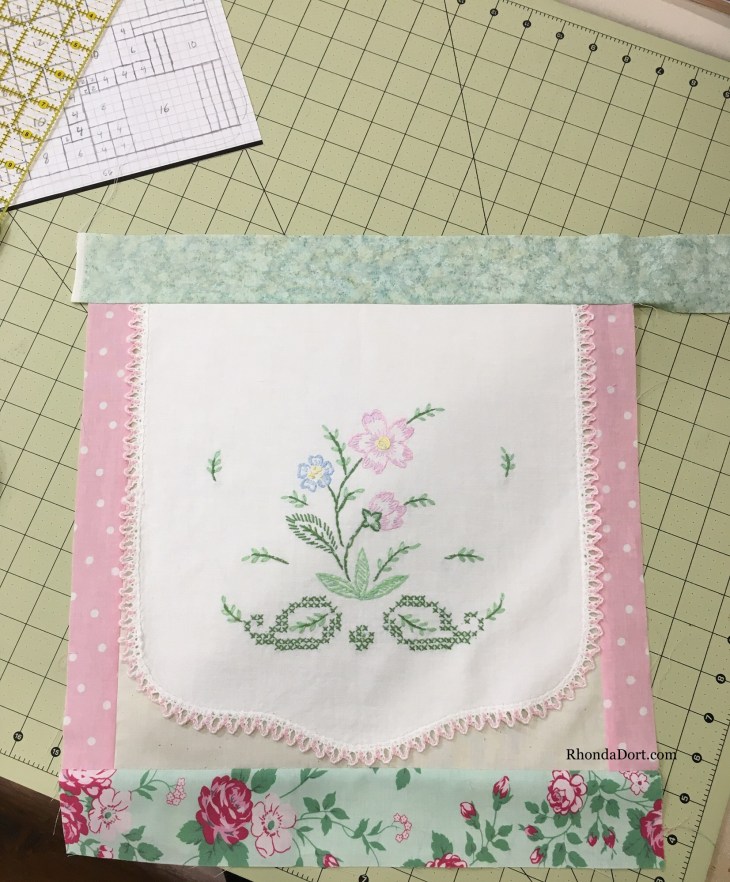
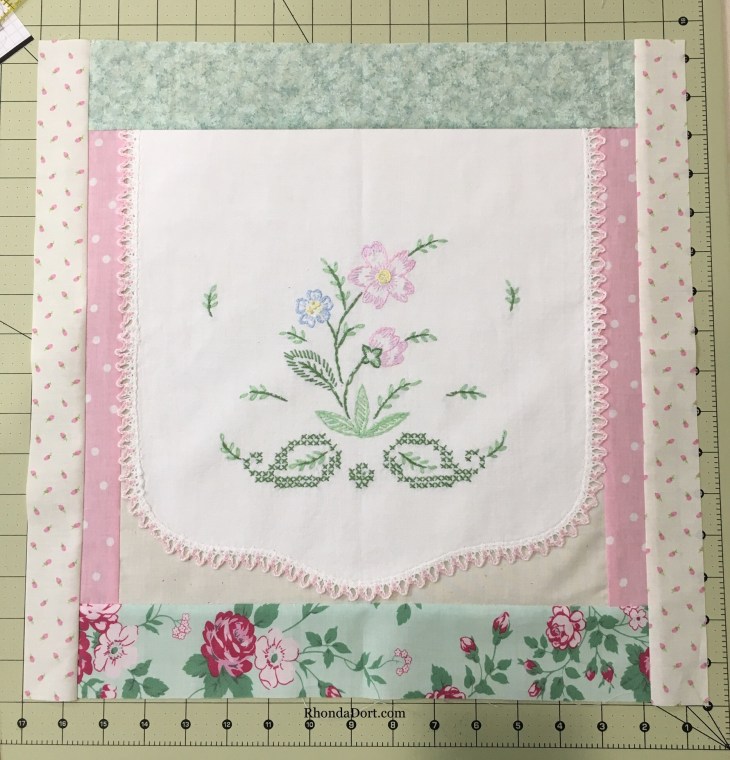
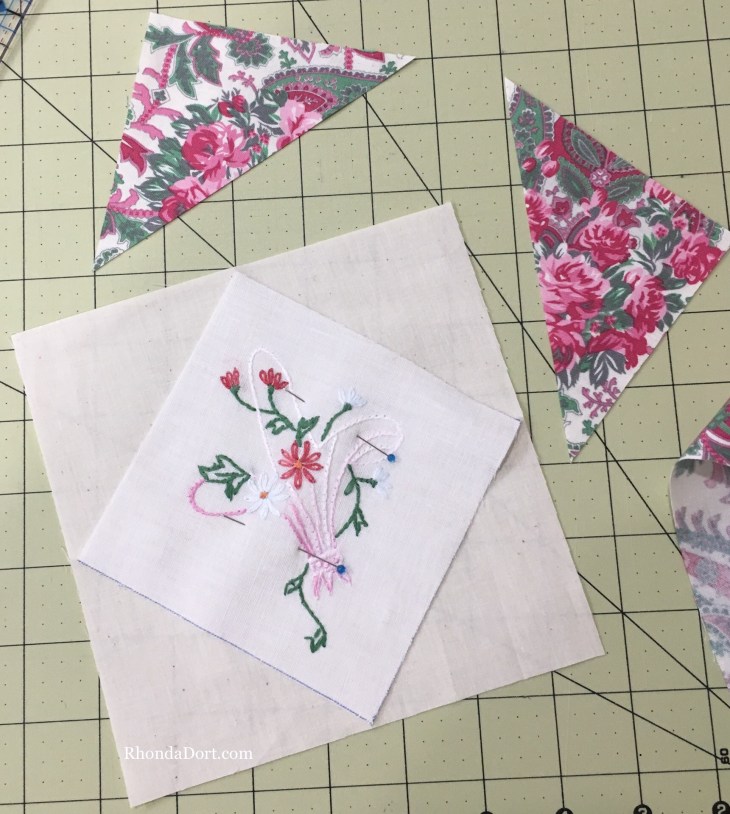
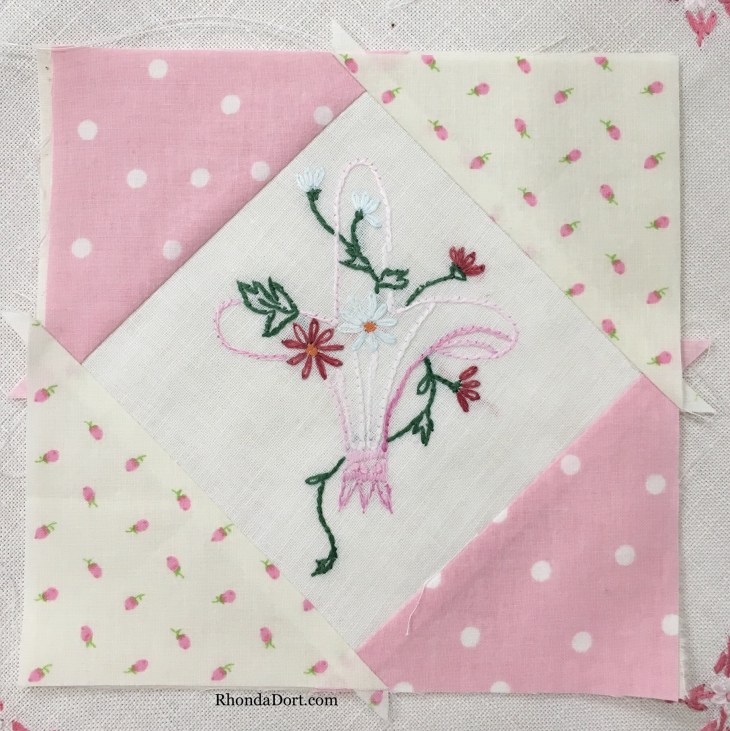
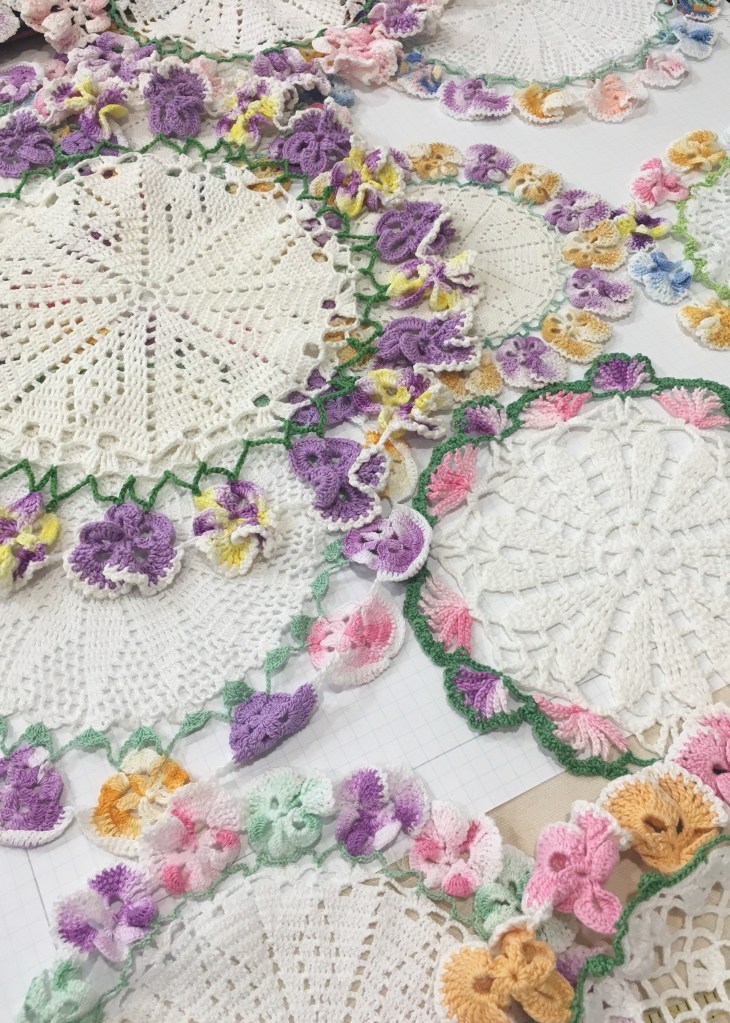
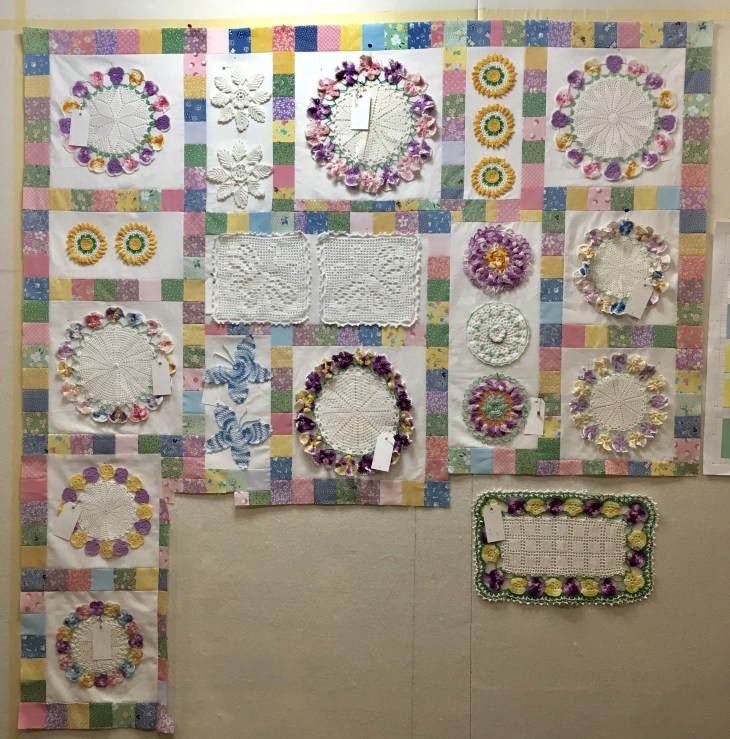
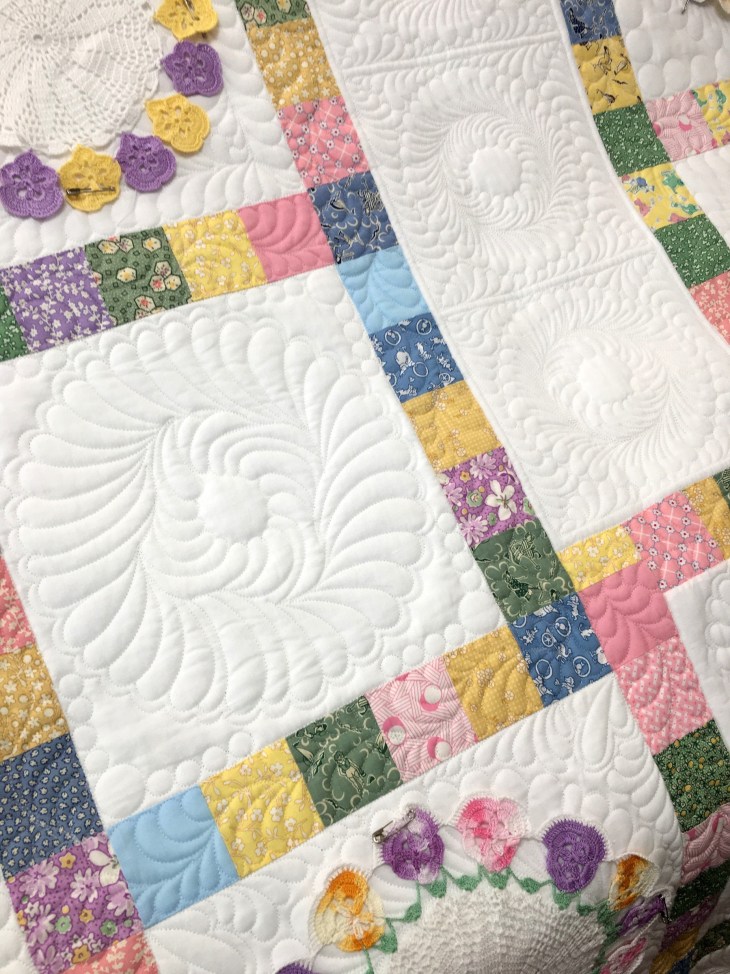
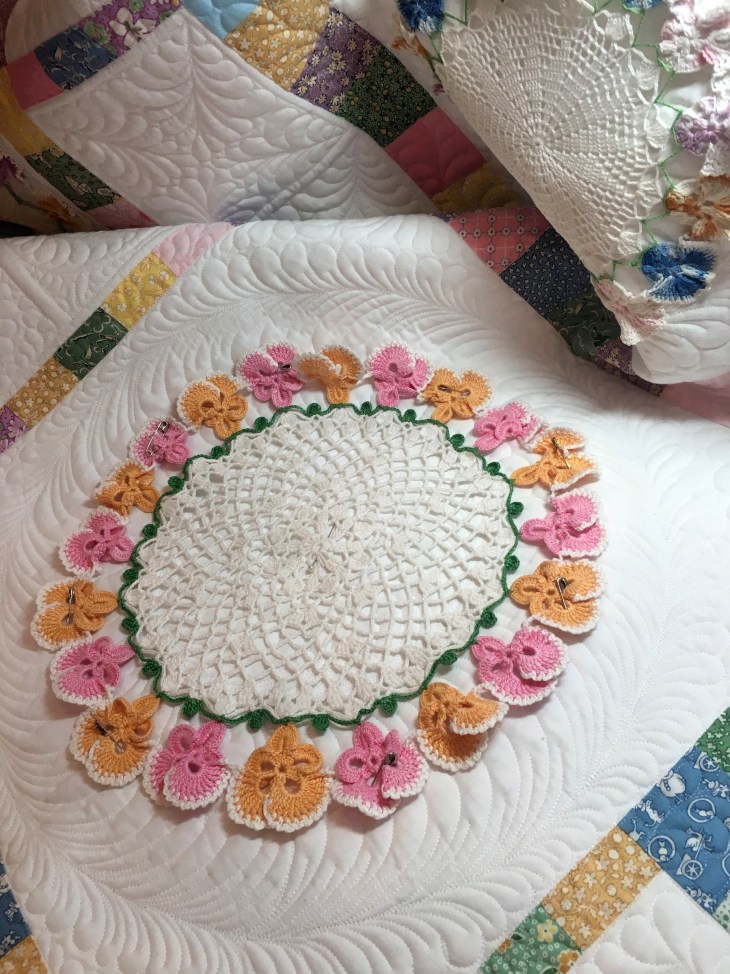
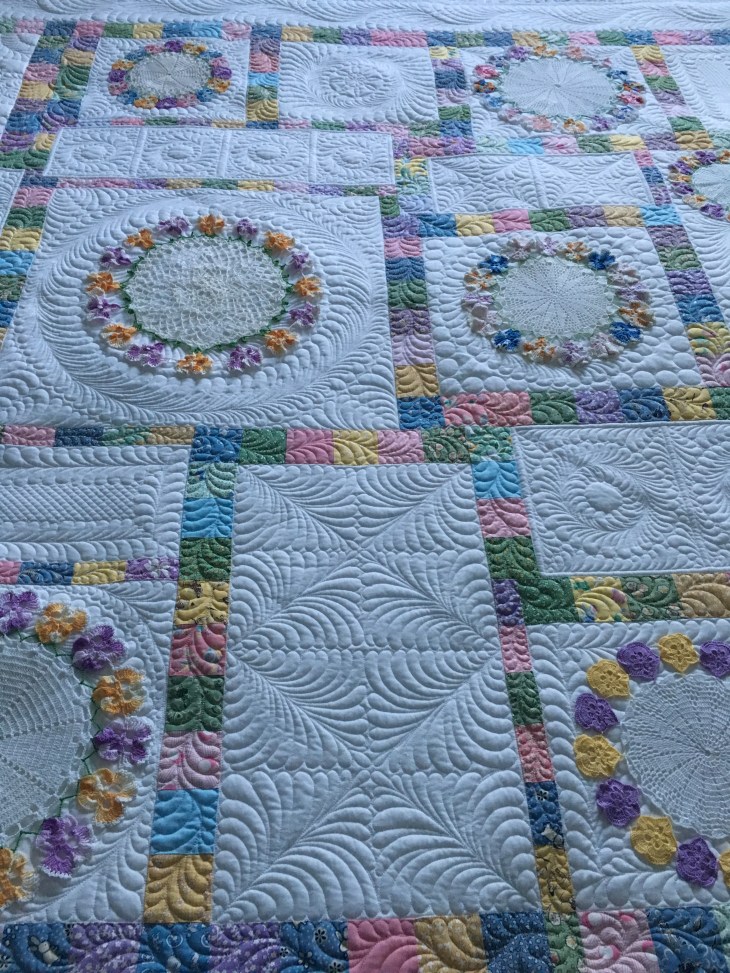
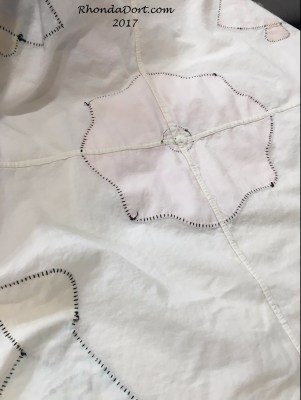
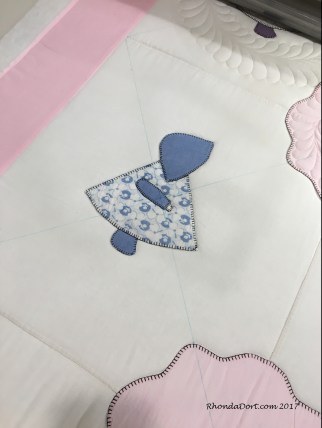
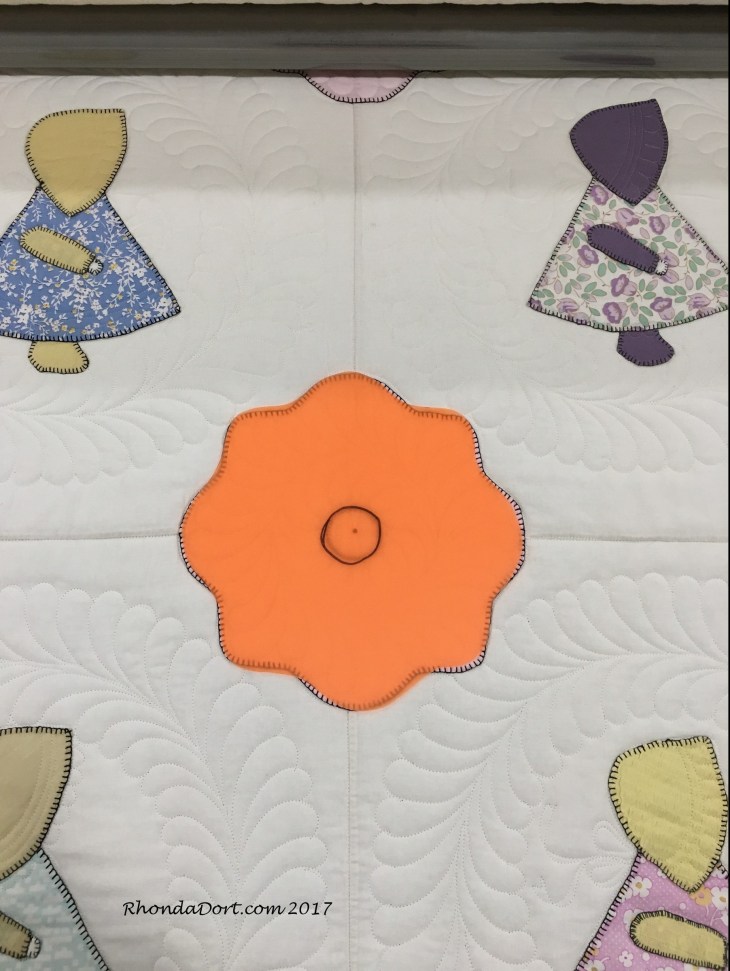
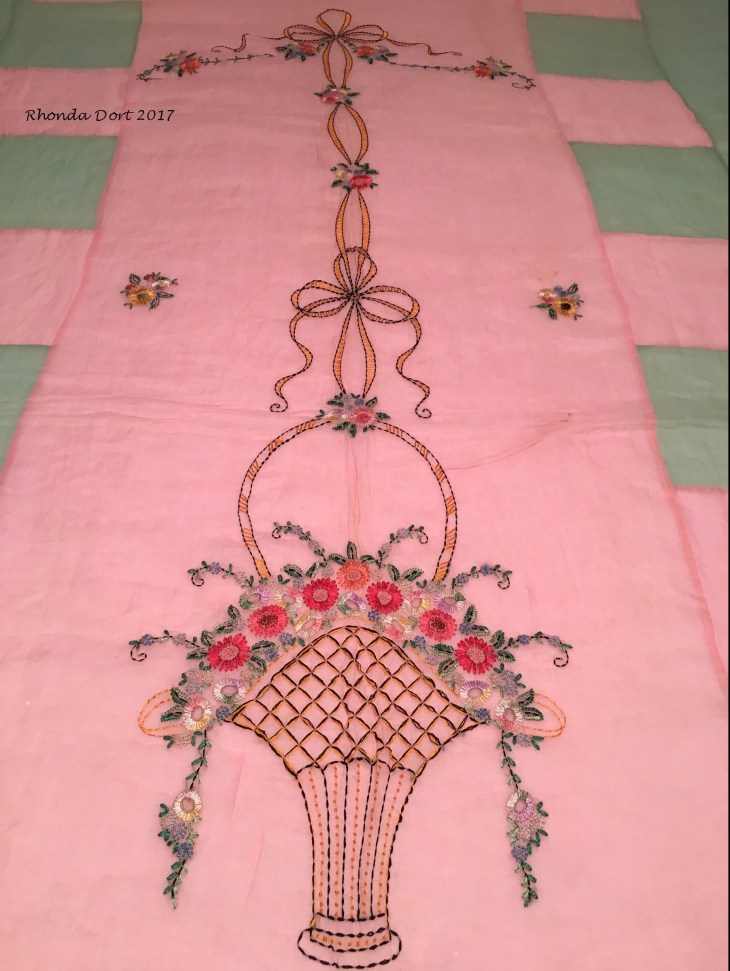
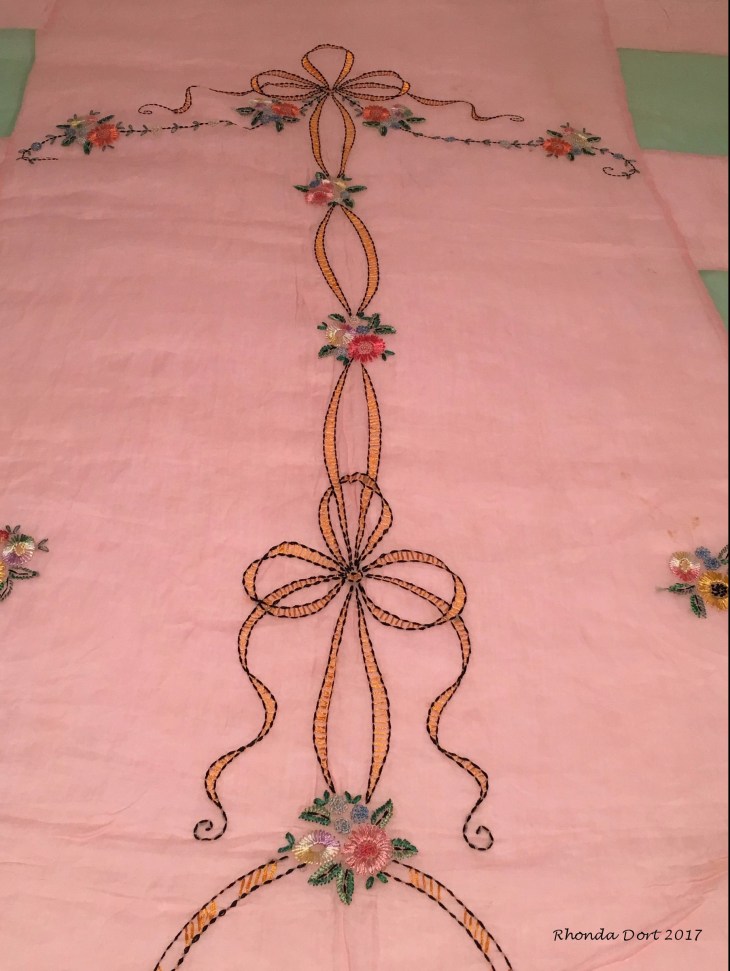
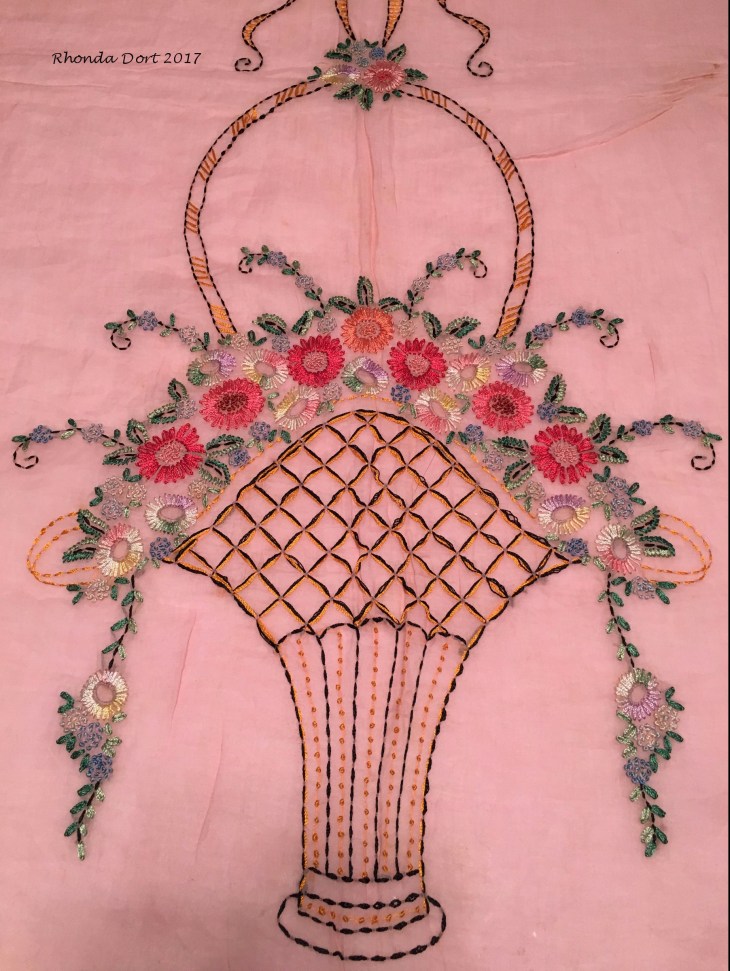
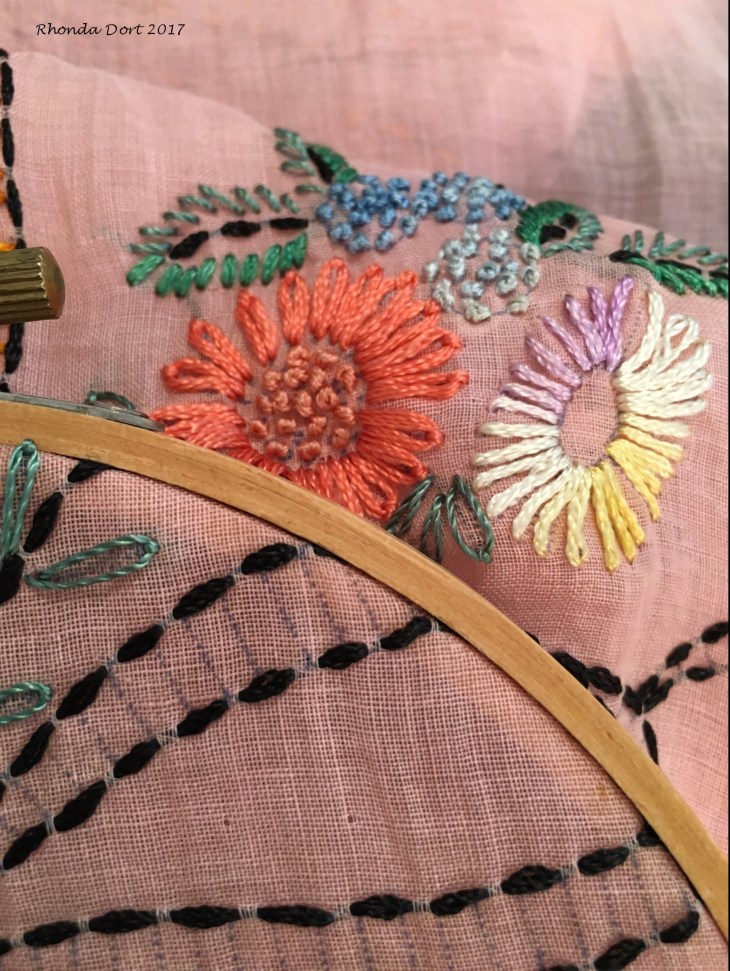
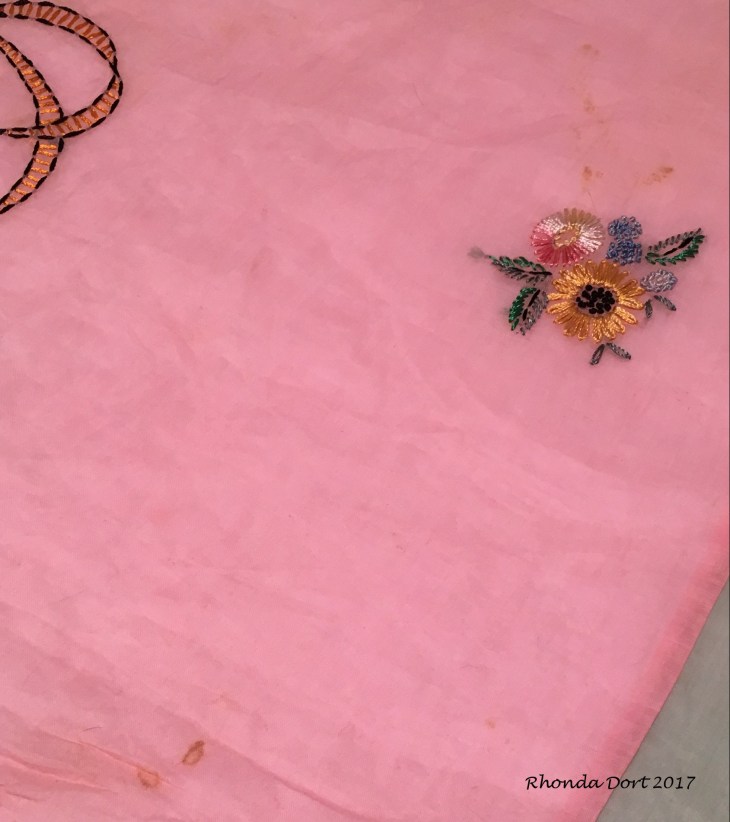
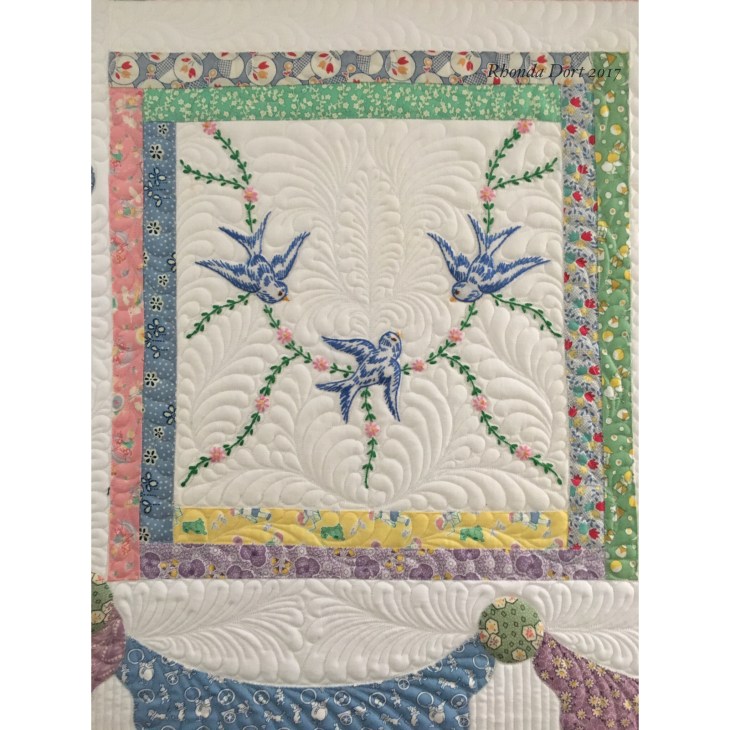
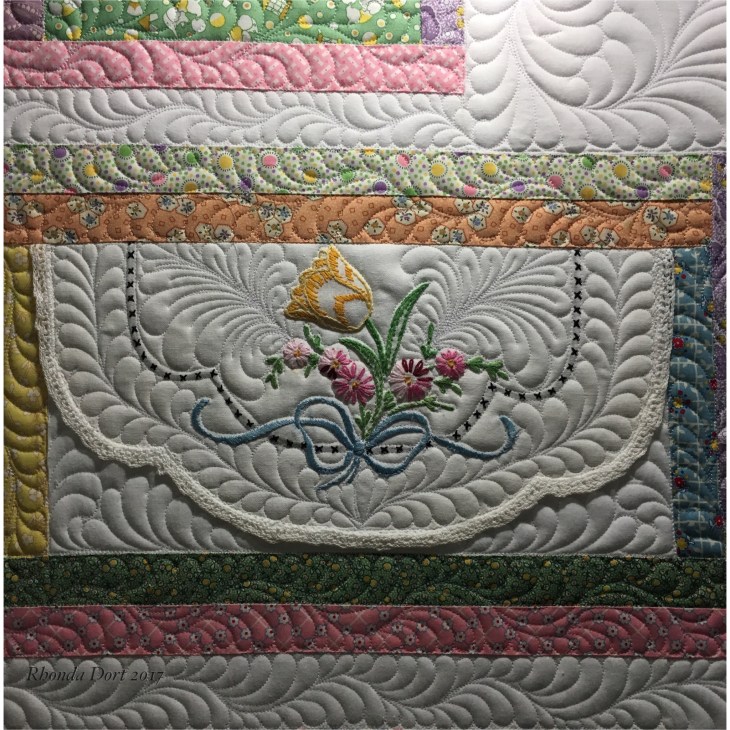
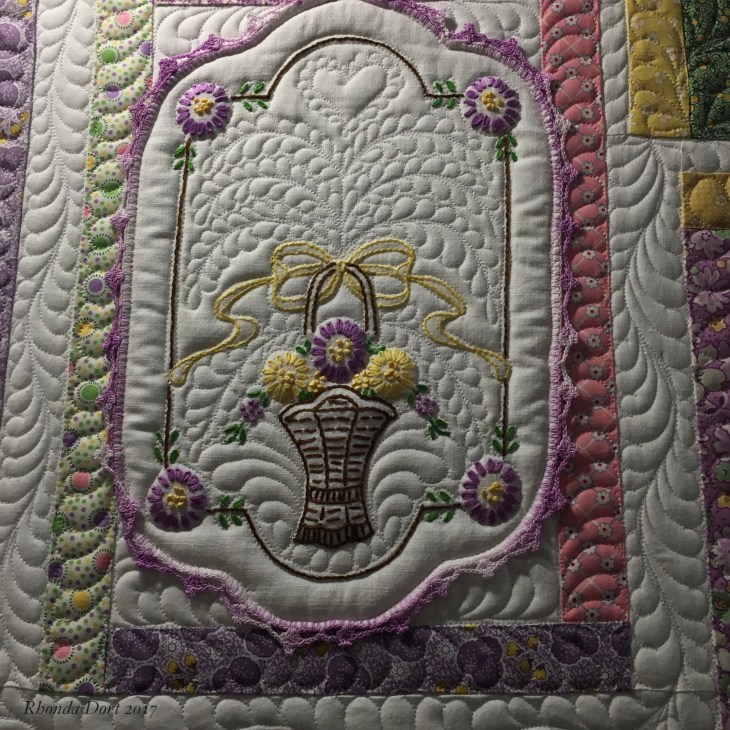
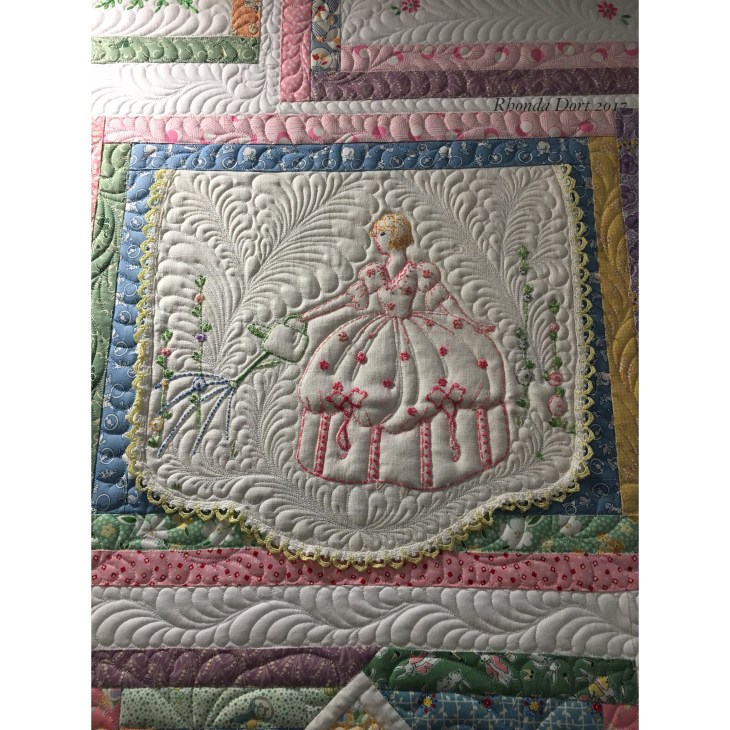
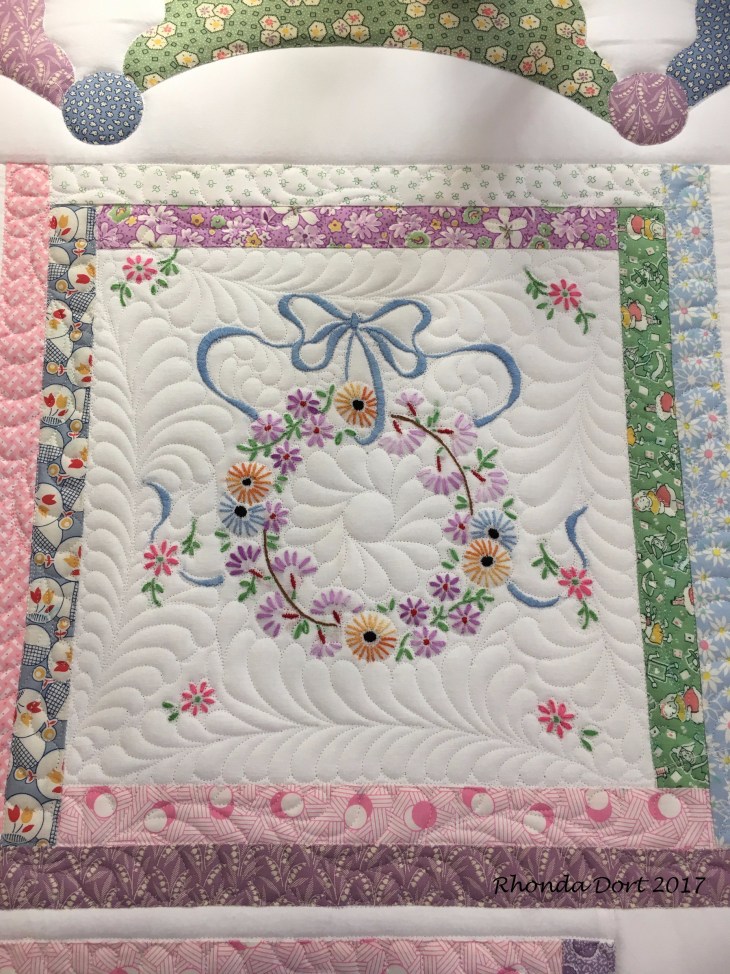
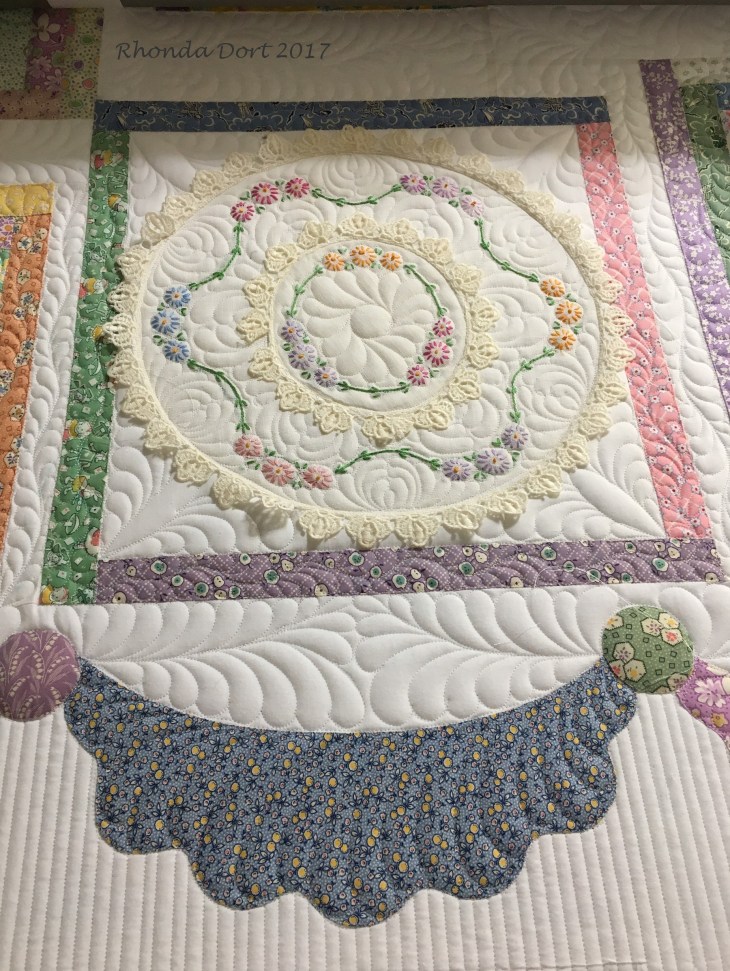
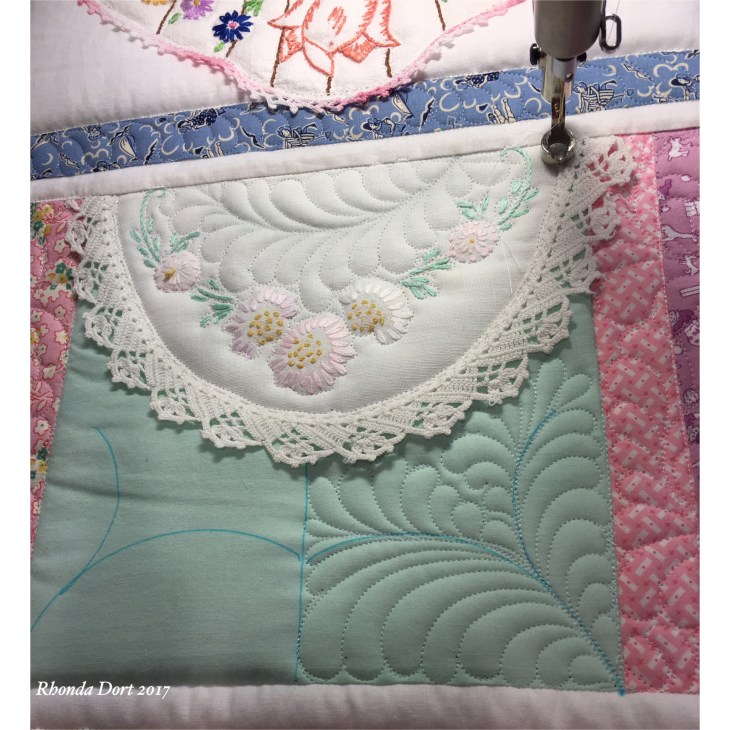
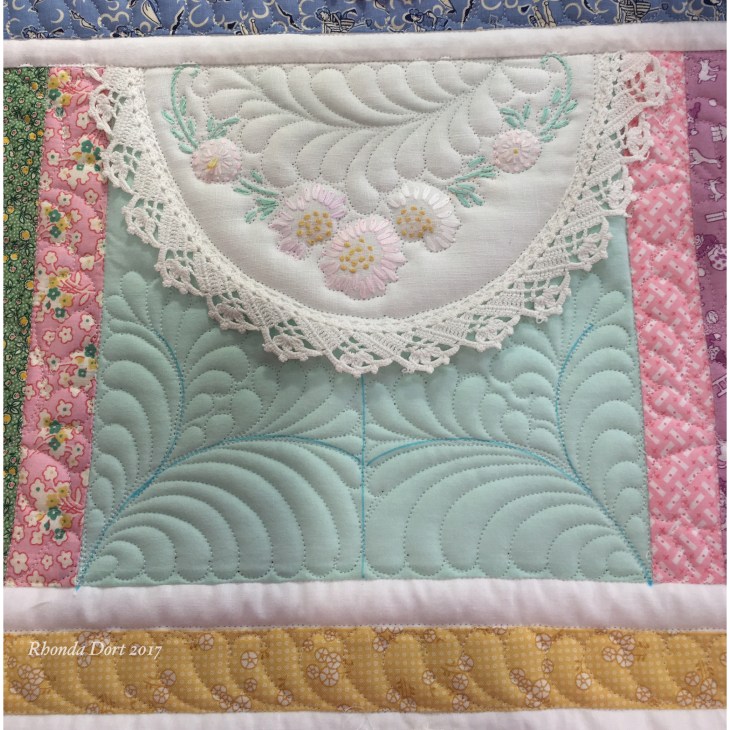
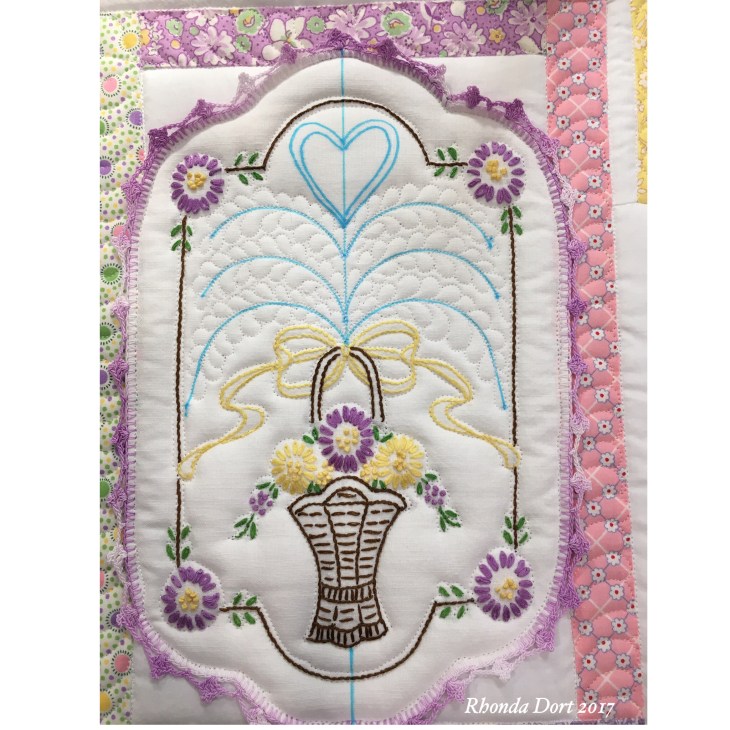
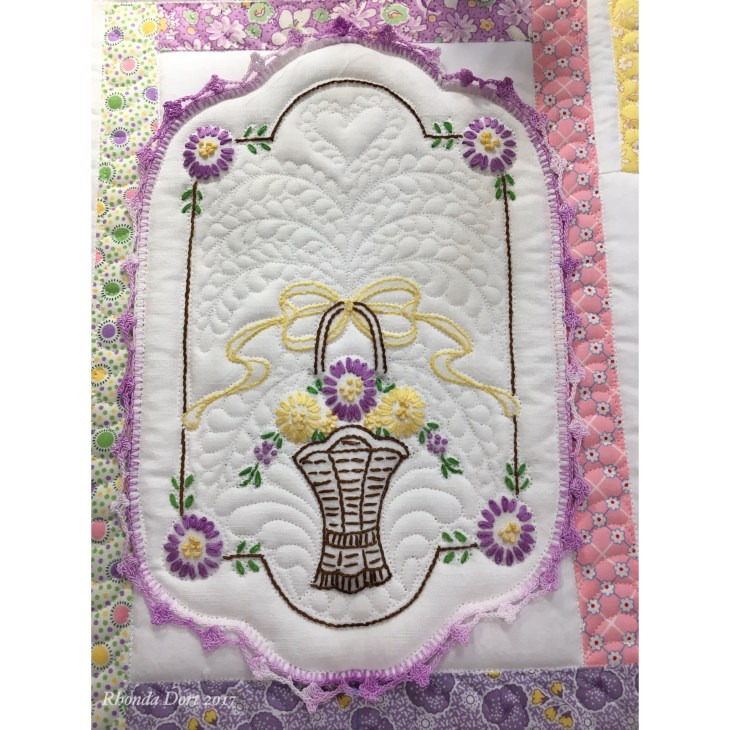
Below is one of my very favorite blocks in this project.

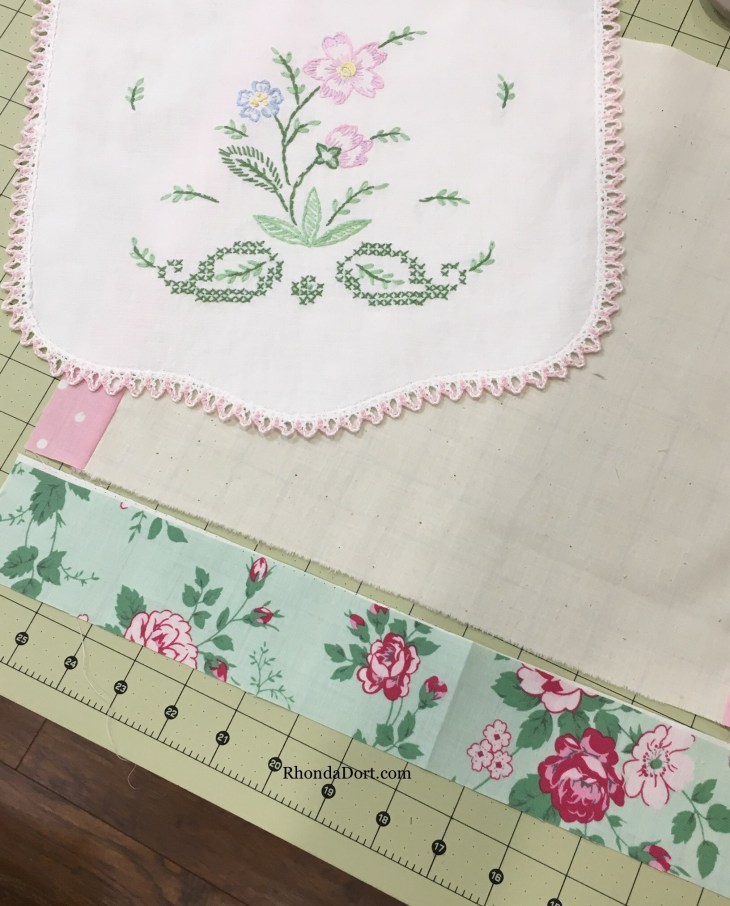
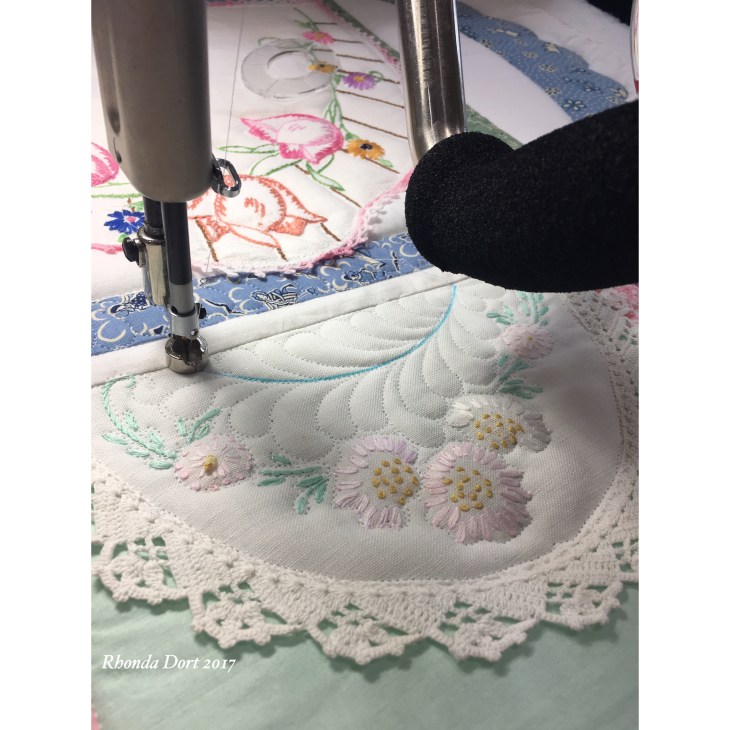
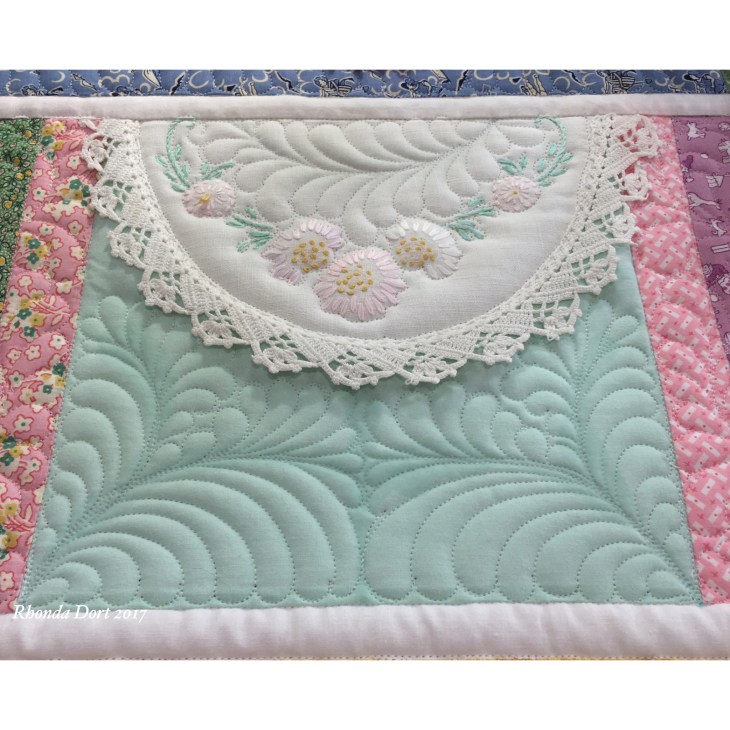
The colors of my fabrics and the colors in this vintage doily work so well together!
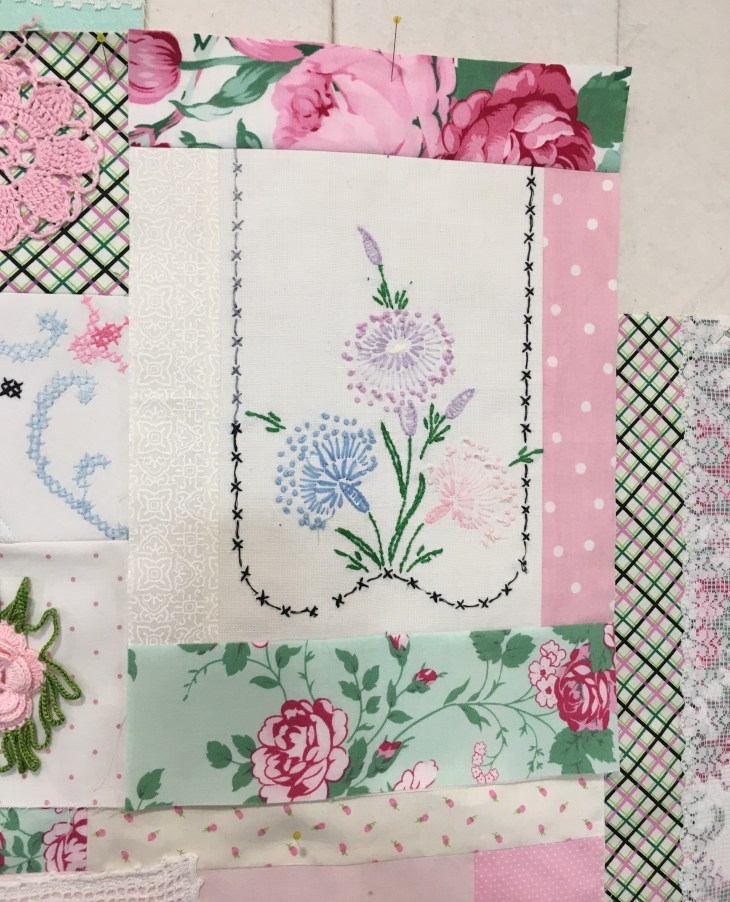
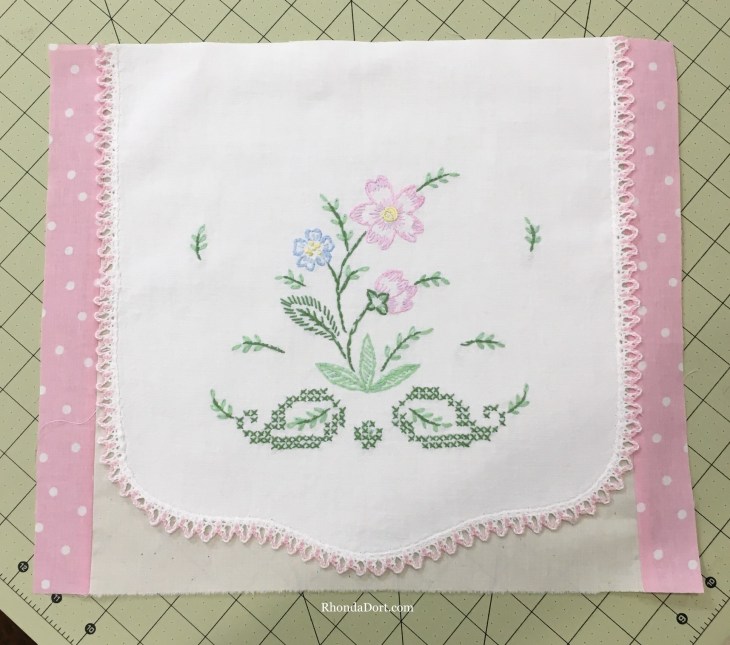
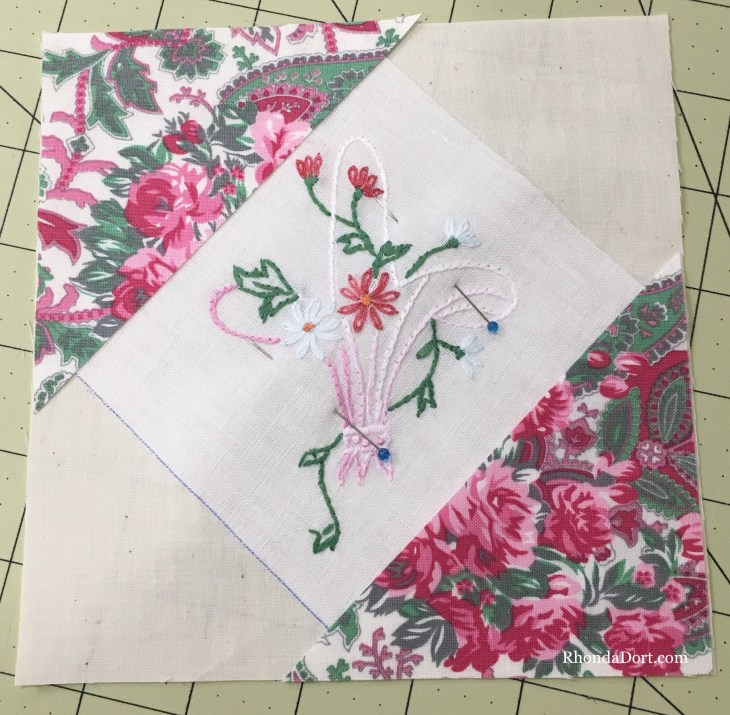
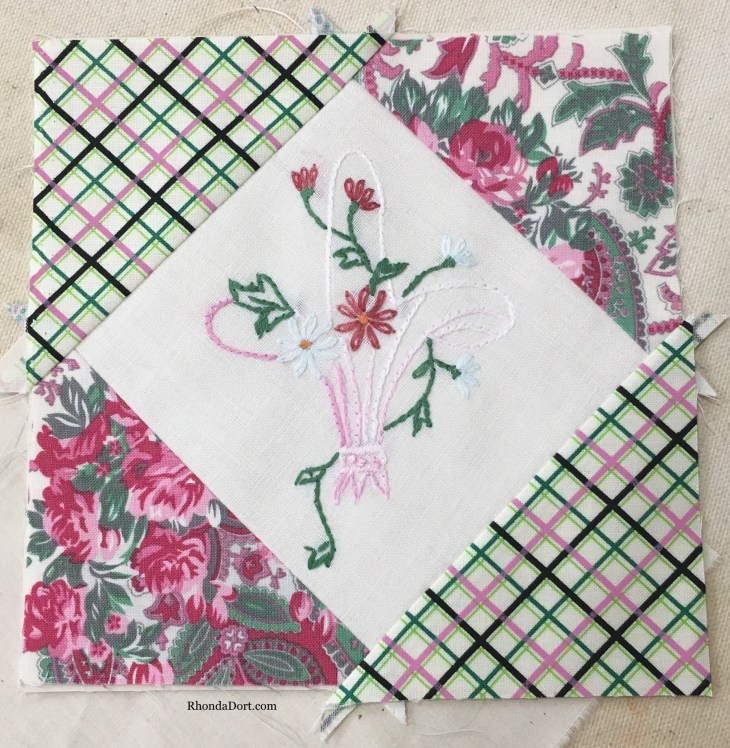
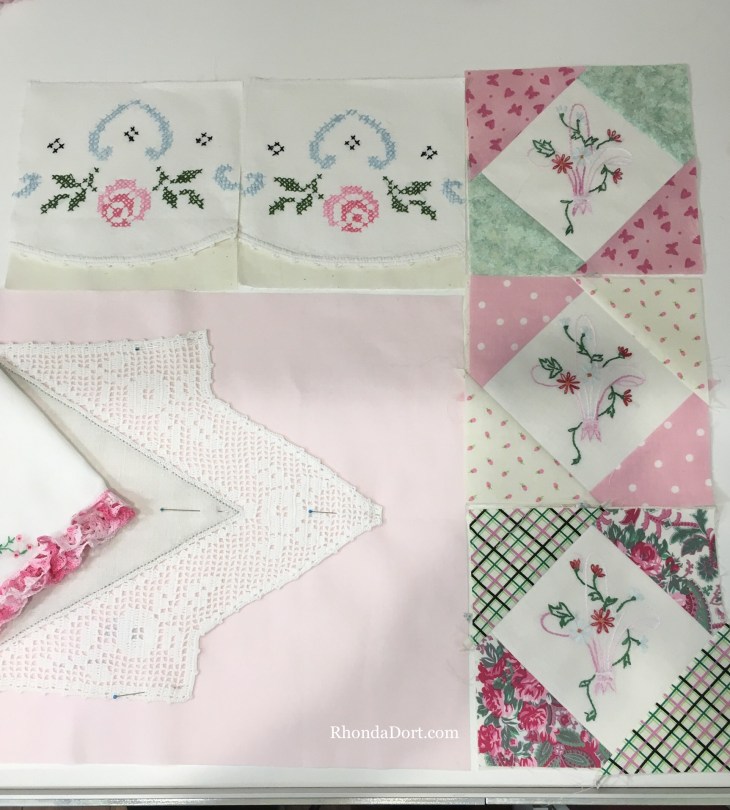
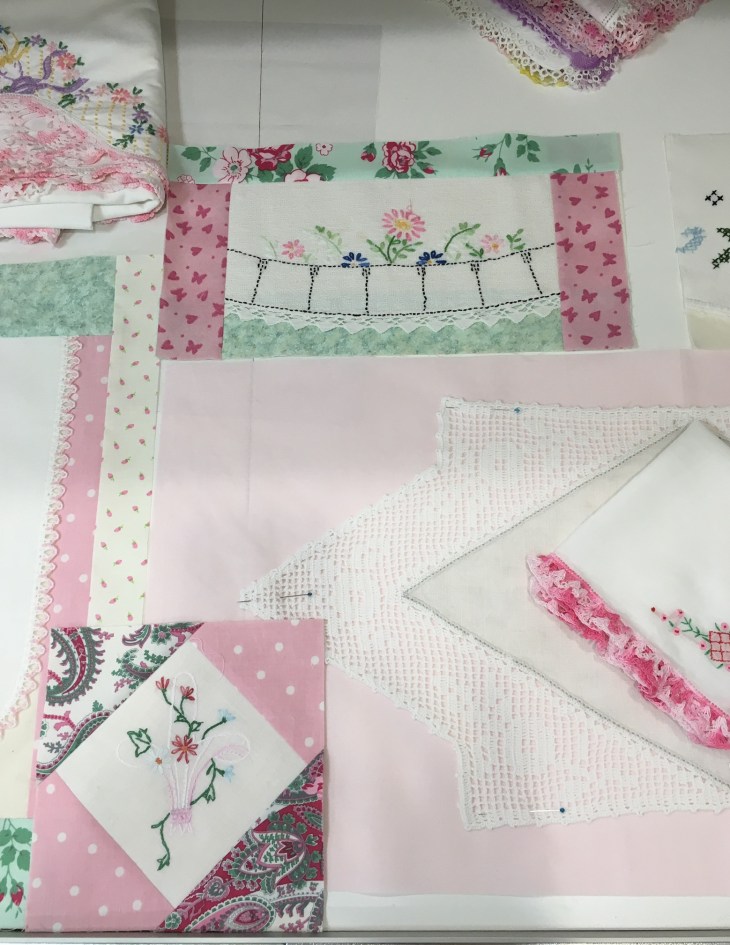
This is the first time I’ve chosen to use such big prints and bold colors with vintage pieces. The bold colors lend their own set of problems to making blocks that are so often comprised of white and/or ivory linens.
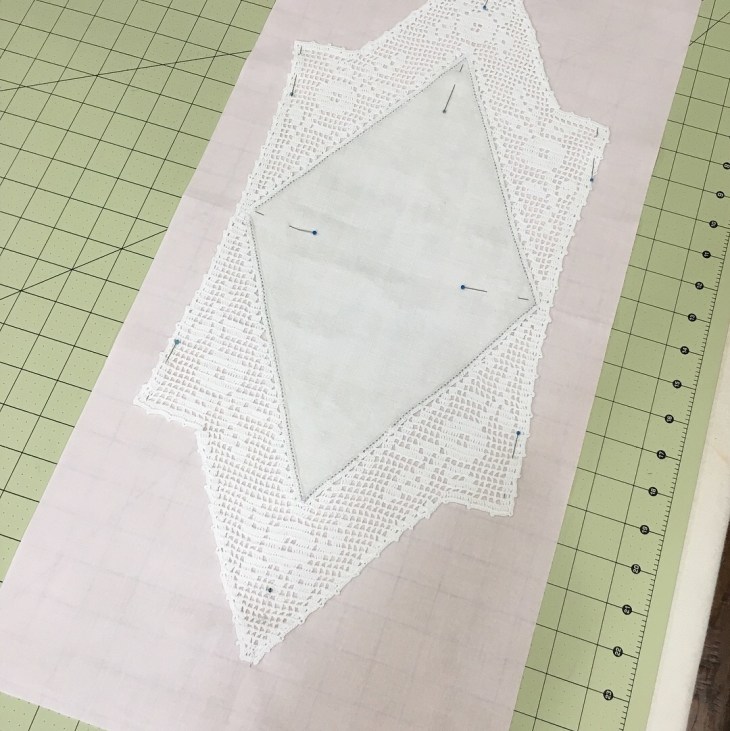
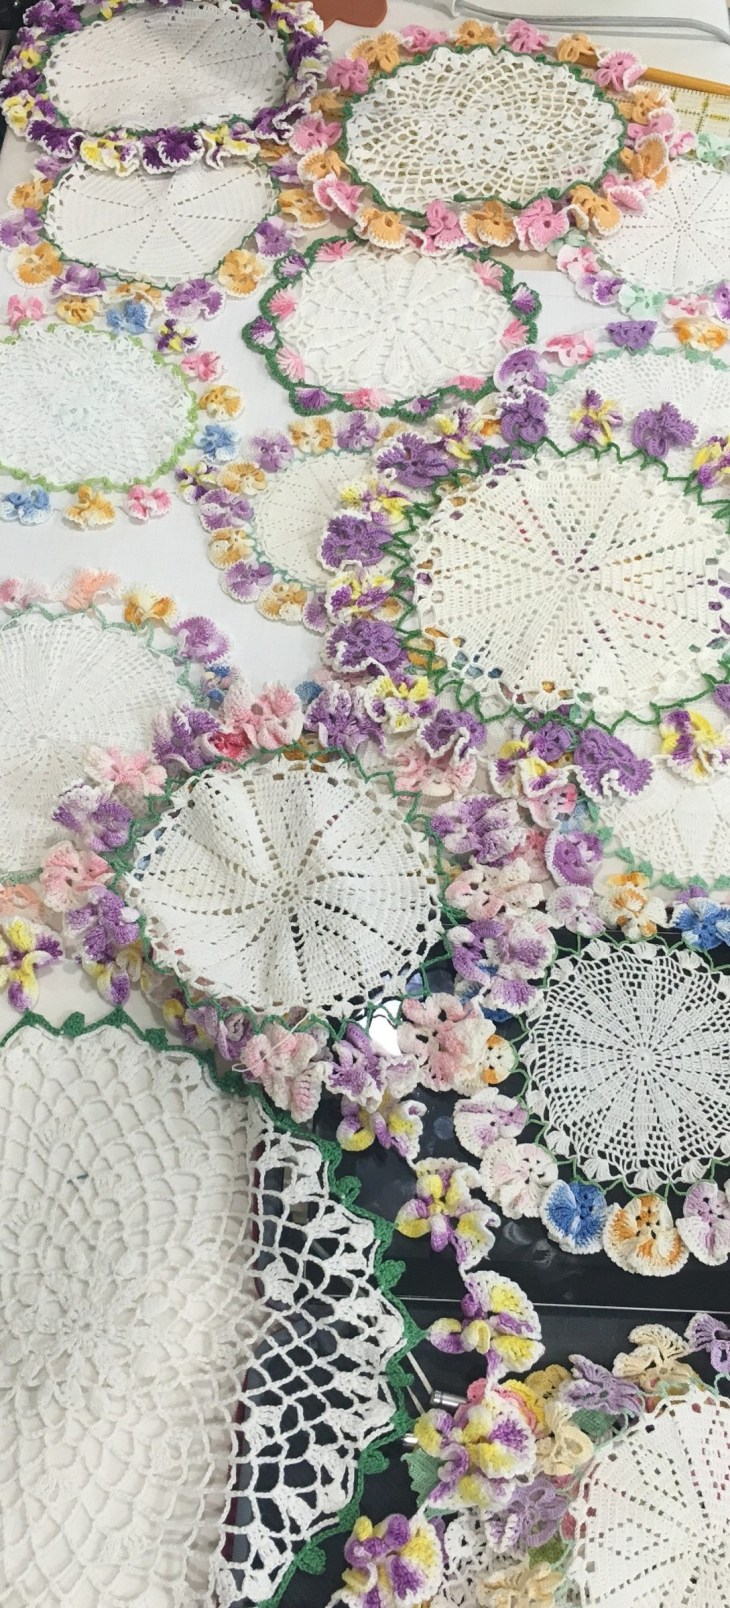
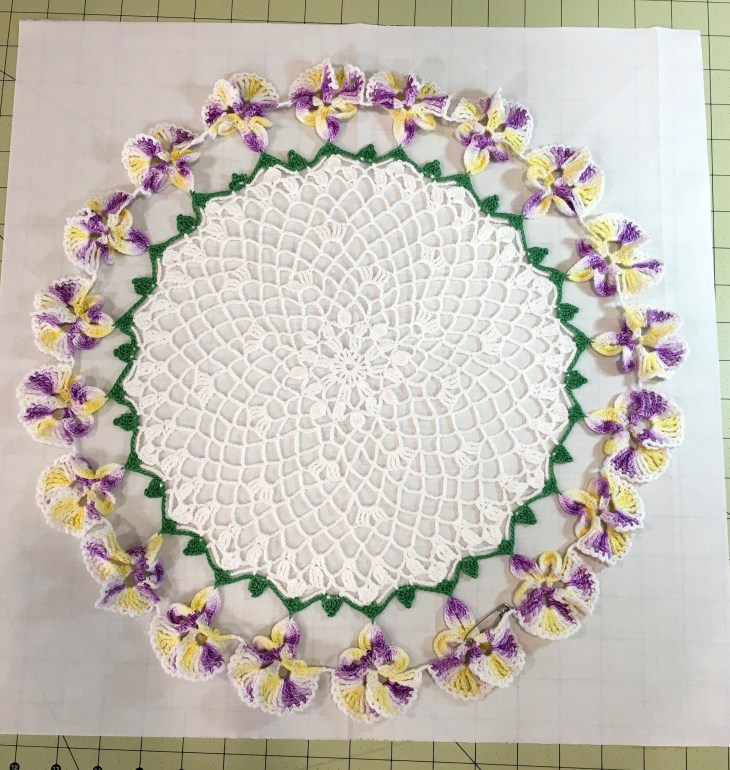
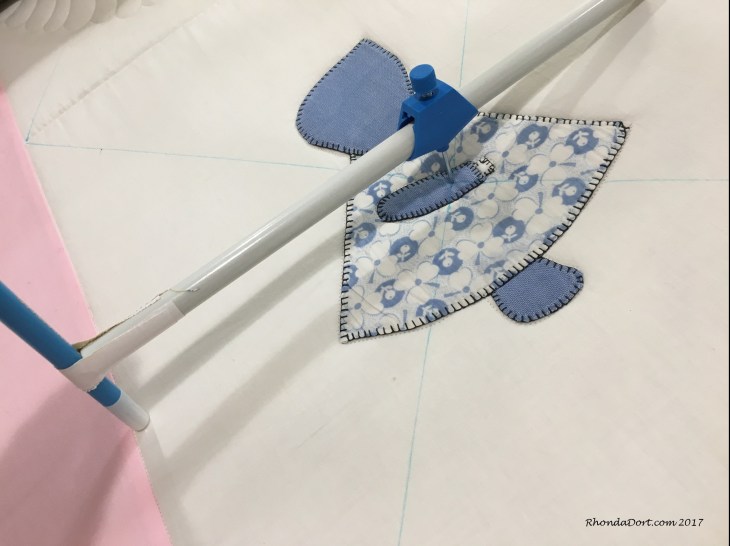
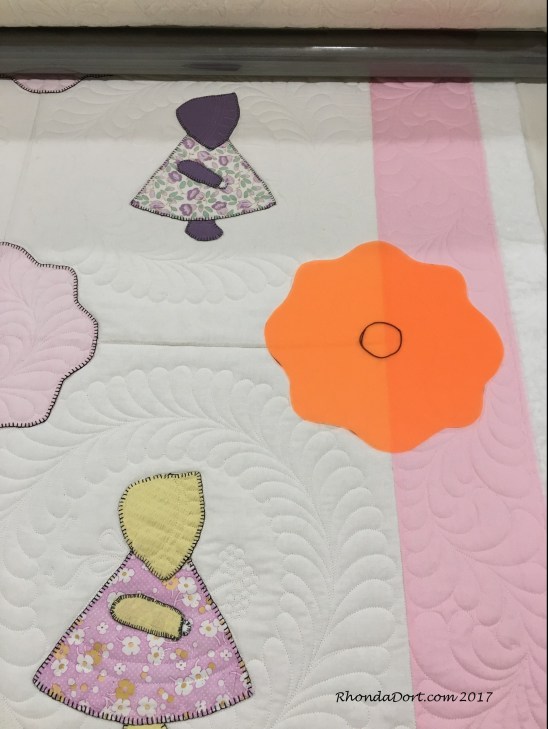
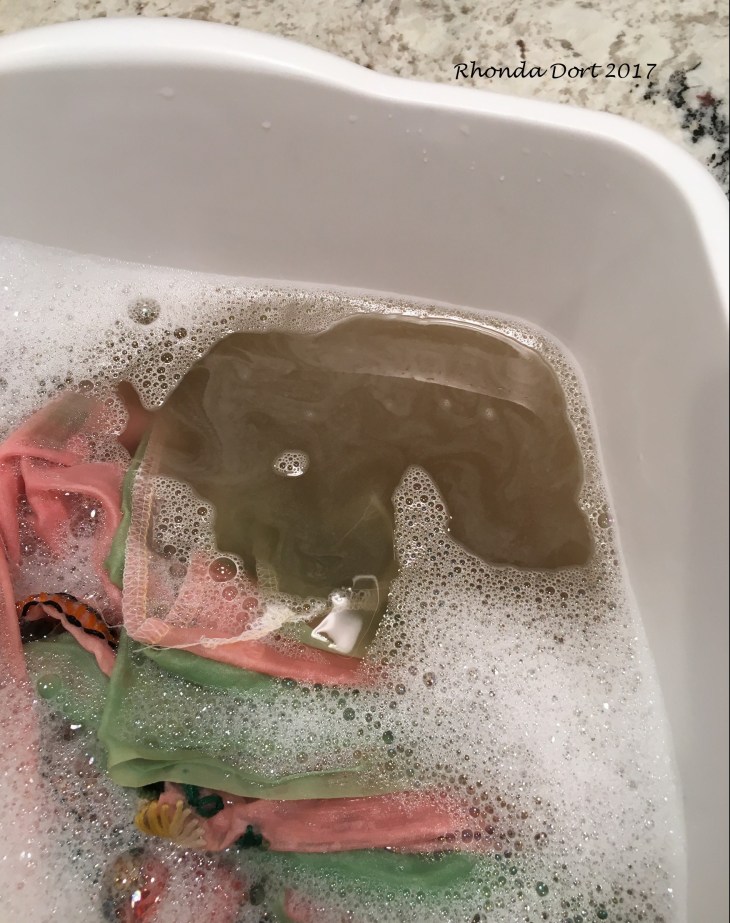
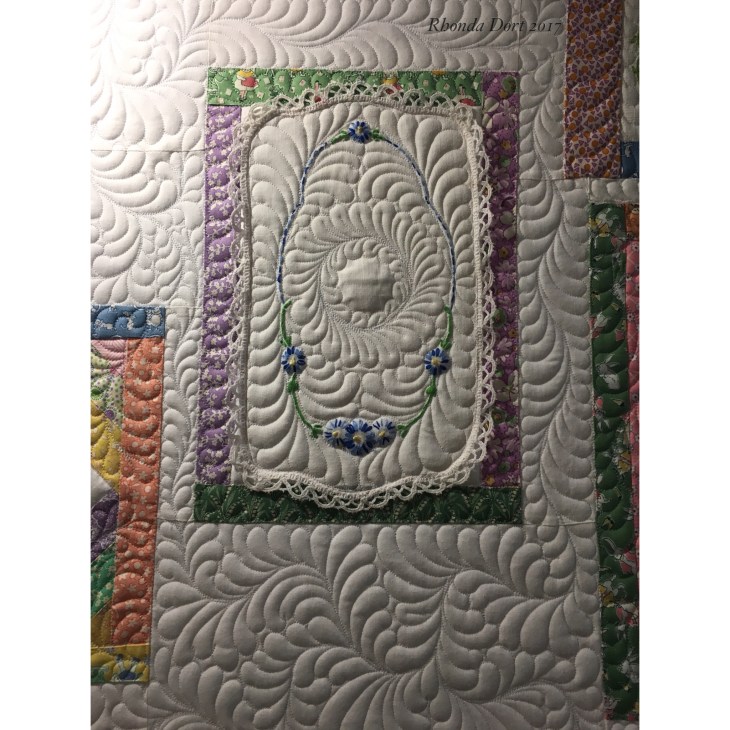
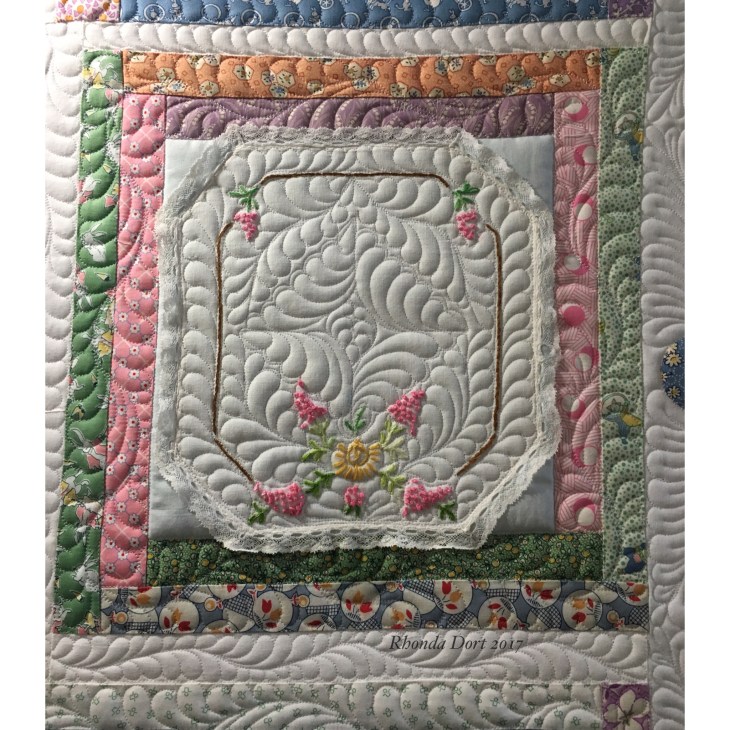
The large round doily looks great on the bold floral fabric. Here’s my method for handling the shadowing:
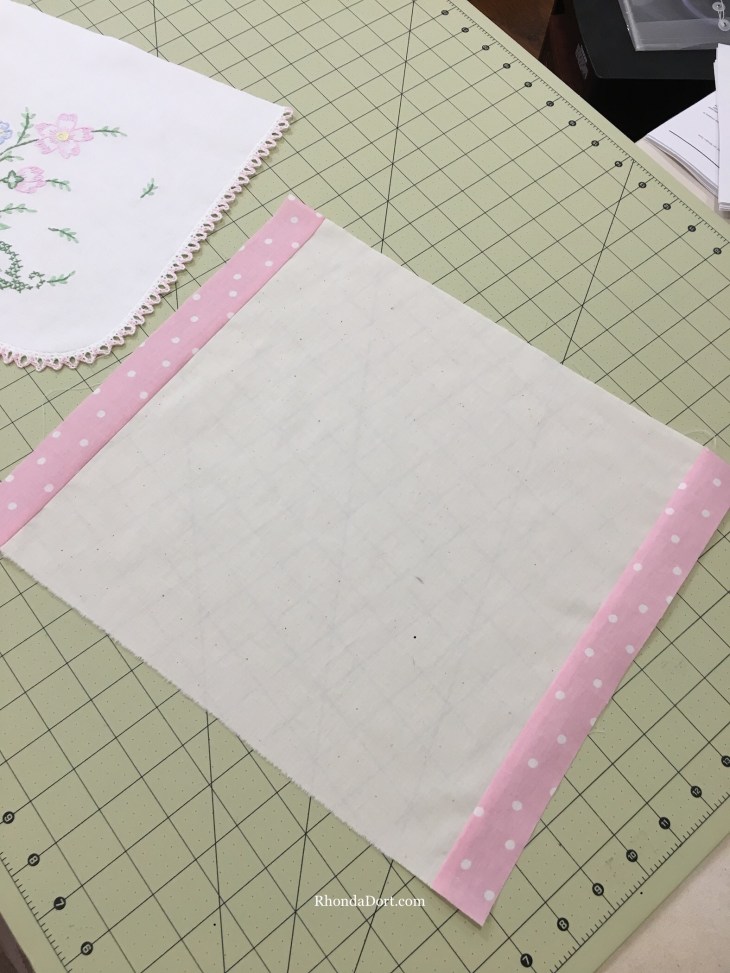
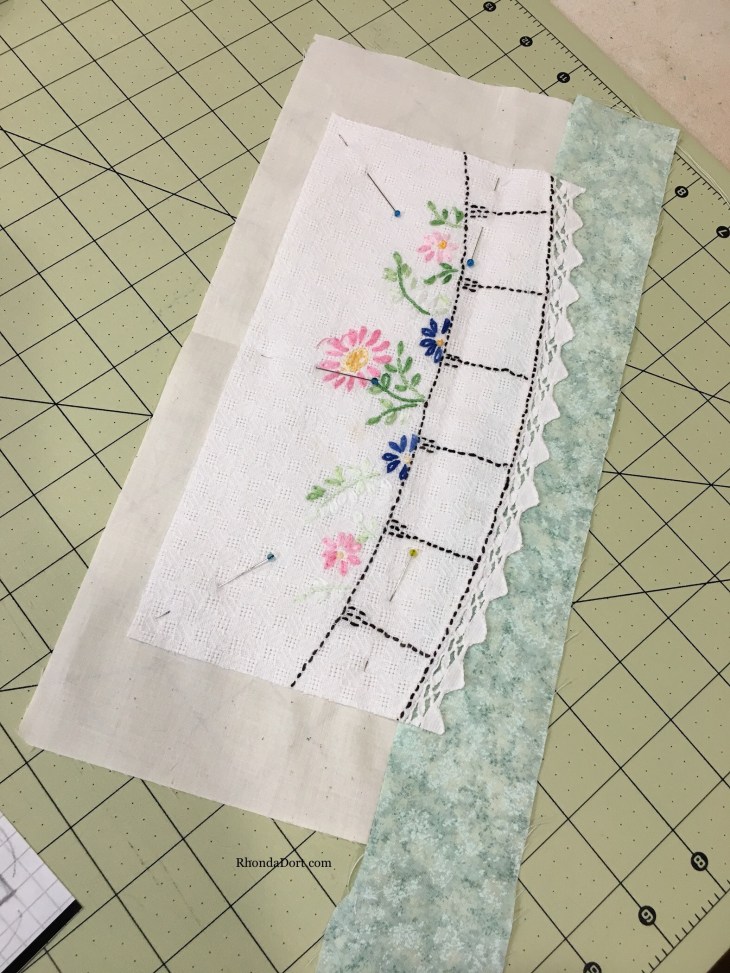
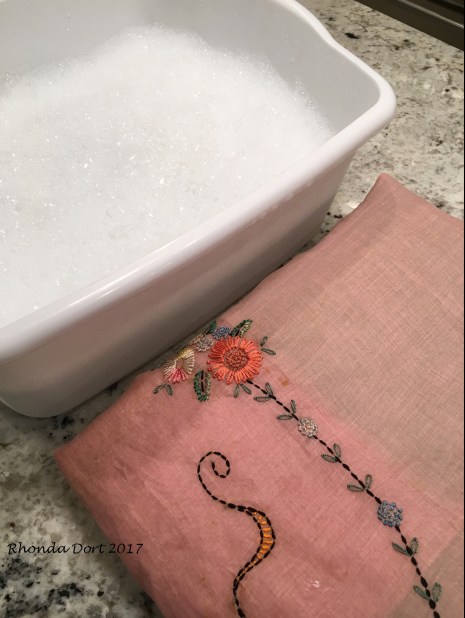
- Center the doily on the fabric square (or rectangle).
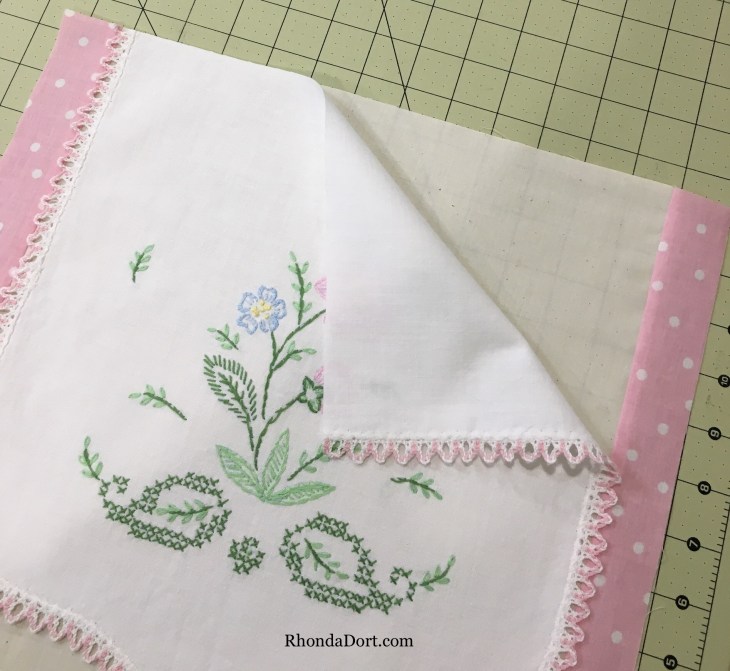
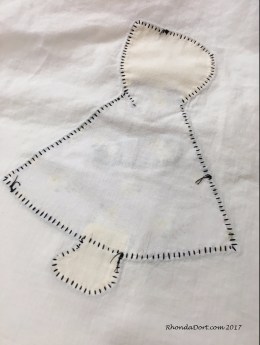
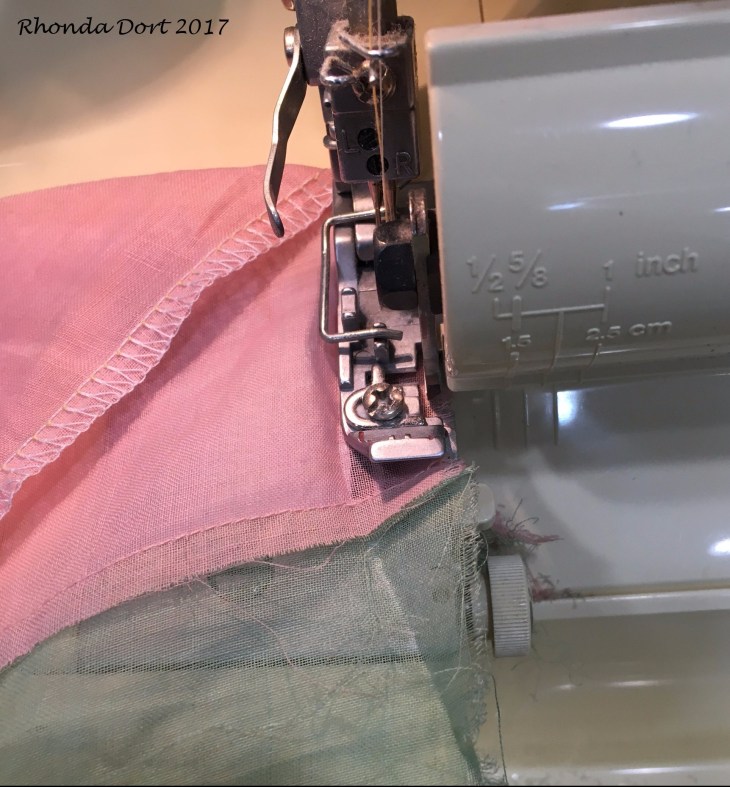
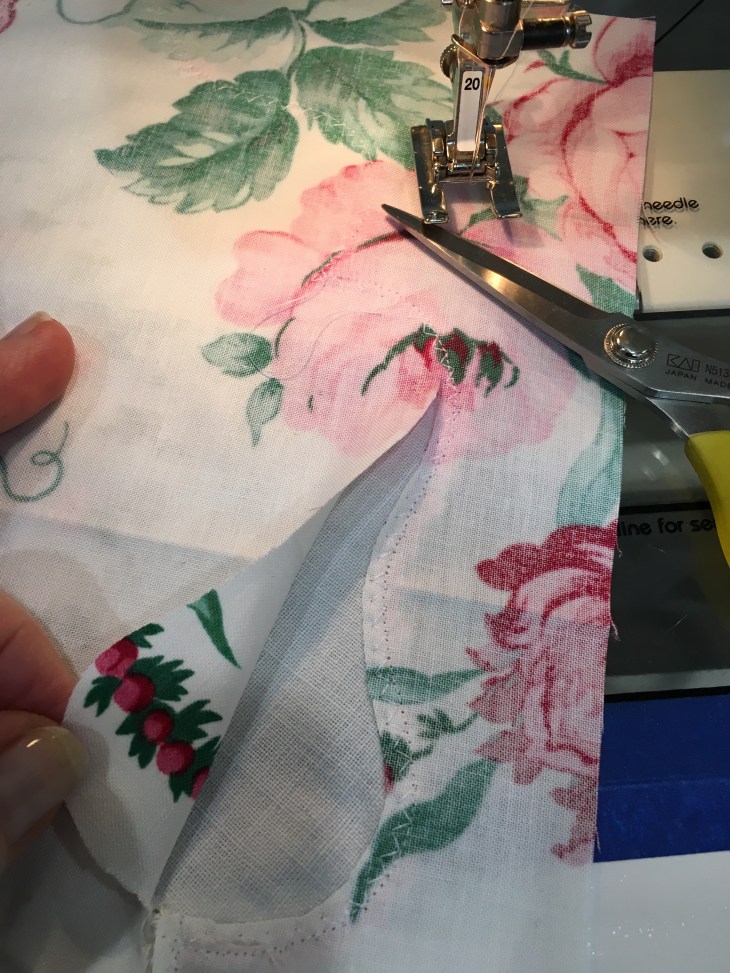
- If you have a crocheted edging such as the pic below, machine stitch along the area where the crochet and the doily fabric meet.
- Stitch with a zig-zag or a straight stitch, the choice is completely up to you.

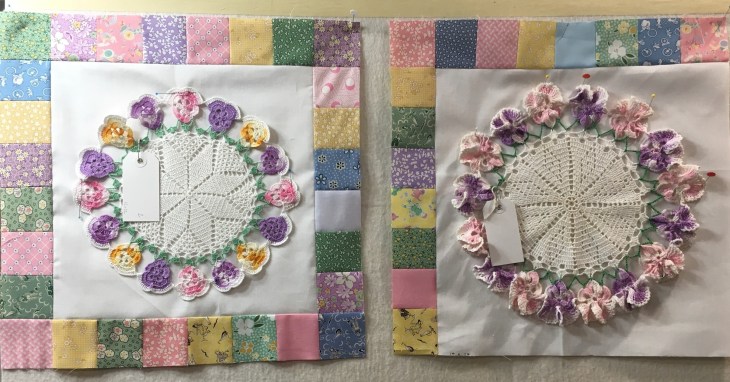
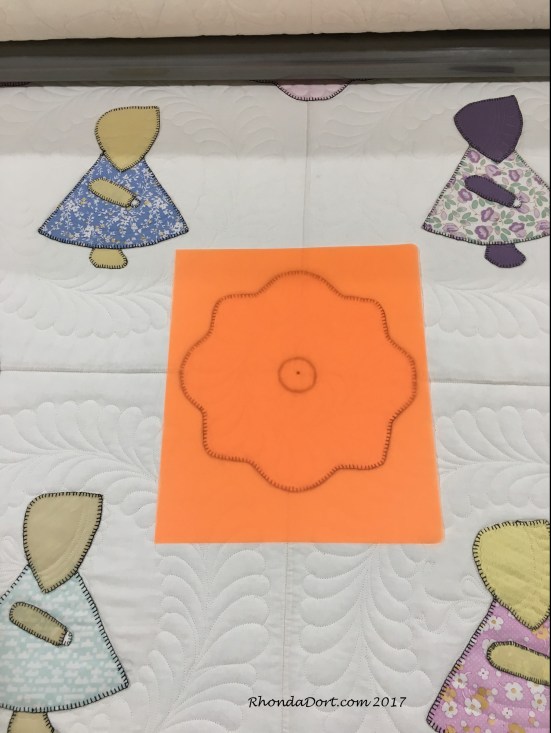
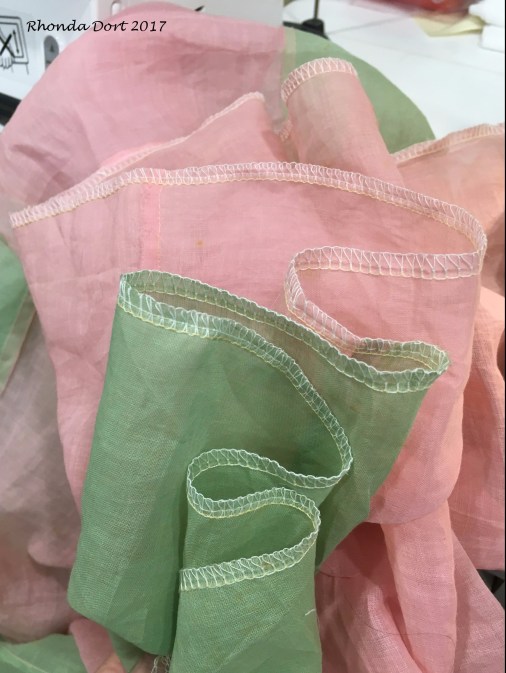
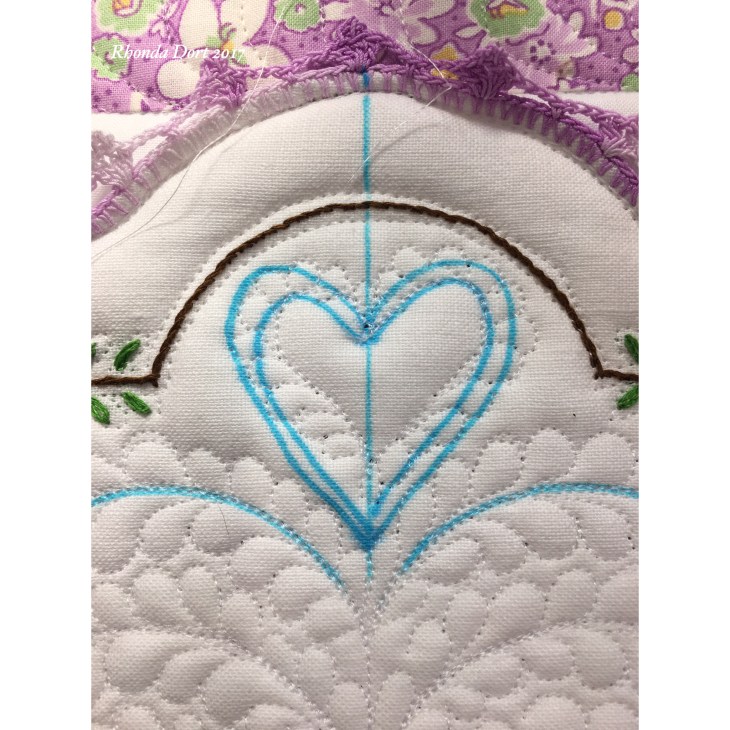
4. Flip your block over. I’ve done both the zig-zag and straight stitch to show you what each will look like. There’s no need to do both stitches on your own blocks. Mine is just for demonstration.

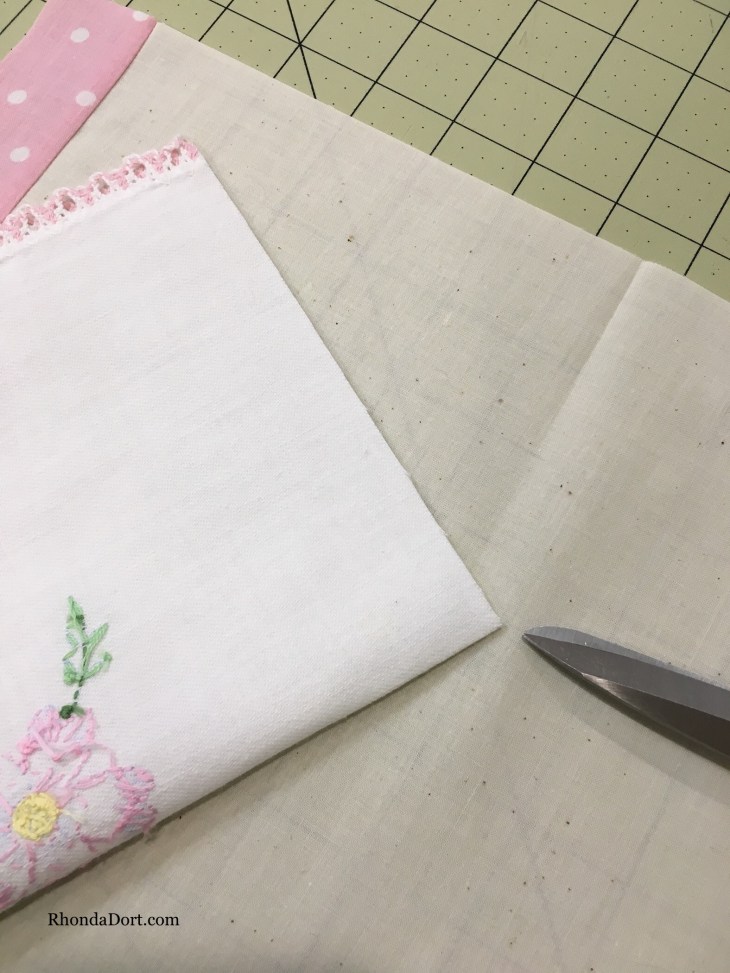
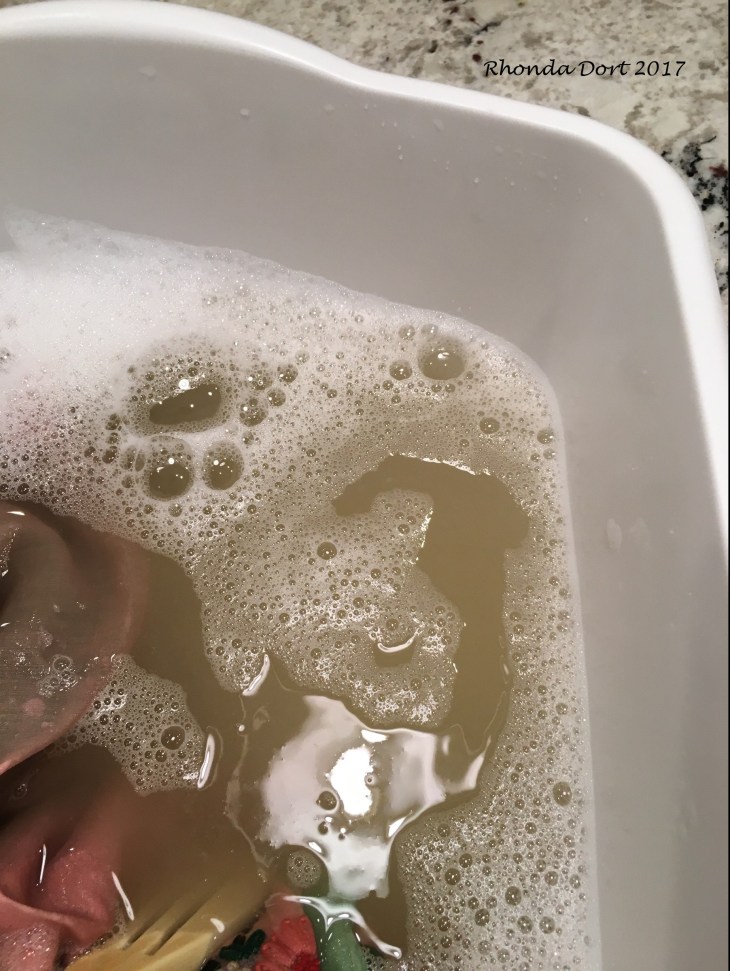
5. With really sharp scissors, make a tiny snip in JUST THE BACKGROUND FABRIC.
6. Insert the scissors into the snip. Begin to cut away the background fabric very close to your stitching, about 1/8″ away. Continue cutting all the way around until the fabric behind the doily is removed.
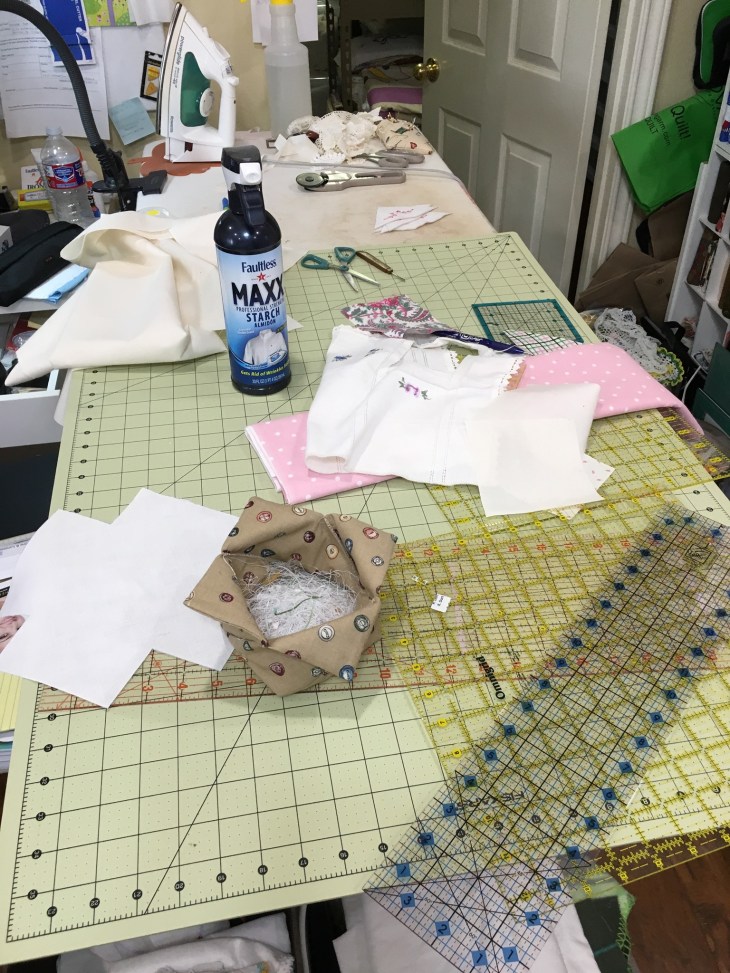
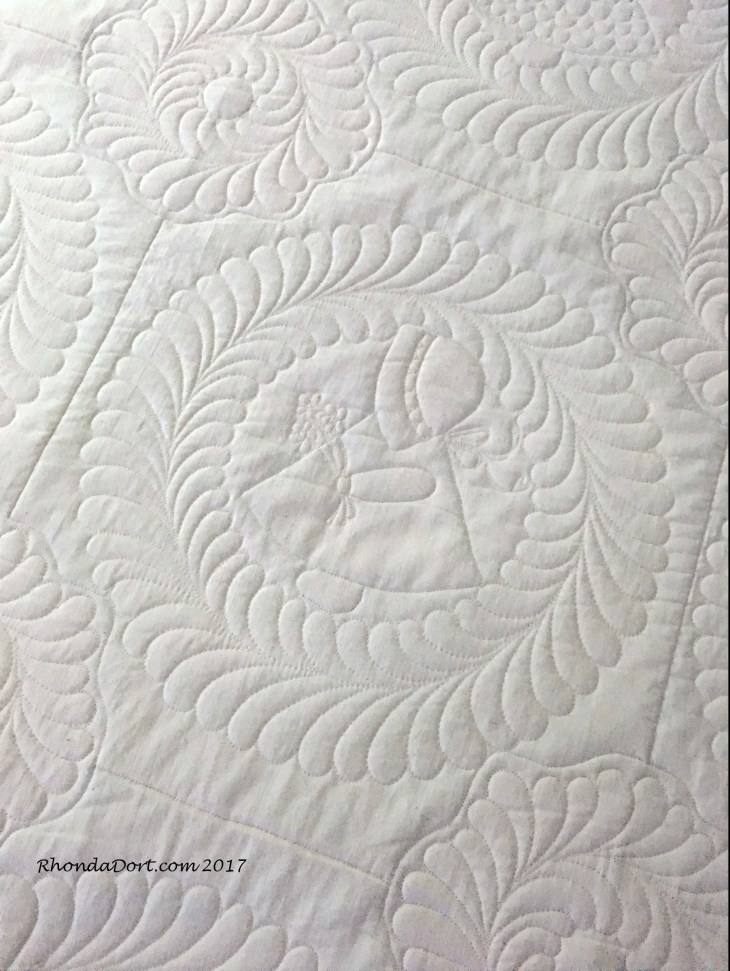
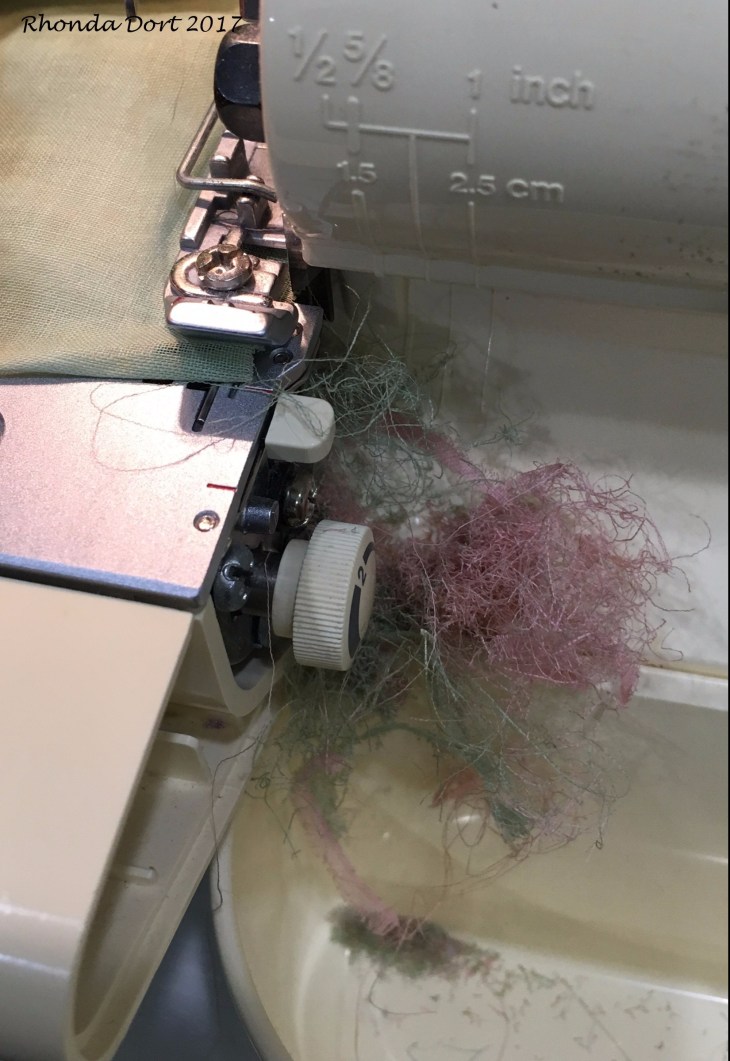
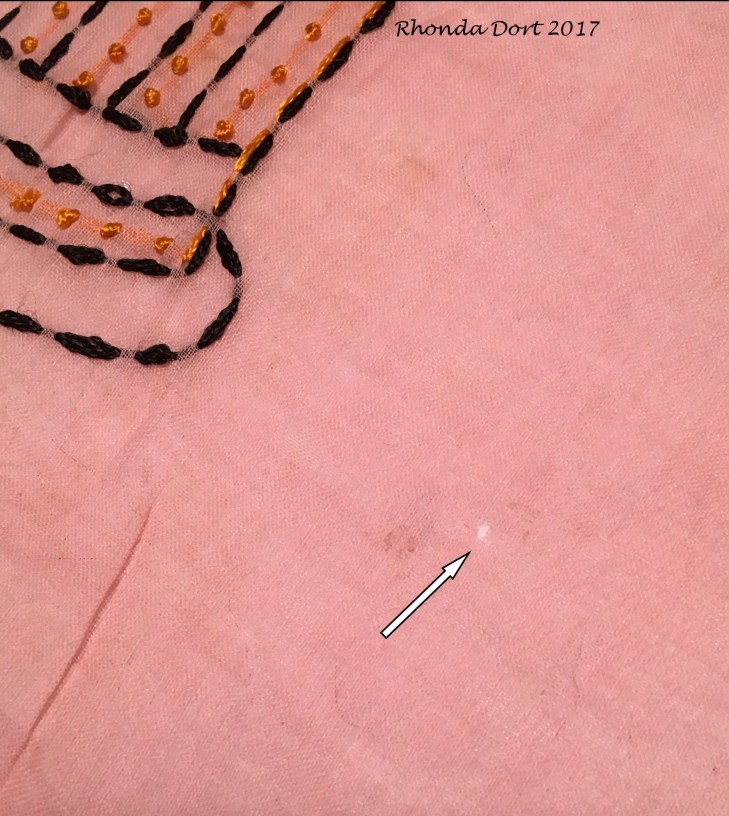
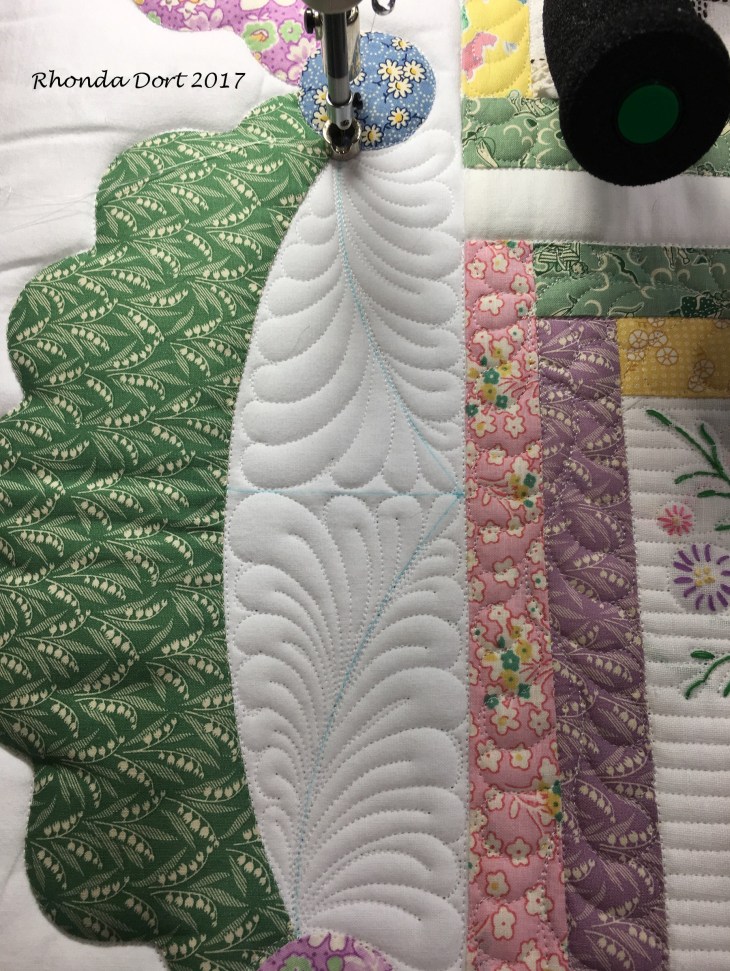
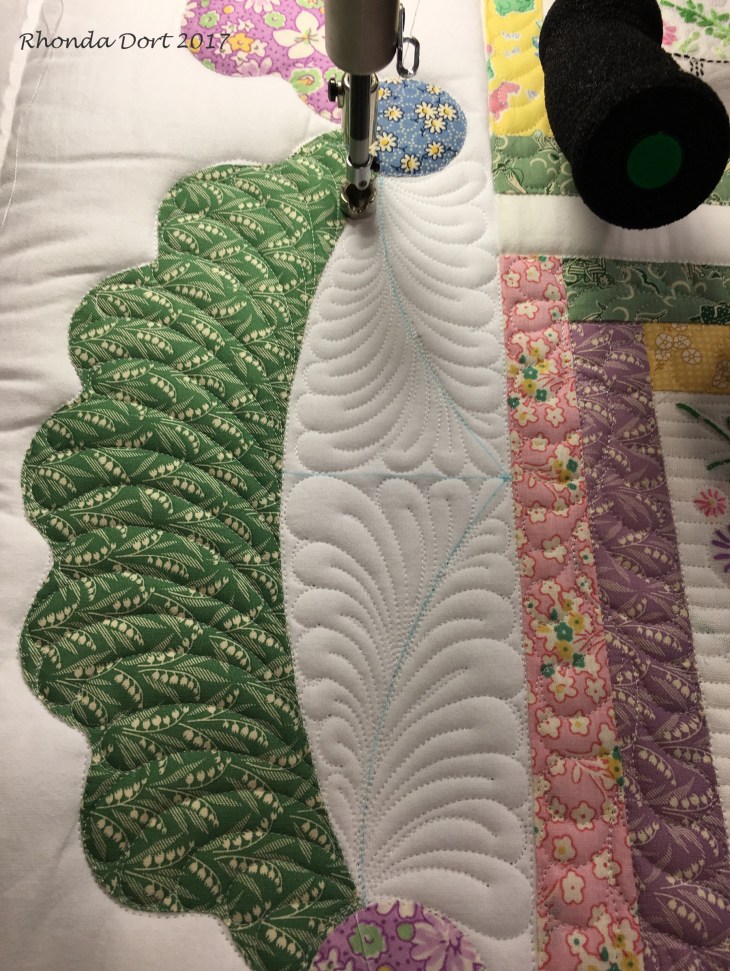
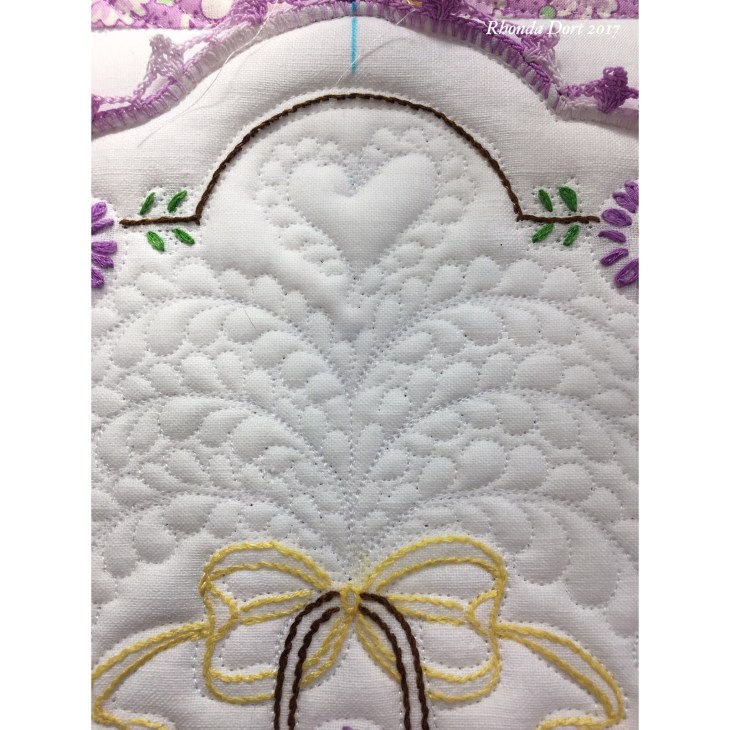
Below is a picture of what your block will look like, but looking closely…what else do you see that is problematic? Look at all those wispy embroidery floss ends flying all over the place! They will show thru to the front side when your quilt top is placed atop batting! Now’s the time to take care of them but first, give the “end game” some thought. Why are you making this quilt? Will it be a utility quilt used on a bed? Will it be a Show Piece in your home? Will you quilt it very closely or will it have mostly wide open un-quilted areas? Because I quilt the living daylights out of my quilts I already know that once loaded on the longarm, I will closely stitch most if not all the embroidery as though it were applique. I also know I am creating this piece as a teaching tool and it will most likely never be used as a utility piece. Therefore I have chosen to clip most of the floss tails to about 1/4″ and then to press them into the floss of like color.
If this were to be a utility quilt I would need to have knotted the floss tails in some fashion to ultimately secure them because as a utility piece the chances of seeing a washing machine and dryer are highly likely.

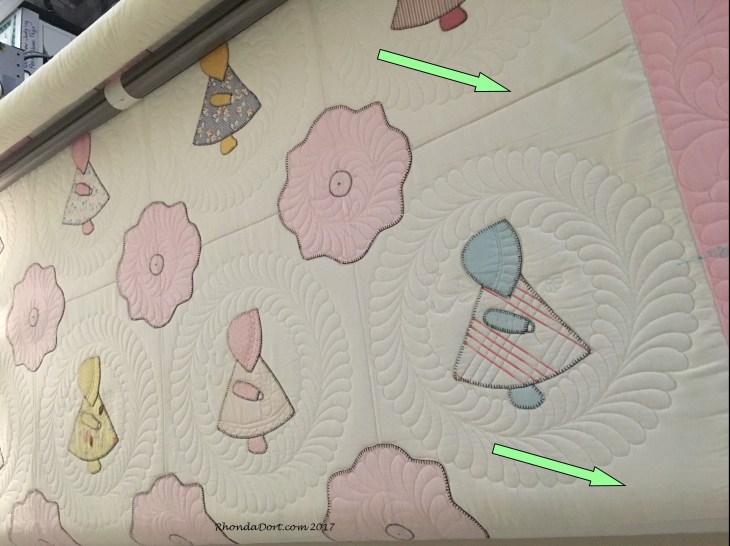
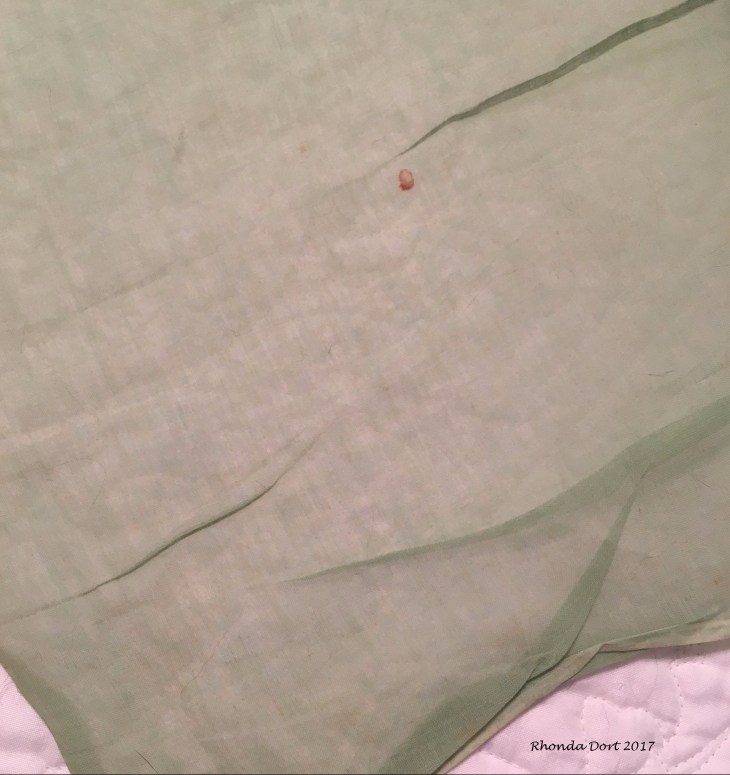
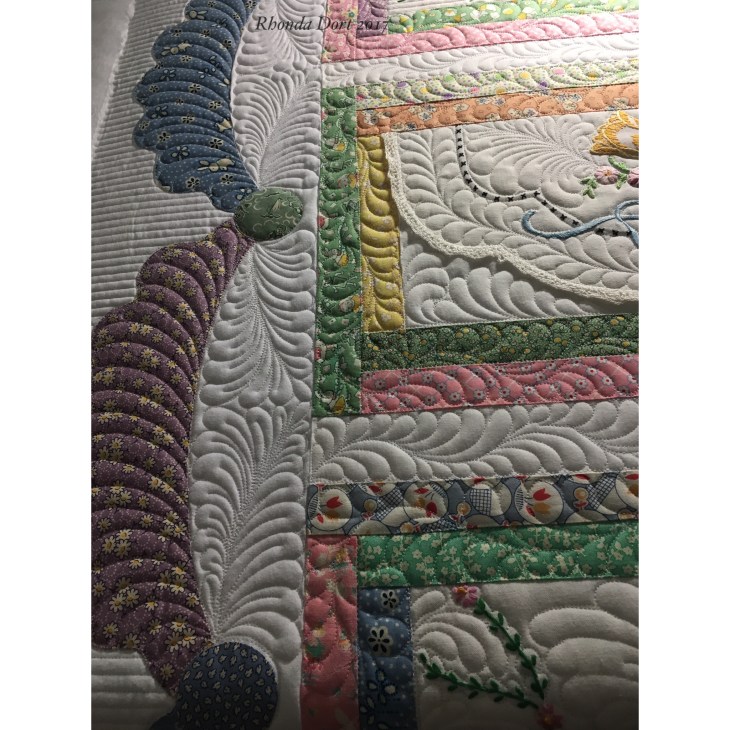
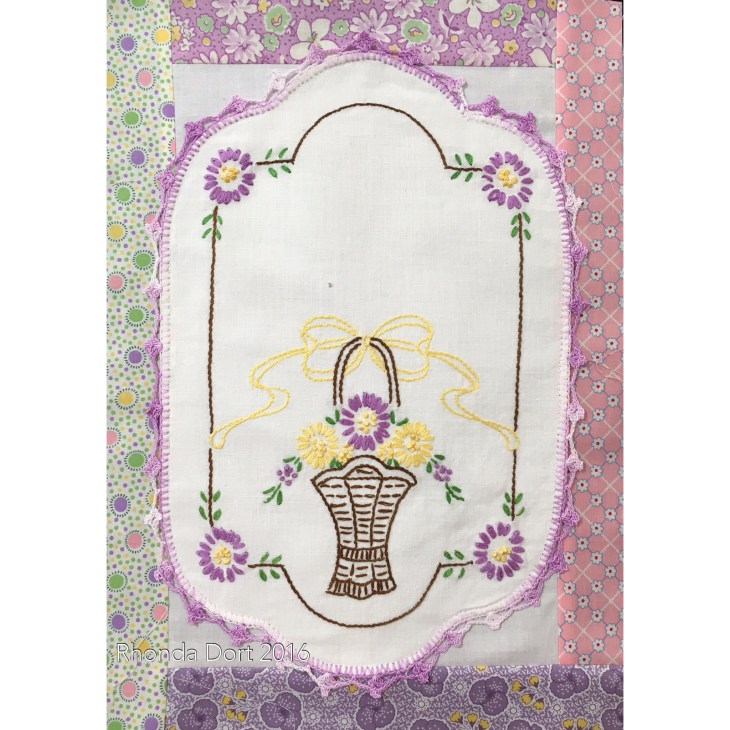
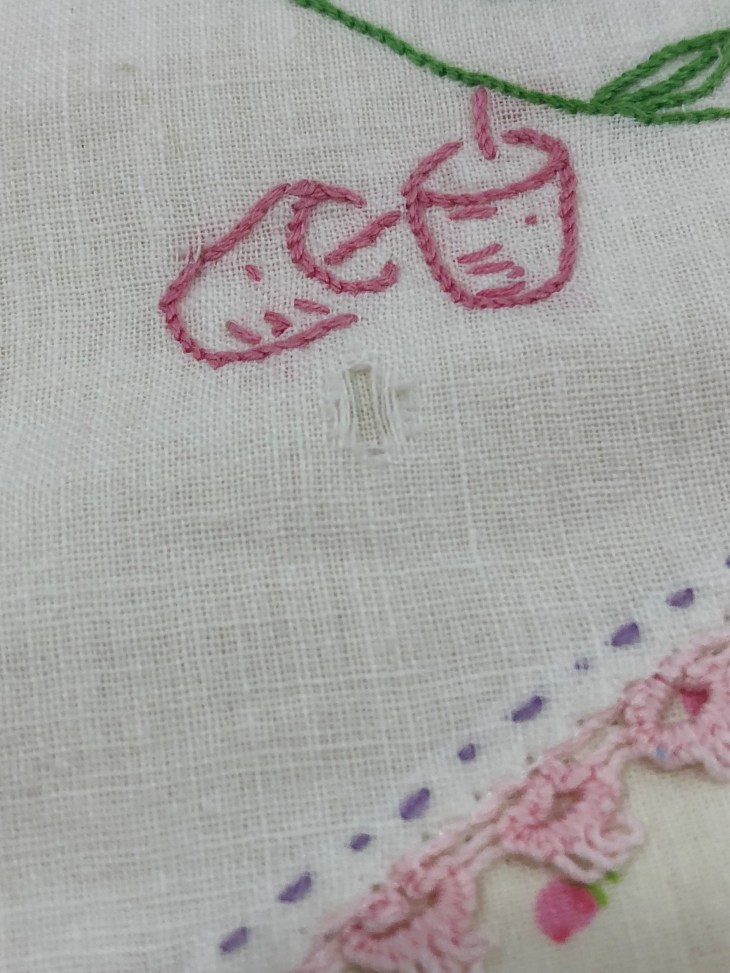
Let me also tell you that many of the linens had small (less than 1/4″) holes/tears in them. For this project I did not take time to make any repairs, instead I did heavy quilting over these imperfections. See the pic below for one example of such a hole:

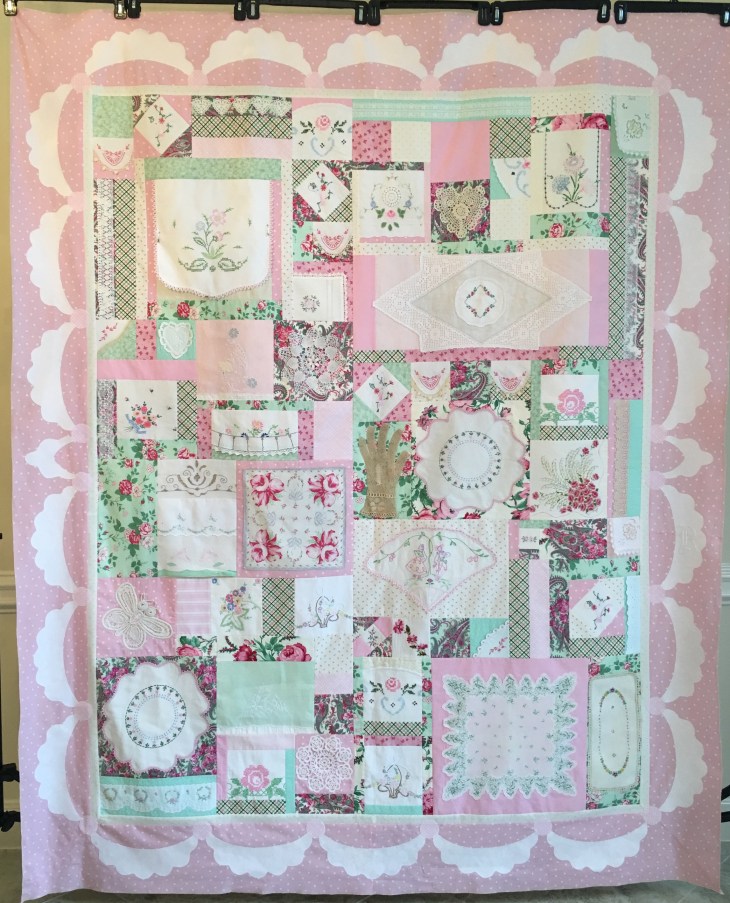
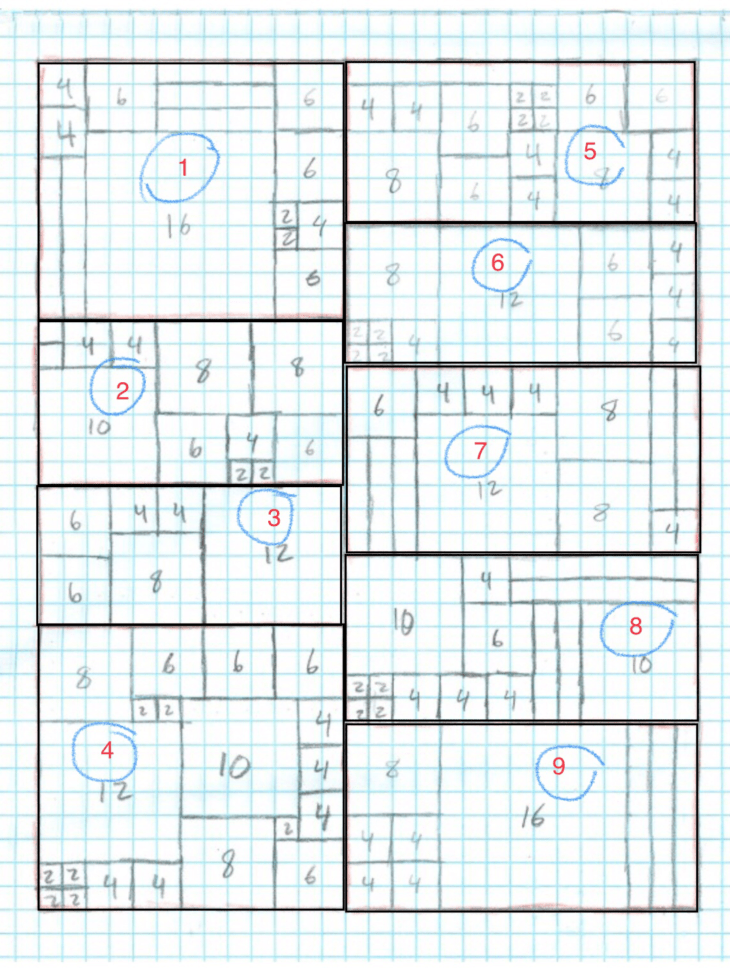
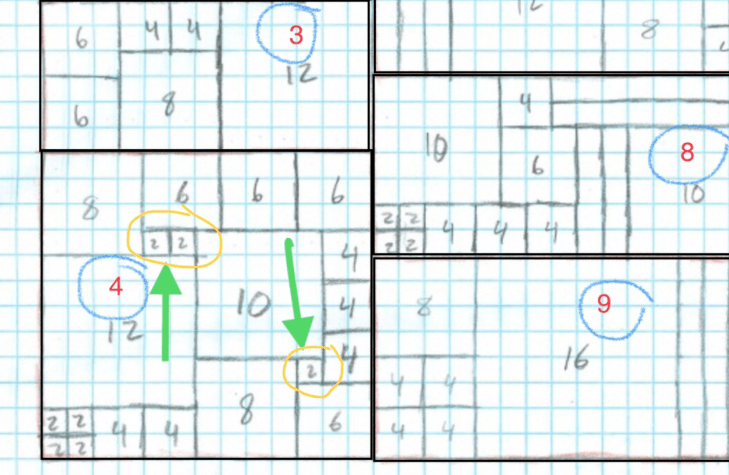
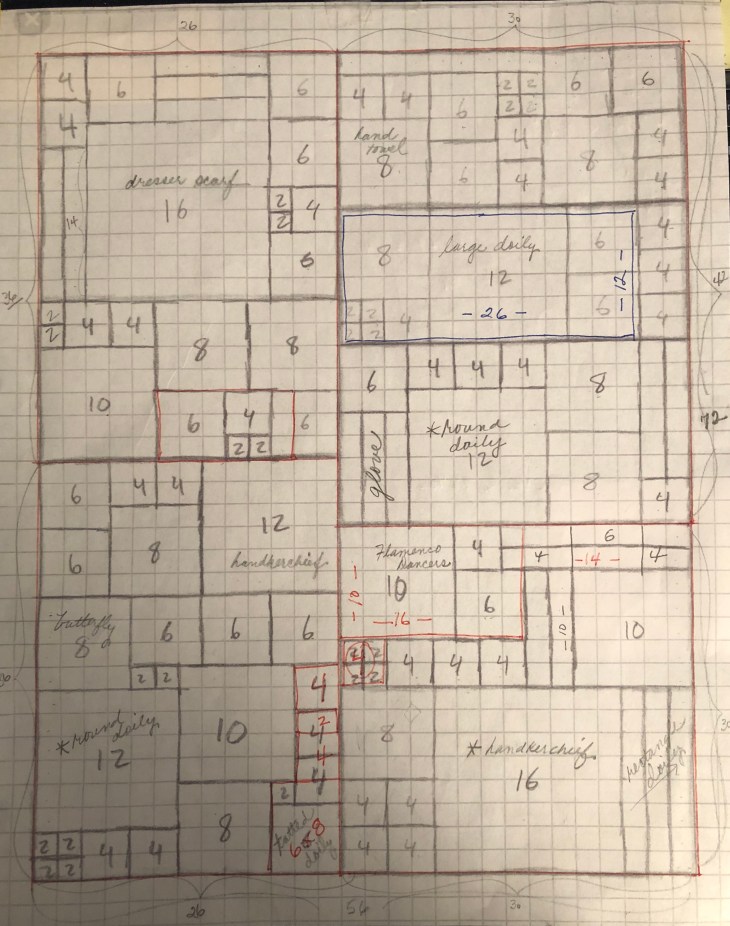
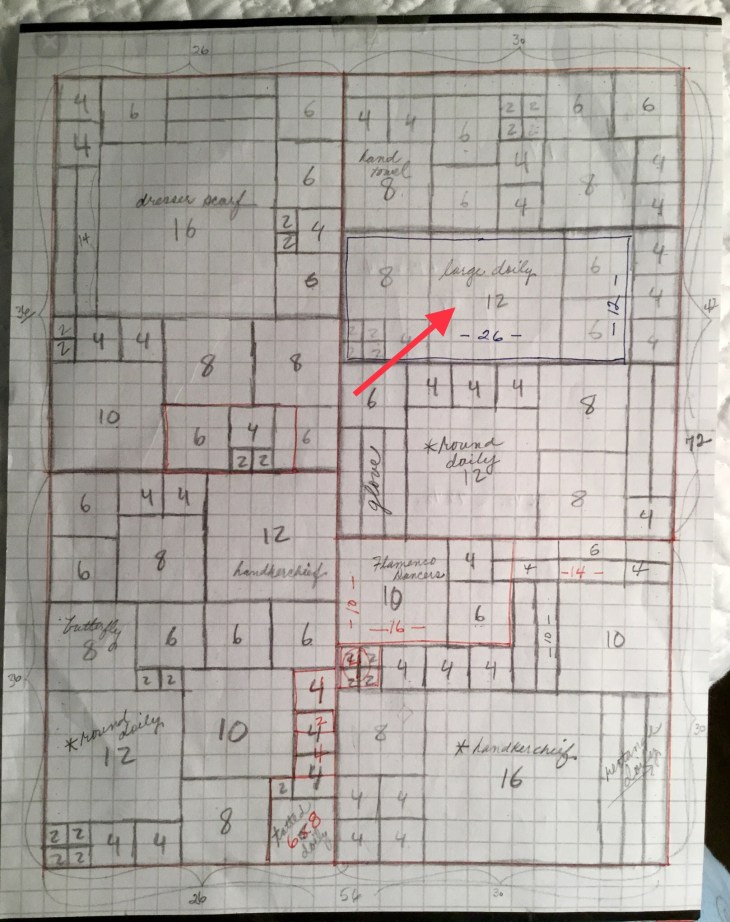
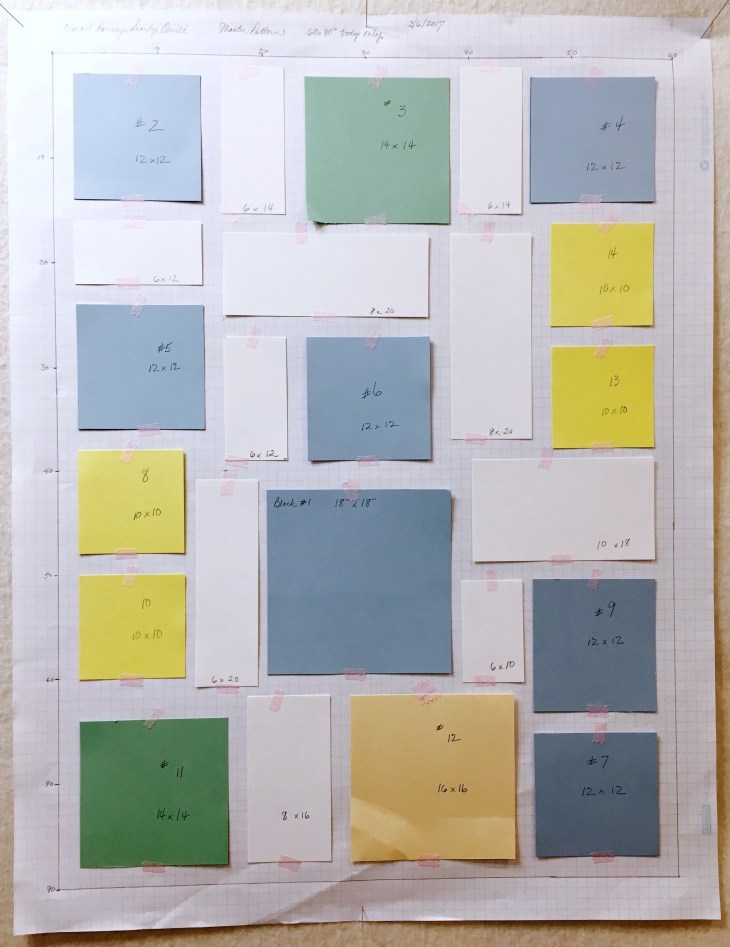
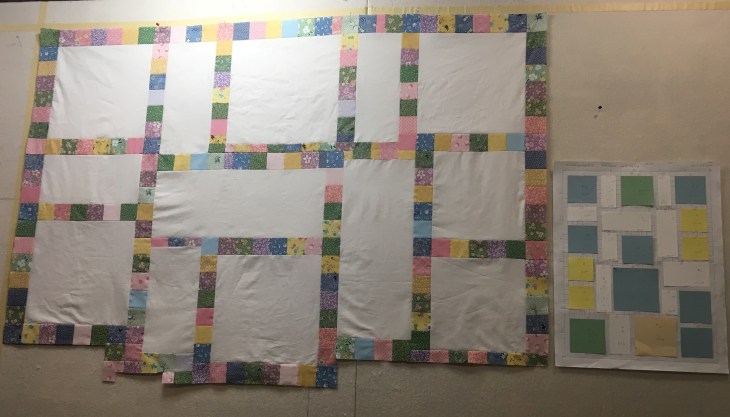
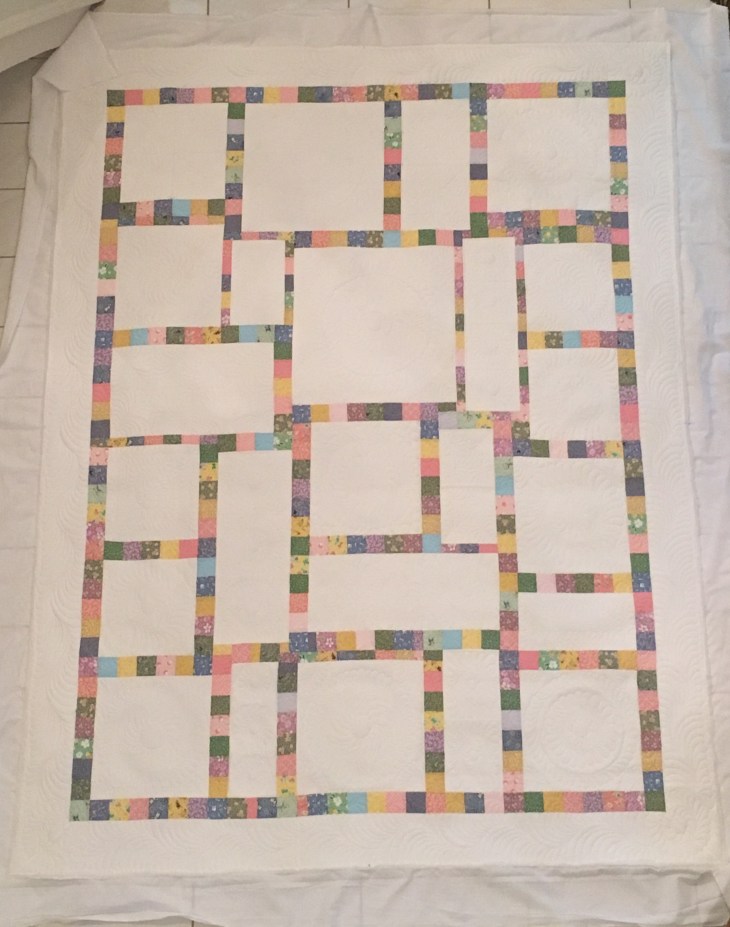
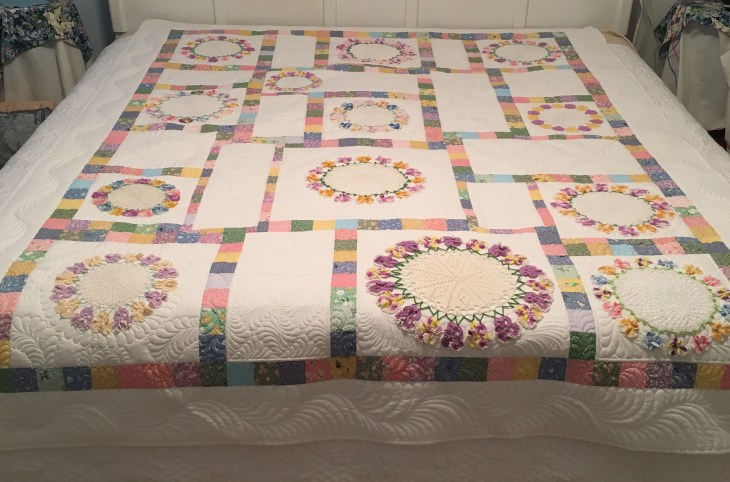
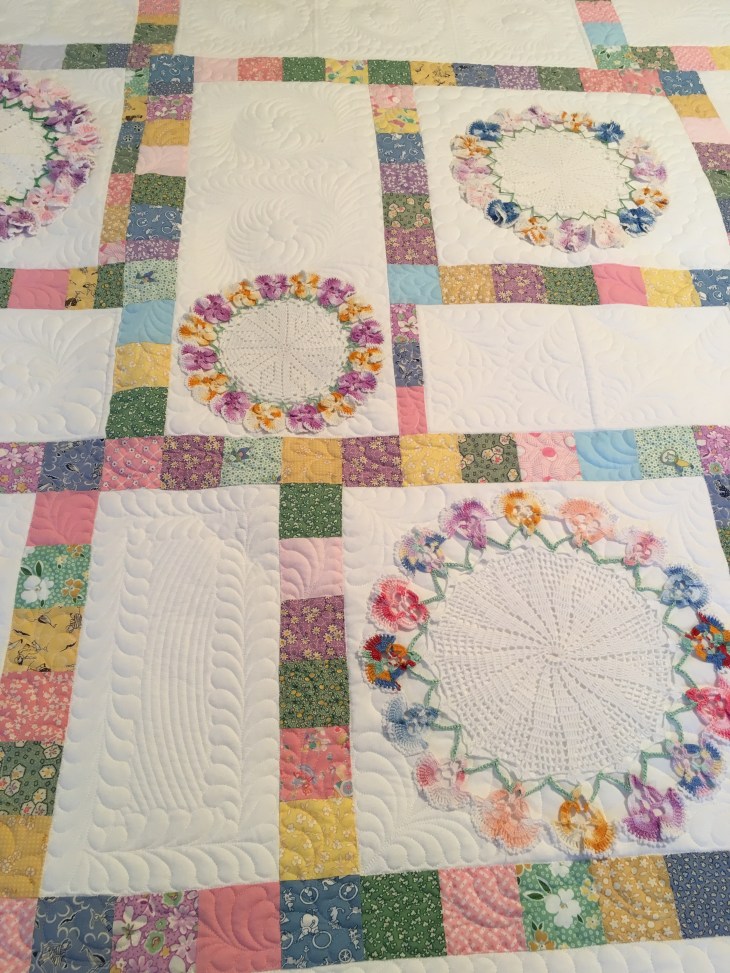
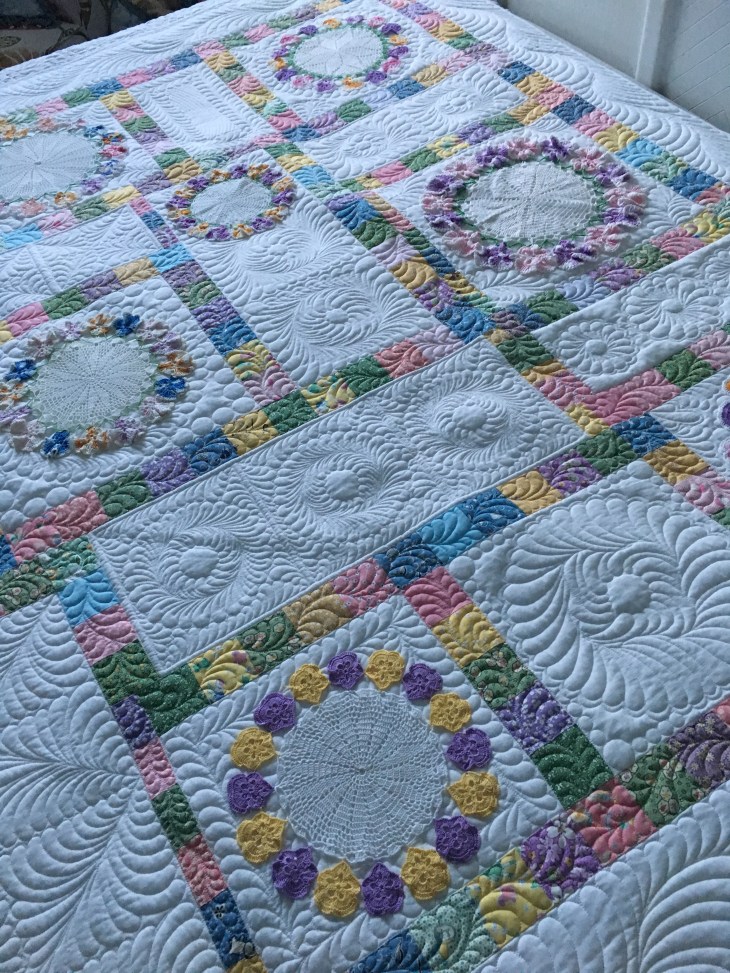
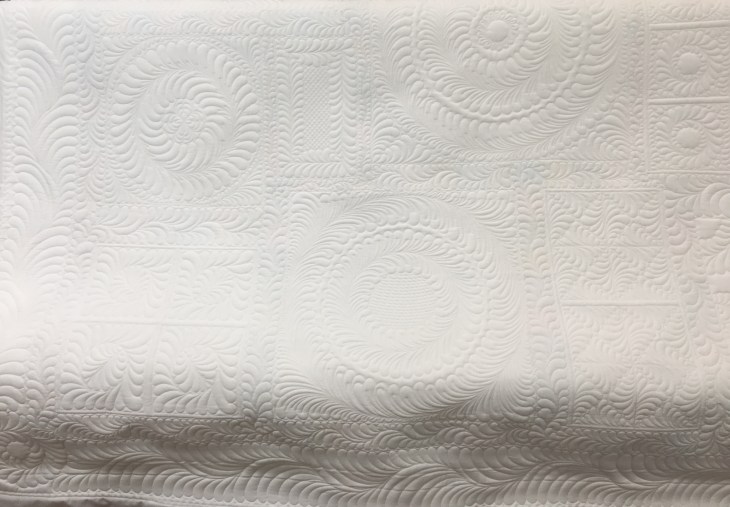
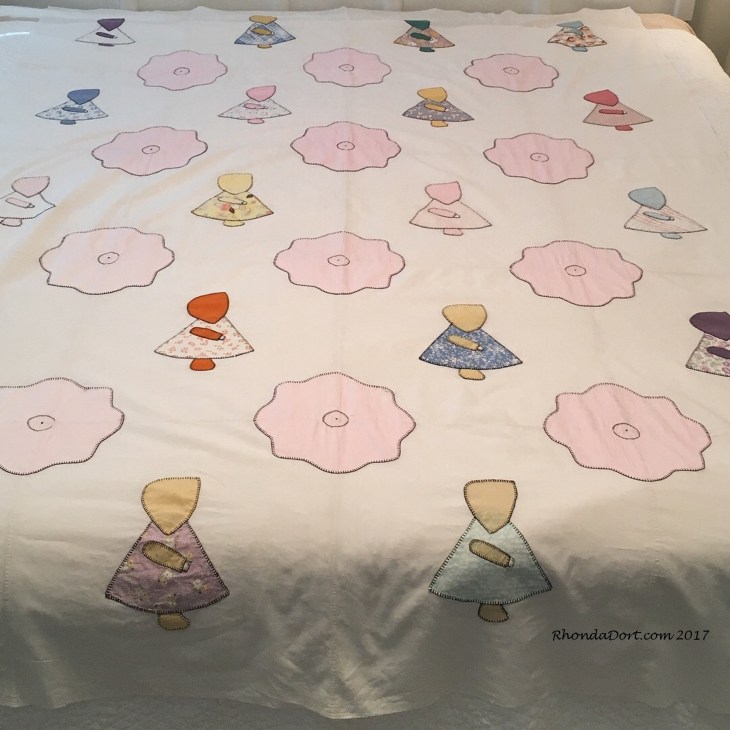
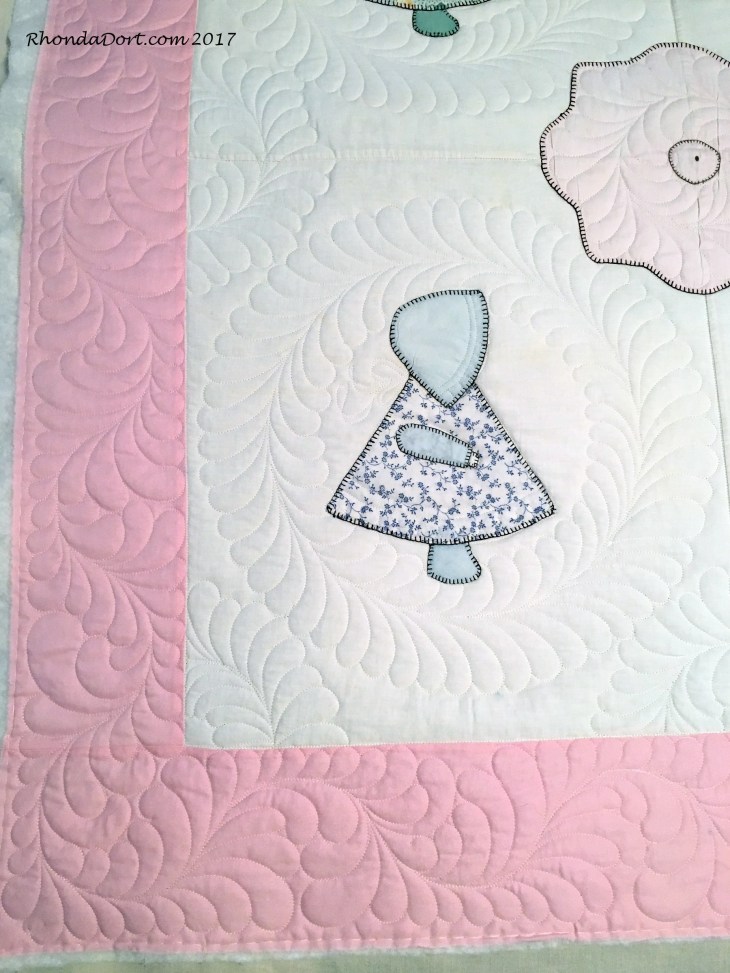
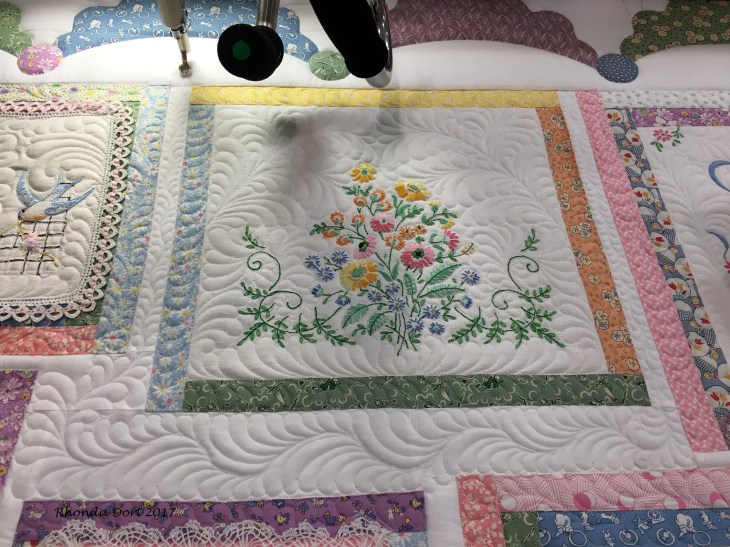
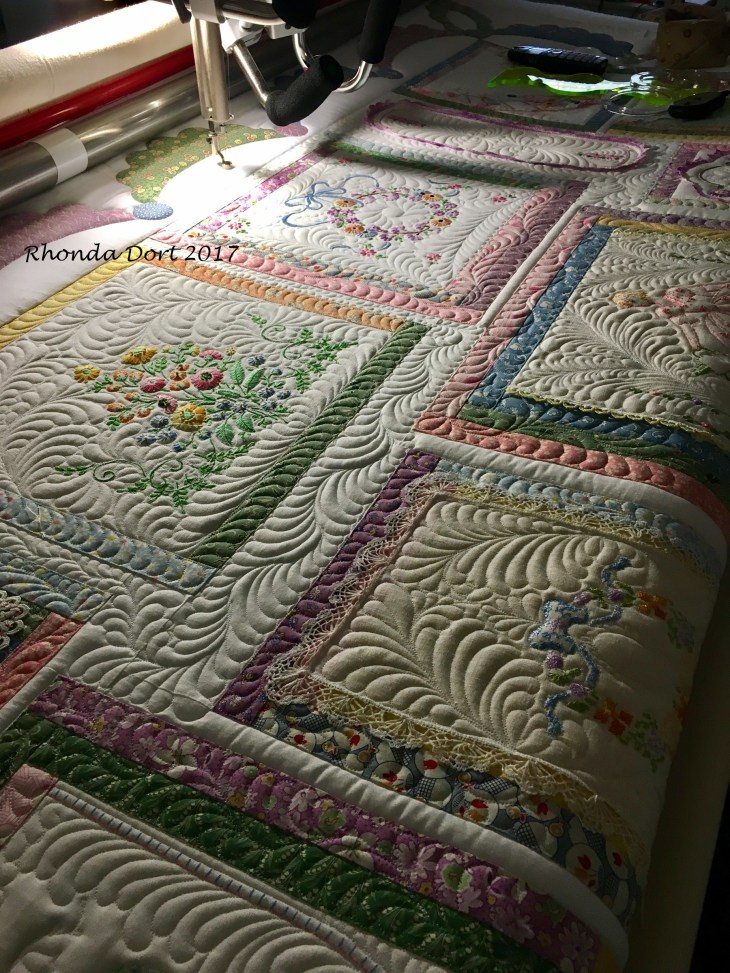
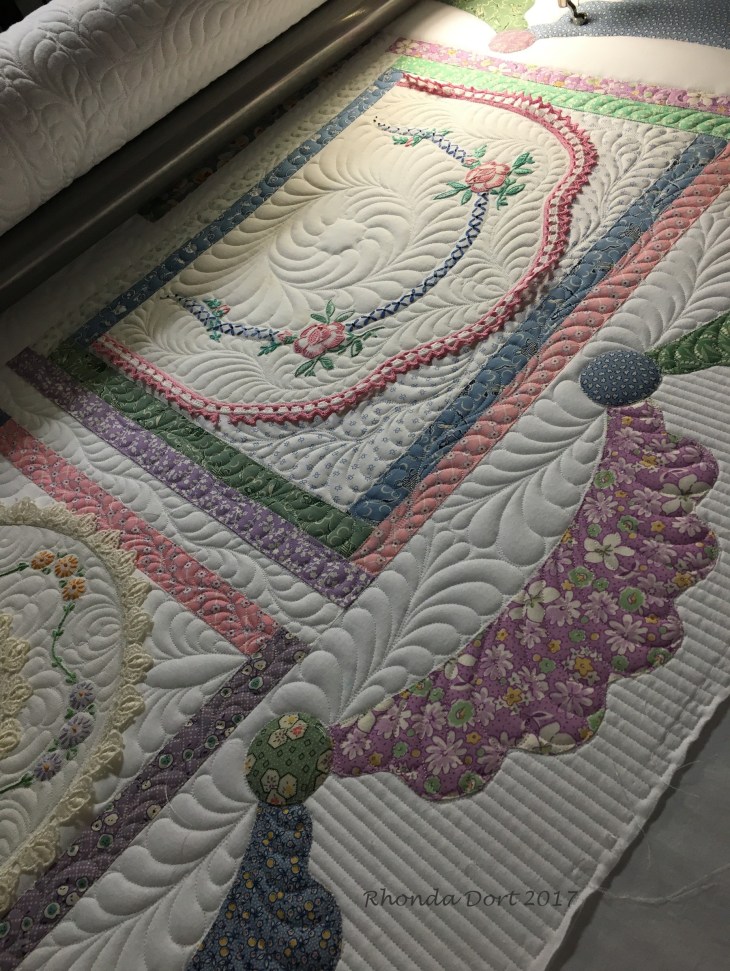
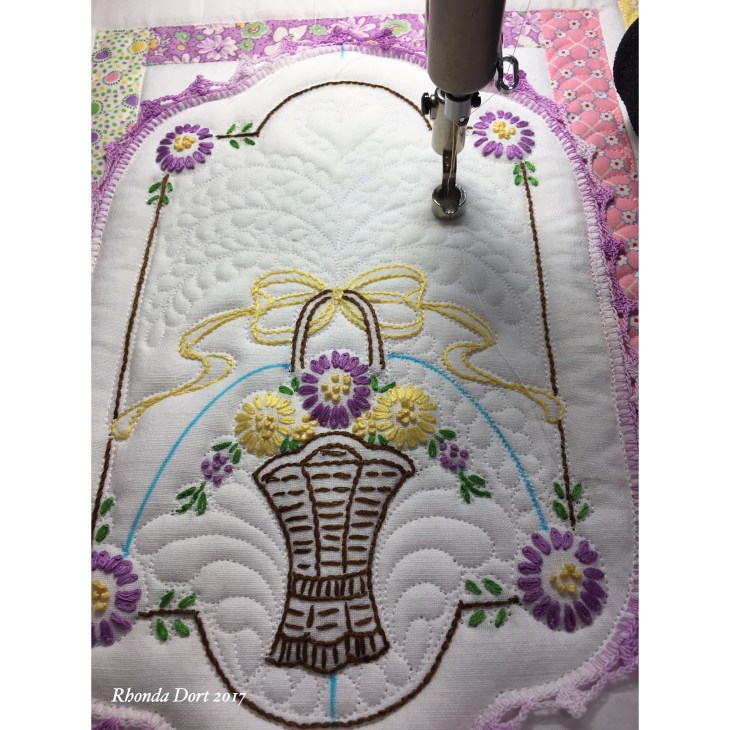
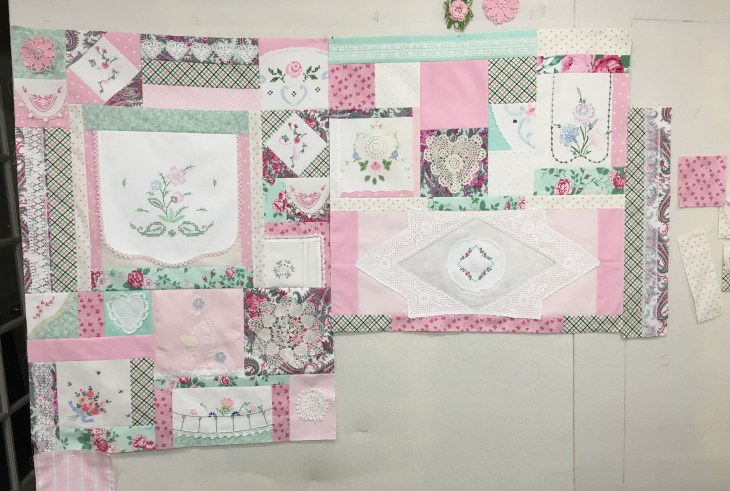
So here we are with the body of the quilt finished! Well, finished with the exception of sewing all 9 sections together.

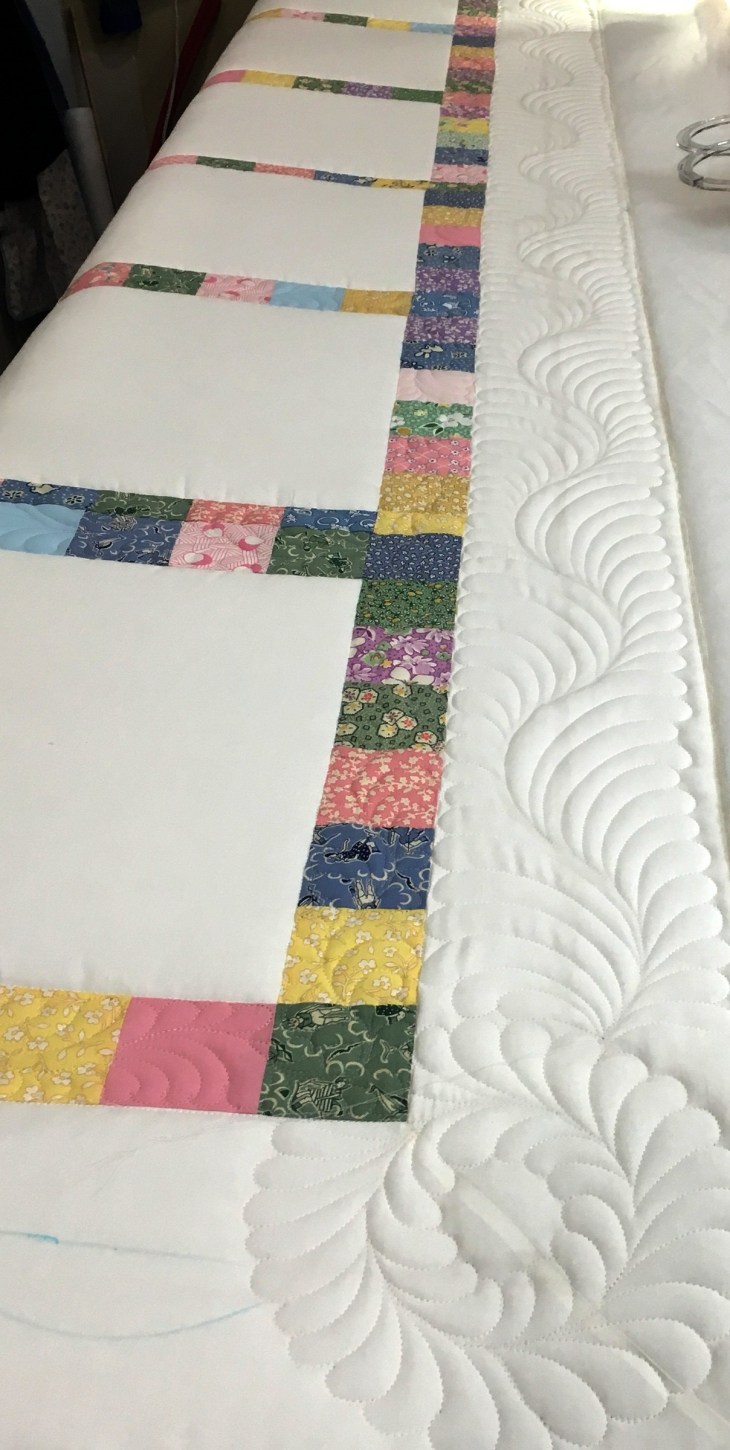
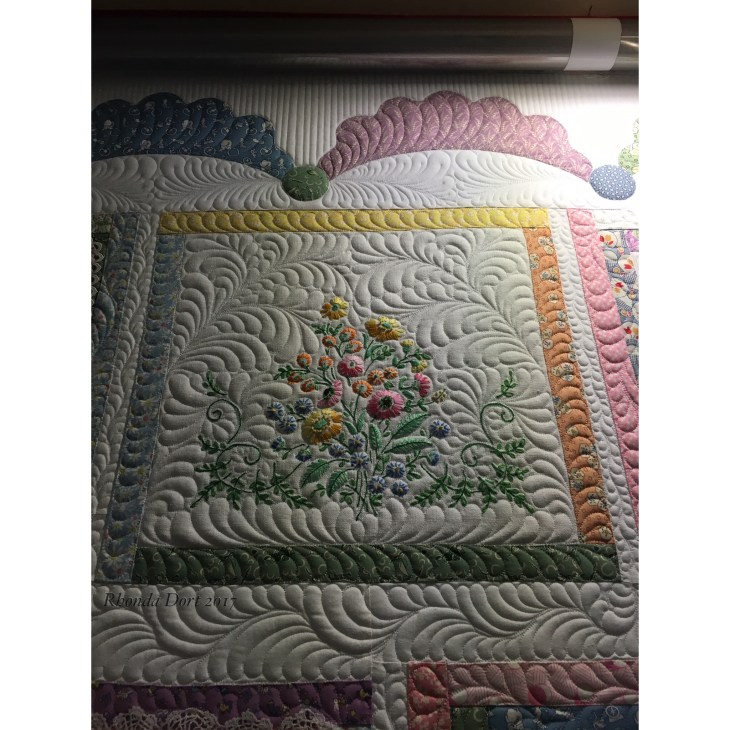
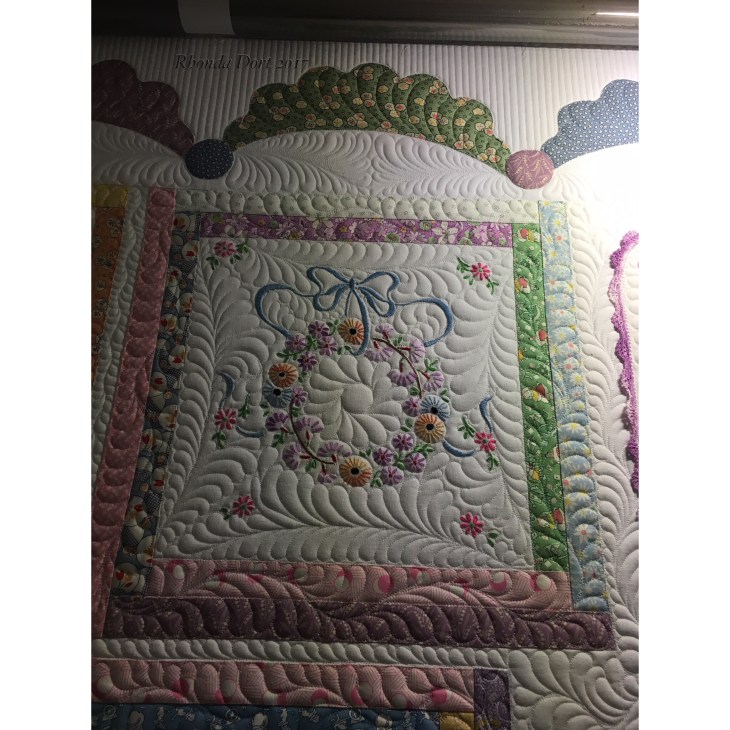
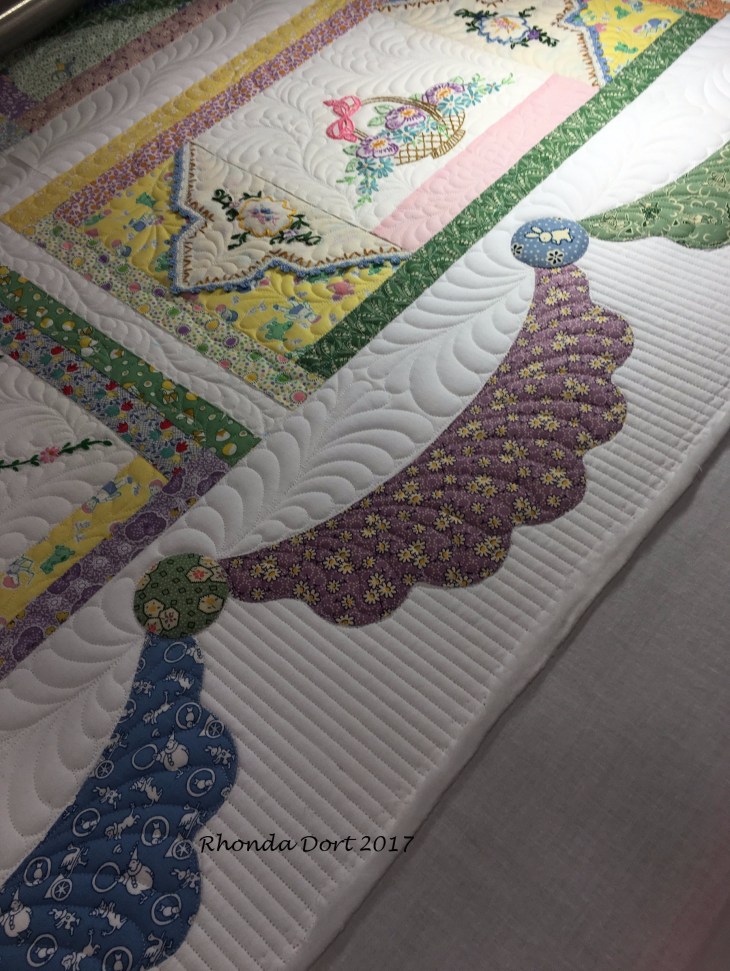
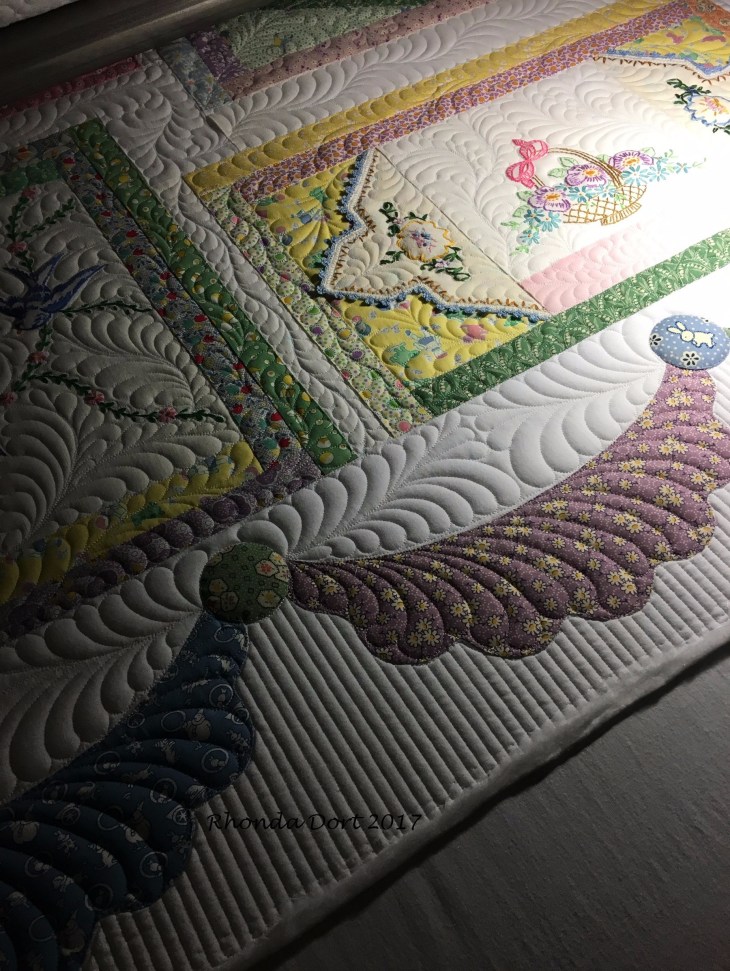
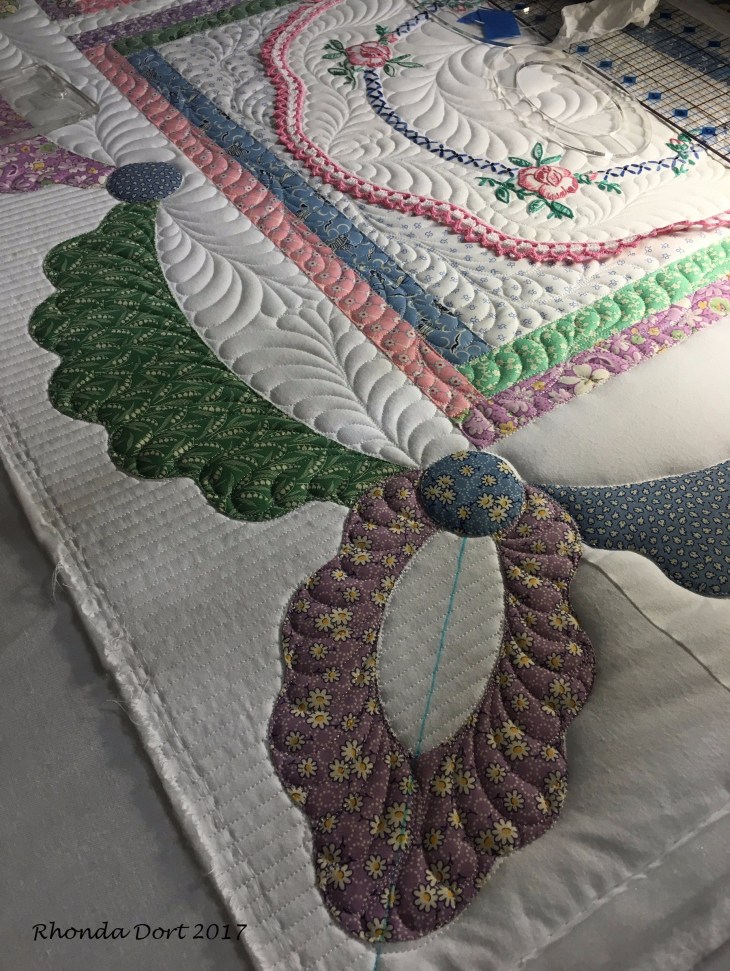
I chose to do 2 borders, the inner 1″ finished and the outer 6″ finished. The outer border features ivory swags cut from a vintage damask tablecloth with shamrock woven designs. I used Heat ‘n Bond Lite behind the swag, pressed it into place and then with a sewing machine built-in applique (blanket) stitch, I appliqued each swag and circle to the borders. The ivory swags and the circles are both raw edge. Many of you know I do not like using fusible with vintage linens so why did I use it on the swags? The damask tablecloth was of medium weight. If I had turned the edges under, the bulk would have been awkward. The damask was also very ravelly. The Heat ‘n Bond Lite held the raw edges very nicely until I could get the applique/button hole stitch completed. For this quilt I chose to make the swag circles from the same fabric throughout the border.

Remember, there’s a very detailed Custom Swag tutorial you can find in my blog post of May 26, 2017. Don’t be intimidated by creating a custom swag border, once you’ve done one you’ll be a pro!
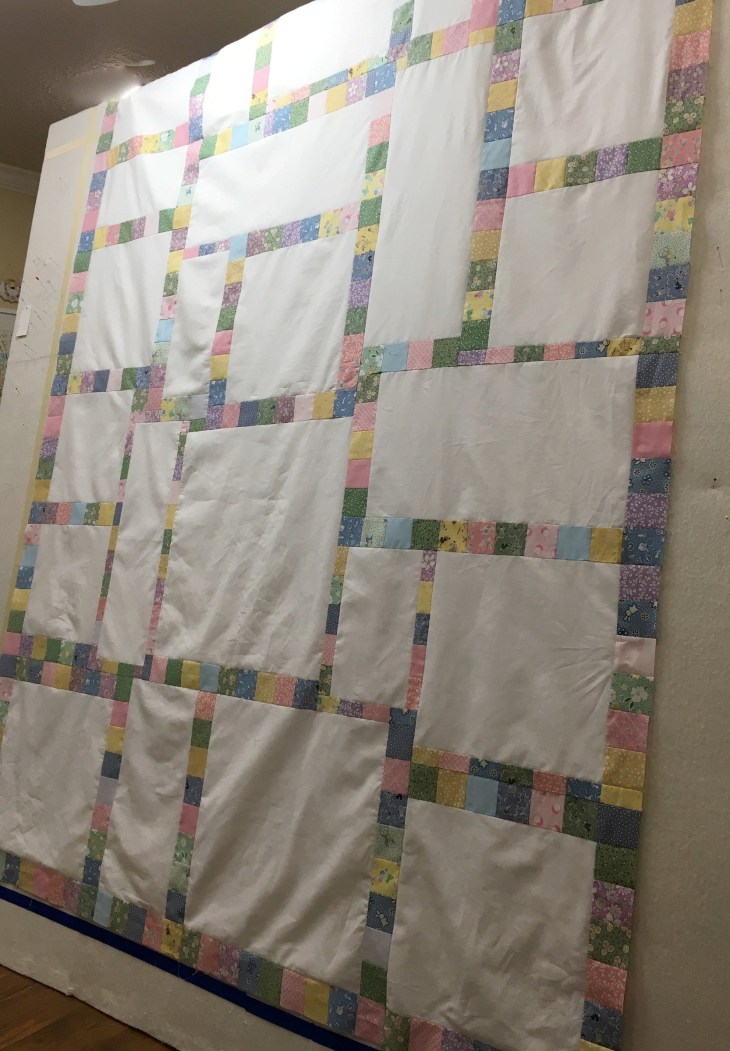
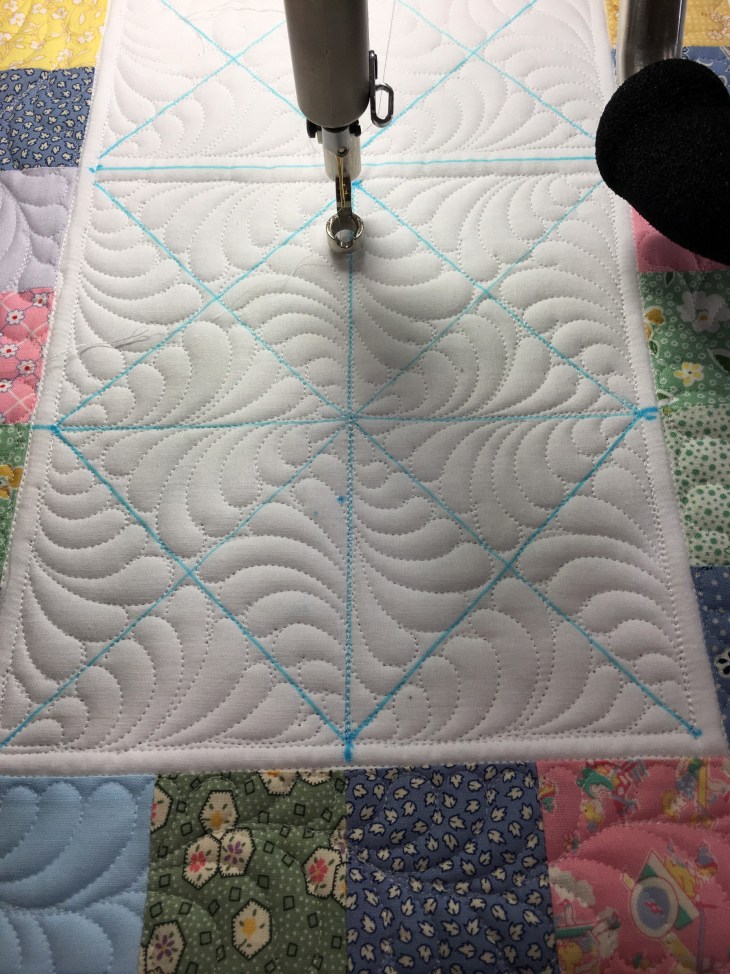
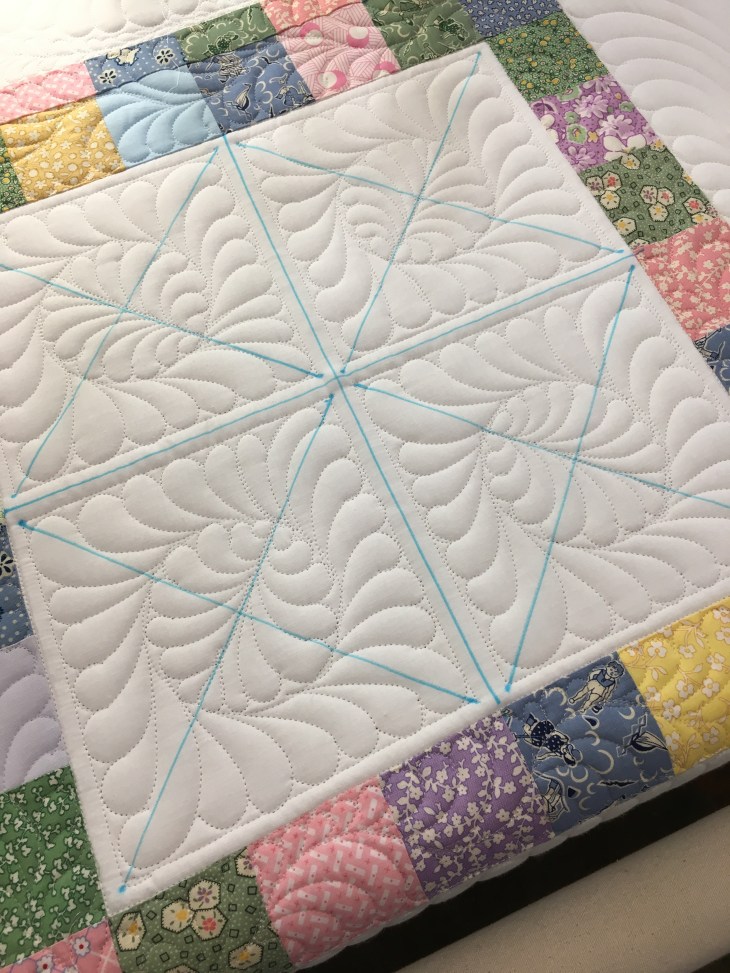
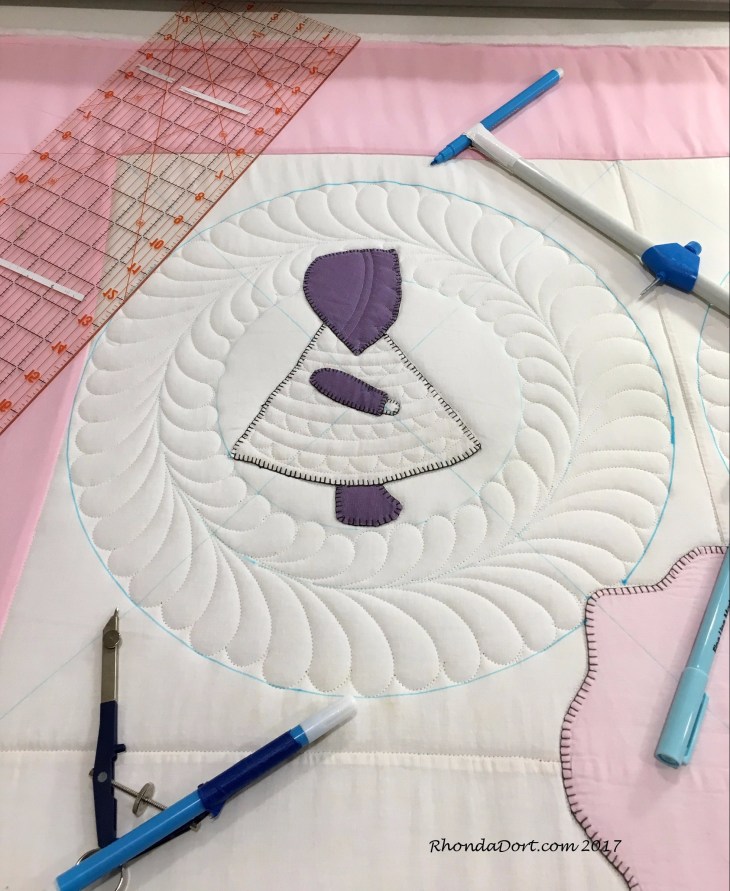
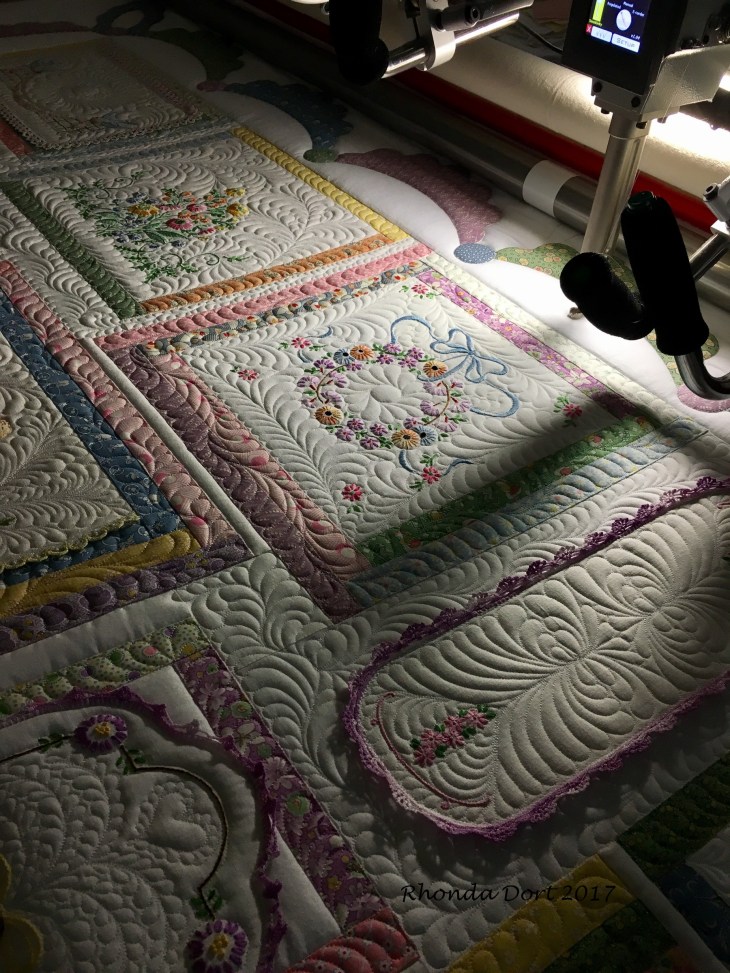
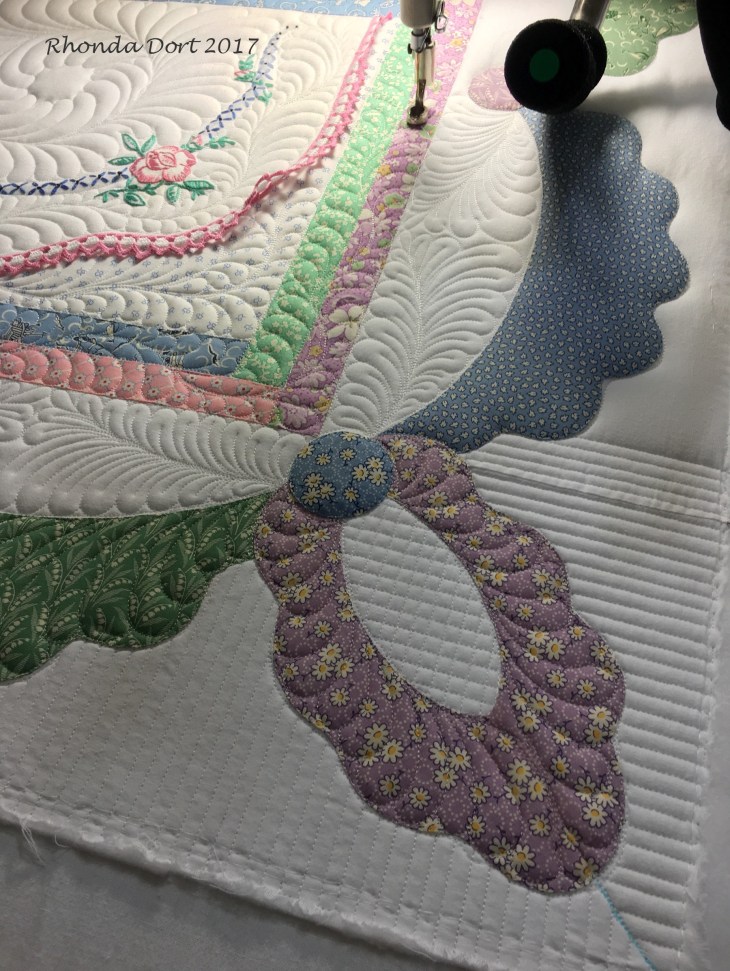
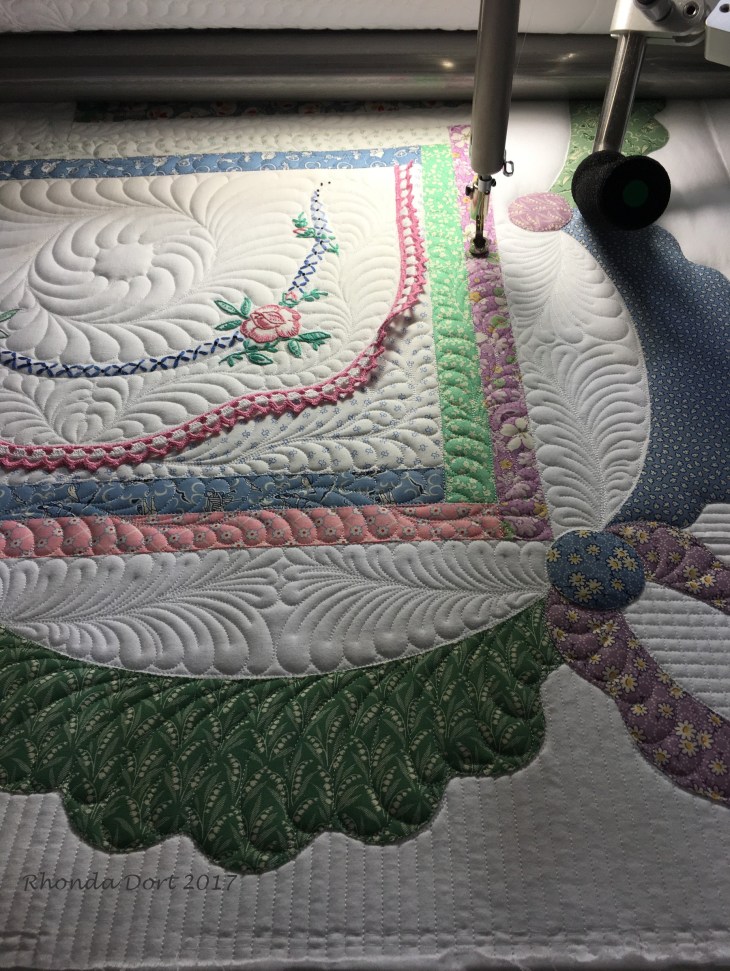
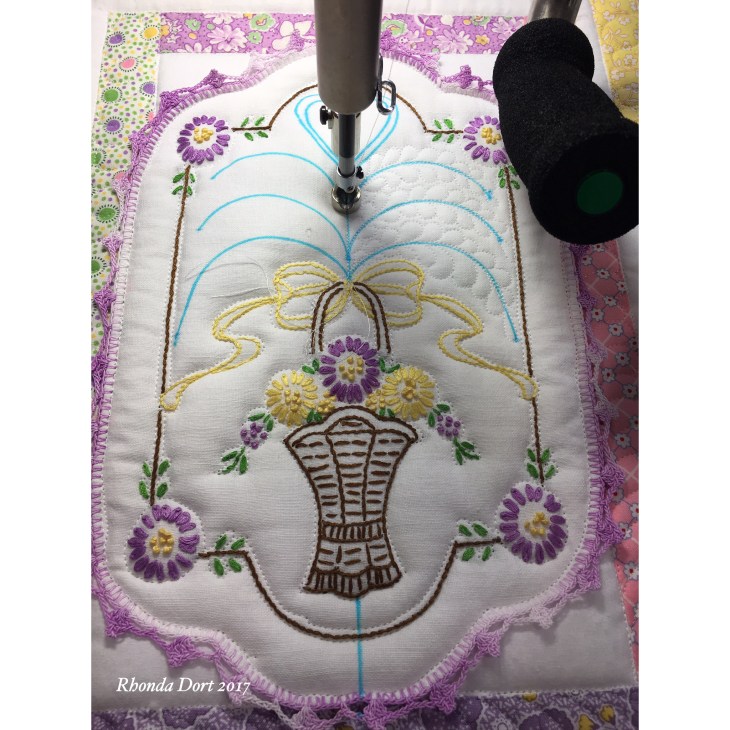
Here’s the quilt top ready to be loaded on the longarm:

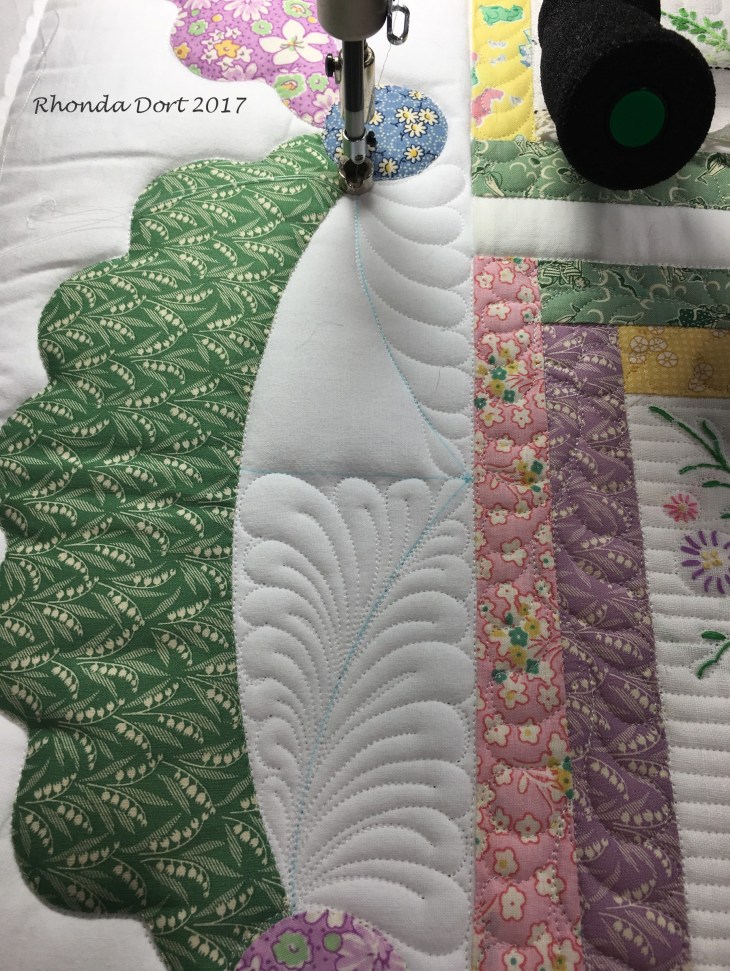
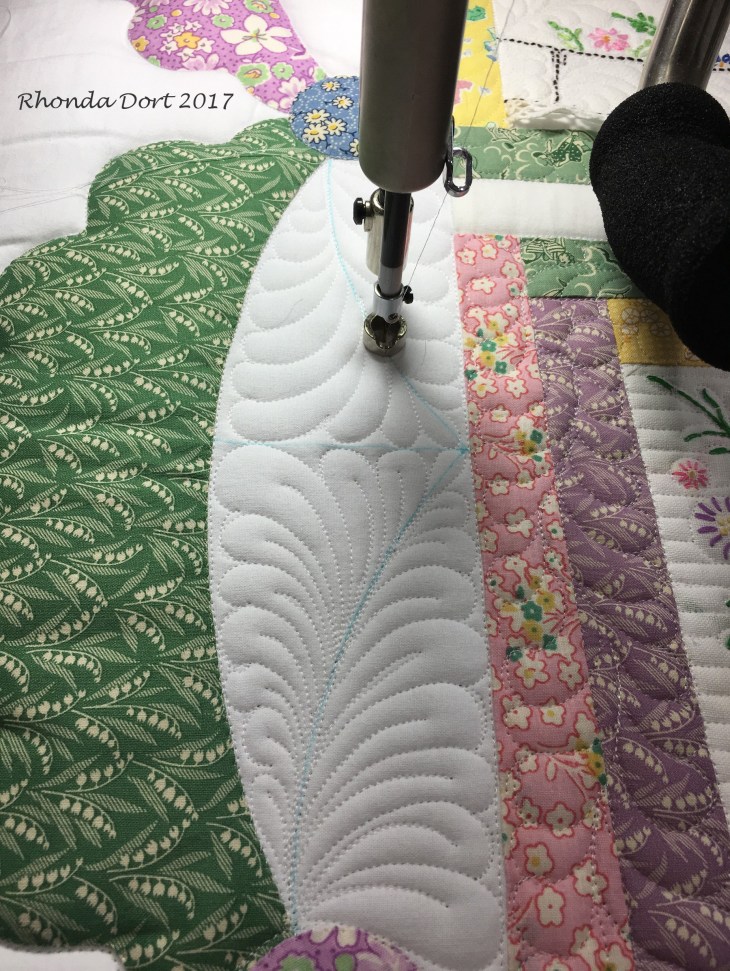
I think there’s one more blog post tutorial about this quilt coming. The final tutorial will detail all the quilting and the tidbits about handling crochet, tatting, laces etc. on your quilt top. I had a bunch of “do-overs” I want to tell/warn you about. What am I doing right now on this quilt? I’ve finished 2 sides of the binding, maybe I will be able to do another side or two this coming weekend. That will leave the sleeve and label for another day.
Thank you so much for all your kind sweet words about the loss of my youngest sister. The funeral service in Chicago was beautiful. I had a chance to speak near the close of the service and while rather difficult, I’ll be forever grateful I did.
Blessings to all and Happy Quilting,
Rhonda