

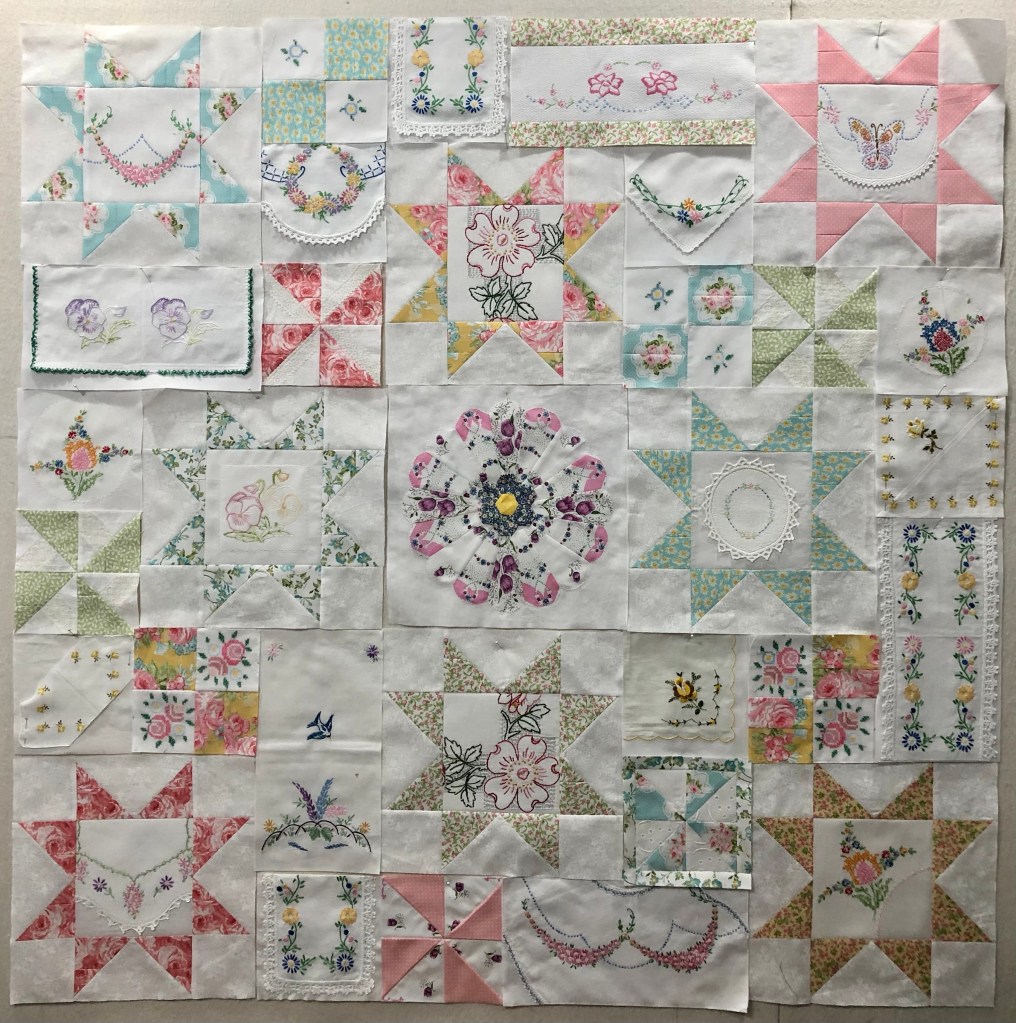
Boehm House Vintage quilt top pattern
Class begins January 1, 2021, here are some things to keep in mind:
The quilt top will measure approx. 54×54” if you follow the pattern as given. If you choose to eliminate the sashing strips and cornerstones, it will measure approx. 48×48”.
The Star Blocks are your Visual Anchor. The center Dresden Plate block is your “Bulls Eye”. The quilting fabrics and handkerchief colors need to work well with each other so as to draw your eye around the quilt top.
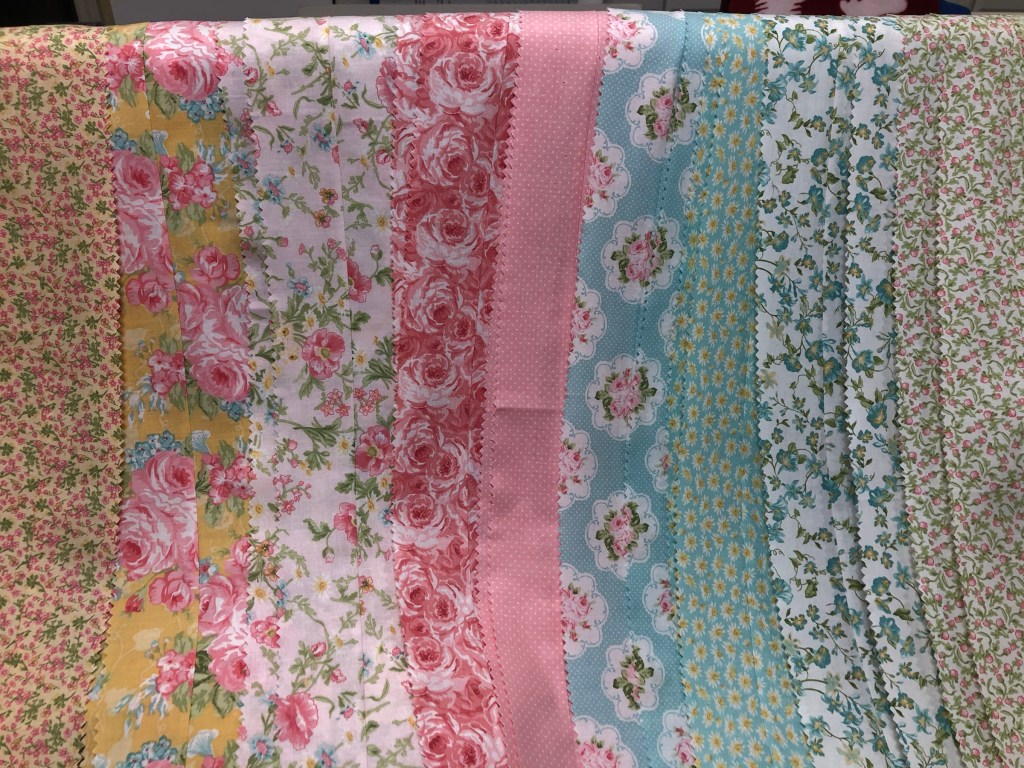
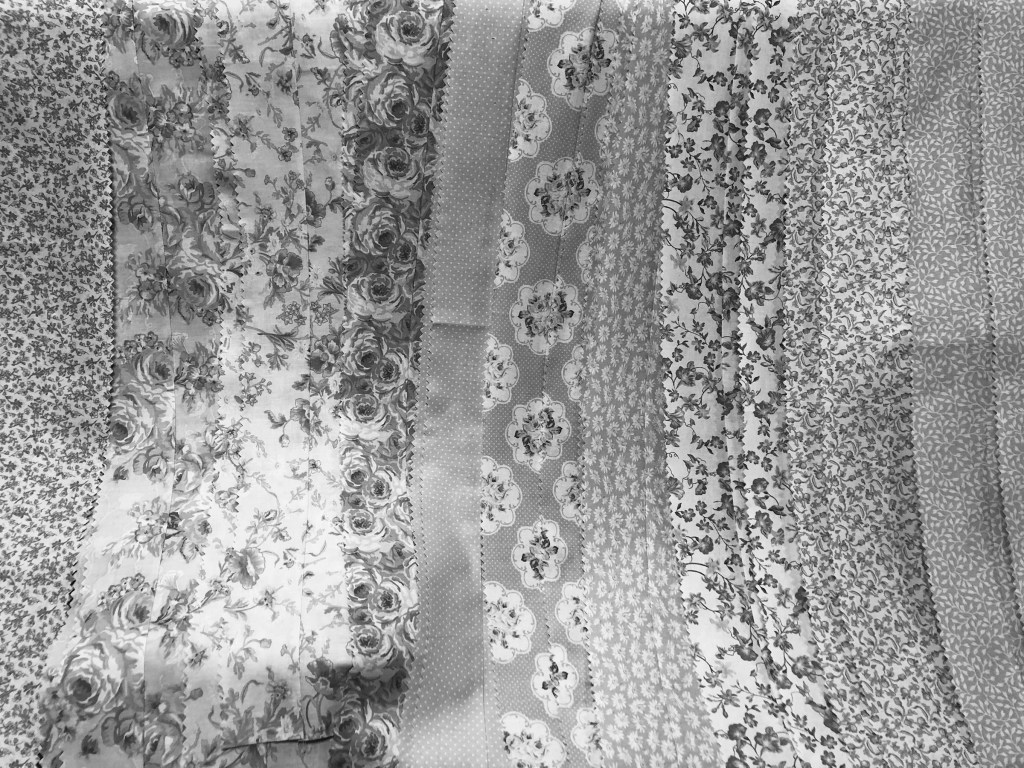
Lay out your quilting fabrics in what you consider to be the Light to Dark order. Take a picture of these laid out fabrics. Edit the picture to black and white. Reevaluate the order of your placed fabrics. Move your fabrics around if necessary and take a picture of your final placement. This will guide you to Star fabric placements. Your fabrics that “read” or look darker will work best if they are closer to the bottom on your quilt top. In other words, the darker fabrics will give your quilt top “visual weight” and as such, you may not want them placed at or near the top of your project.
You may have noticed that there ARE NOT cornerstones at all the intersections of sashing strips. This is intentional as I did not want to have cornerstone blocks anywhere other than the 4 corners of each Star Block.
As it appears in the pattern picture, there are horizontal and vertical seams in the center Dresden Plate block. I did not construct my Dresden Plate block in this manner. I completed the Dresden Plate circle and centered it on the bleached muslin single large piece of bleached muslin. I then Raw Edge Machine Appliqued the Dresden Plate circle to the large muslin square. Rather than use a center circle to complete the Dresden Plate I chose to use a small vintage Grandmother’s Flower Garden block which was also machine appliquéd in place.
Remember, this is not a speed challenge! Take your time once we begin! Everyone works at their own pace and unless you drop out, no one will be left behind. There are 8 Sections to this quilt. Once we have constructed all of our quilt blocks, we will lay them out and begin sewing these 8 Sections together.
Along the way you may very well change your mind about some of the blocks you have constructed. You may change your mind about your block placement. Perfectly normal! When I developed this pattern, I went through 19 different versions before I was happy. We will be working with Version #20! I also moved my Star Blocks around quite a bit before I was happy with their placement.
Keep in mind that when working with vintage linens, there are no rules, only what pleases you!
Are you excited? I know I am!
Happy quilting and Merry Christmas!
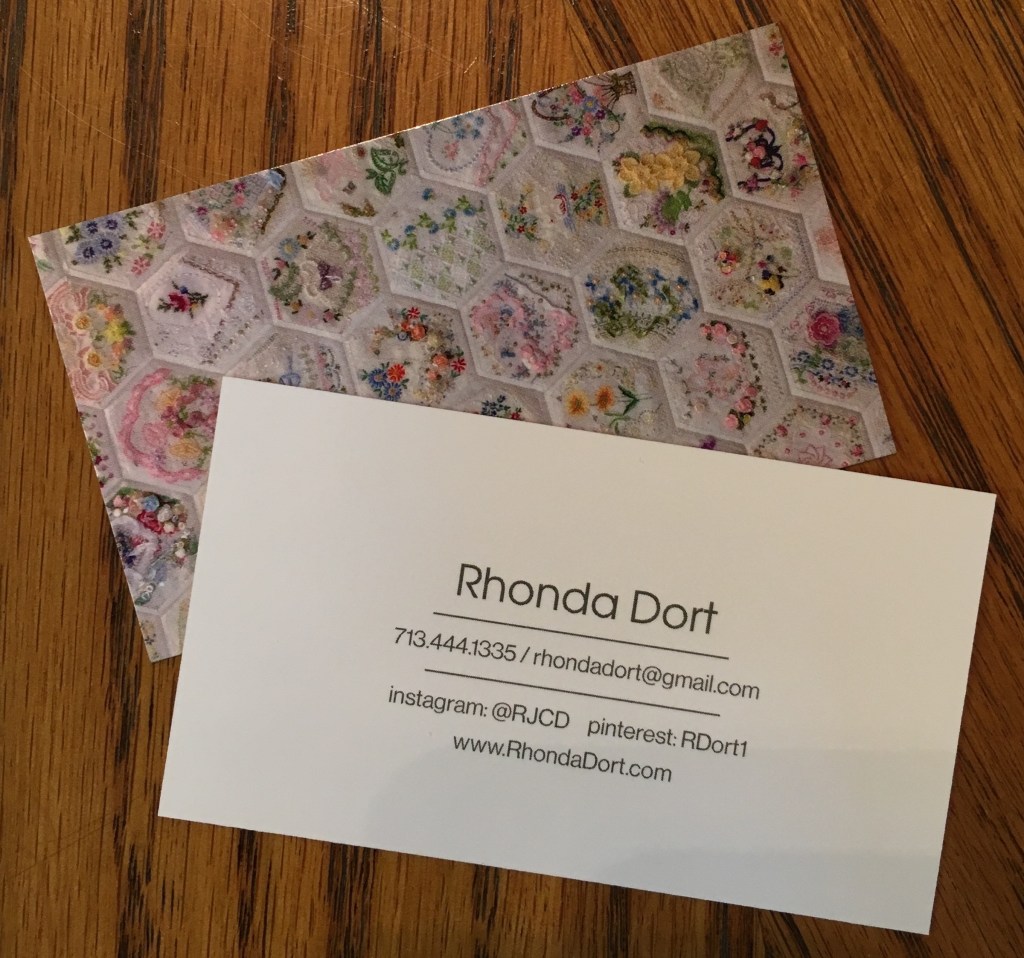
Blessings to all, Rhonda

Hi Rhonda, I tried to copy and paste instruction sheet to my inbox, but it failed. Will you be sending it by email. I’d like to print it. I wasn’t able to on Facebook site. Thanks, Laura Haskell Llhaskell1@twc.com
Sent from my iPhone
>
LikeLiked by 1 person
No, I will not be giving instruction via email, I will be posting information on the Facebook page as well as my web site.
LikeLike
I know there are many many members who are printing from the website. If you are having difficulty, you may want to pose the question on the Facebook site. Just a suggestion.
LikeLike
Looks awesome. I have ever so much trouble with triangles, though. I’ll have to do some practicing for that. Mostly, I like to do hexagons.
LikeLiked by 1 person
Is the word “not” missing in this sentence? {In other words, the darker fabrics will give your quilt top “visual weight” and as such, you may * want them placed at or near the top of your project.}
Get Outlook for iOS ________________________________
LikeLiked by 1 person
Yes!!! I thought I fixed it and put the word where it needs to be!! I’ll go back and try again!
LikeLike