

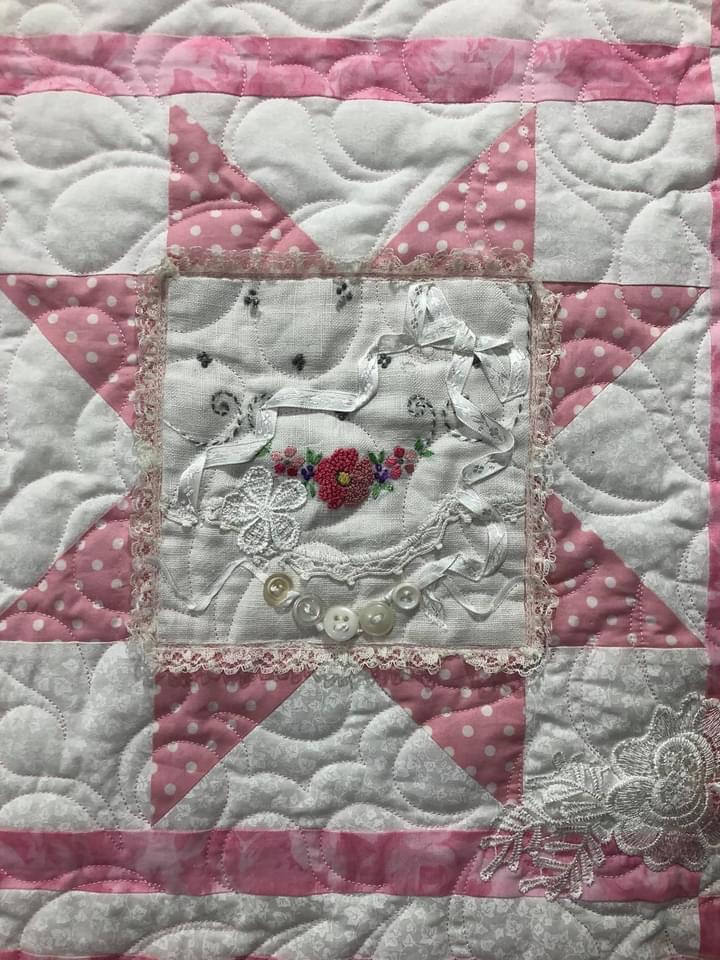
Let’s spend a little time and talk about how ribbons and buttons work so well together when embellishing vintage linens.
Once again I am going to use the picture captions to give you step by step instruction about how I approach adding them to this pink and white Vintage Lattice Stars quilt.
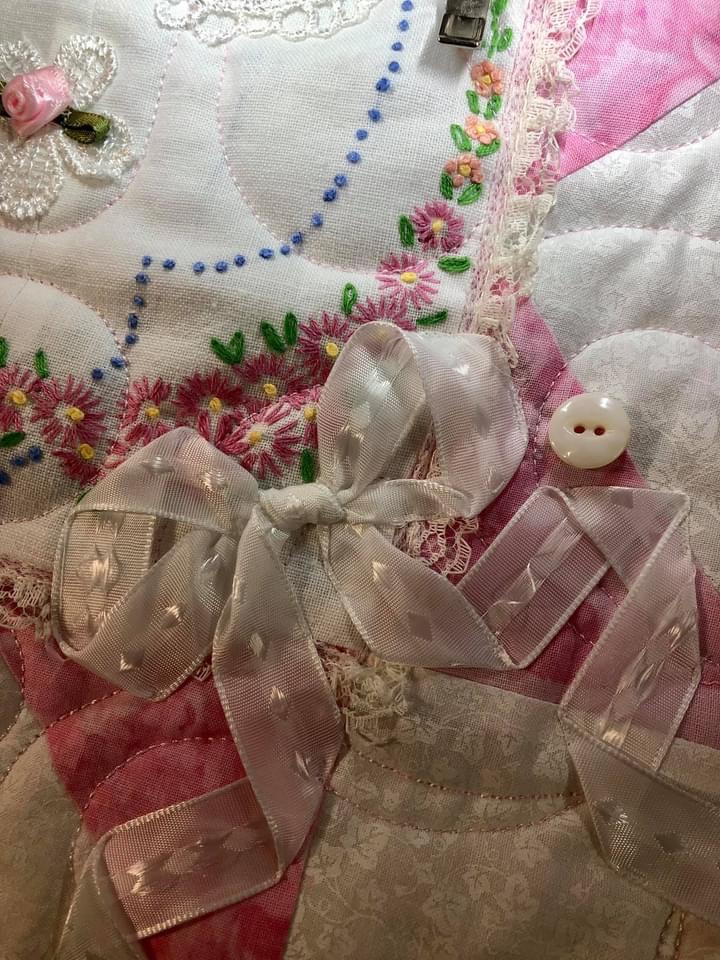
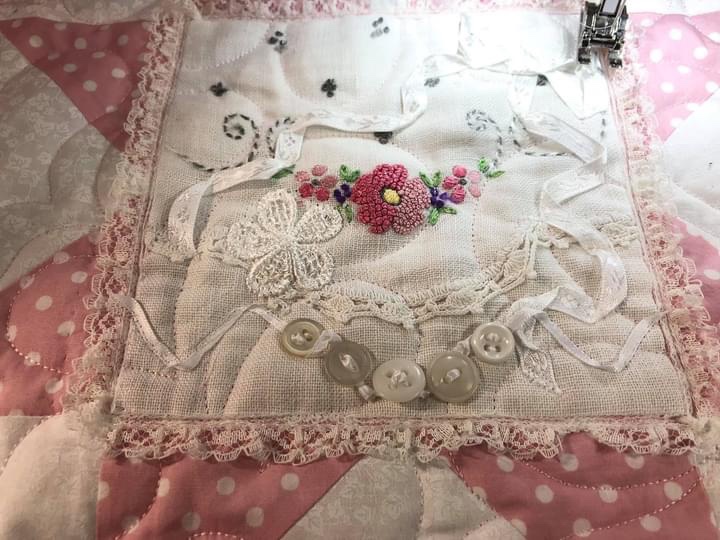
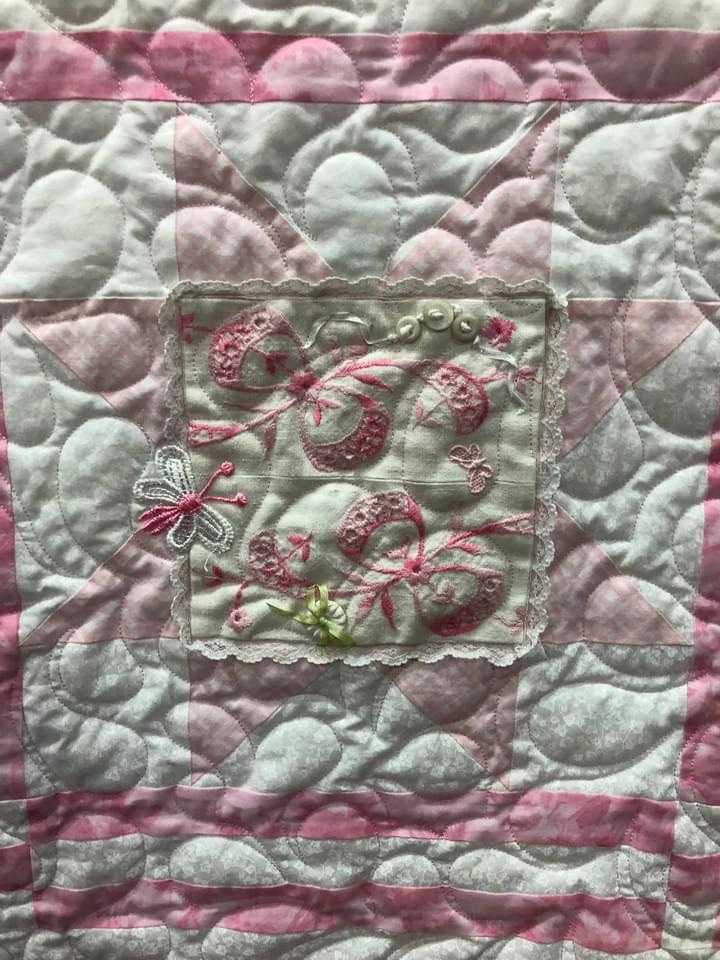
I like my white ribbon but I know I can give it some more character by adding a vintage button. And I’m going to use my sewing machine to sew the button on to the quilt.
Use transparent tape to keep the button from moving when sewing onto your quilt.
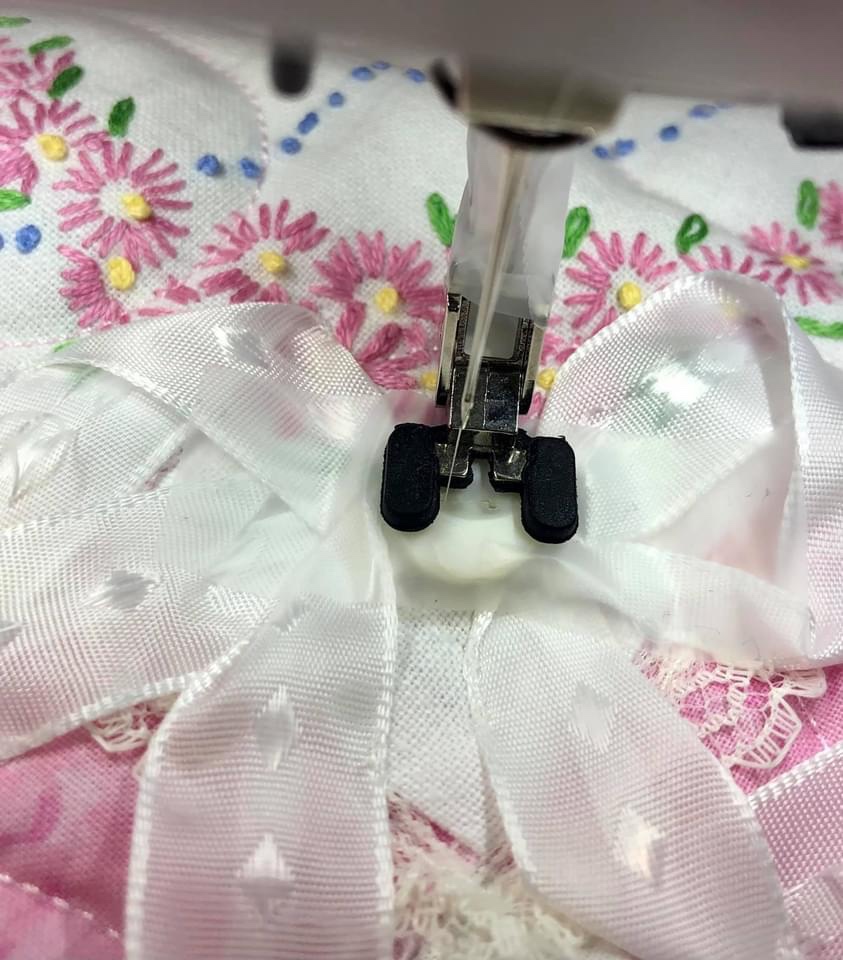
With my button taped in place, I’ve attached foot #18 to my Bernina. A little tip for those of you using the #18 foot…there is a movable “part” in the middle of the foot that allows for a “thread shank” when sewing on your button. This “part” gets in the way. I have this”part” taped up so it is disabled. This is not a button that will be used as a utility fastner and therefore I do not need a thread shank. Does all this sound like gobbly-talk? I have a garment construction background…sometimes I intermix the lingo with quilting…
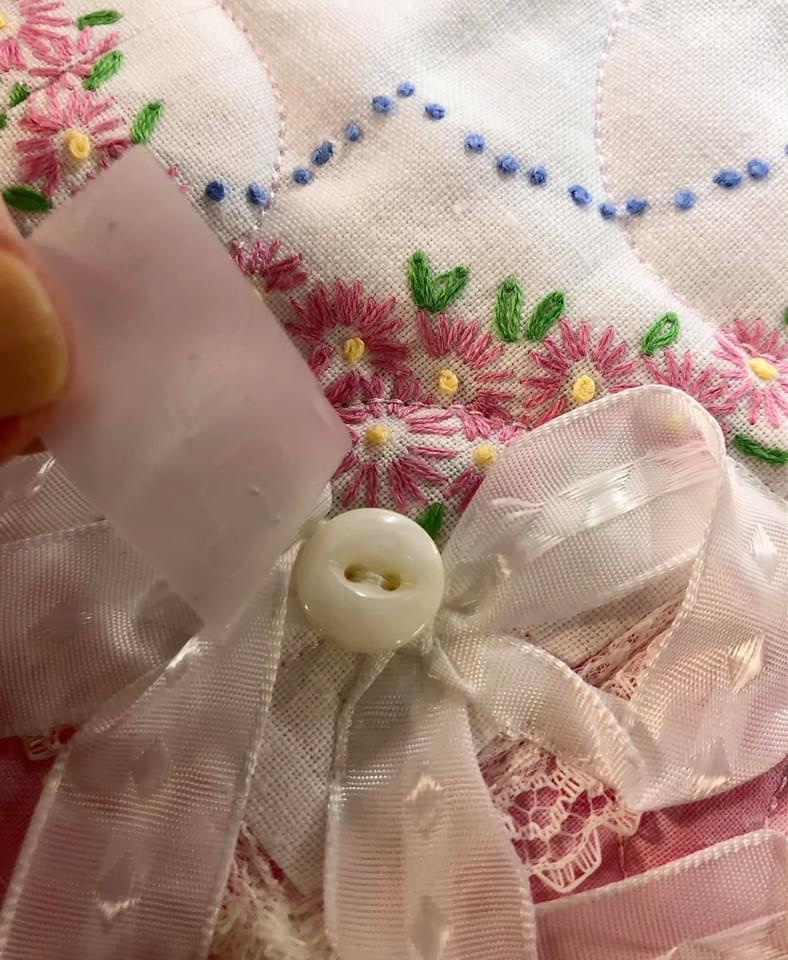
Once my button is sewn in place I easily remove the transparent tape. If you sew on a Bernina, you will find your button attaching stitch with the buttonhole options.
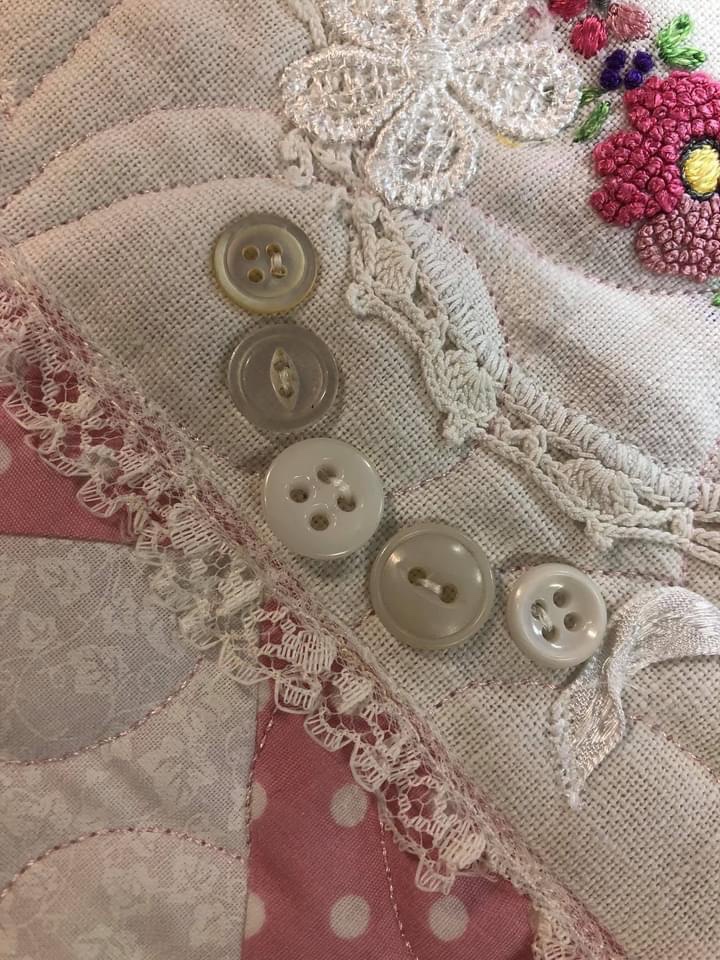
You can see I’ve sewn a 5 button swag. Make note about the 4 hole buttons…not all the holes need sewing machine stitching.
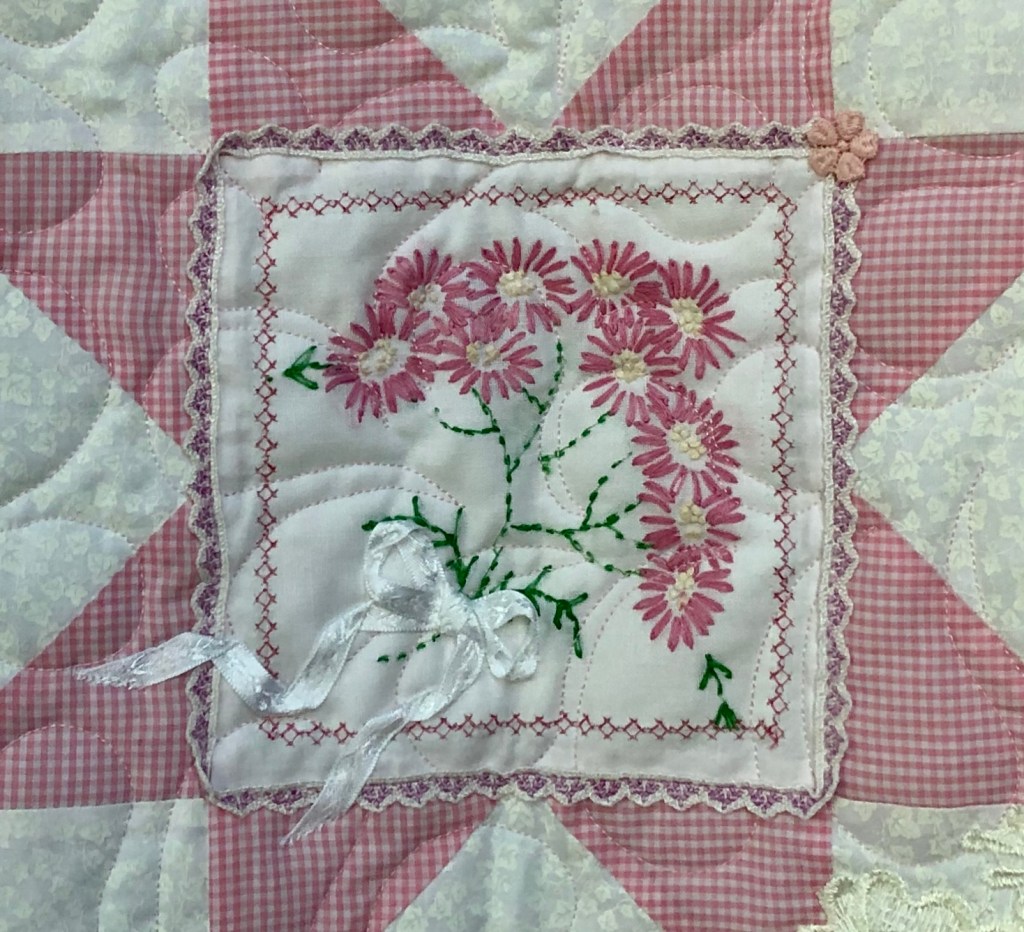
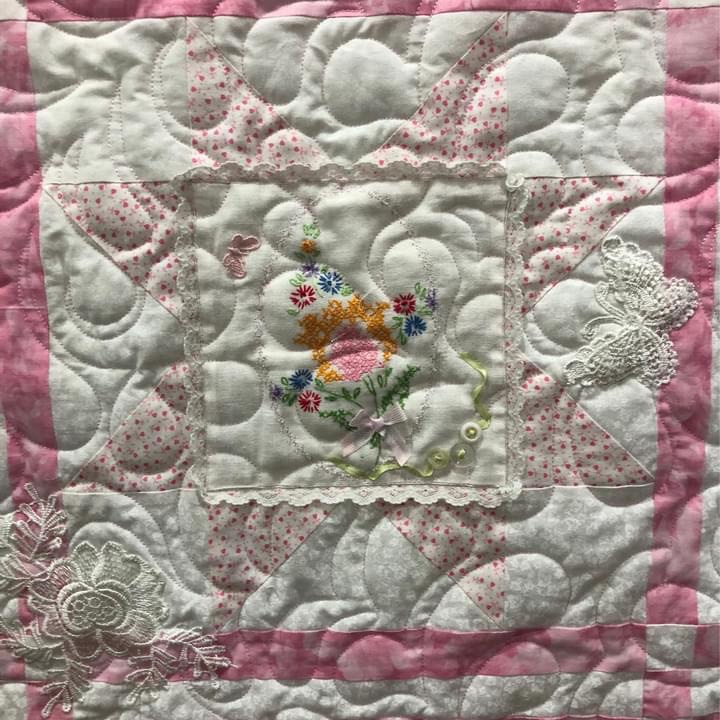
I digress here but…don’t you just love the French Knot flower blossom!!
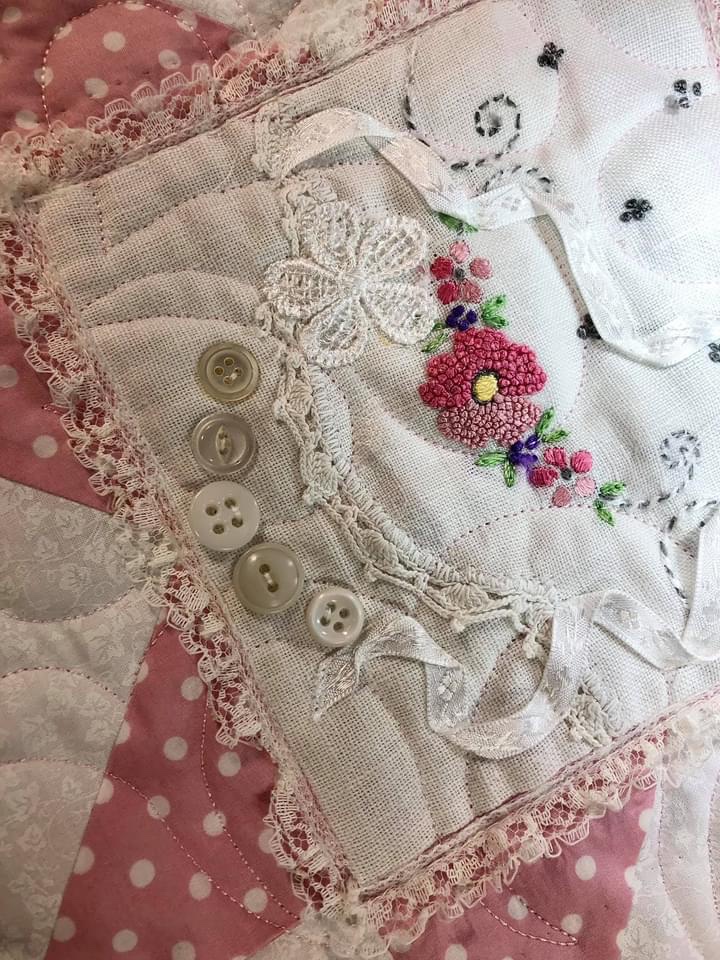
I’m using 1/8” wide white satin finish ribbon and a hand sewing needle with an eye large enough to handle the ribbon. I am not actually sewing the buttons with the ribbon, merely kind of weaving it up and down through two of the button holes. I do not sew the ribbon to the quilt top. Between each button I tie a simple knot for visual interest.
If I would have had a light pink narrow width ribbon it may have looked a little better than the white but I’m happy with this result. You can see in this picture that I tied a simple knot both between the buttons as well as on top of the holes on the center one.
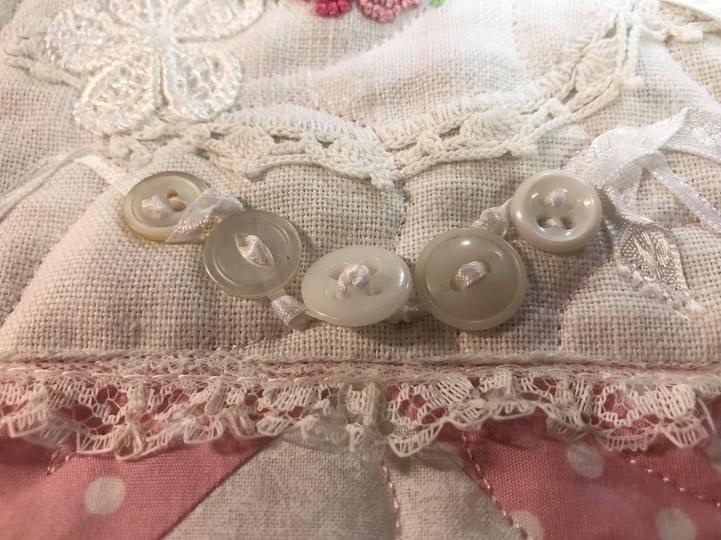
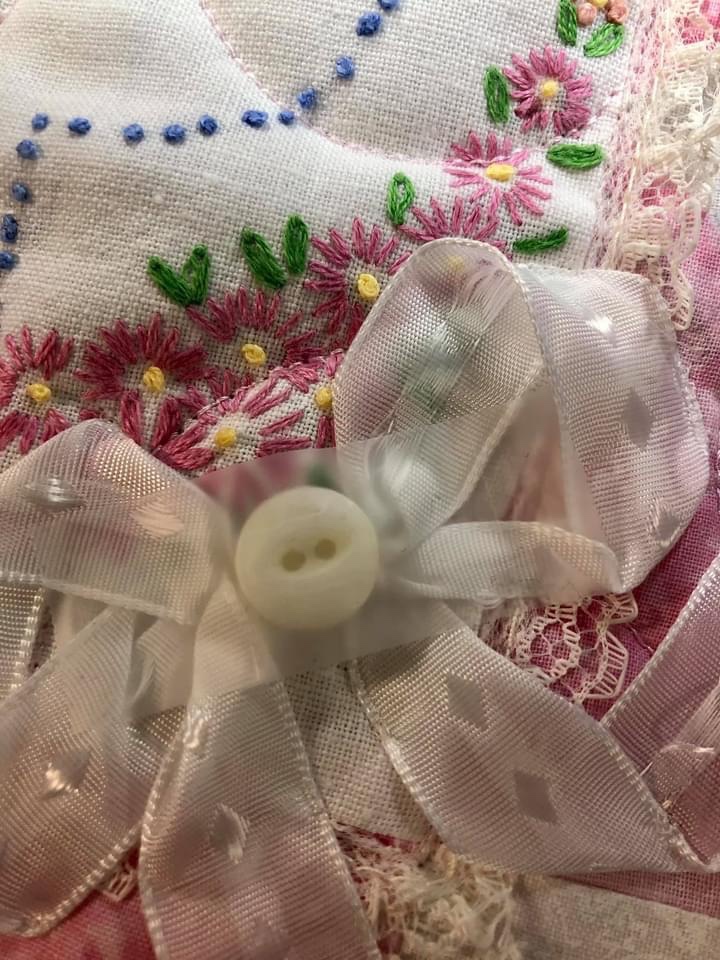
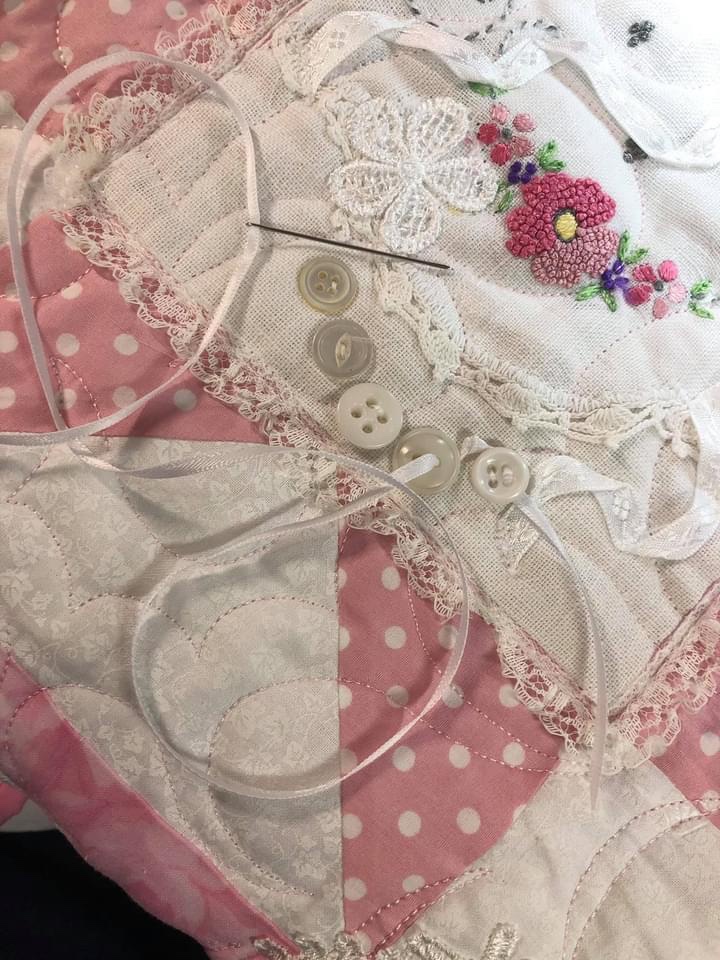
Just a closeup for a better look at the end result. If you have difficulty pulling your threaded ribbon needle through the button holes, the gently assistance of a small pair of pliers might help. Just do not pull so hard that you rip your button from your quilt!!!
Does it bother me that I have used two different white ribbons in the same block? Not at all! There are no quilting embellishing rules at this point!
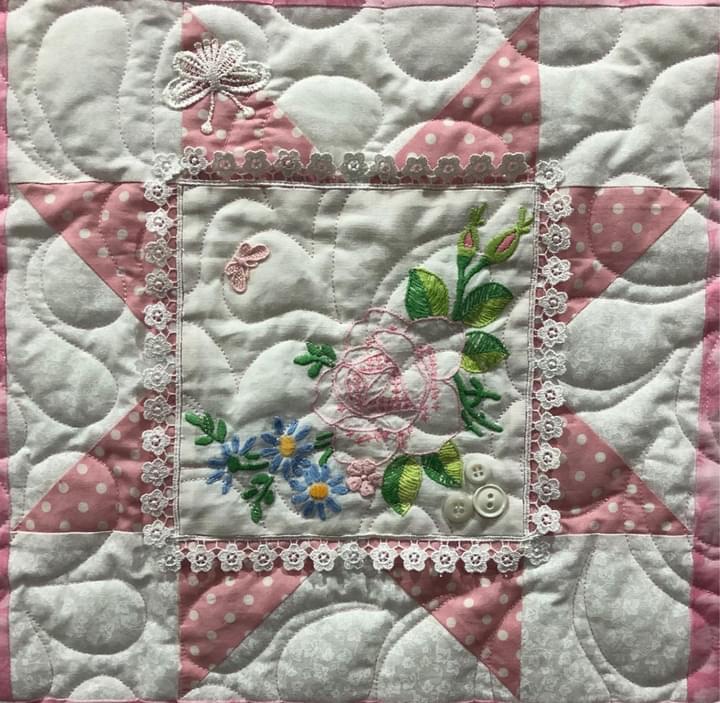
So far I’ve showed you 1 button, 5 buttons and now 3 buttons. Odd numbers create nice visual tension and visual tension creates interest.
3 vintage buttons with a very narrow spring green ribbon connecting them all.
Sorry about the poor picture quality here but can you see the single white button with the narrow green ribbon bow? There are so many different things you can do with ribbons.

Again a single vintage button with the narrow green ribbon. Very simple yet eye catching embellishments you can add to your finished quilt!
I hope you see the possibilities in your own quilt creation!
Until next time, blessings and happy quilting!
Rhonda

Rhonda hey very happy to hear from you. This is the only email I have received do you have one for your lecture and first class? Thank you.
Sent from my iPhone
>
LikeLike
Hum…the only email because you just began following my blog? If not you very well may want to check your spam folder? If you scroll back to November, 2020 and then forward you should find plenty of information about the Facebook classes I’ve been teaching. We are ready to begin Class 3 on May 1st.
LikeLike
It’s beautiful! I have a vintage quilt in mind. Now I can’t wait to work on it!
LikeLiked by 1 person
Wonderful! Keep me posted!
LikeLike