

As I work my way through all 20 blocks I try to remember to take pics of the before and afters so you can see the changes side by side. This block, I forgot the “after it was cleaned but before it was embellished” picture.

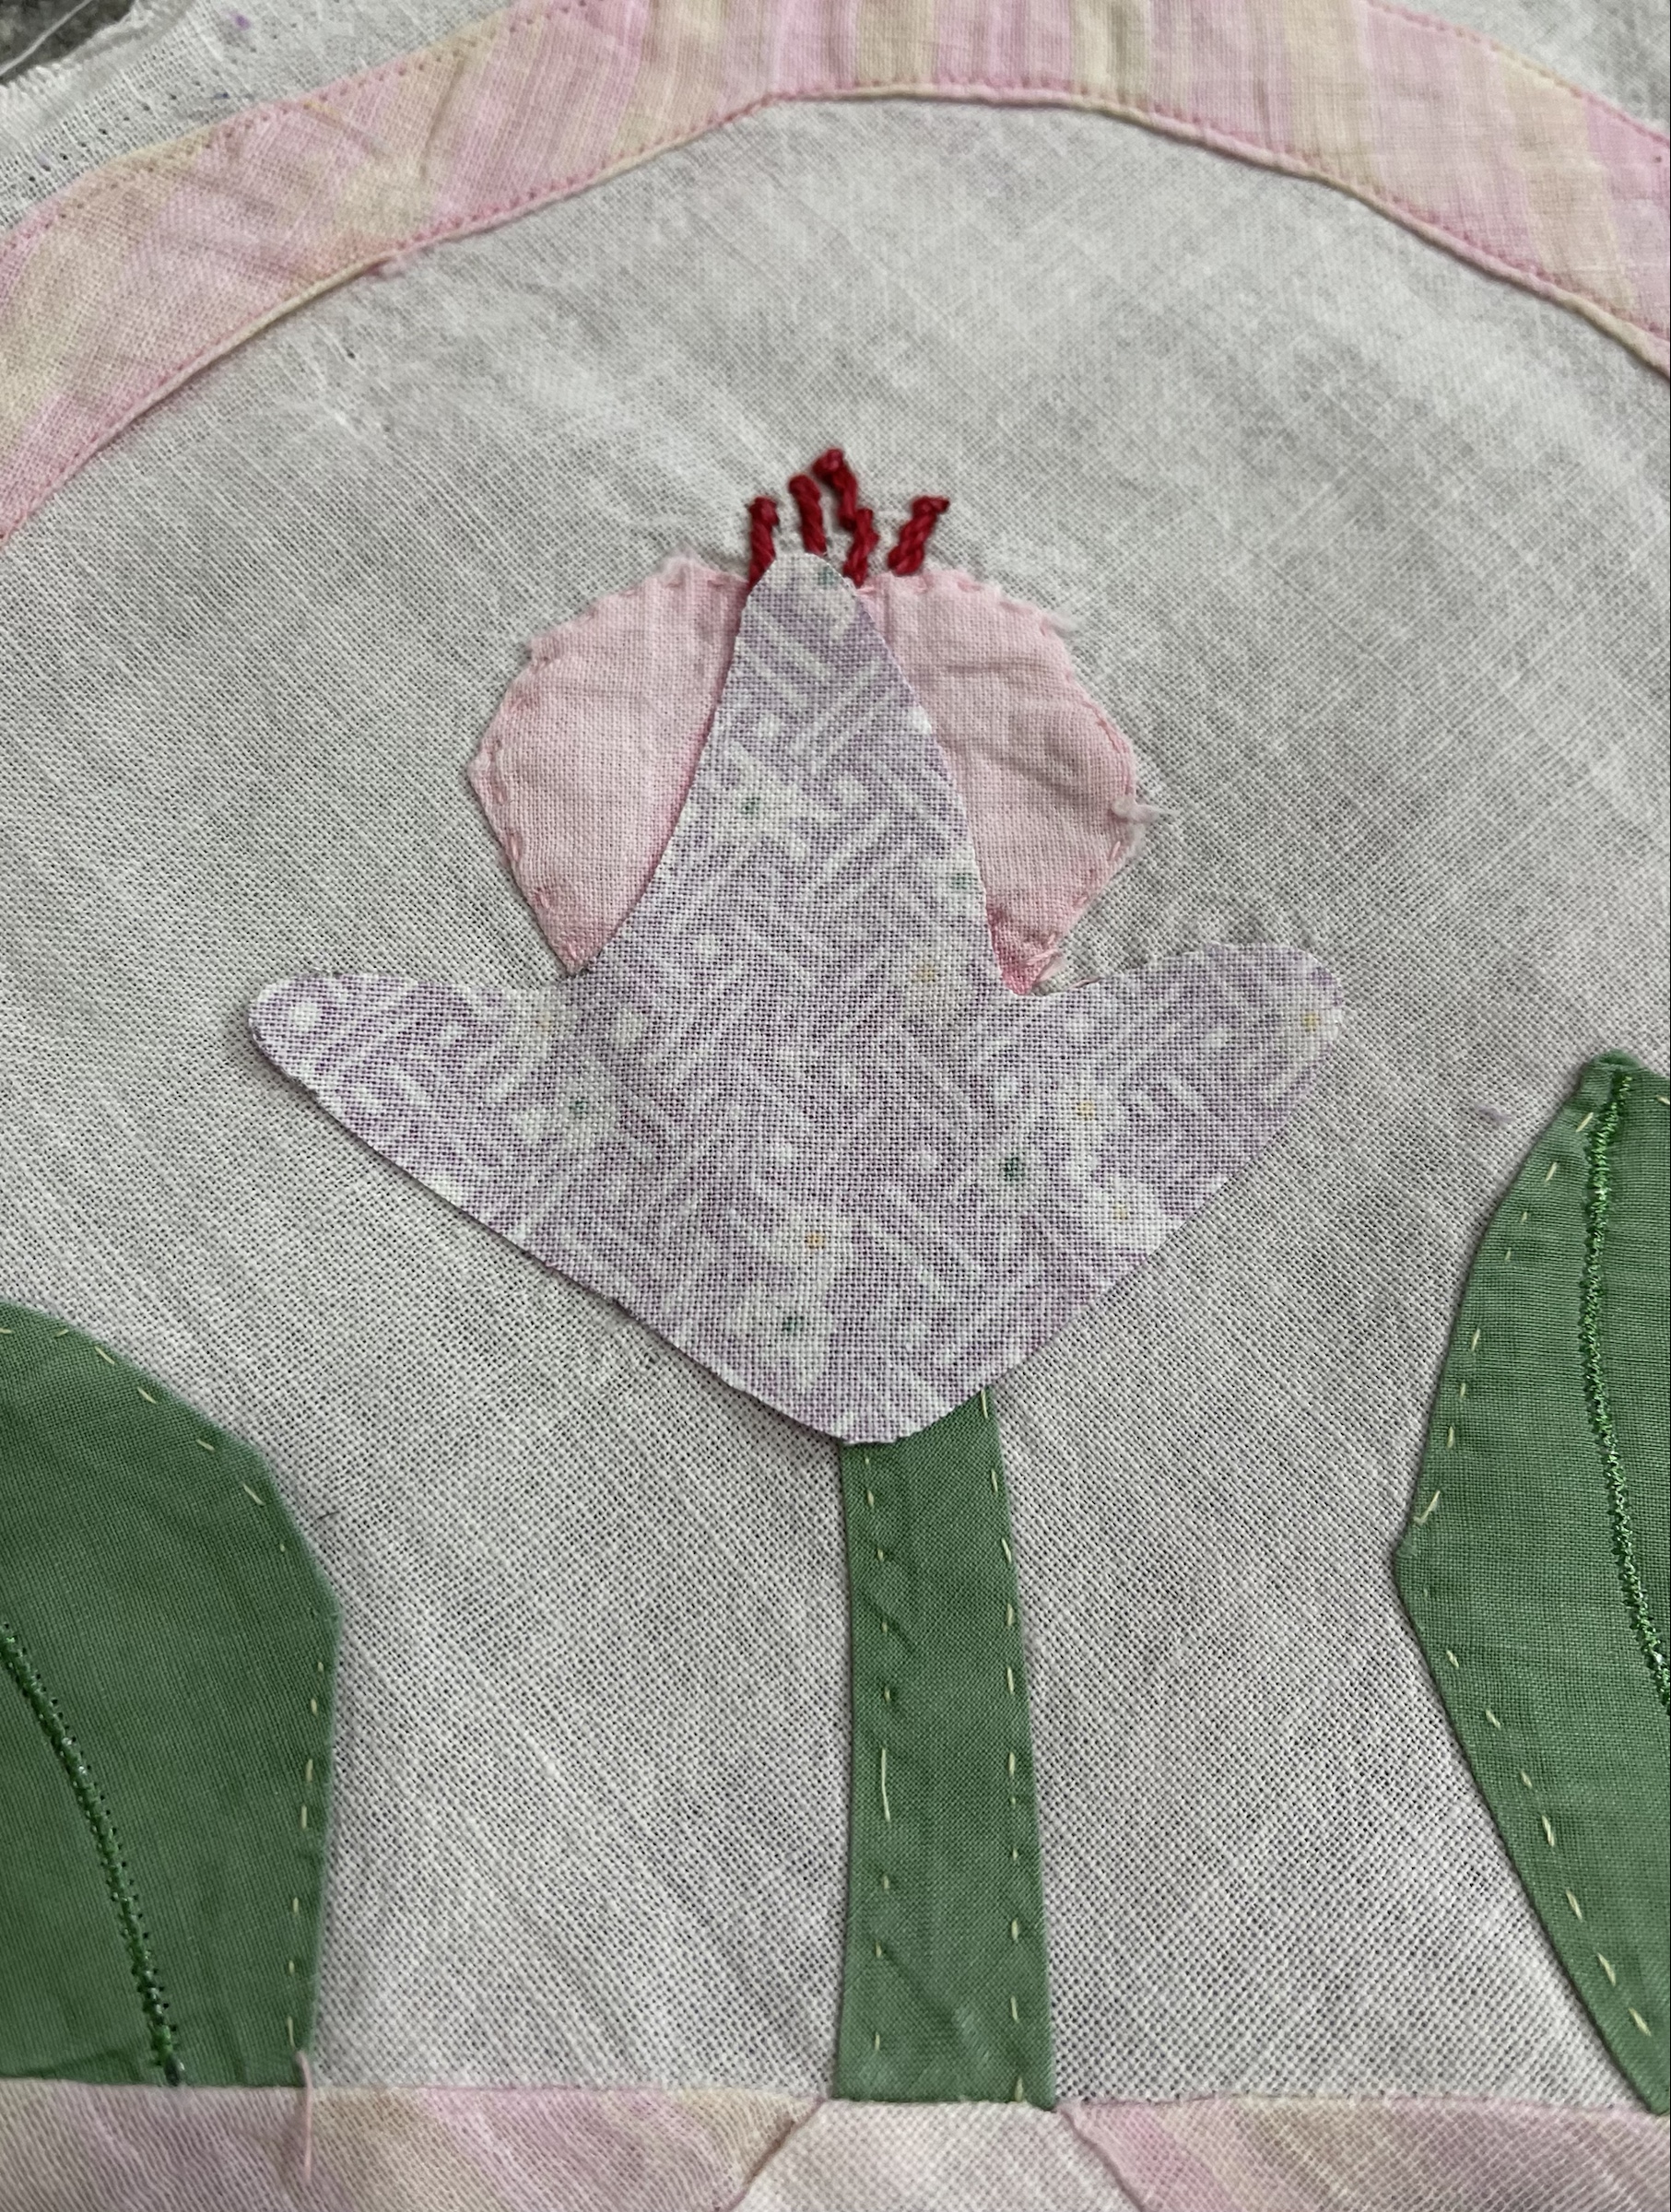
You can see I’ve drawn embellishing lines directly on the flower blossom using a Frixion Pen (by Pilot).
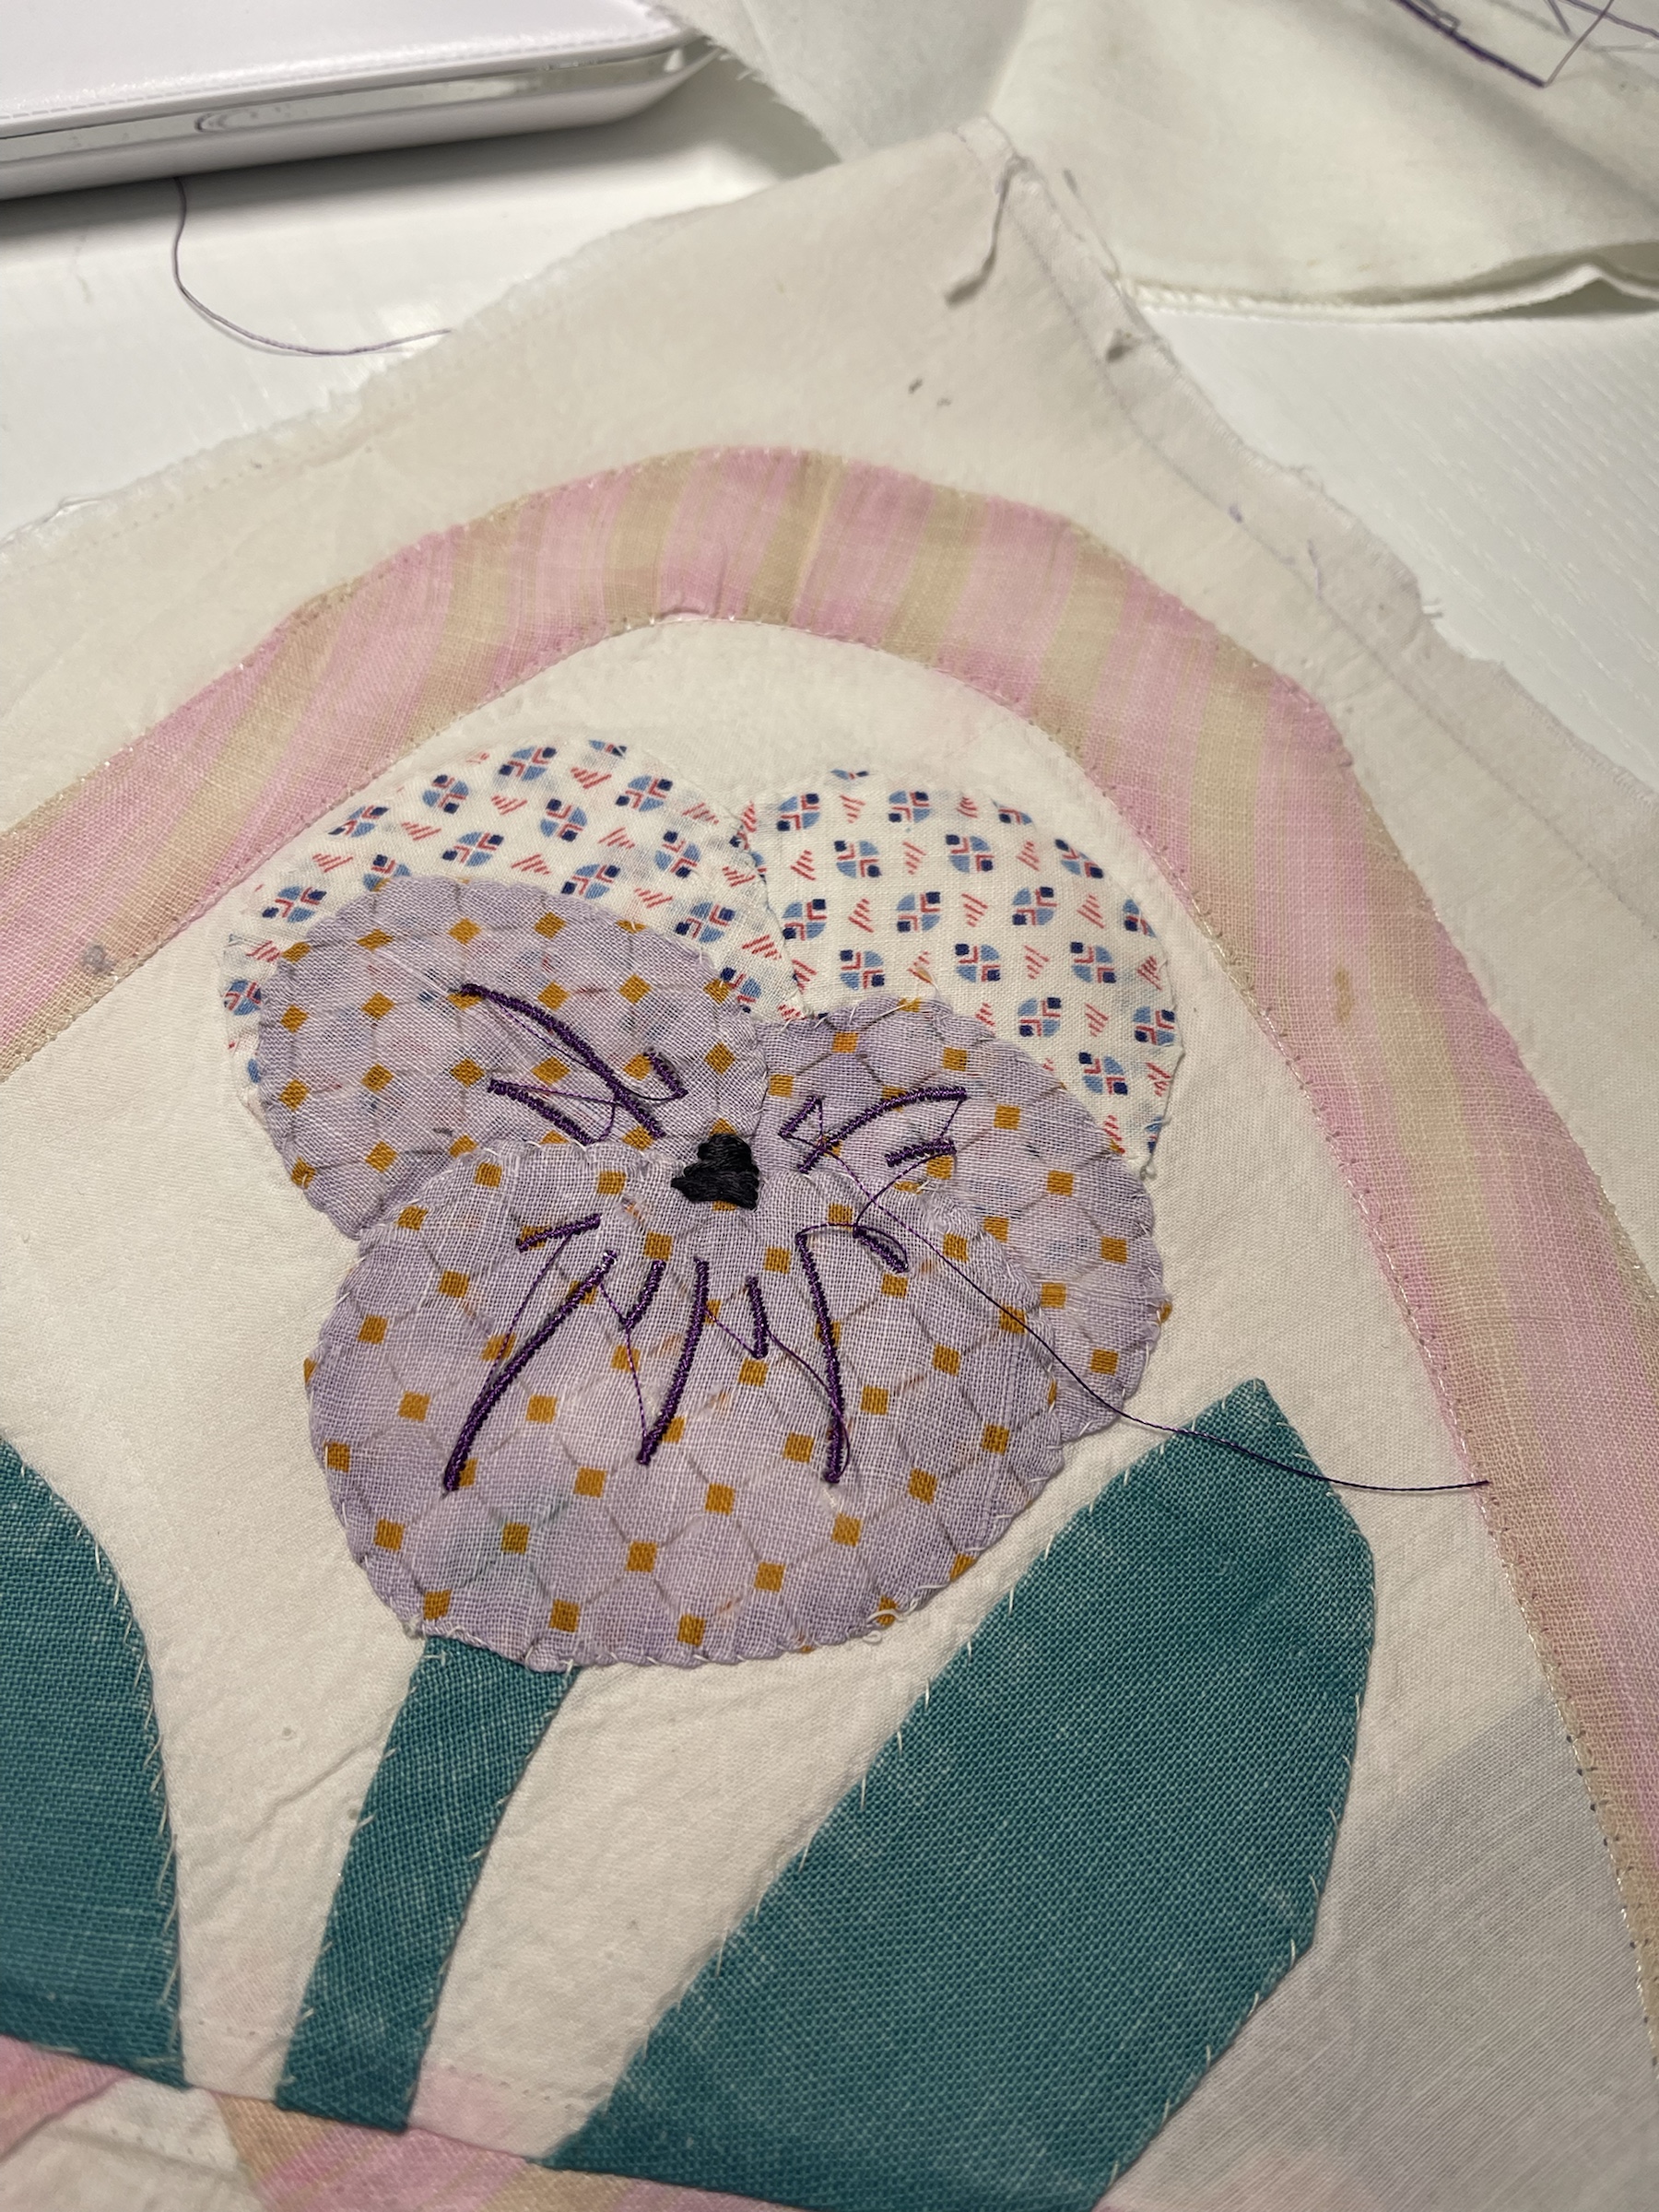
With deep purple poly machine embroidery thread I satin stitch over the pen lines.
I like the look the newly added lines give the blossom.
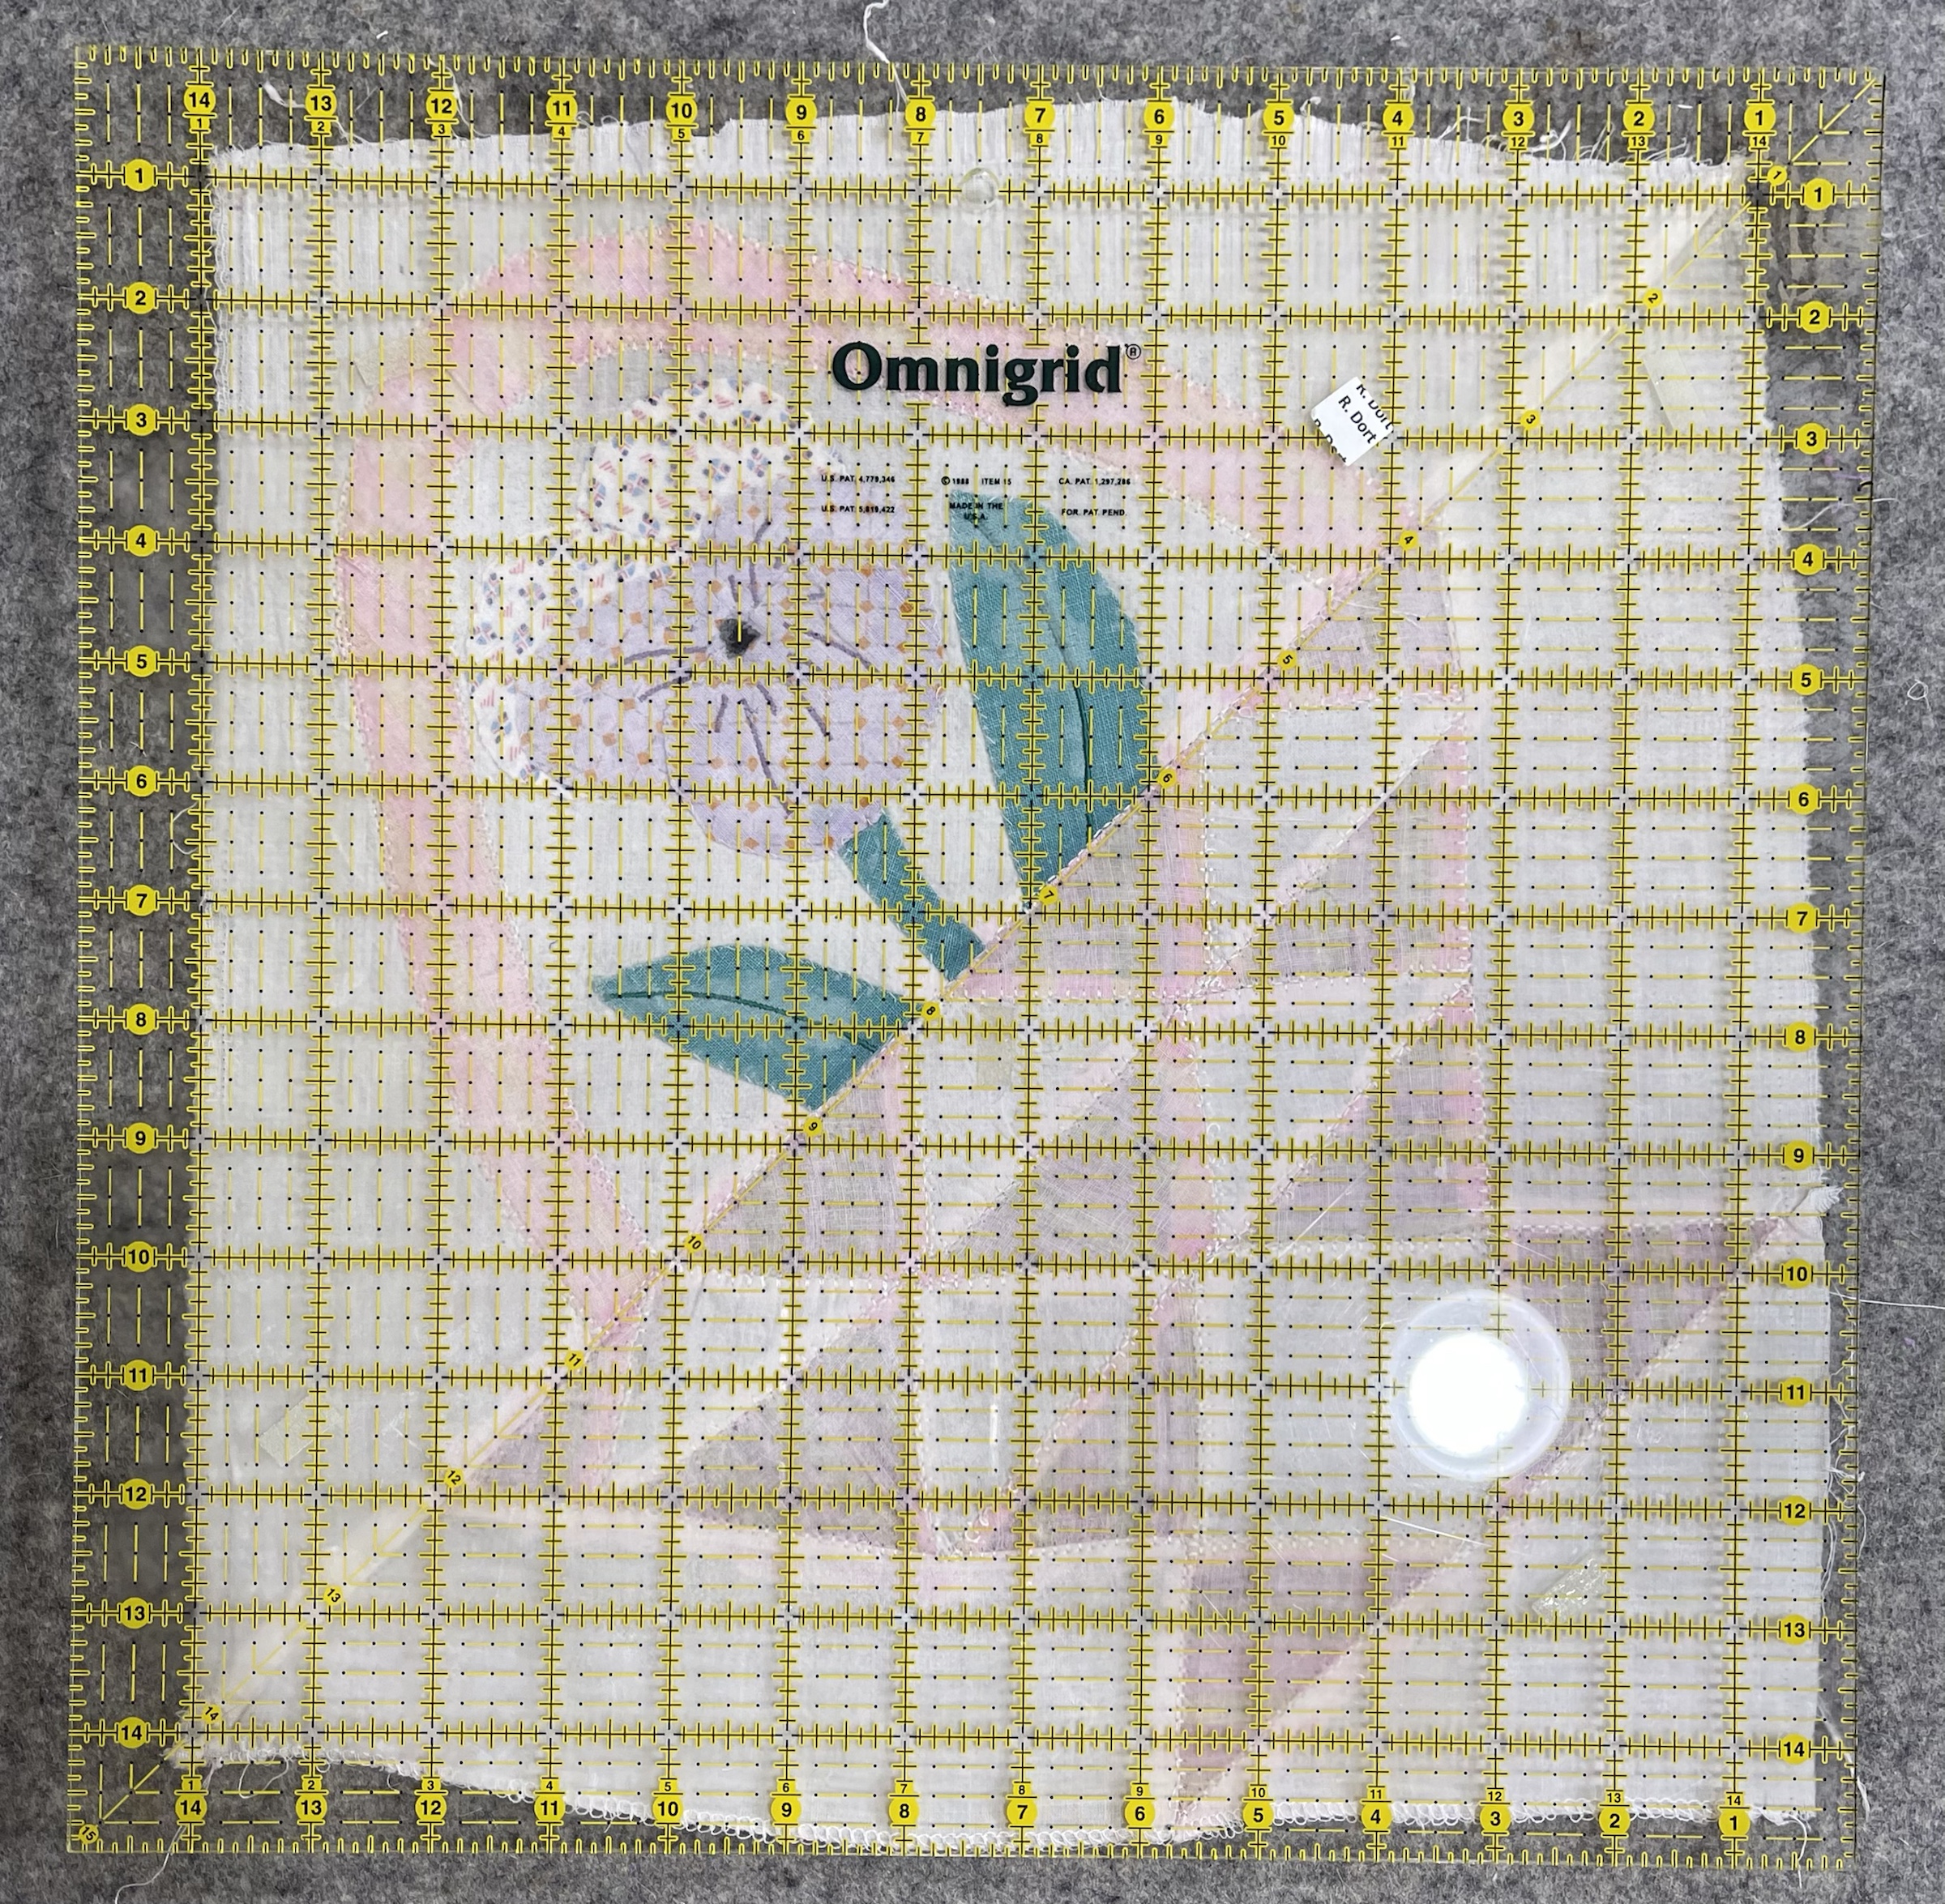
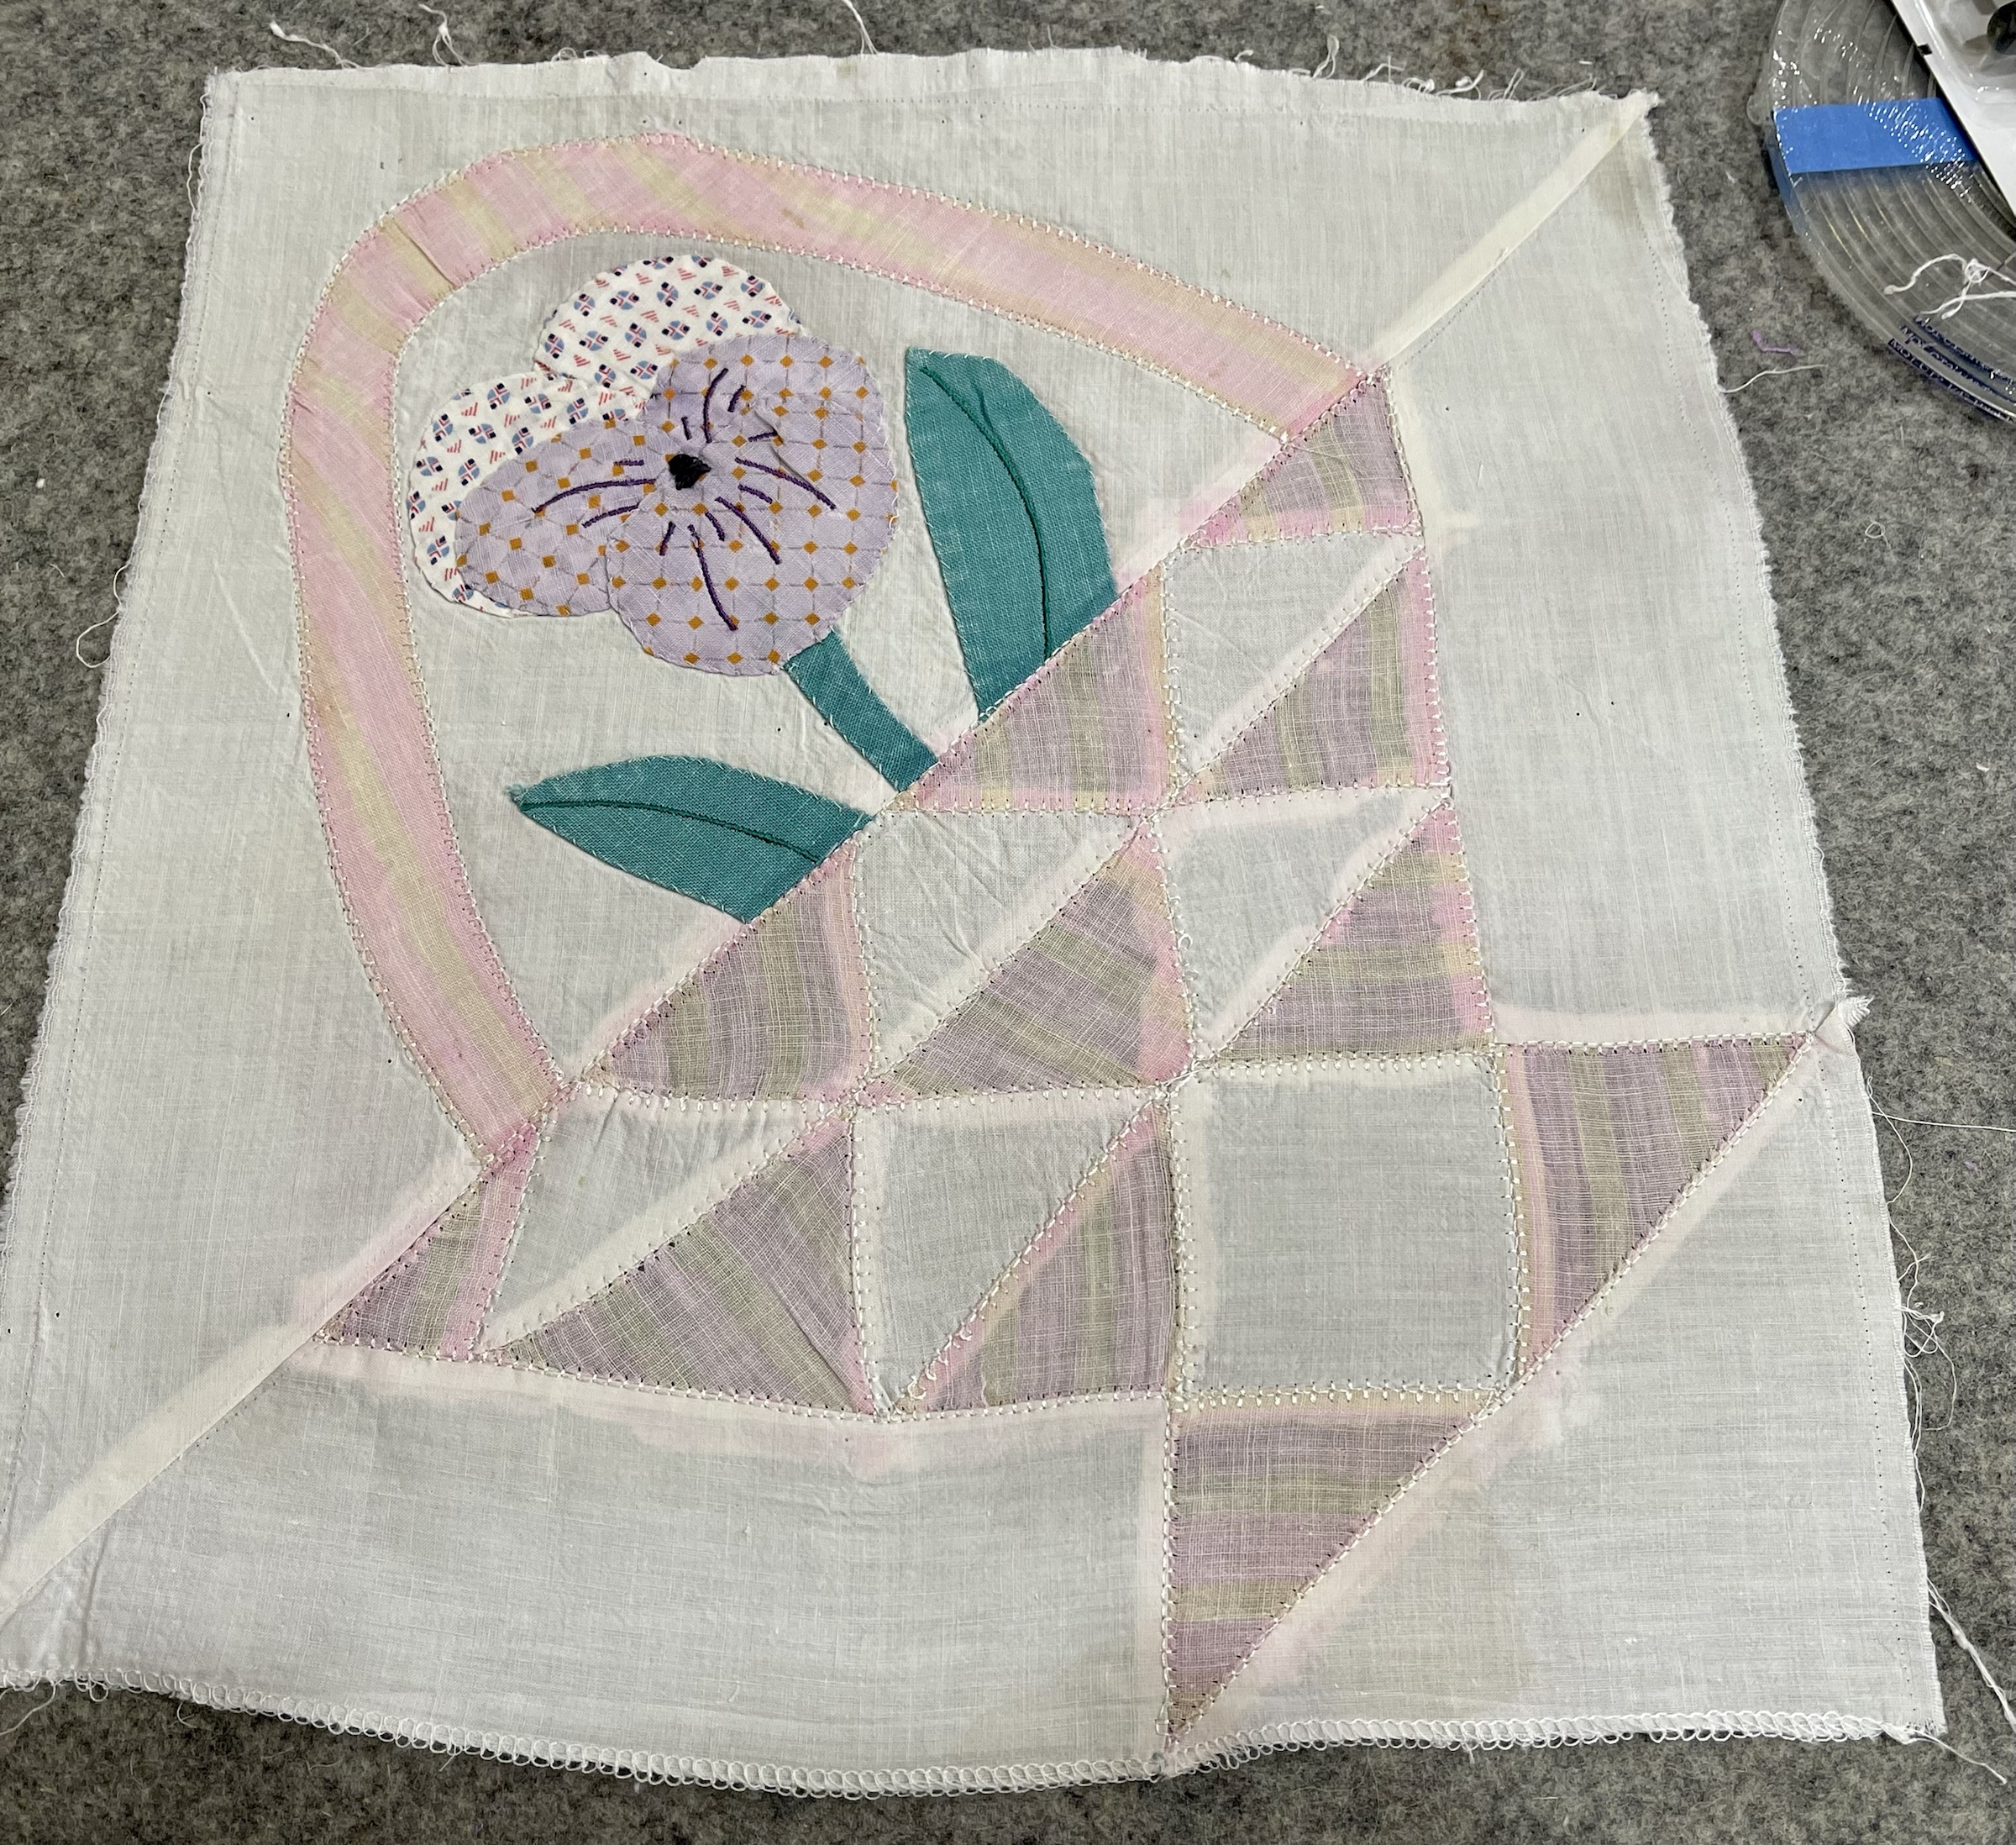
But…there’s no embellishing the fact that these are the wonkiest quilt blocks I’ve worked with in quite some time, maybe ever!
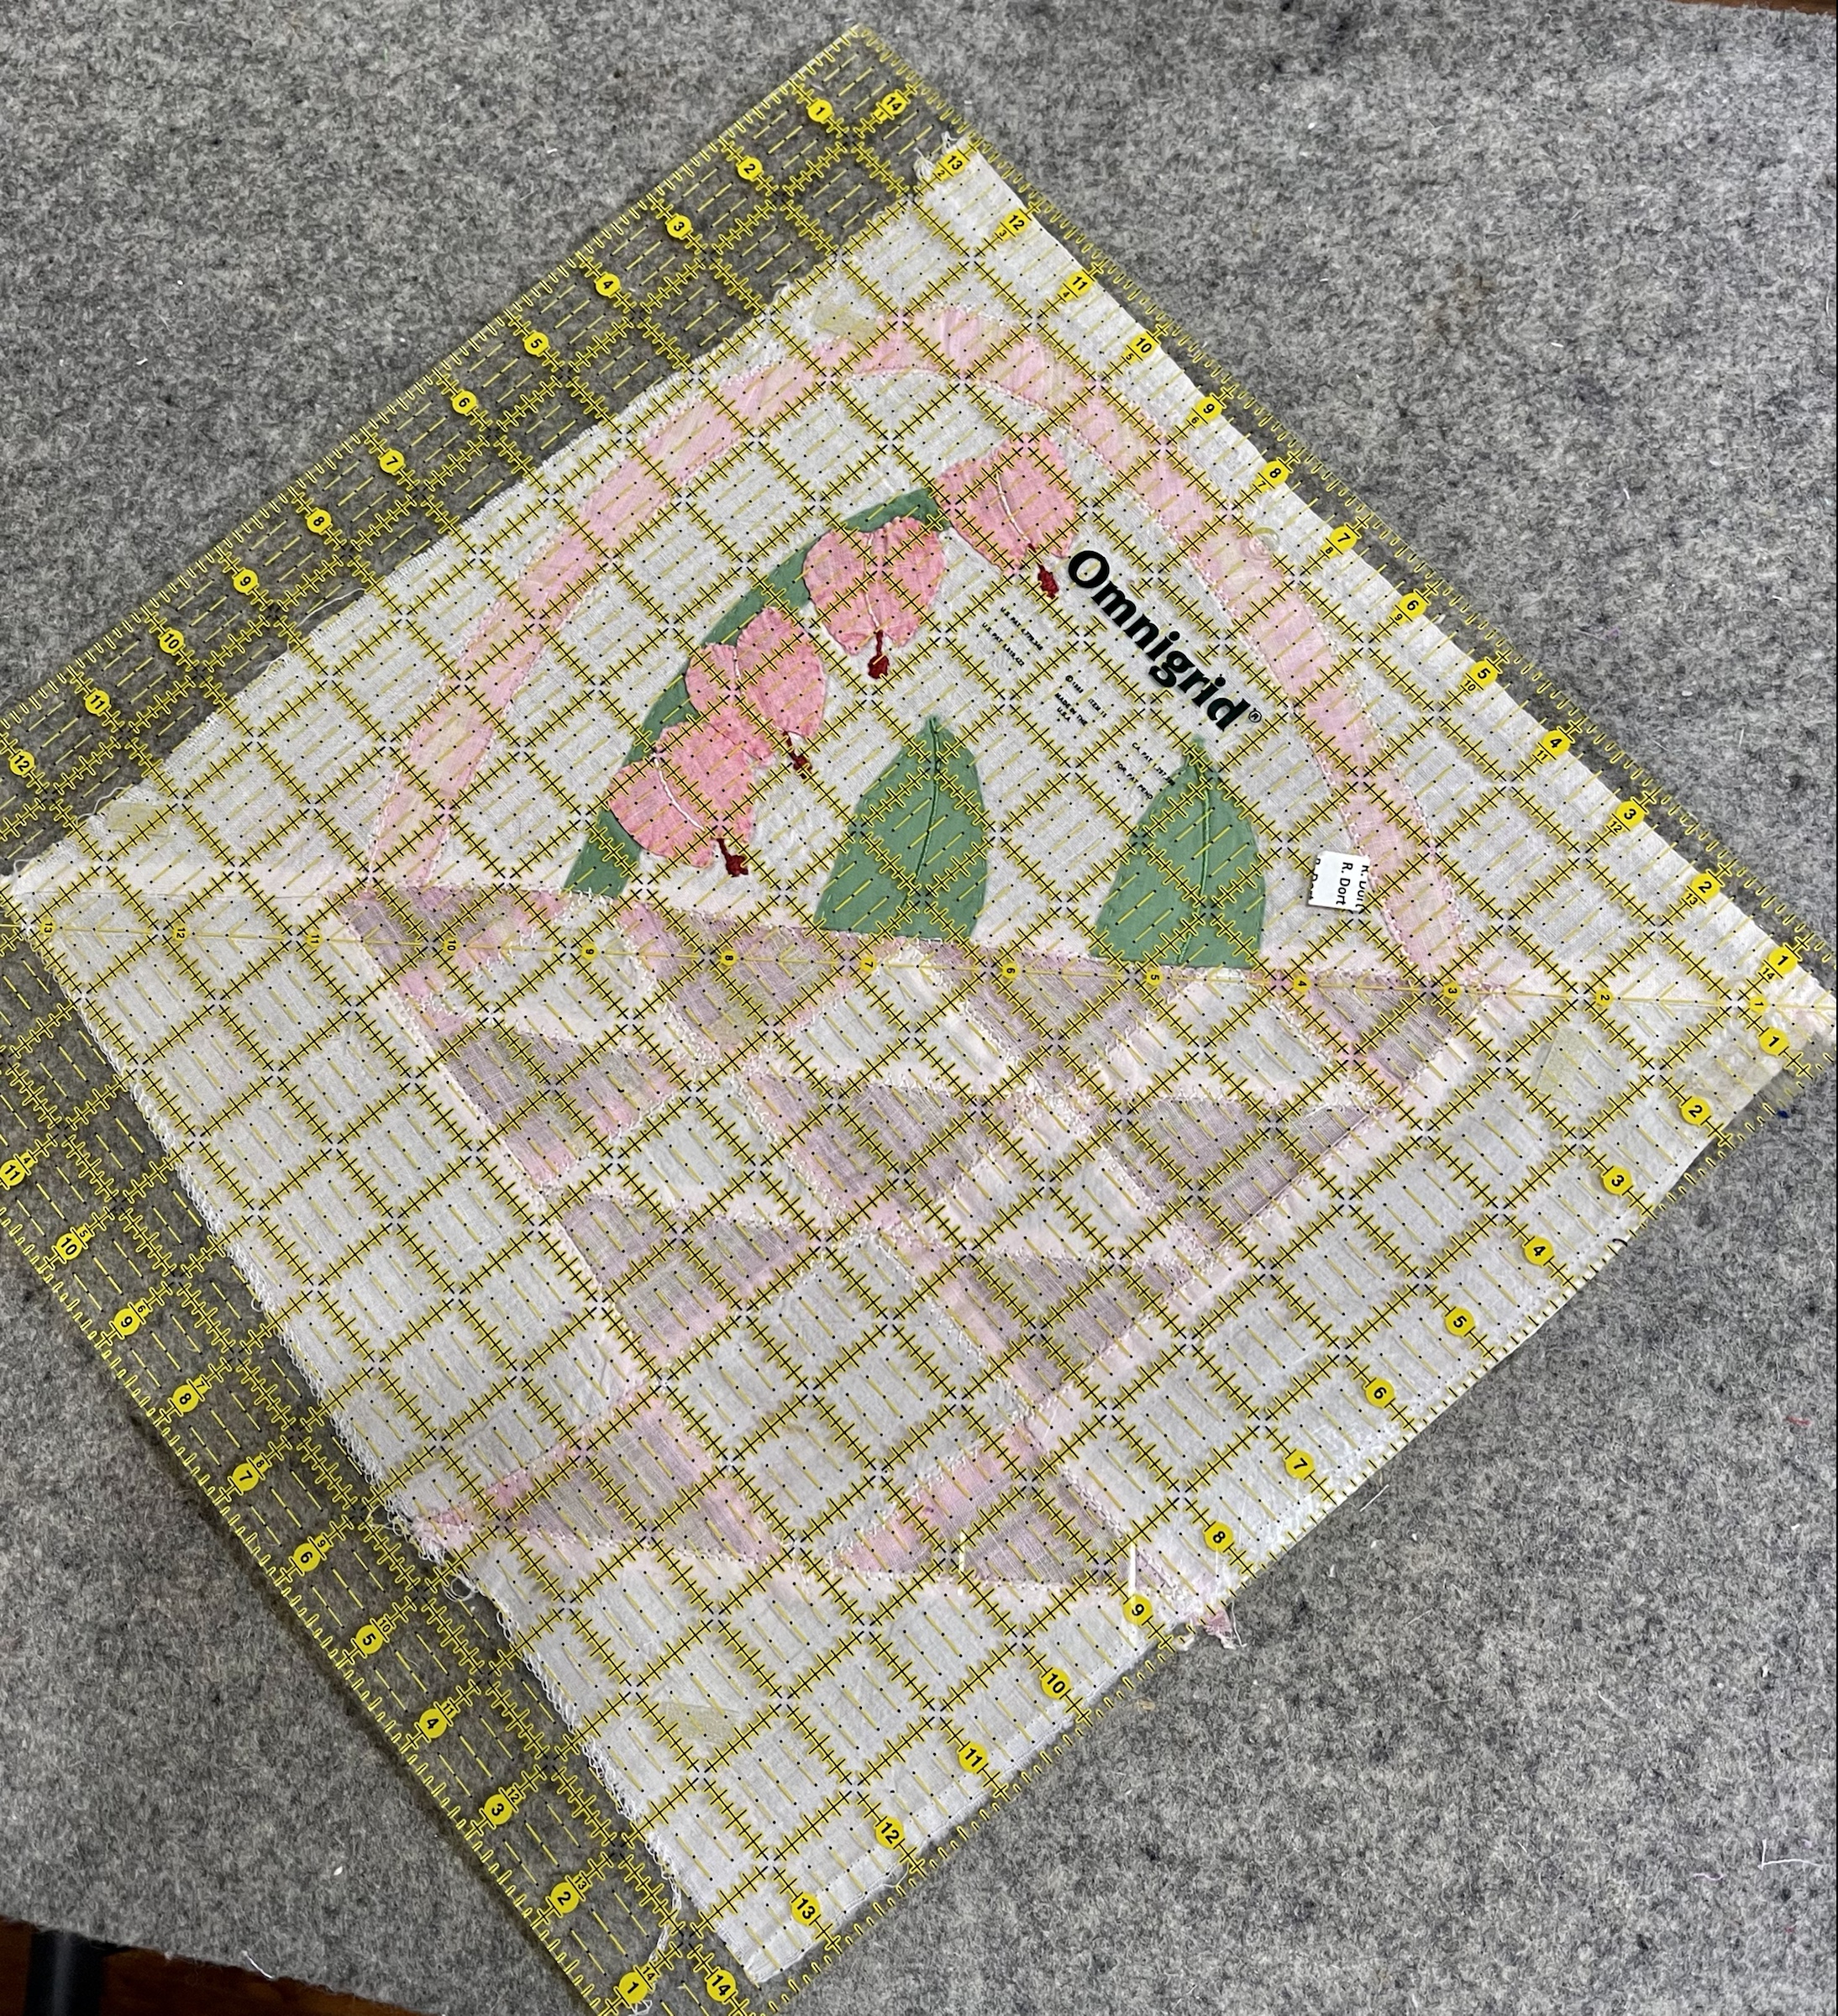
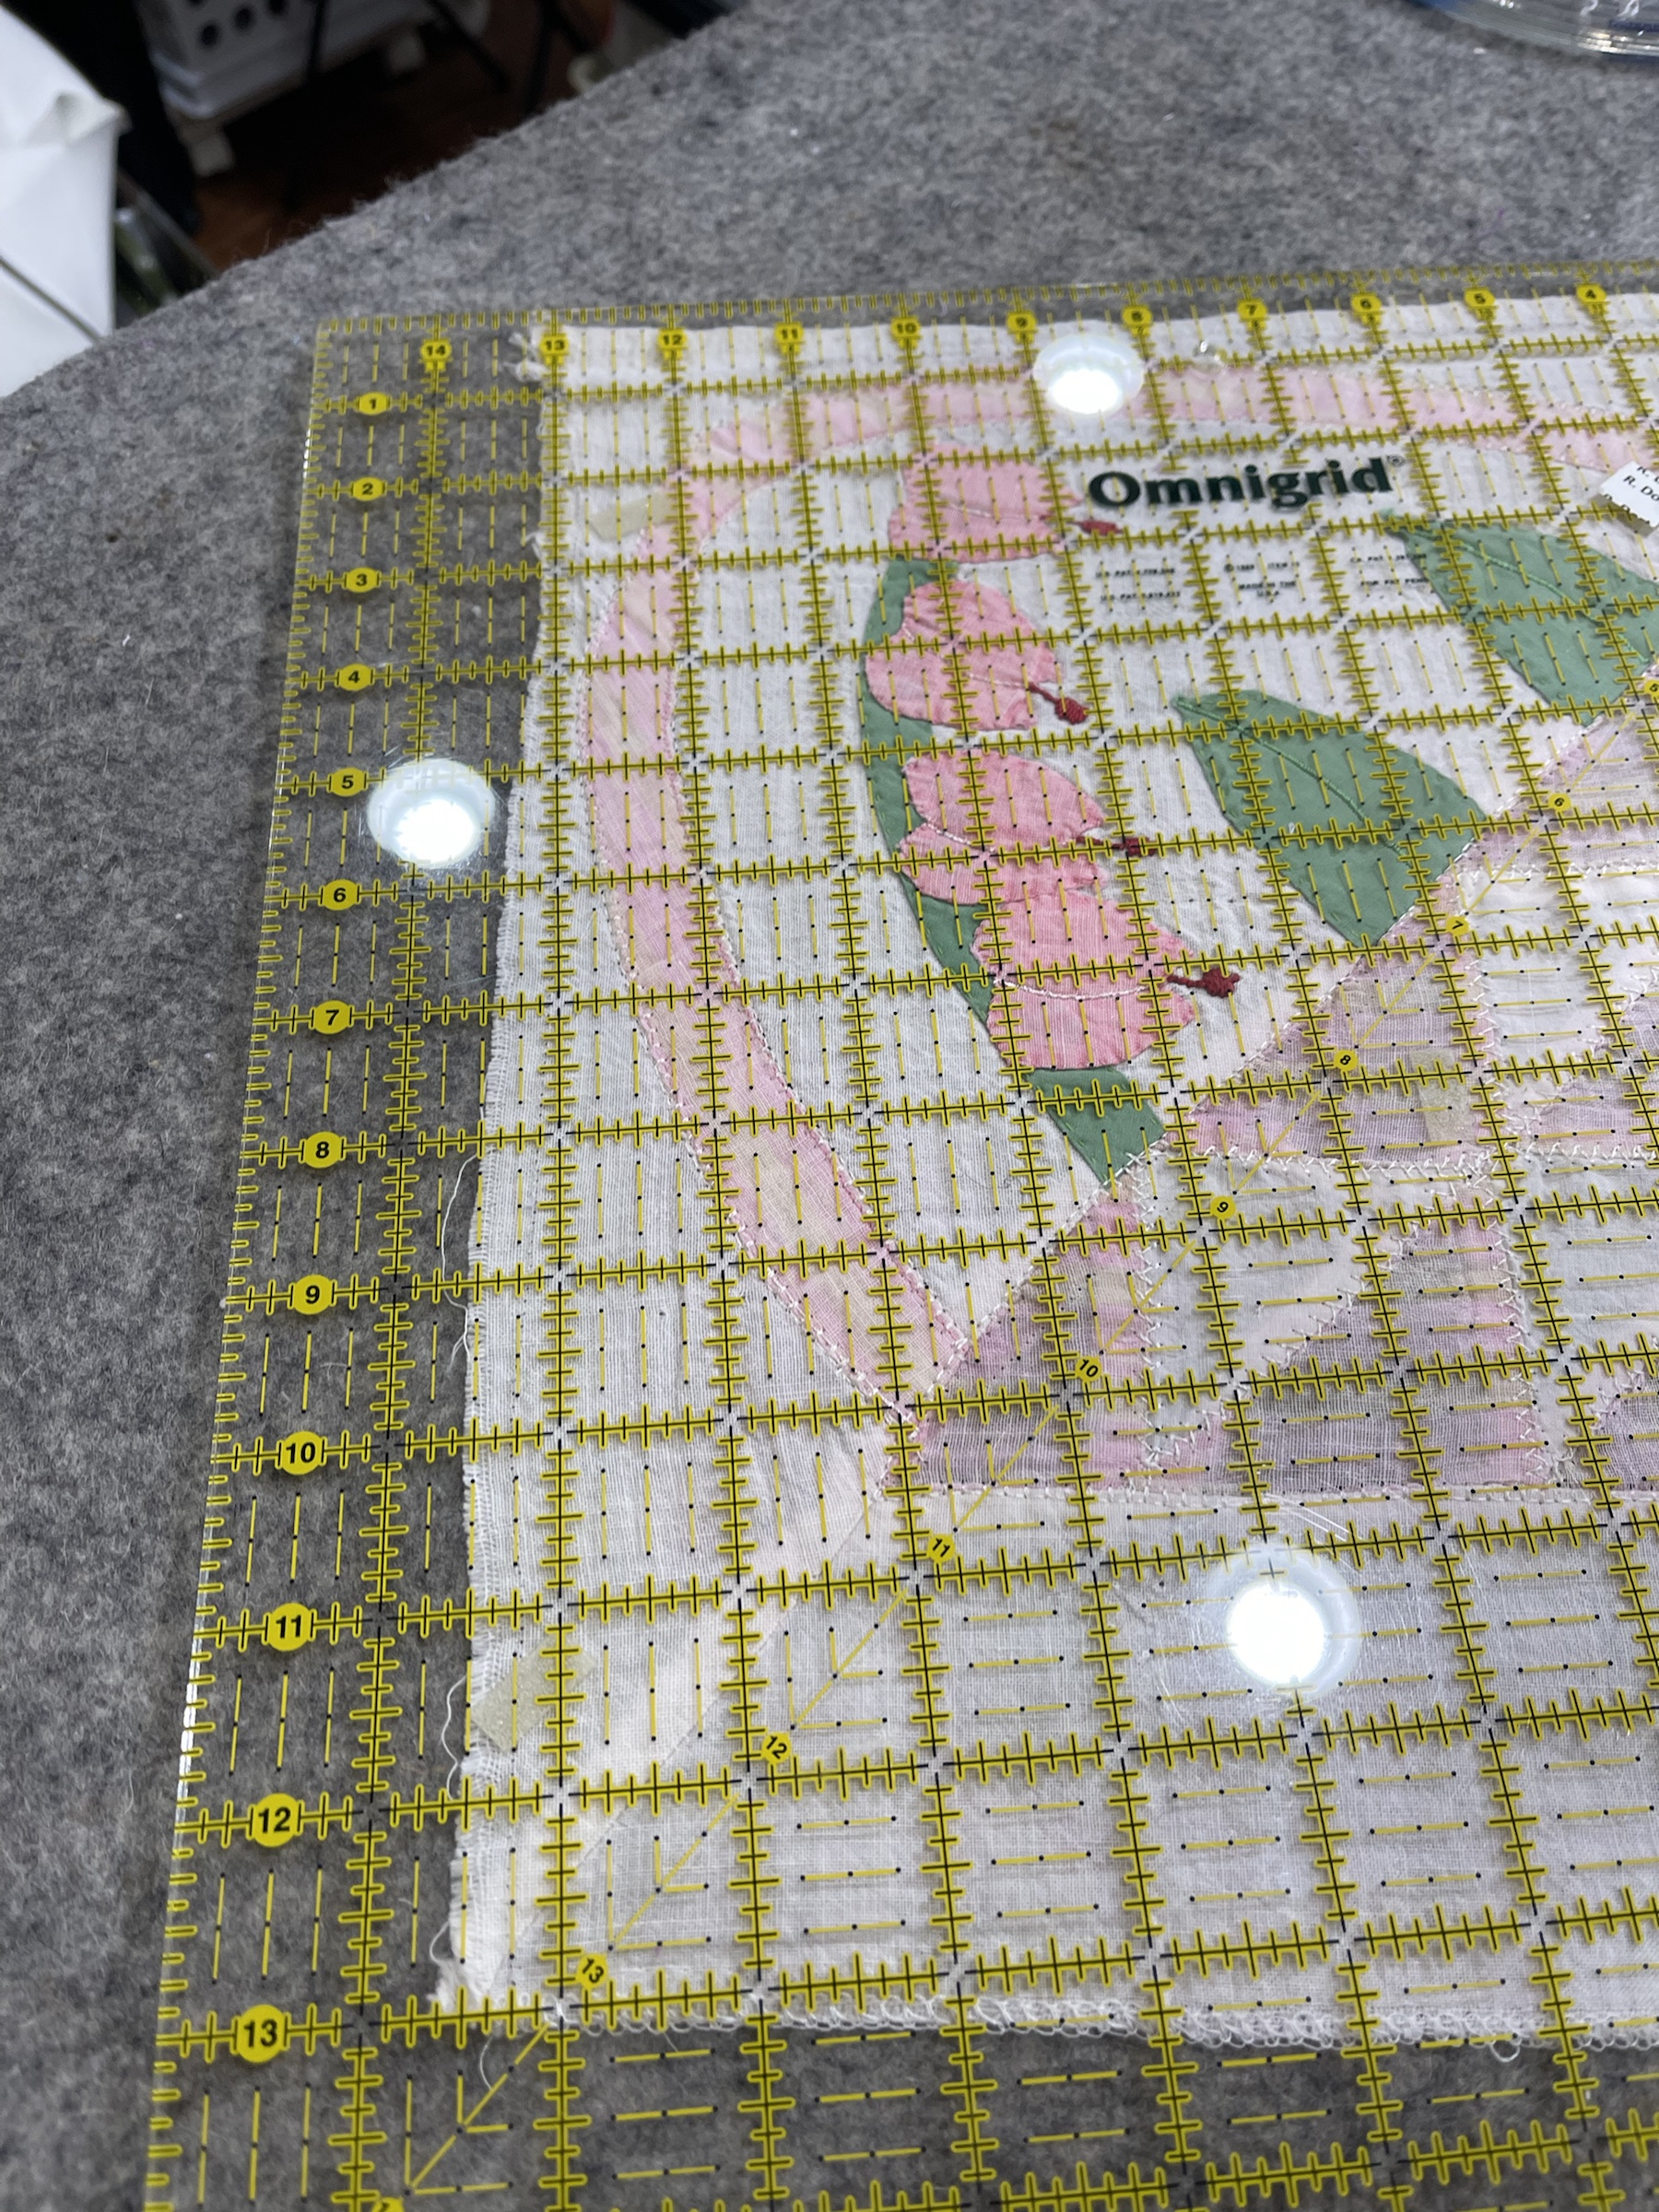
Here’s another block…there just no way that these blocks will ever be square again on their own. Yes…a dilemma to say the least!
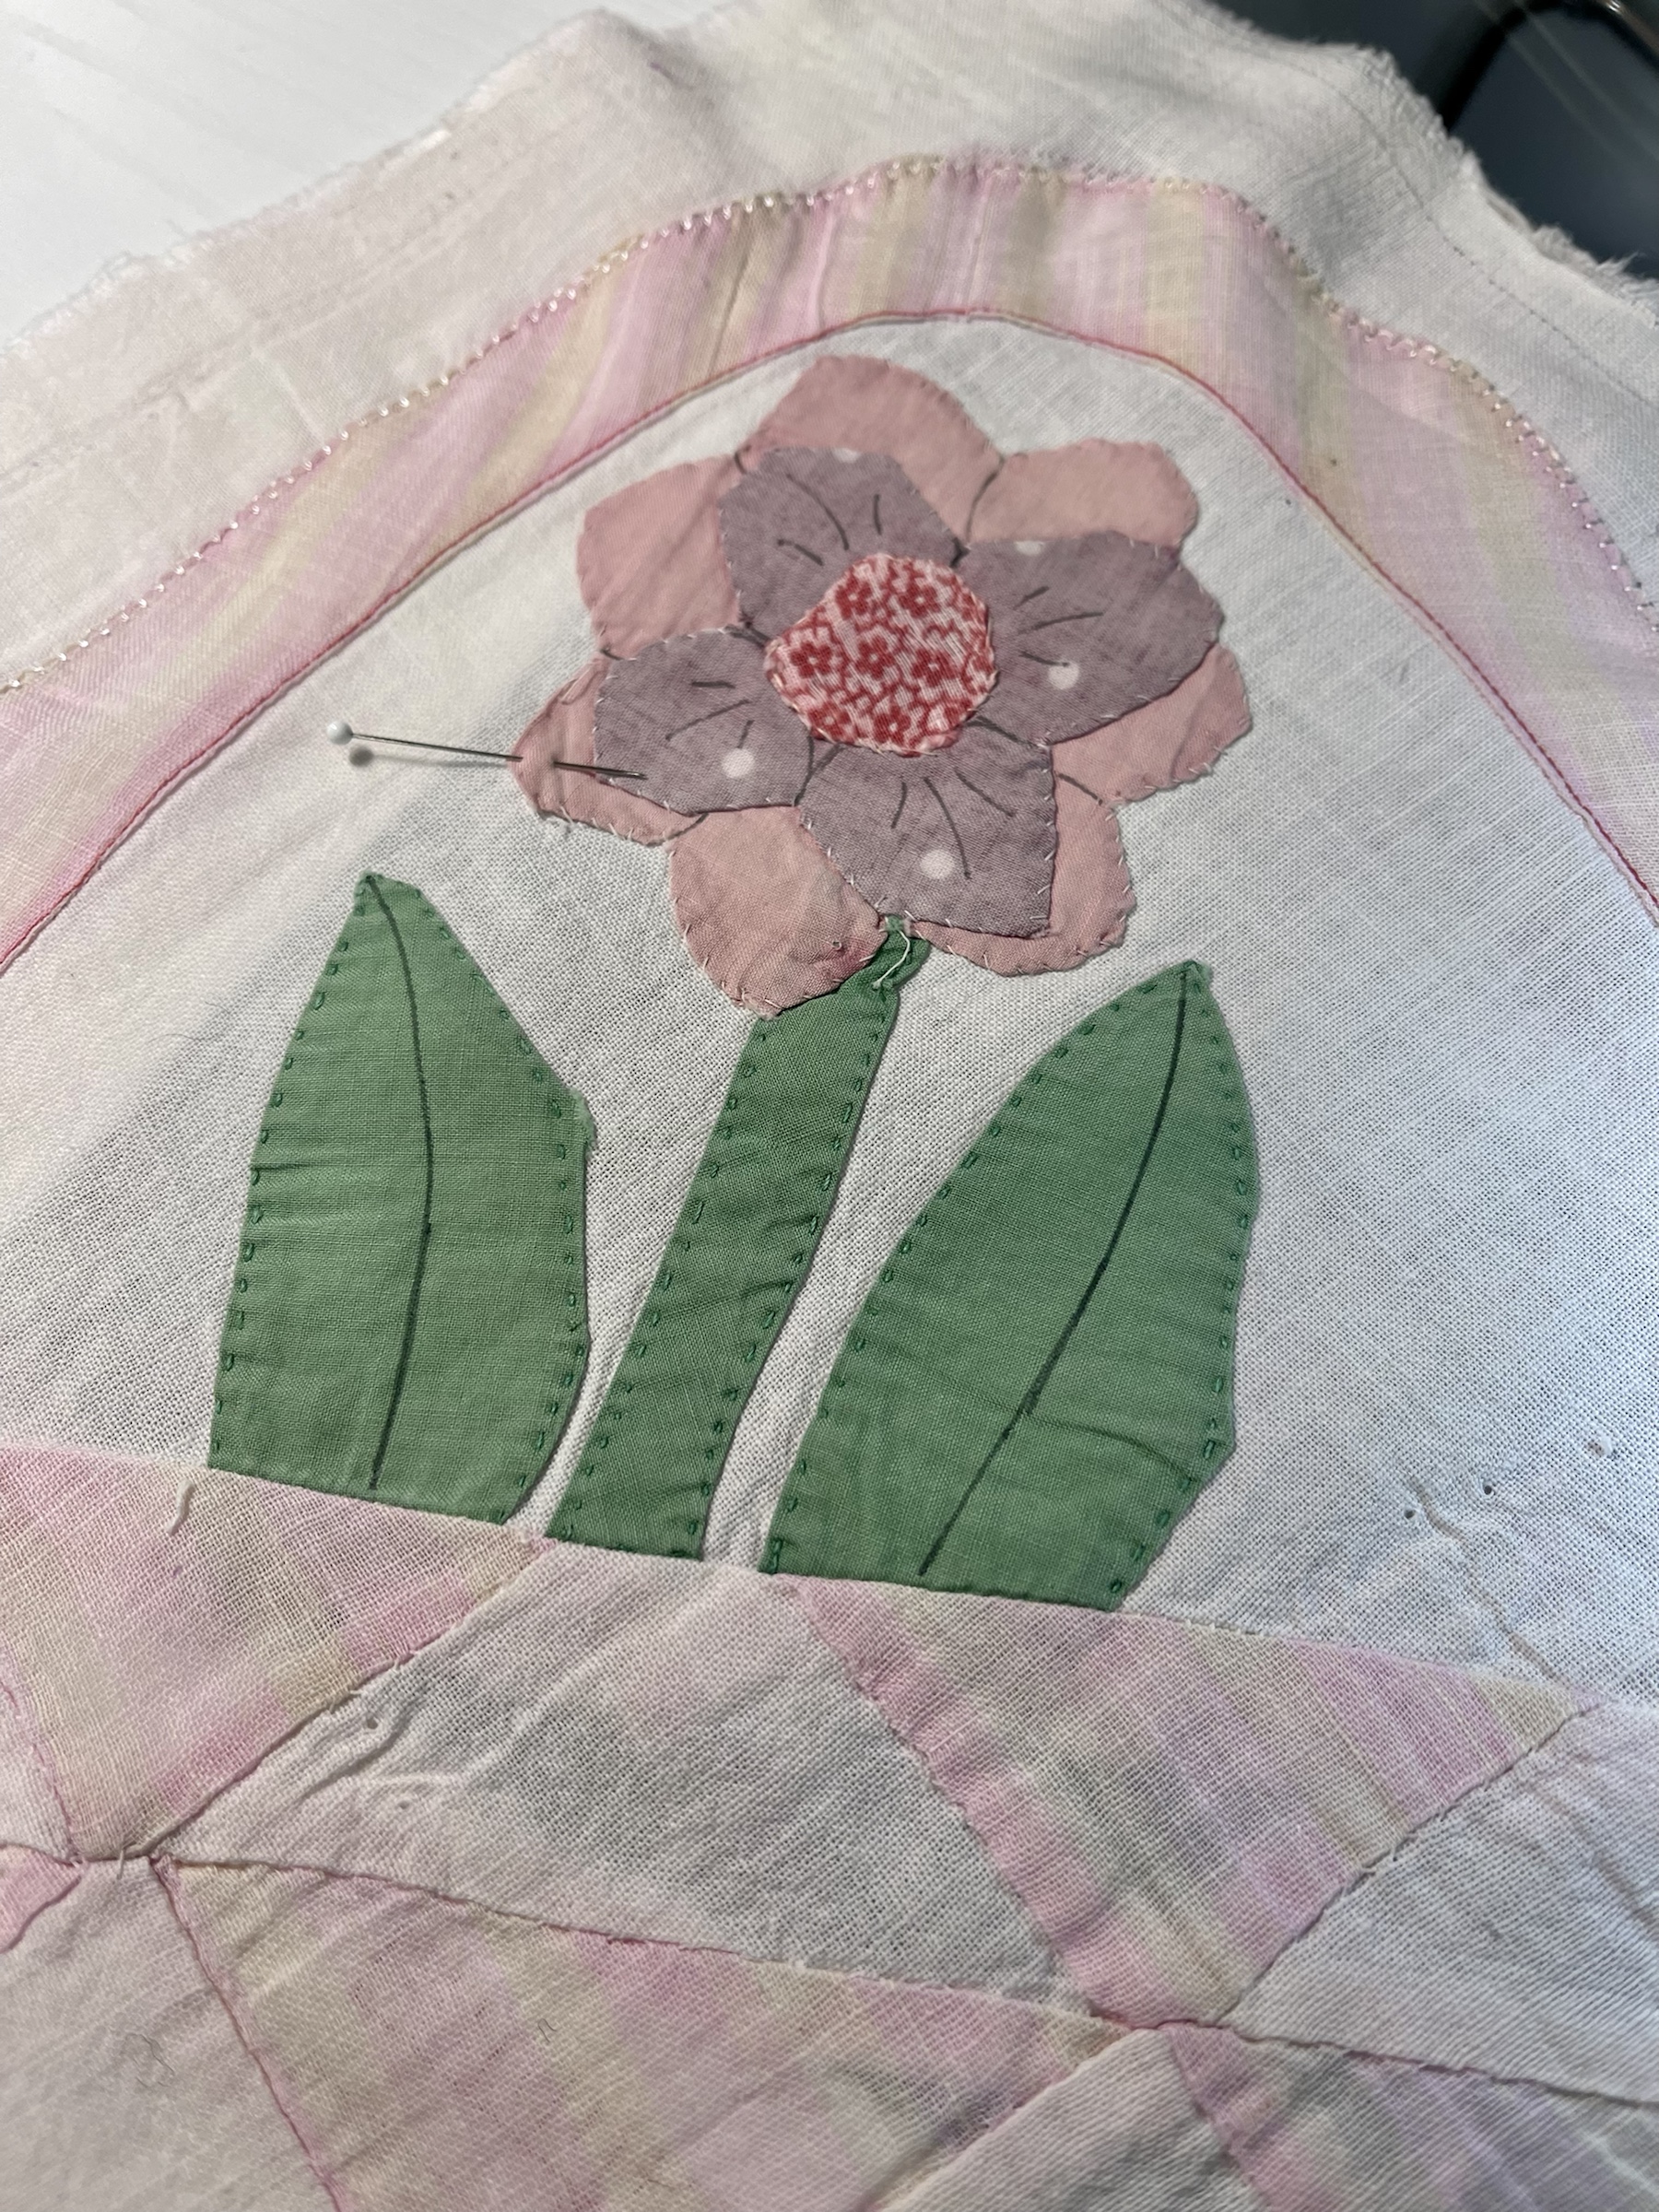
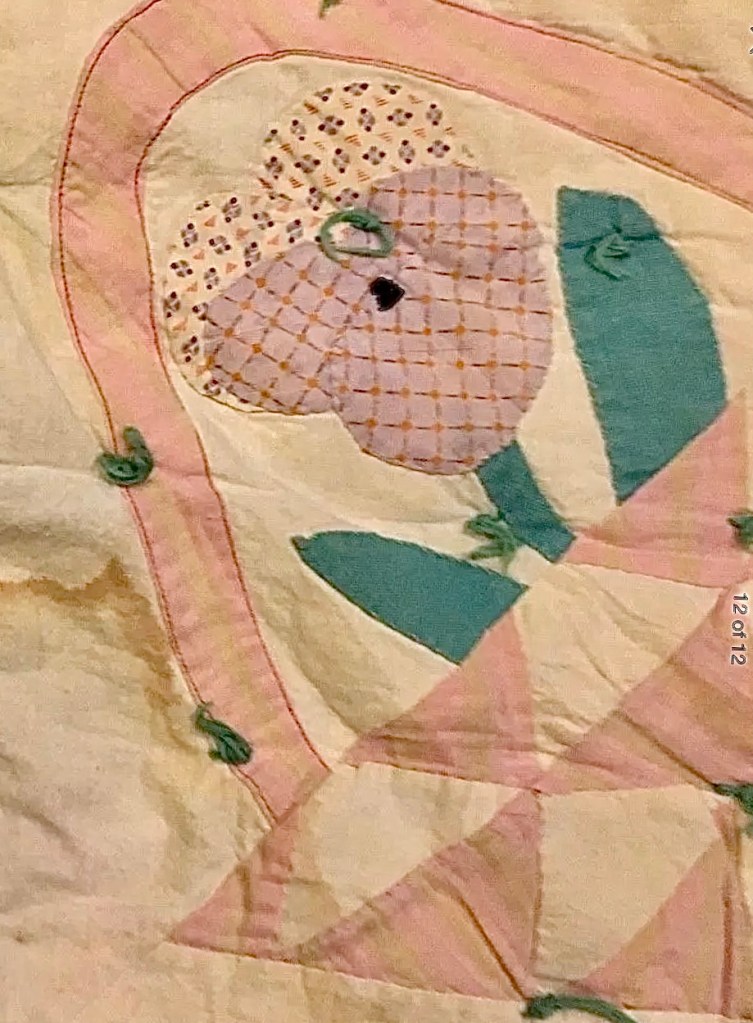
Not sure about the name of this blossom but I like it! I will like it even more after I satin stitch the drawn lines. And yes, I forgot to take a pic once I finished the satin stitching. ☹️
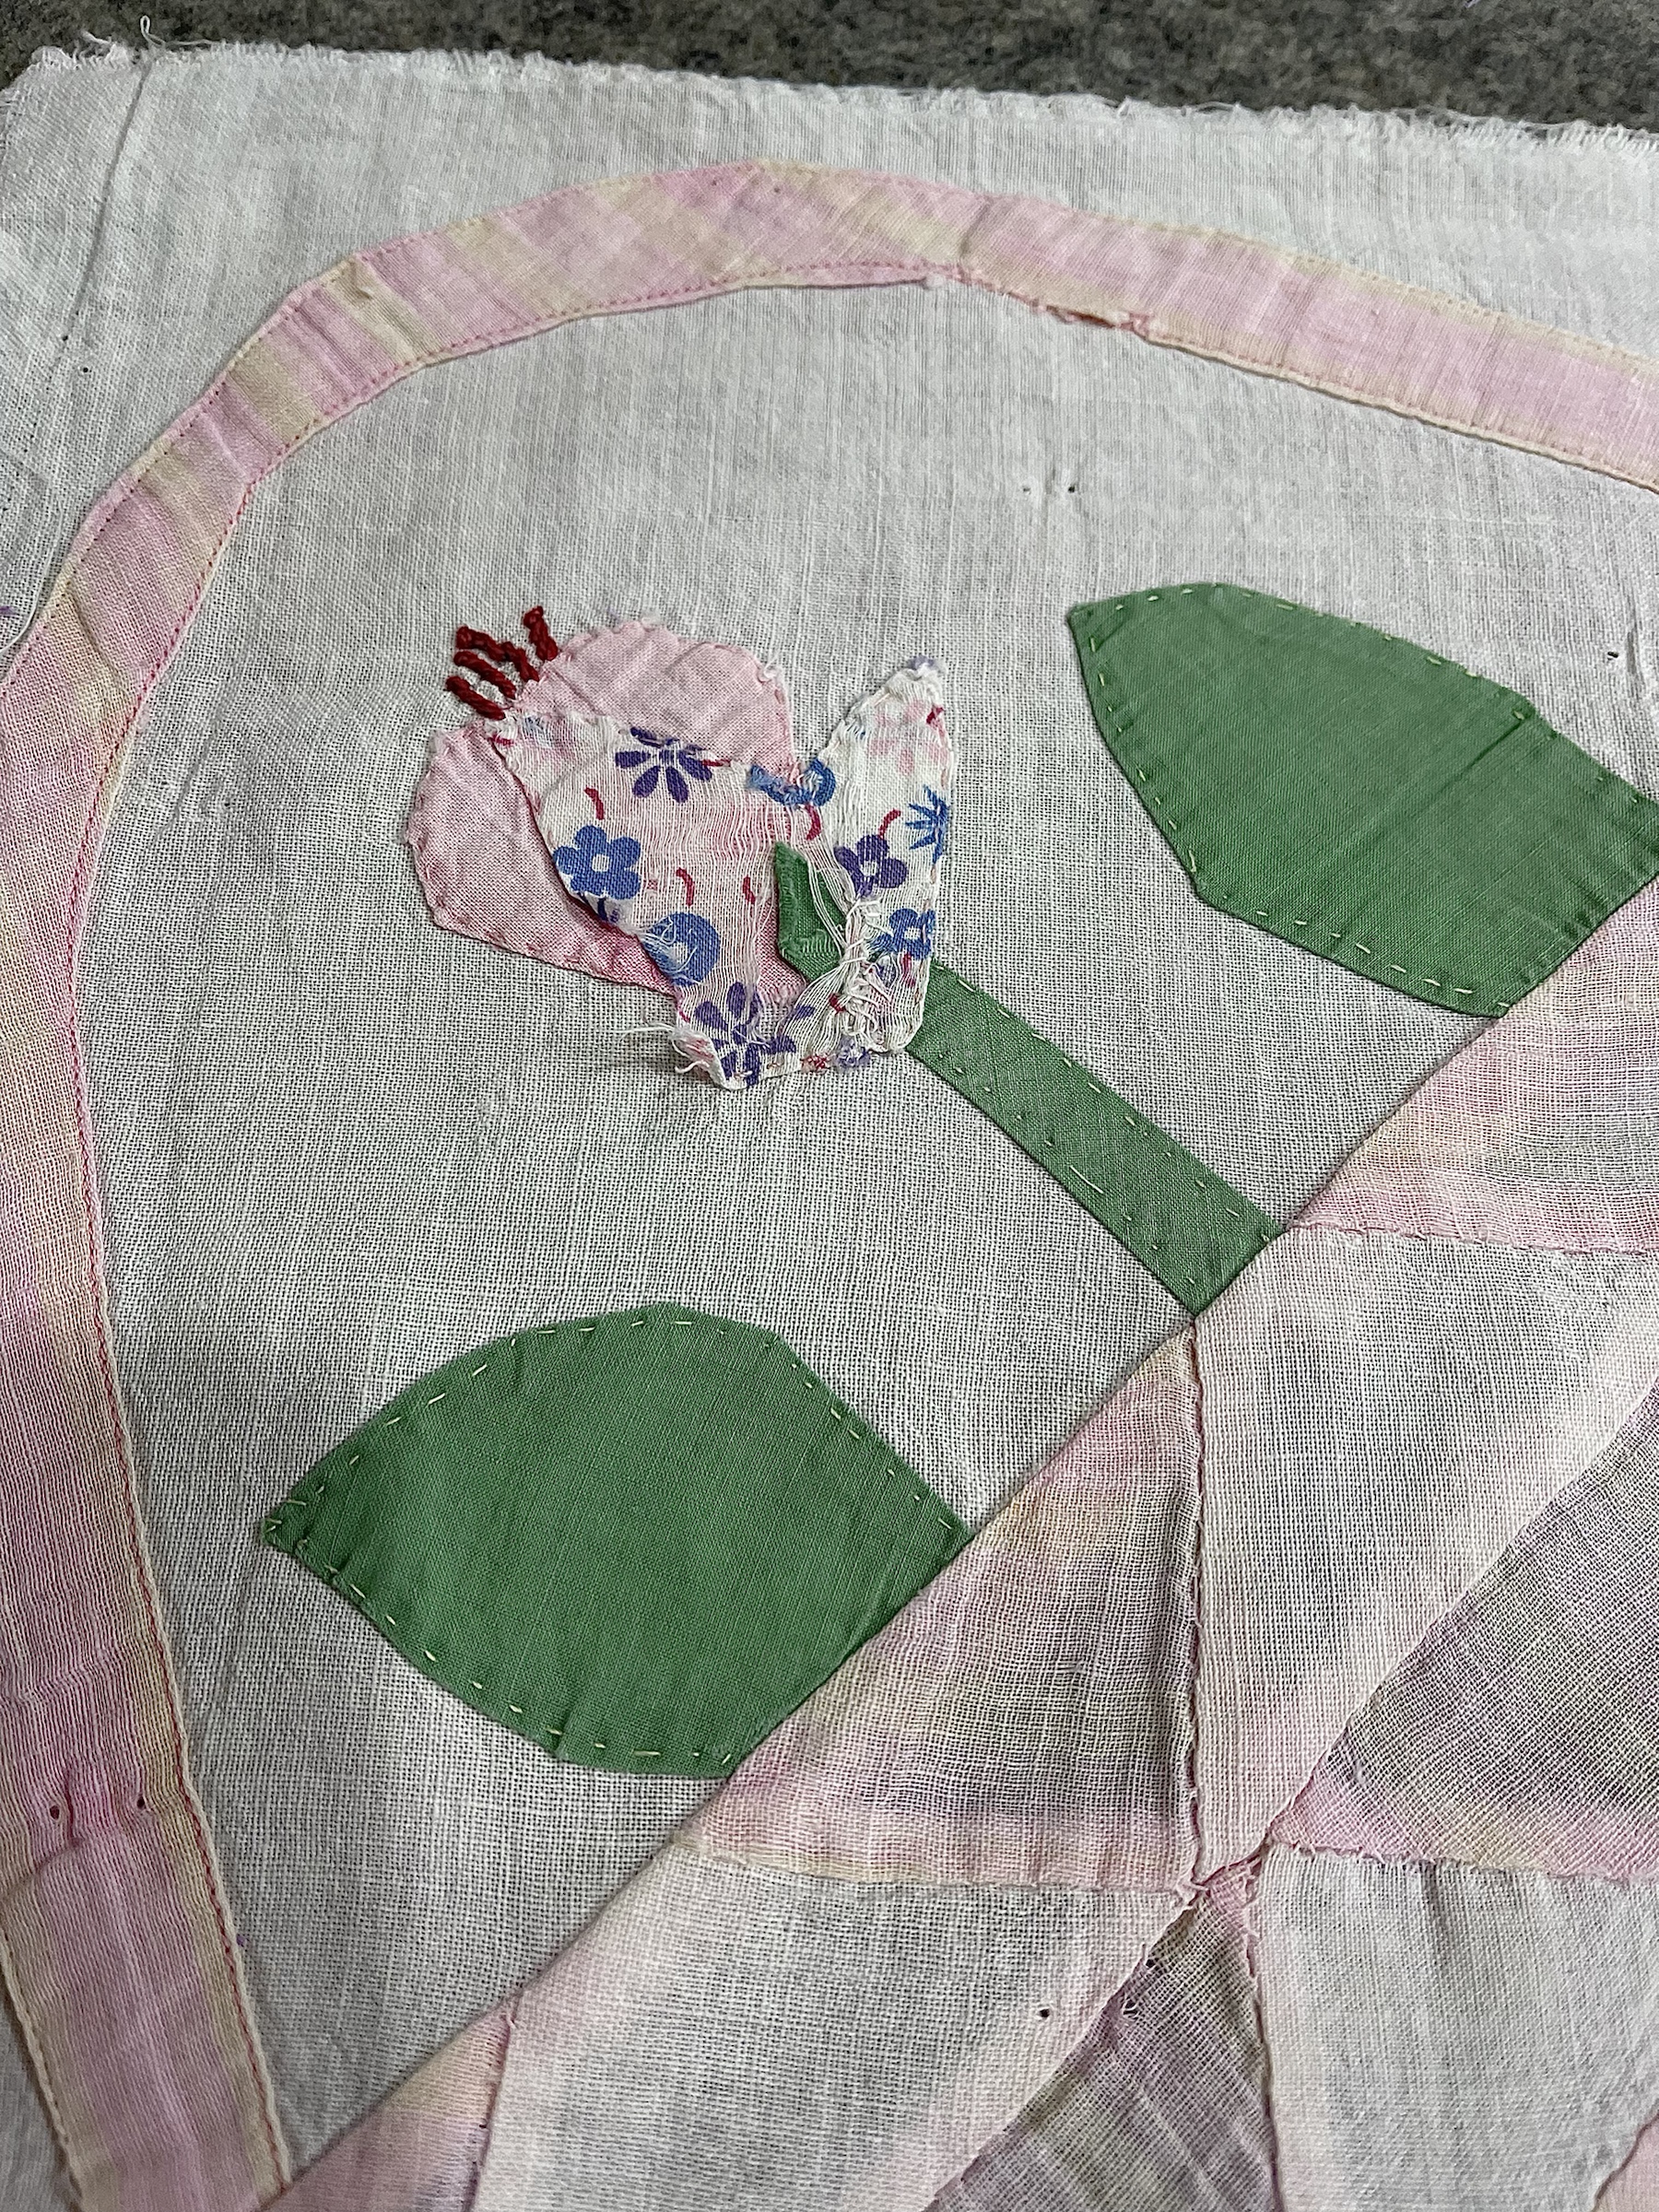
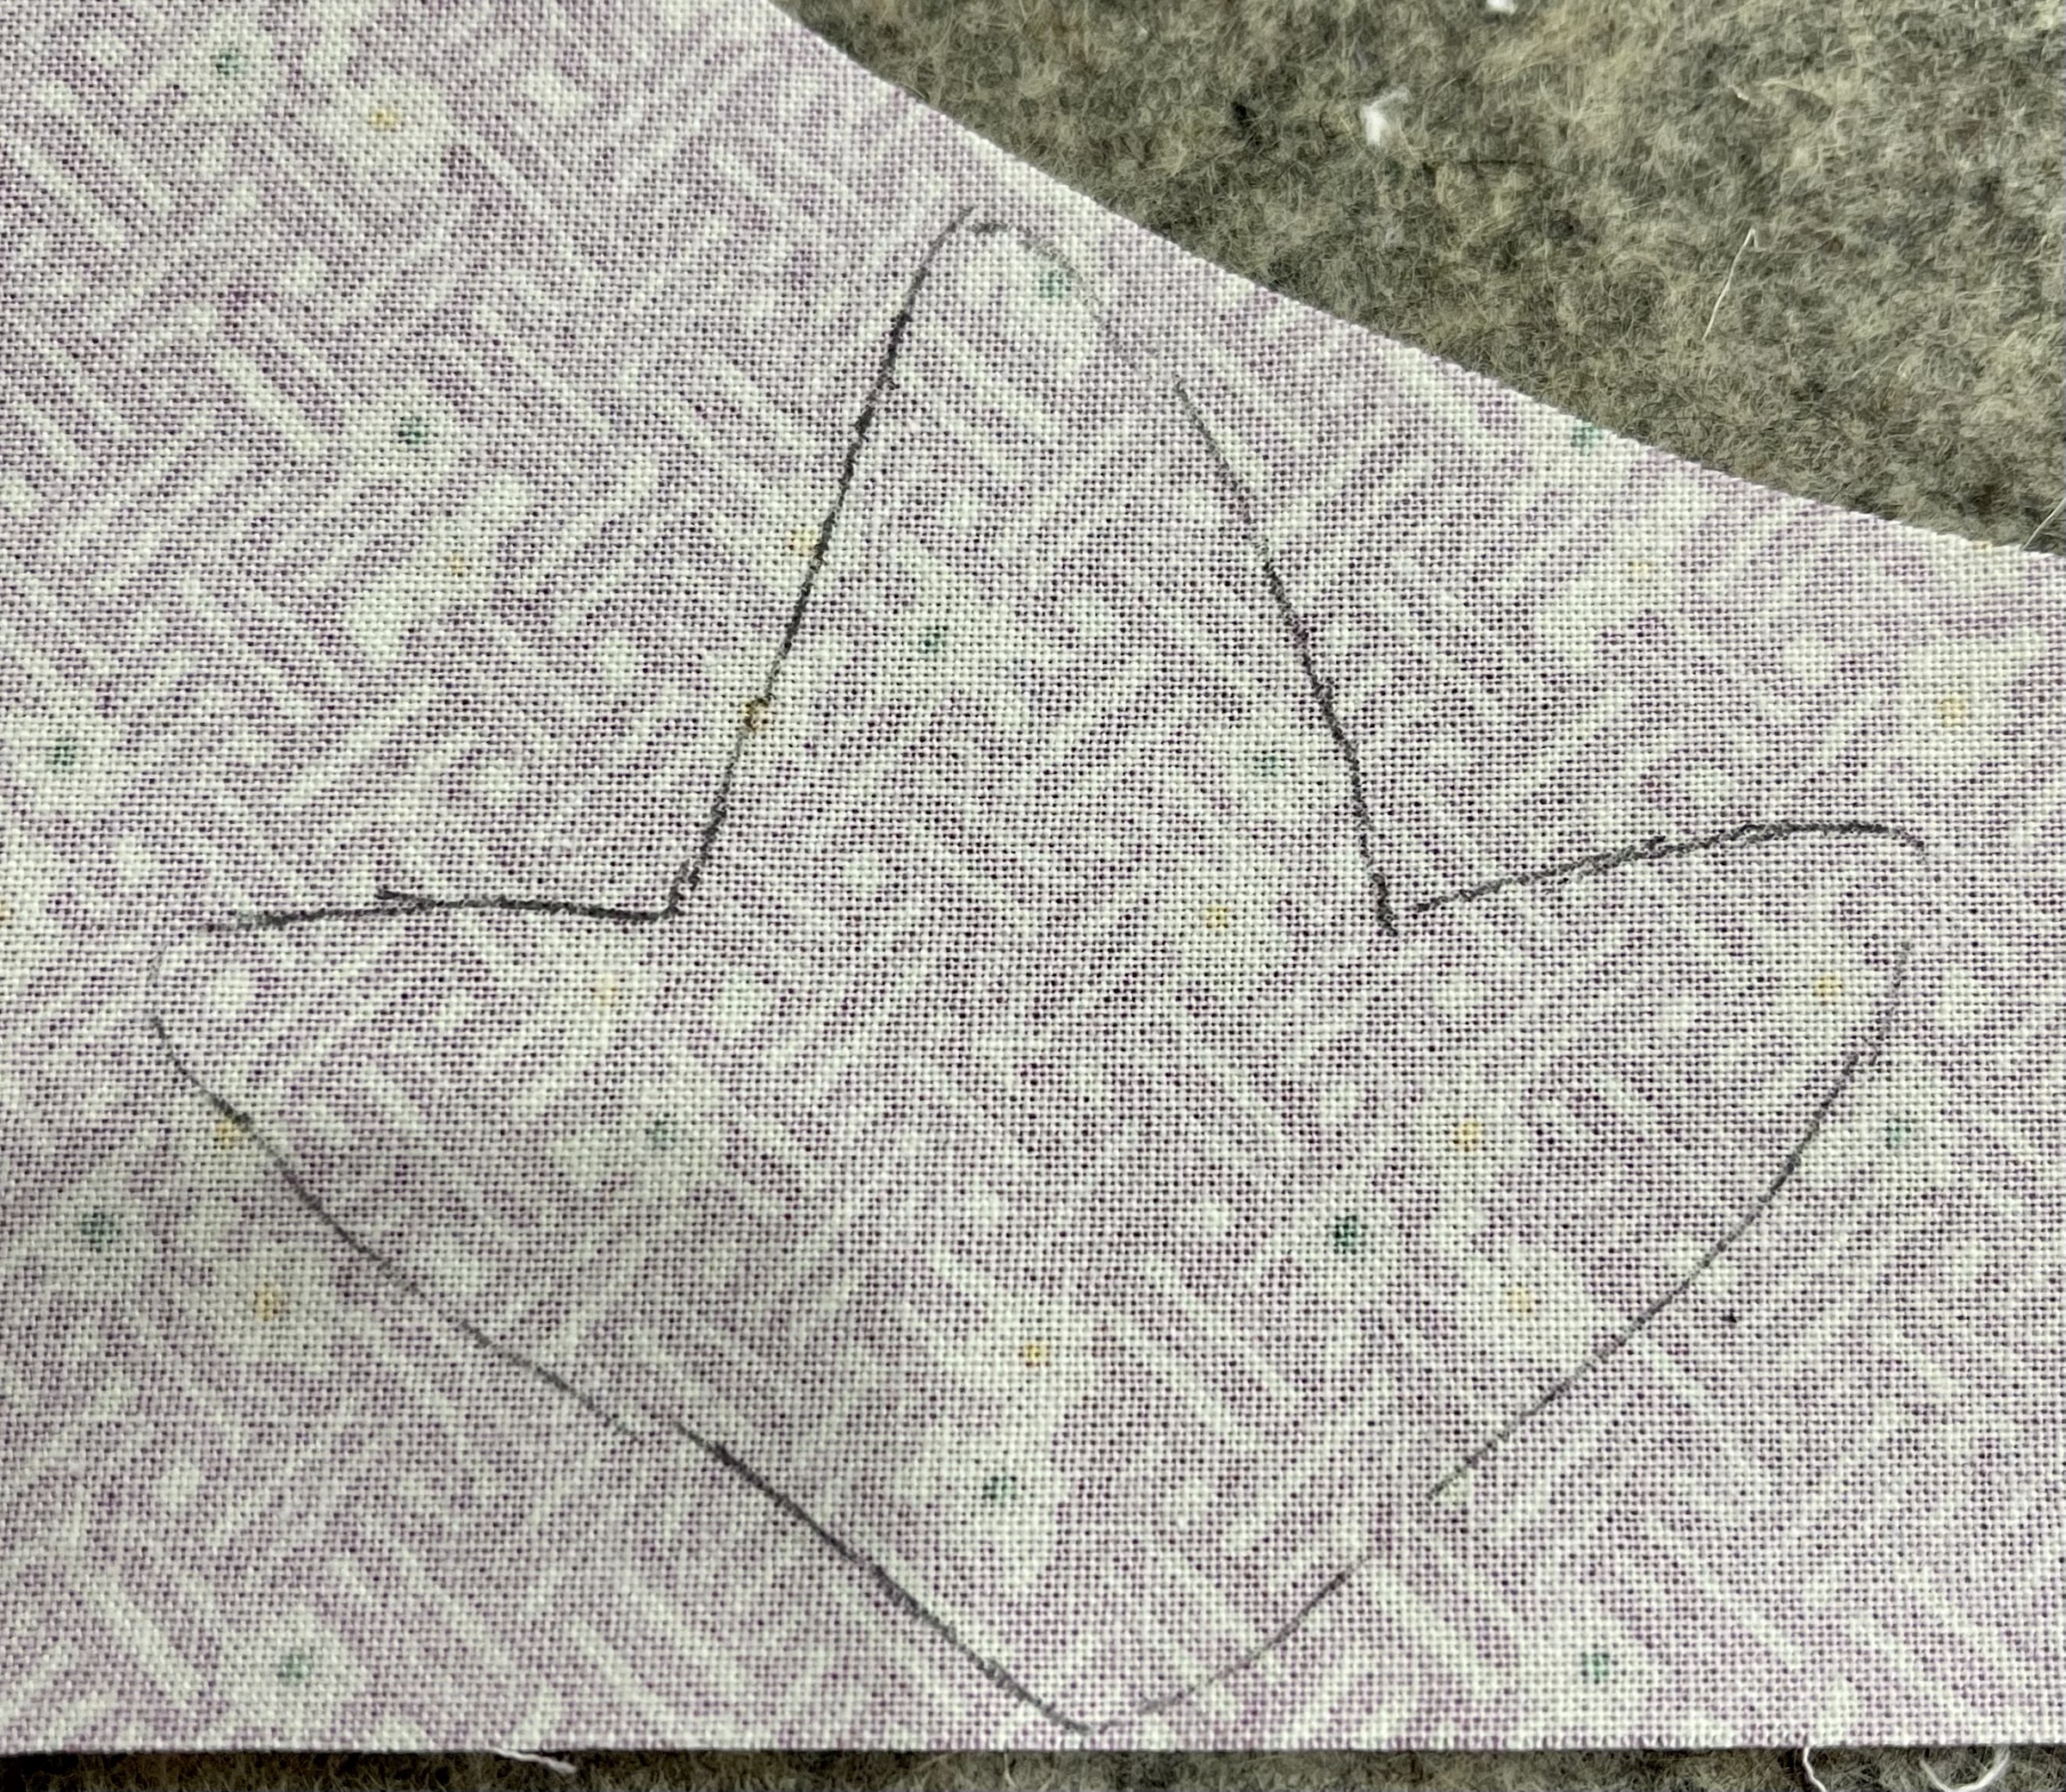
This sweet blossom has missing fabric issues.
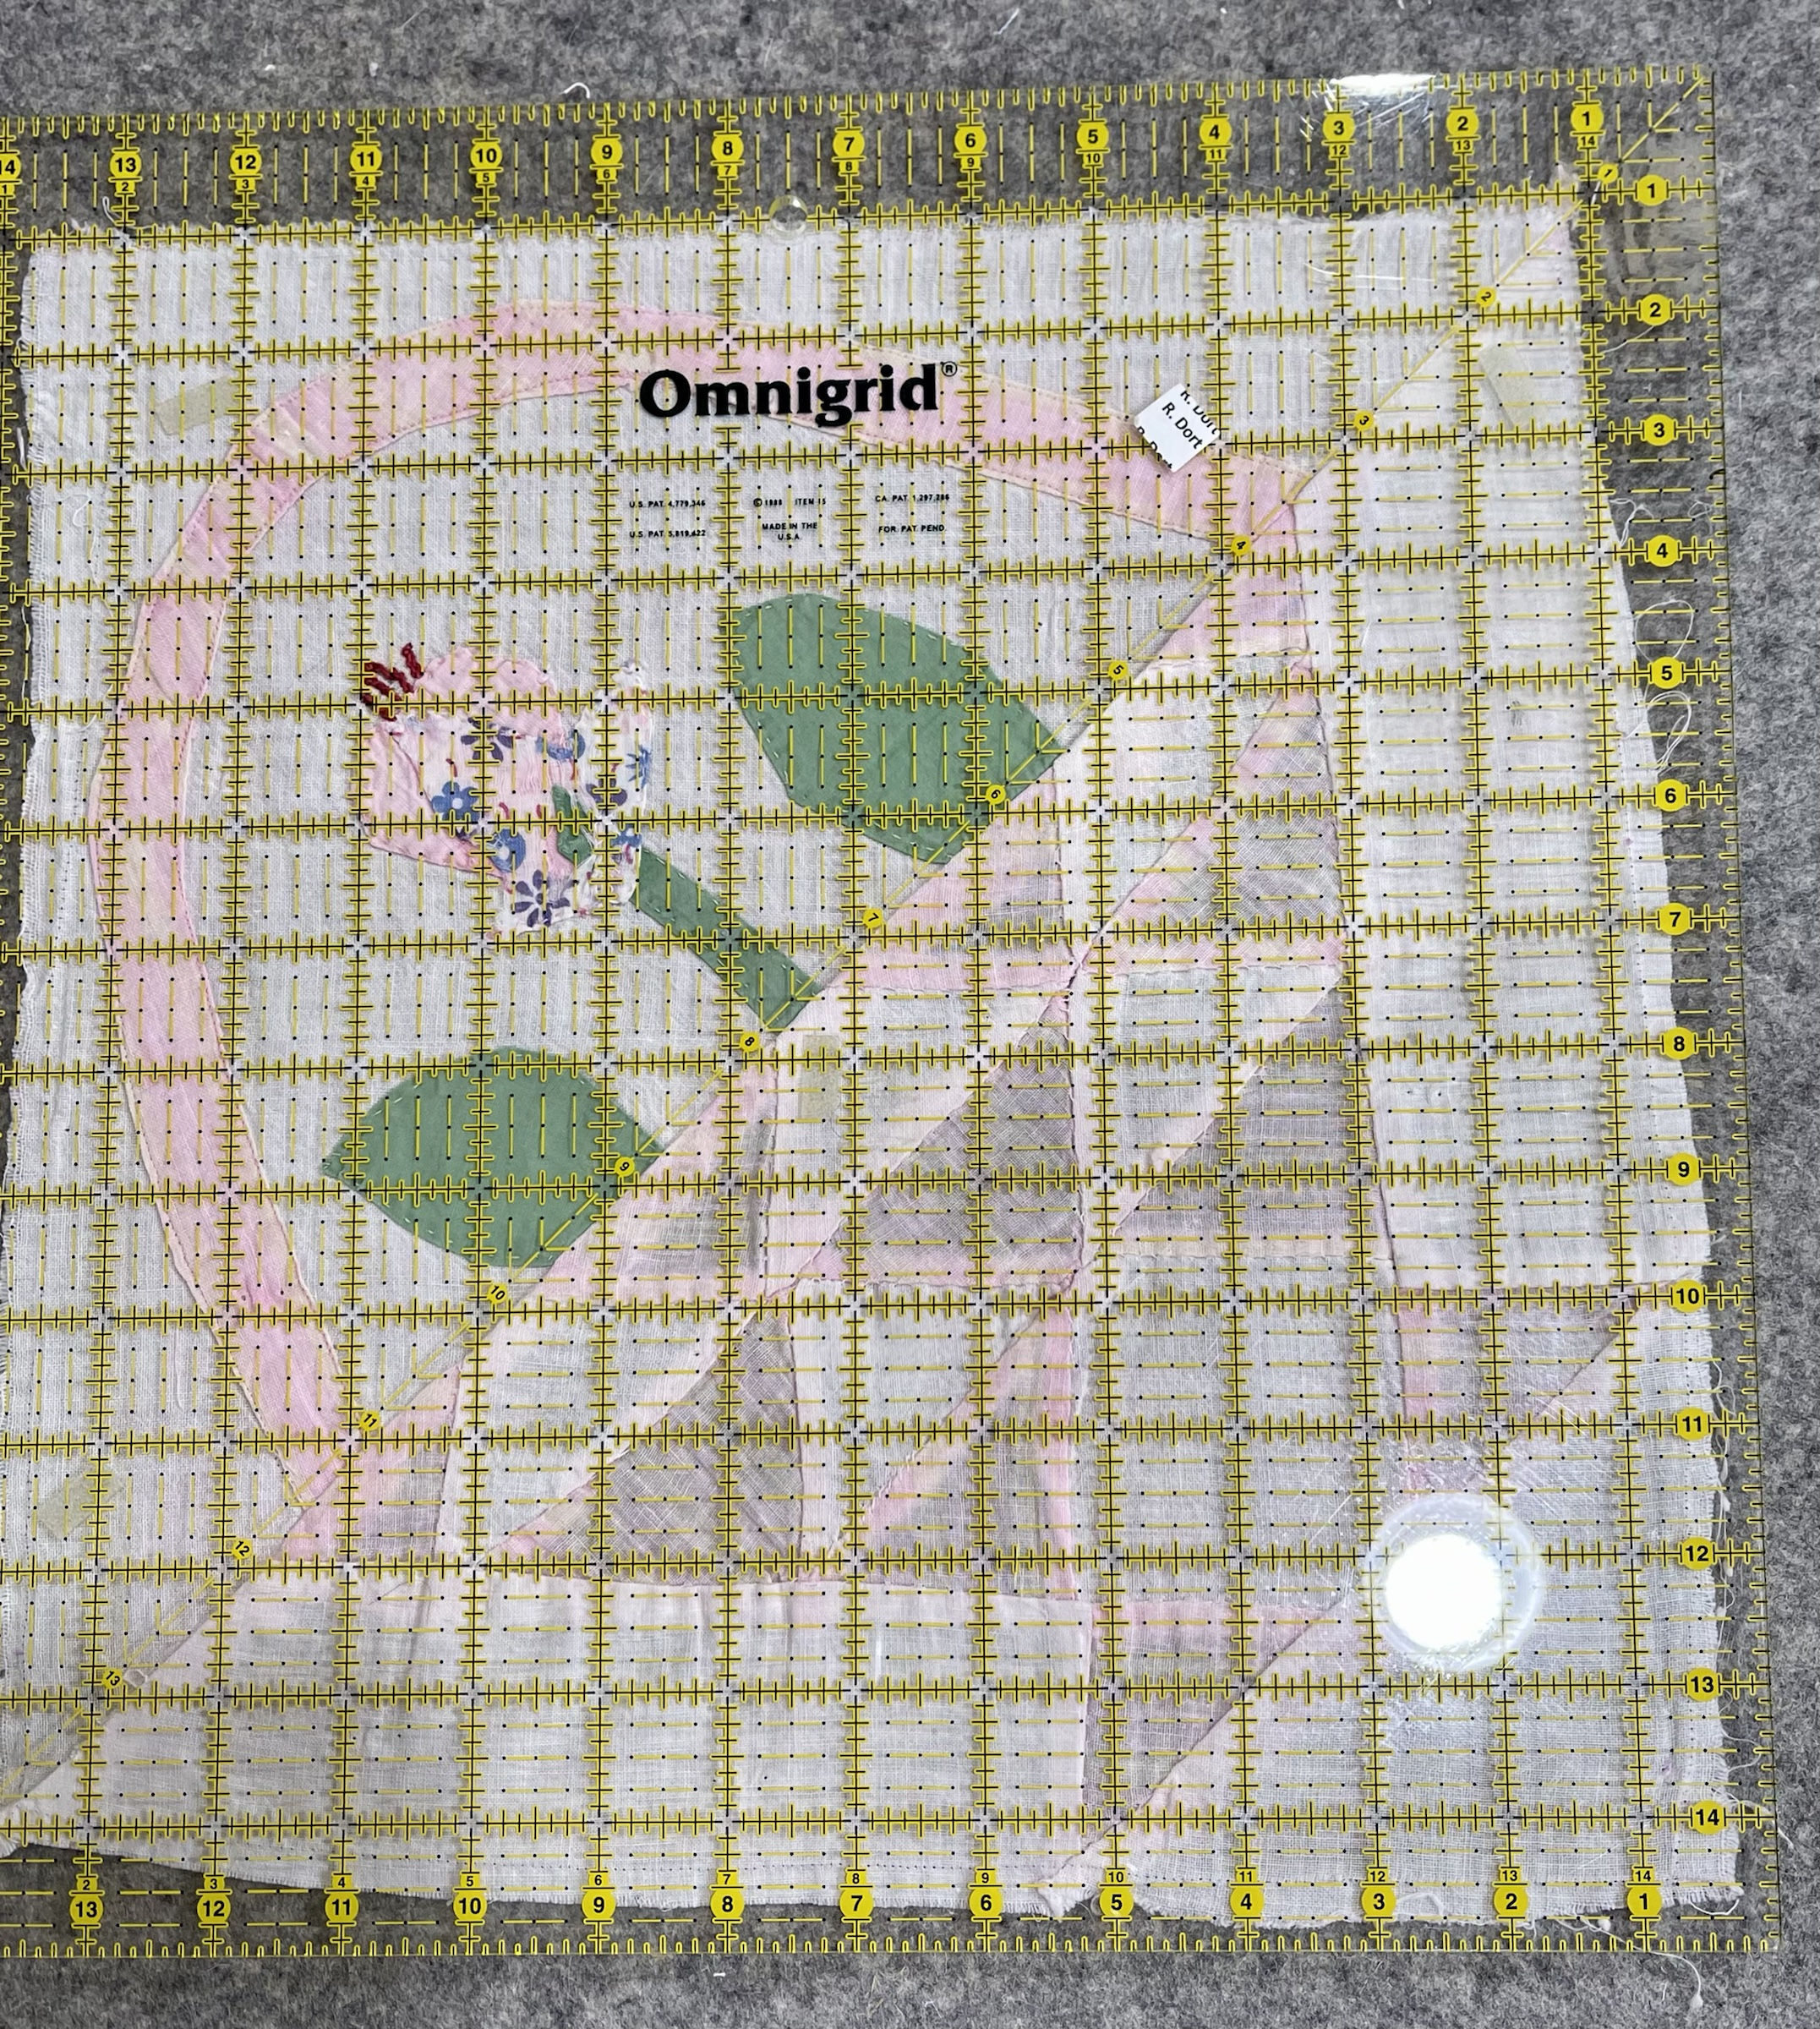
And “not even kind of square” issues.
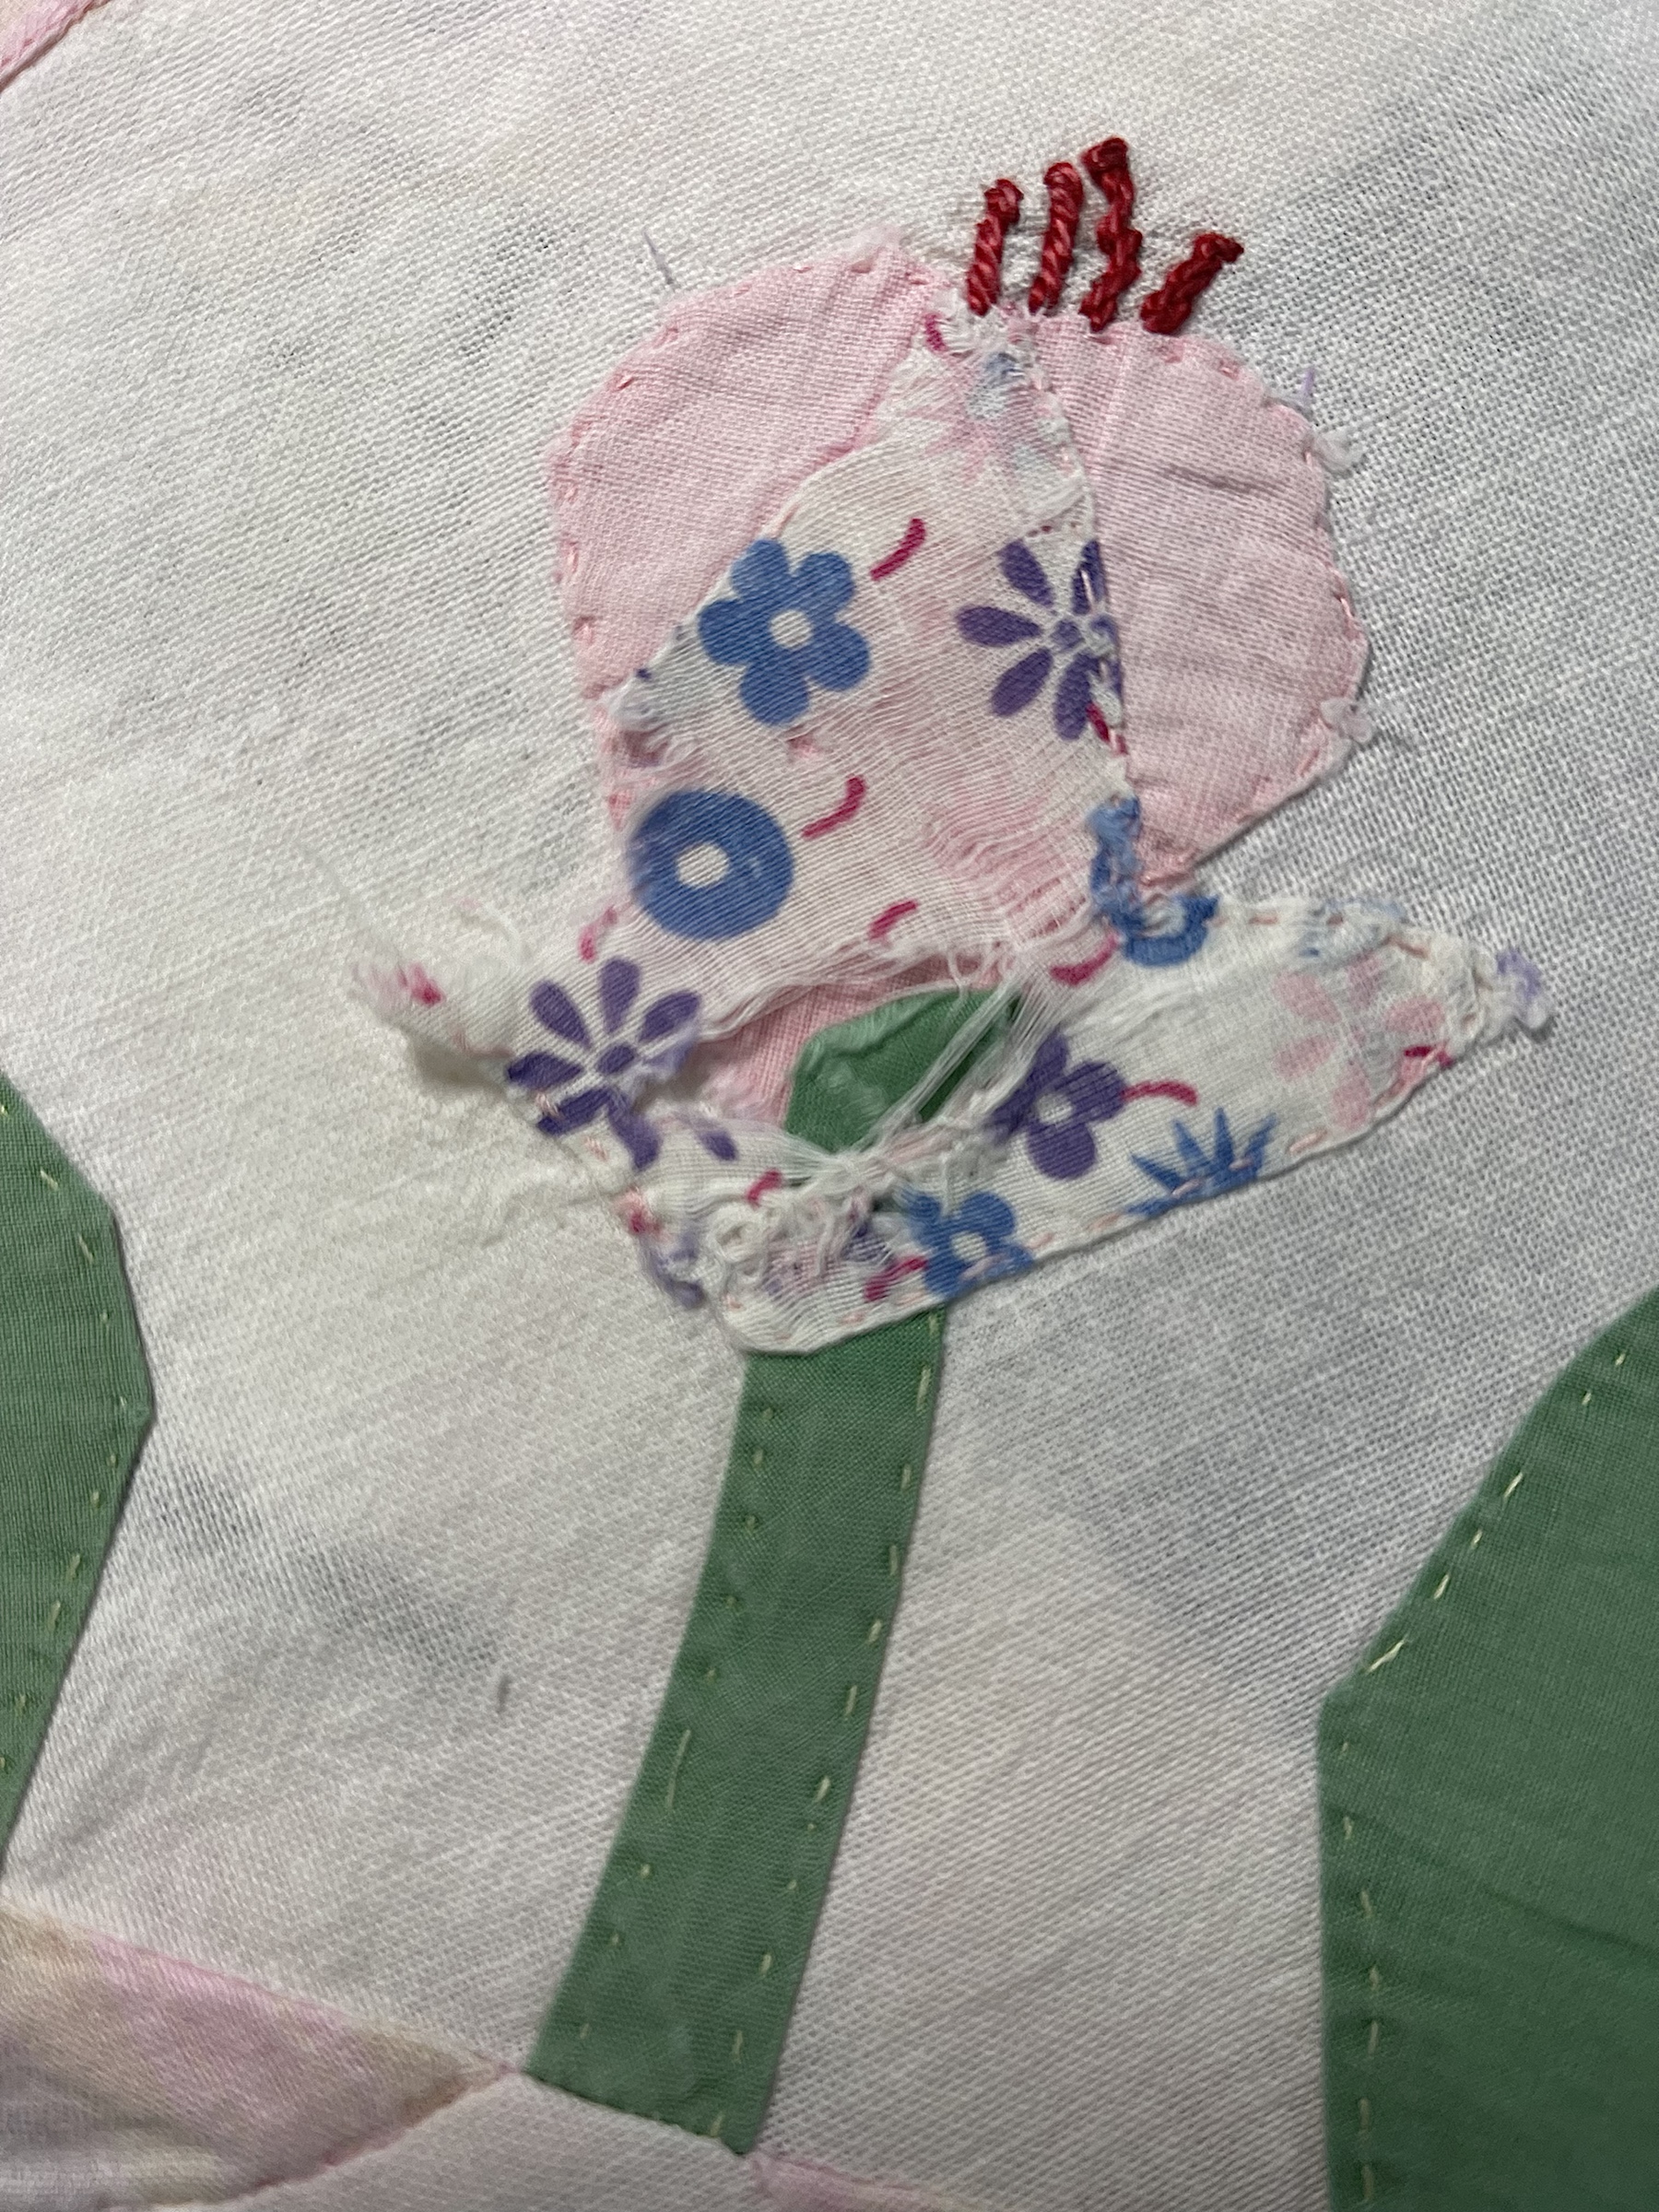
By removing the fabric piece I will be able to better replicate the shape.
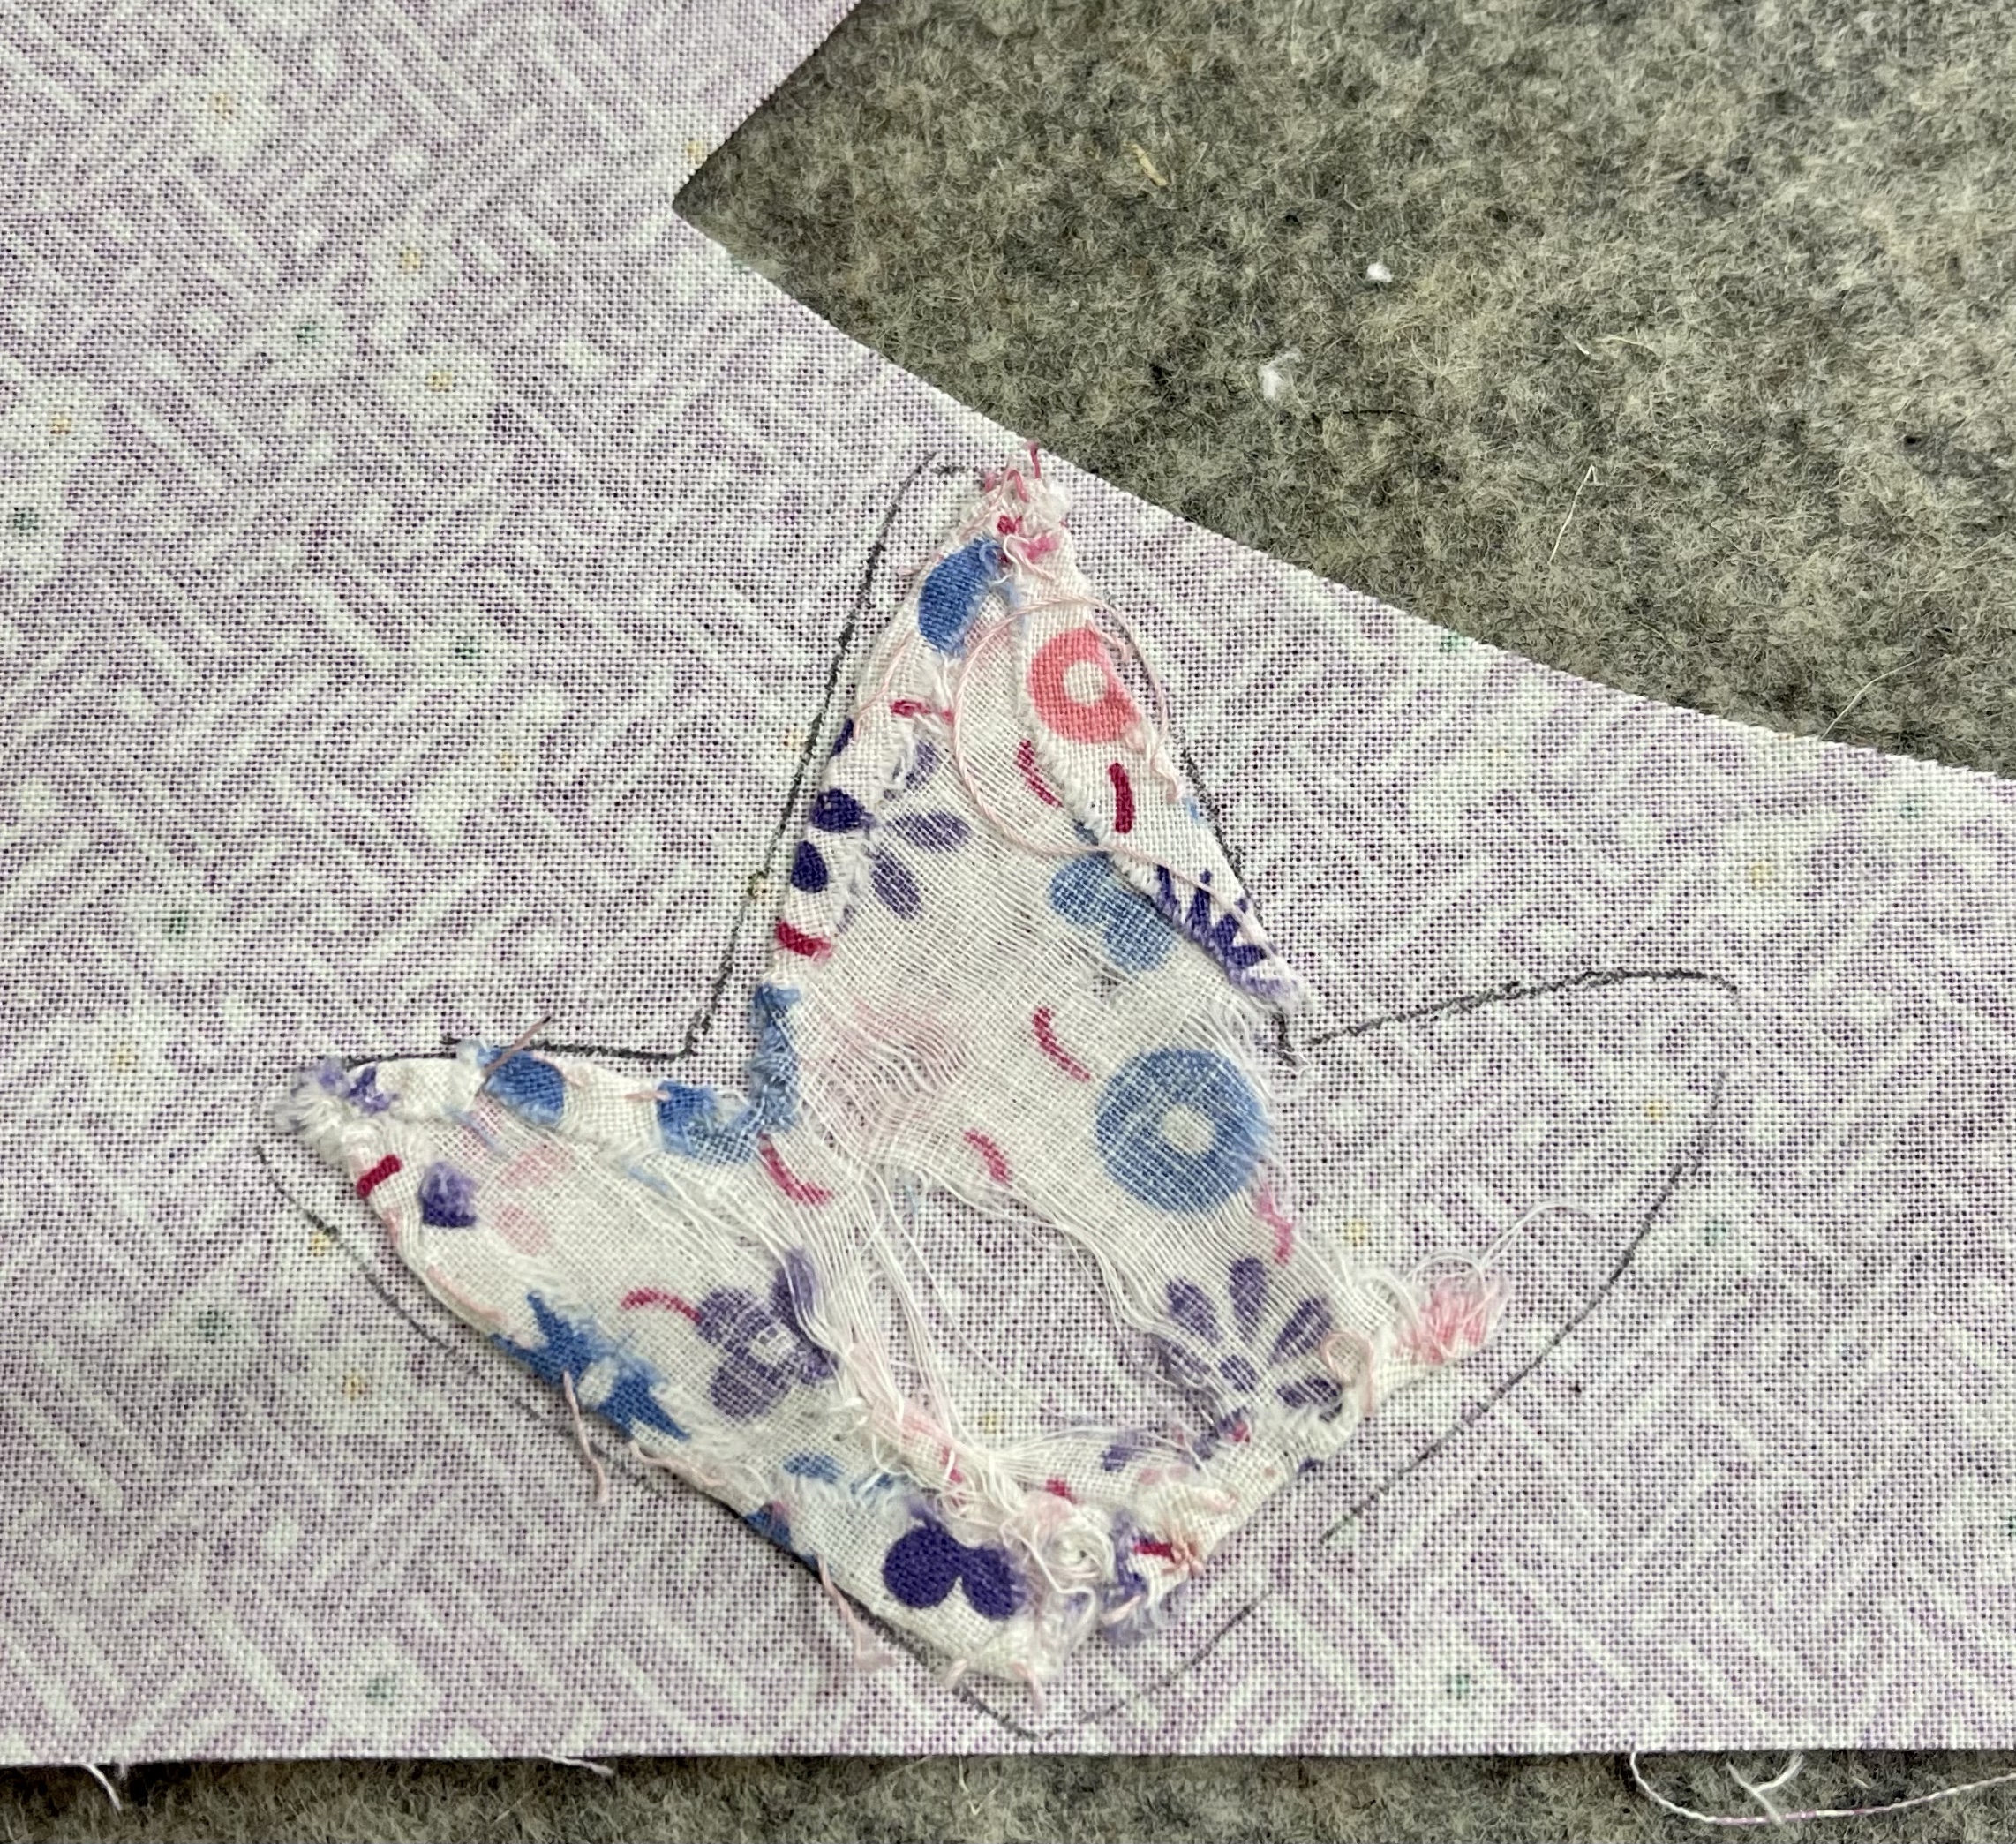
Using my Frixion pen I draw my desired shape.
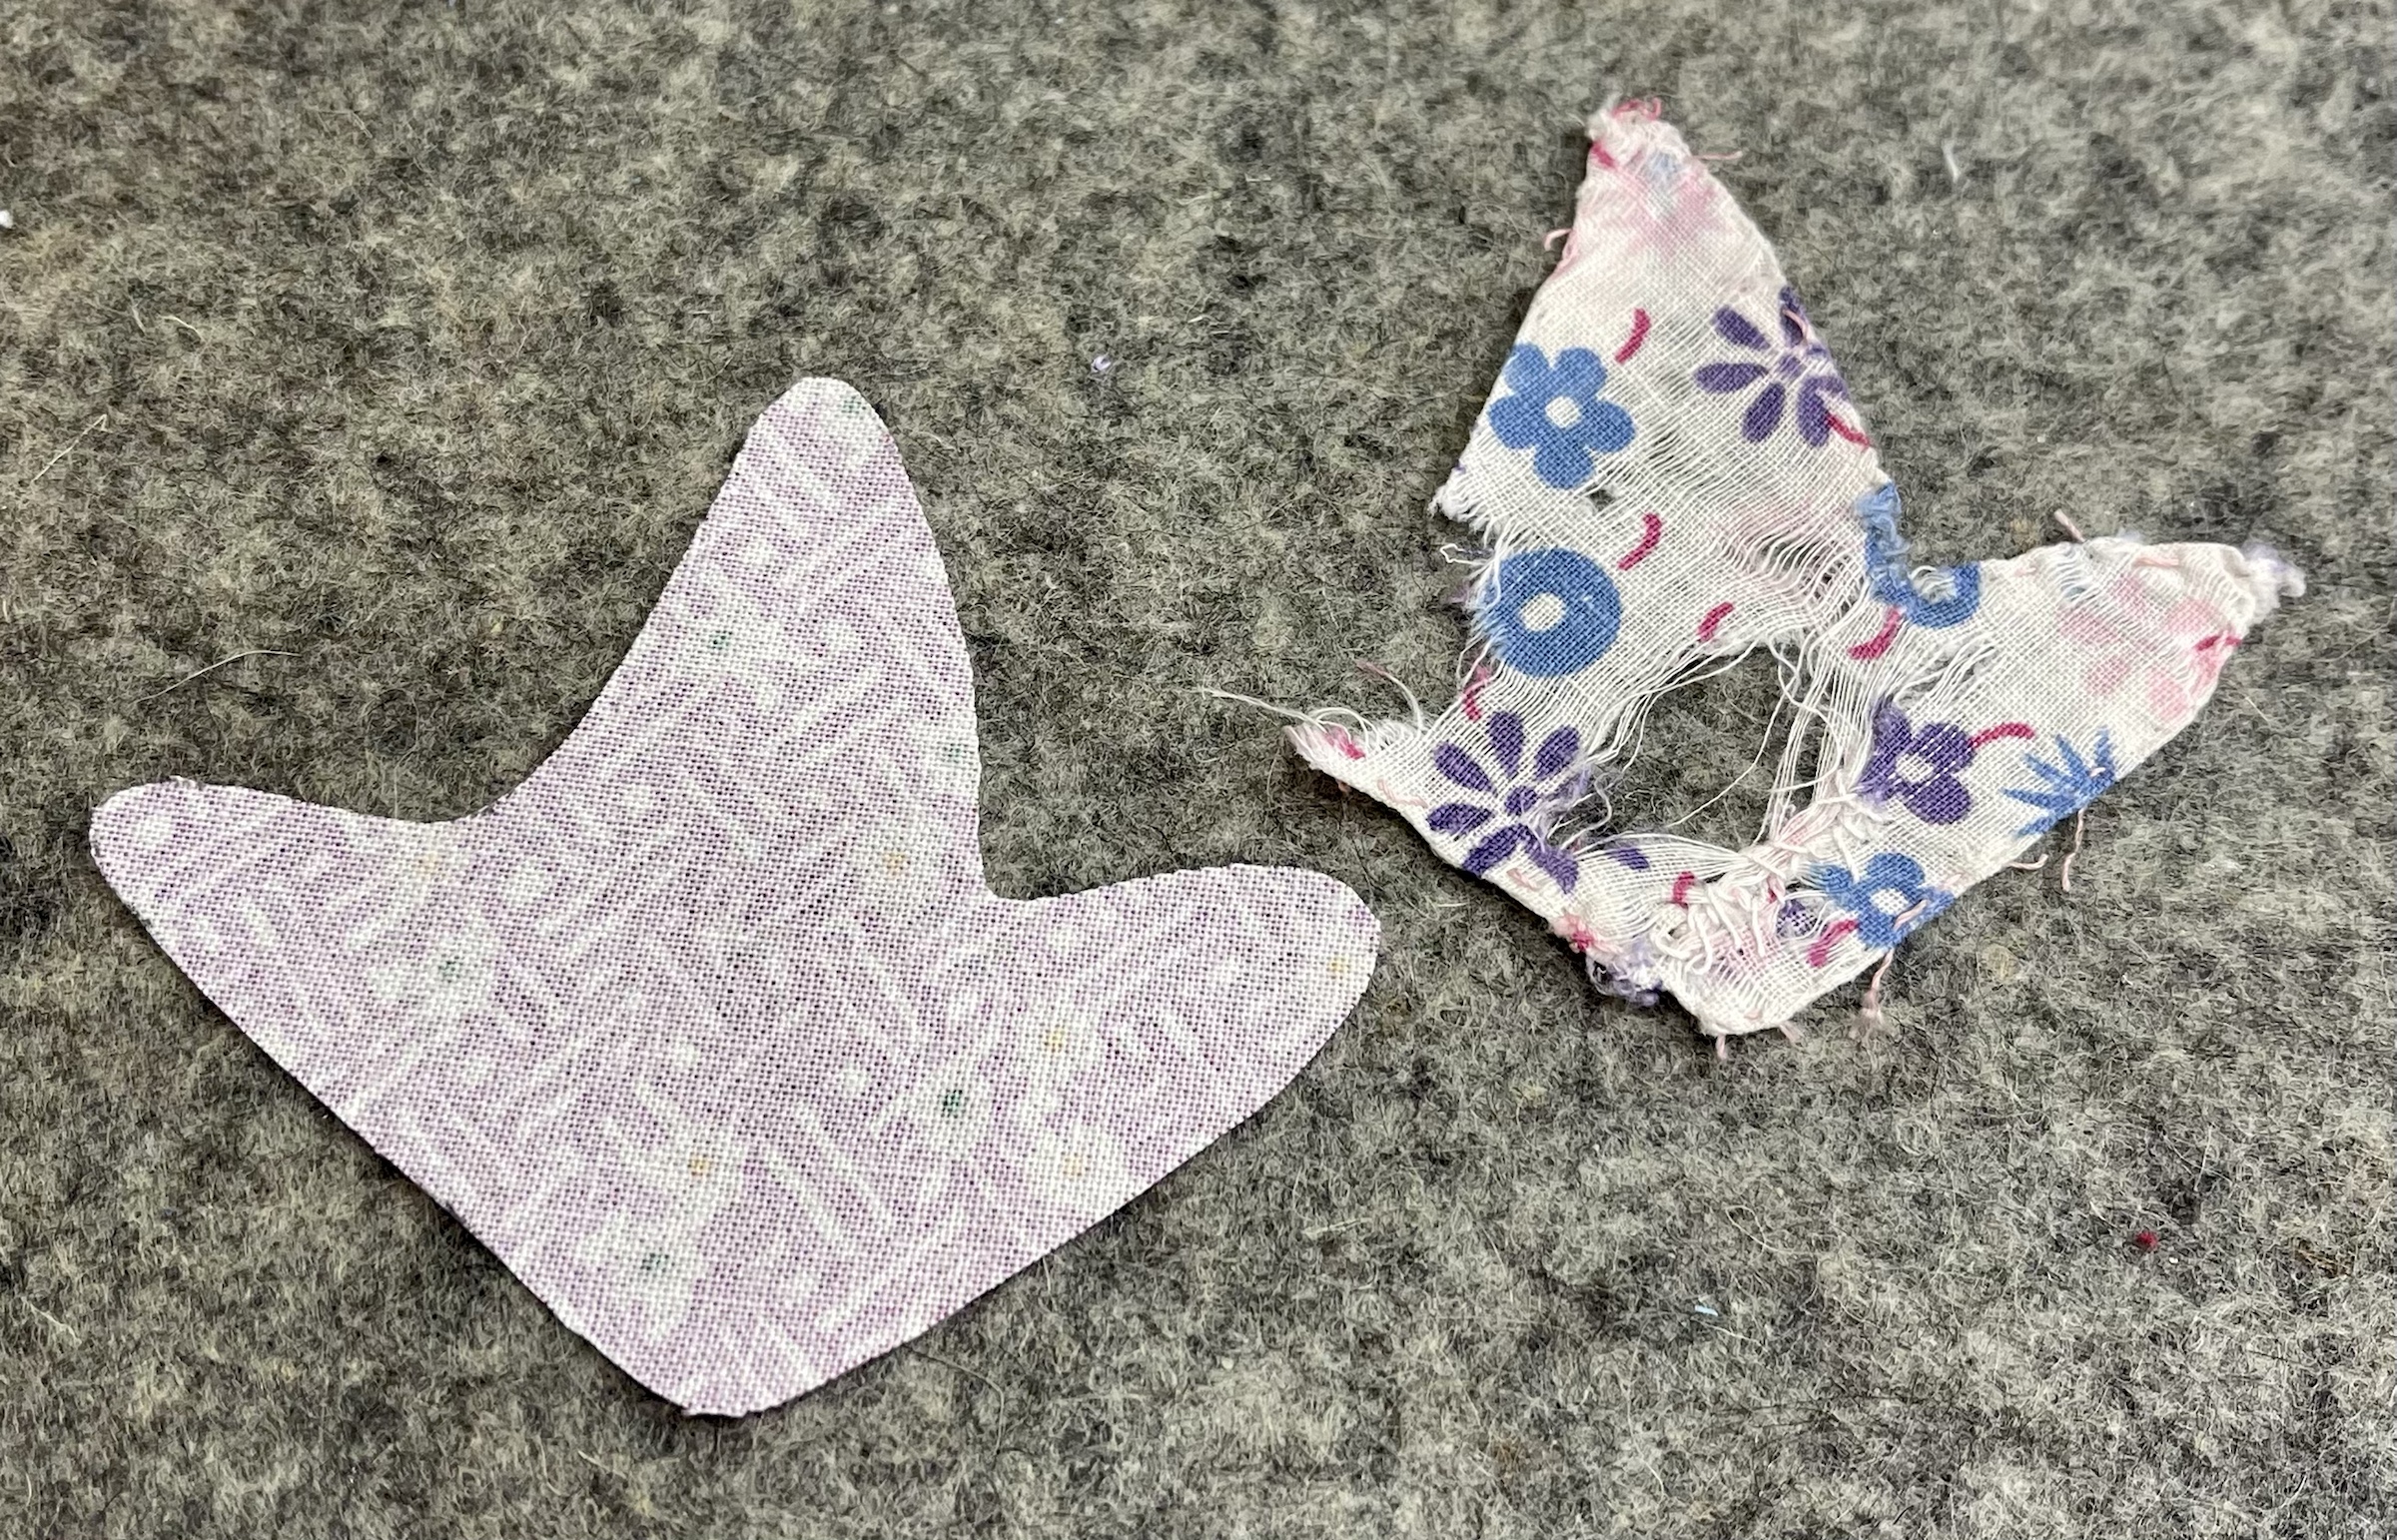
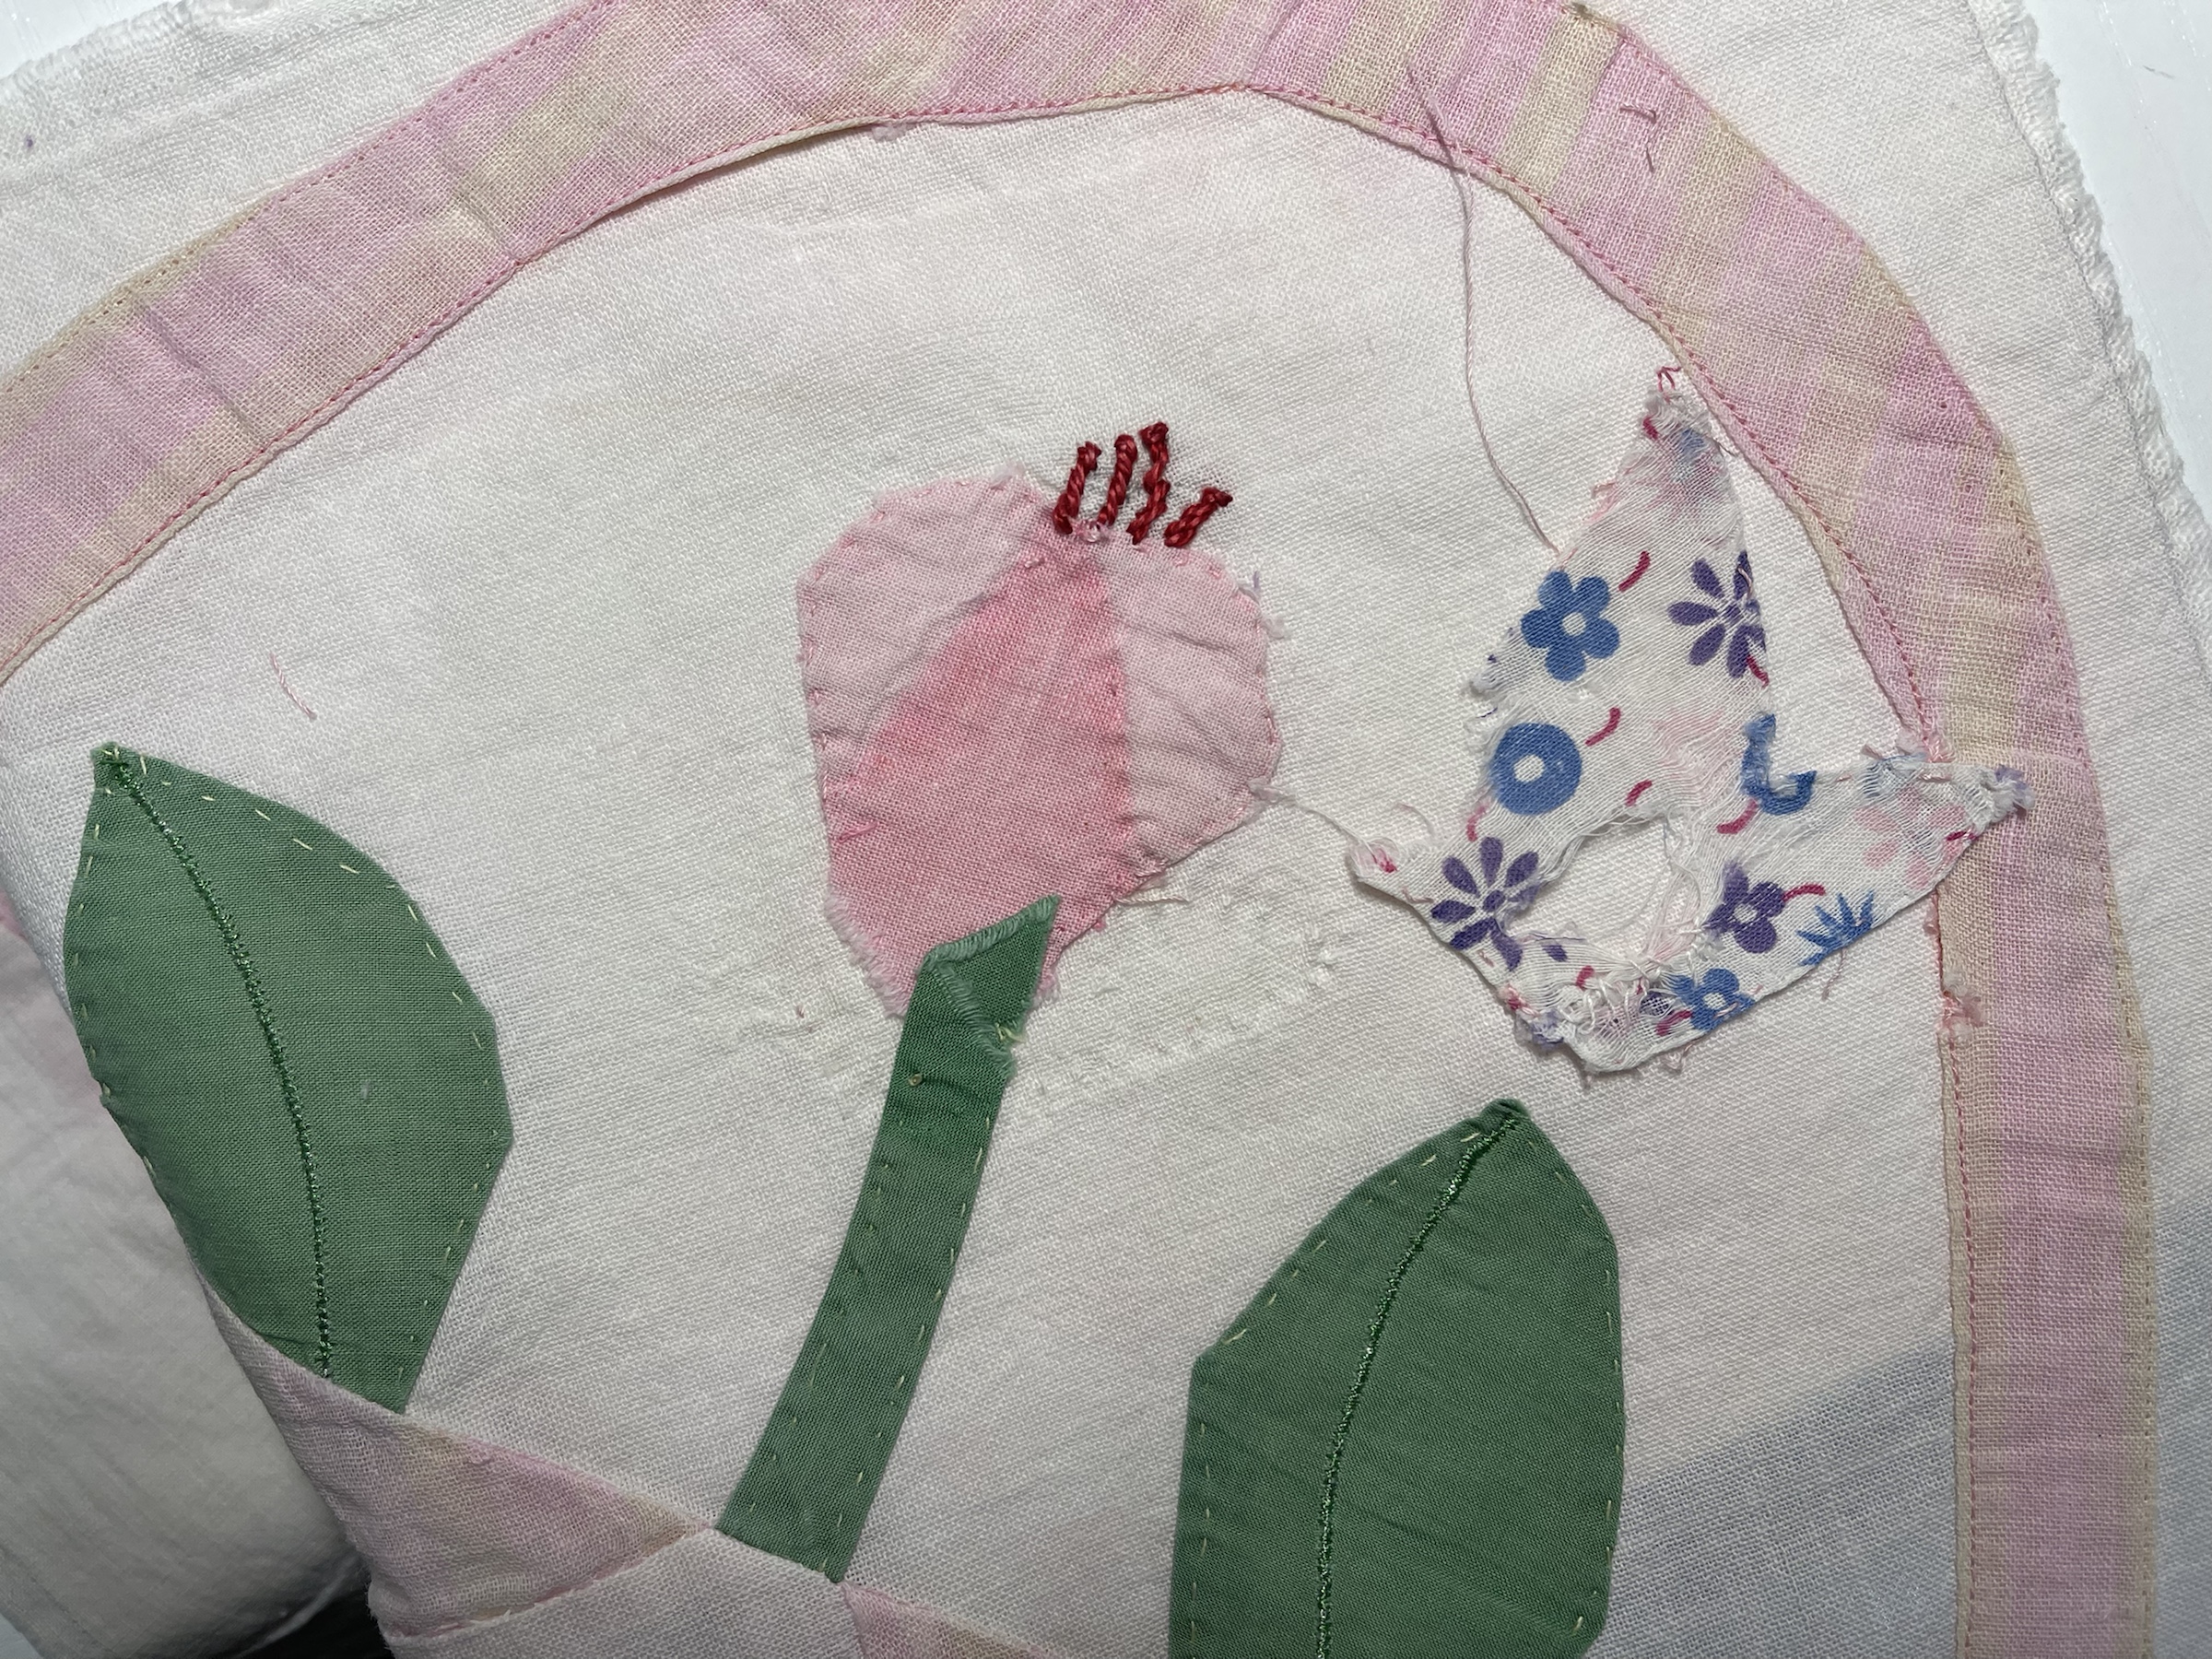
I had initially thought of using the wrong side of this fabric but:

But after seeing the right side of the fabric sitting on the block, I decided it looked best. I used a machine applique stitch over the raw edges to secure this new piece of the blossom in place.
Many more blocks are patiently waiting their turn for a “make-over”, stay tuned because over the next few days/weeks I will document my progress with additional blog posts. Oh how I do love working with old things to bring them to life again!
Blessings to all and happy quilting, Rhonda


Hi Rhonda – I am new to your blog and found you cruising around on Pinterest. Once I started looking, I couldn’t quit! My dear girl, you are amazing in your dedication to vintage, handmade fabric articles. I admire that so much. Somehow these lovely pieces speak to the heart of some of us.
I volunteer at a thrift store and was seeing beautiful hankies being tossed into ‘salvage’ (another word for garbage). I couldn’t bear it so I started scooping them, washing and ironing them, keeping them safe for sale but not really knowing how to promote them. Finally, this past January, I included them in a bridal display in various ways. The first day I sold 96 to one customer!!! Since then, probably another 30 were purchased by others. Yippee! I was beyond myself – mostly because they were admired and rescued.
In my travels in your blog, I saw your 2 quilt top projects using eyelet, embroidered and crocheted items. That is unbelievable to me. Your work is impeccable and such a creative way to salvage beautiful things! I know how difficult making quilt tops is, and I would never attempt it. Sewing gives me a pain in the neck. Kudos to you.
So, I continue on with my ‘rescue’. Now that I have your recipe for washing these lovelies, I will tackle tougher items and have greater success. Many, many thanks. Bless you for your vision.
LikeLiked by 1 person
wonderful adventure! You have such courage and vision…. I love seeing your email in my inbox, “eye candy”!!!!!
LikeLiked by 1 person
While reading your posts, I can feel your enthusiasm. I love it. It is so inspiring. Thanks for sharing. Keep on keeping on.
LikeLiked by 1 person
Wow, you can really see what a great job you did of cleaning out all the stains in these up close pictures.
LikeLiked by 1 person
I would like to join this group.
LikeLiked by 1 person
Thanks but this is not a class but rather a blog post about one of my new projects. ❤️🙂
LikeLike