

My “Machine Embroidery Ornament Construction technique”.
It’s June so why am I posting about Christmas ornaments? It’s never too soon to begin creating personalized ornaments. Think gifts for family, friends, teachers etc. etc. If you start now you’ll avoid the stress of making sure you have everyone (including your own Christmas tree) covered when the holidays arrive.
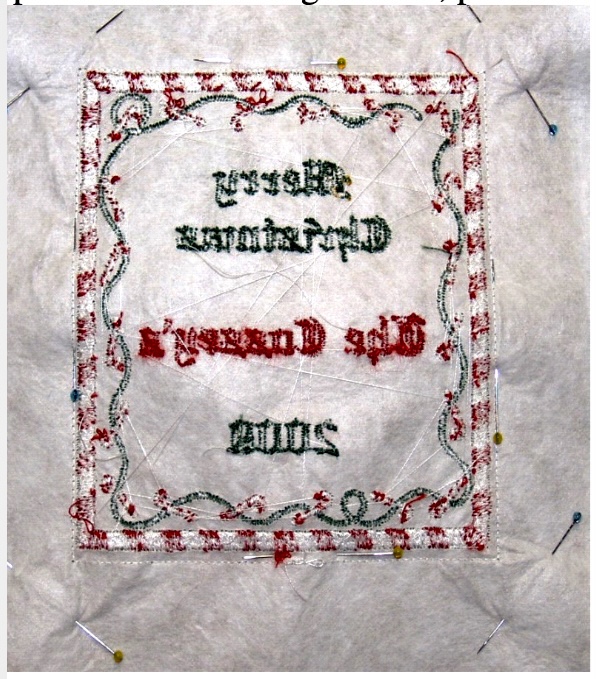
I made this ornament in 2009 for a very special family.

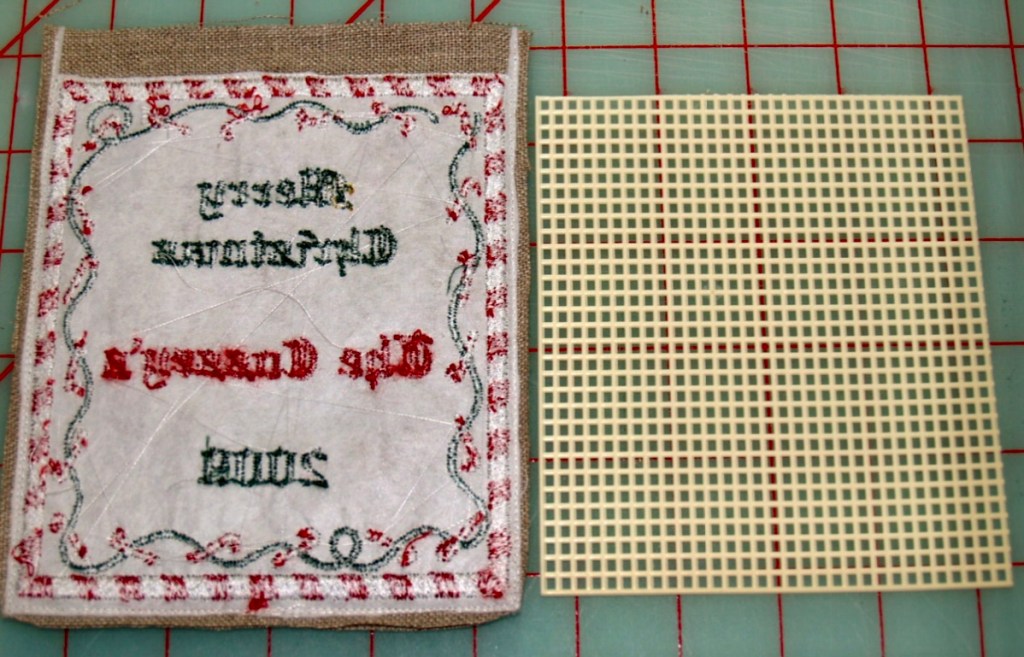
I’ve got both the front (the wreath) and the back stitched. I used a nice white medium weight Cut-Away embroidery stabilizer with my natural linen fabric. Each of the two separate embroidery designs measure approximately 5” square. For those of you new to stabilizers, for machine embroidery the two basic kinds are Tear-Away and Cut Away. Tear-Away is removed when the design has been stitched out, Cut-Away does not tear, you leave behind whatever you deem necessary. In this case I will leave quite a bit of the stabilizer as detailed in a picture or two below.
I use Embird software to manipulate (think increasing, decrease etc.) the commercially produced embroidery designs. Embird also gives me the option of adding a basting stitch around the entire design. I love this feature. My machine, a Janome 11000 does a fabulous job stitching out the designs.
To the best of my remembering, these are designs from Embroidery Library, https://www.emblibrary.com/el/Default.aspx
Yes! I just had time to do a bit of searching and here they are:
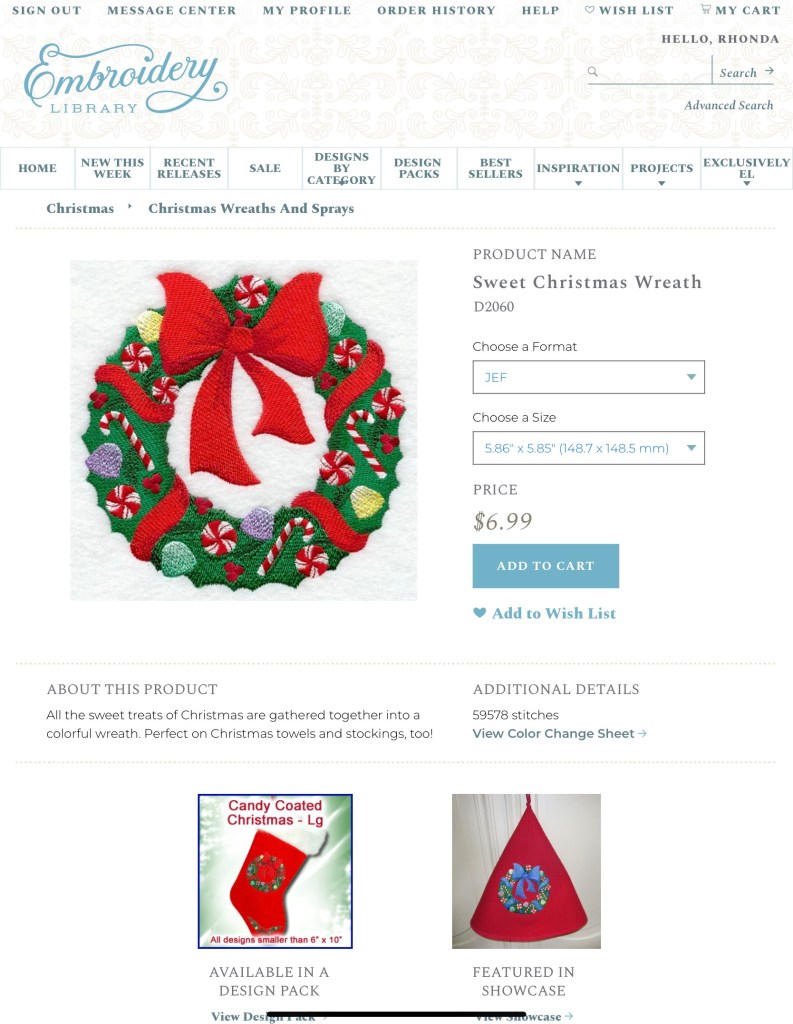
And
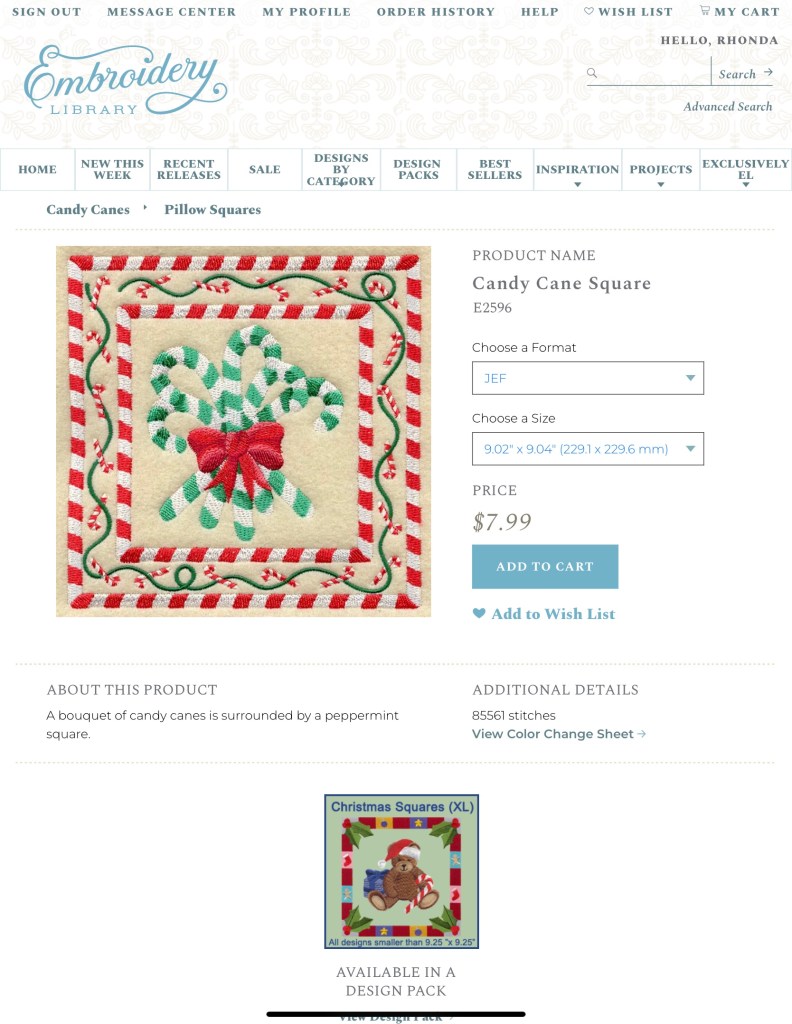
You can see I only used the two outermost borders from the picture above, the sweet candy canes with the green ribbon and the red/white banded border.
Matching all four corners and each side, top and bottom basting stitches, pin securely. Using a zipper foot, stitch around both sides and bottom of the design. ***Do not stitch across the top of the design. I used the basing stitch line as my guide for my sewing machine stitching. Why do I suggest a zipper foot? If you have embellished your designs with beading, trinkets, etc. and these embellishments are near the design outer edges, a standard sewing machine foot may be hampered by these embellishments. A zipper foot will allow you to stitch very very close without hitting an add-on.

Begin and end your stitching 1⁄2” above the design top as shown by the blue arrows above.
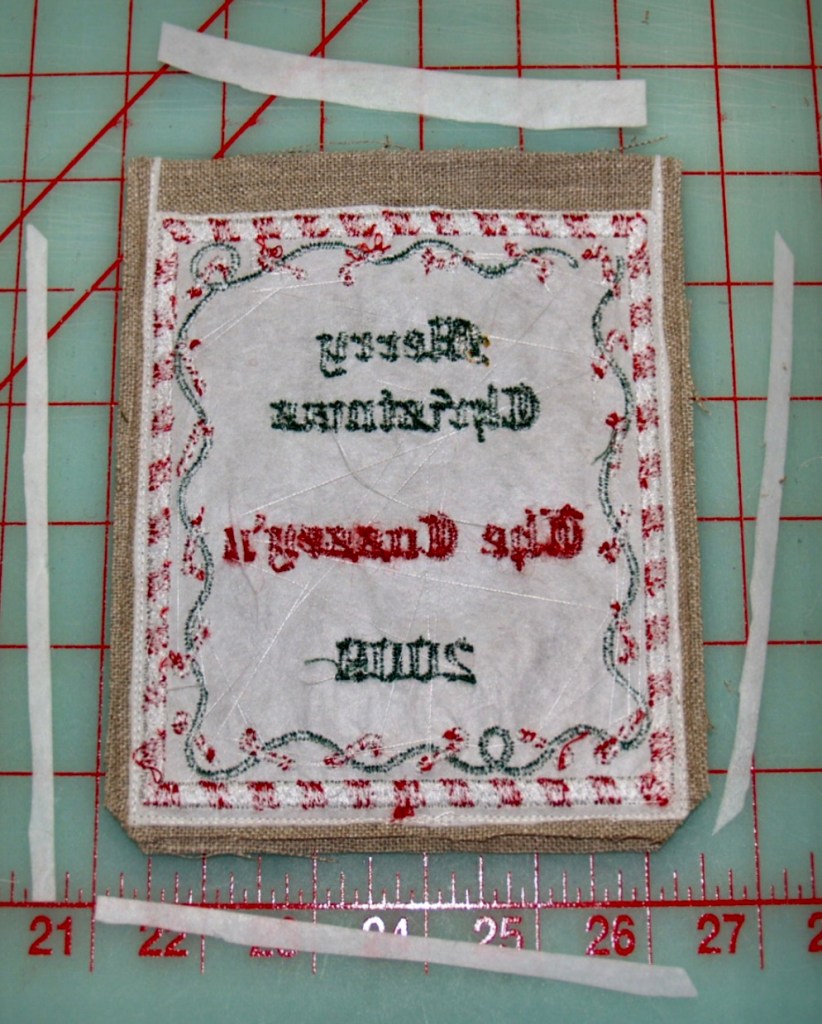
With sewing machine stitching completed, trim top of ornament 1⁄2” from basting stitches and both sides and bottom 1⁄4” from basting stitches. Your ornament will look similar to above.
Trim each bottom corner as shown above. When you trim the corners, use extra care so as not to cut through the seam you just sewed. On both the front and the back, trim away the white stabilizing material as shown above.
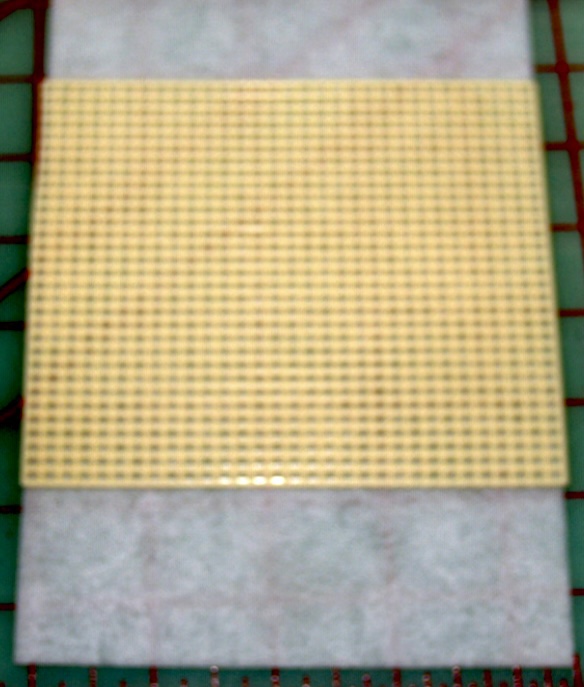
To provide stability, you will need a firm and lightweight form inside your ornament. I use several different things to accomplish this. In this example I am using plastic needlepoint canvas. (In the example at the end of this blog post you’ll note I used a more sturdy product. Use what makes you happy.) The needlepoint canvas is inexpensive, easy to cut and flexible. Always cut the inside pieces 1⁄2” smaller than your design. You need to allow room for the seam allowances once your turn your design right sides out.
In the above picture I’m showing you the ornament before I “turn” it. As I said before, it measures approximately 5” square so I cut my plastic needlepoint canvas to 4 1/2” square.
Wrap your plastic needlepoint canvas in batting. You will need several thickness of batting in order to properly fill out your ornament once the canvas and batting are inserted inside. How many layers of batting around your center is up to you. I’m sorry the next picture is so blurry but you get the idea:
So to get started on the next step, using a great deal of care, slowly turn your ornament right sides out. You will need to use a blunt object to get the bottom corners to look good, just remember to never use force against any of the corners or seams.
Slightly squeeze the sides of your batting wrapped plastic canvas together very gently and insert into the ornament through the top. Use caution so as not to catch any of the threads from either the machine embroidery or the beading thread if you embellished either/or the front or back.
This step will take time, don’t hurry. Towards the end, in order to get the wrapped plastic canvas completely to the bottom of the ornament, you will need to “work it down” until the canvas is securely along the bottom stitched seam.

Here’s a picture of how things should look once you’ve inserted the batting/canvas:

Fold the front and back top pieces down into the ornament and whip stitch into place. Leave at minimum 1⁄4” – 1⁄2” at each side to accommodate the cording that will be stitched to all sides.
Here’s what your ornament top will look like when your hand stitching across the top is complete:
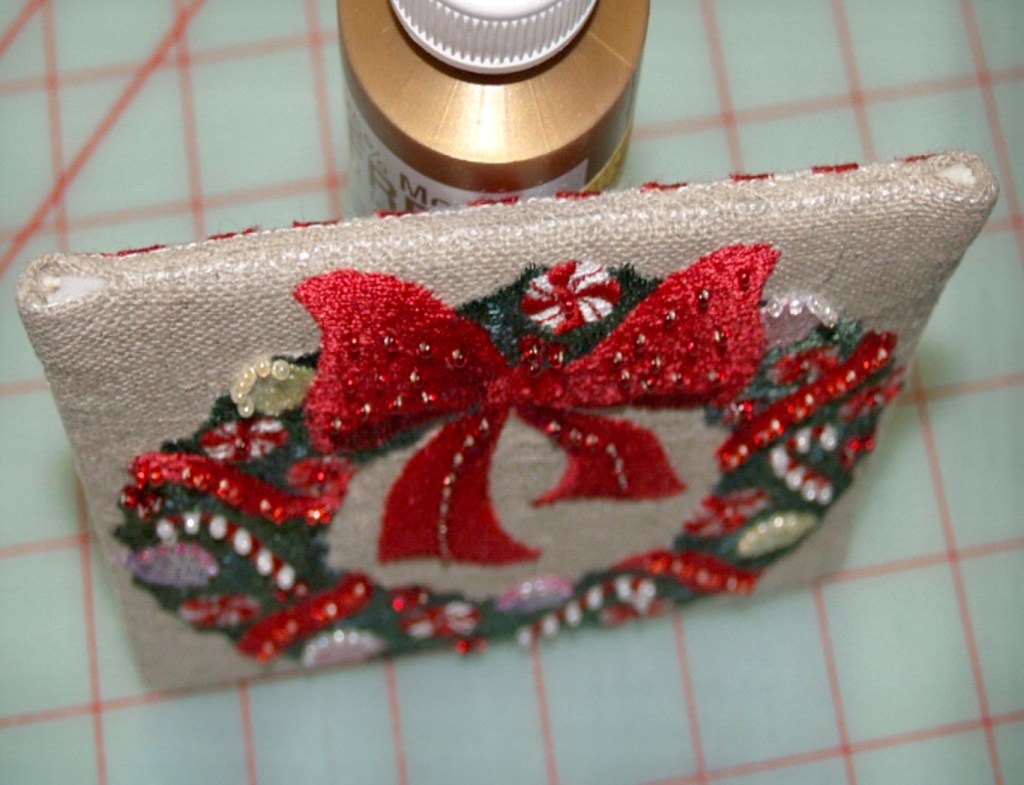
Do you notice that my hand stitching does not go all the way to the end on either the right or the left side of the top?

You need to leave two openings for the cording. When working with this cording, always remember to tape the cording before cutting!!!!!
Insert one end of the cording into the top left corner. You may need to use a narrow object to assist inserting the Corning into the opening. I use either the point of small scissors or tweezers, just use care so as to not poke a hole in the side, front or back of your ornament.
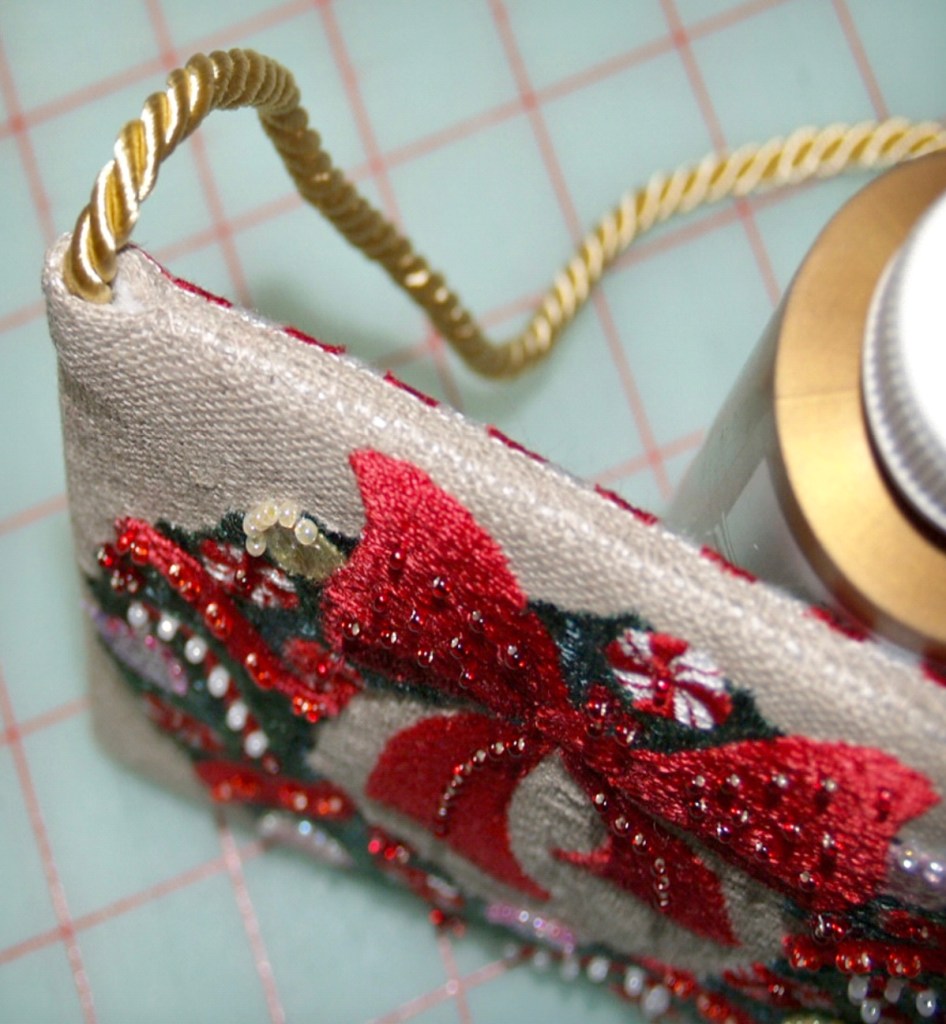
Following the outside seams, pin the cording in place as shown below:

Remember!!!! When you’ve pinned the cording round the ornament, you may want to continue the cording across the top once again to create a “hanger” for your project. Don’t cut the cording without first taping! This last taped end will then be tucked into the opening you created on the front top right of your ornament.
Using monofilament thread and following the curves of the cording, stitch the cording to the ornament on all four sides. There’s no picture of this because I learned that it’s difficult at best to photograph monofilament. If you’re going to bead the outside cording, that will be your final step, otherwise, congrats, you’re finished!!!
But remember way up above I mentioned using something more stable in the inside, something other than plastic needlepoint canvas? I will show you how to use foam core board inside your project.
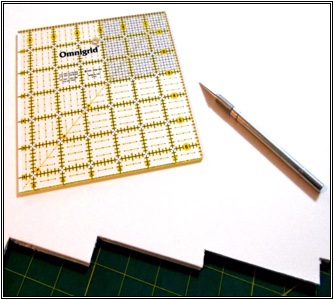
What do you need for this method? Foam Core Board purchased at any hobby/crafting store, an Exacto Knife, a mechanical pencil and a ruler/template with 90° corners.
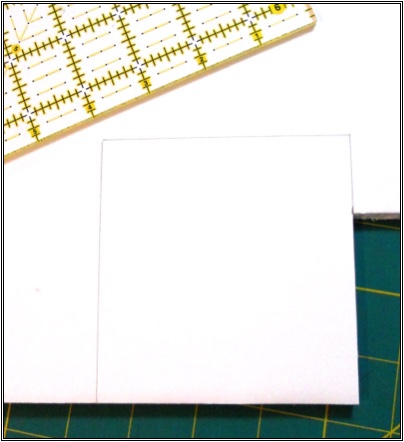
With my ruler/template I draw a 4 1/2” square.
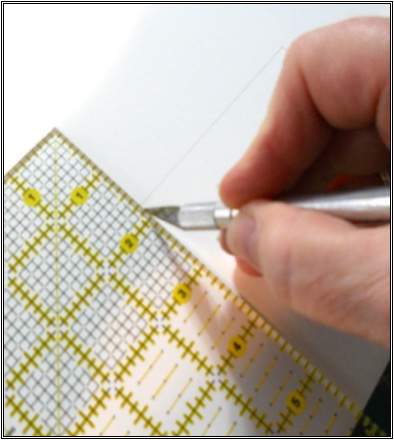
Using the Xacto Knife, carefully cut through all layers of the foam board. This will take several “swipes” with your knife, be patient. (Never use scissors or a rotary cutter on foam board!)
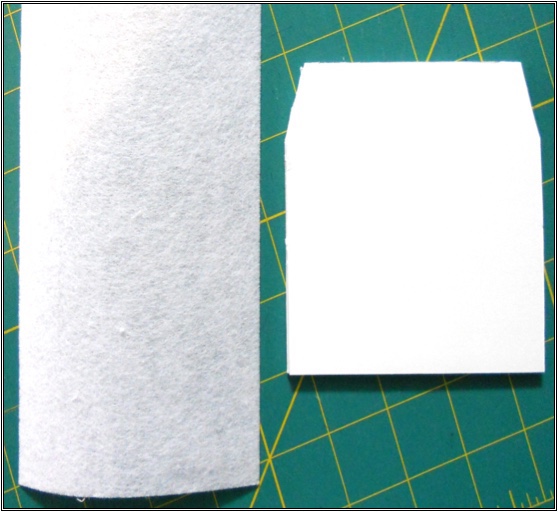
Once your Foam Core Board has been cut to size, as in the picture above, and with your Exacto Knife, carefully trim away the two top corners. What’s up with this step? Your Cording need space. If you don’t trim away the corners you will end up with thick lumps at each top corner.
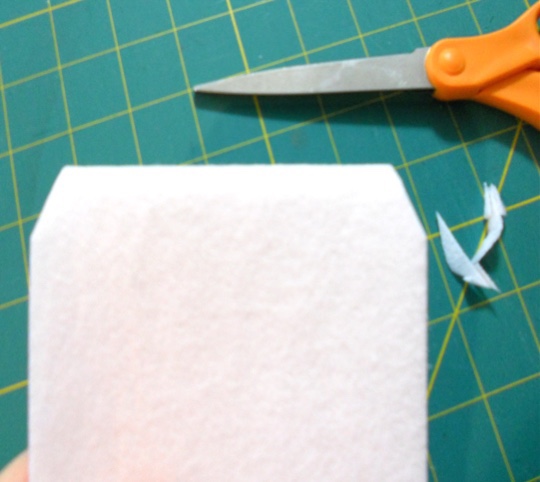
After your Foam Core Board has been wrapped sufficiently with batting, use scissors to trim the top two corners to the same size as the board inside.
Your next steps will follow exactly as up above, you will hand stitch the top closed but will remember to leave small openings at both the right And the left edges for the cording,
Now just a side note, I’ve talked about machine embroidery throughout this tutorial. Hand stitched embroidery pieces would be just as beautiful and would follow the same steps. The only thing than would not be present would be the machine embroidery stitched basting outline.
Are you excited to get started? Let me know if you have questions!
Blessings to all and happy ornament making!
Rhonda


Very good tutorial. You are so talented. Thank you.
LikeLiked by 1 person
Thank you dear friend! Sure do miss seeing you! ❤️
LikeLike