

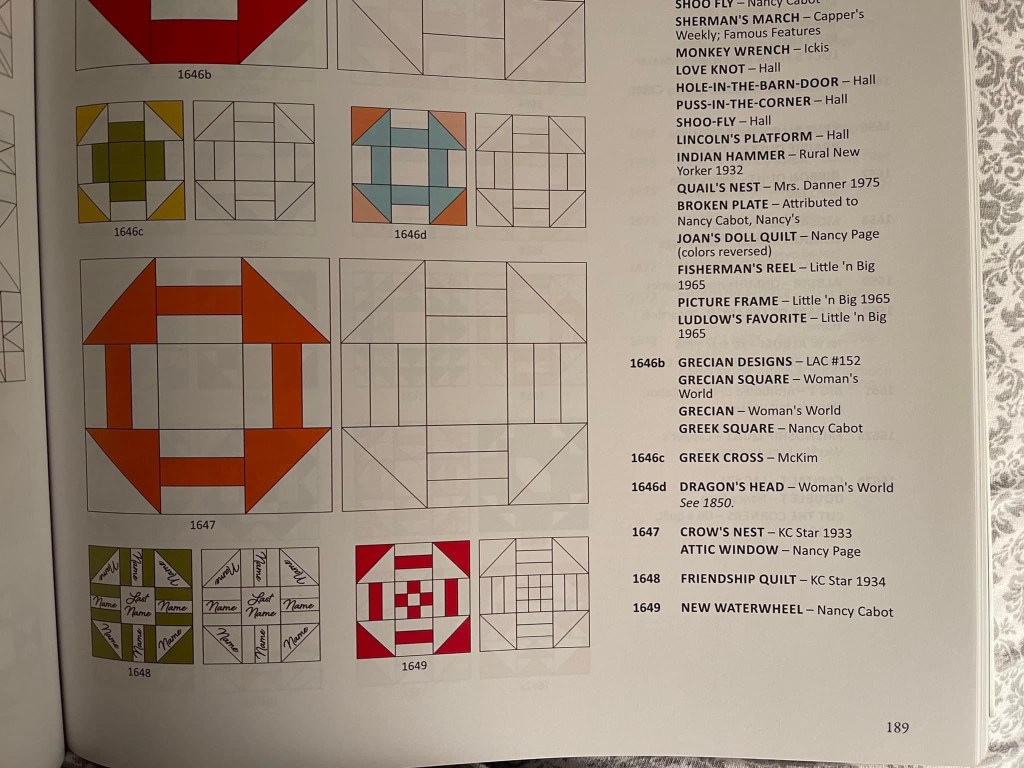
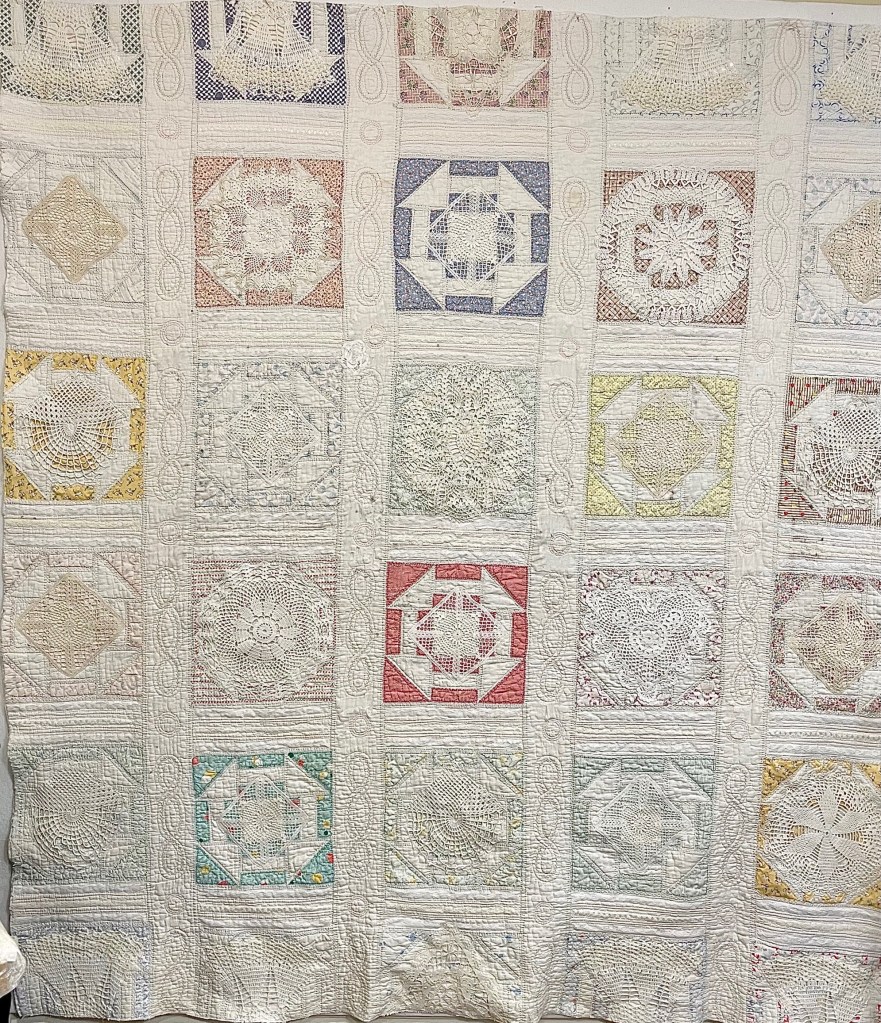
I’ve had this vintage quilt for about 2 years, offered it twice to my retreat groups for purchase but with no takers I decided to take on the “save” challenge myself. Checking Barbara Brackman’s Encyclopedia of Pieced Quilt Patterns I believe this pattern is called either Crow’s Nest or Attic Windows.
Want to know more about this amazing quilter/author?
Tap: Barbara Brachman Blog link
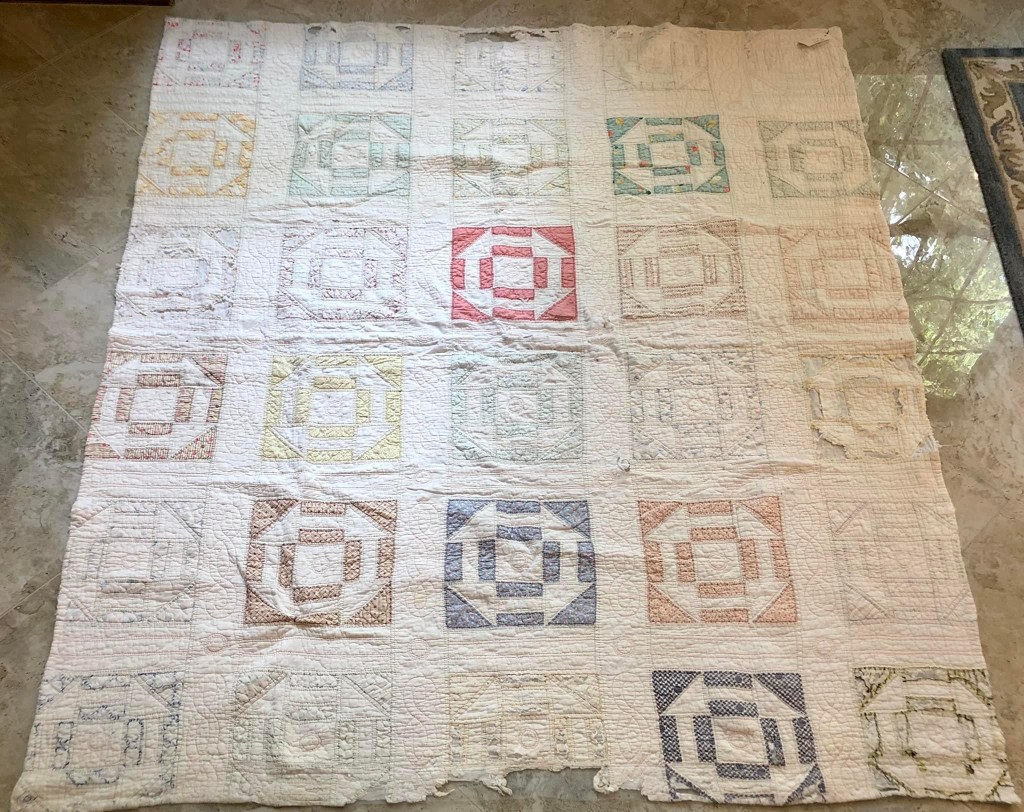
Freshly laundered this quilt measures 67×80.
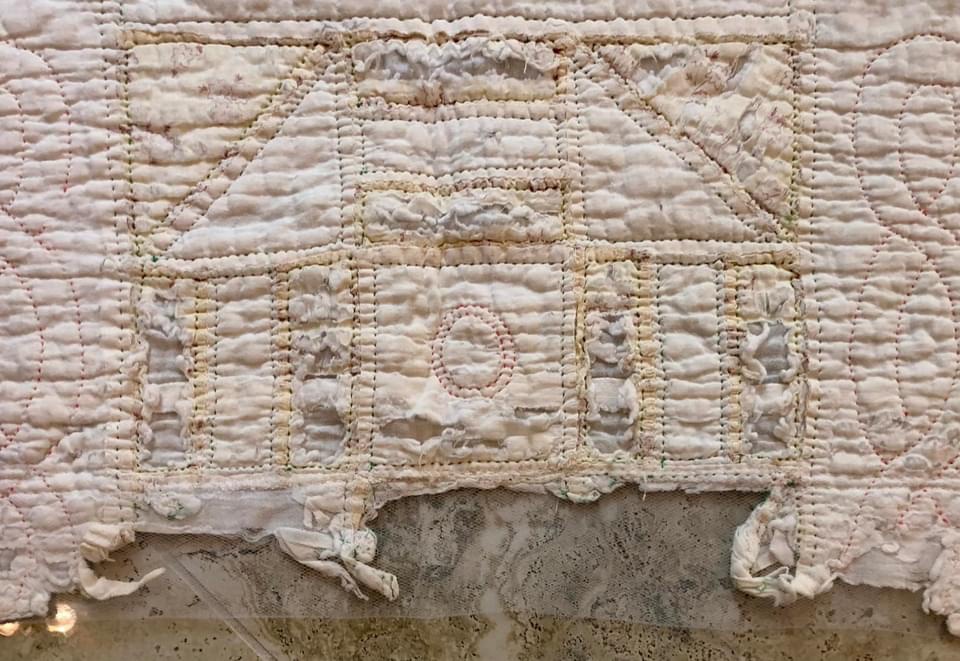
Yes, this is a very rough quilt…but it has potential! I encased the bad areas in tulle before sending this piece to a 2 day soak and the front load washer and dryer. I first contemplated repairing both the top and bottom edges but in the end I trimmed them away.
I am replacing fabric with some of my stash, most from the Marcus line named Aunt Grace. By machine applique stitching the raw edges of the fabric down to the quilt the bad or missing fabric areas of the quilt are quickly repaired.
This quilt will get miles and miles of machine stitching directly through all three layers. For this reason I chose Superior Threads So Fine color #401. This thread matches perfectly the solid slightly off white backing and quilt front fabric. It also has a mat (or not shiny) finish.
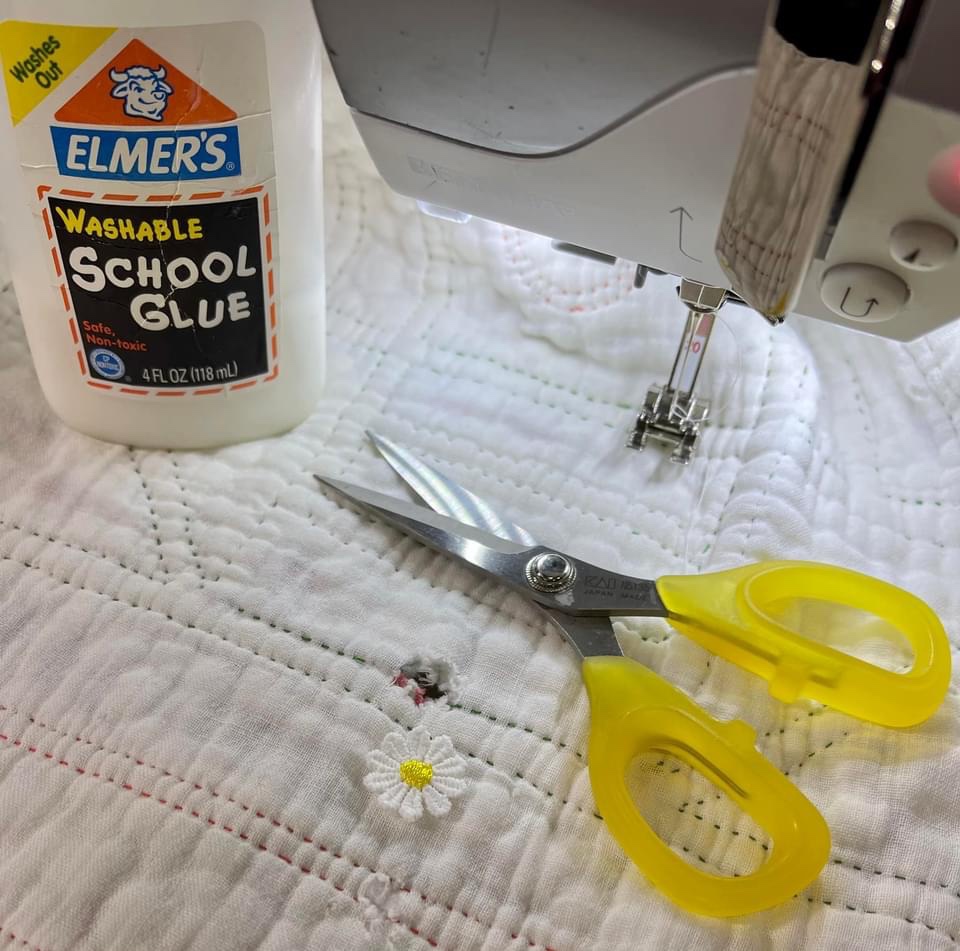
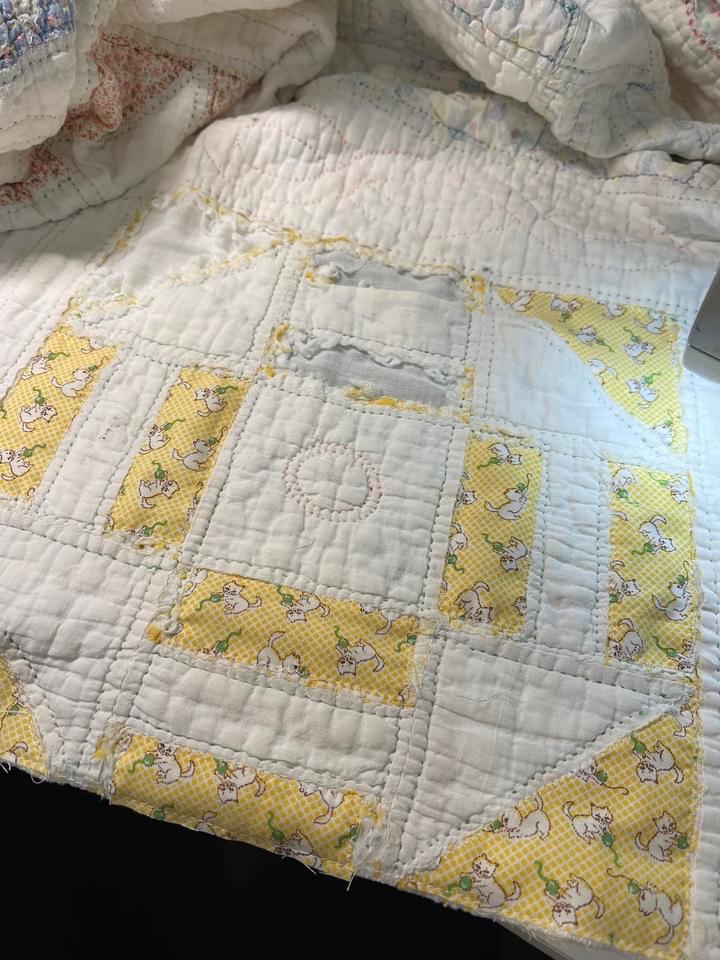
What to do about an index finger sized hole straight through the quilt? Elmer’s Glue and a commercially produced daisy flower will mask the hole from the back side.

The daisy is first glued into place, the glue is dried with an iron and then stitched in place, machine straight stitch. I will place a slightly larger “something” on the quilt front later.
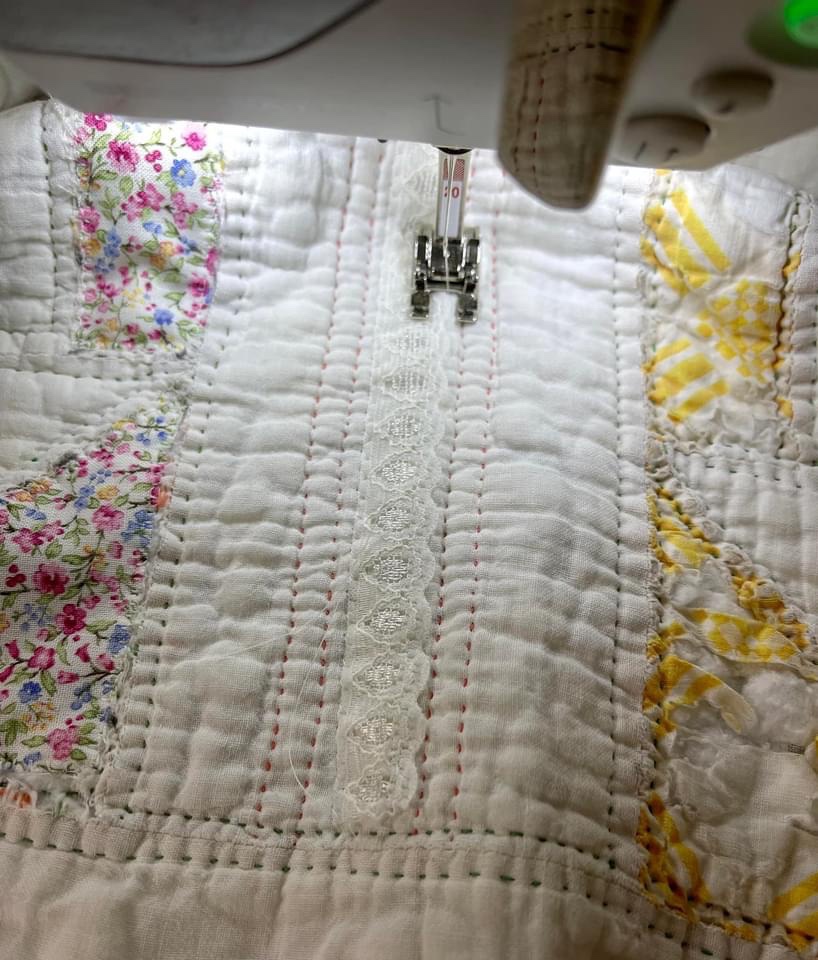
Lots and lots of vintage commercially produced flat trims/laces are up next. I machine stitched the trim in place, most often using a very small zig-zag.
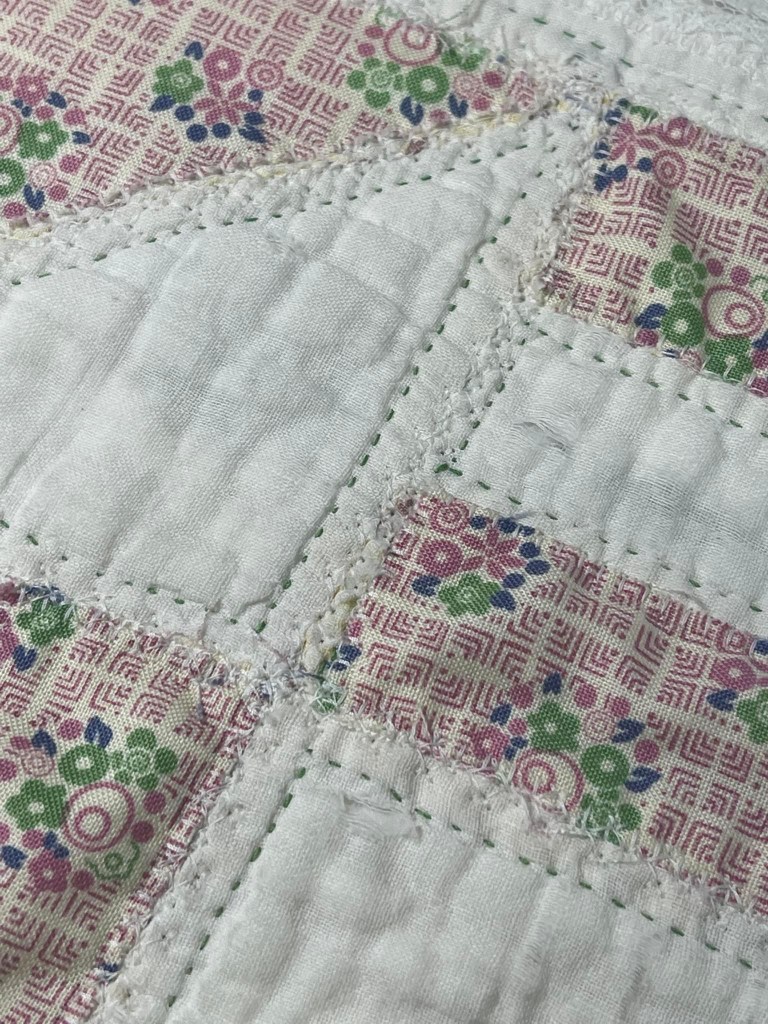
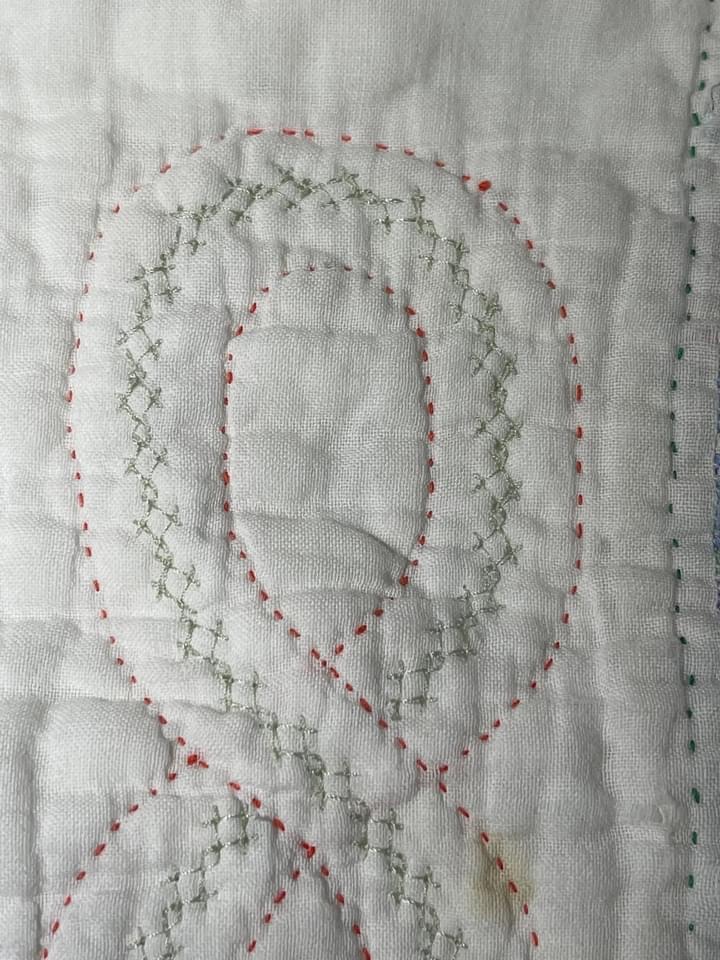
My quest to “save this vintage quilt” continues. I’ve secured EVERY single seam by stitching directly over the seam line with machine decorative stitches. Yes it took forever but well worth the effort. I like the soft feathery look this stitching created.
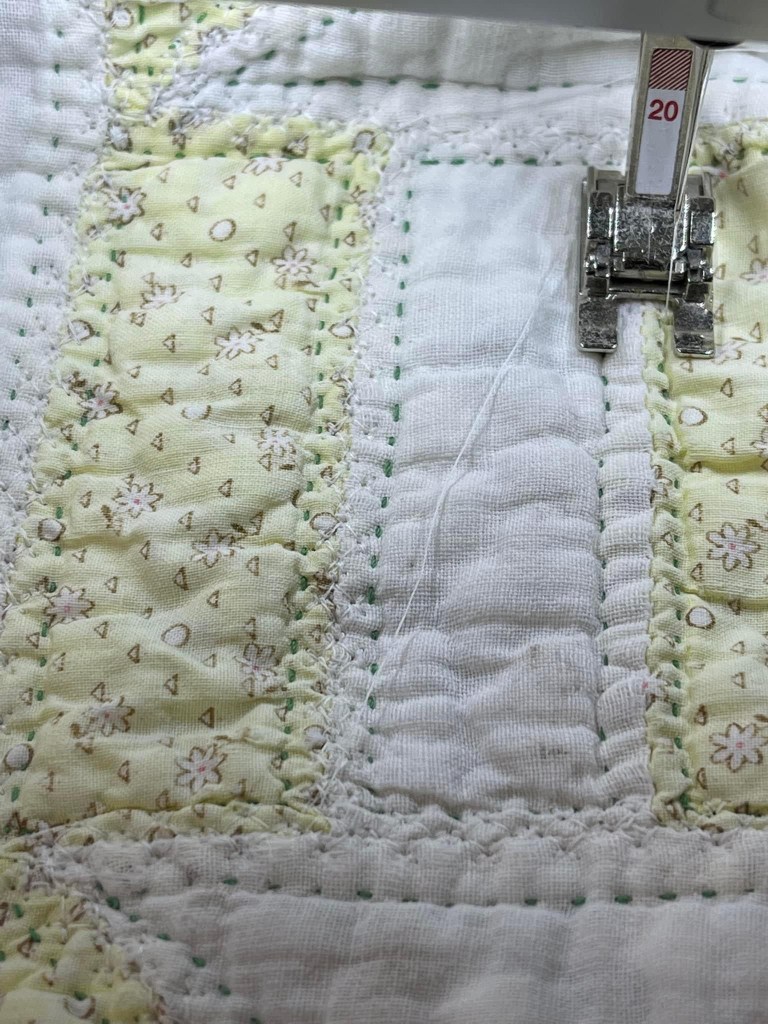
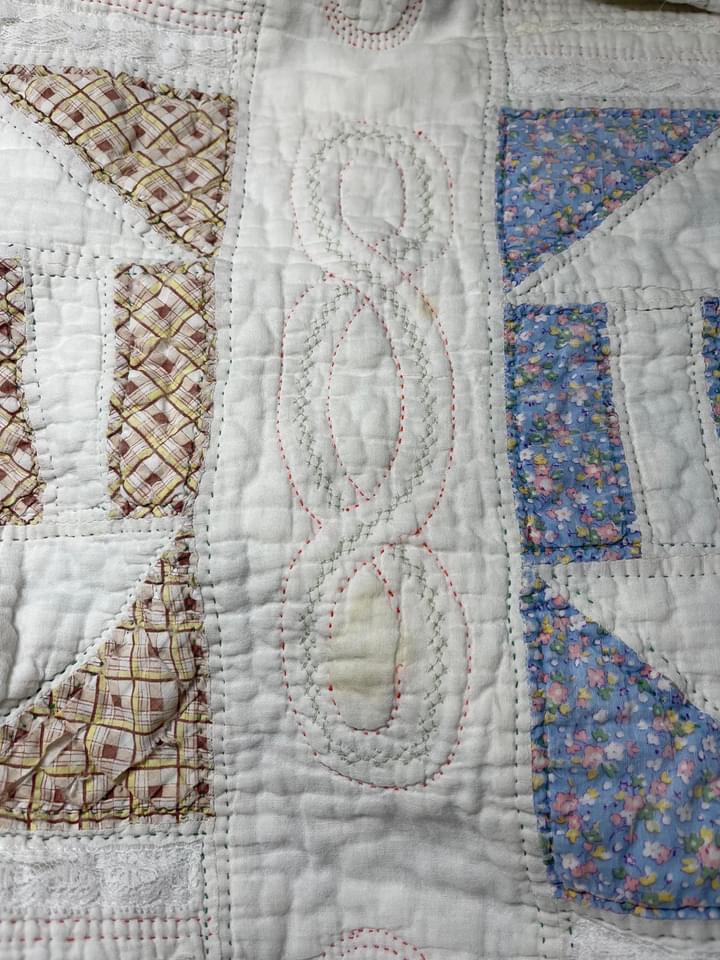
I also did a machine decorative stitch in the sashing swirls choosing a thread that matches the original green hand quilting found throughout the quilt.
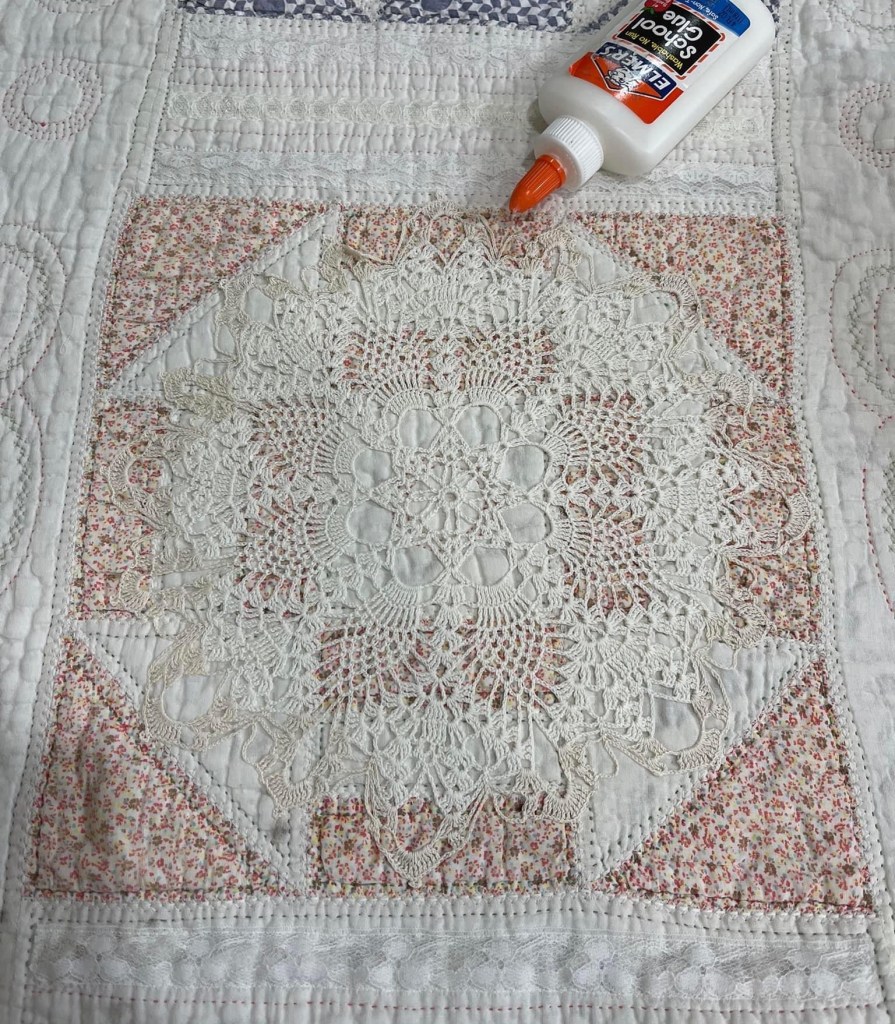
And now onto attaching (by machine) the vintage hand crocheted doilies, the really fun part. Each doily was secured to the quilt using Elmer’s Washable School Glue. I ran a bead of glue around the entire edge of the doily and then dry pressed it with my iron. Because this quilt will be laundered when I am finished, and because this glue is “washable” I know (with hands on experience) that no glue will remain in the finished quilt. If you were wanting to hand stitch the doily to the quilt, skip the glue and hold the doily in place with straight pins. Why? It is quite difficult to hand stitch through the dried glue.
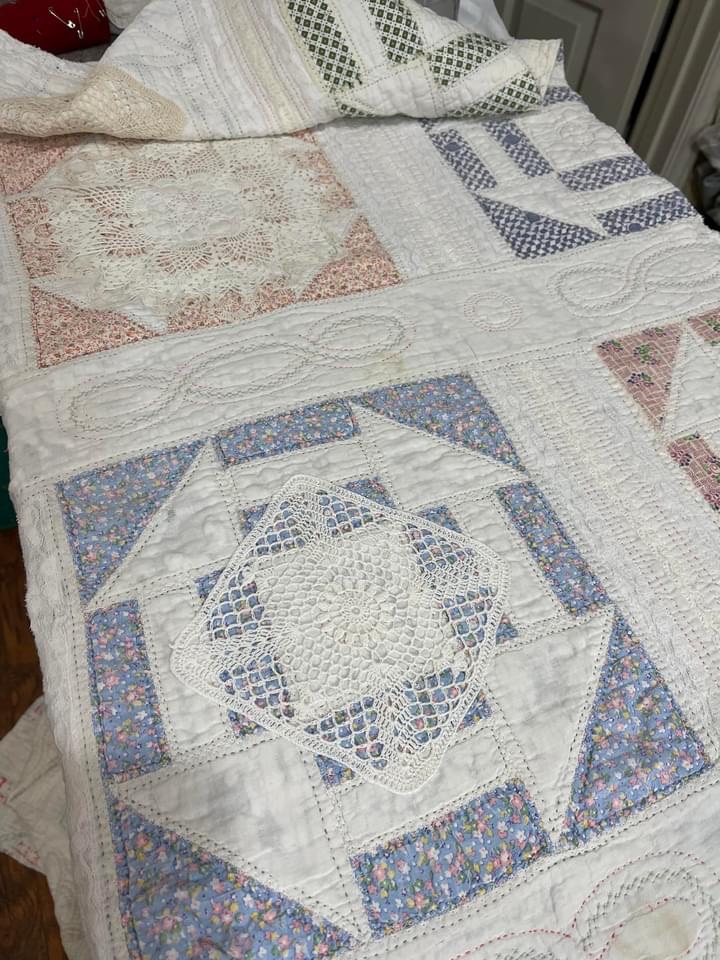
I have quite a few of these square crocheted doilies in both white and ivory. I’m planning to use these doilies on every other quilt block, randomly choosing between both colors.
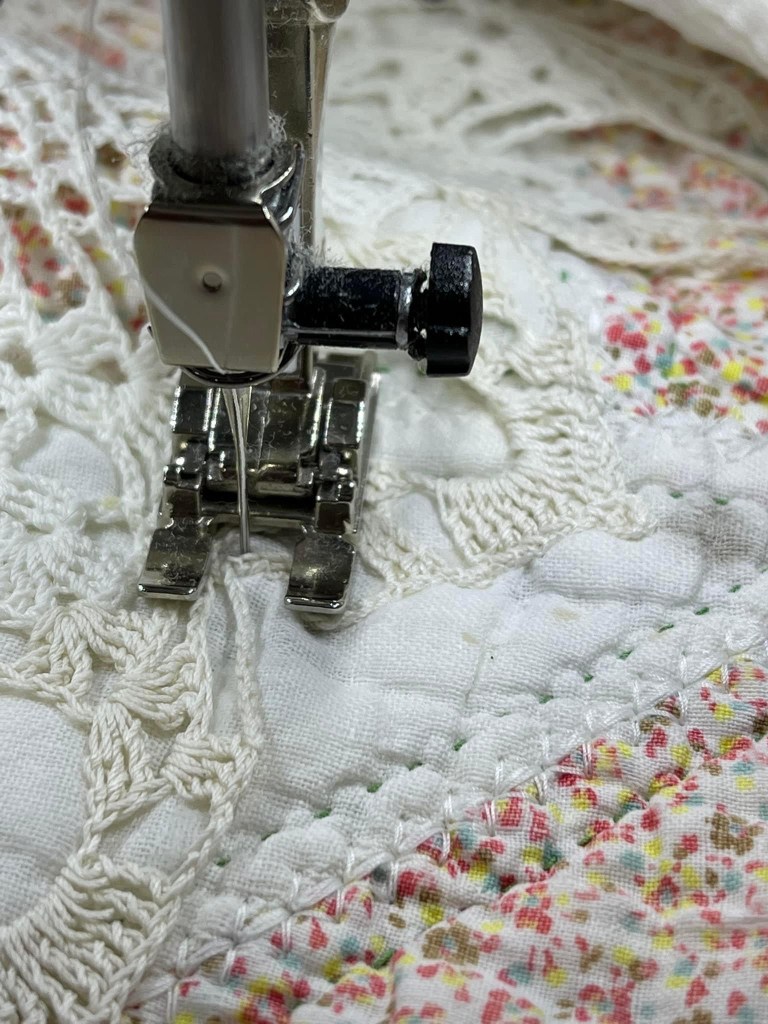
Here’s a close-up to show the doily being machine stitched to the quilt. I am sewing on a Bernina 550, the zig zag stitch set to a very narrow width.
This project is moving along quickly with the machine stitching and the added doilies giving it a wonderful soft look. Stay tuned for more info as I continue working with this lovely very old quilt.
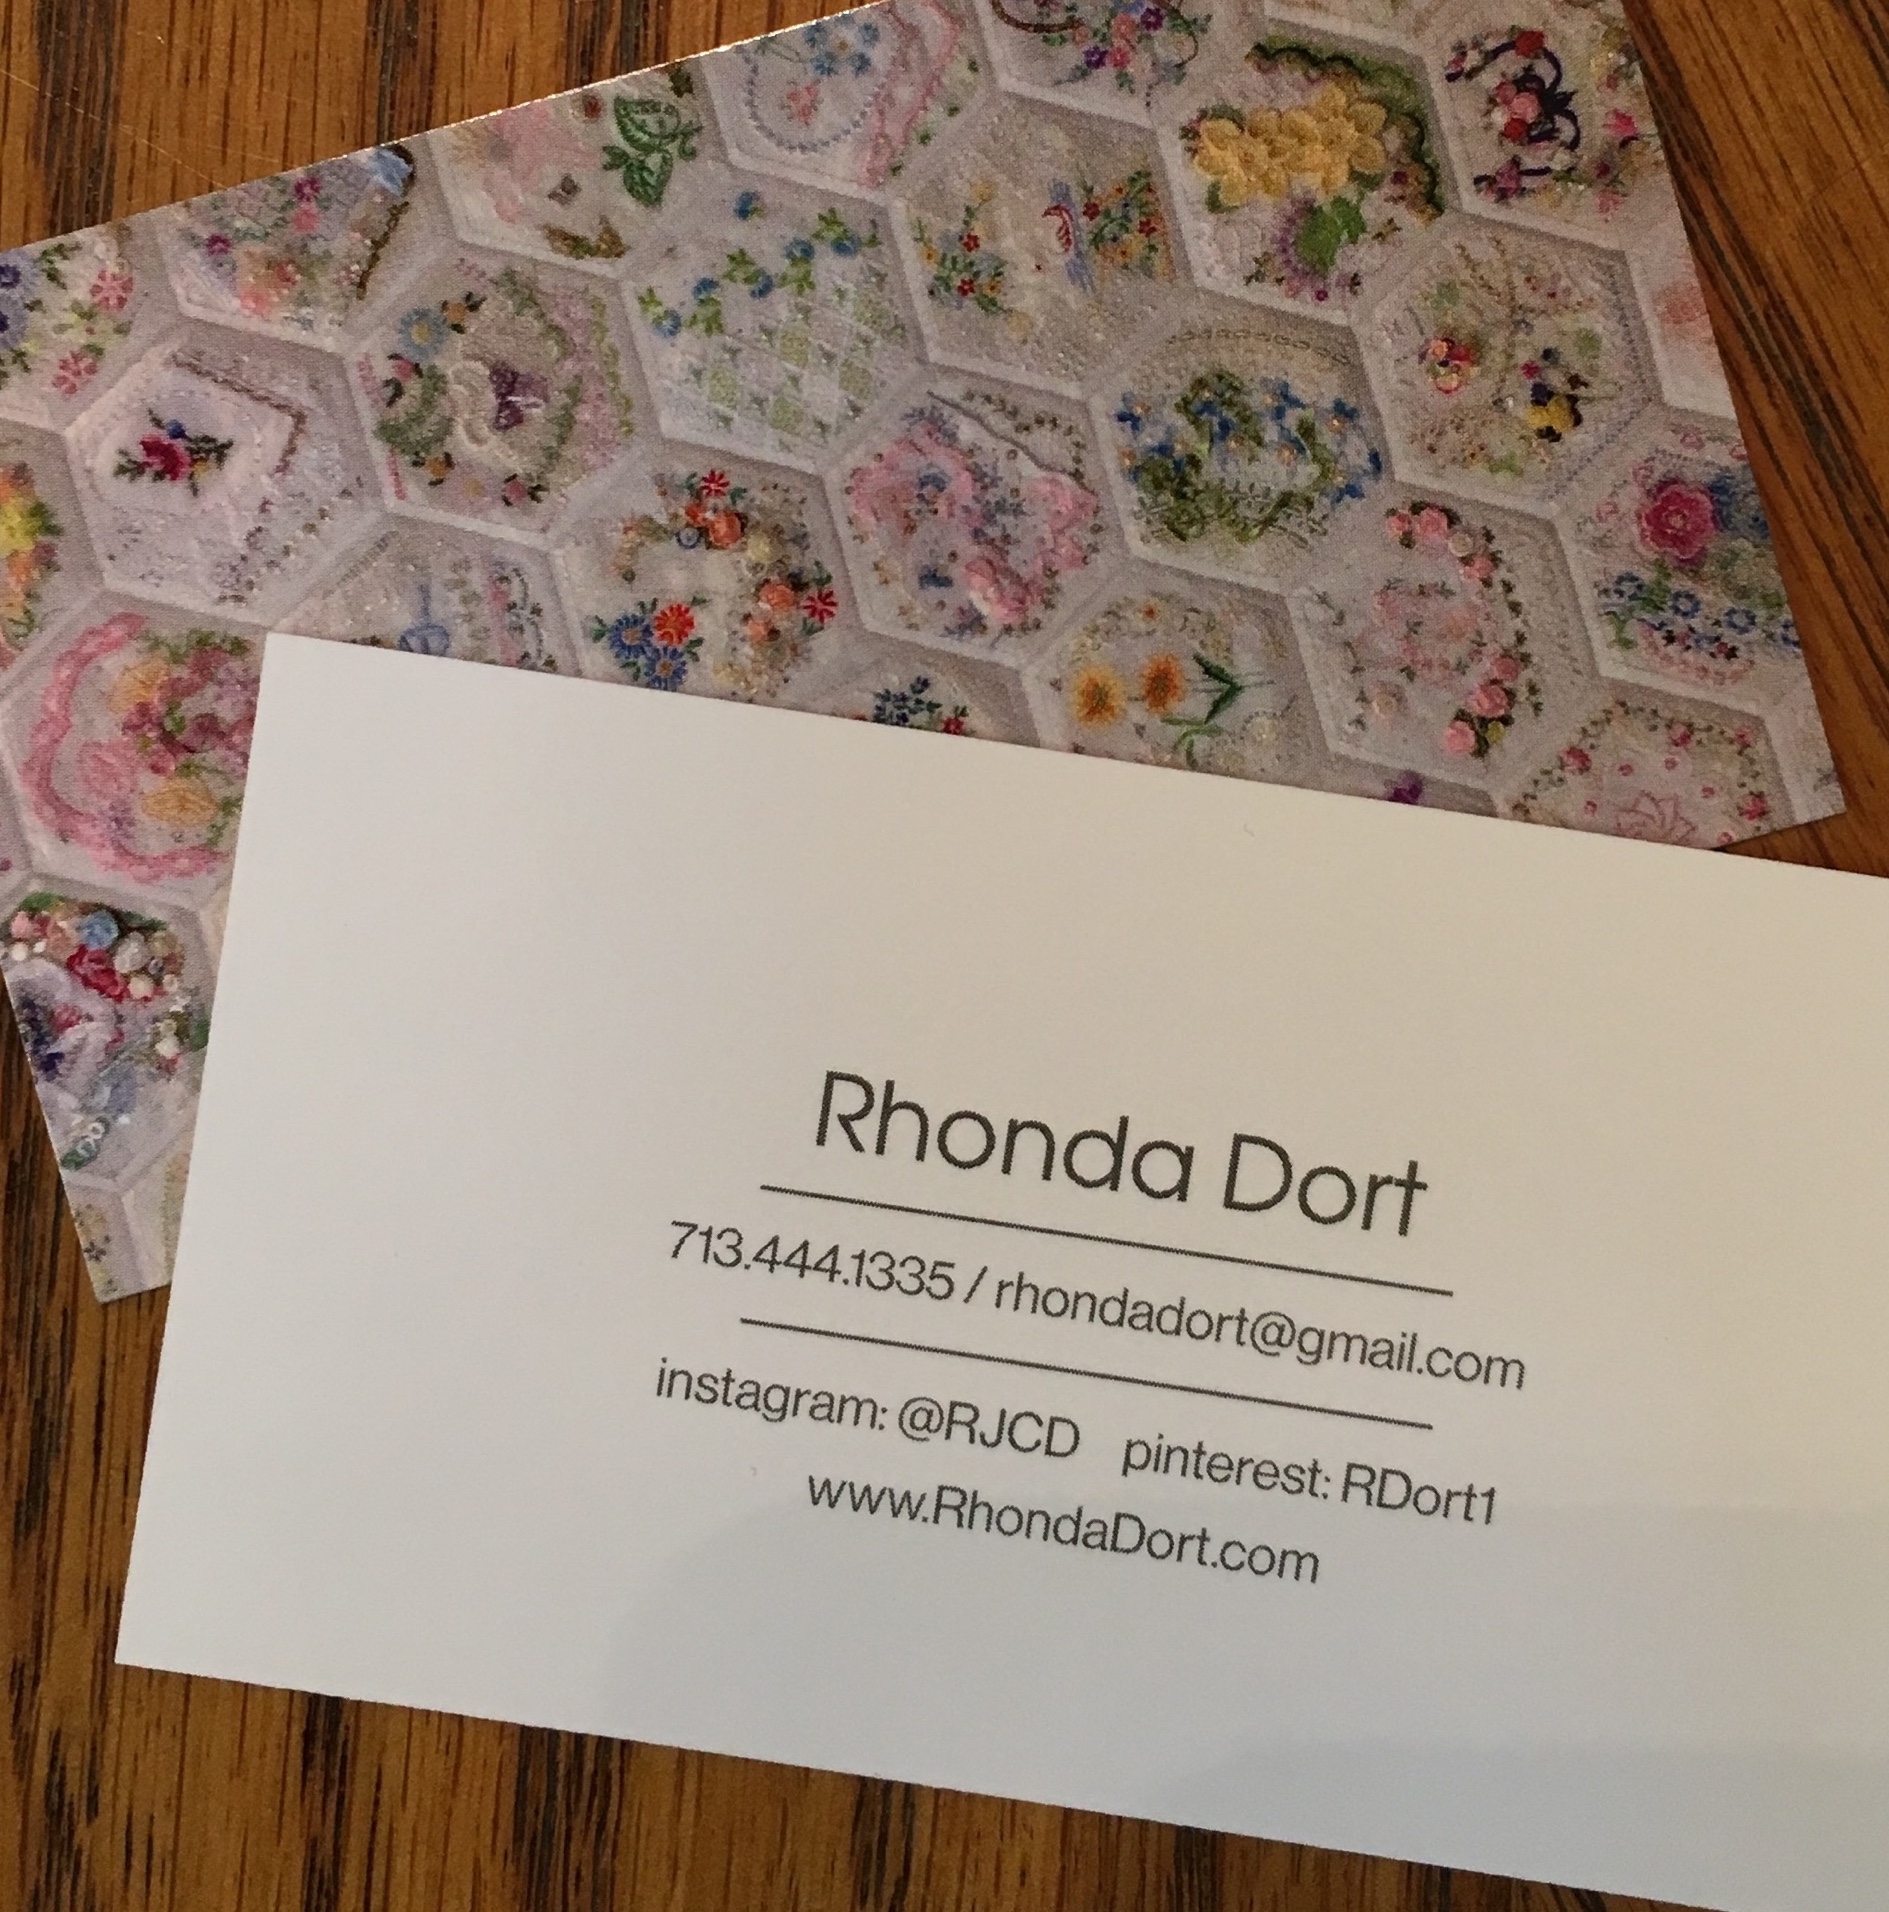
Blessings to all, Rhonda

Hi Rhonda,
I recently moved and my craft/quilting room is now about 1/2 the size it was. I have quite a few vintage pieces and wondered if you would like to have them. Some are hankies, some are pillowcases (although they are really yellowed so I would probably cut off the body & just send the cuff part where all the beautiful crochet and embroidery are), some dresser scarves, etc. I’ve taken a few pictures of some of the items if you’d like to see them before committing. FYI I’m not selling them or expecting shipping costs from you. I just really appreciate what you do and would like to support you in your work. My compensation is the emails I receive from you.
Let me know,
Mary Goss
LikeLiked by 1 person
Wow Mary! What a lovely offer! Of course I’d love them! But please…please let me reimburse you for shipping! ❤️
LikeLike
Hi Rhonda – I’m happy to send them to you. I won’t accept payment for shipping though. I can tell that you feel the same way I do about vintage linens and I really admire the work you do including them into the rejuvenation of old quilts so knowing they are going to a good home is payment enough for me!
FYI, my daughter-in-law has an Estate Sale company and occasionally, when she is short staffed, I’ll work a sale – let me tell you, it’s vintage linen heaven!! I pay almost nothing for them because nobody but me seems to be interested in them. I just need to weed some of them out (to make room for more, LOL).
We are in the midst of a bad storm, so I will probably ship Friday or Saturday. If you want to email me your address, that would be great.
Mary
LikeLike
How very kind of you! Thank you!
Rhonda Dort
5230 Rothchilde Court
Houston, TX 77069
713-444-1335
LikeLike
HI Rhonda – shipping today via USPS.
Mary
LikeLiked by 1 person
You are just too kind! ❤️❤️❤️
LikeLike
Mary, your beautiful things arrived today! Thank you so much! And the picture of your Sweater Girl quilt!! Love it!! How creative! ❤️❤️
Thank you again!
LikeLike
So glad you like it! Keep up the good work. I look forward to your next tutorial. Love all the steps and thought processes that go into each decision!
LikeLiked by 1 person
Your a “Rock Star” of a quilter! Love your tutorials!
LikeLiked by 1 person
Thank you! ❤️
LikeLike
What a lovely save! As always, I think the original stitcher would be (or is) so pleased that you treasure her work and are making it useful for future generations. I hope I’m not repeating myself, but your work reminds me of the Japanese art of mending pottery with gold: the imperfections aren’t hidden, but made beautiful and the finished piece is stronger than it was to begin with.
LikeLiked by 1 person
Thank you!❤️
LikeLike
The lady who made this quilt would be so pleased!
I absolutely love your crazy quilting! LOVE IT!
LikeLiked by 1 person
Thank you! ❤️
LikeLike
Just love how you tackle the impossible!
LikeLiked by 1 person
Thank you! ❤️
LikeLike
You are such an inspiration! Wow!
LikeLiked by 1 person
Thank you!❤️
LikeLike
Wow! This is unbelievable! Aunt Grace does it again! Thank for sharing the details! Wish I could be looking over your shoulder! Jane Hancock
LikeLiked by 1 person
Thank you! ❤️
LikeLike
Oh My Goodness…really-you are a miracle worker with your ideas and abilities to repair and transform a quilt that so many families…throw away. I’m not there yet but my goal is to still renew, reuse, replenish and now refurbish.
LikeLiked by 1 person
Thank you! ❤️
LikeLike
This old and tattered quilt is going to be more beautiful after all your repairs than when it was new!! Thank you so much for your tutorials! I am saving them all for reference.
LikeLiked by 1 person
Thank you! ❤️
LikeLike
What a beautiful transformation! Your explanations are very clear, and so are your pictures. There is a reason no one bought it from you, It knew you would bring it back to life. I love it!
LikeLiked by 1 person
Thank you!
LikeLike